Rick McConnell's bandsaw build

Rick McConnell writes:
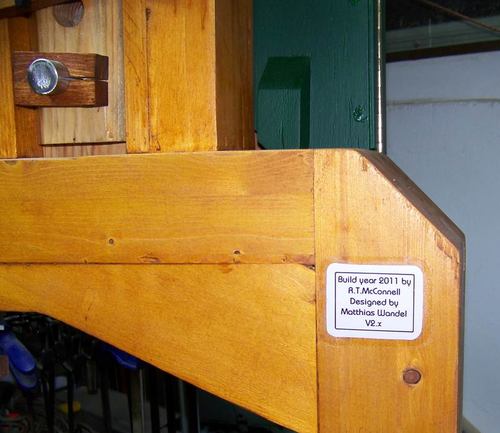
"V2" for a version 2 saw and I have made some modifications to it.
Unfortunately I did not take pictures as I was building the saw.
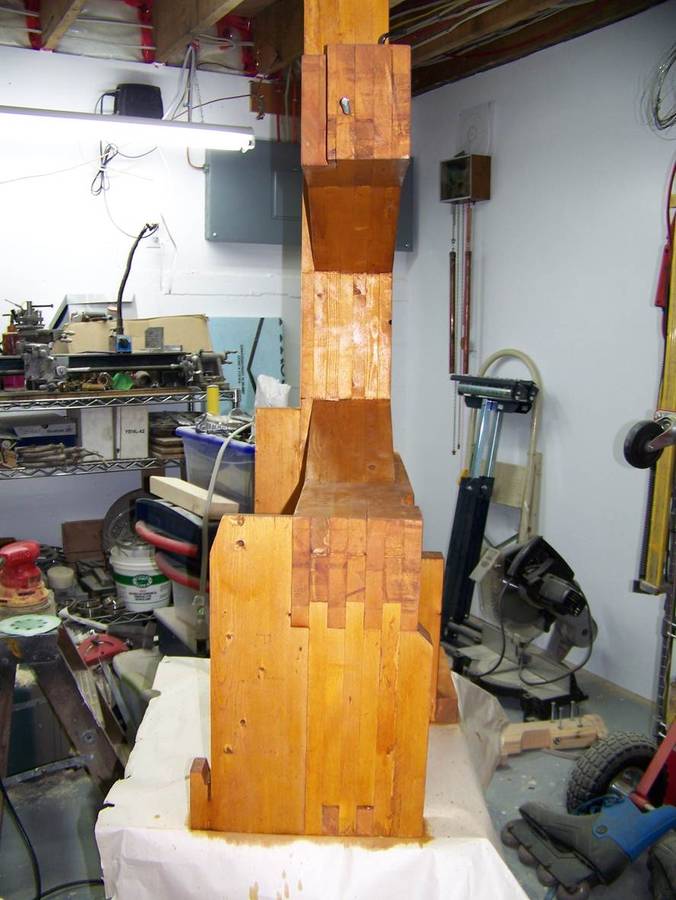
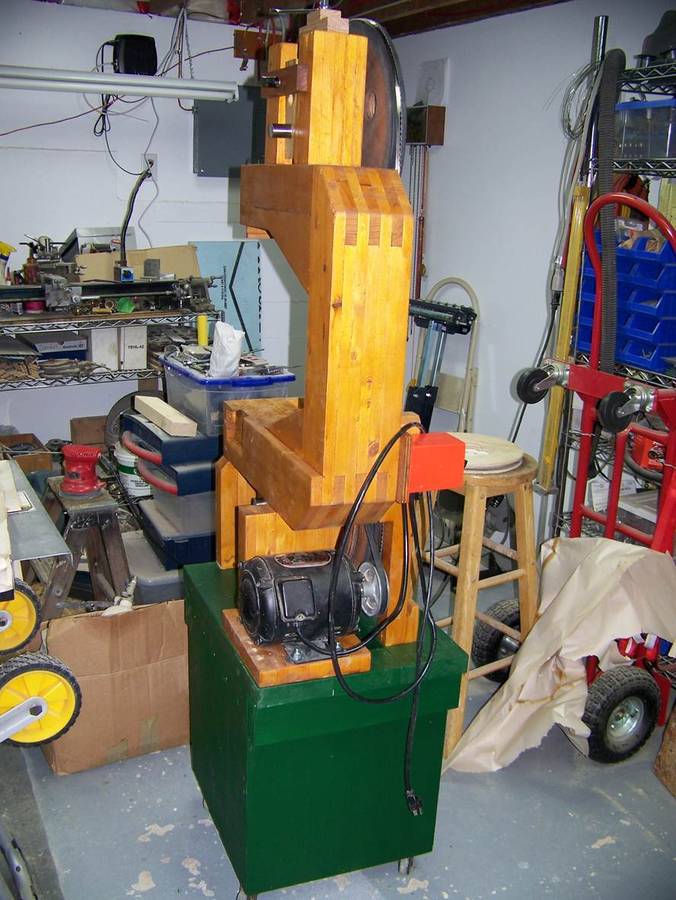
The bare frame after staining. I used pine shelving and it is a little thicker than 17mm so the frame ended up being about 1.7cm thicker.
The finish that I put on the frame was supposed to be clear and it came out almost fluorescent yellow. I sanded it as much as I could and used a different product so it is not as yellow. It is a long way from what I was trying for.
|
|
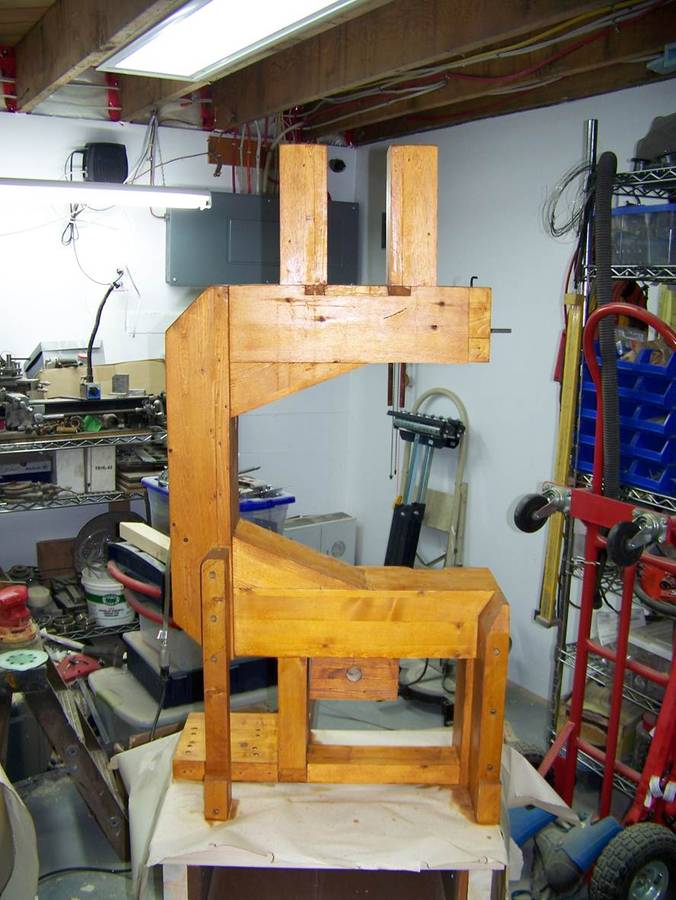
| Various parts stained and ready to go together |
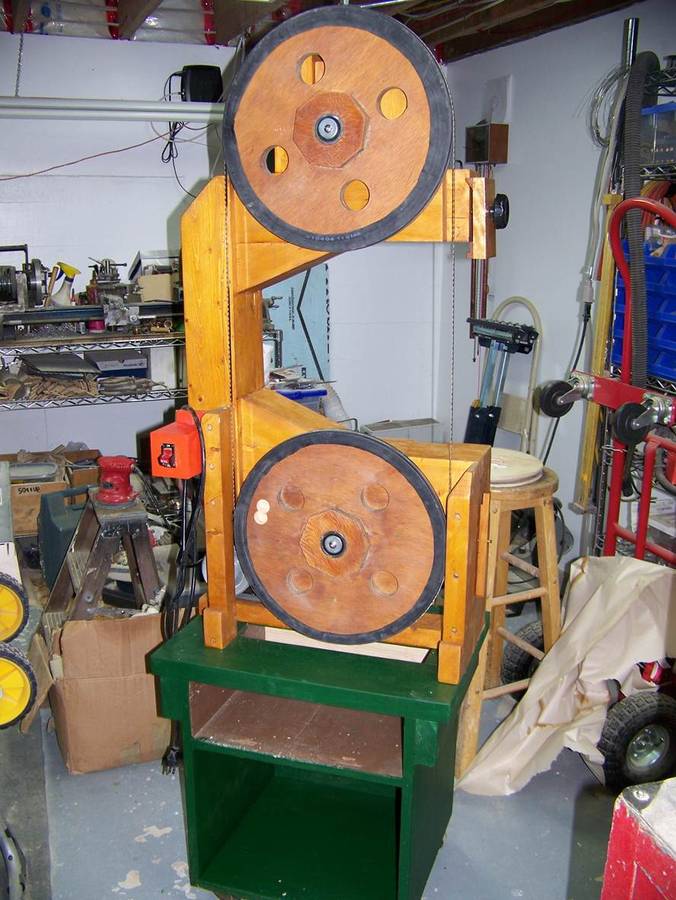
| Looking like a bandsaw now. While building and assembling it I made sure that the blade was parallel to the edge of the column. This made measuring the other distances and squaring up easier. |
|
|
 While I was building my saw,
you were posting your 14" bandsaw build.
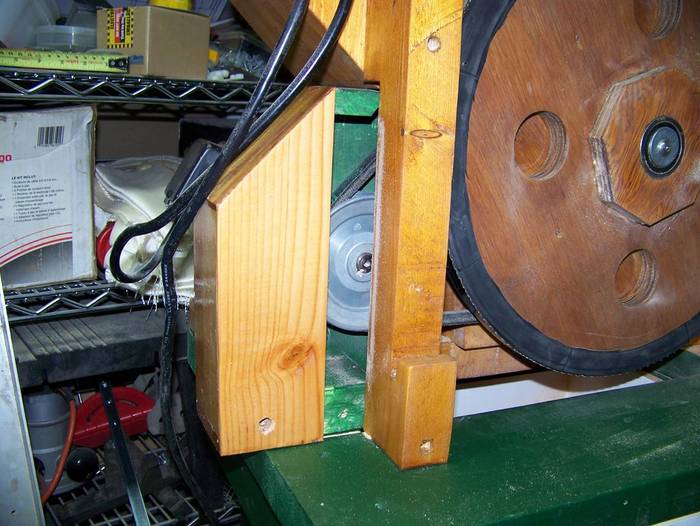
I looked at your pictures, made some estimations, and built a
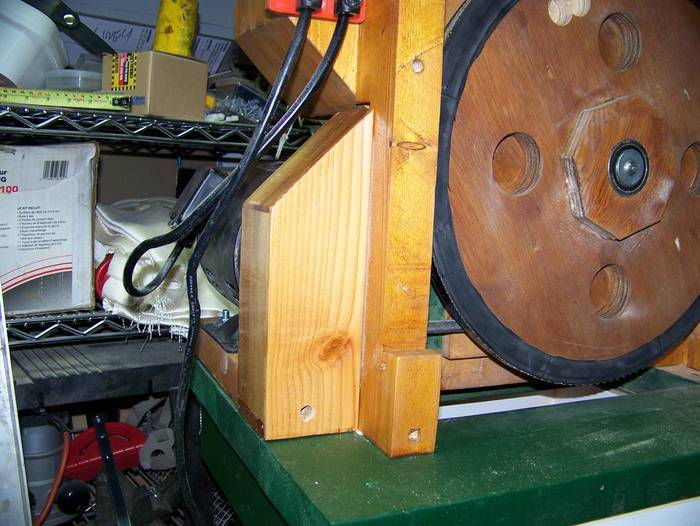
single block upper wheel mount. I started by
mocking it up with some 2x6's. Tried some things, then I cut the block
from a piece of fir. When I cut the block I misplaced the shaft hole and the
tang of the block was barely in the slot of the frame.
While I was building my saw,
you were posting your 14" bandsaw build.
I looked at your pictures, made some estimations, and built a
single block upper wheel mount. I started by
mocking it up with some 2x6's. Tried some things, then I cut the block
from a piece of fir. When I cut the block I misplaced the shaft hole and the
tang of the block was barely in the slot of the frame.
After getting the saw working I remade the block with the hole higher up. It was so much easier the second time having a bandsaw to cut it with.
 One drawback that I noticed
to this design is that when you are adjusting the tracking you have to pay
attention to the blade tension. With my block I have room to move up or down
about 1/2", giving a blade range of about 104 to 106" in length.
One drawback that I noticed
to this design is that when you are adjusting the tracking you have to pay
attention to the blade tension. With my block I have room to move up or down
about 1/2", giving a blade range of about 104 to 106" in length.
Matthias comments:
The one-piece upper mount is certainly less work to construct, but it's not foolproof. I made the upper wheel mount a bit wider on the 14" bandsaw to give it more side to side (yaw) stability. Realized even more width would be better so changed it to be 1 cm wider in the plans. But the space between the uprights on the 16" design is larger, because it normally has the frame between the uprights and the wheel mount block.
Rick later added:
I built the frame according to the plans so the space between the up rights was very large. I ended up gluing a board on the inside and front of each up-right to fill up the space. The upper block is cut from a piece of firewood and it is about as large as I could get it, just barely cutting off the bark on one of the bevels. This also worked out for the tension spring strips as I thought the span for them might be getting a little wide.
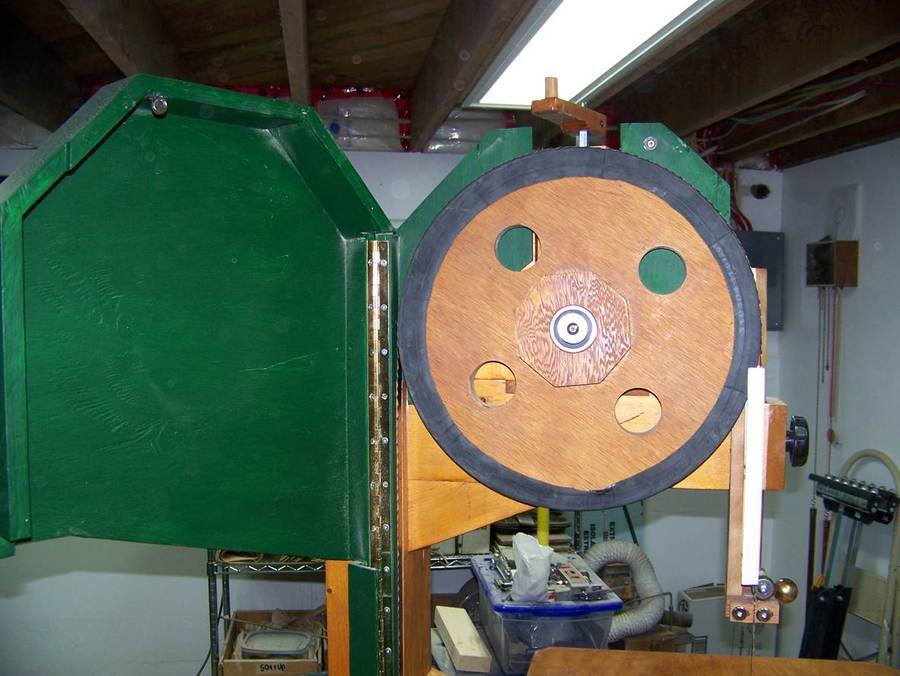 My shop has lower ceilings
making it difficult to get the upper cover on and off. So I hinged the upper
cover as you did with your 14" saw. I used a magnet to hold it closed. I
built the lower cover according to the plans and used a magnet to hold it
closed as well.
My shop has lower ceilings
making it difficult to get the upper cover on and off. So I hinged the upper
cover as you did with your 14" saw. I used a magnet to hold it closed. I
built the lower cover according to the plans and used a magnet to hold it
closed as well.
 I bought several blades, one of which is a Swedish Silicon 3/4" 2/3 tooth
from R&D Bandsaws. It cuts real nice.
I bought several blades, one of which is a Swedish Silicon 3/4" 2/3 tooth
from R&D Bandsaws. It cuts real nice.
Matthias comments:
I see this is one of those variable tooth spacing blades. That prevents the blade from getting into oscillations in deep cuts, which should cut down on the loud squeal that bandsaw blades sometimes make while resawing.
| 
|
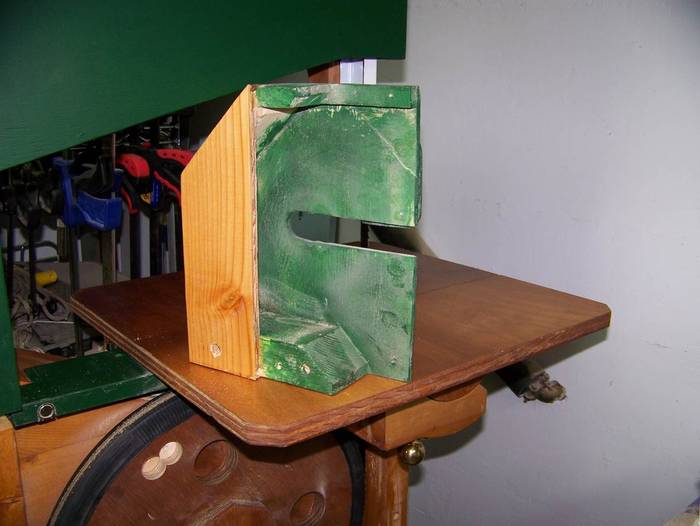
I started out building the belt guard according to the plans, but ended up making it a little different. It is a complete unit that slides in, but the same three screws (as in the plans) are used to secure it.
The little door just pivots down and when the cover is in place the frame holds it to cover the slot, as you see in the photo.
| 
|
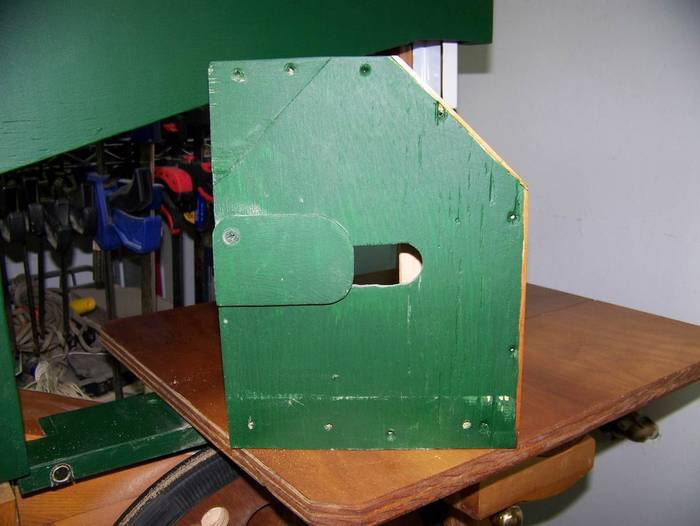
 The cover has a couple of
pieces of wood glued onto it. These are the first pieces that I cut with this
saw. They are about 1/8" thick. The one piece being fir and the others
being maple. You can also see in the photo the magnet that holds the lower
cover in place.
The cover has a couple of
pieces of wood glued onto it. These are the first pieces that I cut with this
saw. They are about 1/8" thick. The one piece being fir and the others
being maple. You can also see in the photo the magnet that holds the lower
cover in place.
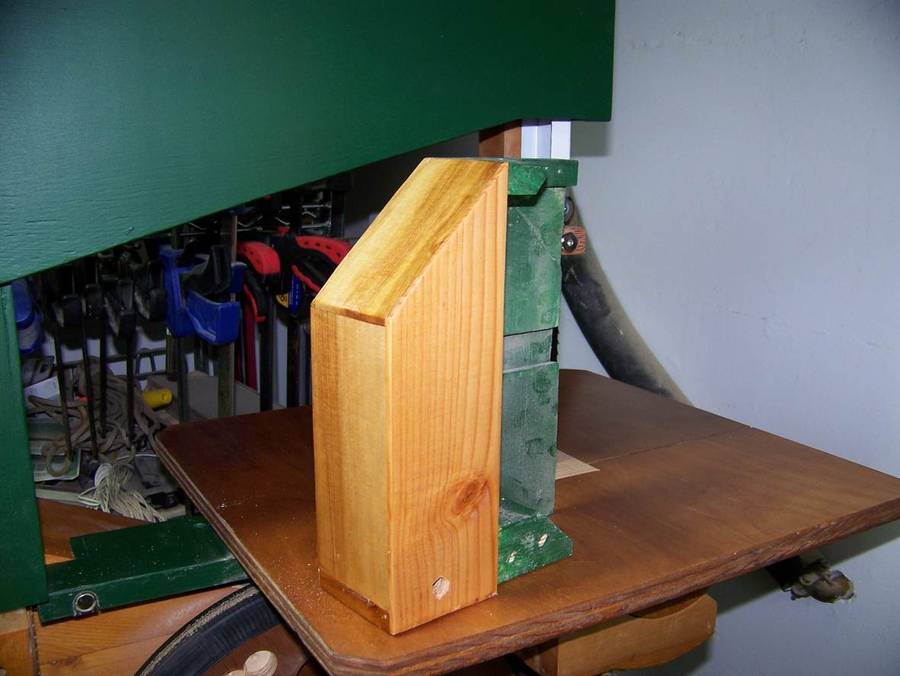
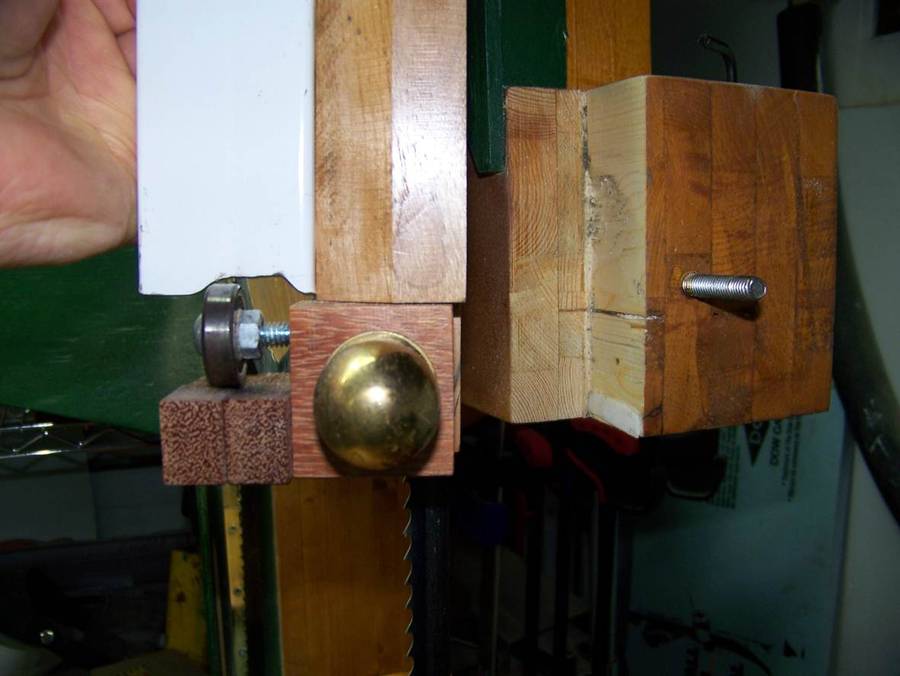 I modified the upper blade guide
a bit. This allows it to be moved into the column without the need to notch out
the column.
I modified the upper blade guide
a bit. This allows it to be moved into the column without the need to notch out
the column.
Why brass knobs? Almost free at 25 cents each.

When making the wheels I did not make the center hole large enough. So when I was gluing them together I could not completely eliminate the wobble. As a result the wheels are statically balanced but they have a bit of vibration when running. Remaking the wheels is on the todo list.
A week later, Rick emailed me some more photos:
I have made couple of more modifications to my saw.
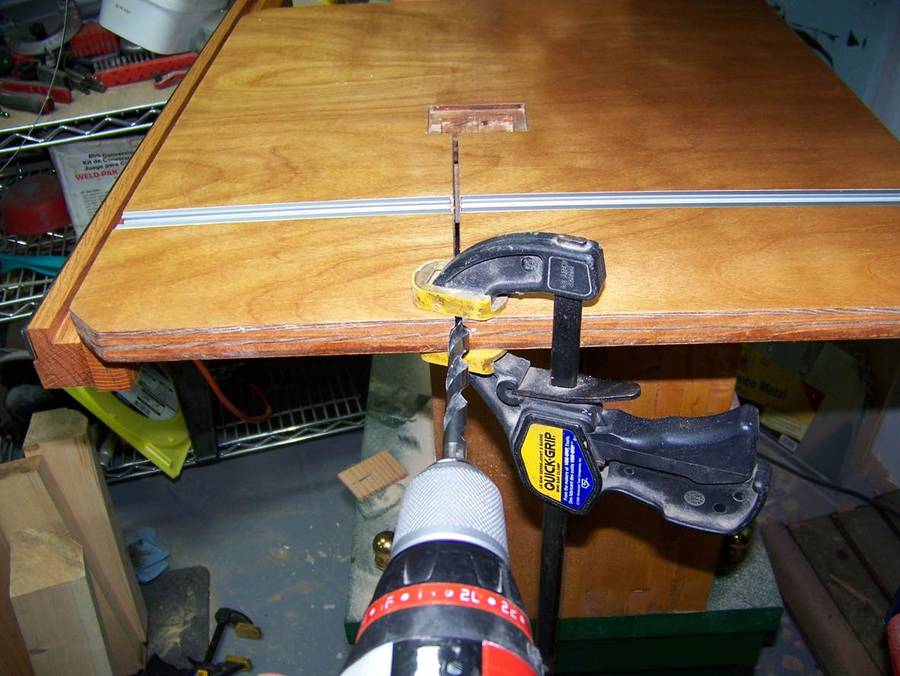
The first was to drill a 3/8" hole in the edge of the table. I then pushed a piece of 3/8" dowel into the hole. This keeps the table from flexing at the slot. The dowel is easy to push out with a screwdriver or even with the saw blade as it is being removed.
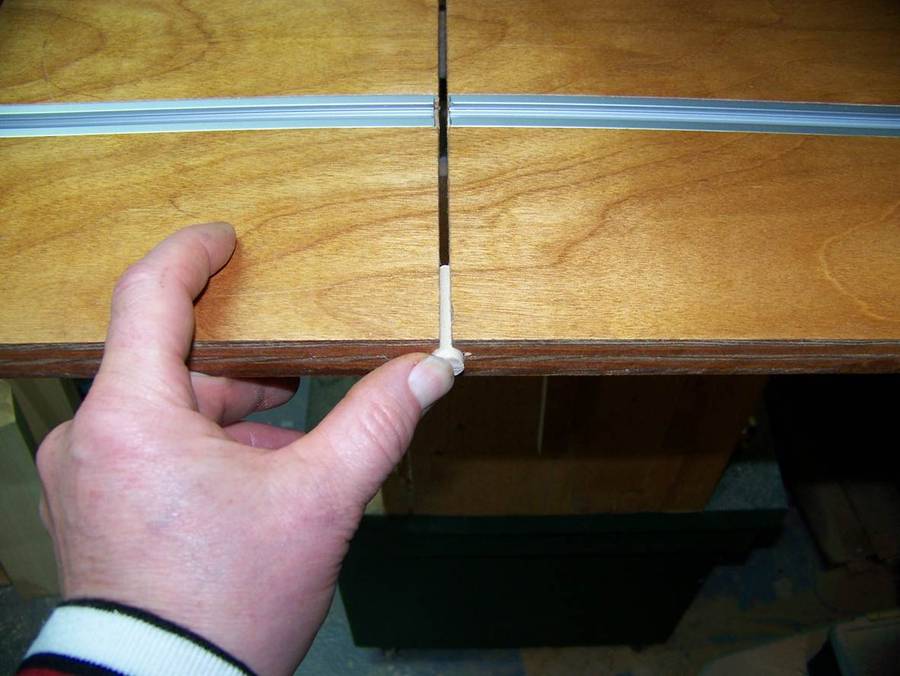
My cast iron 14" bandsaw has something like this as well. I thought about adding a way to lock the slot for my 16" bandsaw as well, but the table stayed aligned well enough without it, so it didn't really need that.
Rick continued...
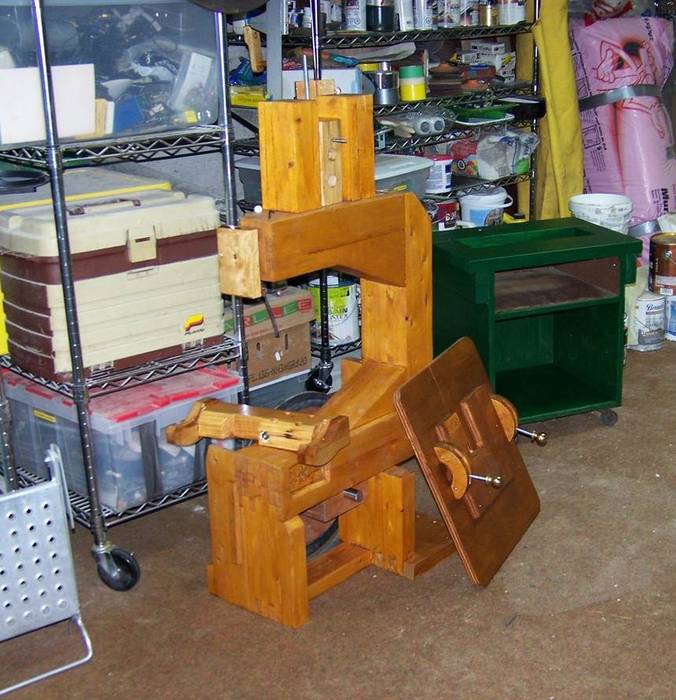
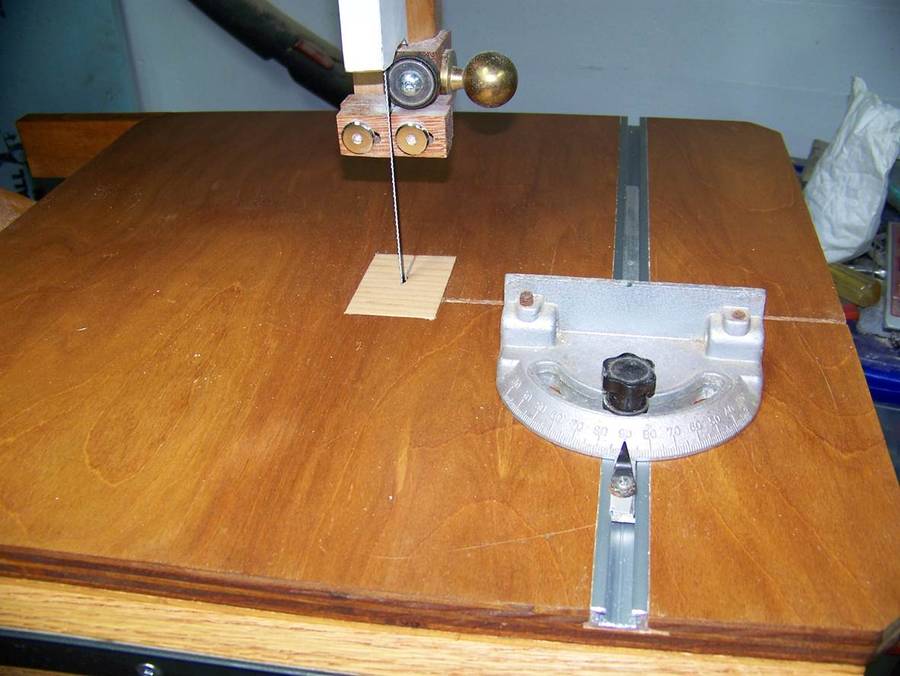
I then installed a piece of channel in order to use a miter slide.
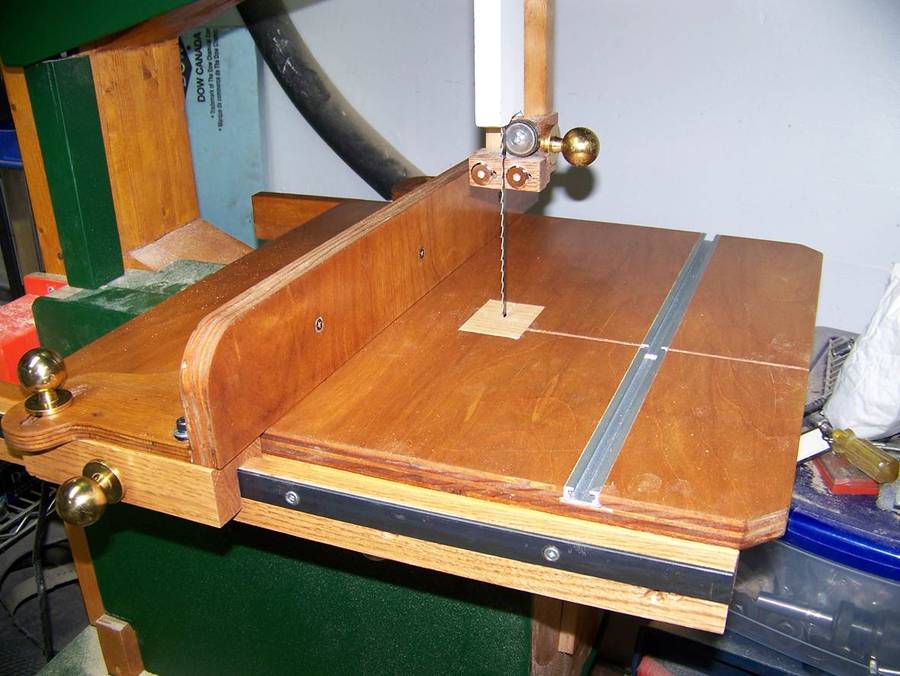 I next added a rip fence. I found plans at americanwoodworker.com.
Being able to cut the curved pieces with the bandsaw is supreme.
Looks just like the rip fence on Dejan Kovac's bandsaw. I had been thinking about building a fence for mine as well, but this simple resaw fence I came up with has been good enough for me so far.
Thank you Matthias for sharing
your ideas and maintaining your site.
More reader built bandsaws and reader projects
More about bandsaws on my woodworking website.