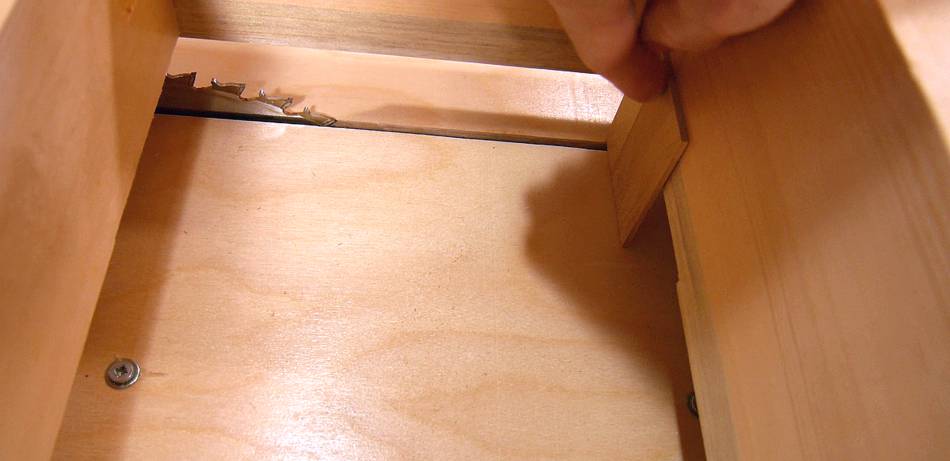
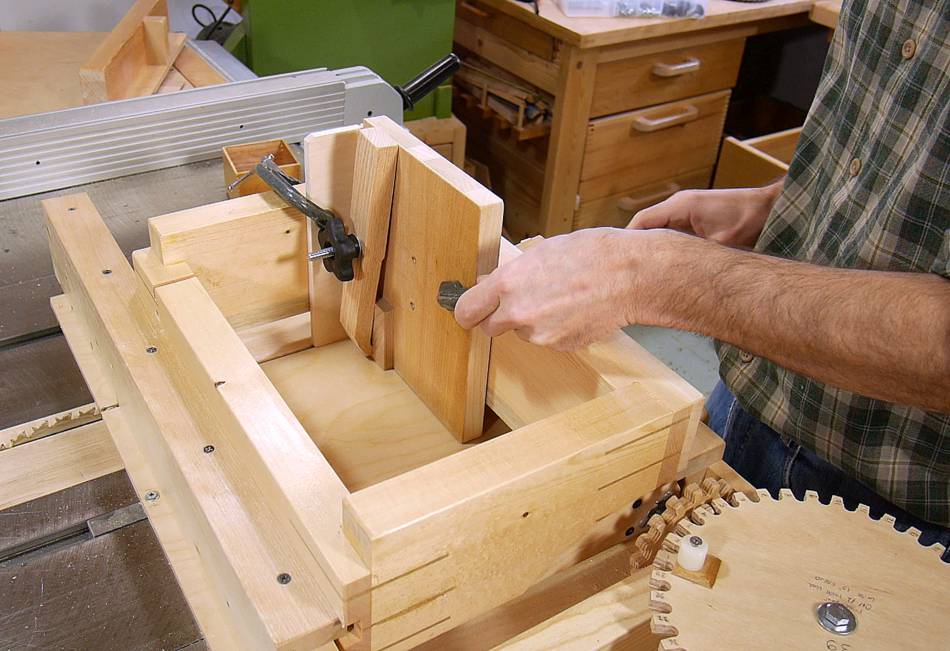
 It's very difficult to mount workpieces shorter than 5 cm in my
box joint jig.
There isn't enough support behind the work piece, and it's
impossible to reach down that far with a clamp.
It's very difficult to mount workpieces shorter than 5 cm in my
box joint jig.
There isn't enough support behind the work piece, and it's
impossible to reach down that far with a clamp.
It's very difficult to mount workpieces shorter than 5 cm in my
box joint jig.
There isn't enough support behind the work piece, and it's
impossible to reach down that far with a clamp.

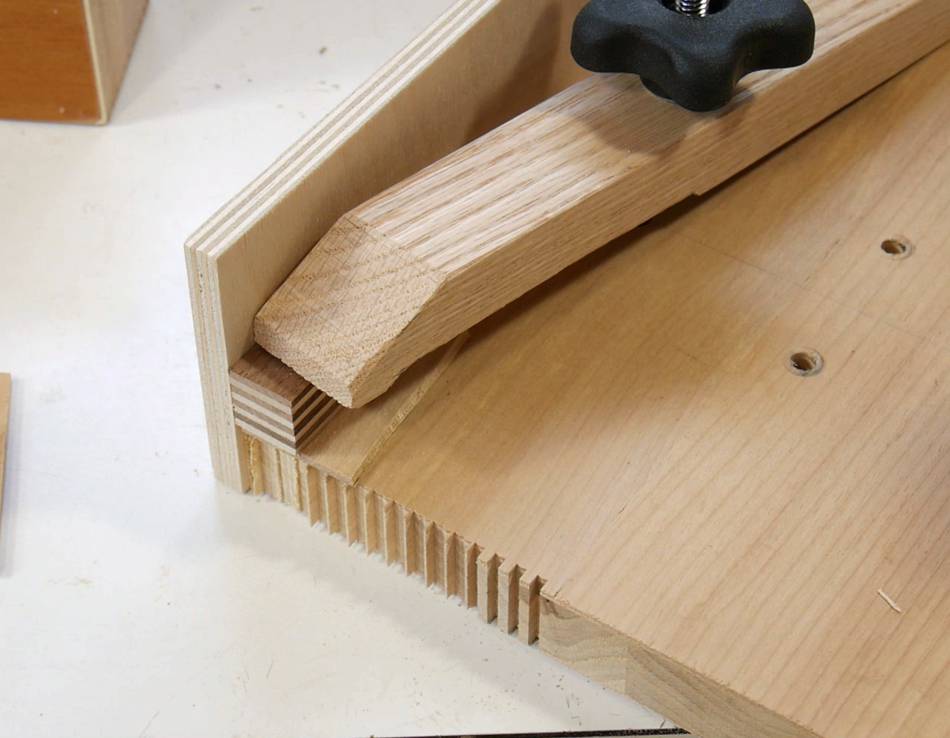
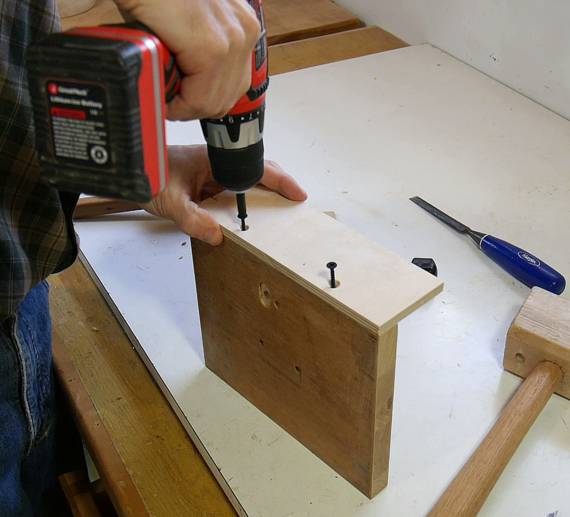 So I made a jig to fit inside the jig to hold the wood better.
It's mostly two pieces of wood, fastened at a right angle.
So I made a jig to fit inside the jig to hold the wood better.
It's mostly two pieces of wood, fastened at a right angle.
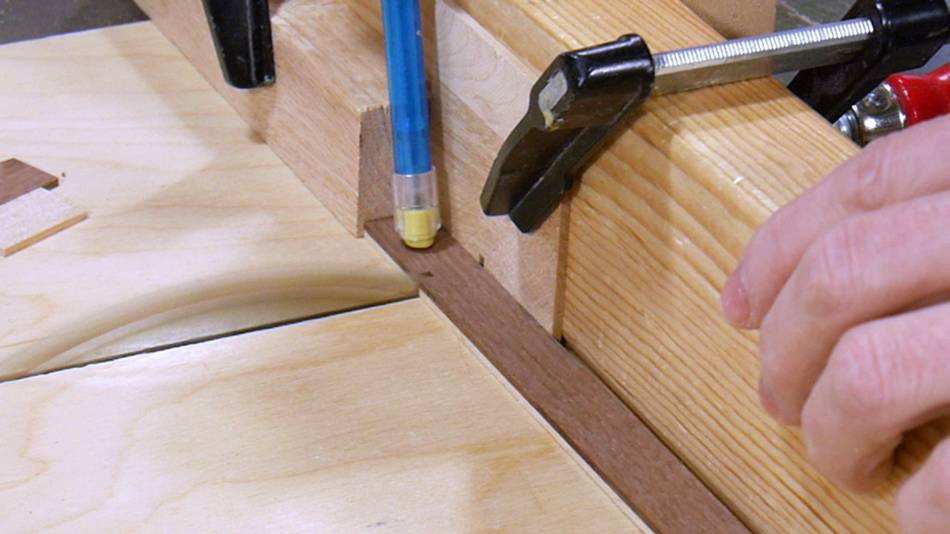
 The jig also has an integral clamp because ordinary clamps
would not be able to reach a tiny workpiece at the
end of the jig.
The jig also has an integral clamp because ordinary clamps
would not be able to reach a tiny workpiece at the
end of the jig.
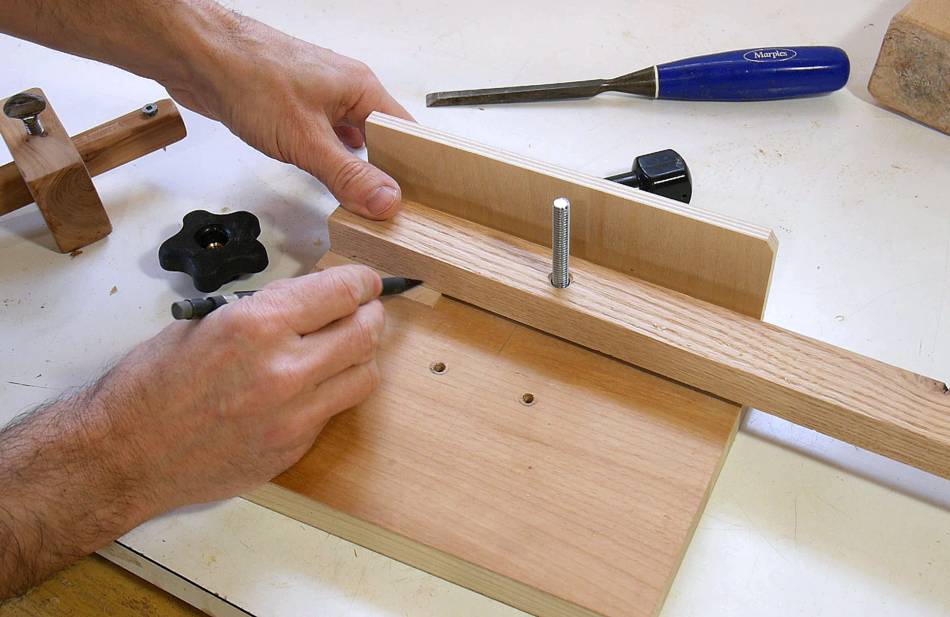
I made a relief cut in the clamping piece so that it applies pressure near the end.
 A plastic knob pushes the long piece. The idea is to mount the
workpieces before mounting the jig inside the box joint jig.
A plastic knob pushes the long piece. The idea is to mount the
workpieces before mounting the jig inside the box joint jig.
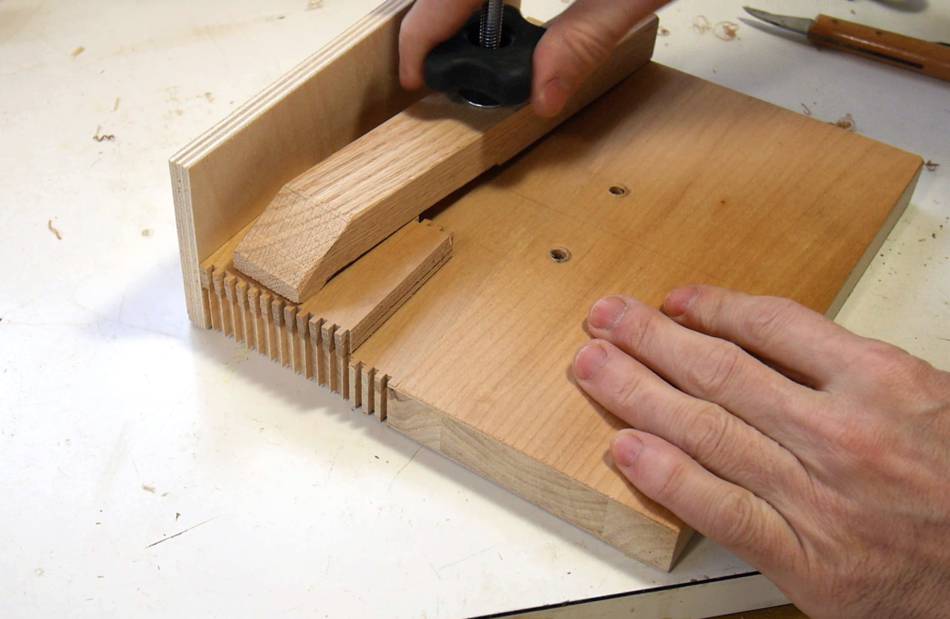
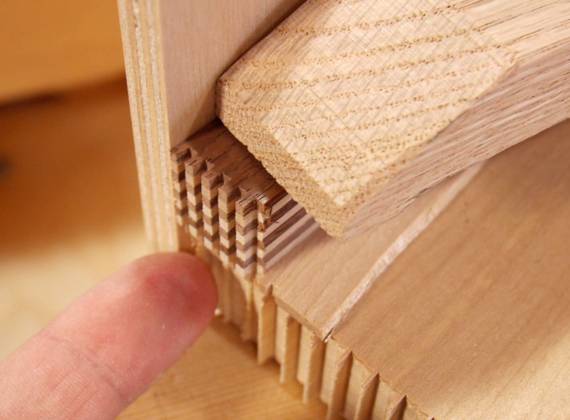
Here I'm using another piece of wood to make sure my workpieces (four thin ones) are flush with the end.
 Workpieces mounted. It's actually a stack of four pieces of wood,
all flush with each other.
Workpieces mounted. It's actually a stack of four pieces of wood,
all flush with each other.
 Now mounting the jig, then cutting the box joints. I set the cut spacing
on the jig to twice the cut width of the blade.
Now mounting the jig, then cutting the box joints. I set the cut spacing
on the jig to twice the cut width of the blade.
With the thin kerf blade I use most of the time, meshing a 39-tooth crank gear against the 12-tooth secondary gear (on the 16 TPI threaded rod) produces just the right spacing.
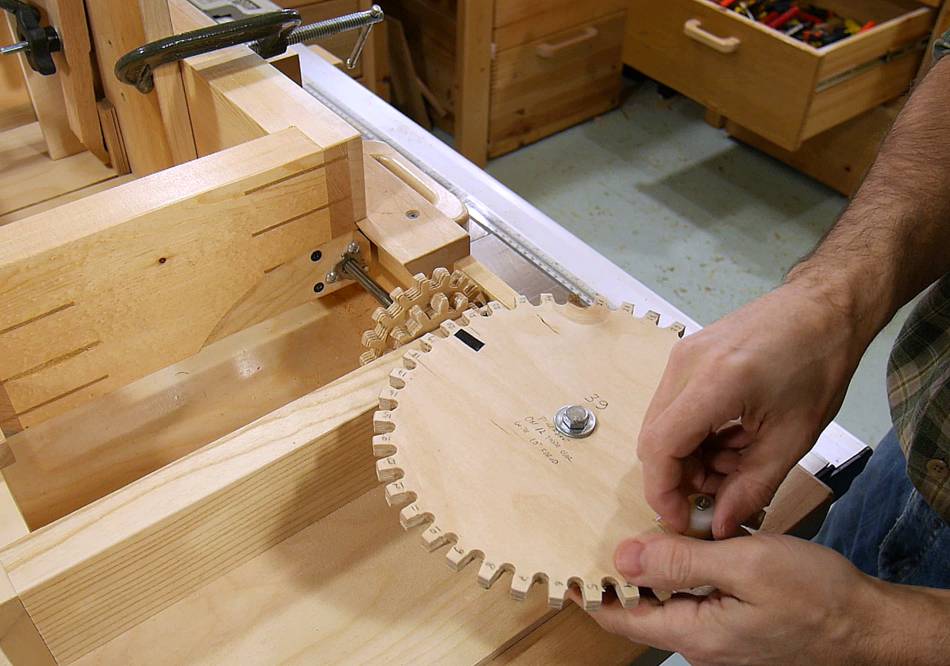 To make the joints mate with the ones I just cut, I need to cut slots
where previously I left fingers. So I need to offset the cut positions by
half the spacing. I do this by
un-meshing the crank gear, turning it half a turn, then re-engaging it.
That way, when I now stop with the handle on the right side, everything
is offset by half the spacing (which is one tooth width)
To make the joints mate with the ones I just cut, I need to cut slots
where previously I left fingers. So I need to offset the cut positions by
half the spacing. I do this by
un-meshing the crank gear, turning it half a turn, then re-engaging it.
That way, when I now stop with the handle on the right side, everything
is offset by half the spacing (which is one tooth width)
There isn't a "stop" on the jig for where to stop the handle. But as long as I stop the gear with the handle within half a tooth of where it needs to be, the cuts will be accurate enough.
 Cutting the second set of joints.
Between cuts, the jig needs to be rewound back to home position. That takes about 10-15 seconds of cranking. I thought I'd save the time by not rewinding and making the second cuts moving left to right instead of right to left. But that was a bad idea. The backlash in the threaded rod and nut caused some offset error.
 Joints cut.
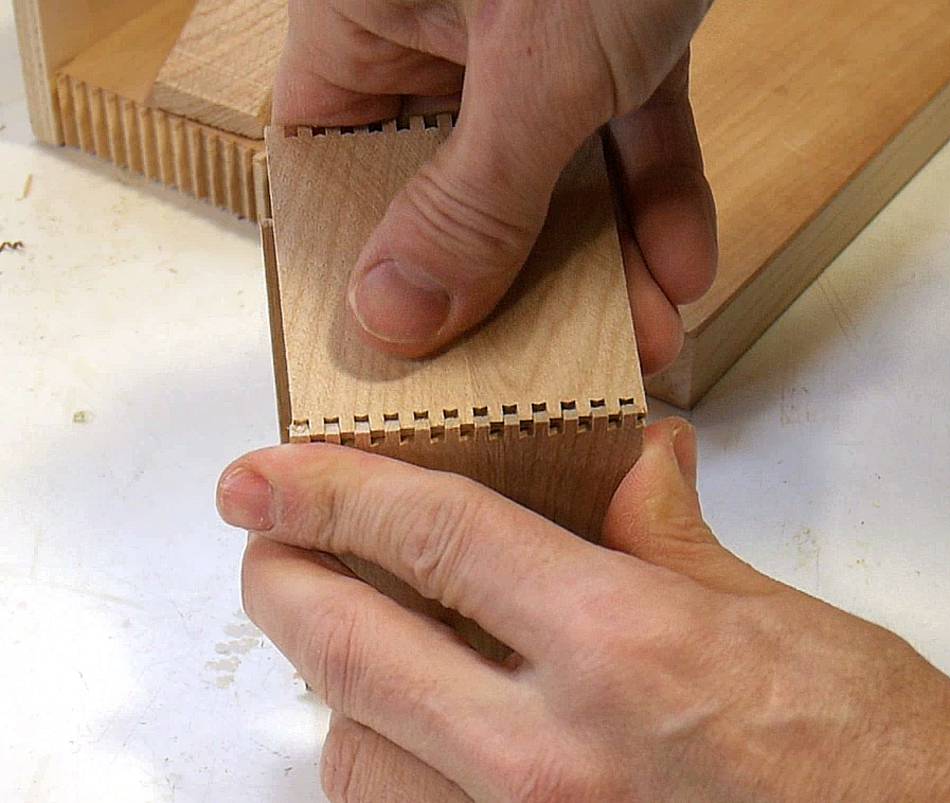
 Now assembling it.
This was just a test piece, but I glued it together to maybe make a box out of later.
 The box I really wanted to make would be MUCH smaller
and made of contrasting woods - Maple and Mahogany.
The box I really wanted to make would be MUCH smaller
and made of contrasting woods - Maple and Mahogany.
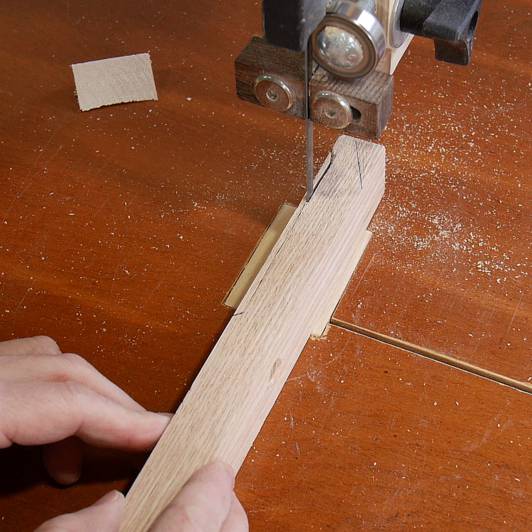
Here I'm cutting the workpieces, using a pencil to hold down the stock as I'm cutting it.
 I switched to a 6 1/2" blade. This blade is actually for
a battery powered circular saw, but has a 5/8" arbour
hole, so it fits in this saw. It was the thinnest blade
I could find for the saw at The Home Depot tgat fit this saw.
I switched to a 6 1/2" blade. This blade is actually for
a battery powered circular saw, but has a 5/8" arbour
hole, so it fits in this saw. It was the thinnest blade
I could find for the saw at The Home Depot tgat fit this saw.
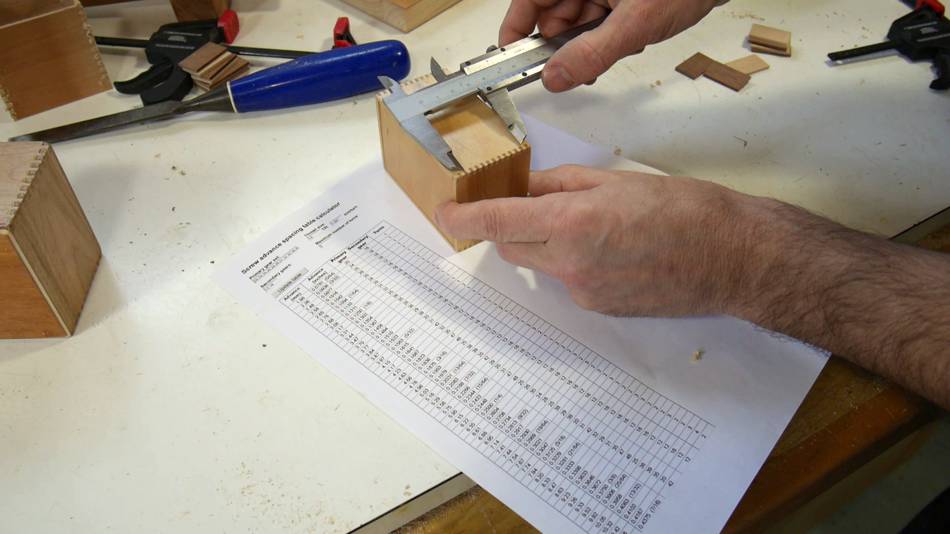
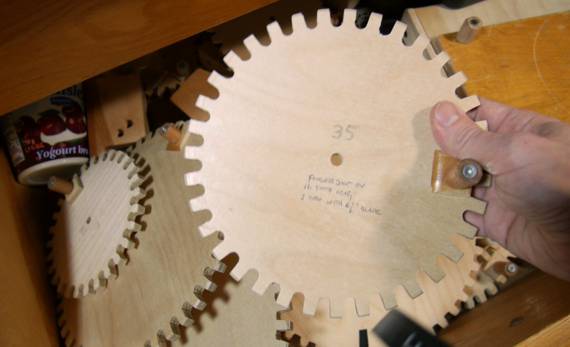 I made a box with that blade before, so I check what spacing
I used for that. At just under 35 mm for 10 fingers, I looked
up what the closest spacing I
could make with it, then retrieved that gear from my collection.
Ironically, I wrote on that gear that it's the one to use
with the 6 1/2" blade last time I used it!
I made a box with that blade before, so I check what spacing
I used for that. At just under 35 mm for 10 fingers, I looked
up what the closest spacing I
could make with it, then retrieved that gear from my collection.
Ironically, I wrote on that gear that it's the one to use
with the 6 1/2" blade last time I used it!
 Mounting the stock, with a sacrificial piece of scrap to
prevent chipout on the back.
Mounting the stock, with a sacrificial piece of scrap to
prevent chipout on the back.
Love how tiny yet precise these come out!

 Test fitting the box. It holds together even without glue.
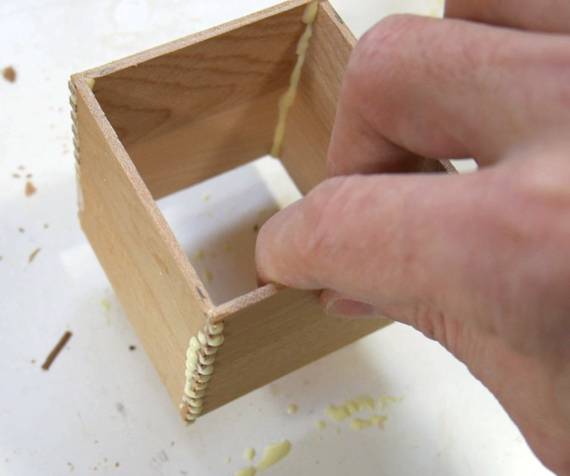
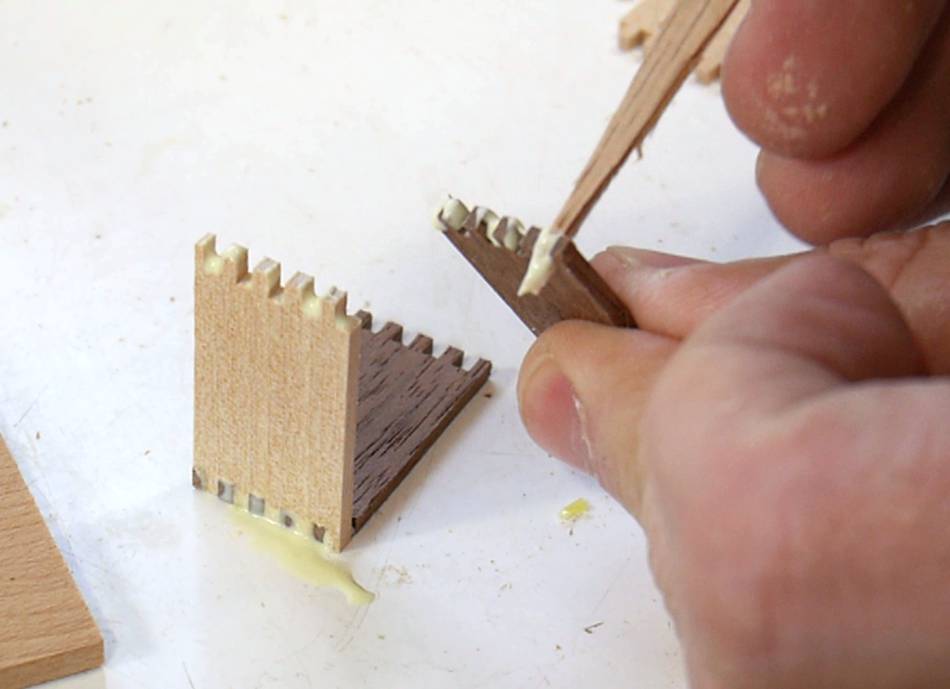 I used a pointy wood scrap to put glue between all the fingers.
Slow going, but I only had two boxes to put together, and not
that many fingers.
I used a pointy wood scrap to put glue between all the fingers.
Slow going, but I only had two boxes to put together, and not
that many fingers.
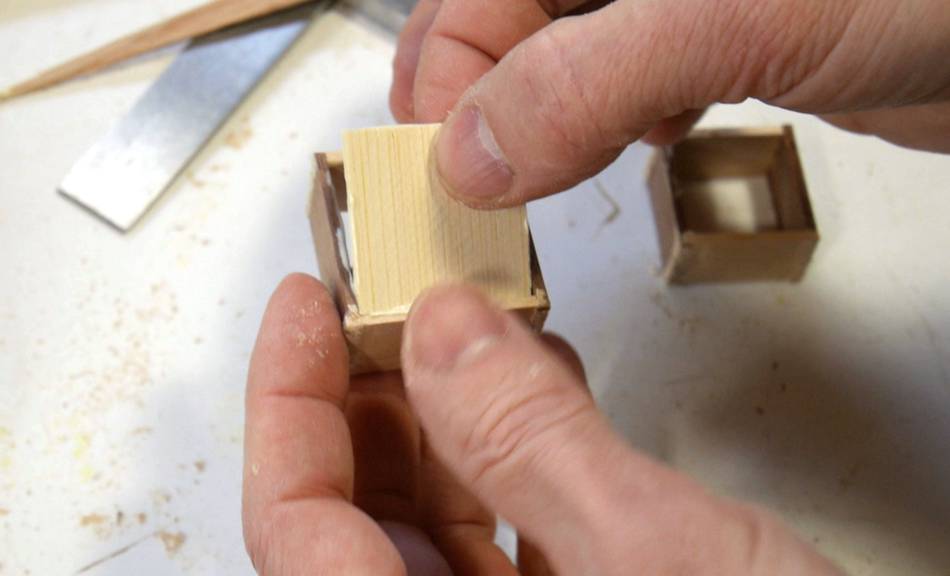 I very carefully cut a bottom for the box that fit inside snug
with a bit of pressure.
I very carefully cut a bottom for the box that fit inside snug
with a bit of pressure.
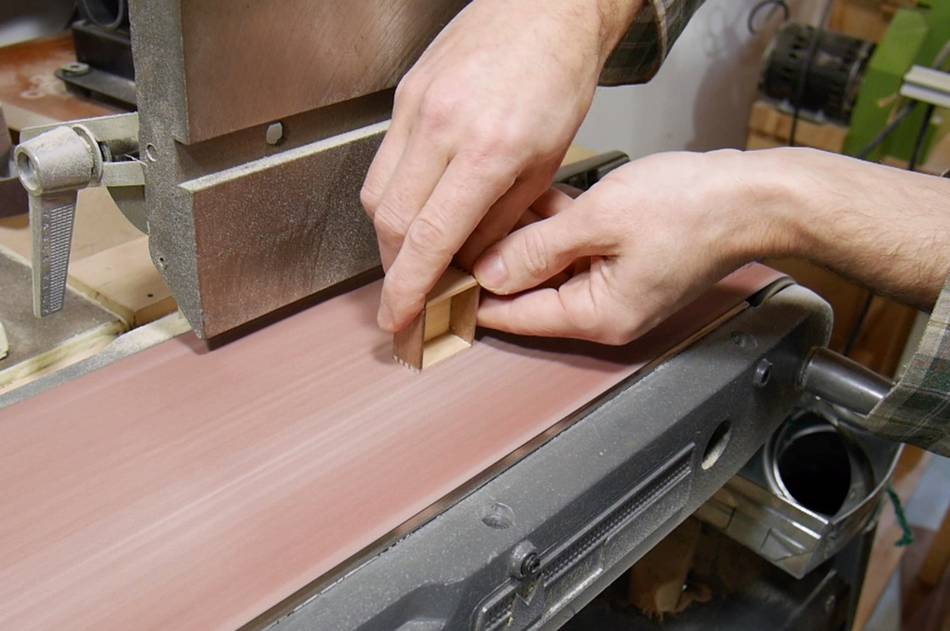 Once the glue dries, sanding everything flush on the belt sander.
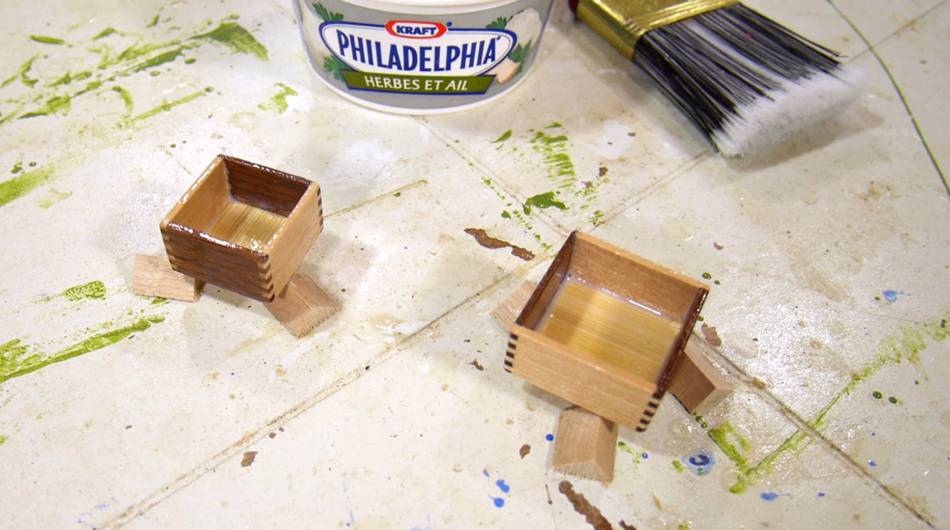 I put three coats of varnish on the box. The first coat with my regular
paintbrush, but that was way too big, so I used an artist's brush for the
remaining coats.
I put three coats of varnish on the box. The first coat with my regular
paintbrush, but that was way too big, so I used an artist's brush for the
remaining coats.
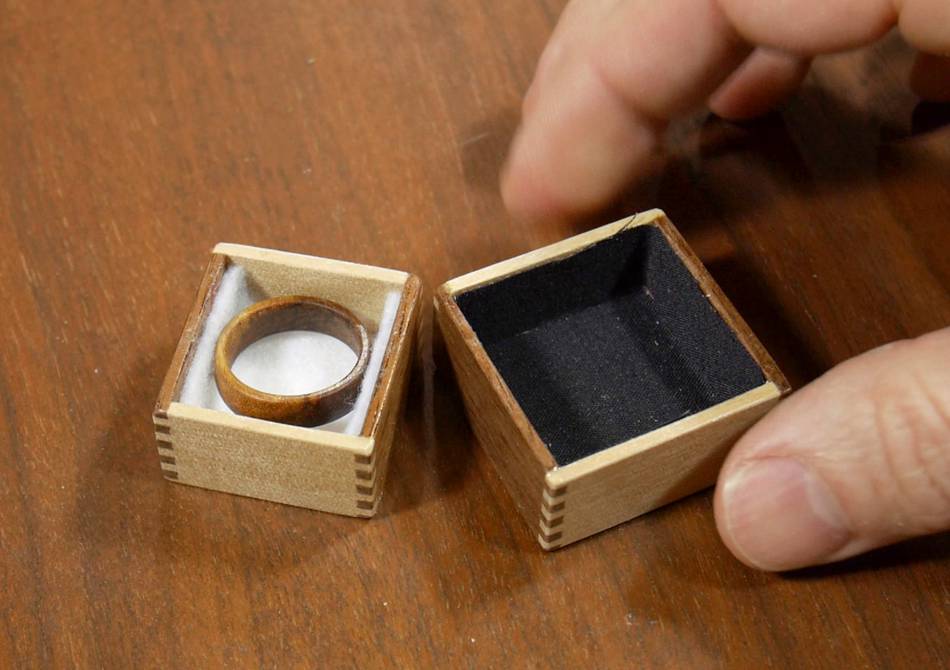 I then lined the larger box with black cloth, and the smaller one with
white felt. It's just the right size for
Rachel's
ring. The larger box
fits over the small one as a lid.
I then lined the larger box with black cloth, and the smaller one with
white felt. It's just the right size for
Rachel's
ring. The larger box
fits over the small one as a lid.
Except the whole thing is a bit belated. We actually got married last year. When I mentioned to Rachel that I wanted to see how tiny a box I could make, she had the idea of making it so the ring could go into it.
If it wasn't for the ring, I would have made an even smaller box.
 More about Box joints
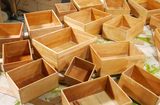 Making small boxes
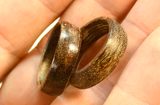 Making wooden rings
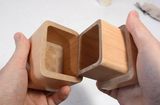 Small keepsake box
 Making wooden hinges