 I wasn't looking forward to taking the saw apart to get at the bearings, but
then I noticed that there is a set screw that holds the pin for the height
adjustment mechanism in place. So I loosened that set screw...
I wasn't looking forward to taking the saw apart to get at the bearings, but
then I noticed that there is a set screw that holds the pin for the height
adjustment mechanism in place. So I loosened that set screw...
I bought my hybrid table saw in 2007 and have been using it as my main table saw since then.
In 2018 I started to notice my table saw making a noise that wasn't the typical motor or blade noise. It became especially noticeable during this project while I was cutting all the box joints. But making lots of baseboards last year no doubt also very much contributed to the wear.
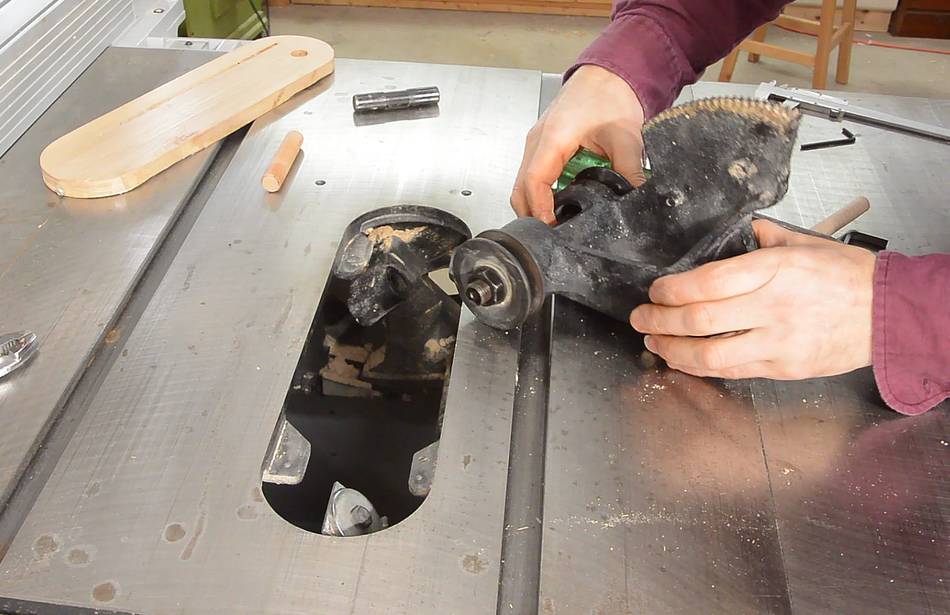
I wasn't looking forward to taking the saw apart to get at the bearings, but
then I noticed that there is a set screw that holds the pin for the height
adjustment mechanism in place. So I loosened that set screw...
 ...then tapped on the pin with a dowel and a mallet. I was able to move the
pin, driving it all the way out. Phew! This meant I could get the part
with the bearings out without having to take the whole saw apart!
...then tapped on the pin with a dowel and a mallet. I was able to move the
pin, driving it all the way out. Phew! This meant I could get the part
with the bearings out without having to take the whole saw apart!
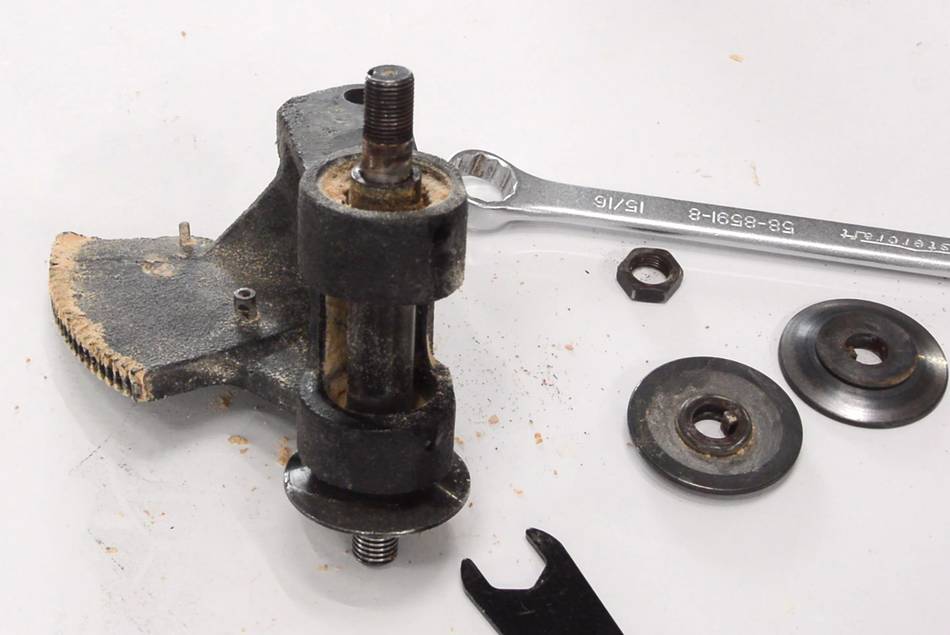
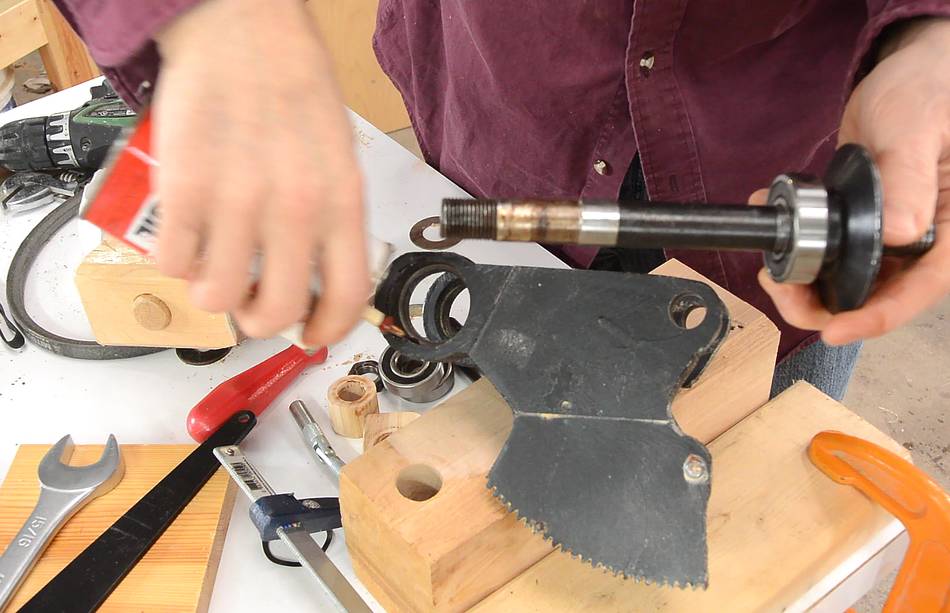
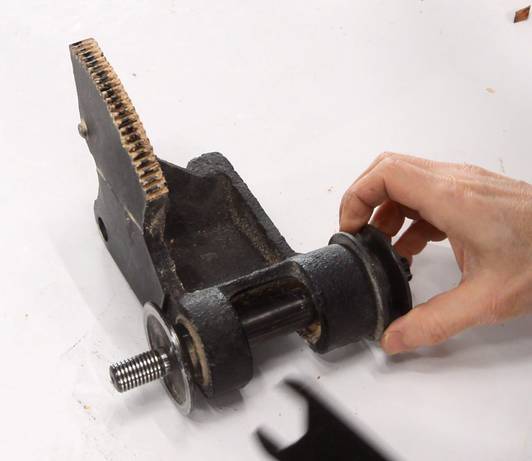 This is the part that came out. The arched "gear" part of it engages a worm
gear for the height adjustment, which pivots the whole part on the pin
that I had just extracted.
This is the part that came out. The arched "gear" part of it engages a worm
gear for the height adjustment, which pivots the whole part on the pin
that I had just extracted.
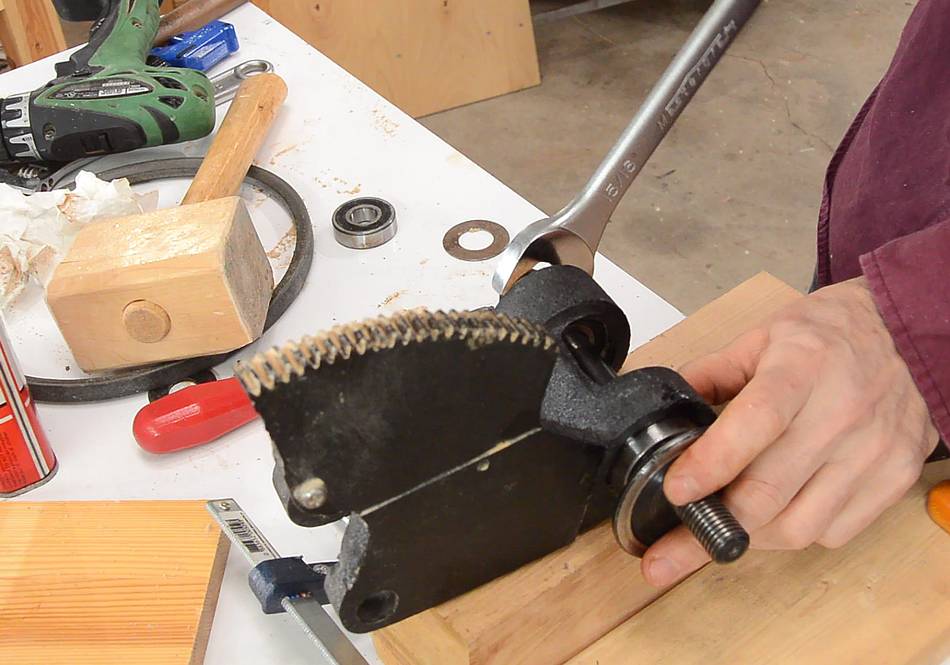
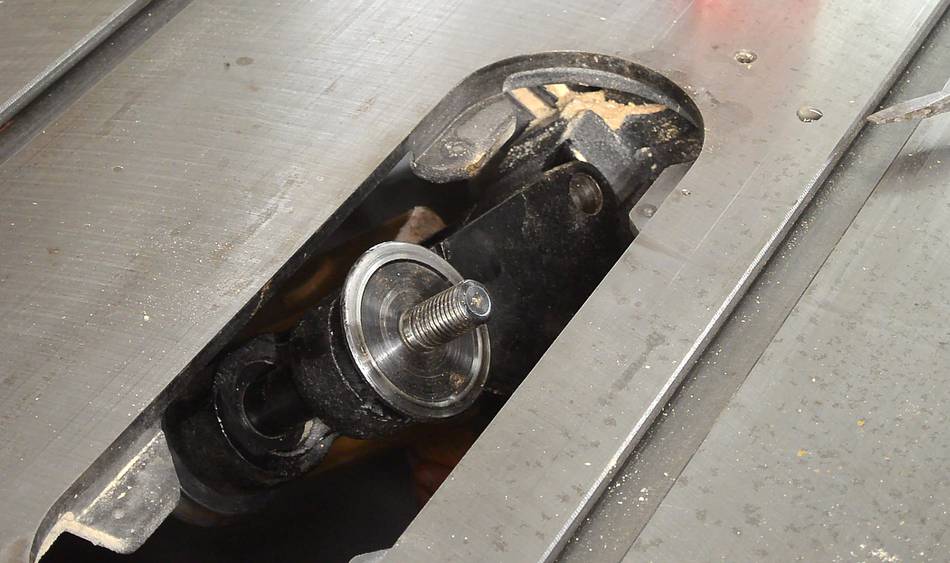
I took the nut off the end of it, which allowed the pulley part to come off in two halves.
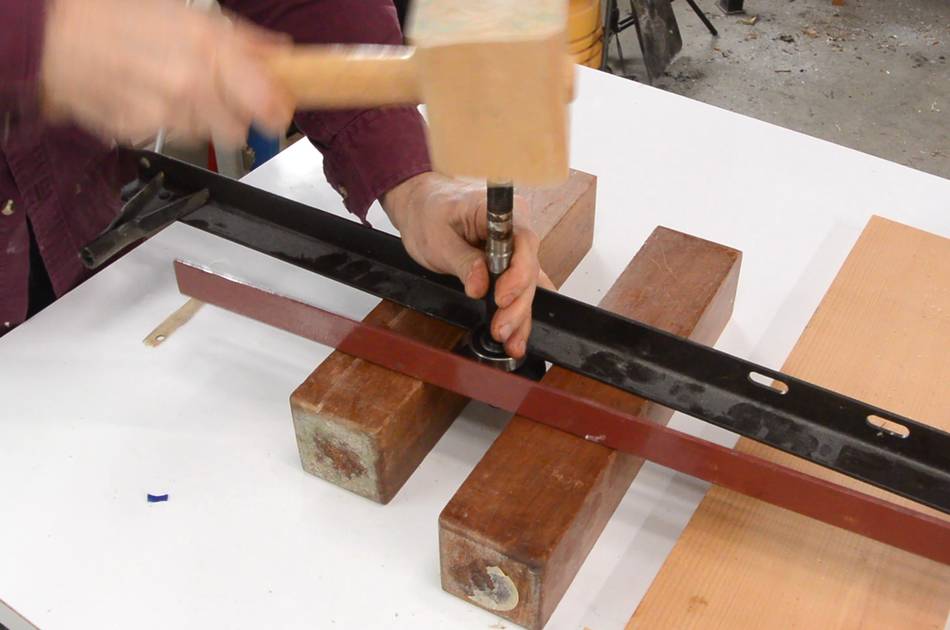
 Then tapping on the shaft with a wooden mallet to push the shaft and front
bearing out.
Then tapping on the shaft with a wooden mallet to push the shaft and front
bearing out.
 When I replaced the arbour on my old table saw
in 1996, the new arbour came with a new bearing already on it next to the
blade flange, because those bearings
are really stuck on the arbour with a press fit.
When I replaced the arbour on my old table saw
in 1996, the new arbour came with a new bearing already on it next to the
blade flange, because those bearings
are really stuck on the arbour with a press fit.
I wasn't very optimistic about getting the bearing off without a press, but I figured I should give it a try. No harm in damaging this bearing in the process because I need to replace it anyway.
It took a lot of hammering and some WD40, but I got it to move eventually, and managed to get it off.
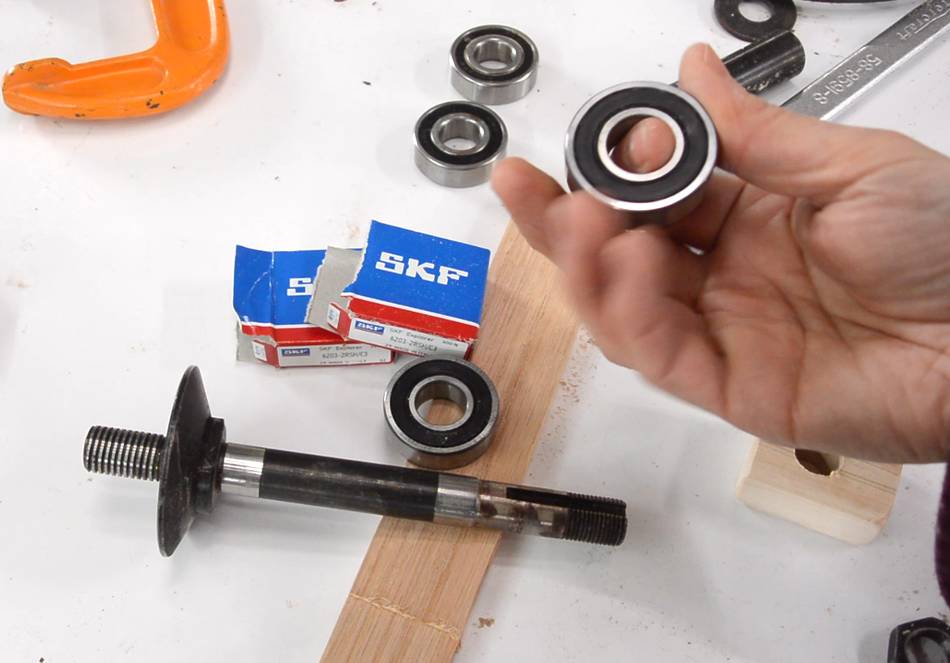 I then went to a local bearing store (Motion Canada) and bought replacement
bearings. They only cost about $6 each.
I then went to a local bearing store (Motion Canada) and bought replacement
bearings. They only cost about $6 each.
 I had to be more careful putting the bearings back on because this time I
really shouldn't damage them. A press would be the proper thing to use for
the job, but I don't have one.
I had to be more careful putting the bearings back on because this time I
really shouldn't damage them. A press would be the proper thing to use for
the job, but I don't have one.
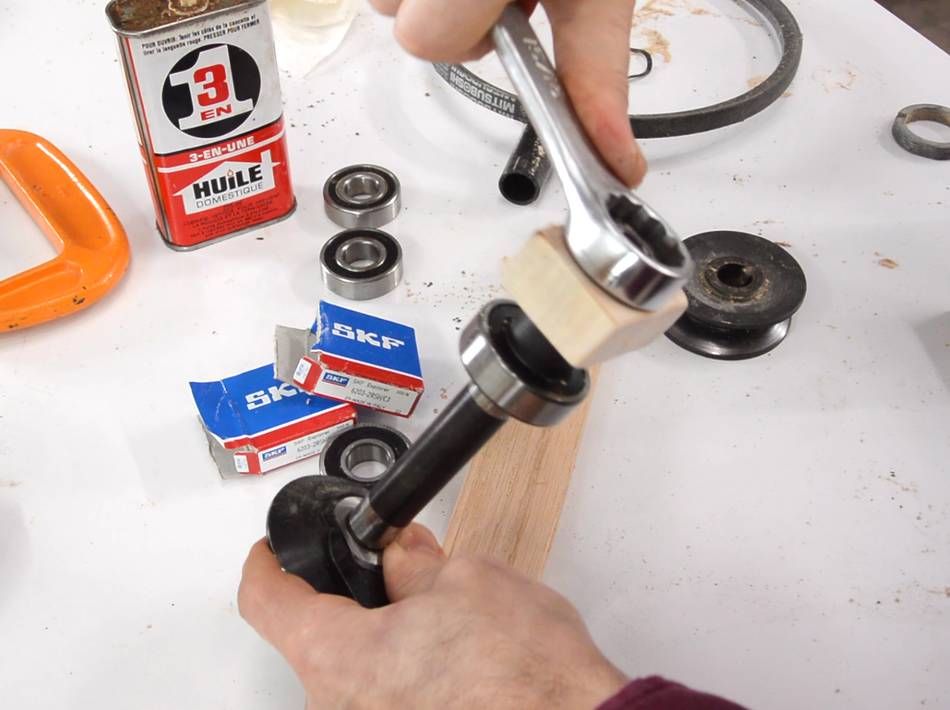
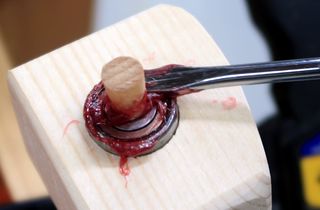
But I had the idea of using the nut on the end to press the bearing on, using increasingly bigger spacers to force the bearing down the shaft. There are really only two spots on the shaft where the bearing fits tight, which is where the bearings need to end up.
 I made a quick jig to hold the arbor and wrench, and
used some of the old bearings as spacers to help with the job.
I made a quick jig to hold the arbor and wrench, and
used some of the old bearings as spacers to help with the job.
 With the front bearing pressed in place, I put a bit of oil on
where it needs to go...
With the front bearing pressed in place, I put a bit of oil on
where it needs to go...
 ... then put one of the old bearings on the other side to help keep the shaft aligned
and pull against, and tightened the nut, with a spacer, to pull the shaft
and bearing on the flange end (the front end) into the metal bracket.
... then put one of the old bearings on the other side to help keep the shaft aligned
and pull against, and tightened the nut, with a spacer, to pull the shaft
and bearing on the flange end (the front end) into the metal bracket.
Unfortunately, by pressing against the old bearing, I managed to get that one pressed in on the other side, so I had to use a thin piece of wood and a mallet to push it back out, then put the new bearing there as well.
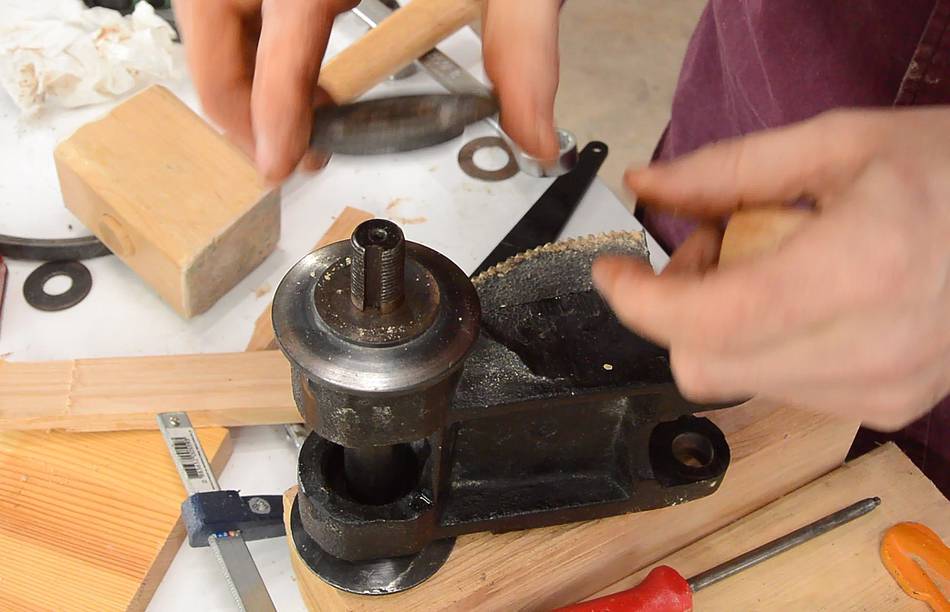 Then reassembling the pulley and putting the nut back on. I tightened the nut
very tightly, because, using the saw, about once every two years or so, I found
it got a bit noisy from that nut getting slightly loose.
Then reassembling the pulley and putting the nut back on. I tightened the nut
very tightly, because, using the saw, about once every two years or so, I found
it got a bit noisy from that nut getting slightly loose.
 Now ready to put the bracket back in the saw. This was made more difficult
by the fact that there is a spring washer that goes on one side of this bracket
which straddles the part that holds the pin. Taking it out, I wasn't even
aware of this spring washer, but I noticed it lying in the bottom of
the saw after taking it out and realized where it came from. Reviewing the
video, I could also hear that washer drop when I took the bracket out.
Now ready to put the bracket back in the saw. This was made more difficult
by the fact that there is a spring washer that goes on one side of this bracket
which straddles the part that holds the pin. Taking it out, I wasn't even
aware of this spring washer, but I noticed it lying in the bottom of
the saw after taking it out and realized where it came from. Reviewing the
video, I could also hear that washer drop when I took the bracket out.
I used a dowel the same sizes as the pin, but sanded to a point on one end to line the parts and washer up. Once things were approximately lined up, I hammered the dowel through the hole, and that lined it up enough that I could put the steel pin in place.
 I had to drive the steel pin back in from below because, even with the saw tilted
at 45°, there wasn't enough clearance to insert it from above. It was tight
working in that saw, and hard to get a view myself, let alone for a camera, so
I didn't get a good shot of that part.
I had to drive the steel pin back in from below because, even with the saw tilted
at 45°, there wasn't enough clearance to insert it from above. It was tight
working in that saw, and hard to get a view myself, let alone for a camera, so
I didn't get a good shot of that part.
After I had the pin in, I realized I had the arbour cranked higher than the upper stop (maximum depth of cut) stop, and now I could not lower it because of that stop. Oops! But the stop is actually a screw, which I was able to remove to lower the arbour. More on that stop.
But once I got the pin in, I put the belt back on and turned it on, and the saw, without a blade, ran nice and quiet! Hopefully those bearings will be good for another ten years. Or maybe some day I will finally get a proper cabinetmaker's saw before they wear out again.
 Re-greasing shielded bearings, no disassembly
 Fixing the wobble in a table saw arbor
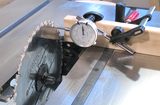 Table saw alignment
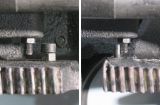 Increasing maximum
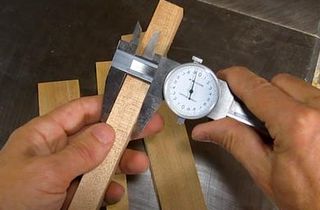 Making precise cuts
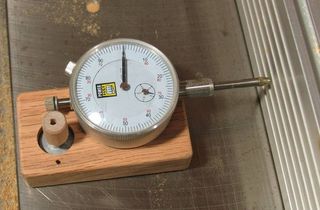 Table saw fence
 Contractor saw depth adjustment repair
 Oiling noisy shopvac bearings