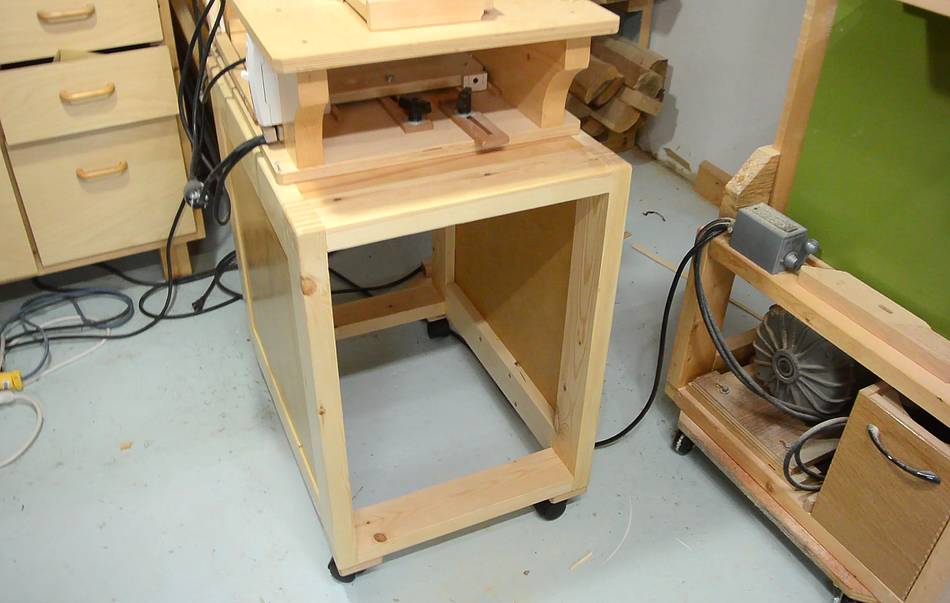
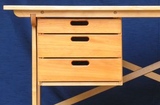
 A few weeks ago I made three tool stands
including this one. I quite liked the recessed handles I put on the
bandsaw drawers so I decided
to make the drawers for this one with recessed handles as well.
A few weeks ago I made three tool stands
including this one. I quite liked the recessed handles I put on the
bandsaw drawers so I decided
to make the drawers for this one with recessed handles as well.
A few weeks ago I made three tool stands
including this one. I quite liked the recessed handles I put on the
bandsaw drawers so I decided
to make the drawers for this one with recessed handles as well.
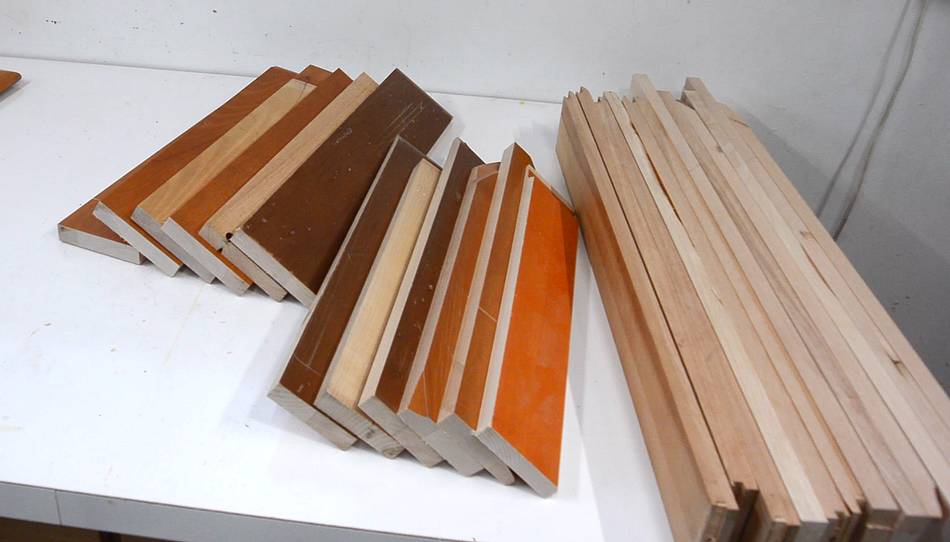
 I cut the sides for the drawers out of hardwood from mostly old table tops
from the garbage.
I cut the sides for the drawers out of hardwood from mostly old table tops
from the garbage.
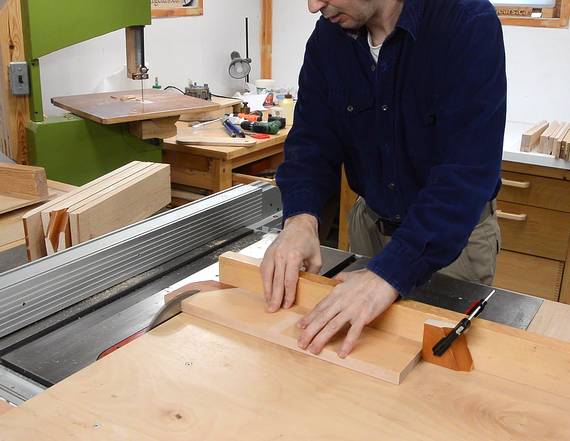
At right, cutting the pieces to length using a table saw sled.
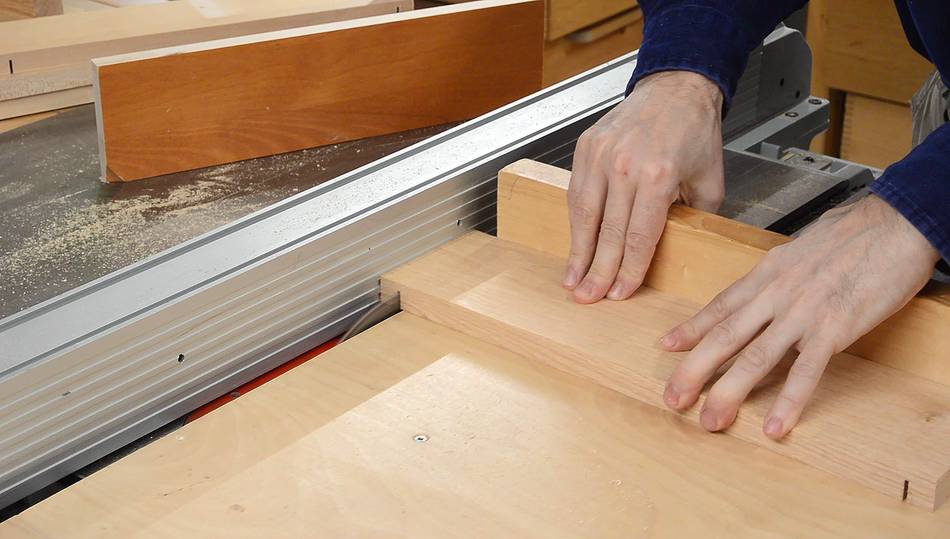
 I needed to cut some rabbets into the sides of the fronts of the
drawers. I made these with two cuts on the table saw.
I needed to cut some rabbets into the sides of the fronts of the
drawers. I made these with two cuts on the table saw.
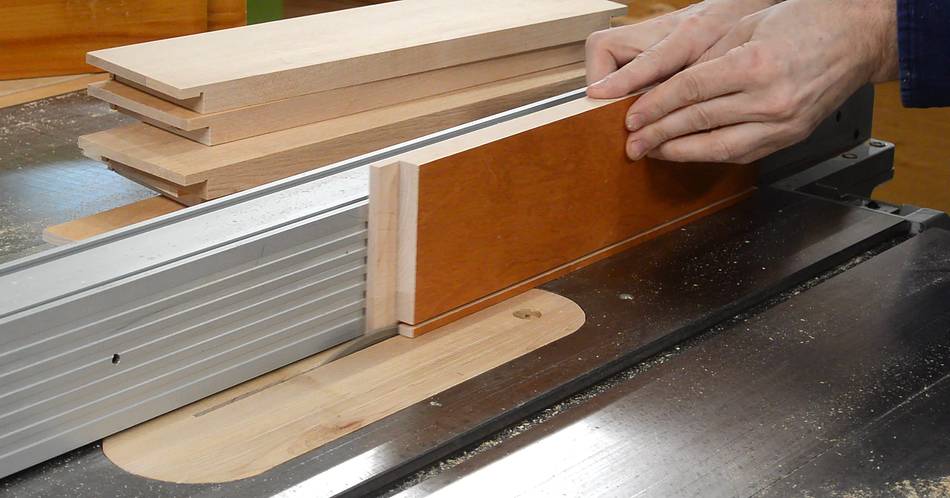
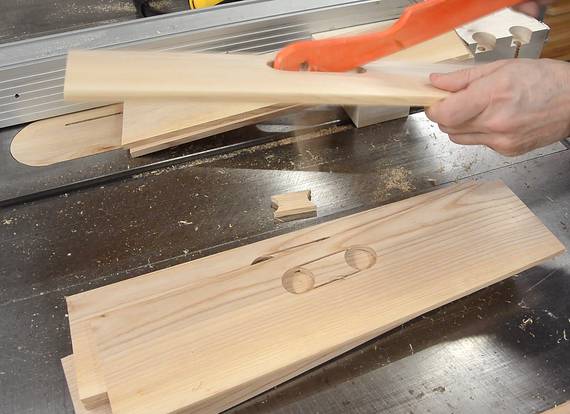
 A tenon jig would have been better for this cut, but
jigging it up on the table saw sled like this was quicker and
all the dust gets thrown into the saw.
A tenon jig would have been better for this cut, but
jigging it up on the table saw sled like this was quicker and
all the dust gets thrown into the saw.
 I used the same procedure to cut rabbets into the sides of the
drawer to fit the back piece.
I used the same procedure to cut rabbets into the sides of the
drawer to fit the back piece.
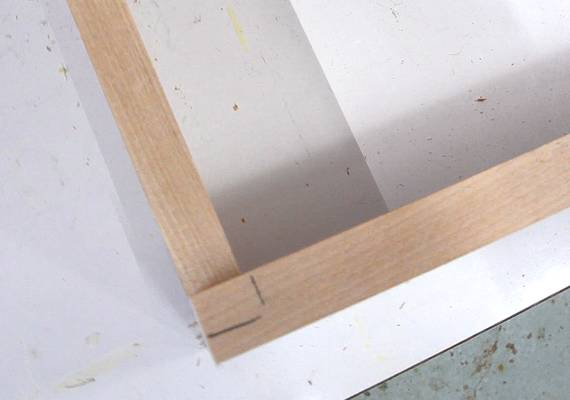
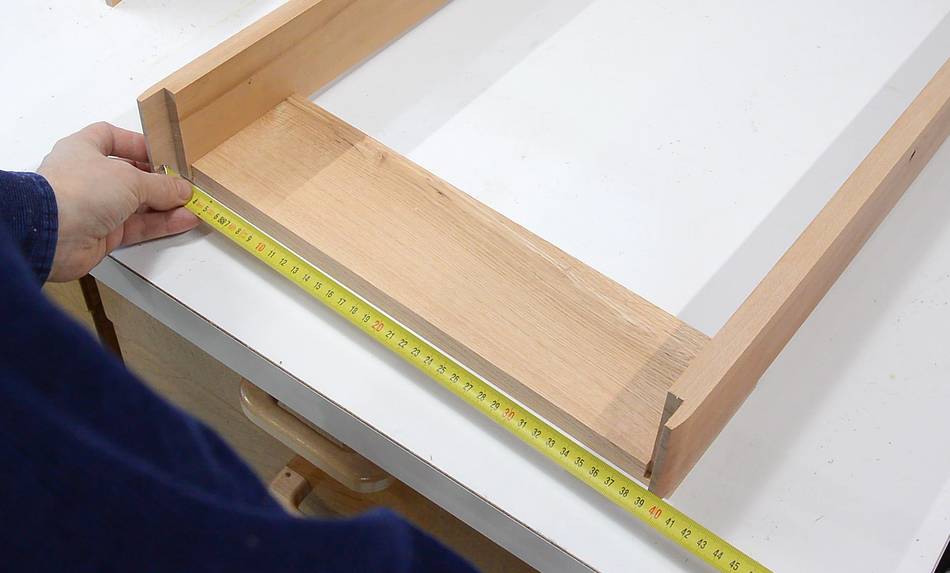
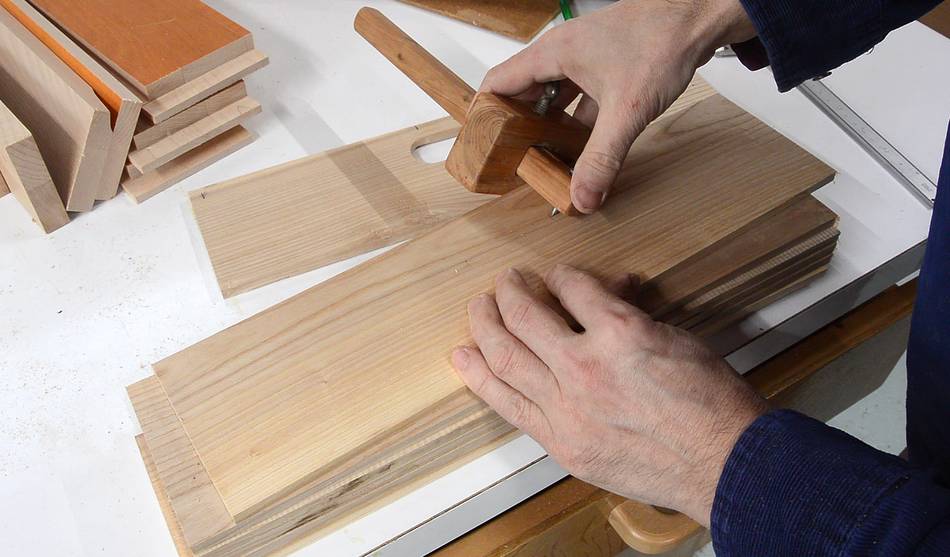
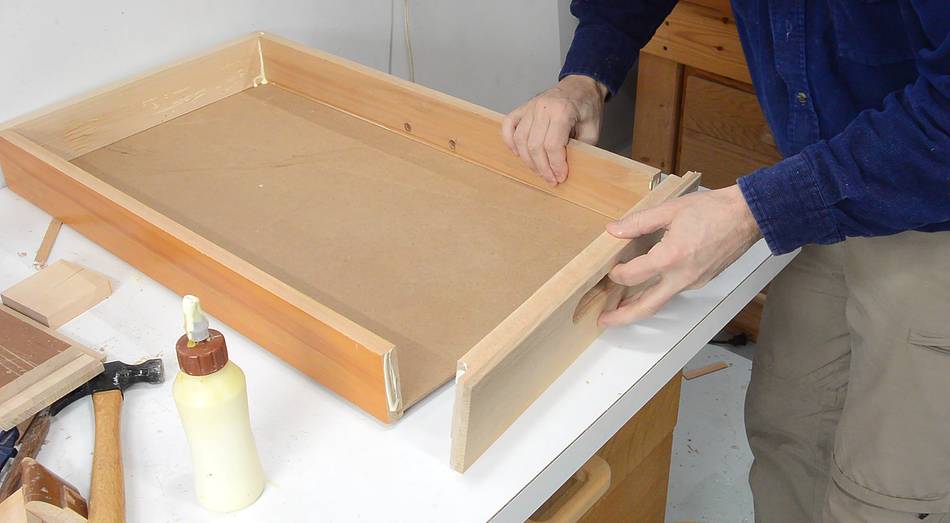
Here I have the sides placed into the rabbets of one of the front pieces lying flat on the workbench. I'm measuring the distance between the rabbets to figure out how long a piece I will need for the back of the drawer.
I like to work out dimensions like this rather than calculating to cut down on mistakes.
 I cut a rabbet into the bottom of the front of the drawer.
My plan was to glue the bottom flat onto the drawer instead of putting it along the groove, and this rabbet would allow the front of the drawer to cover the bottom. But I changed my mind later and put the bottom into a groove after all.
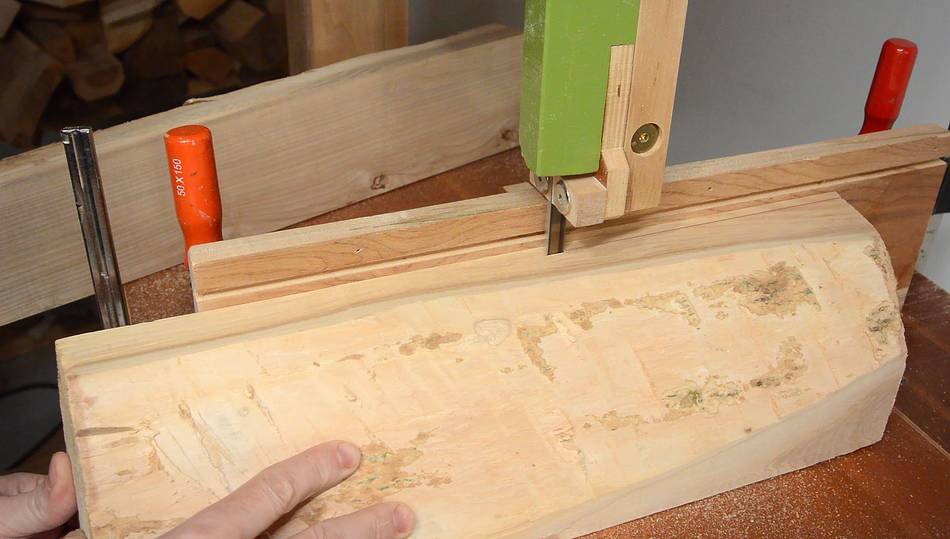 Next I cut some veneer for the drawer fronts from some ash firewood
on the bandsaw. I cut these about 8 mm thick.
Next I cut some veneer for the drawer fronts from some ash firewood
on the bandsaw. I cut these about 8 mm thick.
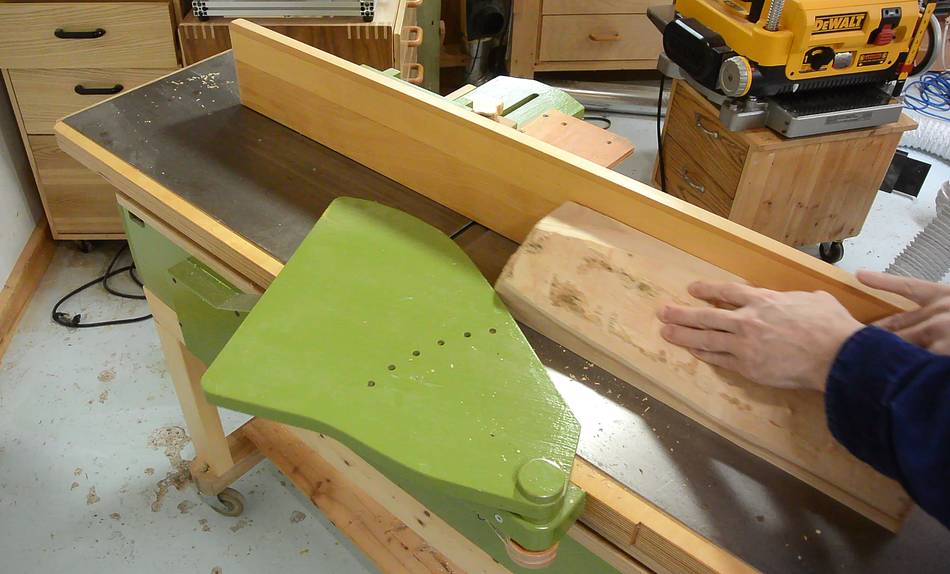 Between cuts, I passed the piece over the jointer. That way the pieces
that I cut had one surface already planed.
Between cuts, I passed the piece over the jointer. That way the pieces
that I cut had one surface already planed.
 Measuring where to drill the holes for the handle hole. I then
widened the divots from my marking gauge with an awl.
Measuring where to drill the holes for the handle hole. I then
widened the divots from my marking gauge with an awl.
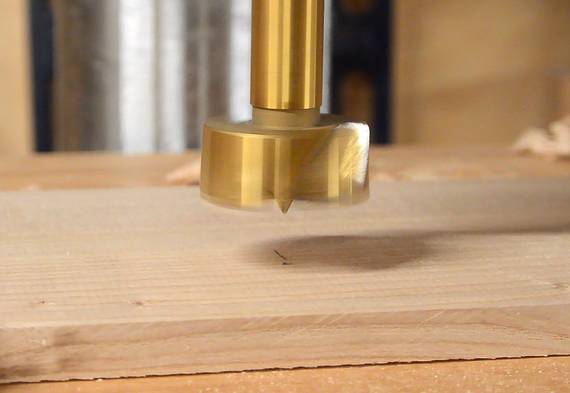 I located the drill precisely by making the point of the drill go
into the divot that I made in the wood.
I located the drill precisely by making the point of the drill go
into the divot that I made in the wood.

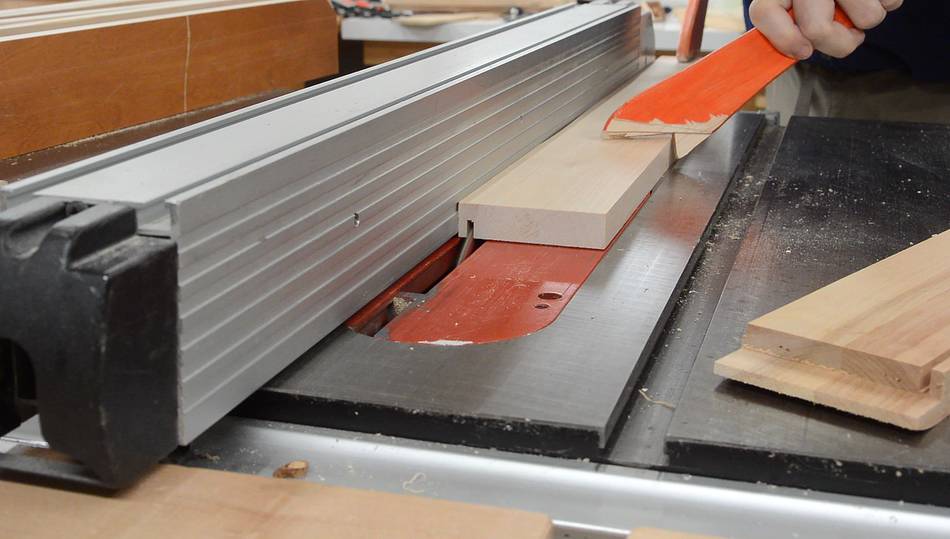
 I wanted a straight clean cut between the two holes, so I made
that cut with the table saw. I raised the table saw
blade only so far that it would cut between the two holes. This wasn't
deep enough to cut all the way through. I made plunge cuts by
lowering the workpiece onto the spinning blade from
both sides. That cut away enough that the waste between the two holes
could be knocked out easily.
I wanted a straight clean cut between the two holes, so I made
that cut with the table saw. I raised the table saw
blade only so far that it would cut between the two holes. This wasn't
deep enough to cut all the way through. I made plunge cuts by
lowering the workpiece onto the spinning blade from
both sides. That cut away enough that the waste between the two holes
could be knocked out easily.
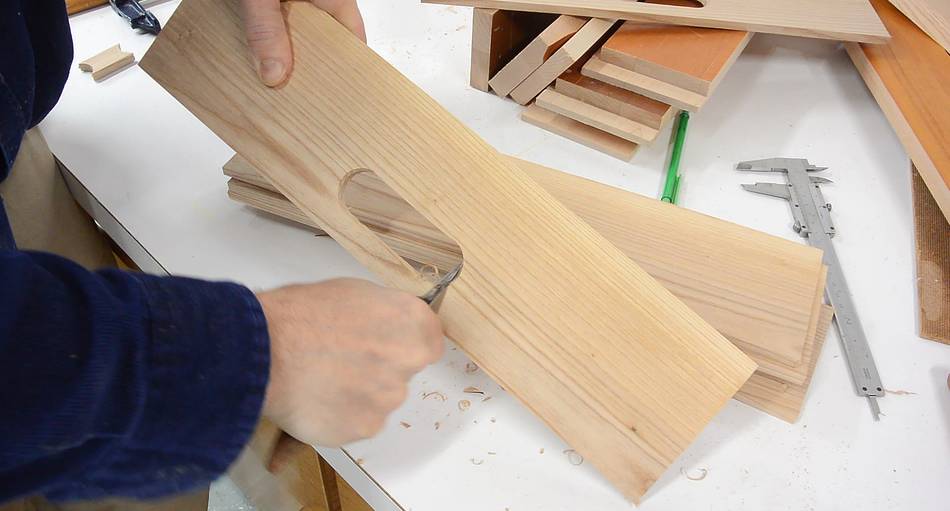 I chamfered the edges of the holes with a
chip carving knife
I chamfered the edges of the holes with a
chip carving knife
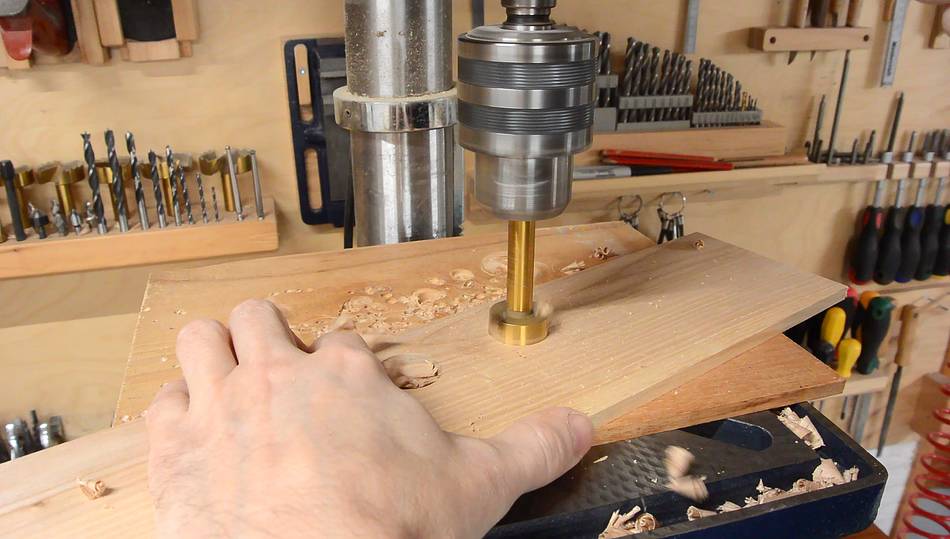
 The drawer front also needs a corresponding hole cut into it. I used one
of the drawer fronts as a template, using a Forstner bit to mark the center
of the hole locations in the drawer front.
The drawer front also needs a corresponding hole cut into it. I used one
of the drawer fronts as a template, using a Forstner bit to mark the center
of the hole locations in the drawer front.
Both pieces are pushed up against a block of wood on my workbench, but I have a spacer to offset the drawer front by a few millimeters because I want the holes in the drawer fronts to be slightly further up. That way the drawer veneer forms a sort of lip at the top edge to make it easier to pull the drawer.
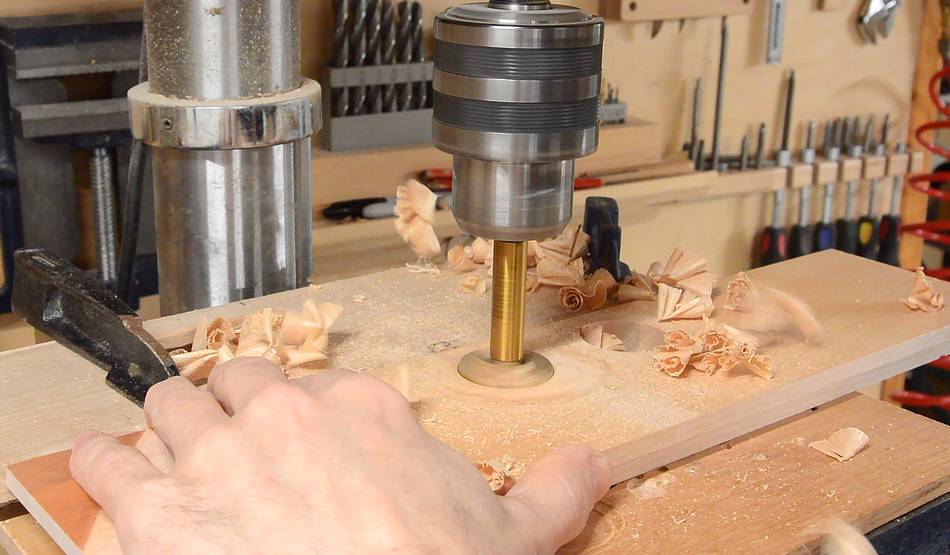
 I used a slightly larger drill on the drawer fronts to make the holes
behind the veneer a little larger.
I used a slightly larger drill on the drawer fronts to make the holes
behind the veneer a little larger.
Drilling all those holes sure made a mess around my drill press. I used my small dust collector to suck it up.
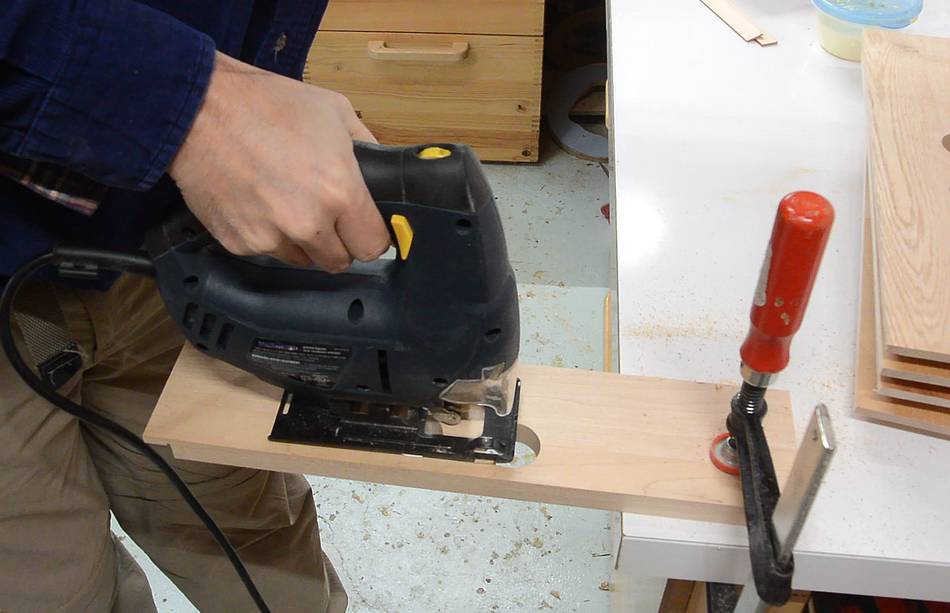 I used a jigsaw to join the two holes into one big hole.
The fronts are too thick for the table saw plunge technique to work effectively. But these edges won't be very visible, so it doesn't matter if the cut is not as straight.
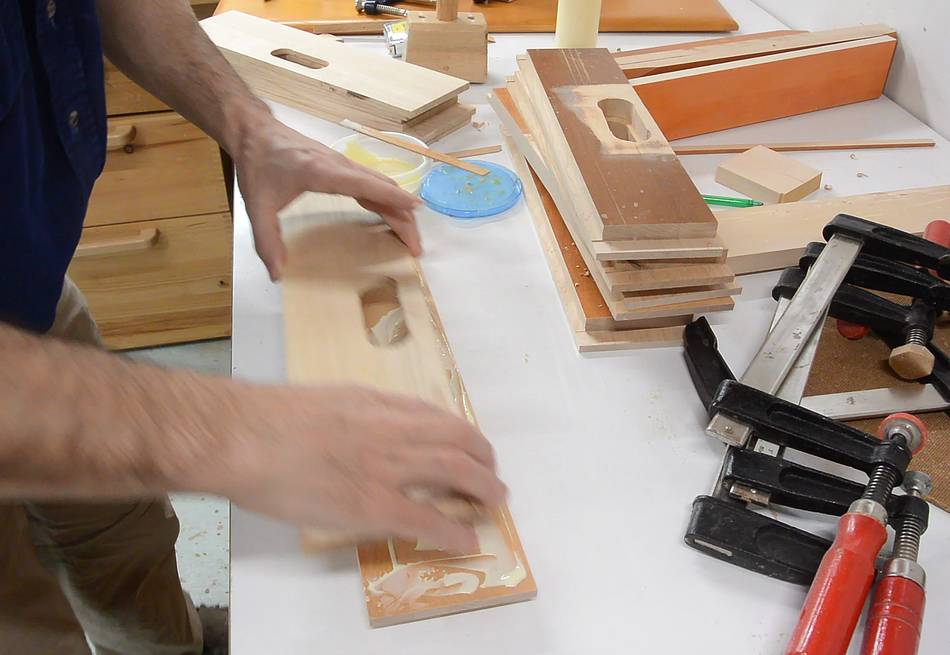
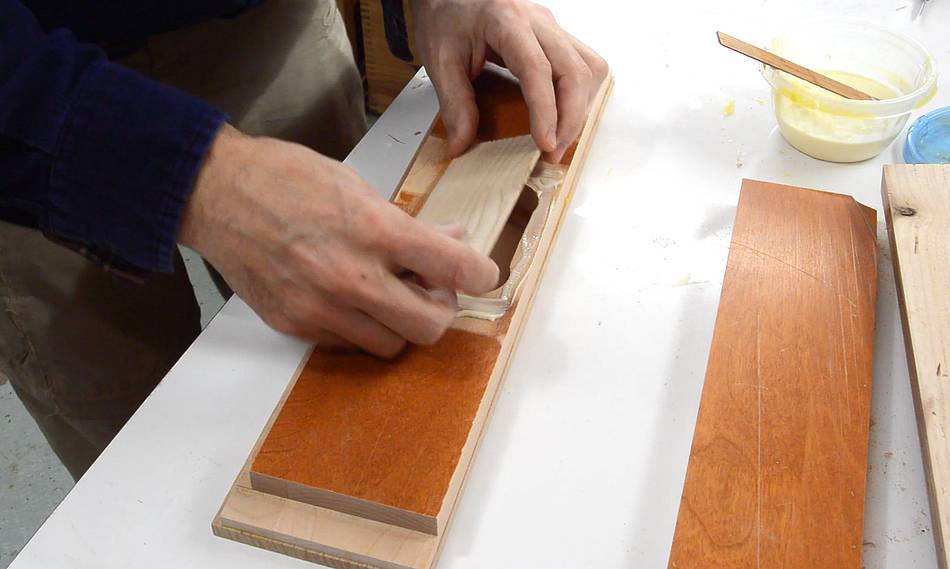
 Then gluing the drawer veneers onto the drawer fronts.
 I glued a thin piece of wood to the back of the hole in the front to keep
my fingers from hitting what's inside the drawer and to keep the insides
of the drawer from spilling out.
I glued a thin piece of wood to the back of the hole in the front to keep
my fingers from hitting what's inside the drawer and to keep the insides
of the drawer from spilling out.
It might have made more sense to make the holes in the drawer fronts not go all the way through. But that would have required routing out the holes, and I didn't want to have to make a router template for just six holes.
 Up this point, I was planning on gluing the bottoms flat onto the
bottoms of the drawer. But then I realized I hadn't subtracted
the thickness of the bottom and the runner from the height of the sides
of the drawers. So rather than waste wood by trimming the sides down,
I cut a groove for the bottom to fit into them instead.
Up this point, I was planning on gluing the bottoms flat onto the
bottoms of the drawer. But then I realized I hadn't subtracted
the thickness of the bottom and the runner from the height of the sides
of the drawers. So rather than waste wood by trimming the sides down,
I cut a groove for the bottom to fit into them instead.
 Assembling the bottom, sides, and back of one of the drawers
 Then gluing on the front.
 I put four brad nails in each corner to make up for the lack of fancy
joinery.
I put four brad nails in each corner to make up for the lack of fancy
joinery.
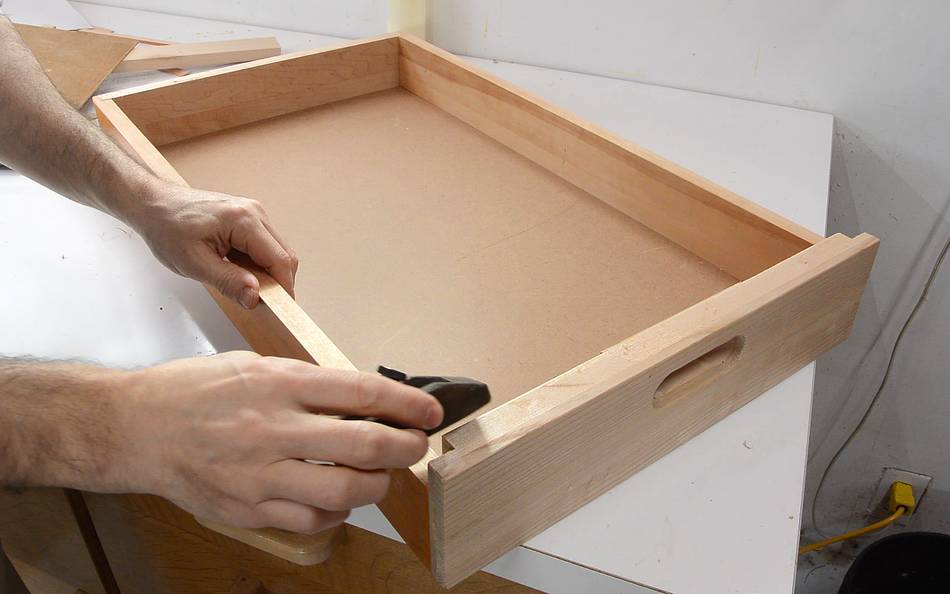 I used a small block plane to chamfer all the edges of the drawer and add a
slight round-over
to the front of the drawers.
I used a small block plane to chamfer all the edges of the drawer and add a
slight round-over
to the front of the drawers.
 I made some wooden runners to go inside the cabinet. These runners have
a side-guide glued onto them to keep the drawers straight. Otherwise they
would end up hitting one of the back posts of the cabinets as I pushed it in.
I made some wooden runners to go inside the cabinet. These runners have
a side-guide glued onto them to keep the drawers straight. Otherwise they
would end up hitting one of the back posts of the cabinets as I pushed it in.
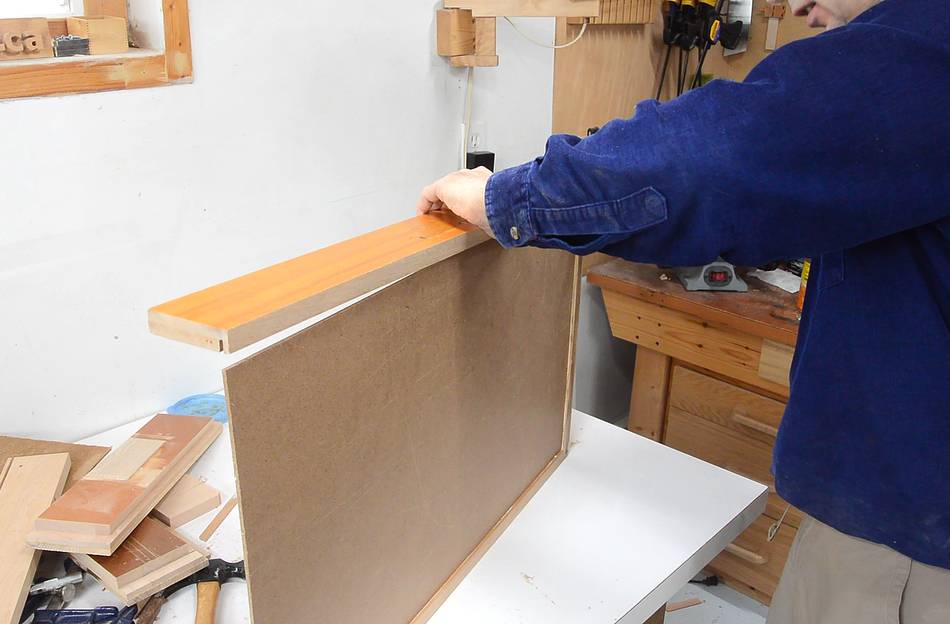
I made some spacer blocks about 1.5 mm taller than each drawer to space the runners evenly. I leaned the cabinet to one side a bit, then stacked the spacers and runners against the side to check the fit.
 I had just enough space for the top drawer after stacking the runners
and spacers so I didn't need to adjust the size of the spacers.
I had just enough space for the top drawer after stacking the runners
and spacers so I didn't need to adjust the size of the spacers.
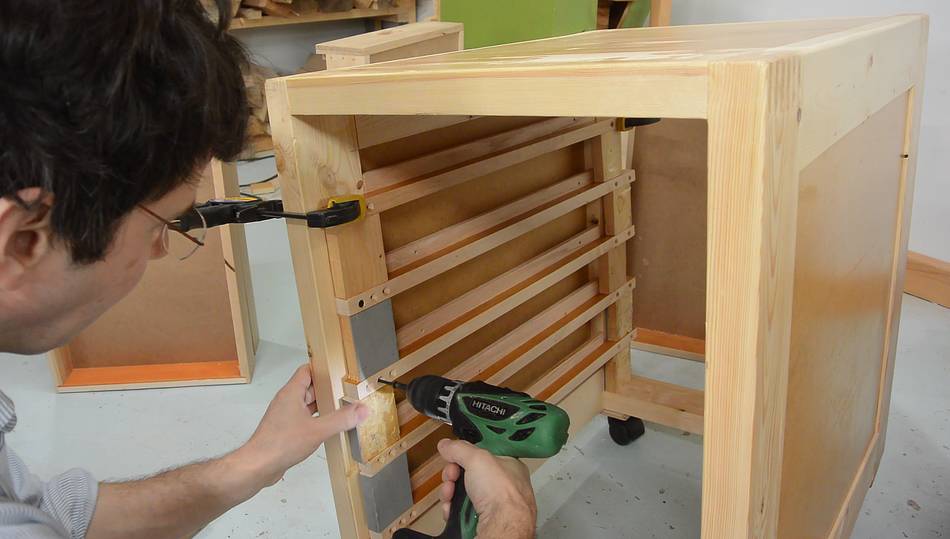
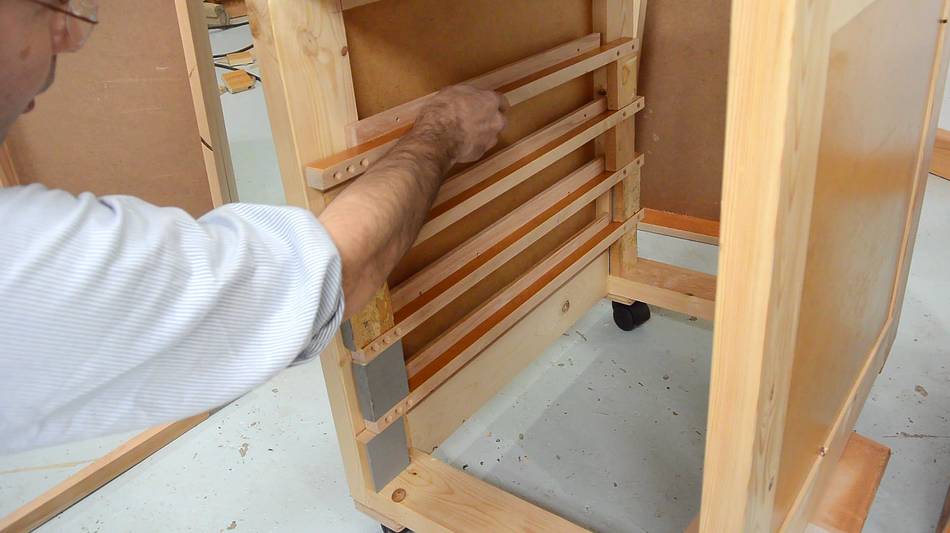
 I clamped the top runner in place, then screwed on all the runners.
This worked out well. Often, while screwing in something like a runner, it moves to the side a little bit, but the spacers and clamp on top prevented that.
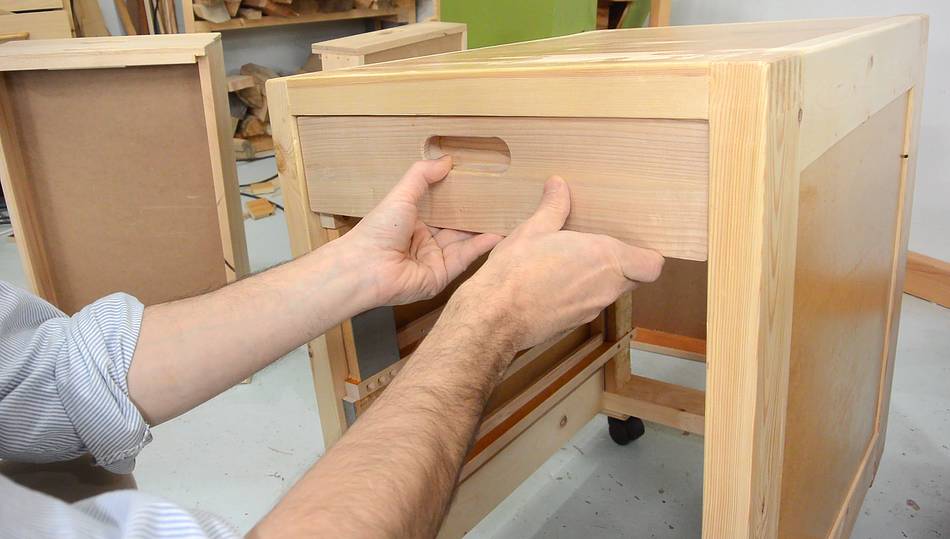
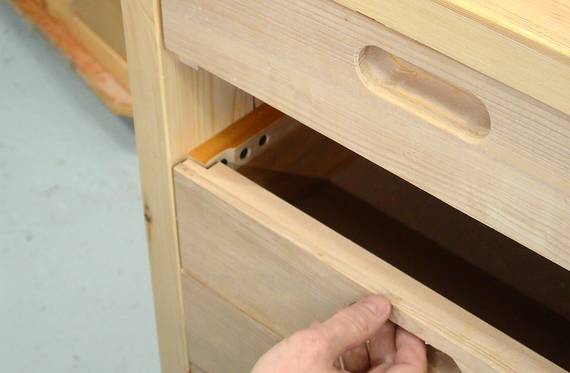
Fitting the drawers, I found the runners were just a bit wider than the cut-out on the fronts would allow, so I had to taper the ends of the runners down a bit. I should have tapered them a little bit less so they would force the drawer front on center when closed, but I thought of that too late.
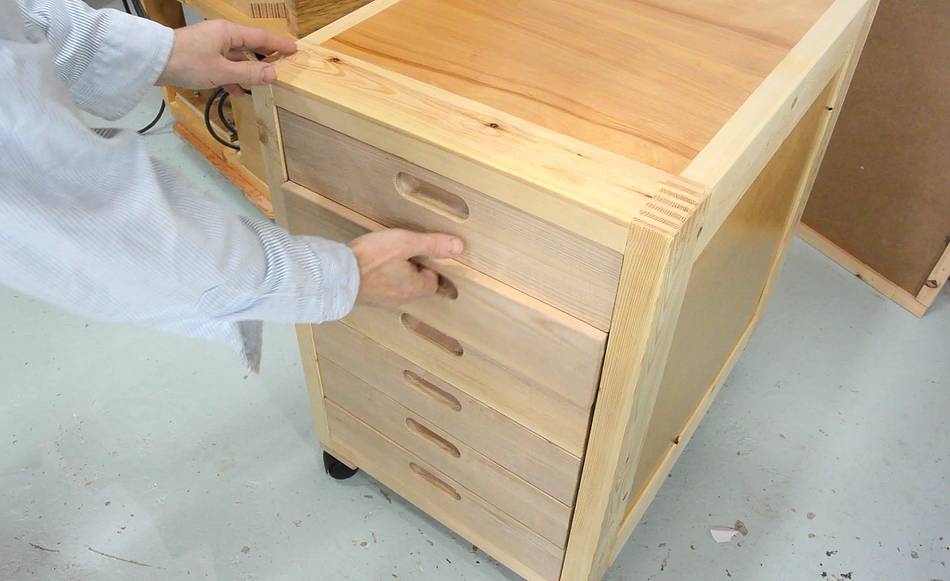 All six drawers in. The spaces between the drawers are surprisingly consistent,
even if I switch the order of the drawers. So I didn't need to number the
drawers or trim them to make the gaps even.
All six drawers in. The spaces between the drawers are surprisingly consistent,
even if I switch the order of the drawers. So I didn't need to number the
drawers or trim them to make the gaps even.
 As usual, I made the drawer as large as I possibly could for the size of the
cabinet. But I forgot to account for the thickness of the 8 mm thick veneer
layer on the front. Which means, with the drawers flush to the front, they
stick out that much on the back. Oops!
As usual, I made the drawer as large as I possibly could for the size of the
cabinet. But I forgot to account for the thickness of the 8 mm thick veneer
layer on the front. Which means, with the drawers flush to the front, they
stick out that much on the back. Oops!
So I added a spacer to the back panel to make room for that.
 Drawers with holes
in the front (from 1990)
Drawers with holes
in the front (from 1990)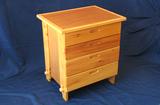 Knock-down dresser (from 1991)
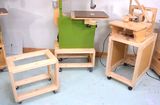 More tool stands (2017)
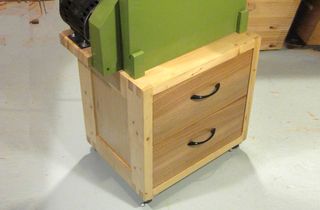 Mobile bandsaw stand (2010)
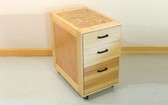 First mobile tool stand (2009)
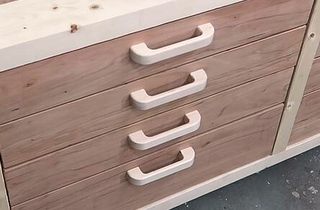 Making drawer pulls (2019)
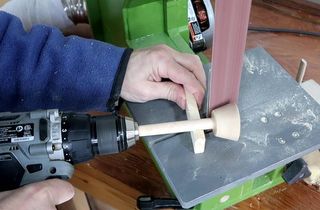 Round drawer knobs, no lathe (2020)
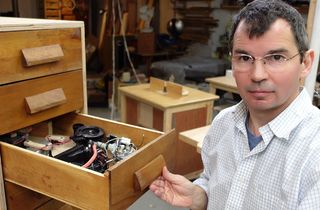 Cabinet from Junky drawers for storing junk (video, 2023)
 Bandsaw stand drawers
 Routing recessed drawer knobs
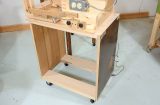 Another mobile tool stand build
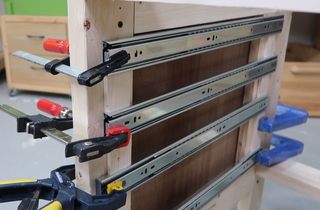 Using spacers to lay out drawer slides