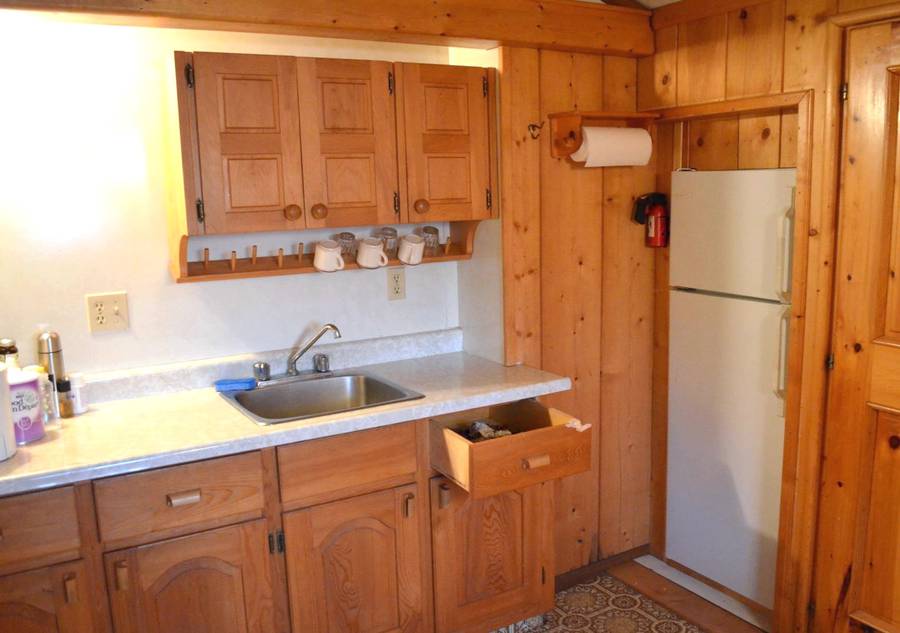
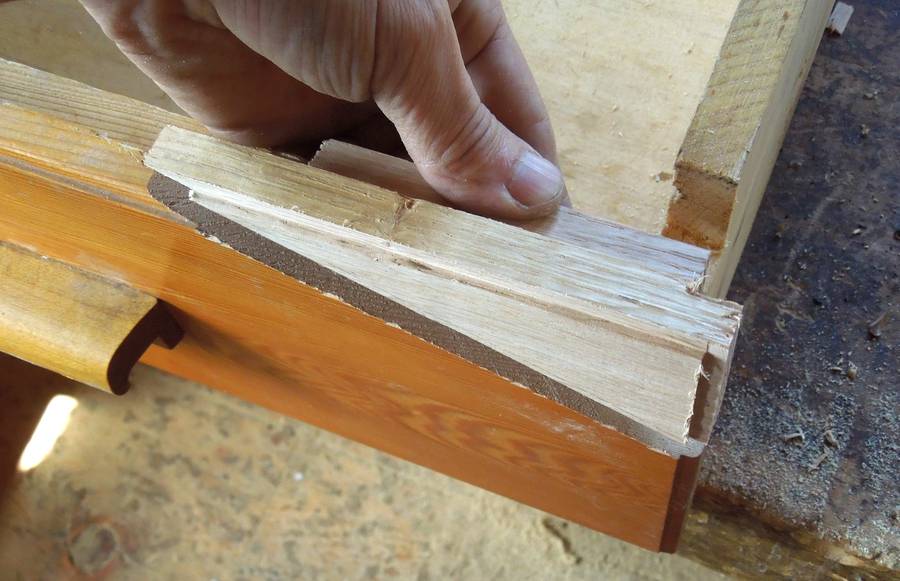
Anybody who lives where there are trees probably knows how destructive
squirrels can be. At my parent's "Amogla camp",
a squirrel somehow got into a drawer in one of the cottages, and it
decided to get back out by chewing its way through the front of the drawer.
A whole corner of the drawer was chewed off!
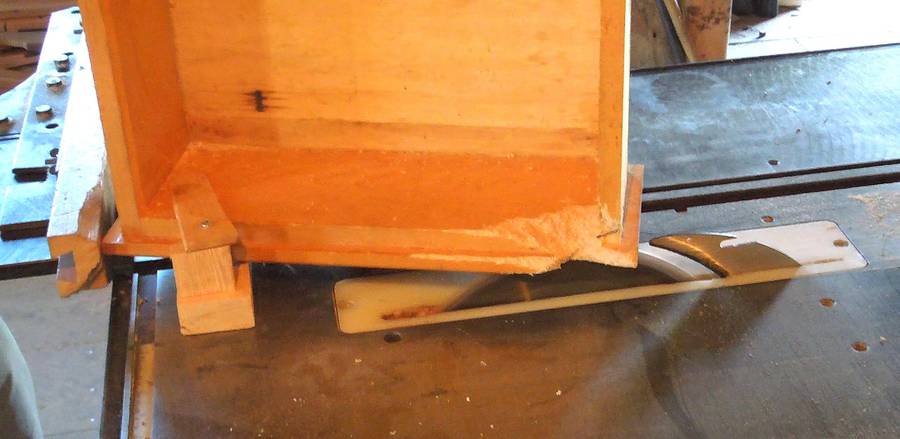
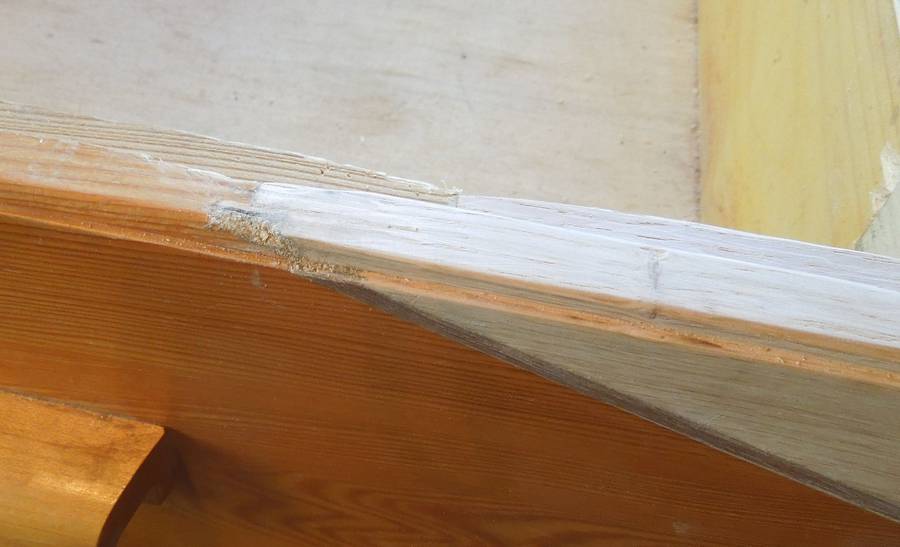
To fix it, I figured it was best to replace the corner by making a
diagonal cut so I'd have a straight and flat surface to join
a new piece onto.
Because it's far from my shop, I used my
dad's workshop.
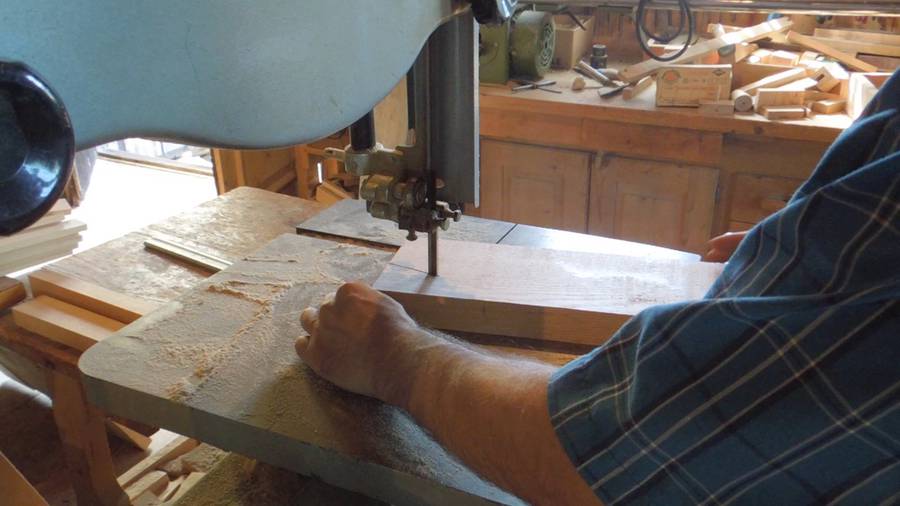
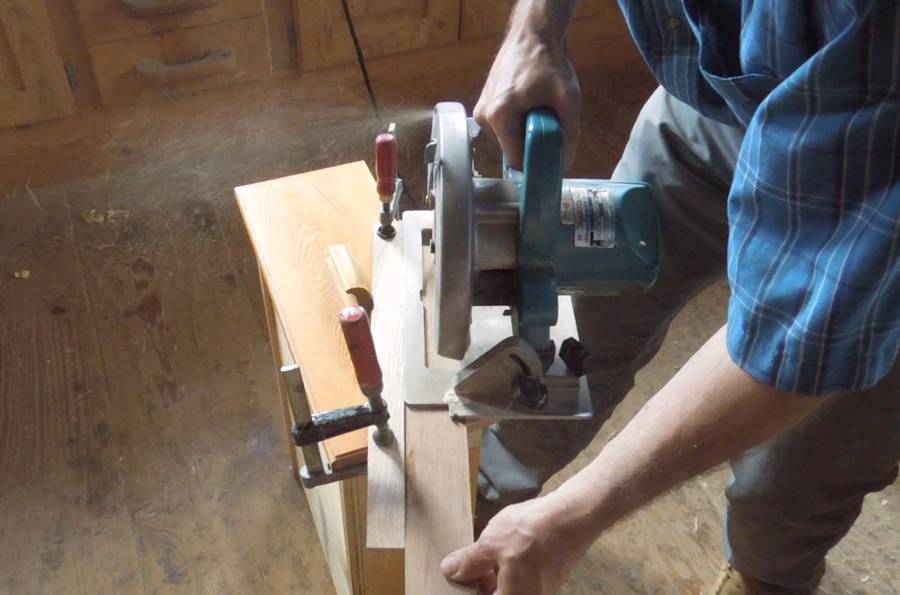
I jigged up the drawer on the sled of his
Felder table saw
to make the diagonal cut. The sliding table came in handy for that.
Initially, I only cut part way (as shown in the photo),
but later cut much deeper to cut away the entire front and
some of the side of the drawer as well.
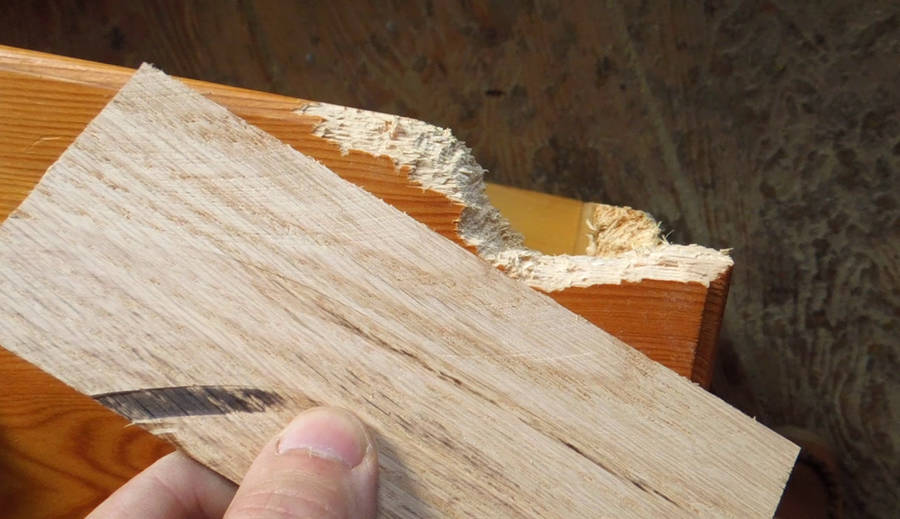
Here's a piece of oak of about the right thickness to make the new corner from.
The drawer, and the whole kitchen fronts were made from Hemlock.
I couldn't find any of that wood in my dad's shop.
Hemlock isn't normally used for furniture. It splinters easily,
so it's difficult to work with.
I use a piece of oak for the repair. Over time, that should darken to a similar
colour as the existing drawer.
Cutting a triangular piece off the wood on my dad's 18-inch bandsaw.
That bandsaw is way out of adjustment, and the blade is quite wobbly.
I always intended to give it tune-up at some point, but in the
meantime, I started building my own bandsaws.
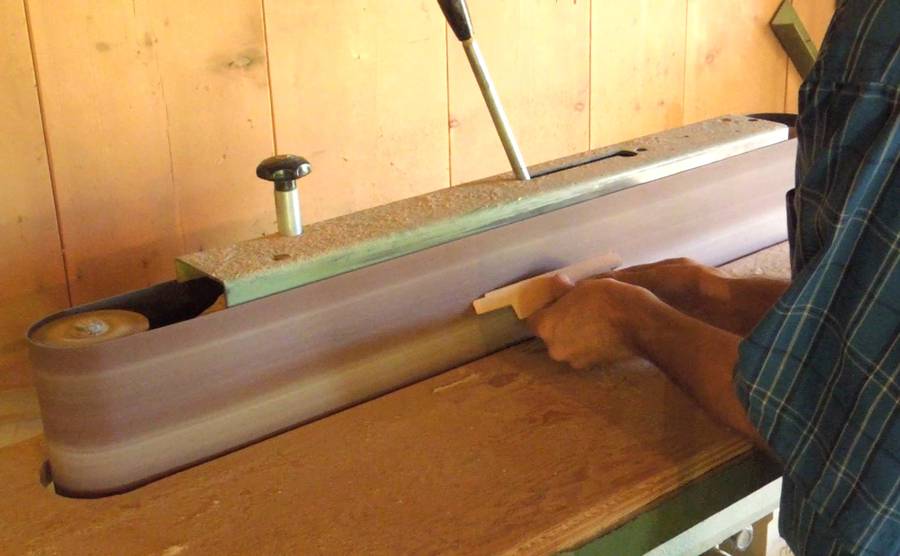
Smoothing the bandsaw cut on the belt sander. In my shop, I would have
used the jointer, but my dad's
12-inch jointer
has a 5-inch (125 mm) diameter cutter head, with a much larger gap
between the tables, making it unsafe for small workpieces.
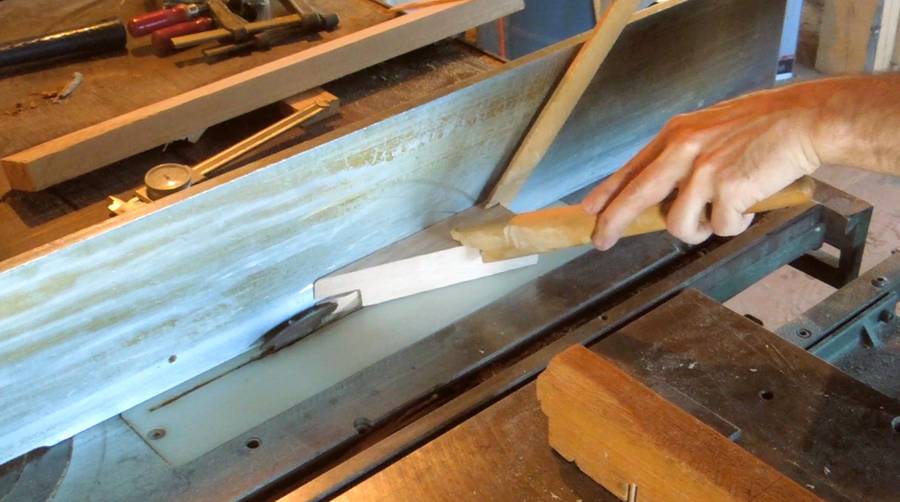
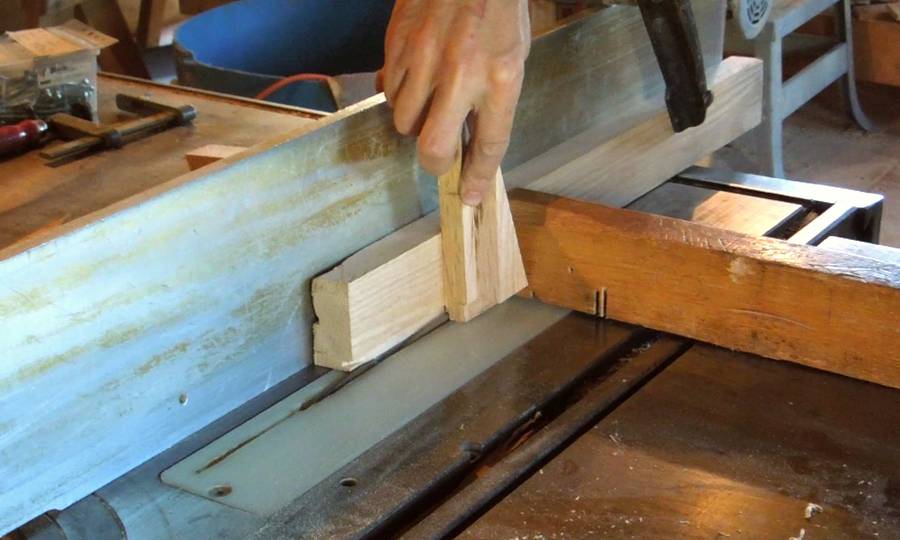
Next adding the rabbet around the edges by making two cuts from each side
on the table saw.
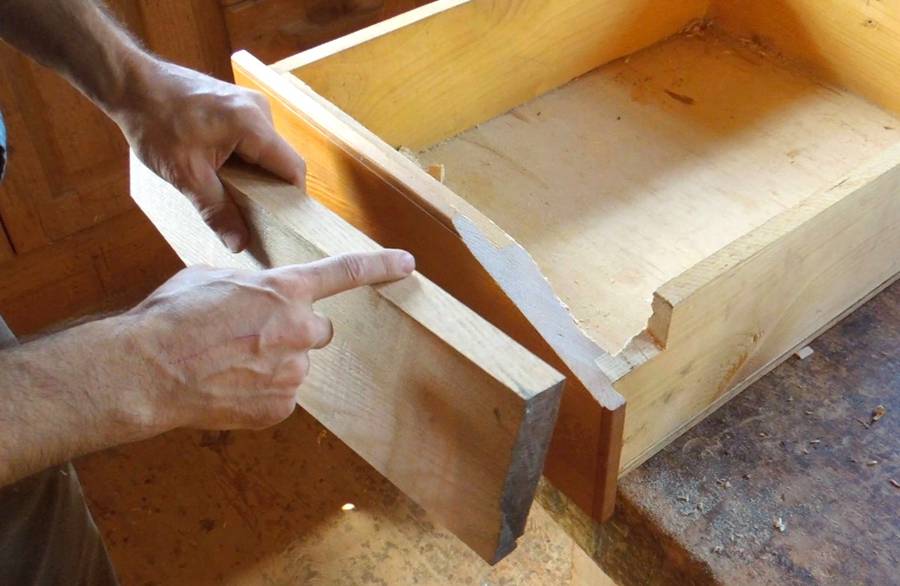
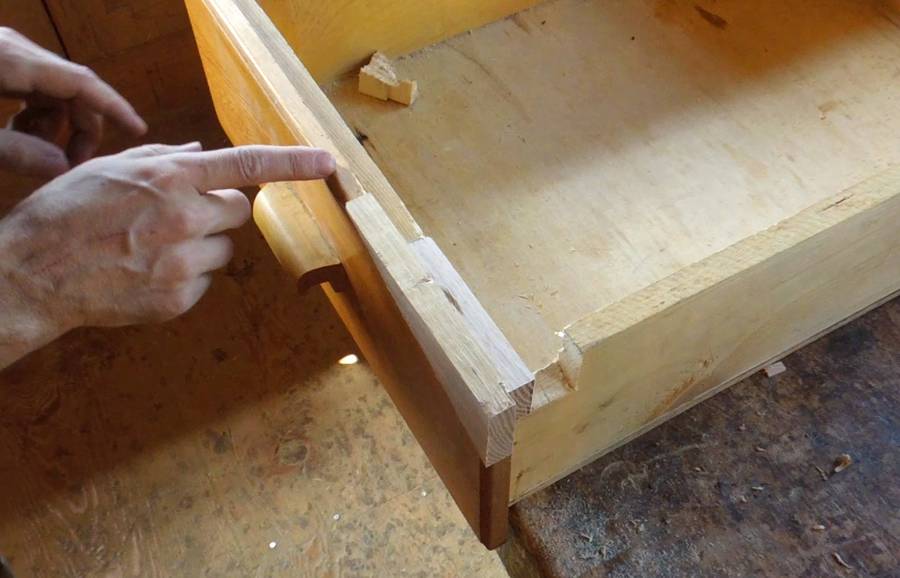
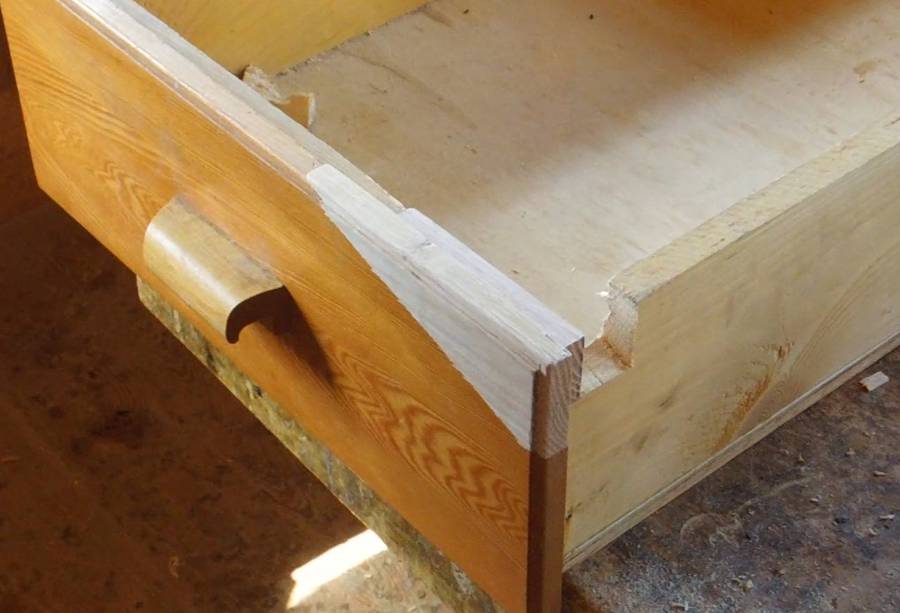
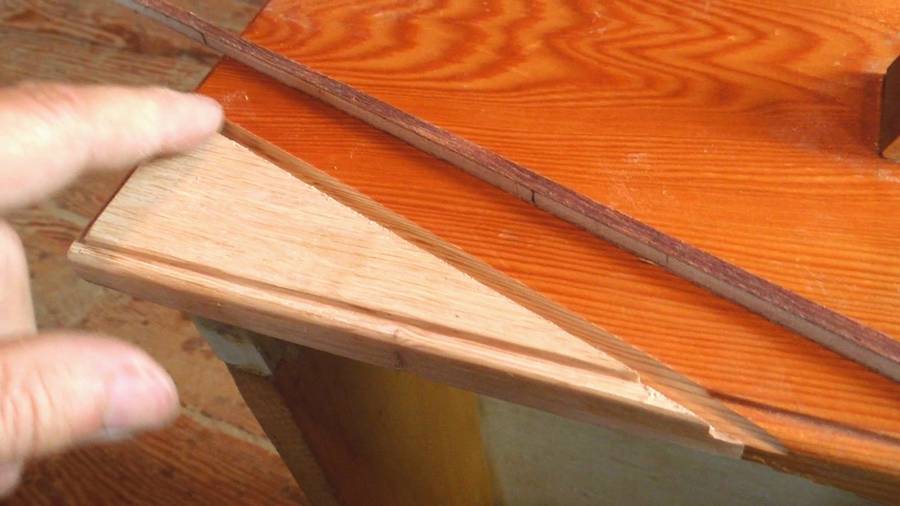
Checking the fit. Overall dimensions are ok. But the drawer has a slight
profile cut into the edges of it.
I didn't feel like trying to find a suitable router or shaper bit
to reproduce this profile. Instead, I cut a rectangular approximation
of the profile on the table saw.
Another check. Looks about right.
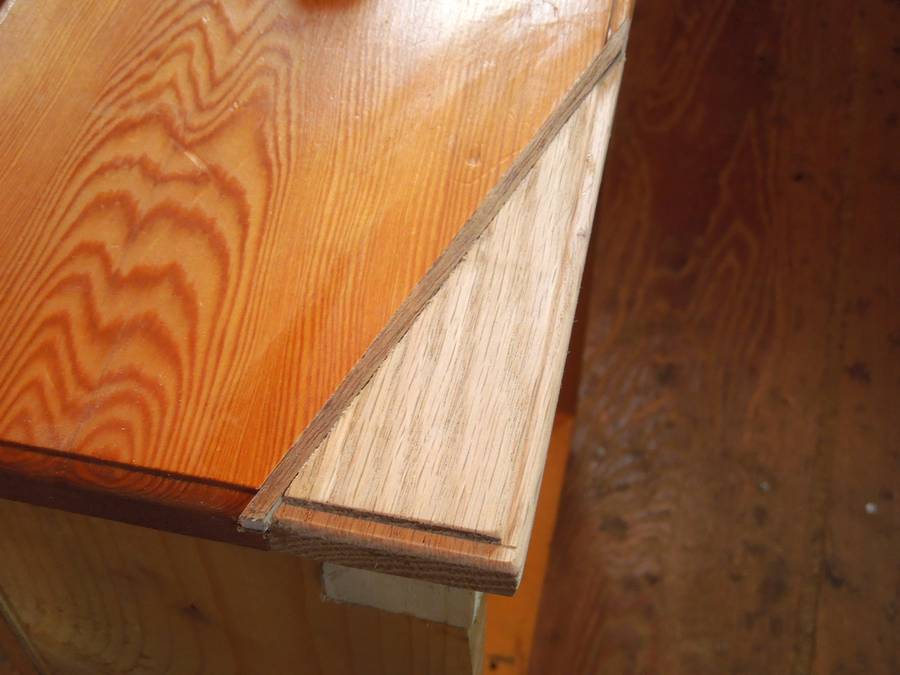
The outside corner needs a round-over applied to it. This being just a small
workpiece, I approximated that using the belt sander.
I really like this style of belt sander. With the belt oriented vertically,
it's much easier to see work in progress than on my belt sander.
Done shaping the piece. Everything lines up.
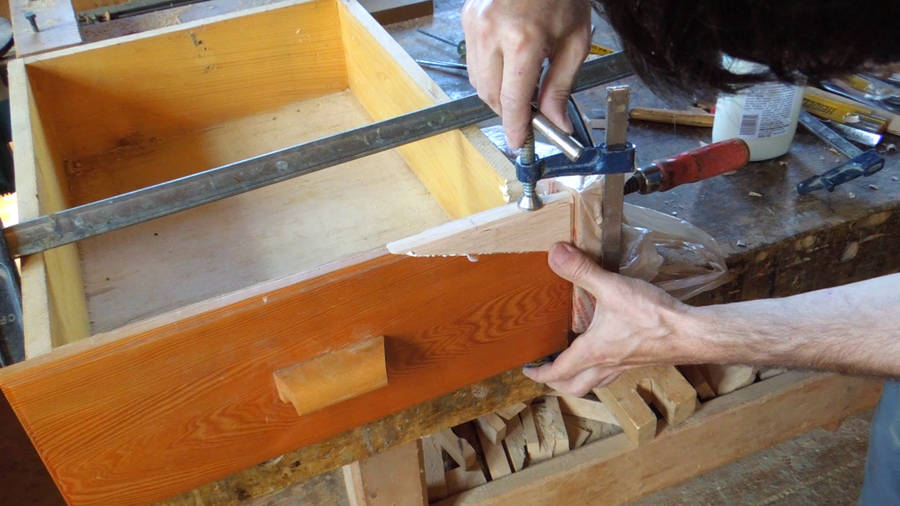
Gluing it on is a bit tricky. If I just clamped it on, it would
want to slide off to the side. So I clamped a piece of wood to the
right side of the drawer to act as a stop. I covered that piece
with a plastic bag so it wouldn't get glued on from glue squeeze-out.
I made another small piece of wood to fill the gap behind the drawer front.
I wasn't totally happy with how it looked after the glue had dried.
There was a bit of chipout from when I made the initial cut to the drawer,
and the glue joint had some gaps to it.
So I decided to make the drawer repair look like an intentional accent by
inlaying a darker piece of wood where the two meet.
So I used a circular saw to make a cut between the two pieces. I couldn't
adjust the circular saw for a shallow enough cut, so I put a piece of plywood
between the saw and the drawer front. This also helped to protect the
drawer front and helped prevent chipout.
The kerf from that cut ended up clean but surprisingly wide - about 5 millimeters.
Inspecting the blade in the saw, I realized it had quite a wobble to it, with a
few teeth missing too. In recent years my dad has not been maintaining his shop
and tools to the standards that he used to.
I wanted to fill that kerf with a contrasting piece of wood.
But my dad only worked with solid wood that grew in the area, so I couldn't find anything
darker than the red oak I already used, except for some scrap of underlay plywood,
which had mahogany on both sides. So I used that.
Gluing in the plywood strip...
Now just need to trim the ends to match the profile. This didn't work out
perfectly well with the plywood. I hadn't fully thought this part through.
In retrospect, I should have contrasted on the light side by using some
hard maple or birch, which my dad does have in his shop. A thinner kerf
with a less wobbly circular saw blade would also have been better.
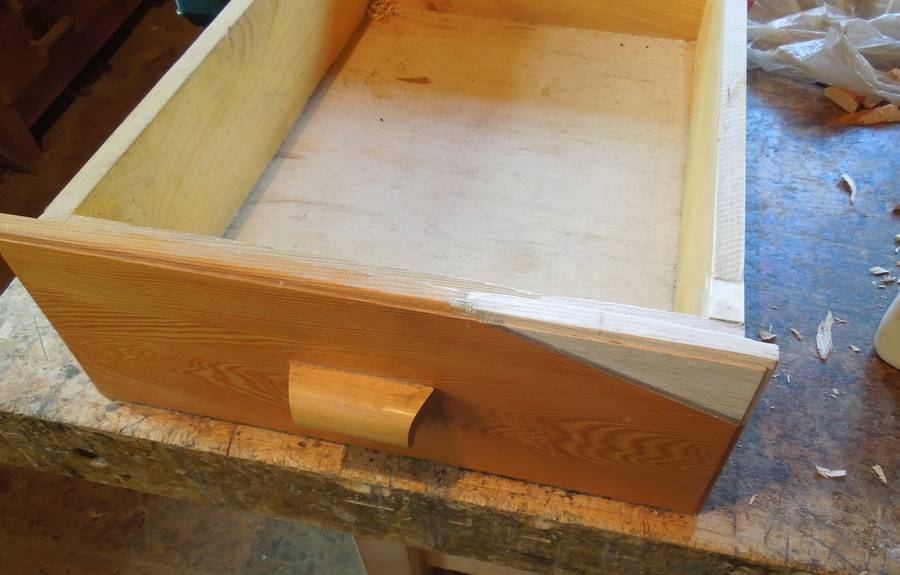
Finished repair.
The joint looks a bit messy at the ends. I mixed some glue and sawdust to
make a sort of wood filler to fill the chipout from trying to carve the plywood.
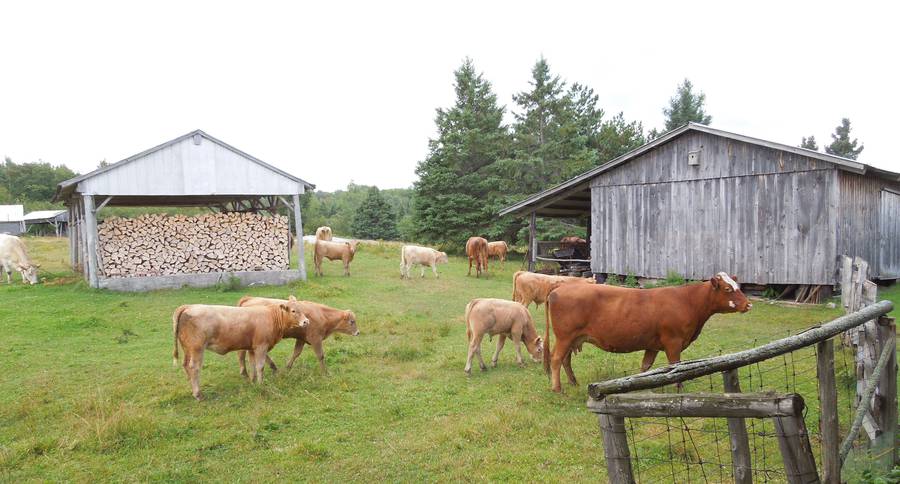
As I was doing the work, the neighbour's cows came around. My parents let them
graze the fields for free. That keeps the fields from overgrowing. I had the shop
back door open the whole time to get more light for taking pictures and video,
but fortunately, none of the cows made much noise.
 Anybody who lives where there are trees probably knows how destructive
squirrels can be. At my parent's "Amogla camp",
a squirrel somehow got into a drawer in one of the cottages, and it
decided to get back out by chewing its way through the front of the drawer.
Anybody who lives where there are trees probably knows how destructive
squirrels can be. At my parent's "Amogla camp",
a squirrel somehow got into a drawer in one of the cottages, and it
decided to get back out by chewing its way through the front of the drawer.


 Re-facing drawers
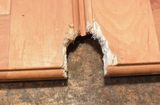 Fixing squirrel damaged cabinet doors
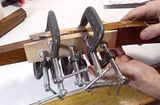 Scarf splice joint to
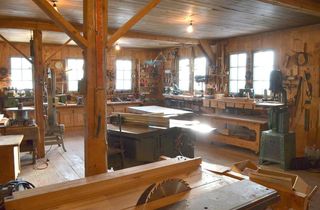 Dad's workshop
 Box joined drawers
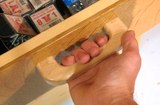 Making drawer handles
 Under bed
 Repairing chairs
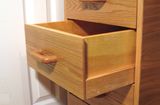

 Cracked cabinet door repair