 My friend Melissa wanted to replace the deadbolts in her house and encountered a
not all together uncommon problem.
My friend Melissa wanted to replace the deadbolts in her house and encountered a
not all together uncommon problem.
Most older deadbolts were installed in 1.5" holes, but most newer deadbolts mount in a 2 1/8" hole.
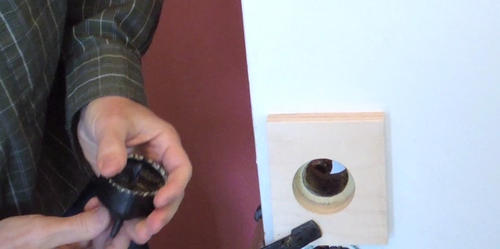
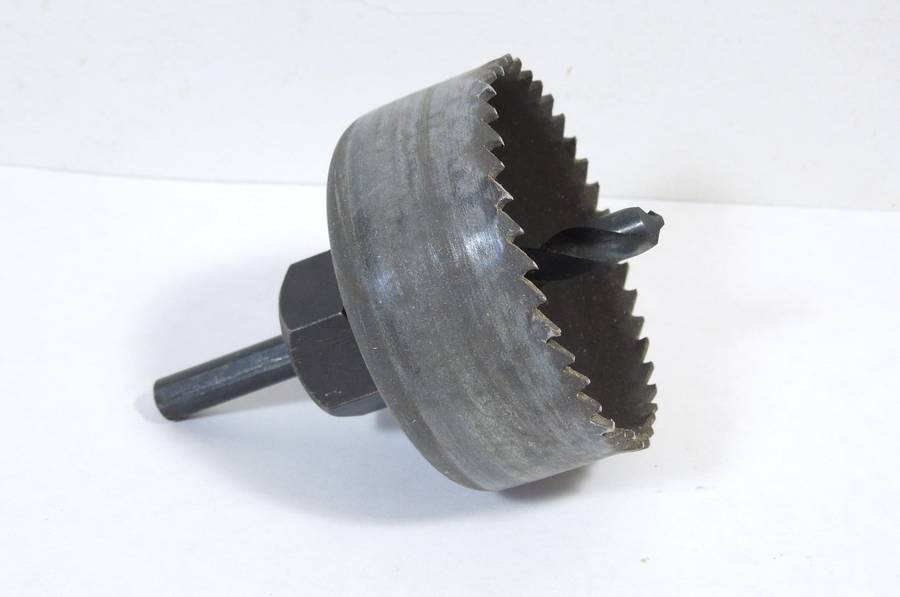 The tool for drilling out one of these holes is a hole saw,
There are cheap hole saws, like the one shown, and professional grade
ones with bimetal teeth designed to cut through metal clad doors, but they
cost much more.
The tool for drilling out one of these holes is a hole saw,
There are cheap hole saws, like the one shown, and professional grade
ones with bimetal teeth designed to cut through metal clad doors, but they
cost much more.
I'm not a door installer, so I only have the cheap tool. If you only have one or two doors to do, the cheap one will work ok. They aren't designed to cut through metal, but I have cut through a few metal doors with these before.
 Unknown to Melissa, her door was the metal clad variety.
But all the same, I was going to use my cheap hole saw anyway.
Unknown to Melissa, her door was the metal clad variety.
But all the same, I was going to use my cheap hole saw anyway.
The difficulty with drilling out existing holes is that there is nothing for the saw's center drill to drill into. The center drill is essential for guiding the hole saw for a clean start. Without it, it will wander and make a real mess of the door.
 The common trick for this problem is to clamp a piece of 1/4" plywood to the door
and then drill through that and the door.
The common trick for this problem is to clamp a piece of 1/4" plywood to the door
and then drill through that and the door.
But rather than drill through two pieces, I took a piece of 3/4" plywood, drilled a 2 1/8" hole through it with the hole saw, and then carefully centered that over the old hole.
This way I could easily check that I was on center (the new hole needed to go in the same place), and it also meant less drilling on the actual door.
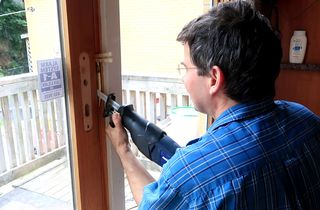
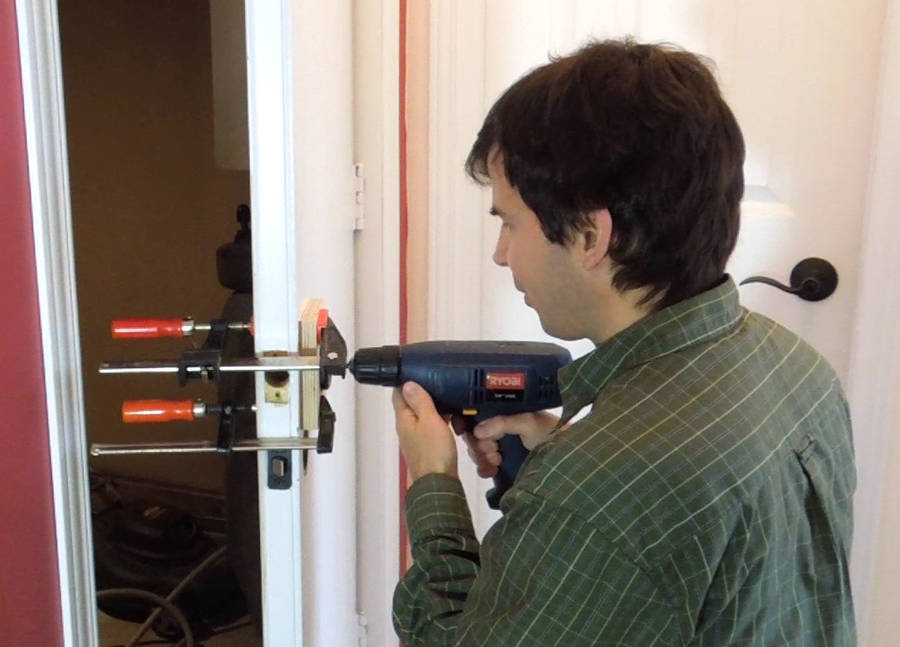 Drilling it out. It's a slow process.
I'm using a Ryobi drill. I actually really like the Ryobi drills. Of the cheap (less than $40) corded consumer grade drills, they are the only ones I know of with a two-stage gear reduction. This means they run slower, with more torque and more control at low speeds. I didn't want to run the drill too fast when drilling through the metal cladding of the door!
The cheap hole saw is not deep enough to drill all the way through from one side...
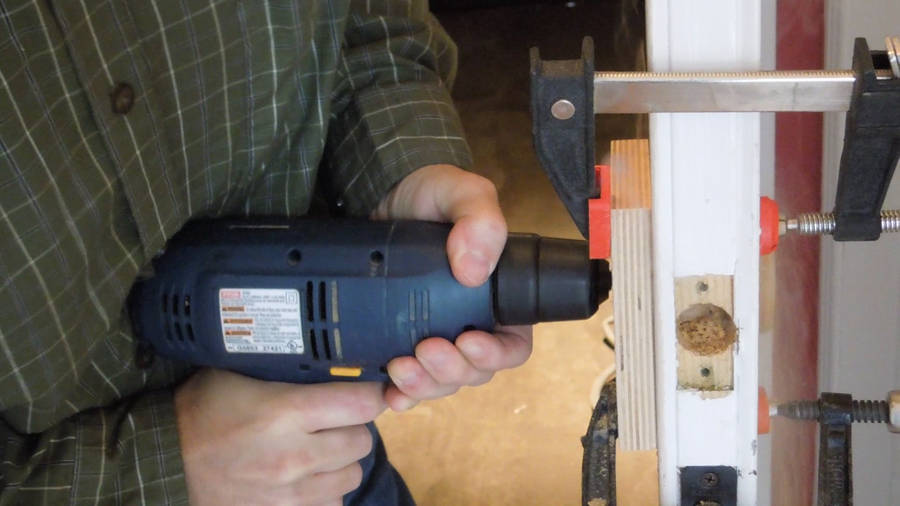 ... so I moved my block to the other side to finish up. It's not advisable to drill
straight through from one side anyway, because you'd get some ugly tear-out where
the saw pops through the door.
... so I moved my block to the other side to finish up. It's not advisable to drill
straight through from one side anyway, because you'd get some ugly tear-out where
the saw pops through the door.
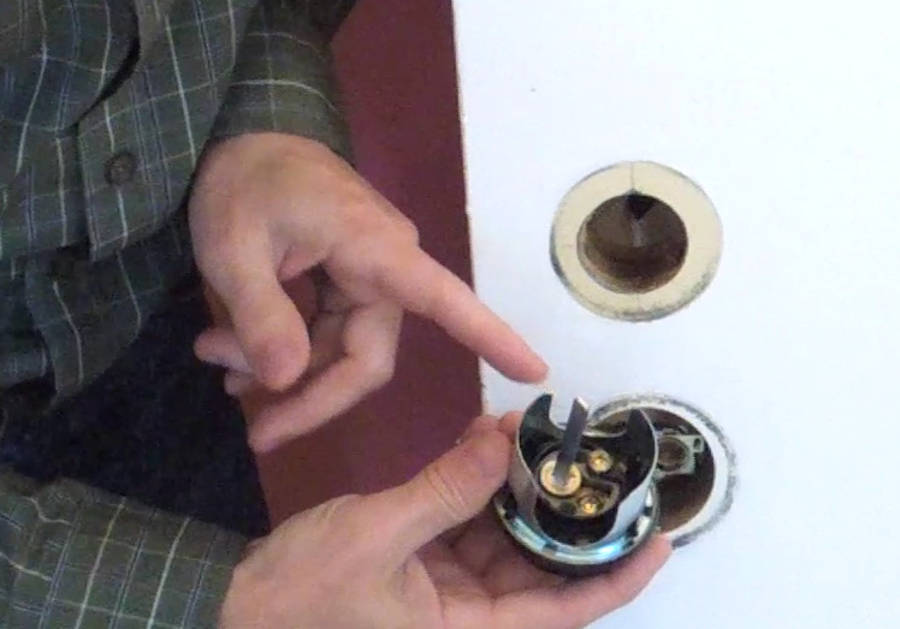
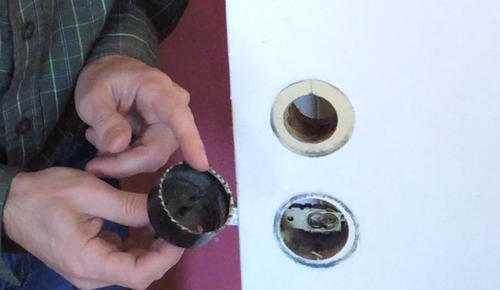
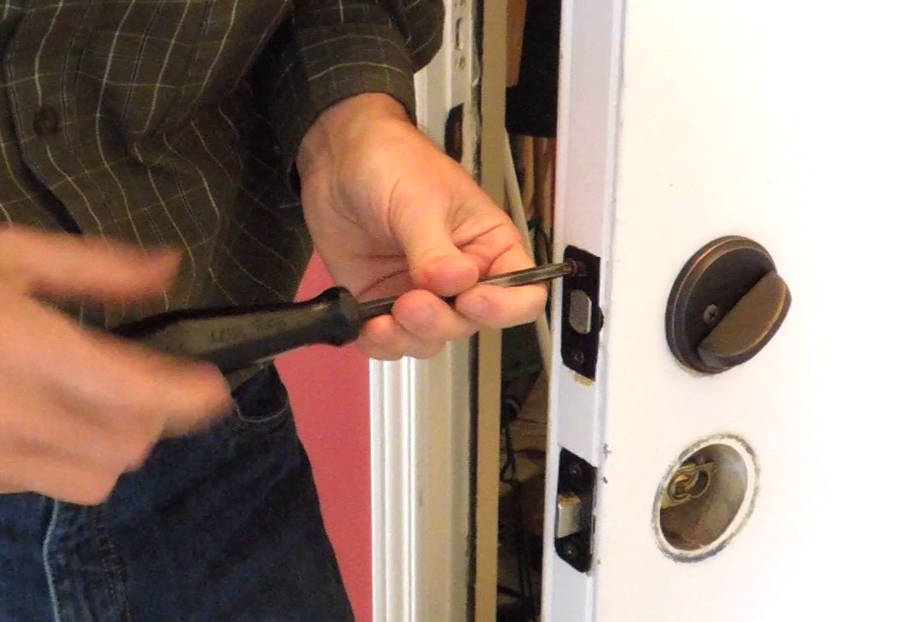
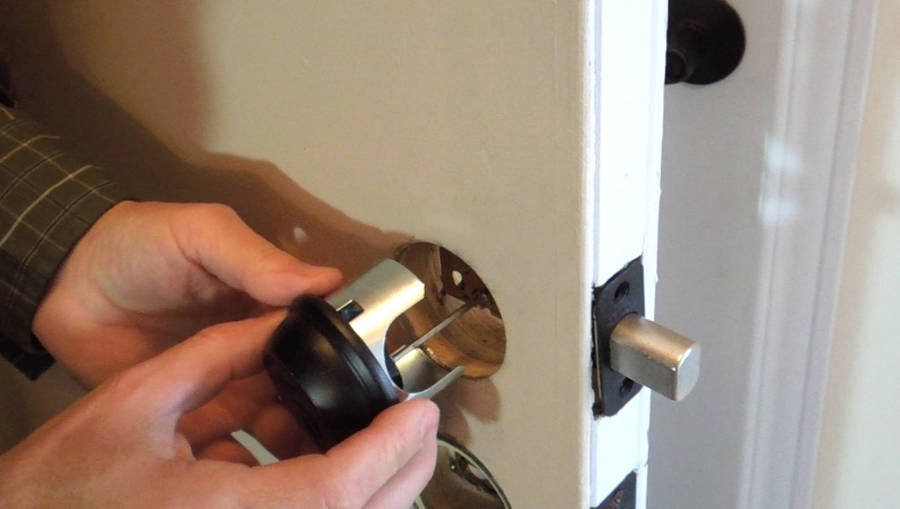 Now inserting the bolt part from the edge of the door, and then inserting the lock in the hole.
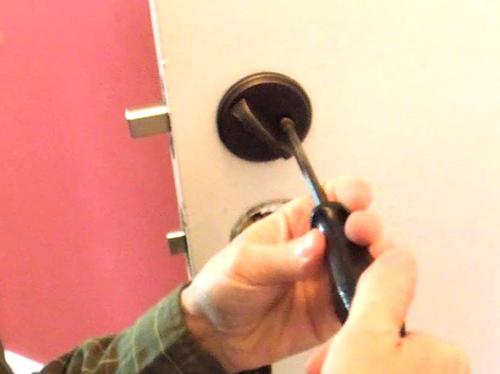 The lock is attached by screwing the inside part to it.
 And screwing the actual bolt part in, and it's done.
After that, Melissa wanted me to check her front door, where she also wanted to install a new lock. That door also needed a larger hole, and it was also metal clad. So I proceeded to drill that one out too, but drilling through from the second side, the saw wasn't cutting well anymore. I knew it was getting dull, but wanted to save the trip home to resharpen it. So I kept pushing, overheated the saw, and the teeth went all soft on me. Oops! So I still had to make a trip home to get another hole saw.
For metal clad doors, if you have one or two doors to do, and you are careful, the cheap hole saws are ok. But if you have a lot of metal clad doors to drill, you definitely want to get one of the more expensive professional bimetal type hole saws.
 I had to saw through my own deadbolt
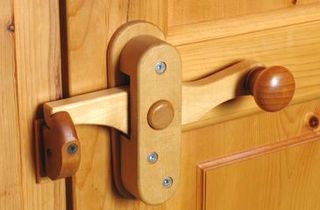 Wooden door latches
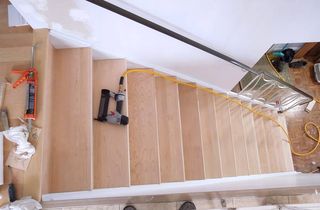 New treads for old stairs
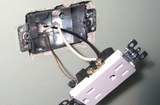 Installing a socket in
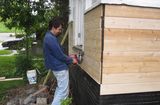 Porch repairs