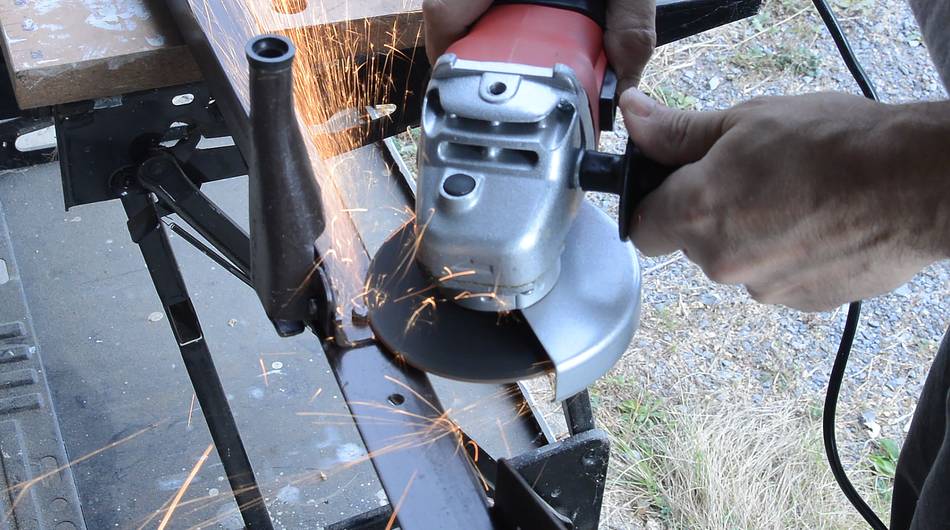
I wanted to make a toddler fence to go around the wood stove, and I figured metal
would be a more appropriate material for this. I had a whole lot of old bed frames
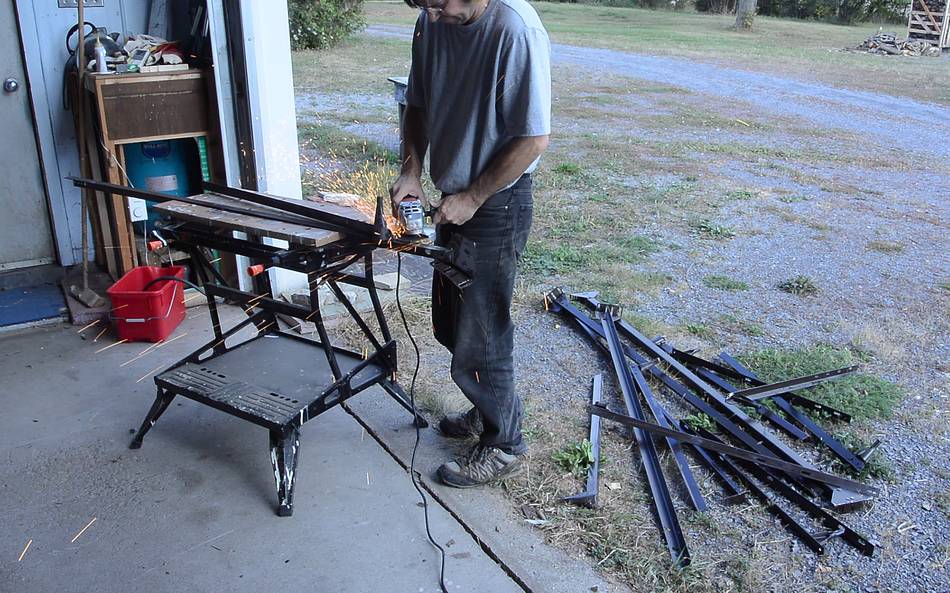
that I collected. The first step was to grind off the rivets to break the frames apart.
While I was at it, I broke apart all the bed frame pieces that I had.
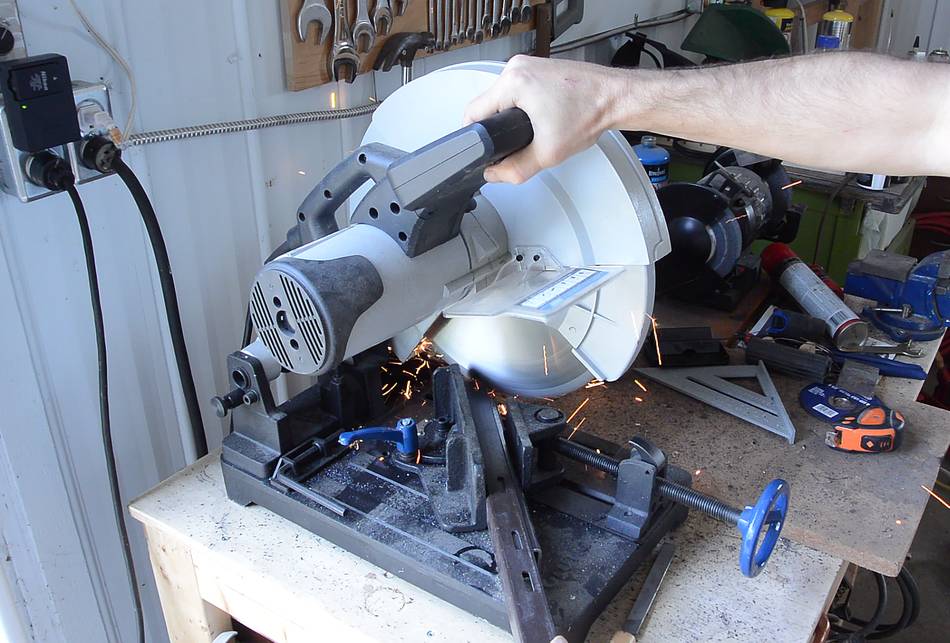
I cut the 45 degree miters for he corners using a carbide tipped cold cut saw.
This sort of saw is not ideal for bed frames. The metal is too hard and wears
the teeth out prematurely. But the blade I have on there is already quite
worn out, with about a third of the teeth broken, so I figured I might as well
abuse it some more.
Then grinding the paint off where I need to weld it together.
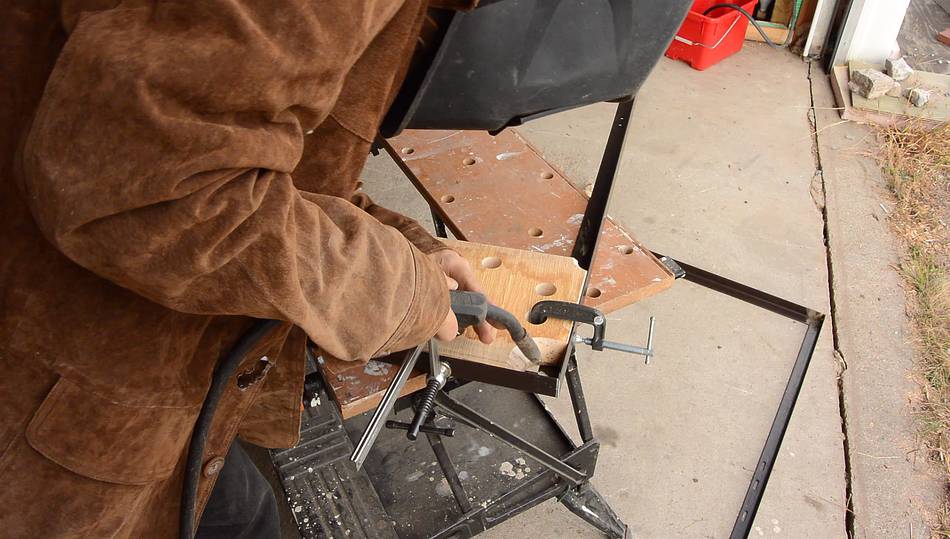
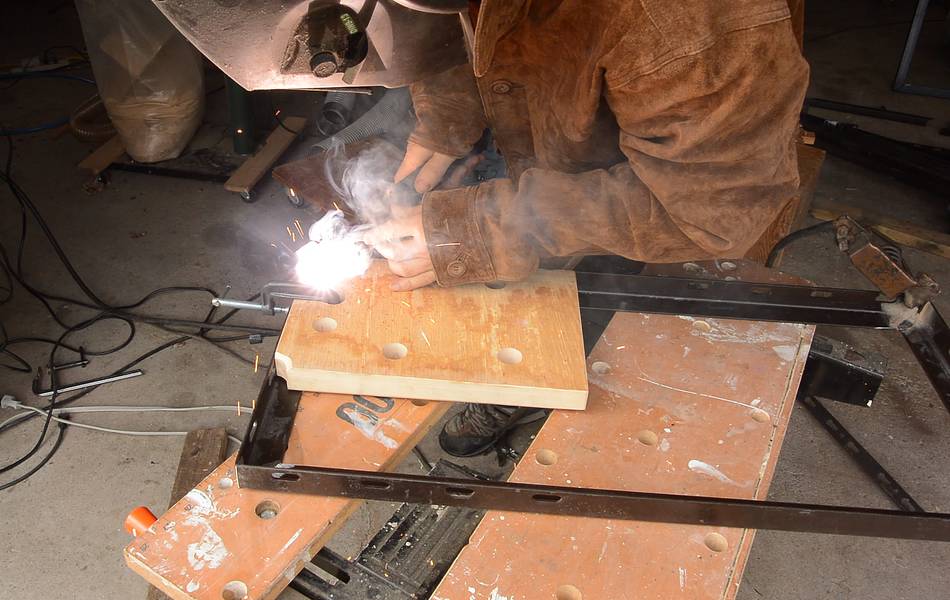
Then welding the corners together.
I used a block of hardwood with some holes drilled in it to hook clamps
onto and the corner is cut away so I could weld. I clamped the angle iron
on with C-clamps. The jig worked out quite well.
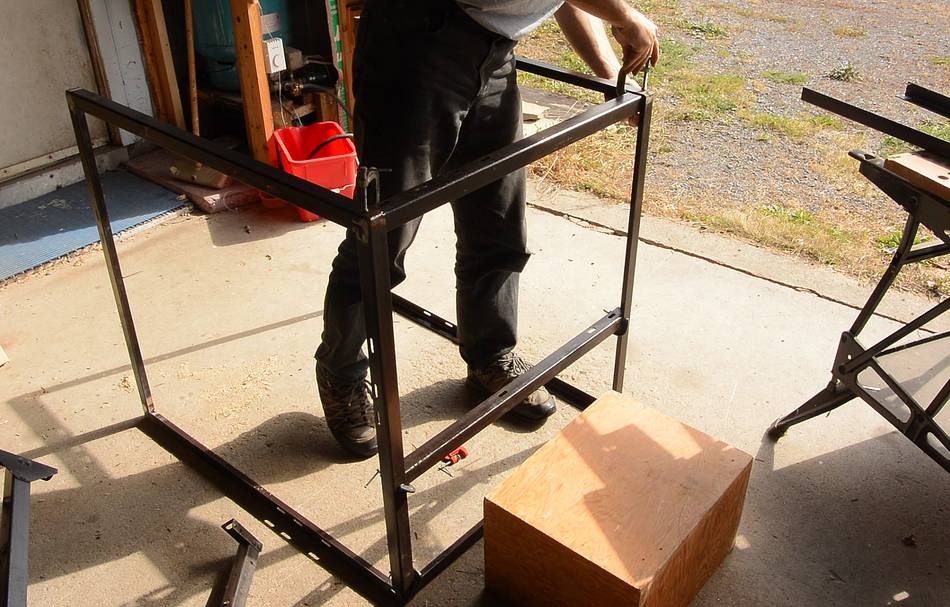
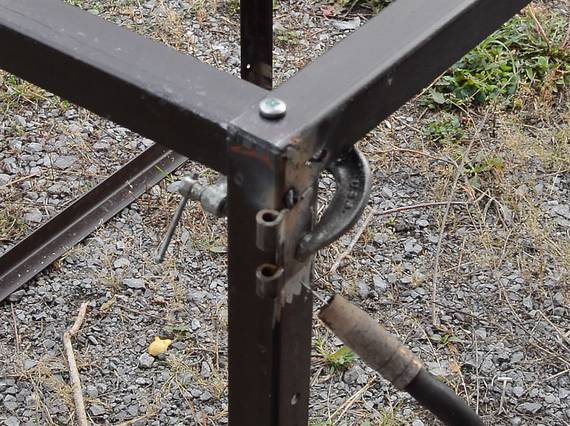
With two frames made for either side, I figured they should join with
some pieces of angle iron at the front.
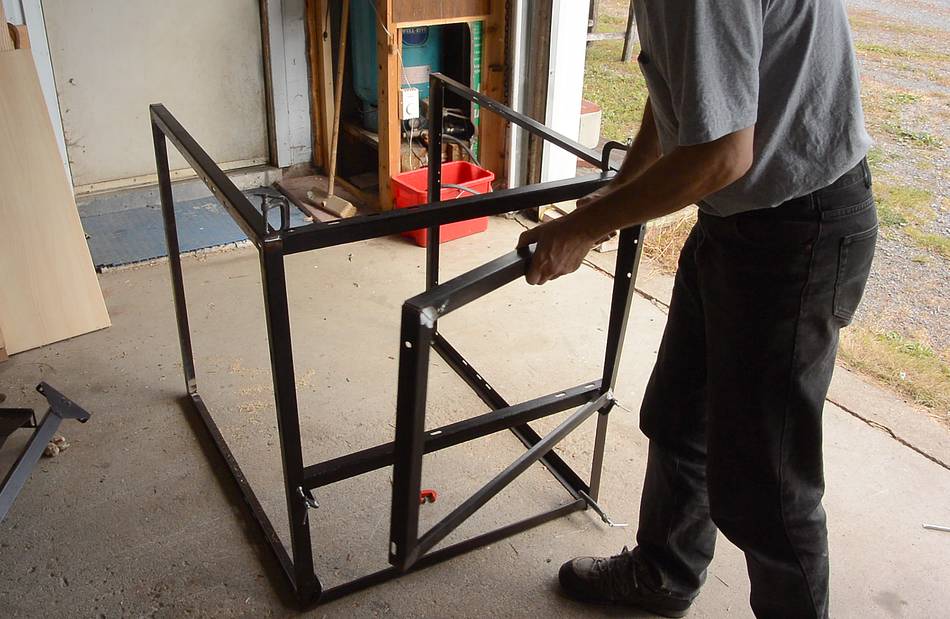
But with the door part-way open, it tends to pull the whole frame to the side.
I could fix this by welding the cross-pieces to the frame, but that would make the
whole thing difficult to move. I'd much prefer it to be joined with screws.
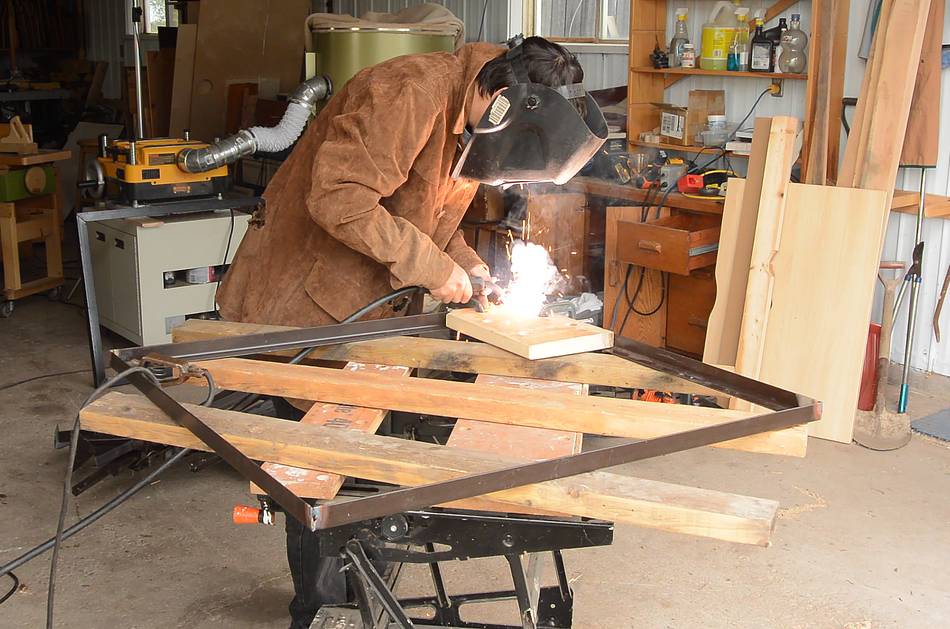
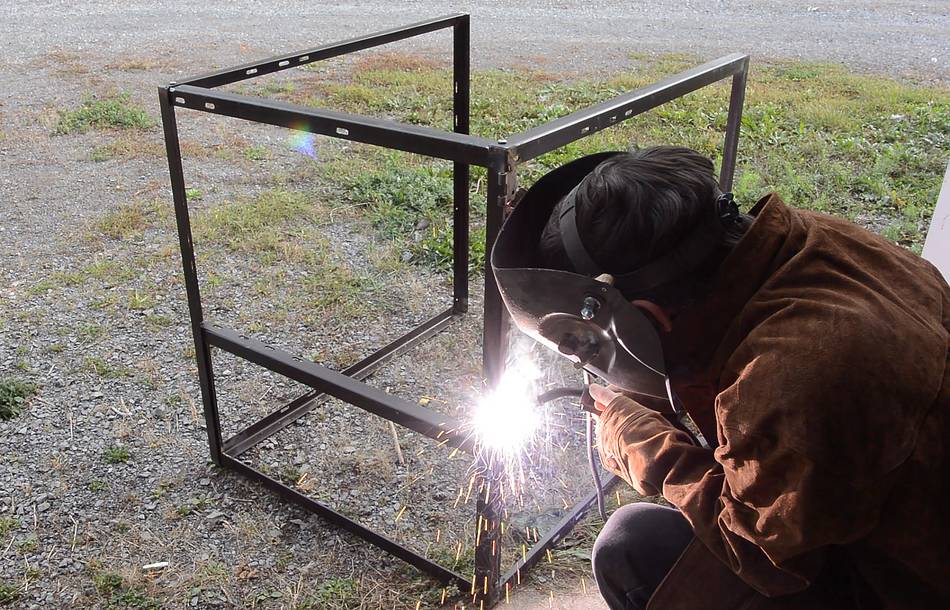
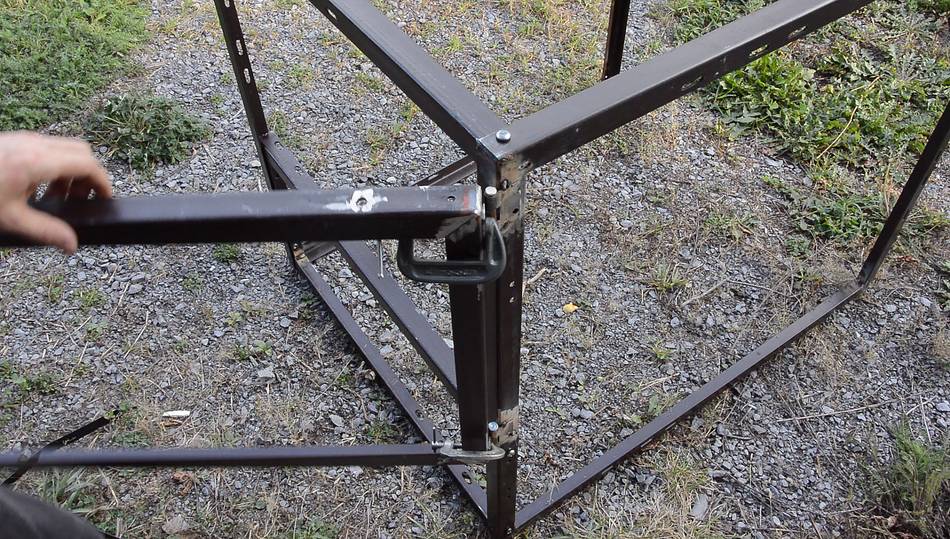
To give the front stiffness, I figured I should make the bottom two
cross-pieces into a rigid frame, which I'm welding together here. Again, with
my block of hardwood and two C-clamps as a welding jig.
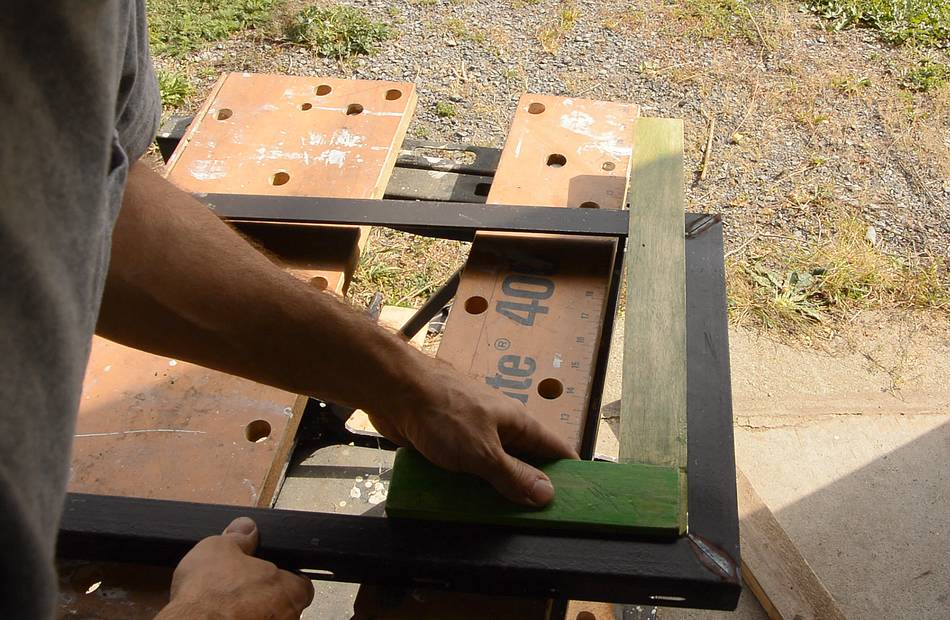
The welding jig is stiff enough that I didn't end up with any noticeable distortion
from the welding. Here holding a square up to it to check that the frame is indeed
square.
I needed some holes drilled in it for screwing the pieces together. But this bed
frame angle iron is very hard and very difficult to drill. I figured it would
be easier with a drill press, so I used my small one and jigged it up on
the workbench.
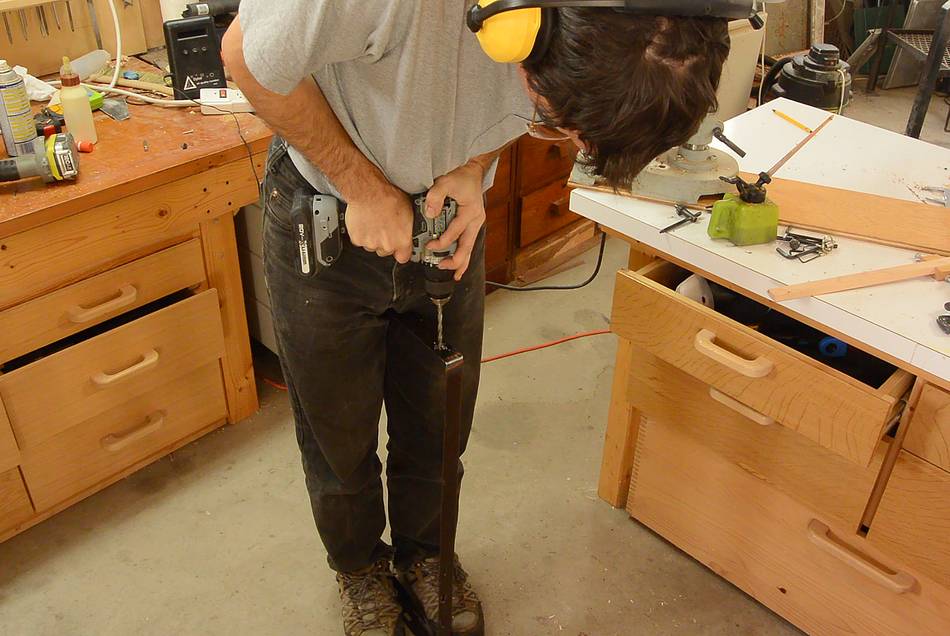
Jigging it up to drill holes in the ends of the small frame was awkward.
But the small drill press doesn't have the low speeds and torque that I need,
so I tried a cordless drill on it. This drill gives me much better speed control.
The back of the drill is flat, which made it easy to lean on the drill
to give it the needed pressure.
Then bolting the whole frame together.
I welded the hinges directly onto the frame. I certainly didn't feel like drilling
any more holes in the frame than necessary.
I then clamped the other half of the hinges onto the door to make sure the fit
was good.
After that, I welded all the hinges on solidly.
I was planning to attach some hardware cloth to the insides of the frames.
Attaching this with screws and washers would have been better, but I didn't
want to drill any more holes than necessary. So I figured I'd weld it in, but
that didn't work. The metal is galvanized, which, aside from toxic fumes, may also
have prevented it from welding on at all.
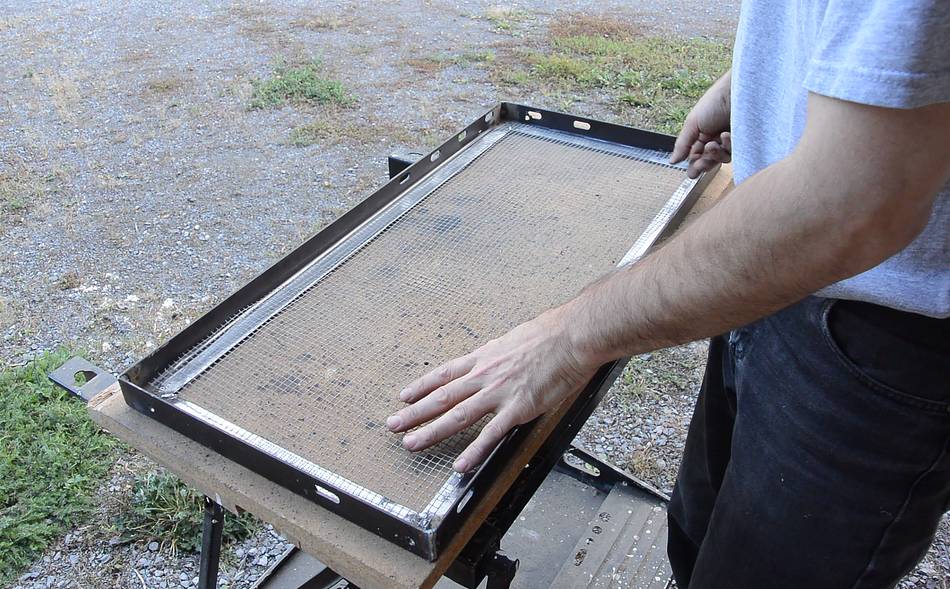
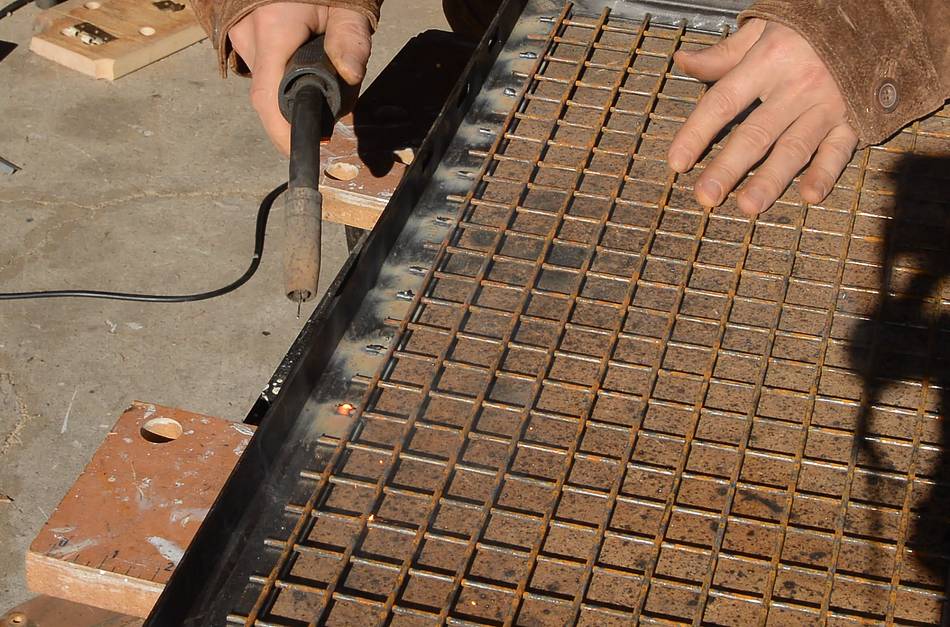
So I bought some 1" spaced screen from the metal supermarket (which I had to visit
anyway for the stainless steel base for the whole thing). This was a much
better solution
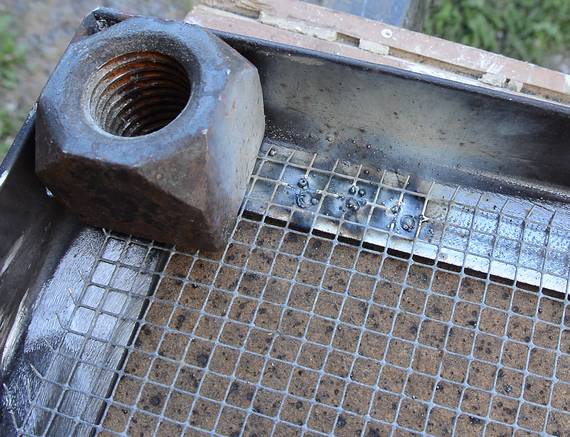
I welded it on every other rod of the screen. I had to be careful welding this because
the screen rod melts more easily. So I always started the weld against the
angle iron, then just touched onto the rod. If I had started on the screen's rod
that would have melted away before the angle iron got hot enough for the weld to
stick to it.
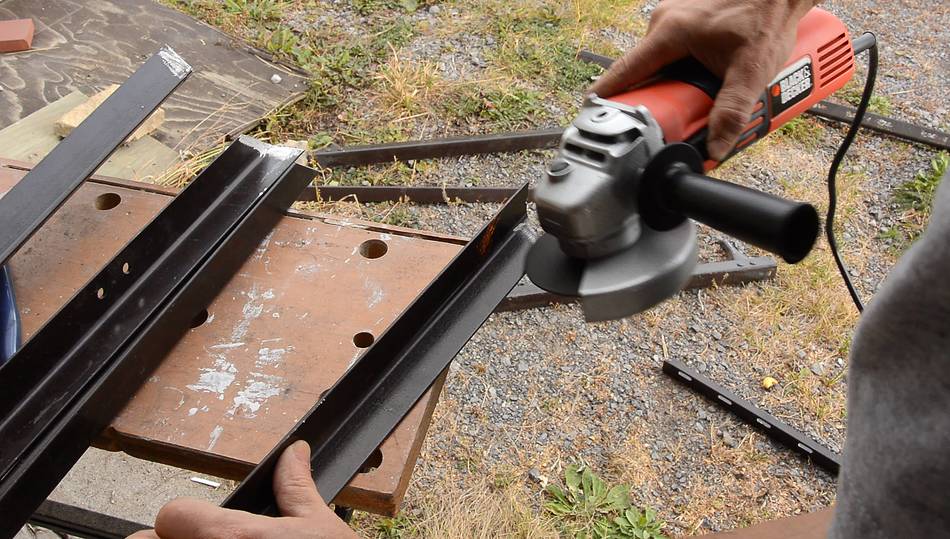
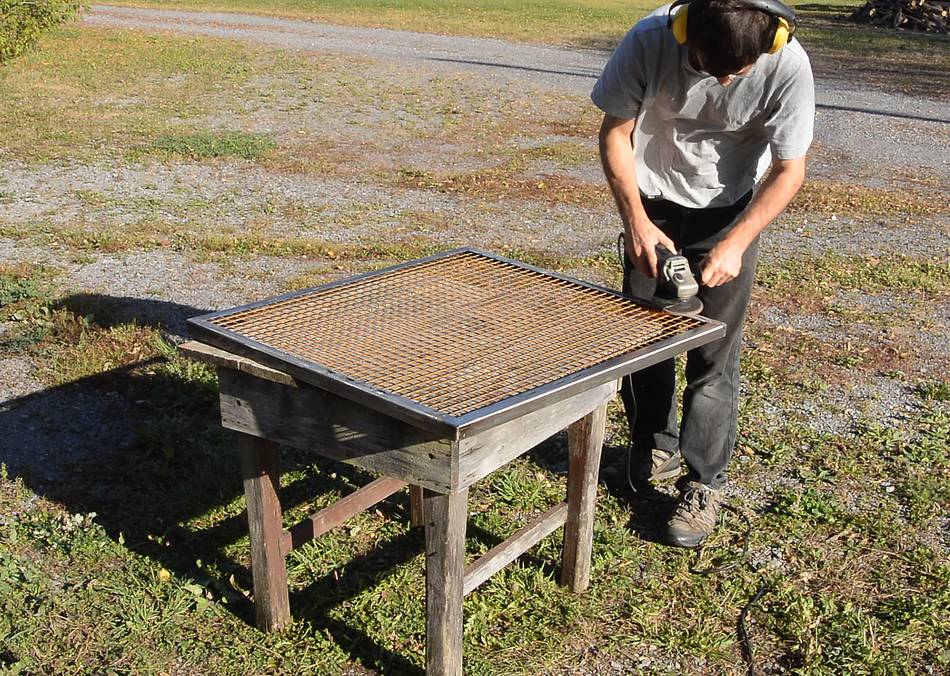
After that I ground the paint off the edges that would end up visible. I started
with a flap disk, but the paint gummed it up. So I used a grinding wheel
to get rid of most of the paint, then used a flap disk to smooth it out.
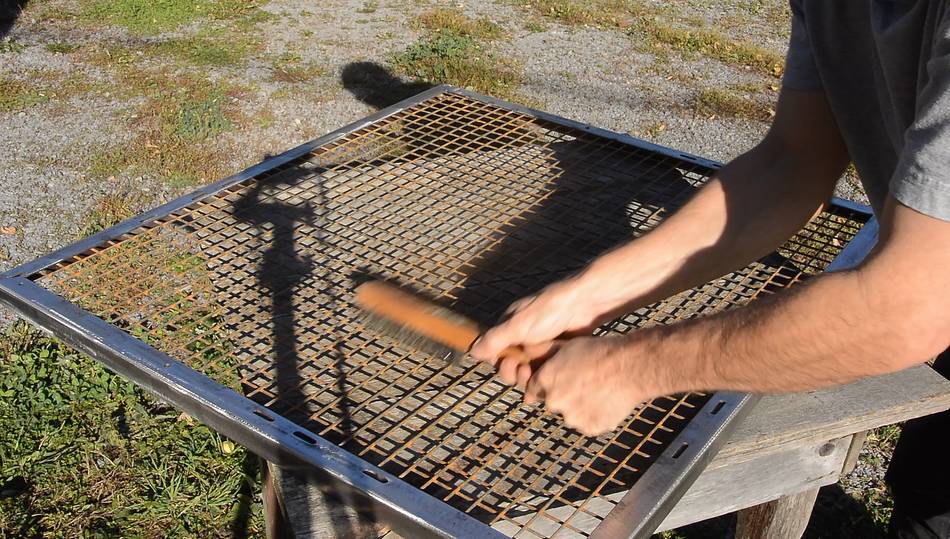
There was a minor amount of rust on the screen. I used a wire brush to get rid of
most of it.
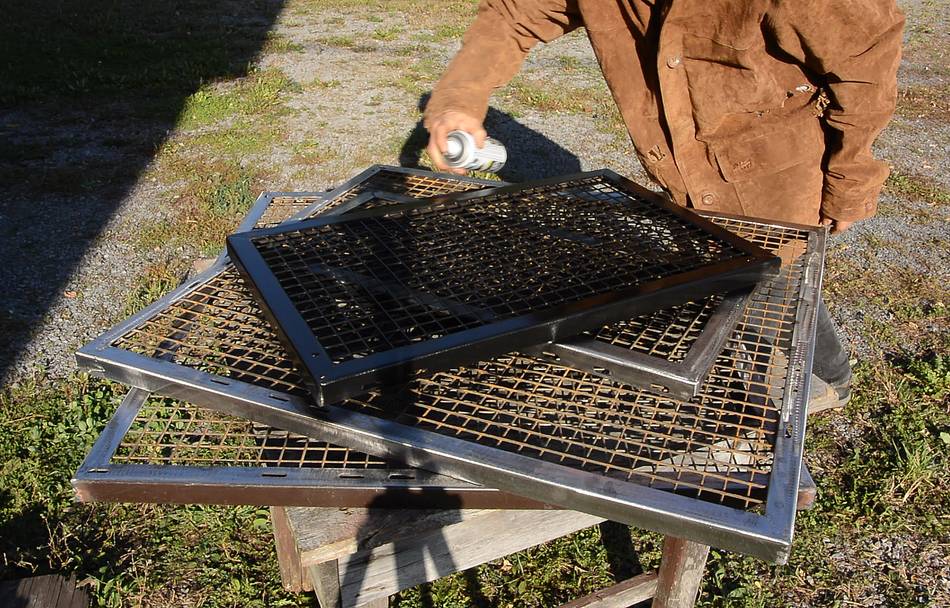
I quite liked the look of the bare metal frames, but it wasn't practical to
leave it like that. Here painting it black with a can of spray paint. I had the screens
stacked on top of each other so that any overspray could settle on the screens below,
saving some paint.
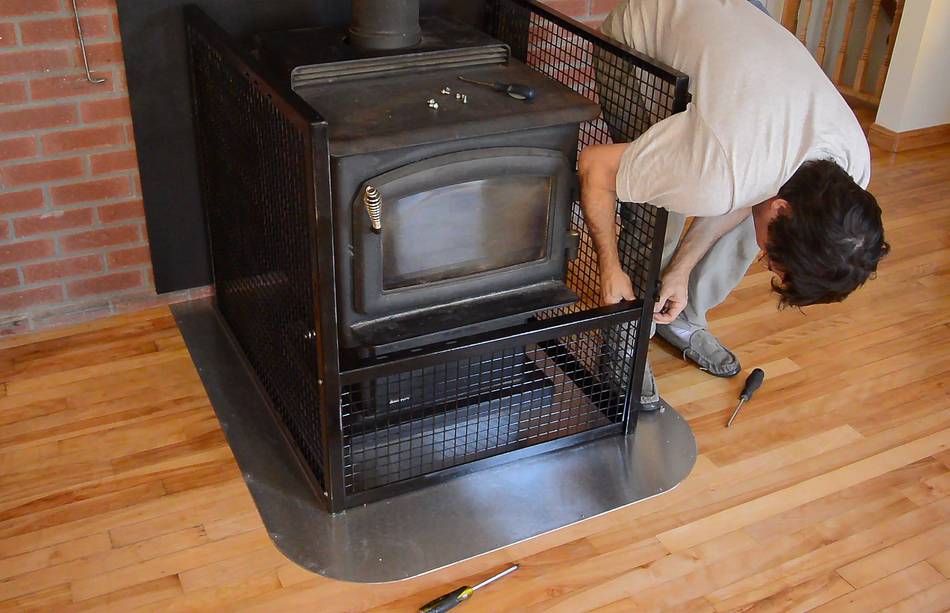
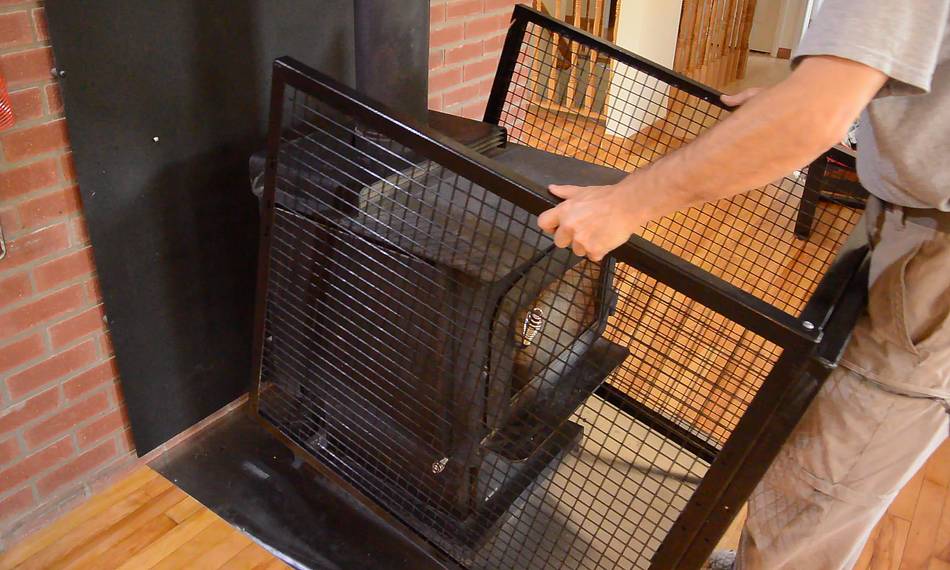
Then assembling it around the wood stove.
I drilled some holes for screwing it to the floor and to the wall, but then I realized
getting at those screws with the screen in place would be difficult, especially
if I wanted to take the screen off to clean behind it.
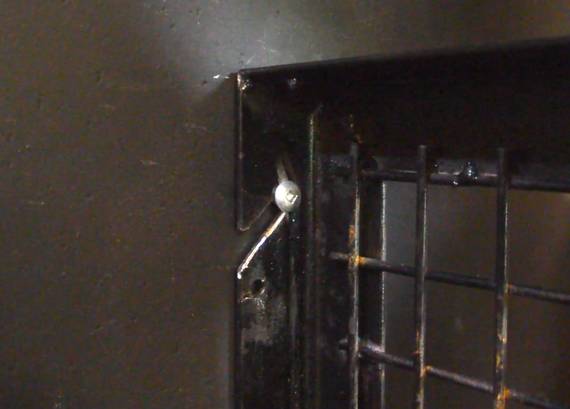
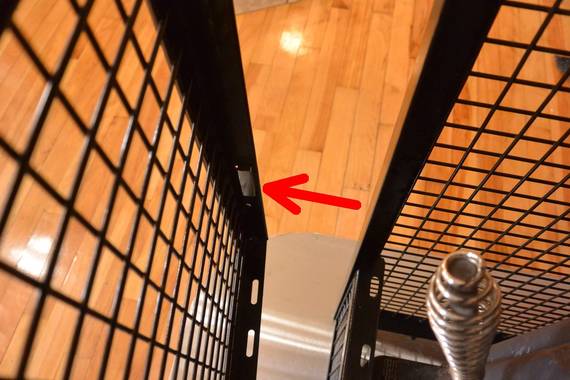
So I ended up cutting some slots into the frame
on the back, which allow me to unhook and lift it off the screws. Its a bit tricky
to unhook, so I figure it shouldn't come off by accident.
I didn't have an idea for a door latch, so I just stuck a rare earth magnet to the inside
of the angle iron for the door. This is enough to hold it shut. No handle on the door
either. It's easy enough to just grab it by the screen.
I don't anticipate any part of this cage getting particularly hot. The stove's door handle
is closer to the stove, and it only gets warm to the touch when the stove is in use.
On using bed frame angle iron
If I was doing it again, I wouldn't use bed frame angle iron. The stuff
is just too hard to work with, and much too difficult to drill holes into. Bed frame angle
iron was ok when I made the lawn tractor trailer because
I didn't need to drill any holes in it for that project. Bed frame angle iron
is harder than regular angle iron, so weight for weight it's stronger, but with its
hardness, it's also likely to break at the weld when overloaded instead of bending like
regular angle iron would.
But advantages of the bed frames is that I could start the project without
having to go shopping for materials first. It reduced the initial commitment factor
because I didn't need to work out the design and budget materials first,
nor did I have to worry about whether it would work out.
The bed frame angle iron also has a rounded edge (it's actually made from flat stock
bent to an L-shape), which makes it less of a hazard in terms of toddlers crashing into it.
 I wanted to make a toddler fence to go around the wood stove, and I figured metal
would be a more appropriate material for this. I had a whole lot of old bed frames
that I collected. The first step was to grind off the rivets to break the frames apart.
I wanted to make a toddler fence to go around the wood stove, and I figured metal
would be a more appropriate material for this. I had a whole lot of old bed frames
that I collected. The first step was to grind off the rivets to break the frames apart.


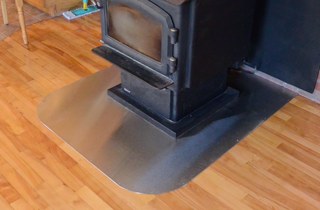 Stainless steel wood stove base
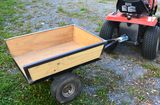 Lawn tractor trailer
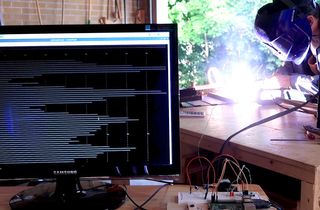 Measuring welder current with a computer
 Parallelogram baby gate
 Toddler stair handrail
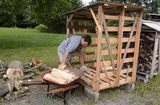 Movable firewood shed
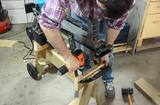 Electric log splitter stand
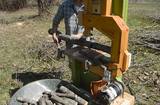 Making firewood with a bandsaw
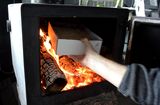 Burning sawdust in a