Painting the table saw
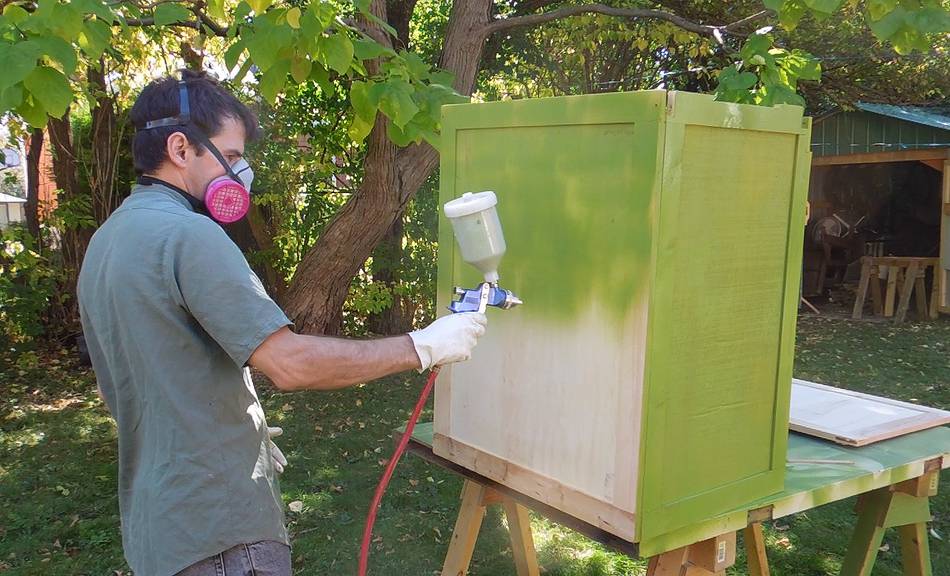
 I really liked how this table saw turned out so far, and having made a
wooden base, I figured I might as well paint it.
With so many people commenting on the green I used on so many of my
homemade machines, I bought another small can, although
just slightly darker this time. My previous small can was enough for three bandsaws,
a jointer, and the dust collector.
I really liked how this table saw turned out so far, and having made a
wooden base, I figured I might as well paint it.
With so many people commenting on the green I used on so many of my
homemade machines, I bought another small can, although
just slightly darker this time. My previous small can was enough for three bandsaws,
a jointer, and the dust collector.
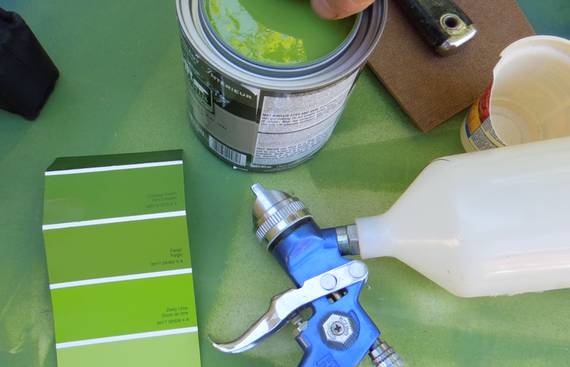
The paint is just a regular interior paint. It's fairly thick, meant to be applied with a roller. I added a bit of water to thin it, but probably still had it too thick. The spray gun would periodically cut out for a fraction of a second as I painted, but the spray was fine enough.
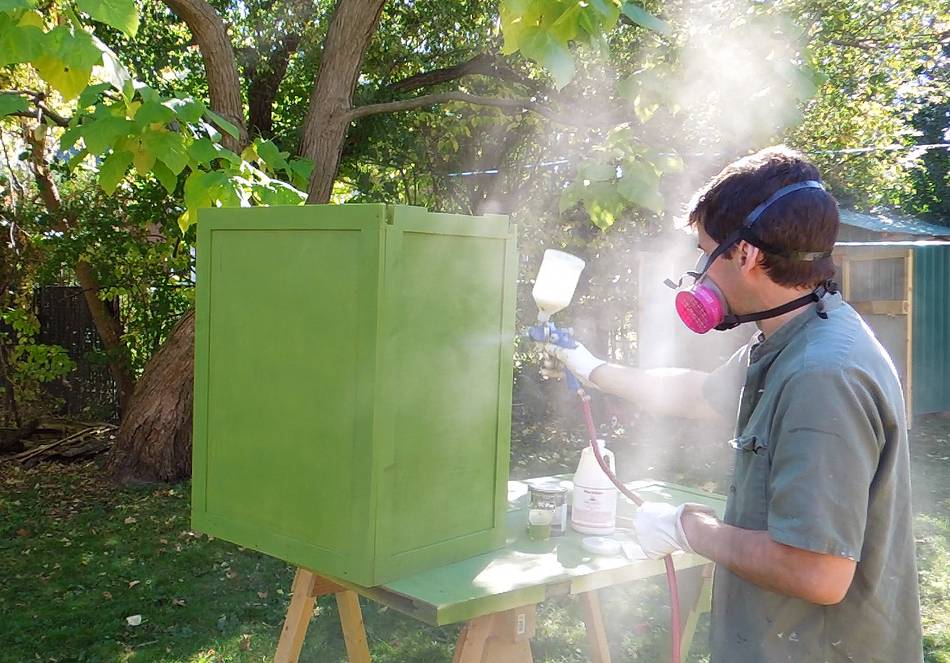 After two coats of green, I added a clear coat of waterborne varnish.
With the sun just behind me, the mist from the airborne overspray is very visible.
Under more normal lighting, it would hardly be noticeable.
I may have had too much pressure on the spray gun too, which probably resulted in
too fine an atomization. I still had it set to 40 PSI from spraying that thick paint.
After two coats of green, I added a clear coat of waterborne varnish.
With the sun just behind me, the mist from the airborne overspray is very visible.
Under more normal lighting, it would hardly be noticeable.
I may have had too much pressure on the spray gun too, which probably resulted in
too fine an atomization. I still had it set to 40 PSI from spraying that thick paint.
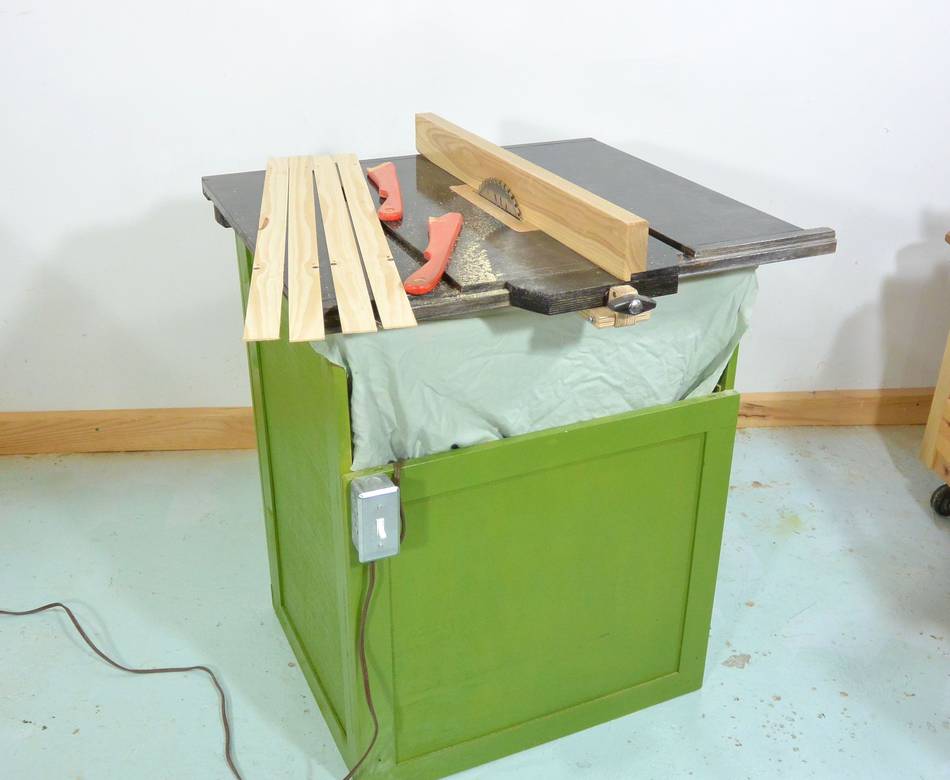
Painting the table top
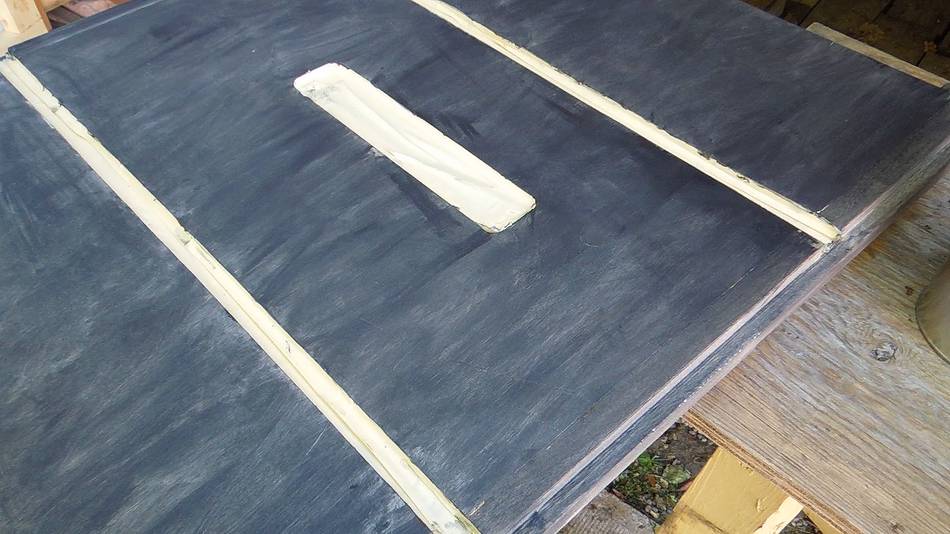
 I covered the table's slots with masking tape, and rubbed some black acrylic
artist paint into the table to darken it. I figure I might use that saw in some future
articles, and light wood on a wood coloured table doesn't look good in photographs.
I covered the table's slots with masking tape, and rubbed some black acrylic
artist paint into the table to darken it. I figure I might use that saw in some future
articles, and light wood on a wood coloured table doesn't look good in photographs.
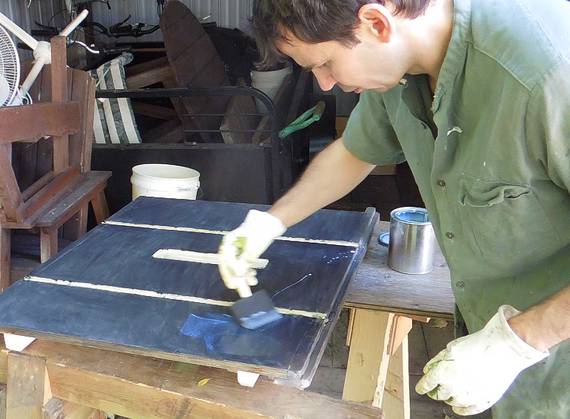
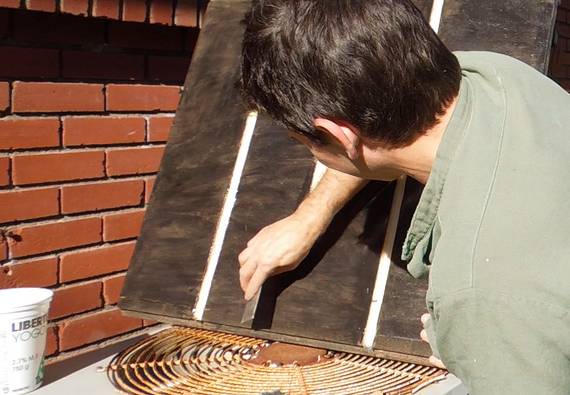
I wanted to try this fancy Füz UV cured finish for the saw top. Having experimented with the finish, it's definitely harder than other finishes, but more complicated to use. Here I'm applying the primer, which is important for getting good adhesion.
 The black underneath is a bit blotchy because I was worried about applying
too thick a layer, sealing off the wood, and potentially causing adhesion problems.
The black underneath is a bit blotchy because I was worried about applying
too thick a layer, sealing off the wood, and potentially causing adhesion problems.
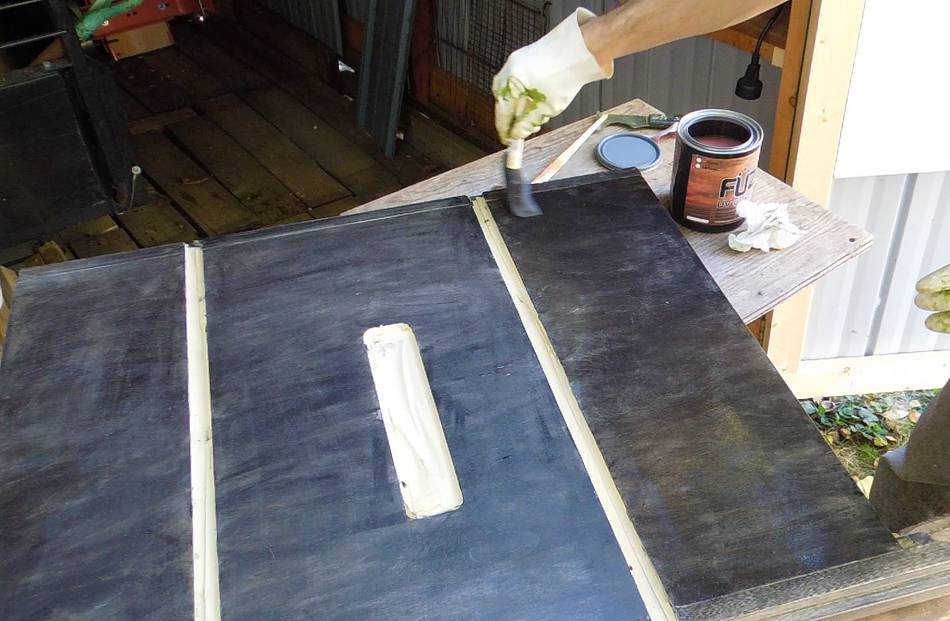
Next, the finish. I got this sample for free. The finish, by default, is quite thick, and they recommend thinning it with acetone, which I'm doing here. Then applying the first coat.
The finish is quite smelly, and last time I experimented with it indoors, I got a headache the next day. Best to use it outside.
 UV finish is usually cured with a UV light, but direct sunlight (not through glass)
has enough UV in it to cure it in half an hour of full sunlight. It being fall
already, the sun is lower in the sky. Lower angles for the sun means the rays pass
through more atmosphere, which filters out some UV light.
I wasn't sure how well it would cure. But after an hour, it was cured hard.
UV finish is usually cured with a UV light, but direct sunlight (not through glass)
has enough UV in it to cure it in half an hour of full sunlight. It being fall
already, the sun is lower in the sky. Lower angles for the sun means the rays pass
through more atmosphere, which filters out some UV light.
I wasn't sure how well it would cure. But after an hour, it was cured hard.
 Maybe I didn't thin the finish enough, because I had a lot of bumps where fibers
in the wood stood up. So I went over it with a cabinet scraper, scraping off all the
protruding bumps. The surface looked a bit "distressed" after that"
Maybe I didn't thin the finish enough, because I had a lot of bumps where fibers
in the wood stood up. So I went over it with a cabinet scraper, scraping off all the
protruding bumps. The surface looked a bit "distressed" after that"
 Second coat of finish. The finish definitely does go on a bit thick, so I figured
two coats would be sufficient. I certainly didn't have time for more coats, because
it was getting late in the day and I was running out of sunlight.
Second coat of finish. The finish definitely does go on a bit thick, so I figured
two coats would be sufficient. I certainly didn't have time for more coats, because
it was getting late in the day and I was running out of sunlight.
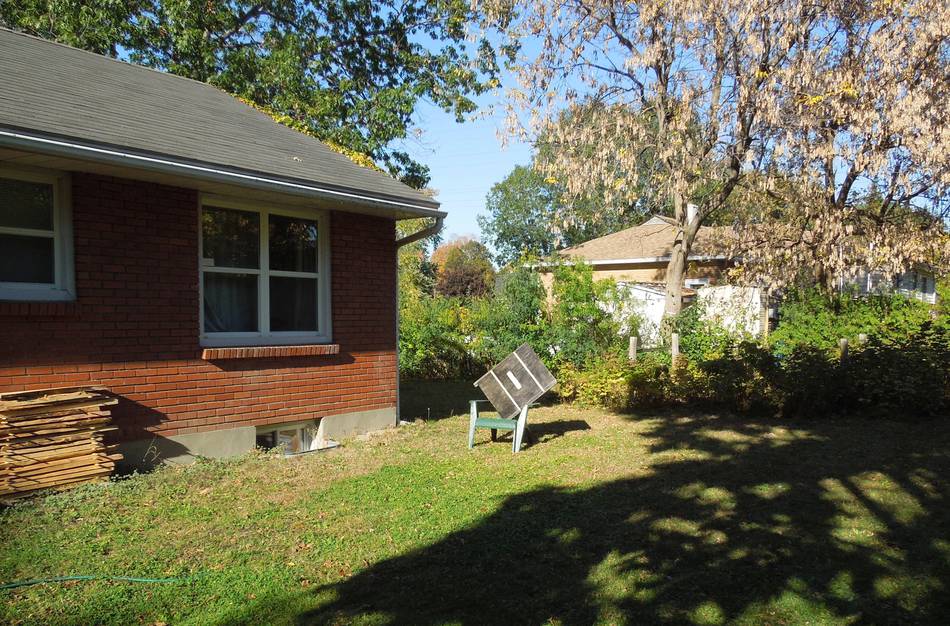
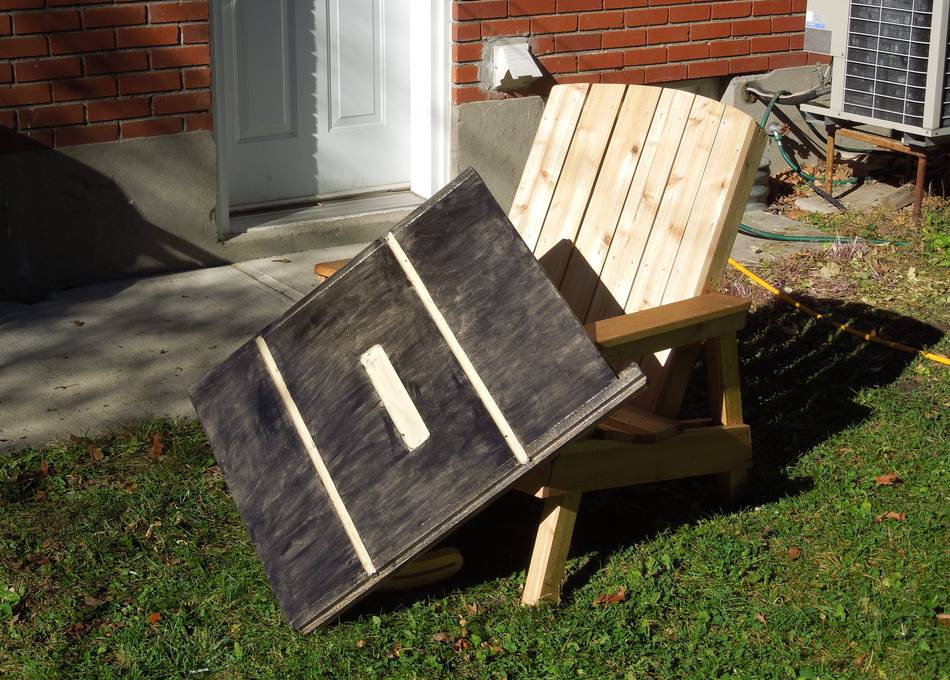
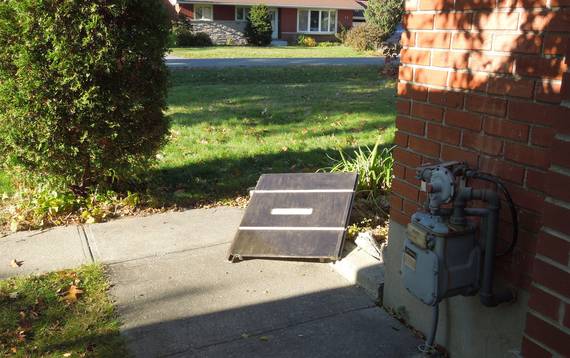 I had to chase the sun across my yard to cure the second coat,
finally placing the top in front of my house to get the last of the direct sunlight.
I had to chase the sun across my yard to cure the second coat,
finally placing the top in front of my house to get the last of the direct sunlight.
The problem is, with the low sun, I needed more like an hour, and all the edges of the top also needed to get direct sun for curing, so I had to move it through different orientations.
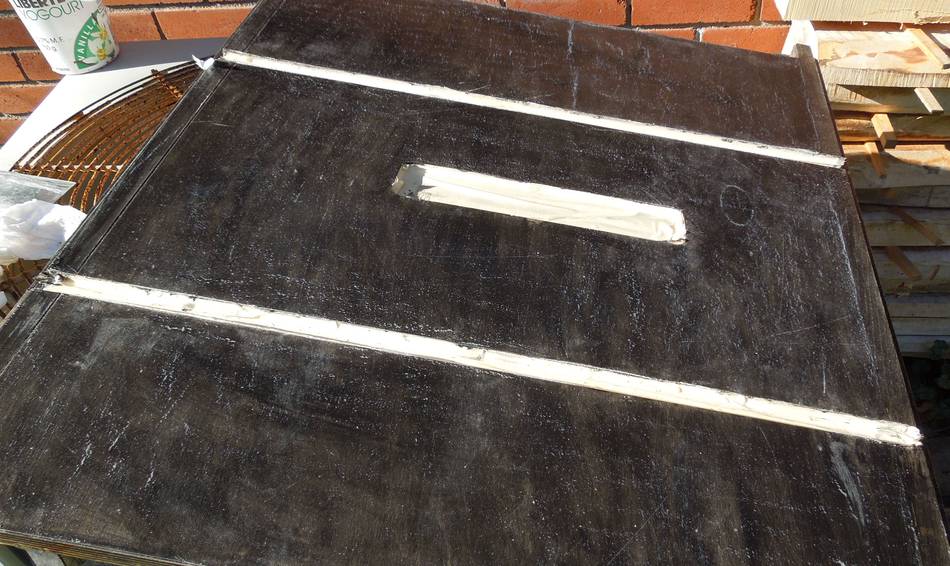
The finish didn't come out as smooth as other varnish I use. Guitar makers will usually buff the finish smooth after applying it, but I figured for a machine, it doesn't have to have a mirror shine.
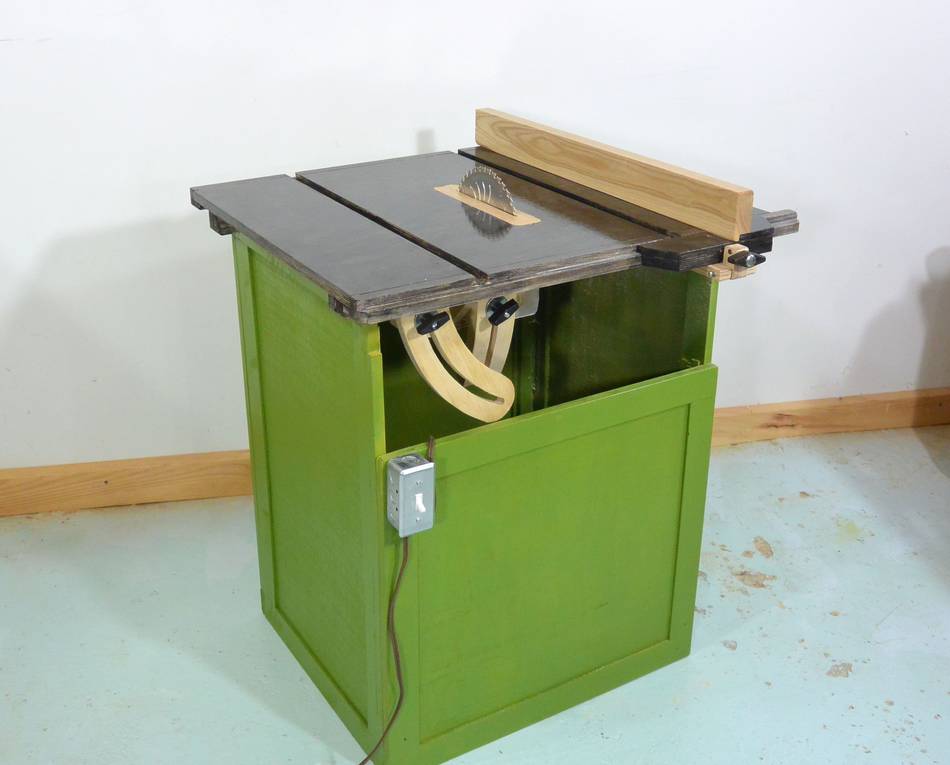
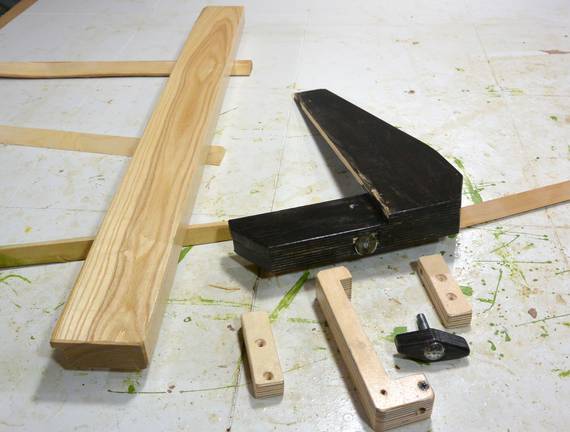 After painting the saw all nice, the fence looked a bit out
of place. So I painted parts of the fence black as well, then finished it, but with
just a regular waterborne varnish. The fence doesn't need a super hard finish.
After painting the saw all nice, the fence looked a bit out
of place. So I painted parts of the fence black as well, then finished it, but with
just a regular waterborne varnish. The fence doesn't need a super hard finish.
Funny that, I'm ok with my Ukulele being ugly, but I want my machines looking nice!
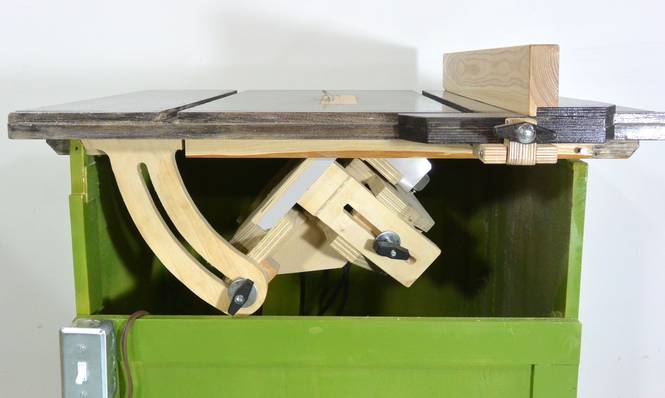 I liked how the saw looks open on the front. I improved the dust deflector inside
a bit to not shoot dust out the front, but putting the fabric back on the front
definitely helps keep the dust inside.
I liked how the saw looks open on the front. I improved the dust deflector inside
a bit to not shoot dust out the front, but putting the fabric back on the front
definitely helps keep the dust inside.
Next: Things leaned and what I'd do differently next time
See also:
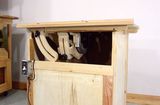 Table saw stand
 Bandsaw enclosure
 Experimenting with
Back to my Woodworking website.