Fig 20
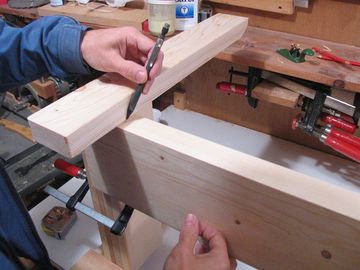
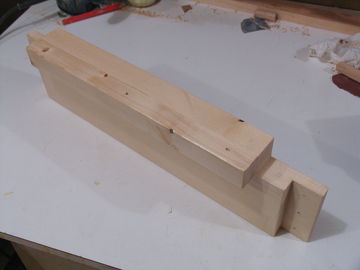
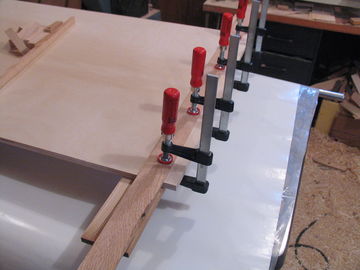
Glue another piece of wood to the side of it to allow this part to be screwed to the table top. The finished cross piece is shown in figure 25.
Next drill holes for the screws to hold the table against the table supports and cross pieces. Select what screws to use, then drill to such a depth so that the screws, when bottoming out in the holes, will not penetrate the table top. With a 1/2" thick table top, its all too easy to end up having your screws come out the top.
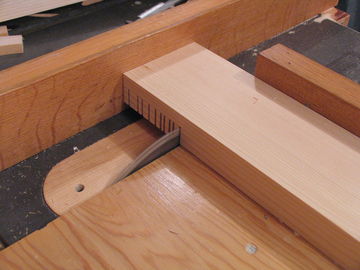
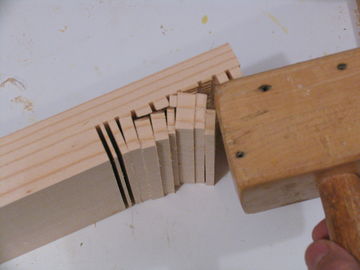
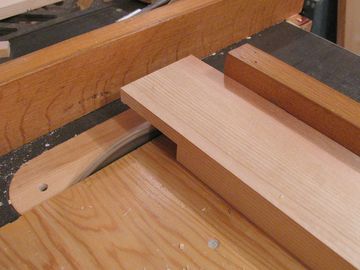
With the dado running raise the blade to about half an inch, so any overlap it has with the scrap piece on your fence is cut away while you do this.
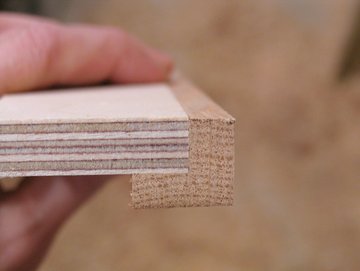
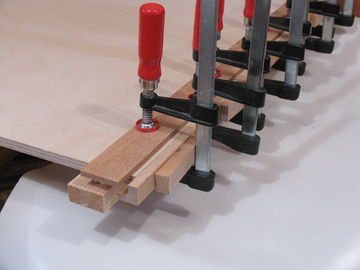
Next, cut the trim pieces on the table saw (Fig 27). It may help to run the piece thru more than once if you have any doubt as to whether it was in full contact with the fence and table along its whole length. The advantage of cutting the corner out this way is that any slippage will result in less material being cut, so running it across the saw again will fix the problem.
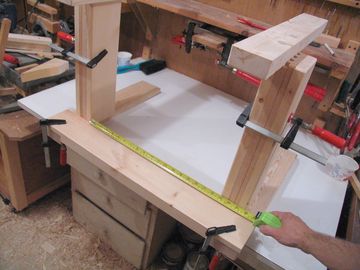
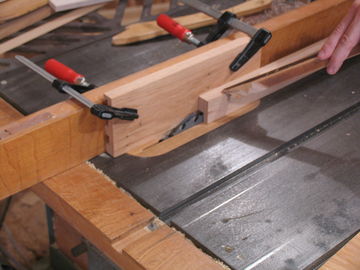
Then apply glue to the L shaped piece and to the edge of the plywood, and slide the L shaped piece against the plywood. Use wedges to push the L shaped piece against the plywood, then use more clamps to force the L piece together (Fig 29). Edge clamps would be really handy for this, if you happen to have lots of them.

Once the glue has dried, flush cut the ends with the plywood, and cut back the trip a little bit to accommodate the L shaped piece reaching under the table a little, and glue the trim on the ends.
After the glue has dried, cut about half an inch off the corners at 45 degrees, and round the corners of that with a knife or sandpaper. Then, with �" radius quarter round router bit, round the corners of the top and bottom of the table top. Also sand the inside edges on the bottom, as these will often get touched when pulling the table towards oneself.
Also round the corners of the other pieces, especially the cross piece attaching the legs together, as this piece often ends up being used as a footrest.
Once you have made all the parts, its time to varnish them. This is easiest done when the table is apart. I'd recommend a clear, water based latex finish. Don't varnish the hardwood grooves on the sliders, or you may end up spending a lot of time cleaning them out again to get them to slide freely.
Insert the screws, then lightly tap them into the table by tapping the handle of the screwdriver with a mallet. (Fig 31)
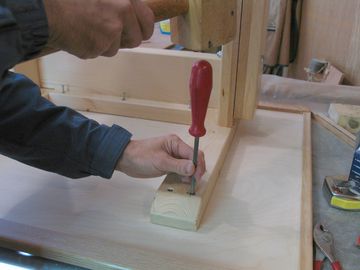 Fig 31
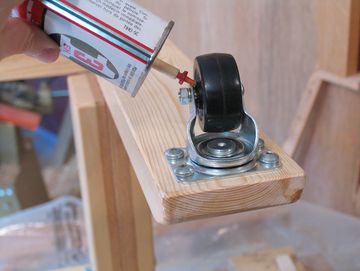 Fig 32
Next, screw the legs together with their respective cross piece, and slide these onto the part attached to the table top. Next attach the castors. In doing so, be careful when picking where to mount the back castors - place them so that the screw holes do not end up hitting the screws from the cross piece holding the legs together.
Apply a little bit of oil or grease to the castors after mounting them, both to the wheel bearing (Fig 32), as well as the bolt going through the swivel mechanism. I find that castors generally only come with grease in the swivel ball bearings, causing the other bearings to often squeak while being moved. The way I use this table is to pull it up to me after I sit down, so having the castors roll freely without squeaking is important.
I use this wheely desk in combination with a narrow daybed, and a pile of pillows behind me. I use a desktop computer, which I keep on a table separate from the wheely desk. I have just the monitor, keyboard and mouse on the wheely desk. It may also be a good idea to build a bit of a "stand" to hold the CPU case, depending on how you use it. If you do, the best place is probably off to the side, against one of the legs. That way, its least likely to get kicked by the user's legs. I ended up covering the crosspiece on the back with carpet, because I always use that as a footrest.
The maximum height of this table, with 2" caster wheels is 29 inches. If you intend to not mount casters to the bottom, or would like to be able to adjust it to countertop height, just make the uprights longer. For every inch you make them longer, you get two inches of extra maximum height.
When using it with an armchair or couch, however, it's nice to be able to set the table height to its minimum of 22 inches.
| Part | Thick. | Width | Length
| Top - birch veneer plywood | 1/2" | 34" | 24"
| Top trim - front & back (oak) | 3/4" | 1" | 36"
| Top trim - sides (oak) | 3/4" | 1" | 26"
| Leg - bottom horizontal (2) | 1.5" | 3.5" | 21"
| Leg - Table support horizontal (2) | 1.5" | 3" | 20"
| Leg - Upright (4) (spruce)(Note: initially cut larger than specified)
| 7/8" | 4.5" | 16"
| Leg - Upright sliders (4) (oak) | 3/4" | 4.5" | 16"
| Bottom horizontal crosspiece | 1.5" | 4" | 28"
| Top horizontal crosspiece part 1 | 1.5" | 6" | 22" *
| Top horizontal crosspiece part 2 | 1.5" | 3" | 19" *
| |
The pictures and write-up
Here's a quick video I made showing the assembly of a slightly different variation of the wheely desk. Same idea, but slightly more complex joinery:
Jay Bates recently built one of these desks and made a video about it after he built it:
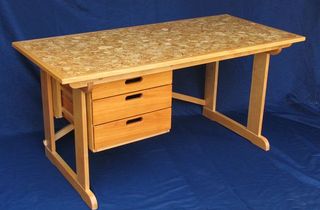
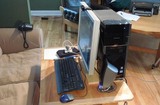 Compact computer / monitor stand
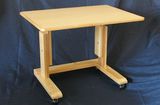 More pictures of
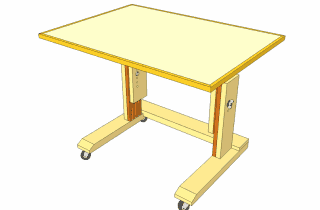 Plans for this project
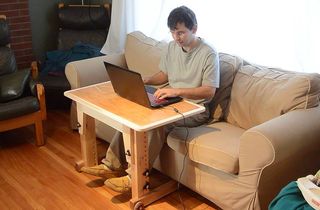 Knock down laptop
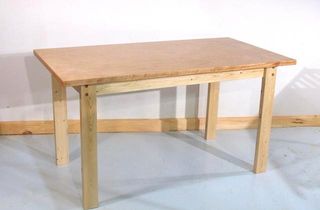 Building a simple table
 Knock-down
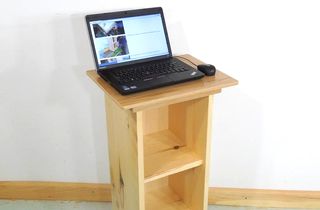 Stand-up laptop table