I had the idea of building a better motorized repeating shooter out of lego.
Searching for "lego machine gun", I came across a lot of models of machine guns, but at best
these shot rubber bands. The closest to what I could find was
this video, but, ironically,
that machine gun was one
I designed and published in 2001,
the very design I wanted to improve on!
A catapult would be a more effective way of throwing something fast (lever advantage),
so I started with designing a catapult mechanism.
I wanted to make it so the catapult arm would have as little encumbrance to swinging
as possible, which meant the whole pull back mechanism should be decoupled from
the catapult when it's released to fire.
Here's my experiment with the catapult. The ends of it are just two lego shafts to
make the fast moving part the lightest.
The angle from pull-back and final swing out after throwing is more than 180°,
so a crank type mechanism could not be used to set it. I figured a rack and pinion,
driven by a crank, would work best. The rack and pinion and 40-tooth gear came from
my old original lego mindstorms set, the rest of the pieces are from my lego
bucket wheel excavator set (which I bought with no intention of ever building it, just
for the parts).
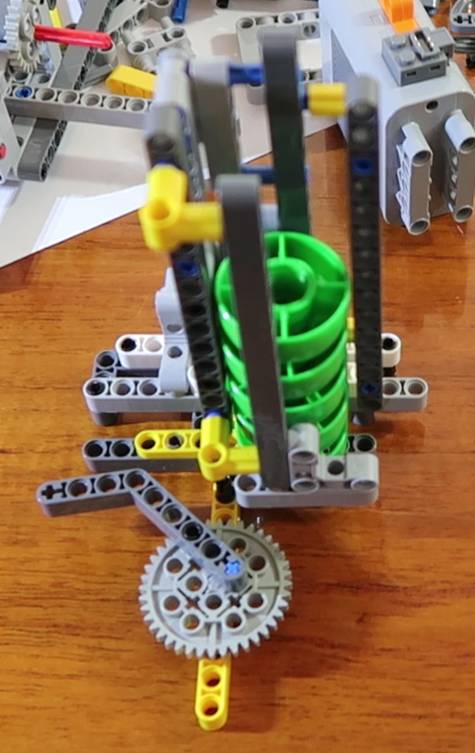
The big black gear is a 60-tooth, meant more for rotating platforms and such. It doesn't
mount on a shaft. It rotates on the rim of another grey mating piece.
I oiled it slightly to cut down on friction and wear.
For the catapult to actually catapult, once it's pulled down, it needs to be held
down long enough for the pulling mechanism to get far enough out of the way.
Here I have my first hold-down / trigger mechanism. The red shaft nearer the center
if tge photo is driven by a crank which comes off the main gear. It workeed,
but it was finicky, because it didn't turn that much, and I couldn't get it to
hold the catapult long enough for the set mechanism to fully withdraw.
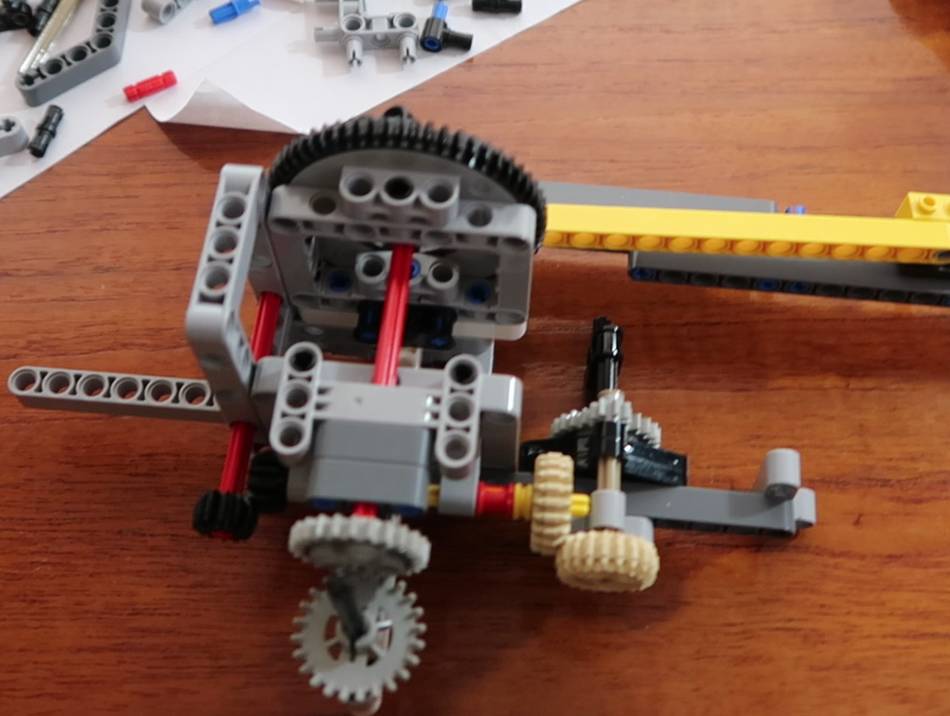
I then made a rotary hold-down/trigger mechanism, driven off the main crank by four
gears, though these had to be positioned in odd places to get them to engage. But the
mechanism worked well. In fact, this trigger mechanism actually pulls the catapult
back a bit further before letting go. Bonus!
With that working, I needed something to place projectiles onto the catapult at the right time.
My first thought was to use a sort of rotating arm/cam cam (at right) to eject the projectiles
out of a tower. The projectiles are caps from baby food pouches, which we have lots of.
But I needed something to give me more precise control, so I changed it over to use
a slider instead.
The slider is driven off of a lever and crank, coming off the main shaft.
This version of the machine worked, but it wasn't a "final" version.
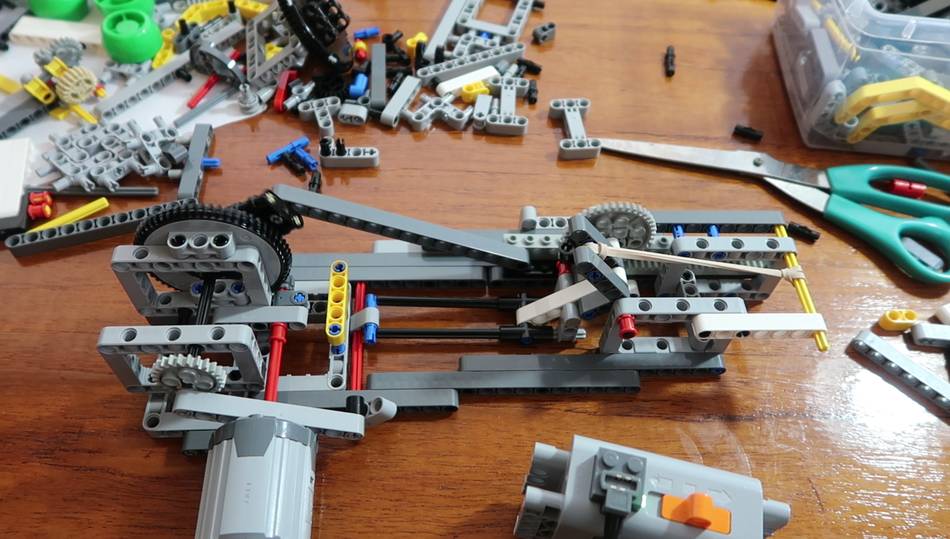
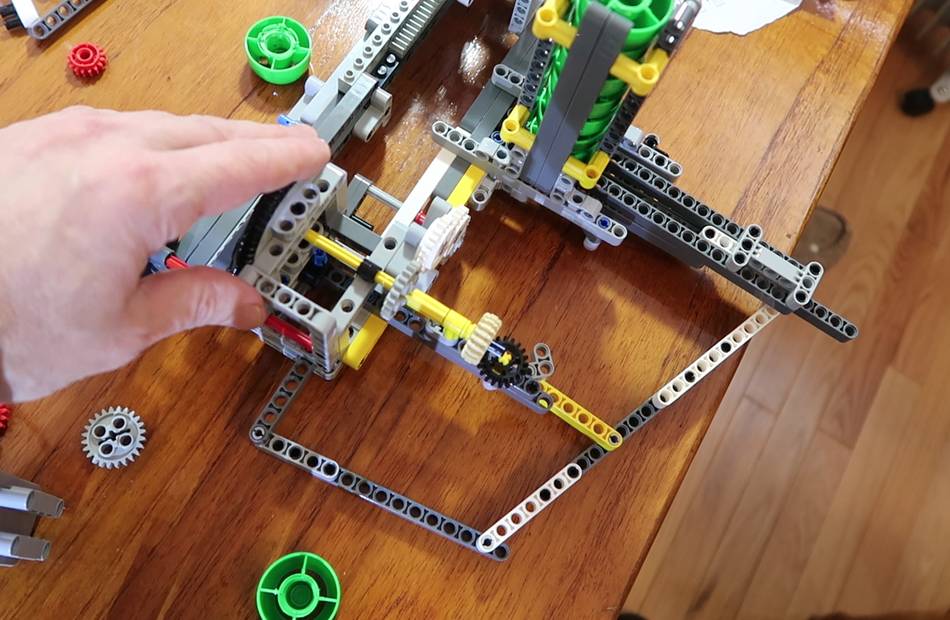
I wanted to get rid of that finicky arrangement of gears, so I used two right angle
gears to power the crank, and also moved the crank that operates the slider
closer to the main gear to make everything more compact. But it was still an
awful lot of gears.
The new lego technic is a frustrating medium to develop designs with. Every
time I wanted to move something over by just a little bit, it seemed I ha
to tear apart half the mechanism to do it.
At left, a re-build part-way. Re-building it is often the best way to
make a seemingly minor change.
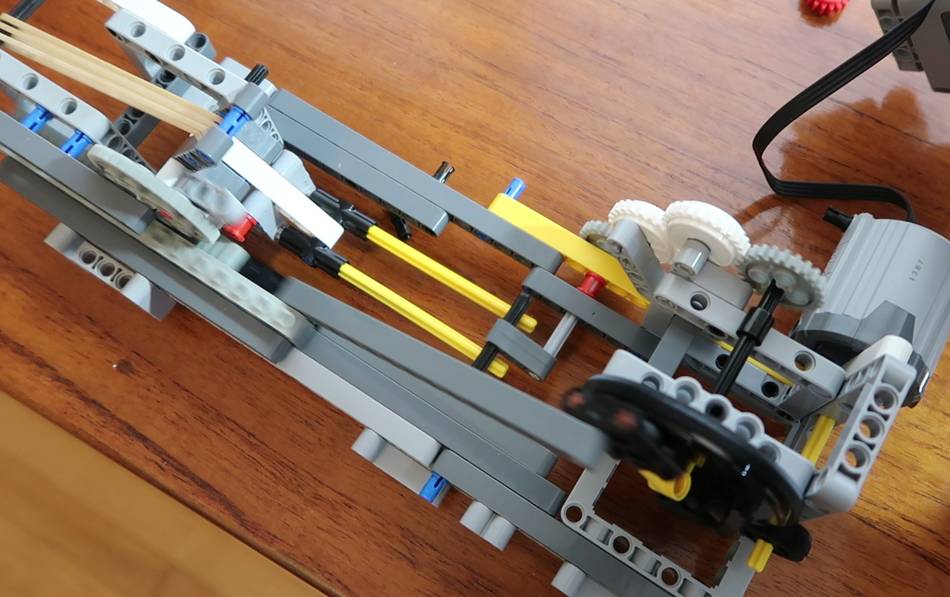
But then I realized that maybe I should have a shaft coming back, with a 20-tooth gear
off the 60-tooth gear to the right of the 60-tooth gear, and power the trigger
and the crank for the slide off of that, using a 3:1 reduction from a 8-tooth and 24-tooth
gear to get in sync with the main crank.
So I did that, but didn't take pictures of the process.
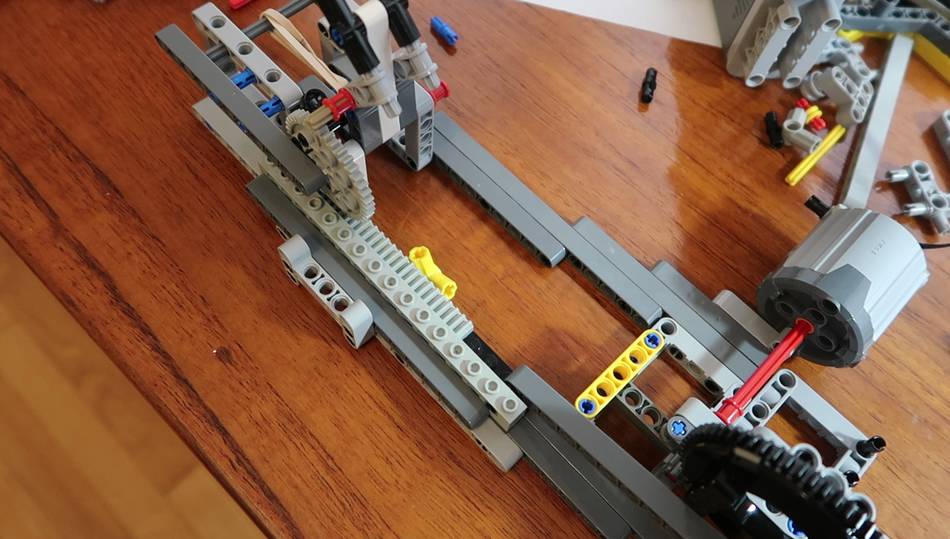
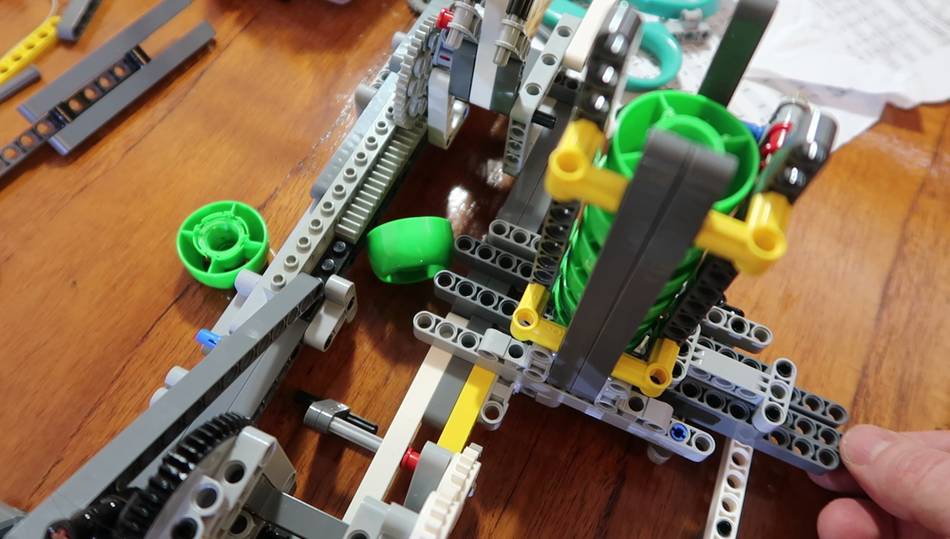
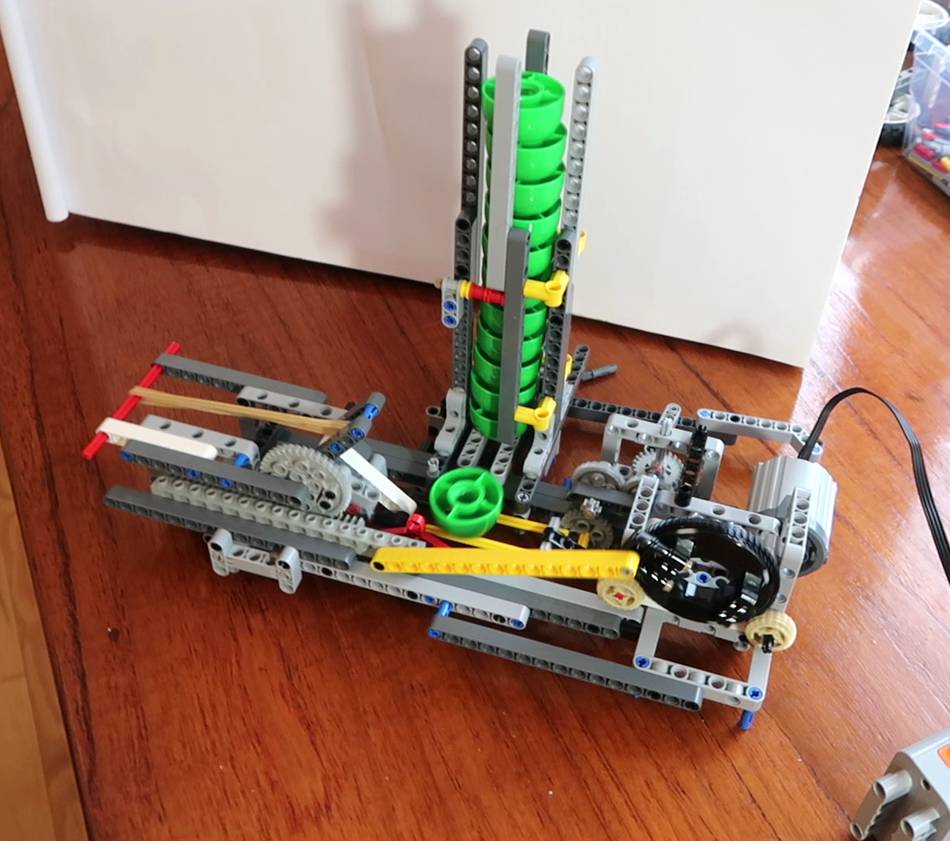
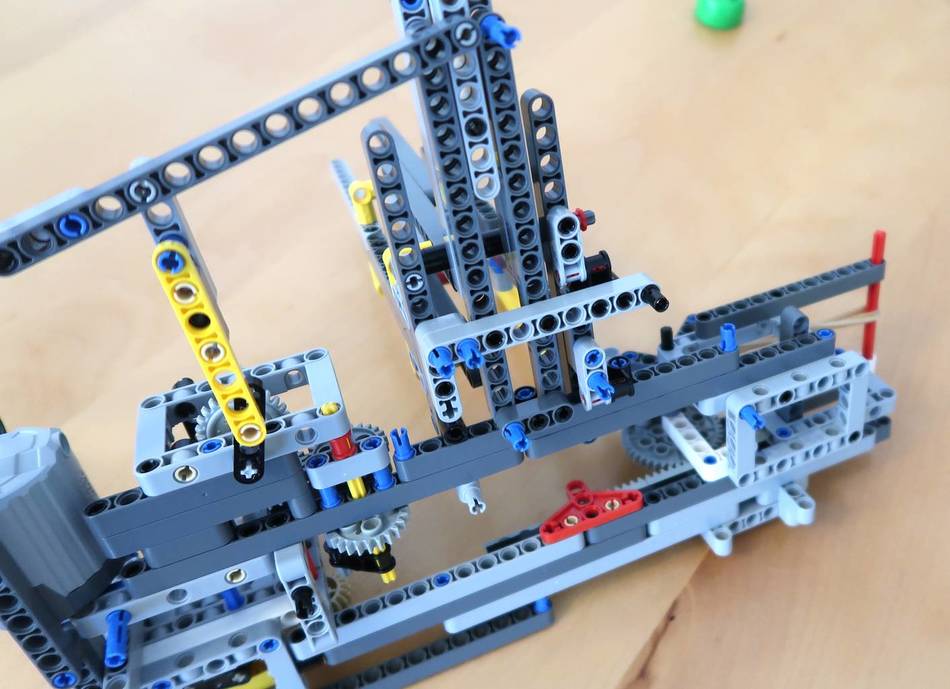
Now with the new arrangement of gears. Fewer gears than before, and overall more
robust and elegant, I think.
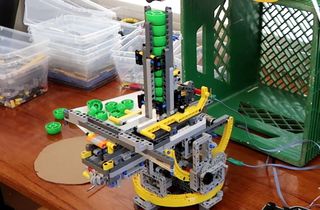
I also made the tower for the projectiles taller, so it could hold 12 caps.
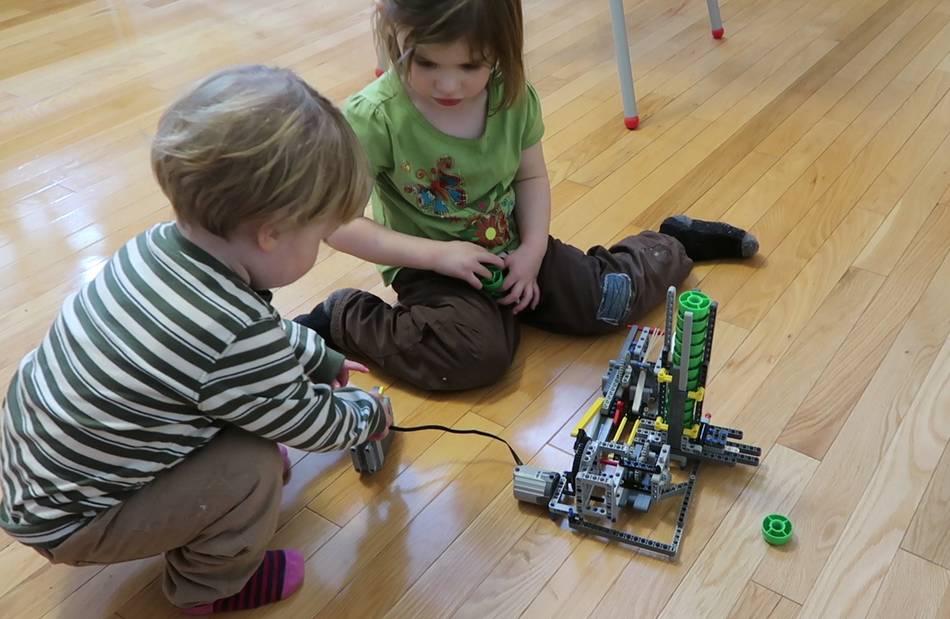
Showing it to the kids, and letting them "play" with it. Or, more accurately,
interact. It's a very finicky machine, and if a cap is in the wrong place, or even
loaded upside-down, it jams, gears skip, and then the mechanism are
out of phase and it needs expert adjustments to get it working again.
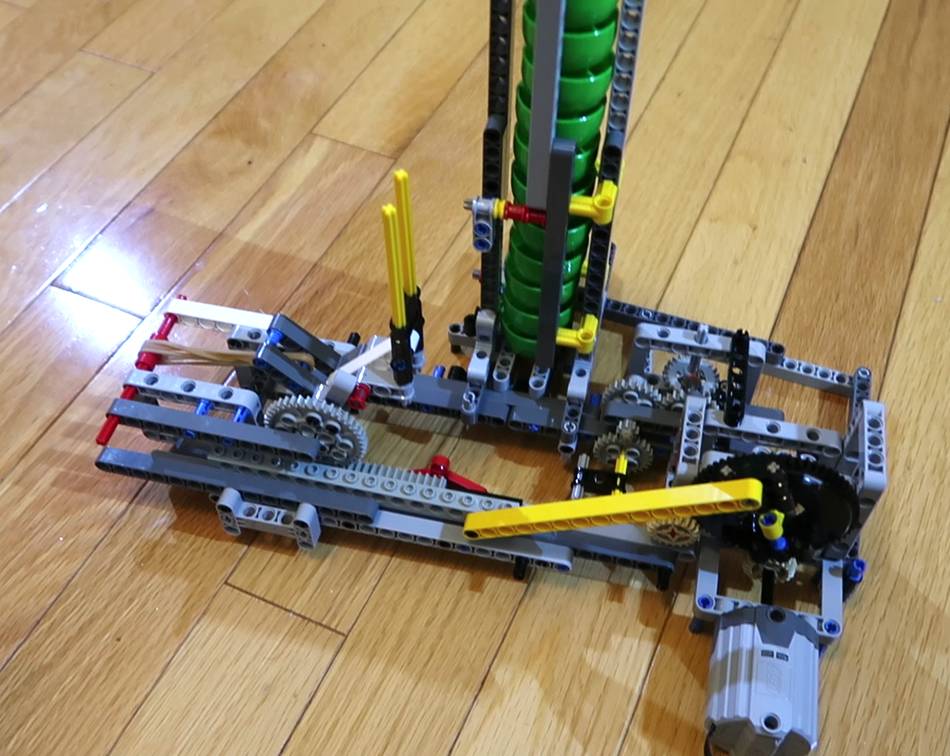
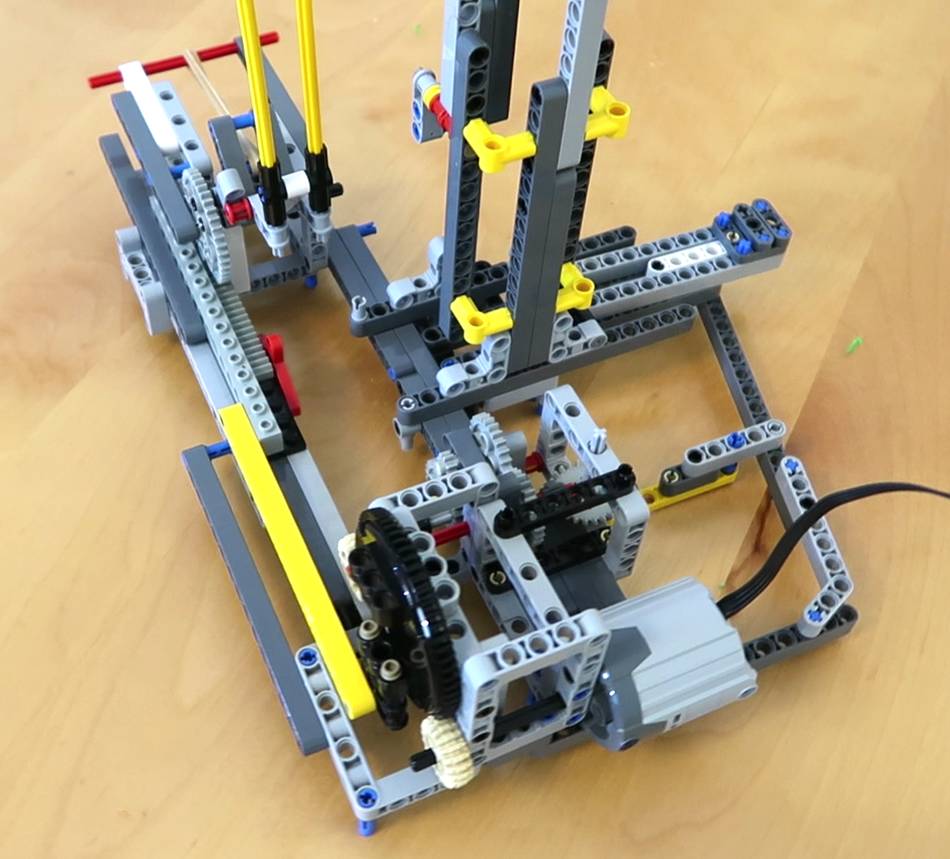
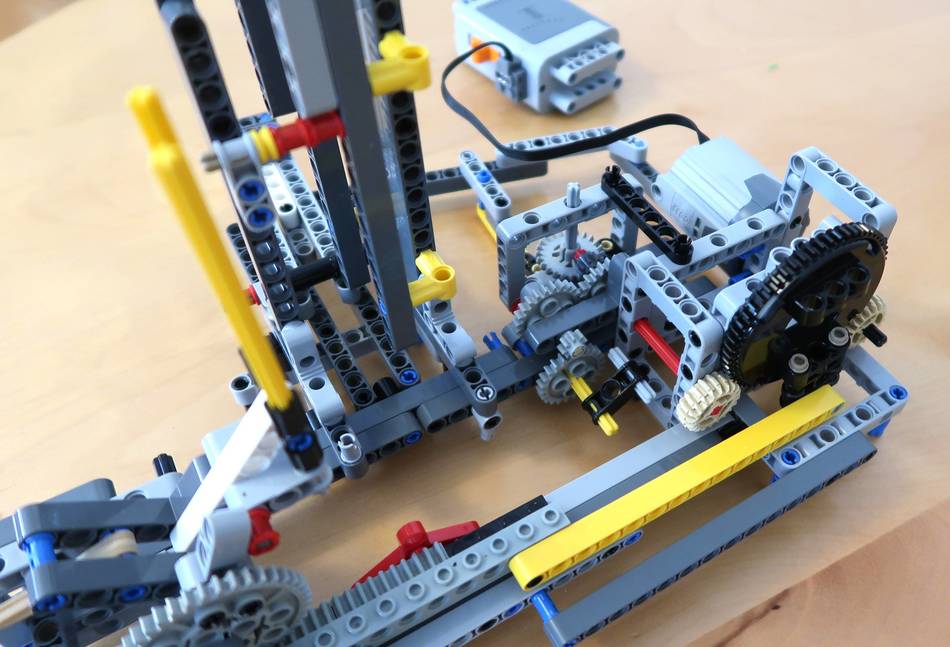
The next day, working on the video for the machine, I couldn't help but tweak it
some more. I moved the motor again. The motor powers the big gear using a 20-tooth
gear, and the whole thing fires at about one round per second!
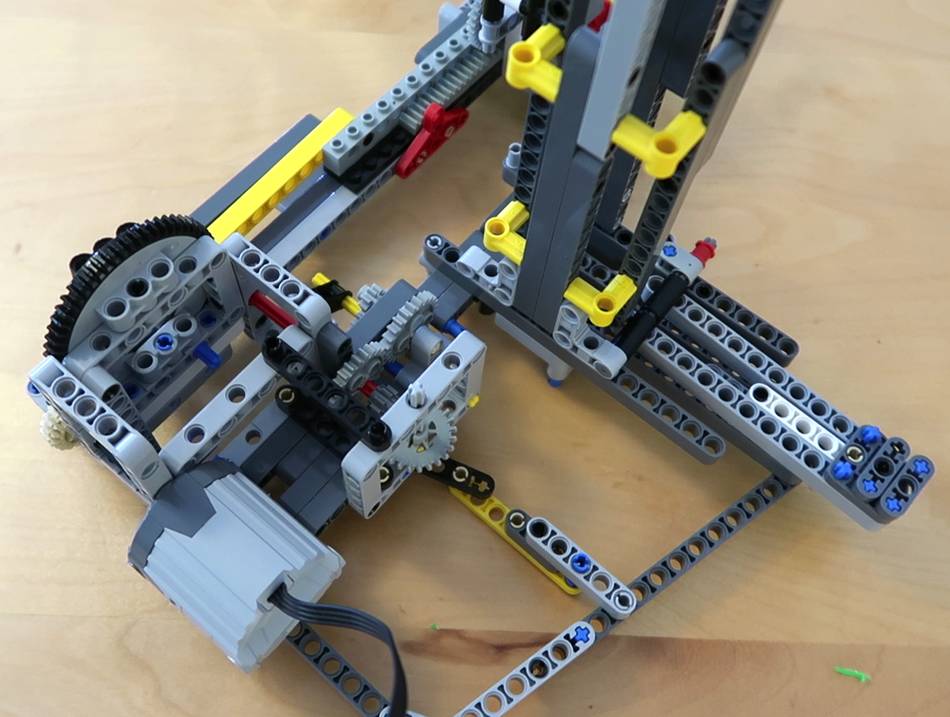
And I'm sure some of you may want to build your own. So here's some close-up photos
to help with that. But it takes some ingenuity to make this thing work, especially
if you plan on using different projectiles. So if these photos aren't enough to build
it from, it's also likely that you don't have the ability to tweak this thing to
actually work.
Nearly everything on this build came from my lego bucket wheel excavator set, except for the
40-tooth gear, 3 24-tooth gears, one 24-tooth crown gear, three rack and pinion rack segments,
a classic 16-stud lego technic beam, and a 2x16 plate, which all came from the original lego
mindstorms set, from around 1997. And a few rubber bands and baby food pouch caps.
 I had the idea of building a better motorized repeating shooter out of lego.
Searching for "lego machine gun", I came across a lot of models of machine guns, but at best
these shot rubber bands. The closest to what I could find was
this video, but, ironically,
that machine gun was one
I designed and published in 2001,
the very design I wanted to improve on!
I had the idea of building a better motorized repeating shooter out of lego.
Searching for "lego machine gun", I came across a lot of models of machine guns, but at best
these shot rubber bands. The closest to what I could find was
this video, but, ironically,
that machine gun was one
I designed and published in 2001,
the very design I wanted to improve on!


 Computer controlled cap shooter aimer
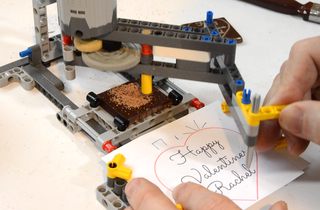 Chocolate carving lego pantograph
 Mouse gap squeezer teaser machine
 Mouse in a Lego maze
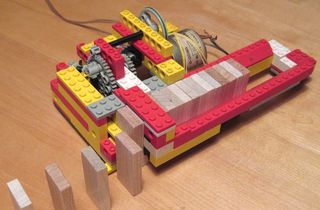 Lego domino row building machine
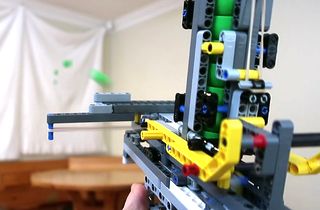 Lego repeating crossbow
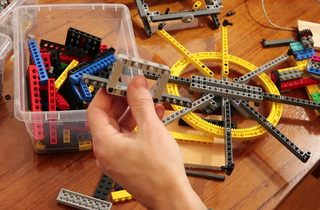 Lego technic new vs. old
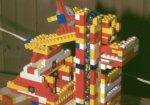
 Wooden plastic cap shooter build
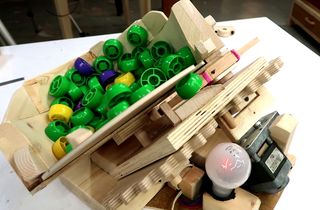 Automatic hopper fed catapult