Making recessed drawer pulls
 I didn't need to make any drawers with recessed drawer pulls, but I wanted
to experiment with how well my router pantograph
would work for that sort of technique.
I didn't need to make any drawers with recessed drawer pulls, but I wanted
to experiment with how well my router pantograph
would work for that sort of technique.

What prompted me to try this experiment was an episode of New Yankee Workshop (#812 - Nest of Drawers), in which Norm Abrahams used several router templates and a guide bushing to carve out some recessed drawer knobs. He used a total of three templates, one of which he had to attach to the unfinished knob with carpet tape.
 I figured I could do better using my router pantograph.
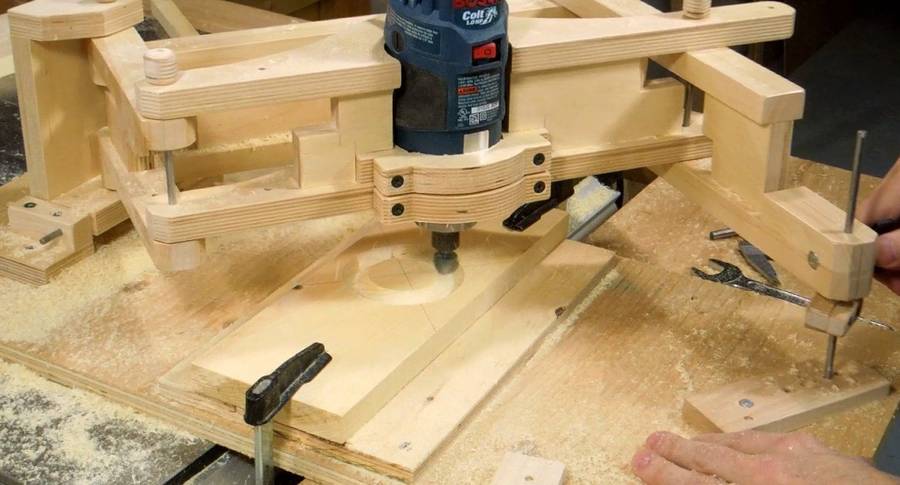
I prefer to keep my workbench relatively free of sawdust, so I usually use my table saw as a workbench for router work. I set it up on the back of the table saw so I could clamp the workpiece down using the slot between the saw and my outfeed extension.
 Like Norm, I decided to use a dovetail bit to do the undercut around the knob.
 The rest of the cavity can be carved out with a ballnose bit.
 That same ballnose bit can also be used to add a chamfer to the cavity and to
the edges of the knob.
That same ballnose bit can also be used to add a chamfer to the cavity and to
the edges of the knob.
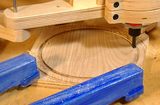
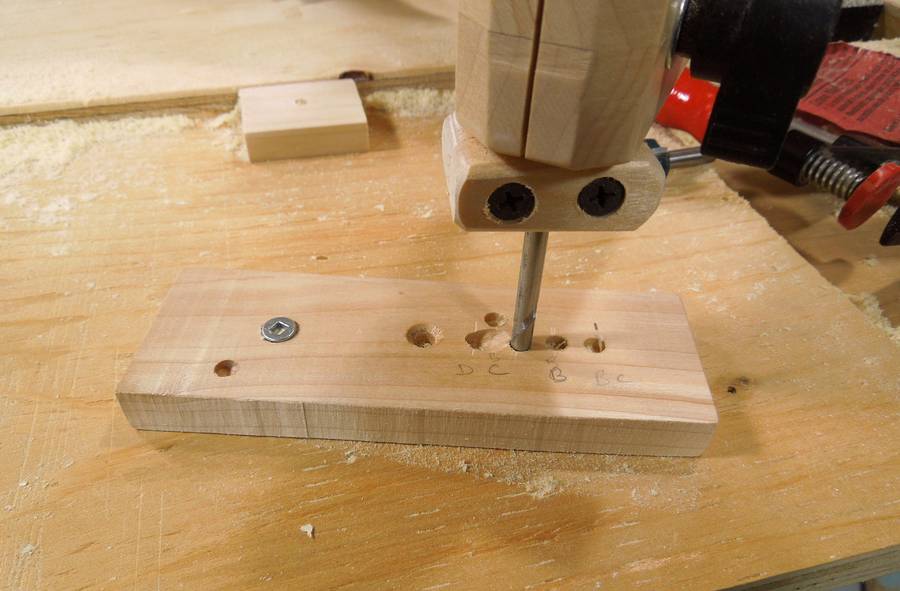 Like I had previously done in making lids
and when making dice, I used a sort of "beam compass" to
guide the follower pin of my pantograph around a circle. I set the pantograph to 2:1 reduction,
so as long as the guide pin traces a circle twice the size of the circle I need
to trace with the router, I should be ok.
Like I had previously done in making lids
and when making dice, I used a sort of "beam compass" to
guide the follower pin of my pantograph around a circle. I set the pantograph to 2:1 reduction,
so as long as the guide pin traces a circle twice the size of the circle I need
to trace with the router, I should be ok.
The piece of wood rotates around the screw at left. Several holes in the piece allow me to trace circles of the sizes needed for carving out this cavity. The second hole from the left (labeled 'C') has a sort of "angled approach" carved into it. That hole is for the final pass around the knob with the dovetail bit. I can't just plunge the dovetail bit vertically because the wider front of the bit would take a notch out of the knob. So this angled approach allows me to approach that hole from the side instead of plunging straight into it.
 A tricky aspect is setting the height of the bit. I started with a piece of wood of the same
thickness as the wood that I wanted to leave uncut. I put this under the router bit.
I then set my pantograph to be exactly horizontal, and then positioned the bit in the chuck
such that the bit was just resting on the piece of wood.
A tricky aspect is setting the height of the bit. I started with a piece of wood of the same
thickness as the wood that I wanted to leave uncut. I put this under the router bit.
I then set my pantograph to be exactly horizontal, and then positioned the bit in the chuck
such that the bit was just resting on the piece of wood.
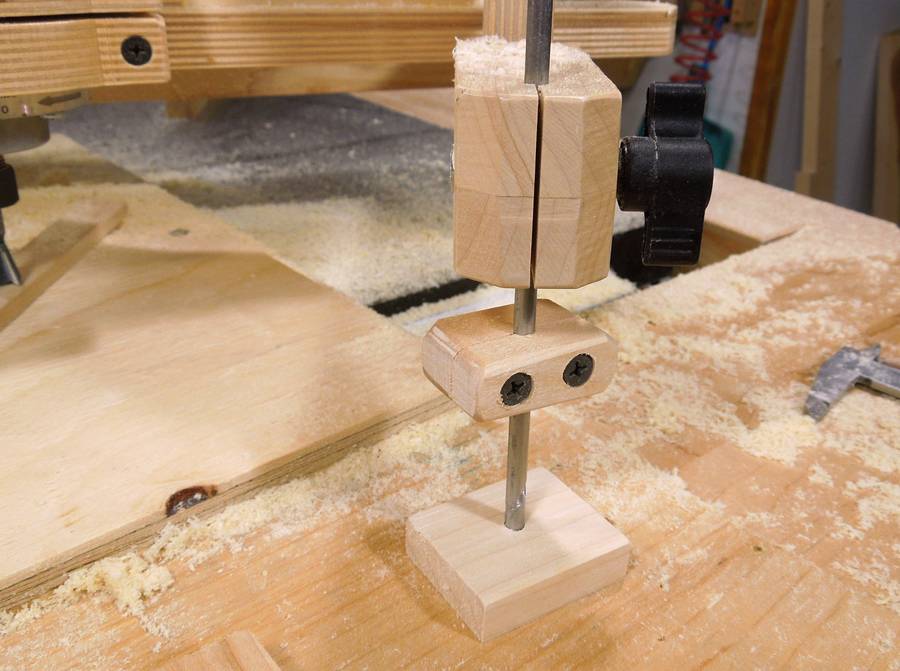 I had to repeatedly set the pantograph to exactly horizontal for several of the steps, so I made a small
block of wood to clamp to the guide-pin. After setting the pantograph horizontal, I clamped that
block to the pin. That way, I just needed to loosen the pantograph's clamping knob and let it slide
down on the pin until it touched that block to set it horizontal again later.
I had to repeatedly set the pantograph to exactly horizontal for several of the steps, so I made a small
block of wood to clamp to the guide-pin. After setting the pantograph horizontal, I clamped that
block to the pin. That way, I just needed to loosen the pantograph's clamping knob and let it slide
down on the pin until it touched that block to set it horizontal again later.
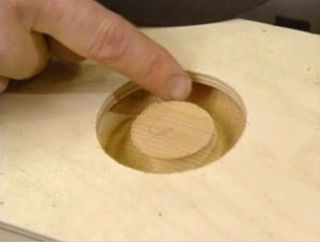
 I started by making a cut with the 3/4" ballnose bit, cutting in steps until I reached
the depth I wanted. The first cuts were with the pantograph tilted up a bit, and the final
cut with it exactly horizontal.
I started by making a cut with the 3/4" ballnose bit, cutting in steps until I reached
the depth I wanted. The first cuts were with the pantograph tilted up a bit, and the final
cut with it exactly horizontal.
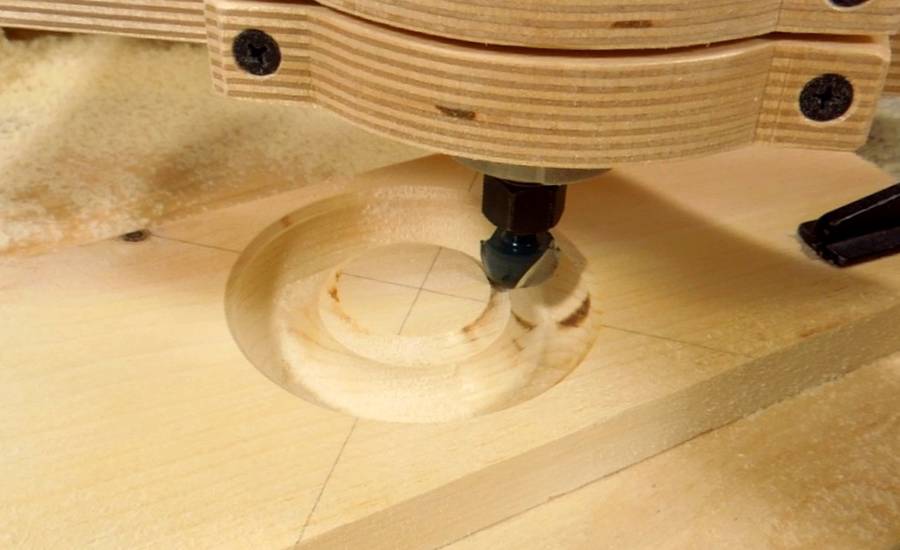 Next I cut a chamfer for the inside and outside edges of the hole. these are smaller and larger
circles respectively, with the pantograph raised up a bit. This puts the router's axis at a
slight tilt, but with the spherical cut that this bit makes, the router tilt doesn't actually matter.
Next I cut a chamfer for the inside and outside edges of the hole. these are smaller and larger
circles respectively, with the pantograph raised up a bit. This puts the router's axis at a
slight tilt, but with the spherical cut that this bit makes, the router tilt doesn't actually matter.
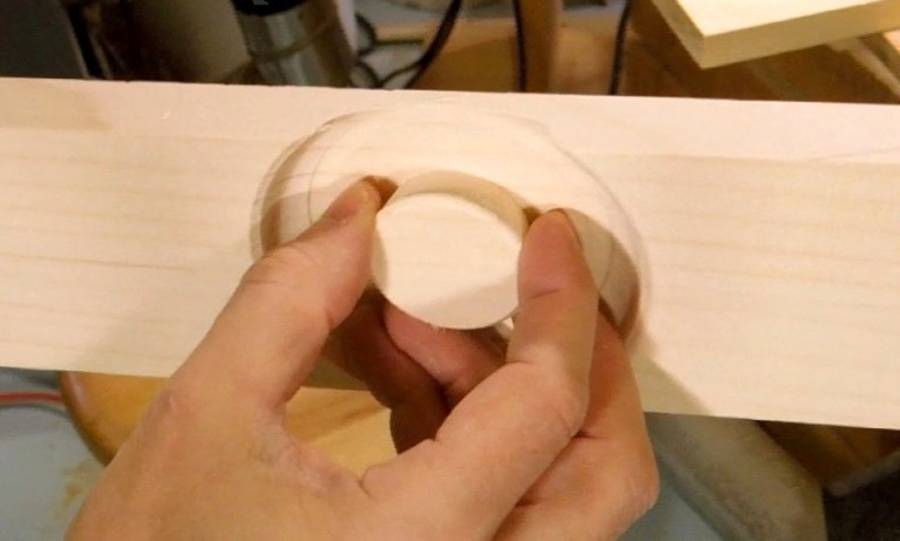
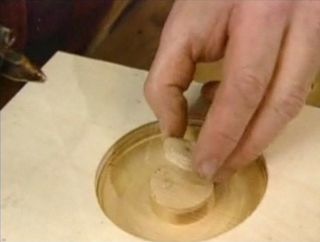
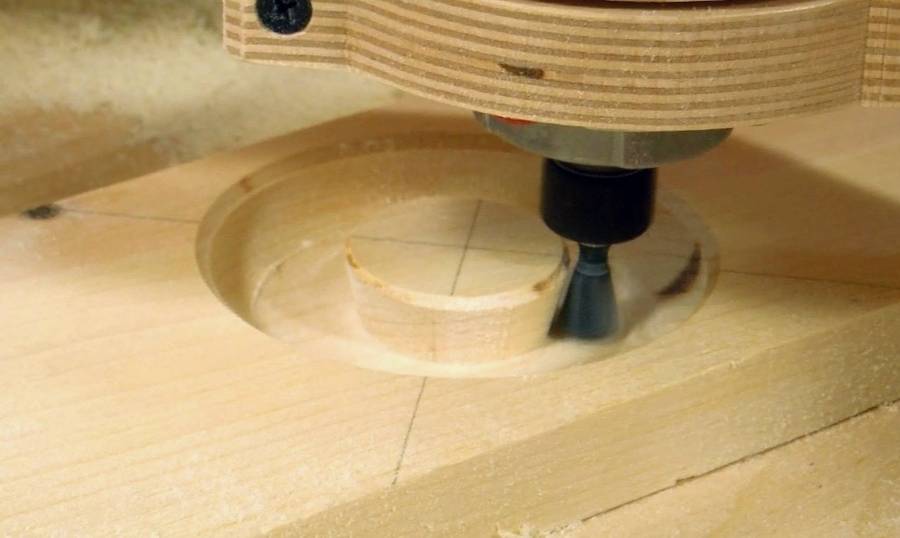 The final cuts were made with the dovetail bit. The dovetail bit flattens the bottom of
the cavity and cuts the slant on the side of the knob.
The final cuts were made with the dovetail bit. The dovetail bit flattens the bottom of
the cavity and cuts the slant on the side of the knob.
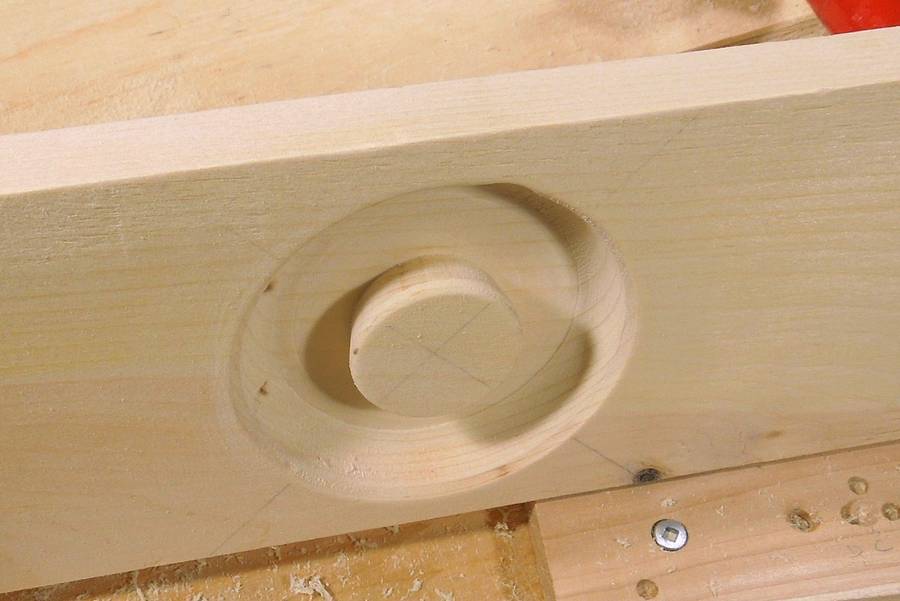 And here's the finished knob.
If you want to make several of these knobs, the question is whether you should change router bits for every knob cut, or whether it's easier to do the same step on all workpieces before switching bits. If you make more than two of these, I think it would be easier to do the same step on every piece, swapping the workpieces. But to do that, you will need to have some sort of "stops" to help align the workpieces in a repeatable way.
It would also be a good idea to make the drawer fronts a little oversized, and then cut the final size after the knob was cut. That way, if you get the knob just a little off-center, you can adjust for that by how you cut the edges.
See also:
 Cutting circles
with the pantograph
 Round drawer knobs, no lathe
 Making drawer pulls
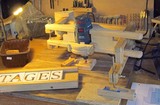 Angus's pantograph
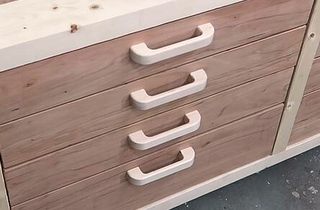 Making drawer pulls
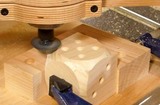 Making rounded dice
with the pantograph
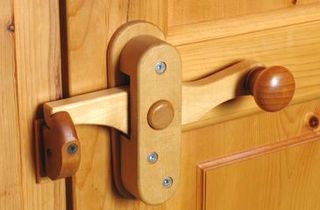 Wooden doorknobs
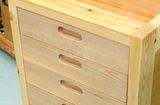 Drawers with recessed handles
Back to the 3D router pantograph