Changing planer knives
 I had a rather unfortunate encounter between a fragment of screw in some
reclaimed lumber and my thickness planer knives.
I had a rather unfortunate encounter between a fragment of screw in some
reclaimed lumber and my thickness planer knives.
 Screws, being much harder than nails, nick the knives quite badly. Nicks in the
knives leave small ridges in the wood. Usually, these nicks and corresponding
ridges are MUCH smaller than this one!
Screws, being much harder than nails, nick the knives quite badly. Nicks in the
knives leave small ridges in the wood. Usually, these nicks and corresponding
ridges are MUCH smaller than this one!
 The ridges left by nicks are usually on the order of .002" (0.05 mm) high.
This one was .018" high (nearly half a millimeter)
The ridges left by nicks are usually on the order of .002" (0.05 mm) high.
This one was .018" high (nearly half a millimeter)
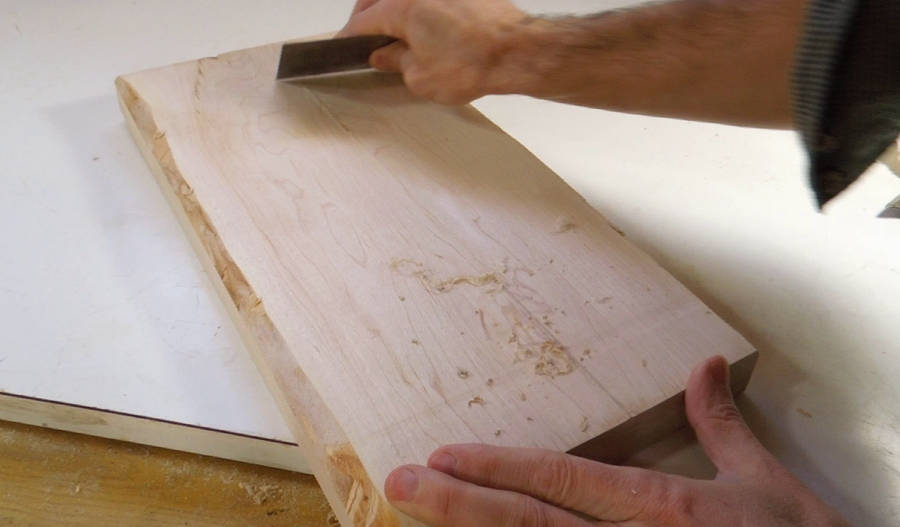 For hardwood, most of these ridges are easily removed with a cabinet scraper.
A cabinet scraper can take off about .001" per pass, so a few strokes is
usually all that is needed.
For hardwood, most of these ridges are easily removed with a cabinet scraper.
A cabinet scraper can take off about .001" per pass, so a few strokes is
usually all that is needed.
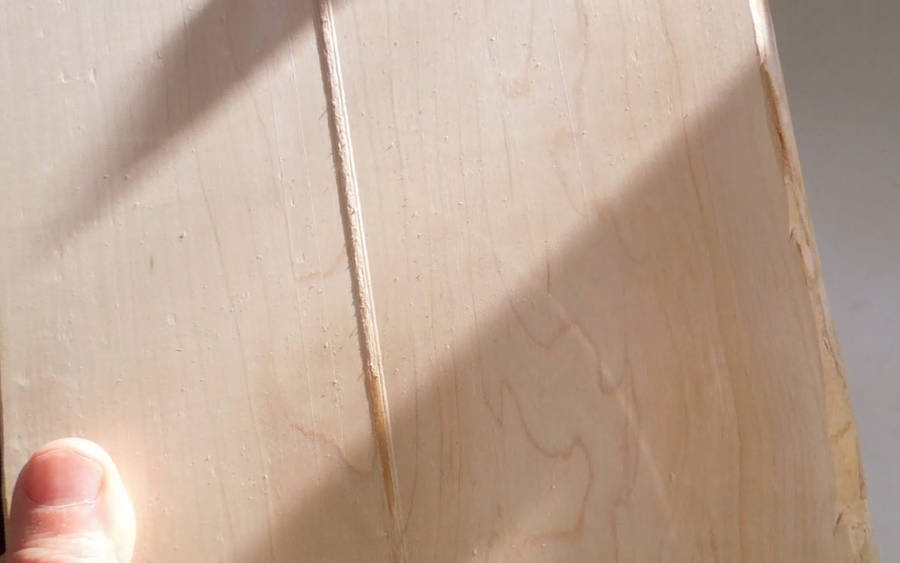
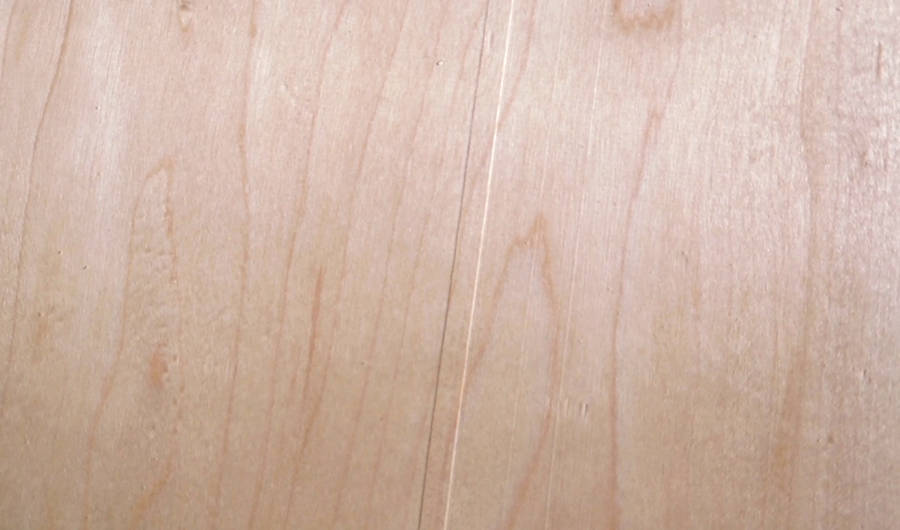
 This one took quite a few scrapes to remove. Here's looking at the wood with the
sun shining on it at a very low angle. This really brings out the texture,
including a few other slight ridges from nicks in the blades.
This one took quite a few scrapes to remove. Here's looking at the wood with the
sun shining on it at a very low angle. This really brings out the texture,
including a few other slight ridges from nicks in the blades.
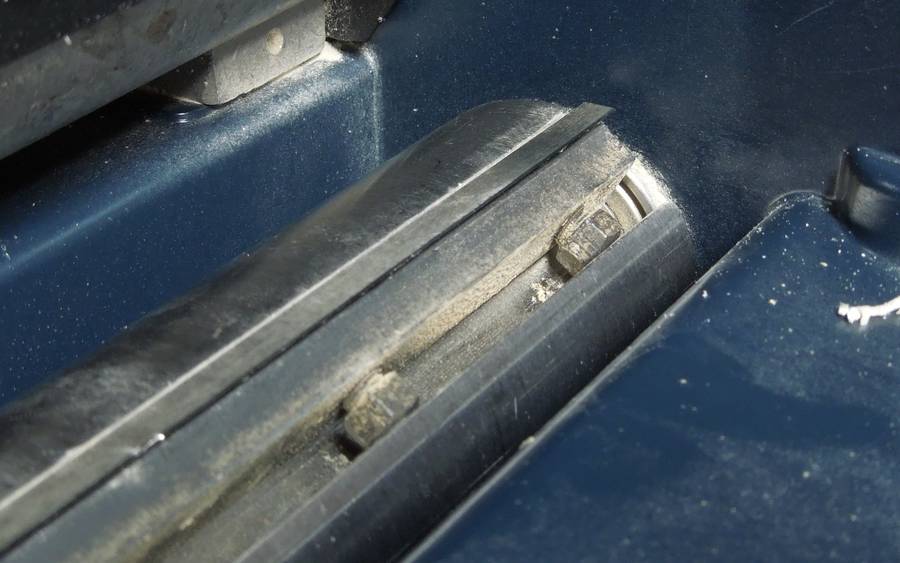 Looking at the planer's cutter head, it's one of the traditional style heads, with
a wedge with screws in it clamping a relatively thick (3 mm) blade in place.
Looking at the planer's cutter head, it's one of the traditional style heads, with
a wedge with screws in it clamping a relatively thick (3 mm) blade in place.
You can see the nick towards the bottom left in this picture.
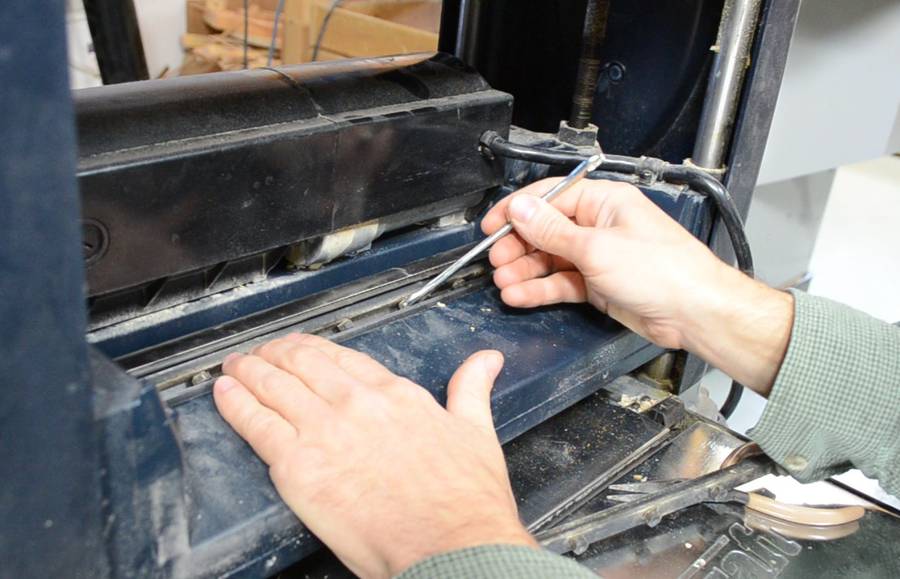
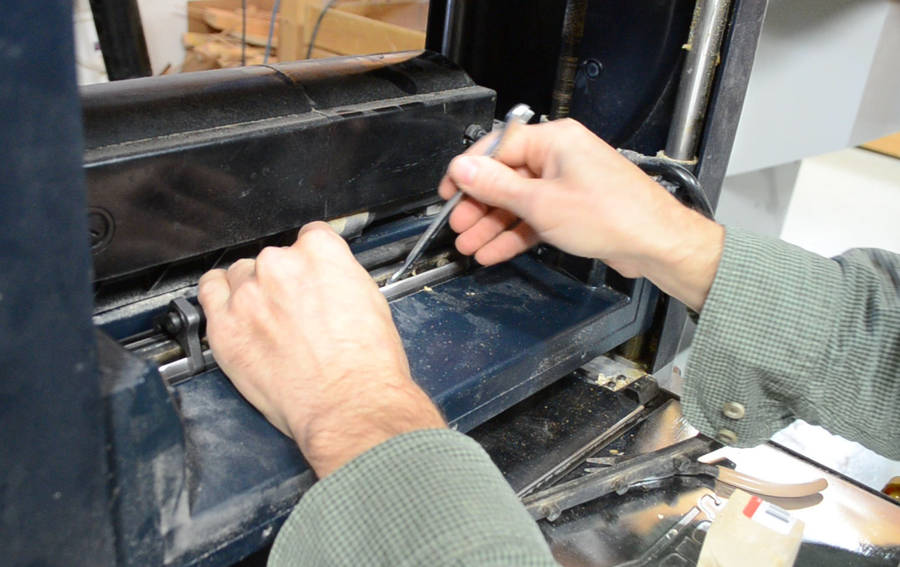
 The knives are loosened by turning the screws in the wedges with a wrench.
I turn them clockwise, which turns the screws into the wedges.
This releases the pressure of the screw's head against the slot in the cutter head.
The knives are loosened by turning the screws in the wedges with a wrench.
I turn them clockwise, which turns the screws into the wedges.
This releases the pressure of the screw's head against the slot in the cutter head.
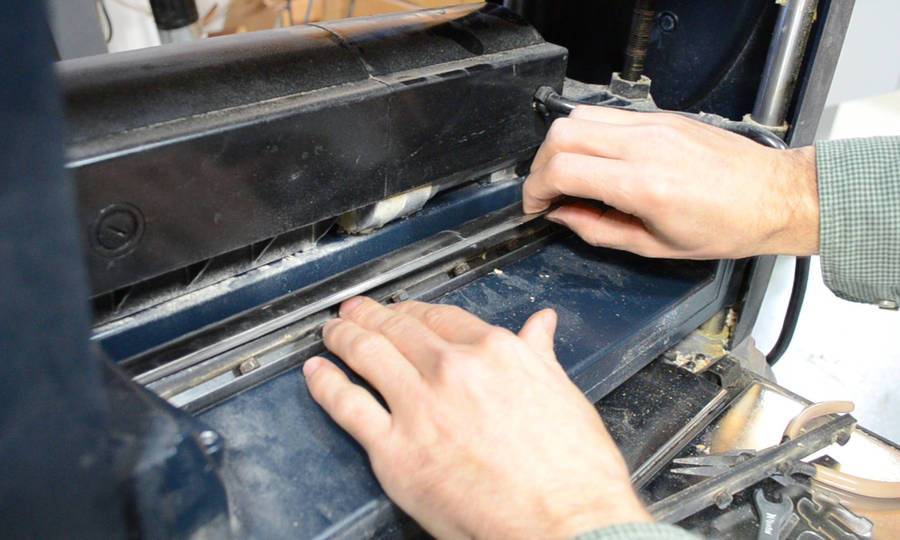 With all the screws loosened, the knife can be pulled out. After removing the
knife, I also remove the wedge.
With all the screws loosened, the knife can be pulled out. After removing the
knife, I also remove the wedge.
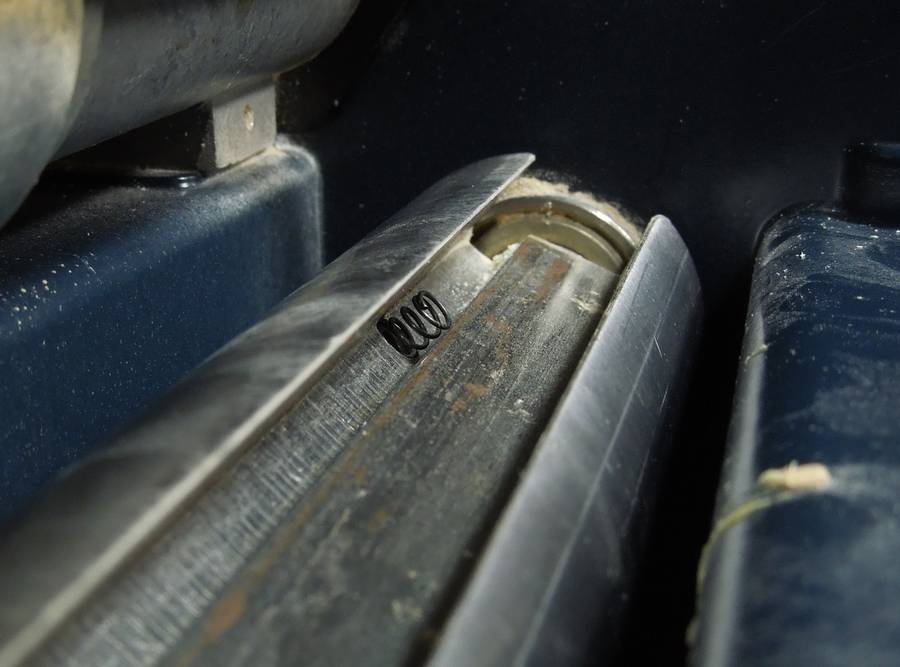 Two small springs behind the knife push the knife up. These springs are very
important when setting the knives. It's best to remove these springs when you
take out the knives so you won't lose them.
Two small springs behind the knife push the knife up. These springs are very
important when setting the knives. It's best to remove these springs when you
take out the knives so you won't lose them.
 A close up of the knife and wedge arrangement.
 Here's the knives from the planer. What I like about this planer is that it
uses regular old knives that can be sent out for resharpening.
Here's the knives from the planer. What I like about this planer is that it
uses regular old knives that can be sent out for resharpening.
But other than this nasty nick, these blades are still ok, so I'm going to shift one to the left and one to the right so that the nicks no longer line up. This will, for the most part, hide the nicks.
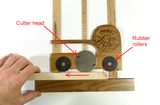
 A lot of small planers these days use thin disposable knives. for example,
the Delta planer's cutter head uses double-edged disposable knives,
although these can be resharpened.
A lot of small planers these days use thin disposable knives. for example,
the Delta planer's cutter head uses double-edged disposable knives,
although these can be resharpened.
Other small planers use knives with index pins, which are screwed more or less to the outside of the cutter head. These are very different from my planer, so this article won't help you much if you have that style.
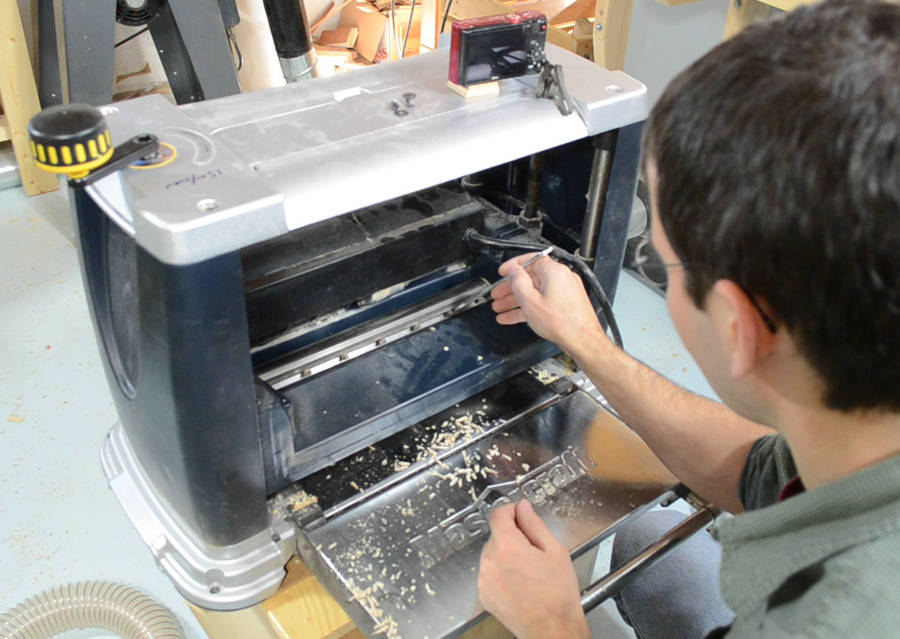
 Before reinstalling the knives, it helps to clean up everything so that there
won't be any bits of wood caught between the blades and the cutter head.
Before reinstalling the knives, it helps to clean up everything so that there
won't be any bits of wood caught between the blades and the cutter head.
I use compressed air to blow out the slot. Some of the crud that builds up on the wedges and the knives is best removed by scraping it off.
 First I put the springs back in, then the wedges.
I always end up turning all the screws in the wedges clockwise by one extra turn
before reinstalling them. This gives me more room to work with.
After that, I slide the knives in place.
First I put the springs back in, then the wedges.
I always end up turning all the screws in the wedges clockwise by one extra turn
before reinstalling them. This gives me more room to work with.
After that, I slide the knives in place.
 Next I back out all the screws in the wedges until I feel resistance, then
turn them back in (loosen them) slightly so that the knife can still slide
up and down.
It should be possible to push the knife down with a block of wood and have the springs
push it back up a little bit.
Next I back out all the screws in the wedges until I feel resistance, then
turn them back in (loosen them) slightly so that the knife can still slide
up and down.
It should be possible to push the knife down with a block of wood and have the springs
push it back up a little bit.
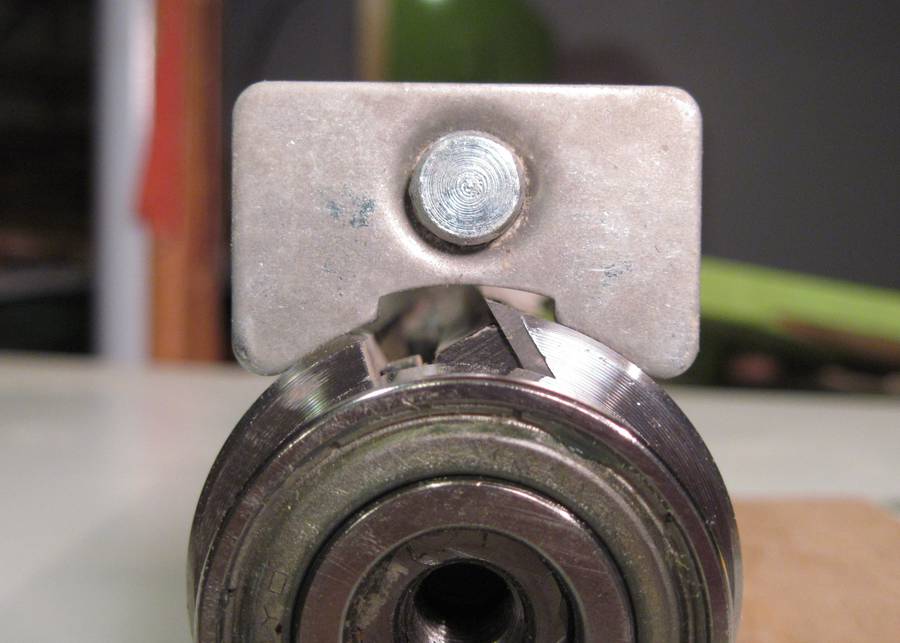
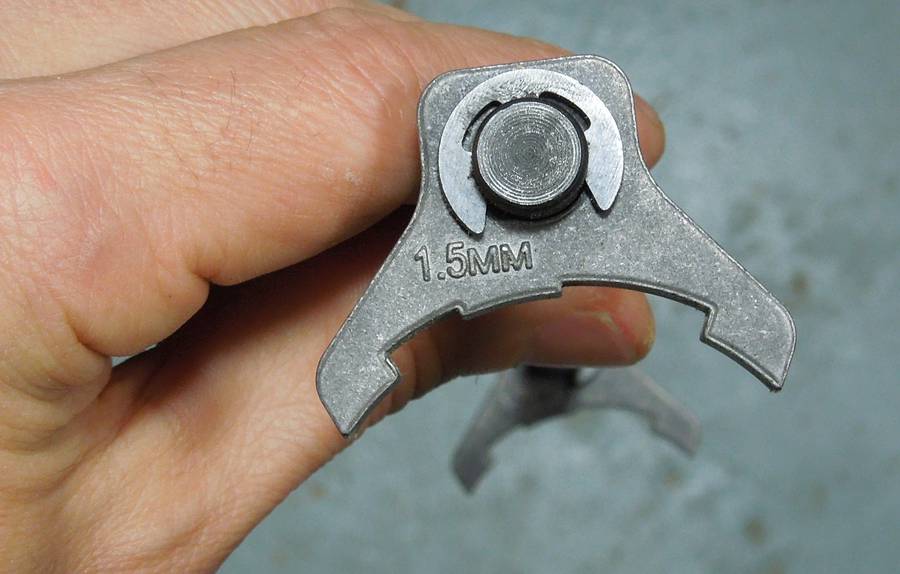 Thickness planers with this style of cutter head come with a setting gauge for setting the knives precisely.
This is the gauge for this planer. The ends of this gauge push against the cylindrical
part of the cutter head, while the part right below where it says "1.5mm" pushes against the knife.
Thickness planers with this style of cutter head come with a setting gauge for setting the knives precisely.
This is the gauge for this planer. The ends of this gauge push against the cylindrical
part of the cutter head, while the part right below where it says "1.5mm" pushes against the knife.
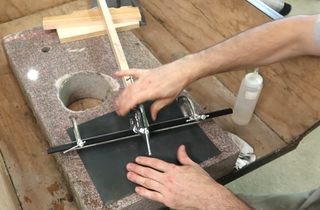
 It's hard to take a photograph of this with the planer all together, but here's a photo I took
of the cutter head for my homemade jointer as I was building it.
The knife setting gauge that came with my delta planer is a different style. Note in the photo that I set
the knives about a millimeter lower than that gauge would have set them to.
It's hard to take a photograph of this with the planer all together, but here's a photo I took
of the cutter head for my homemade jointer as I was building it.
The knife setting gauge that came with my delta planer is a different style. Note in the photo that I set
the knives about a millimeter lower than that gauge would have set them to.
 Using the setting gauge to push the knives down, I can be assured that they are at the
right height.
Using the setting gauge to push the knives down, I can be assured that they are at the
right height.
I start by moderately tightening the middle screw in the wedge, then I tighten all the screws that are not obstructed by the setting gauge. After that, I remove the setting gauge and moderately tighten the remaining screws.
These screws should not be tightened overly tight. As tight as you could turn with a screwdriver should be enough, certainly no tighter than you could tighten the wrench with just one extended finger.
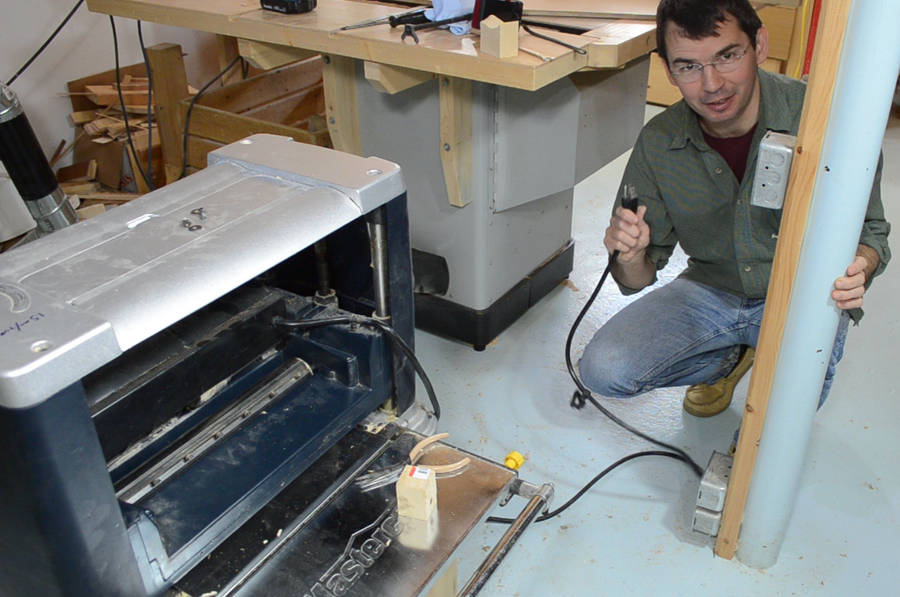 Very important when doing this sort of work - unplug the planer. I mention this so late
in the article because I hadn't actually thought of doing that myself until this point!
Very important when doing this sort of work - unplug the planer. I mention this so late
in the article because I hadn't actually thought of doing that myself until this point!
But do as I say, not as I do!
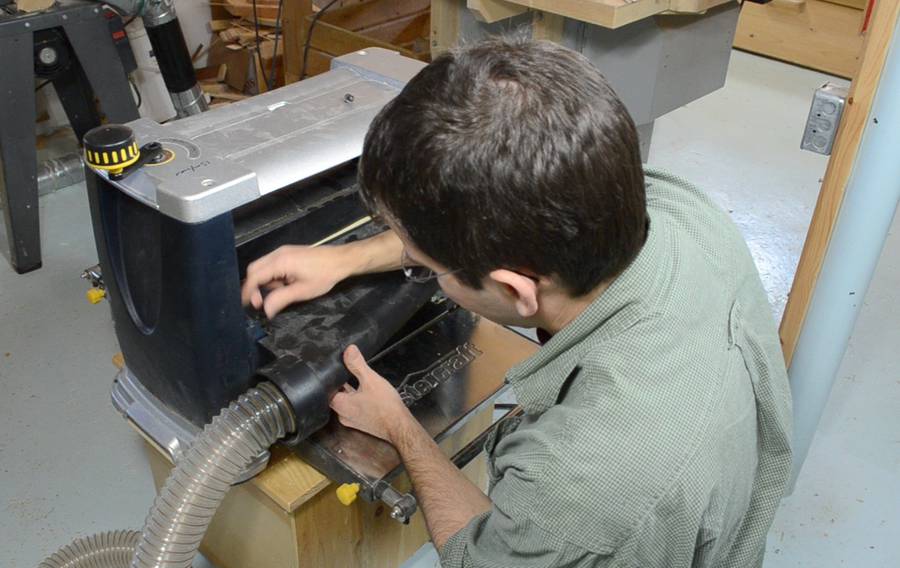 Putting the dust collection manifold back on. Just in case a knife does come flying out.
Mind you, I have never heard of a knife actually flying out of a planer.
Putting the dust collection manifold back on. Just in case a knife does come flying out.
Mind you, I have never heard of a knife actually flying out of a planer.
 And here's what the nick looks like afterwards. Still there, but only .001" high. Two strokes
with a cabinet scraper take care of it.
And here's what the nick looks like afterwards. Still there, but only .001" high. Two strokes
with a cabinet scraper take care of it.
See also:
 Planer snipe on
small thickness planers
 Sharpening planer or jointer knives straight
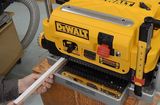 Thickness planer experiments
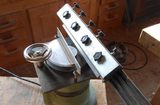 Planer blade sharpening machine
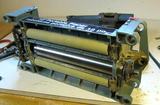 Delta planer teardown
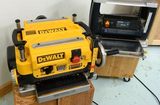 Dewalt DW735 planer
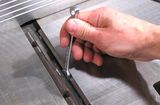 Setting and adjusting
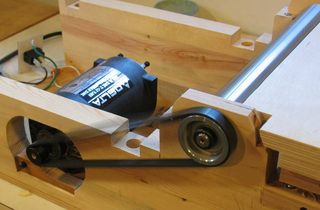 Homemade jointer
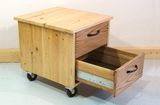 Planer stand
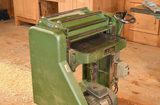 My dad's old
Back to my Woodworking website.