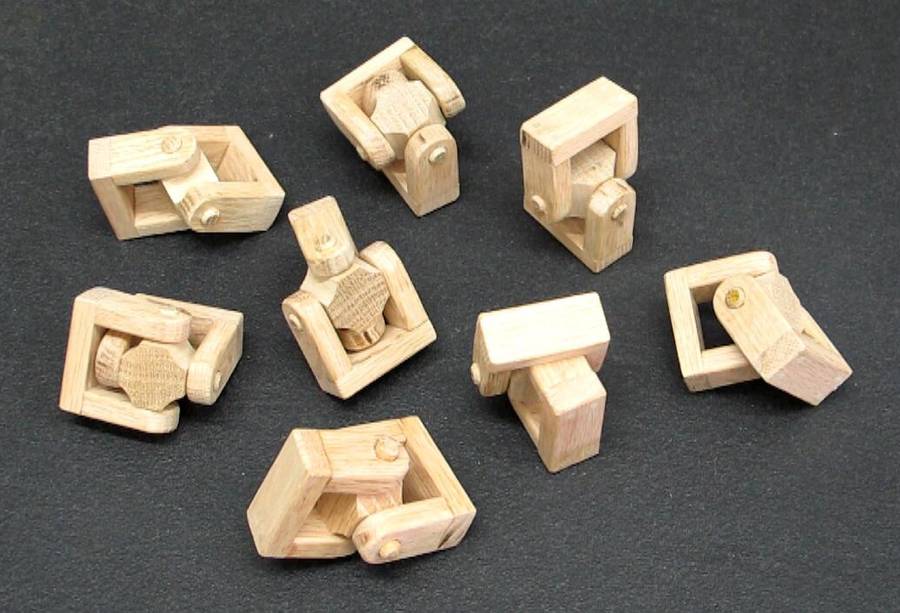
Wood U-Joint Construction
This article (and three videos) contributed by Ron Walters
 I thought a wood universal joint would be fun to use on some projects,
but first I had to figure out how to make one.
I thought a wood universal joint would be fun to use on some projects,
but first I had to figure out how to make one.
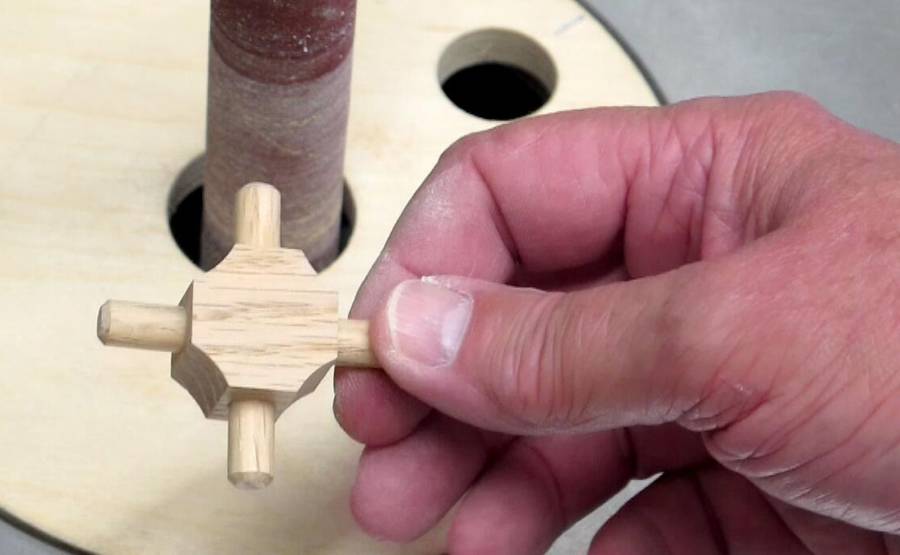
I decided on 5/16" dowel for the cross pins. I wanted the joint to move freely and decided I could accept a loose fit to allow for expected dimensional changes in the wood. 21/32" was selected as mating hole for the 5/16" pins.
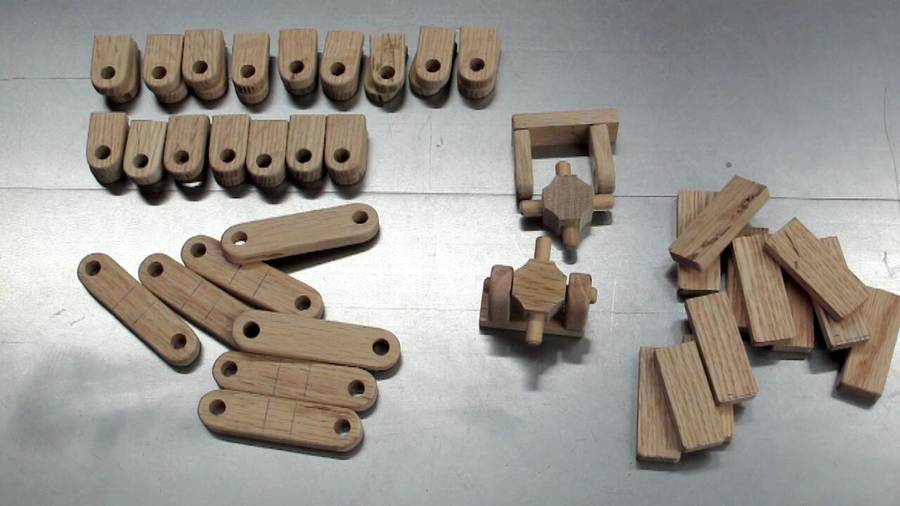
 Cutting the cross shaft blocks and yoke blocks raw stock to length.
I used nearly every power tool in my shop in the construction.
 The hinge or yoke ends were fabricated in pairs, which made the pieces
easier to work with.
The hinge or yoke ends were fabricated in pairs, which made the pieces
easier to work with.
After drilling, shaping, and roundover, the ends were cut apart and sanded to length and matched in pairs.


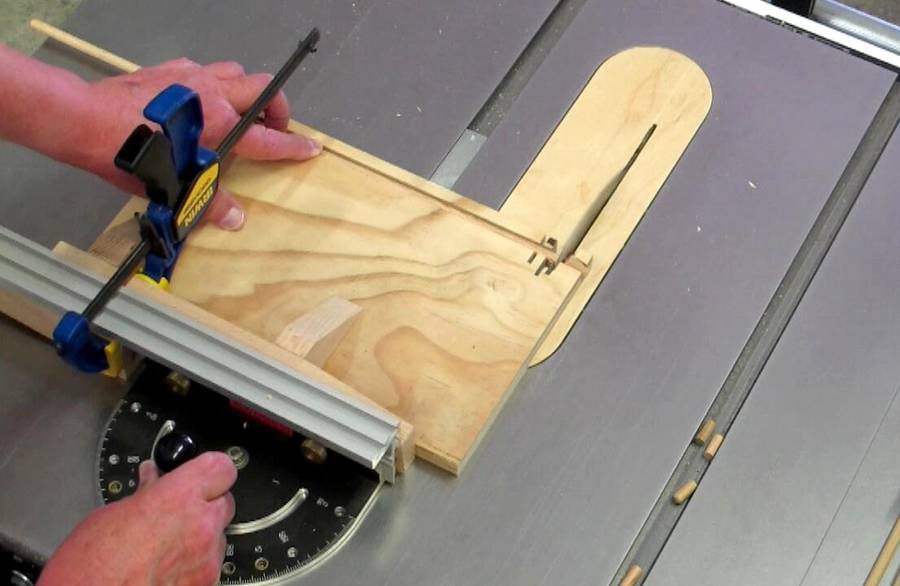
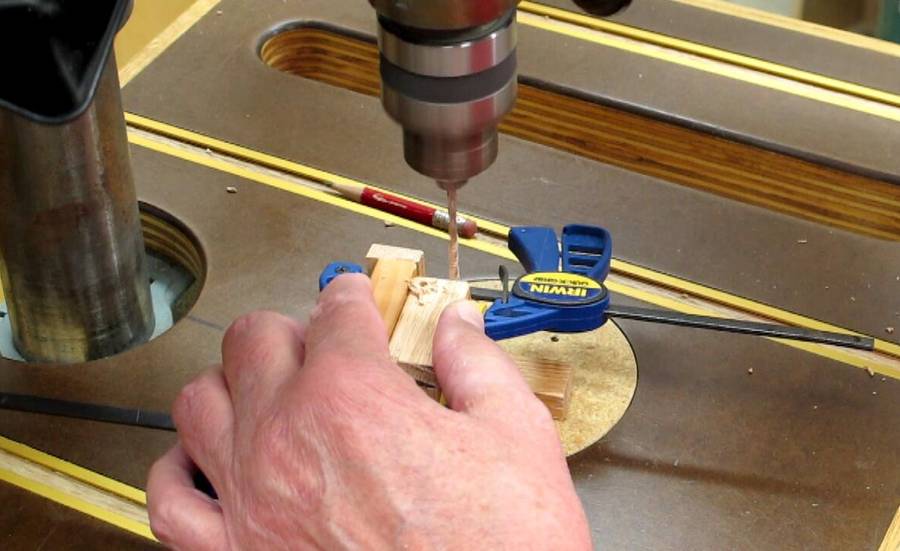
 Cross shaft blocks were cross-drilled
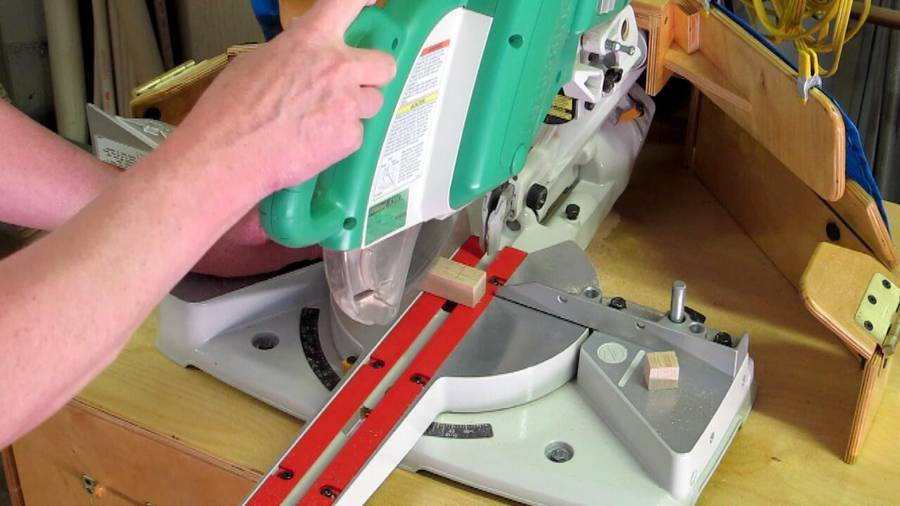
 Cross shaft pins were chamfered and cut to length using jigs for
the disc sander and table saw.
Cross shaft pins were chamfered and cut to length using jigs for
the disc sander and table saw.
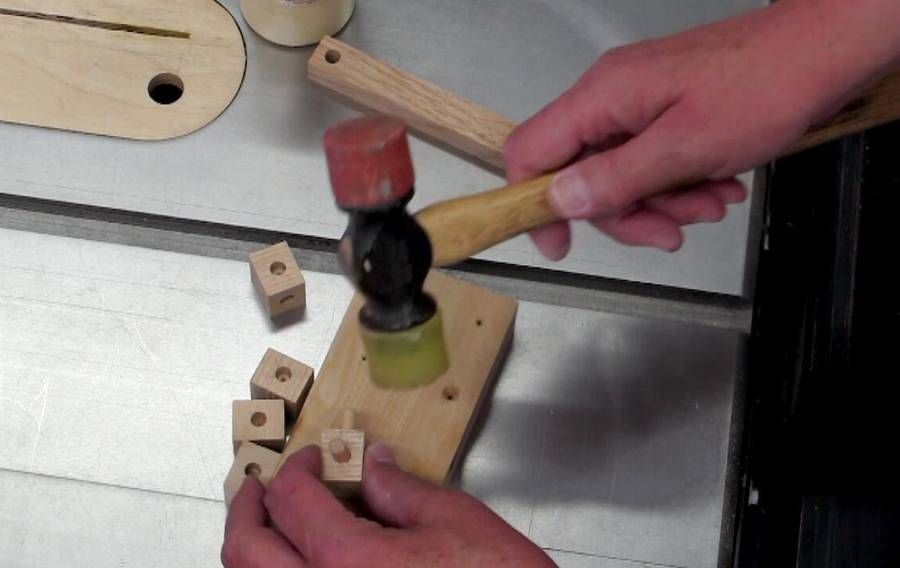
 After the pins were glued into the block, the internal radiuses were sanded.
 Yokes were glued together using epoxy
 Then the yokes were cross-drilled and pinned since the glue joints would
operationally be in shear. The pins are 1/8" dowel.
Then the yokes were cross-drilled and pinned since the glue joints would
operationally be in shear. The pins are 1/8" dowel.
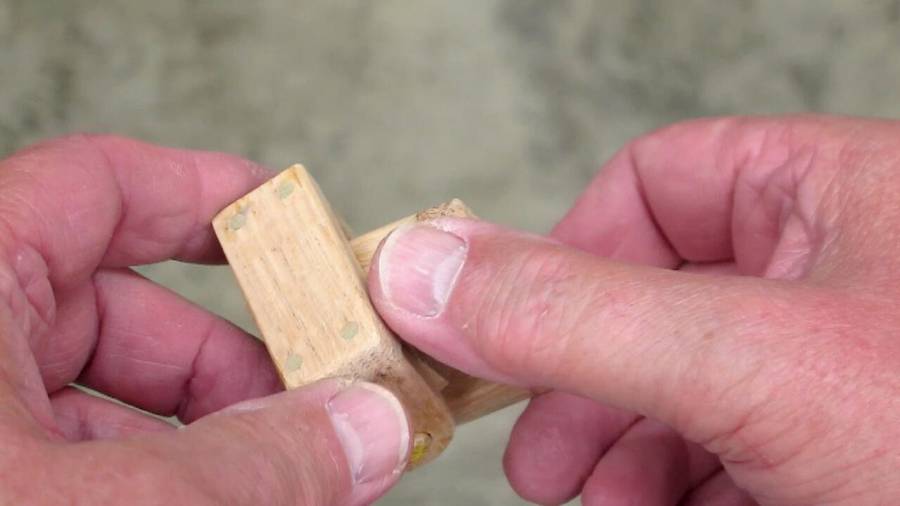
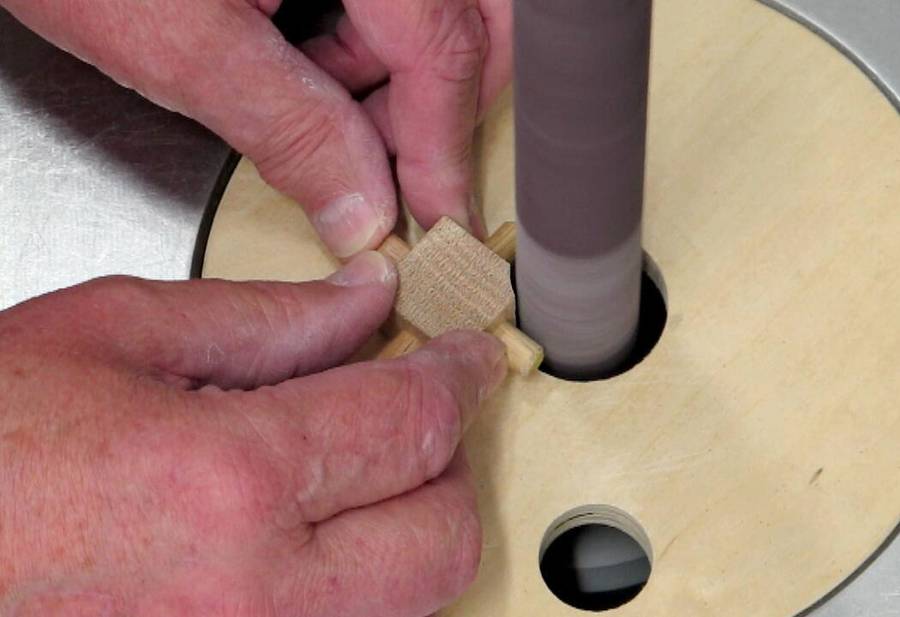
 After the U-Joints were assembled, the hardest part was locating the exact
center of the yoke back plates. This was somewhat complicated due to the loose
fit of the parts.
After the U-Joints were assembled, the hardest part was locating the exact
center of the yoke back plates. This was somewhat complicated due to the loose
fit of the parts.
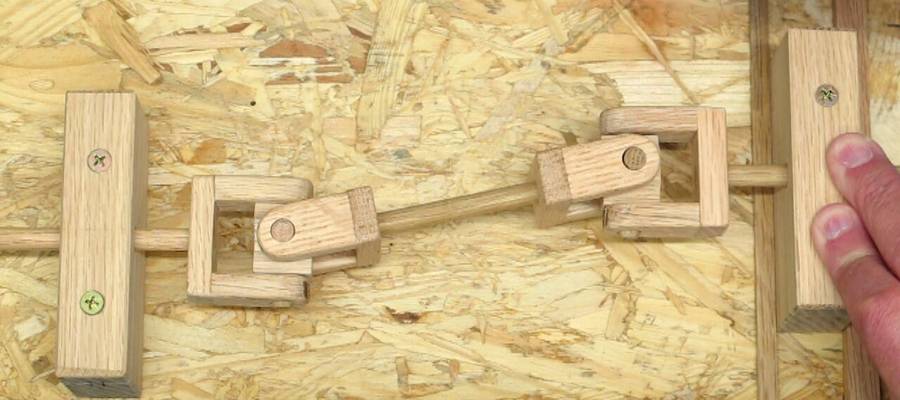
 Double U-Joint drive shafts are used for relatively small offset applications.
These wood U-Joints aren't really intended for high speed or high-torque
applications. At relatively slow speeds and reasonable loads these will perform
satisfactorily for a long time.
Double U-Joint drive shafts are used for relatively small offset applications.
These wood U-Joints aren't really intended for high speed or high-torque
applications. At relatively slow speeds and reasonable loads these will perform
satisfactorily for a long time.
These U-Joints will probably end up in a future marble machine or other wood gear type application.
Related projects:
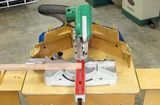 Compound miter saw
dust collection |
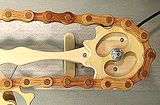 Wooden roller chain
|
Scissor extending lamp |
Pin gear experiment |