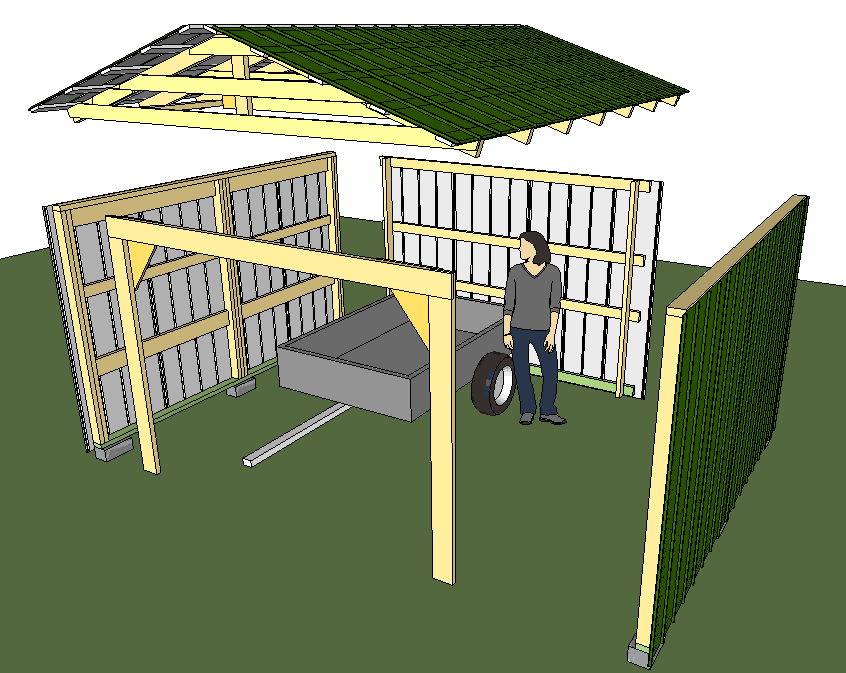
 This article is about building a shed, which I built in a sort of "modular" way.
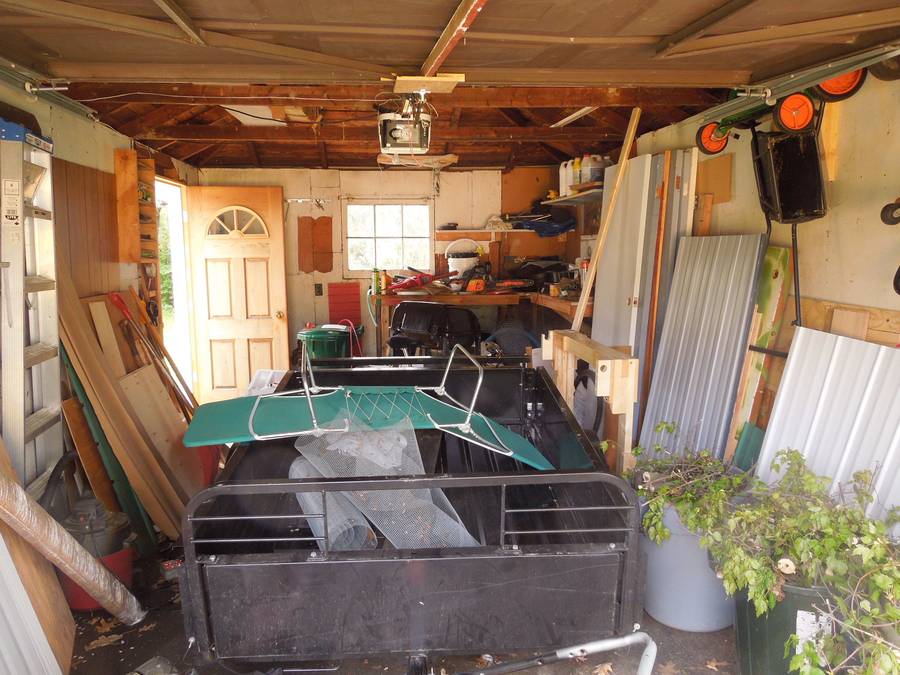 The need for this shed started with a not-unusual problem: Too much crap in
the garage!
The need for this shed started with a not-unusual problem: Too much crap in
the garage!
I always tilted the trailer upright and other clever solutions, but I figured if I made a shed large enough to park the trailer in, I wouldn't need to do that anymore.
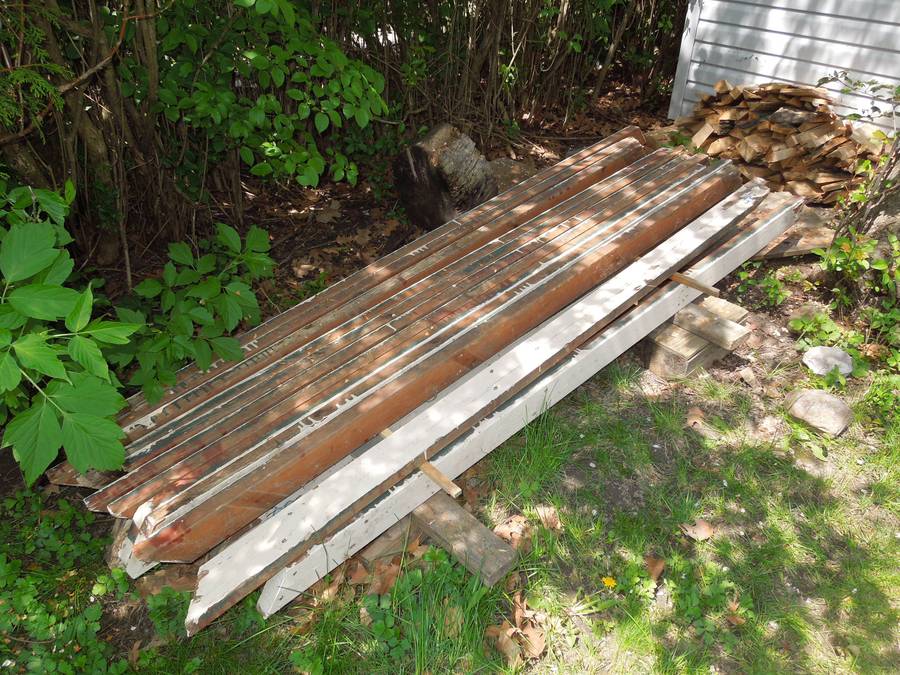
 I had been saving any free lumber that I came across in anticipation. A friend had
redone a deck recently, and I saved most of the old 2x4's from the decking.
I also found some larger lumber in a dumpster.
I had been saving any free lumber that I came across in anticipation. A friend had
redone a deck recently, and I saved most of the old 2x4's from the decking.
I also found some larger lumber in a dumpster.
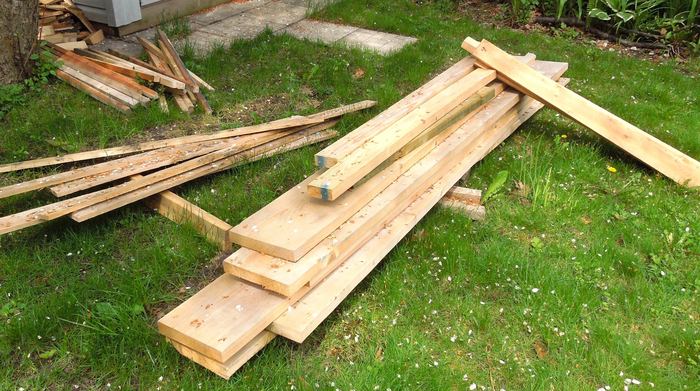
 Before buying any extra lumber, I figured I'd best see how I could
use what I already had. That way, I'd know exactly how much more
wood I'd need to buy.
Before buying any extra lumber, I figured I'd best see how I could
use what I already had. That way, I'd know exactly how much more
wood I'd need to buy.
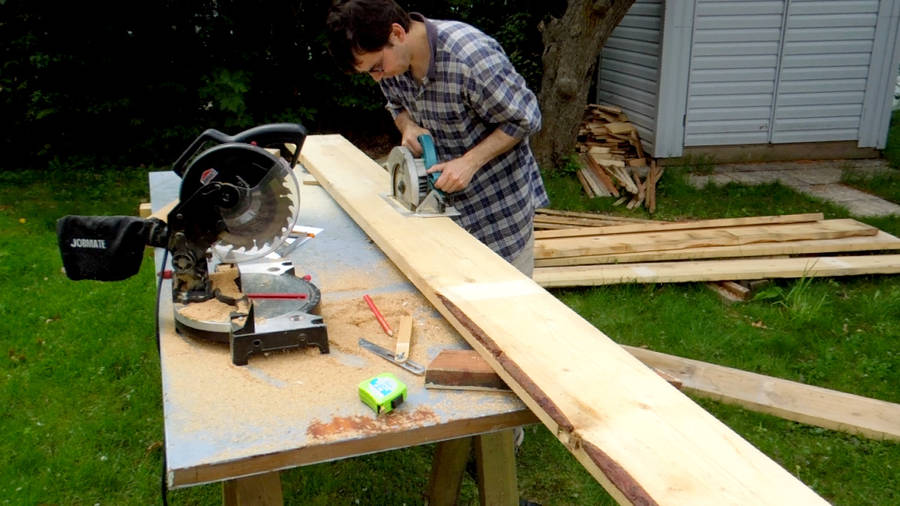
And while on the theme of recycling, the miter saw that I'm using came out of the garbage as well. The only thing that was wrong with it was that the screw holding the blade needed to be tightened. It was the perfect tool for cutting through questionable, painted lumber.
 The old decking 2x4's were enough for all the studs, and most of the rafters.
The lengths worked out well for those parts, so I ended up with only a small
pile of scraps.
The old decking 2x4's were enough for all the studs, and most of the rafters.
The lengths worked out well for those parts, so I ended up with only a small
pile of scraps.
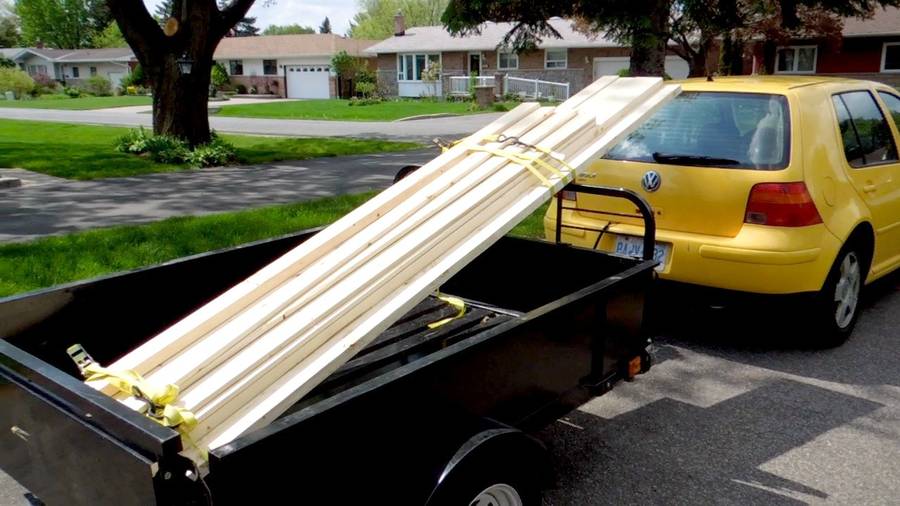 I used my trailer to get the rest of the lumber. It comes in handy for that.
That's why I have a trailer - to help build a shed.
And that's why I need a shed - to house the trailer!
I used my trailer to get the rest of the lumber. It comes in handy for that.
That's why I have a trailer - to help build a shed.
And that's why I need a shed - to house the trailer!
I think just over half the wood I used was recycled.
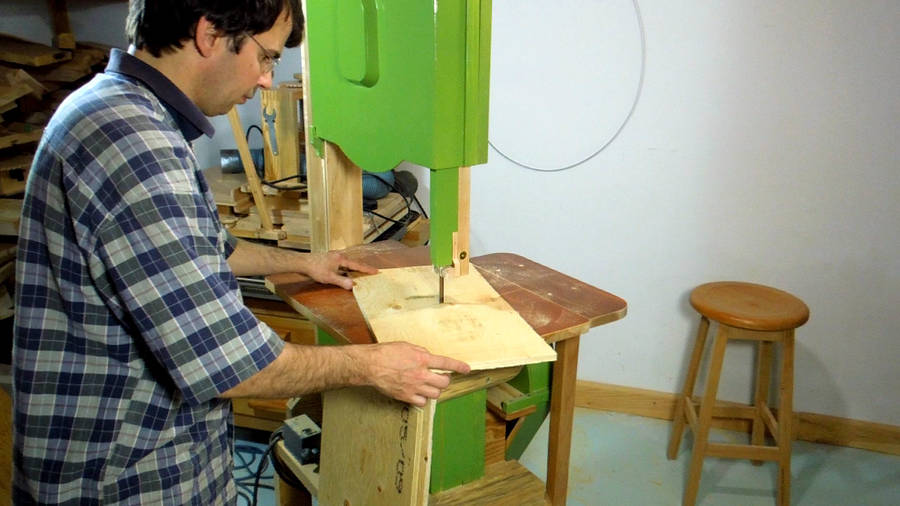
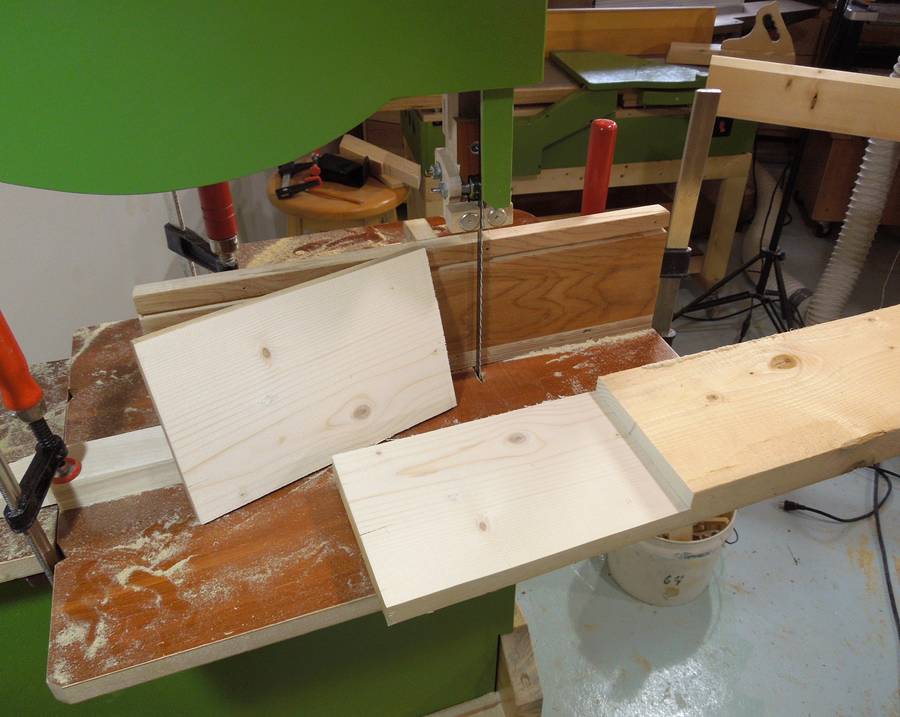
 The easiest way to cut the notches out of the rafters was to carry them
down to my workshop and cut them on the bandsaw.
The easiest way to cut the notches out of the rafters was to carry them
down to my workshop and cut them on the bandsaw.
 The same goes for cutting out the plywood gussets for reinforcing the joints
in the trusses.
The same goes for cutting out the plywood gussets for reinforcing the joints
in the trusses.
 With all the parts for the roof trusses in my workshop, I figured
I might as well assemble them there as well.
With all the parts for the roof trusses in my workshop, I figured
I might as well assemble them there as well.
 After nailing the gussets to one side of my first roof truss, I flipped it over and
screwed some plywood tabs to the side of it. That way, I could use it as a
sort of alignment jig to arrange the pieces for the other trusses.
After nailing the gussets to one side of my first roof truss, I flipped it over and
screwed some plywood tabs to the side of it. That way, I could use it as a
sort of alignment jig to arrange the pieces for the other trusses.
 Just for good measure, I also applied some construction adhesive where
I nailed on the gussets.
Just for good measure, I also applied some construction adhesive where
I nailed on the gussets.
 Nailing a truss.
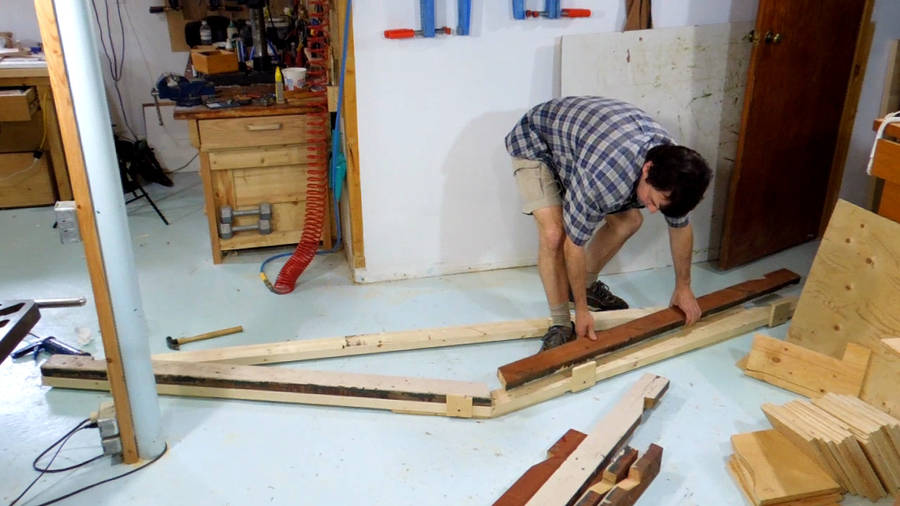
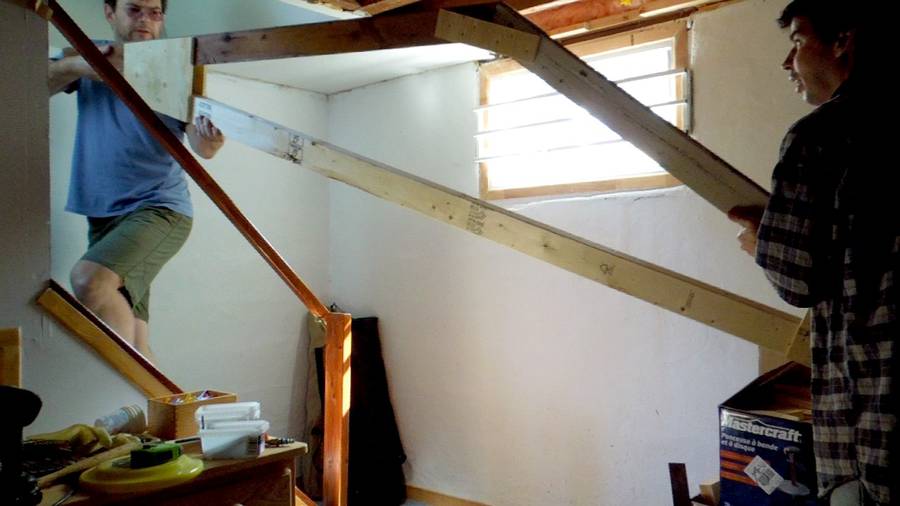 Having assembled the trusses in my basement workshop, I still needed to get them
back outside. I carried two of out by myself, but carrying such a cumbersome item,
I always ended up hitting the walls here and there. So I got my brother
to come over and help. With one person on either end, it's much easier to avoid
banging into the walls.
Having assembled the trusses in my basement workshop, I still needed to get them
back outside. I carried two of out by myself, but carrying such a cumbersome item,
I always ended up hitting the walls here and there. So I got my brother
to come over and help. With one person on either end, it's much easier to avoid
banging into the walls.
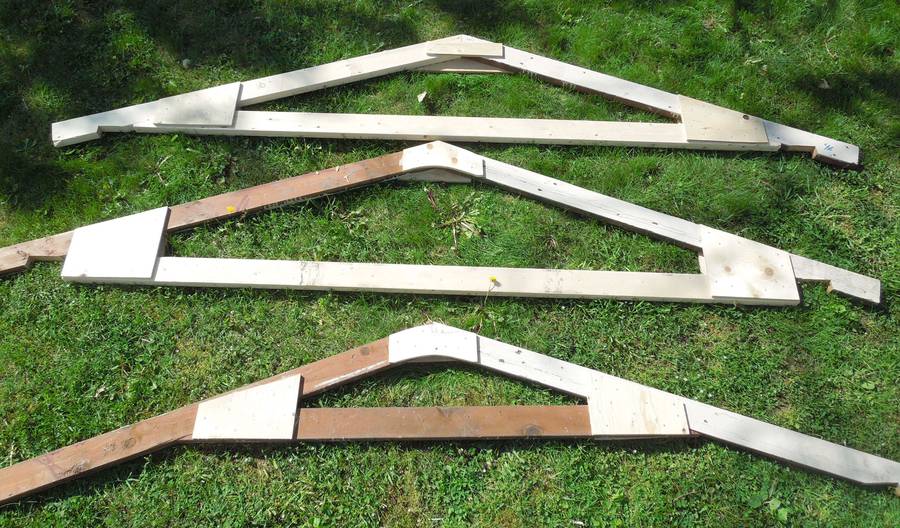 I made seven trusses, but of three variations. The design at the top of the
picture is for the truss sitting above the front and back walls.
I made seven trusses, but of three variations. The design at the top of the
picture is for the truss sitting above the front and back walls.
The middle truss is for the main part of the roof. It has the 2x4 cross member set a little bit lower, which allows for storing more stuff below the rafters. That's always a good place to store long stuff.
To make it easier to put long stuff in-between the trusses, the first internal truss has the cross member set higher to get it out of the way.
 The front of the shed is going to be mostly doors. But to get rigidity,
I built the front frame with 2x6's and 2x8's, which I joined with a lap
joint at the corner.
The front of the shed is going to be mostly doors. But to get rigidity,
I built the front frame with 2x6's and 2x8's, which I joined with a lap
joint at the corner.
The easiest way to cut these was on my bandsaw.
 Makes for a nice clean cut. If I didn't have a good size bandsaw,
I would have made a series of cuts with a circular saw and chiseled out the
material in between.
Makes for a nice clean cut. If I didn't have a good size bandsaw,
I would have made a series of cuts with a circular saw and chiseled out the
material in between.
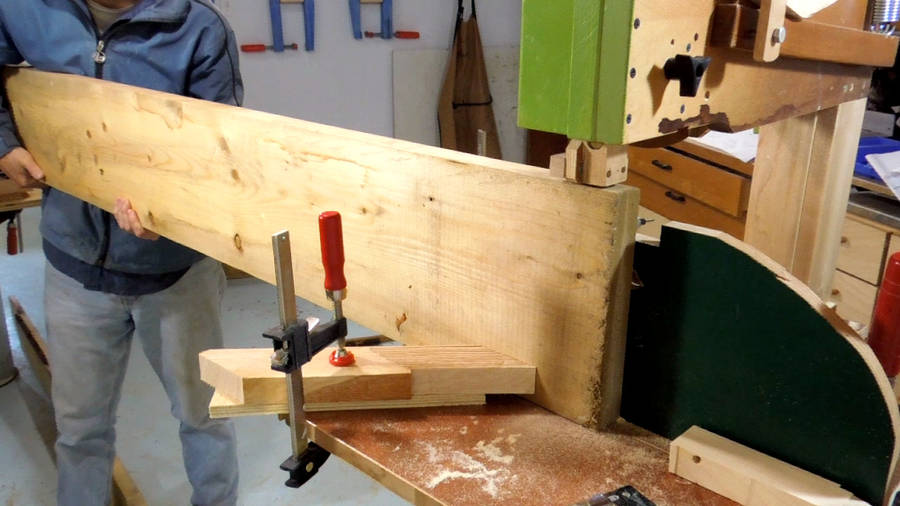 Cutting the lap joint for the wider parts nearly maxed out the cutting
height of my 18" bandsaw.
Cutting the lap joint for the wider parts nearly maxed out the cutting
height of my 18" bandsaw.
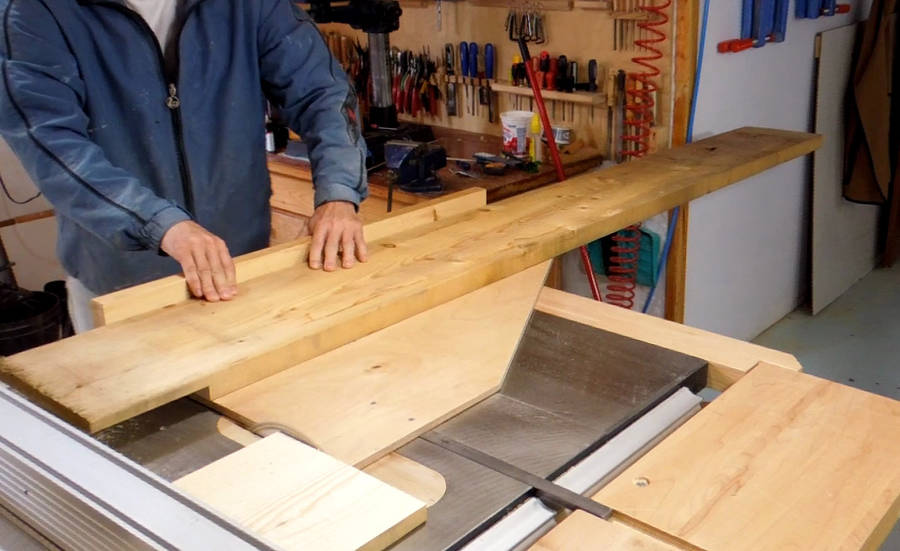 I finished those cuts on the table saw. A sturdy
table saw sled is handy when working
with large work pieces. I could have cut it with the radial arm saw as
well, but I use that saw so rarely that it never comes to mind when I have a job
that would be perfect for it. A sliding miter saw would also work.
I finished those cuts on the table saw. A sturdy
table saw sled is handy when working
with large work pieces. I could have cut it with the radial arm saw as
well, but I use that saw so rarely that it never comes to mind when I have a job
that would be perfect for it. A sliding miter saw would also work.
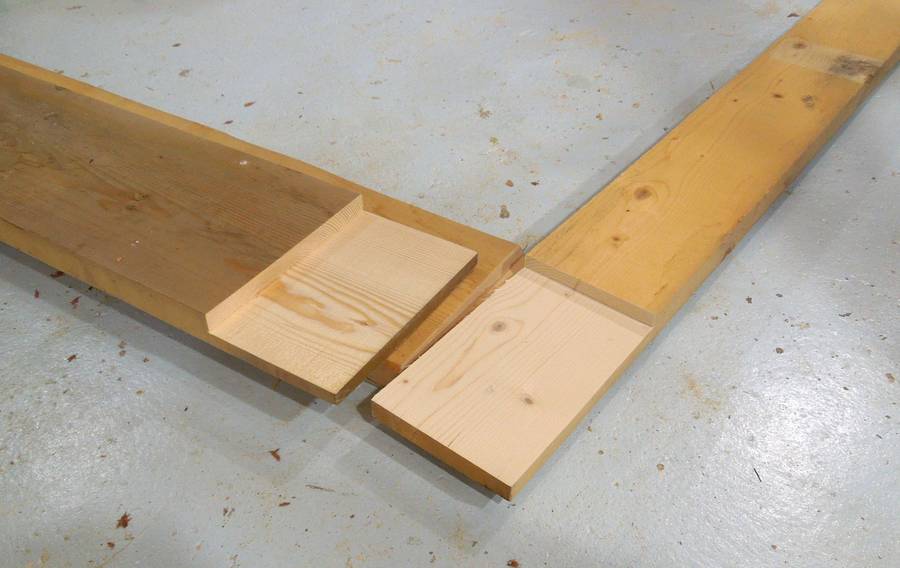 The cut lap joint.
 I also cut some plywood gussets to help reinforce the corners
of the front frame. here's cutting two gussets out of a rectangular piece
of plywood on the bandsaw.
I also cut some plywood gussets to help reinforce the corners
of the front frame. here's cutting two gussets out of a rectangular piece
of plywood on the bandsaw.
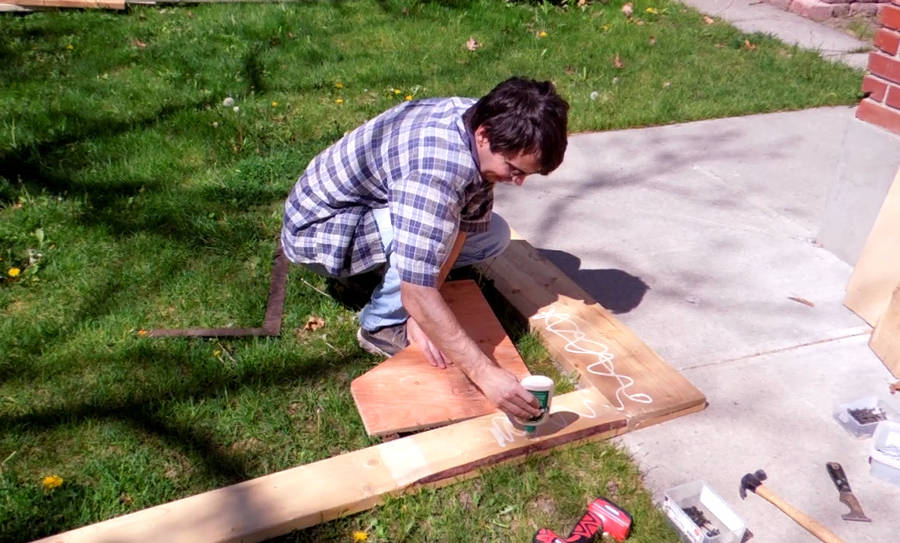
 Doing a dry fit check of the front frame, with one of the roof trusses placed
over it. This is just a dry fit - that frame would be impossible to
get out of the workshop in one piece.
Doing a dry fit check of the front frame, with one of the roof trusses placed
over it. This is just a dry fit - that frame would be impossible to
get out of the workshop in one piece.
 Once outside, I applied glue in the joint, and behind the gusset.
By this time, I had run out of construction adhesive,
so I just used wood glue. Wood glue is actually
stronger than construction adhesive, but you need more accurate joints for
it to bond.
Once outside, I applied glue in the joint, and behind the gusset.
By this time, I had run out of construction adhesive,
so I just used wood glue. Wood glue is actually
stronger than construction adhesive, but you need more accurate joints for
it to bond.
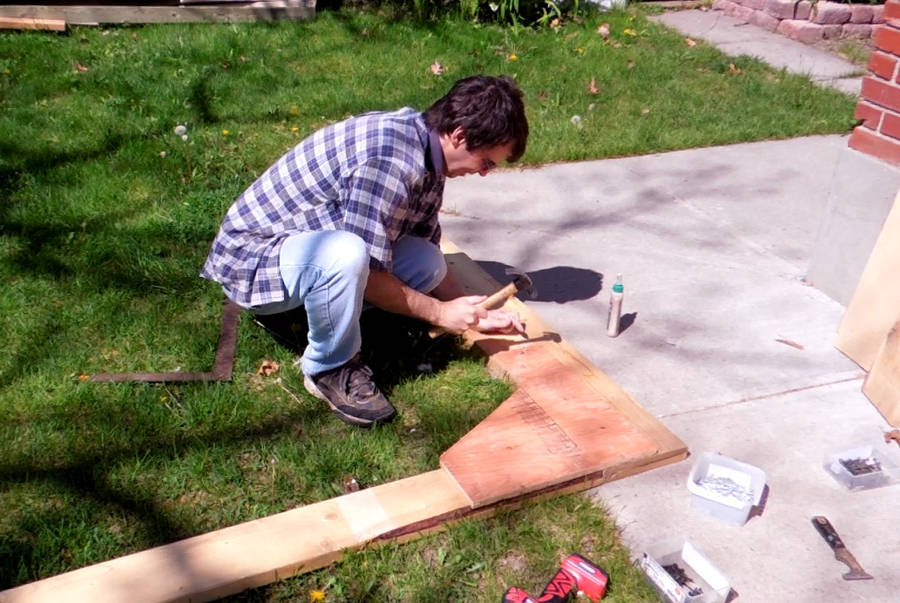 Nailing on the gusset.
Continue to Part 2