I set up several wildlife cameras, and an IP camera connected to the internet
to track the coming and going at my rural property.
But the passive infrared detector on the wildlife cameras
don't work very well in the winter cold, and the IP (internet) camera's motion
detection isn't very good.
A problem with the Raspberry Pi, is that it's so much
lighter than the cables that connect to it. It's all too easy to pull it off the table
by accident.
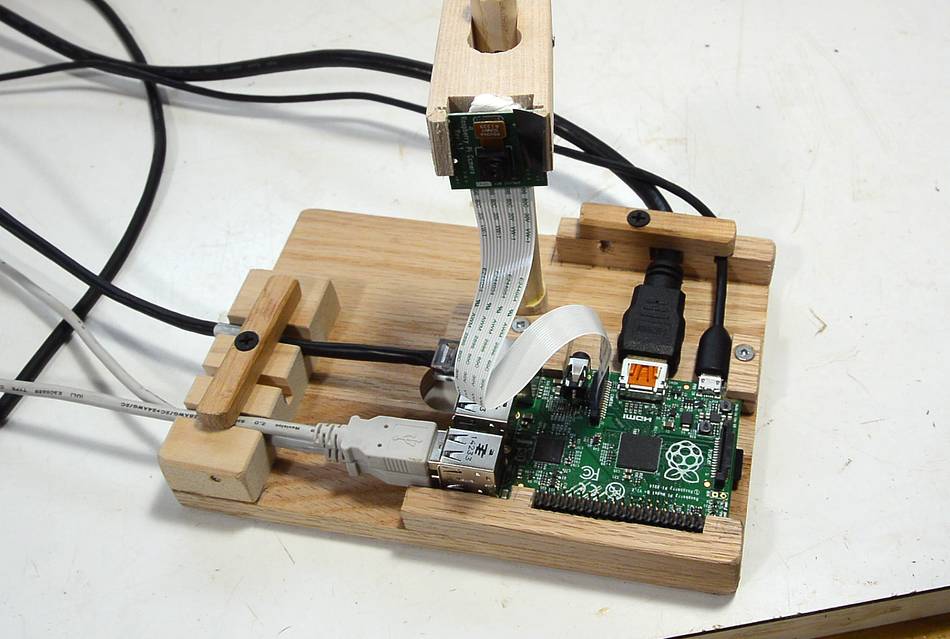
I cobbled together a simple stand to hold the computer, cables and camera.
Hacking around with the Raspberry Pi was so much fun that I decided to
get a second one. So now I needed another stand. This time, I documented
the construction.
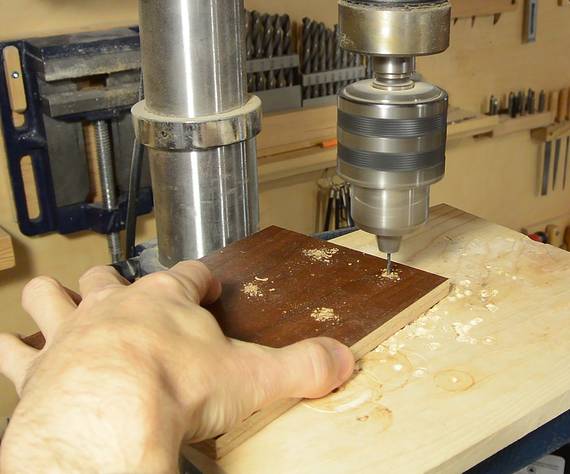
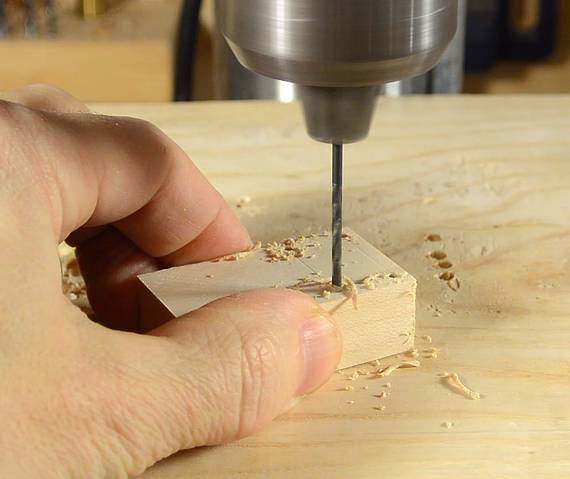
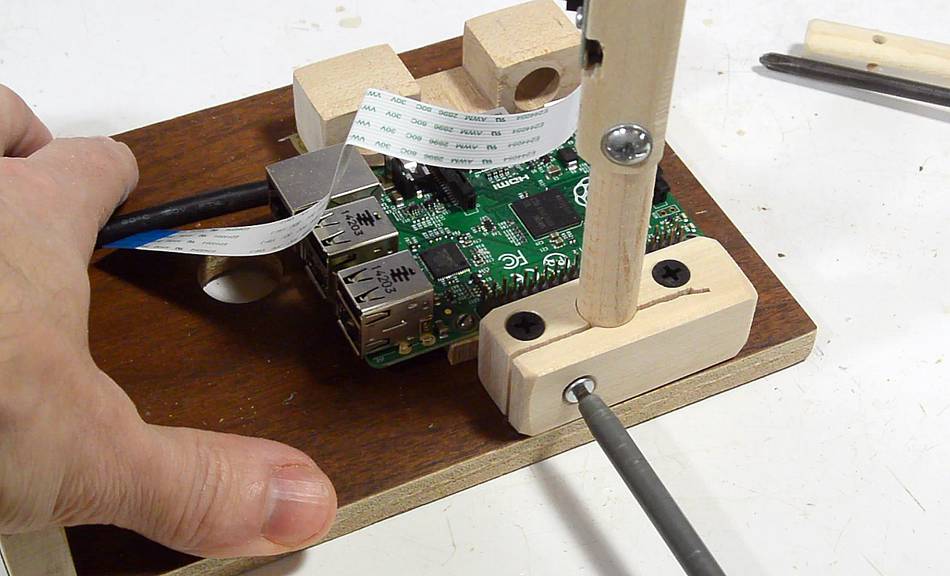
I start with a scrap of plywood, and punch some holes through the Raspberry Pi's
mounting hole with an awl to transfer the screw hole locations. Then drill pilot holes.
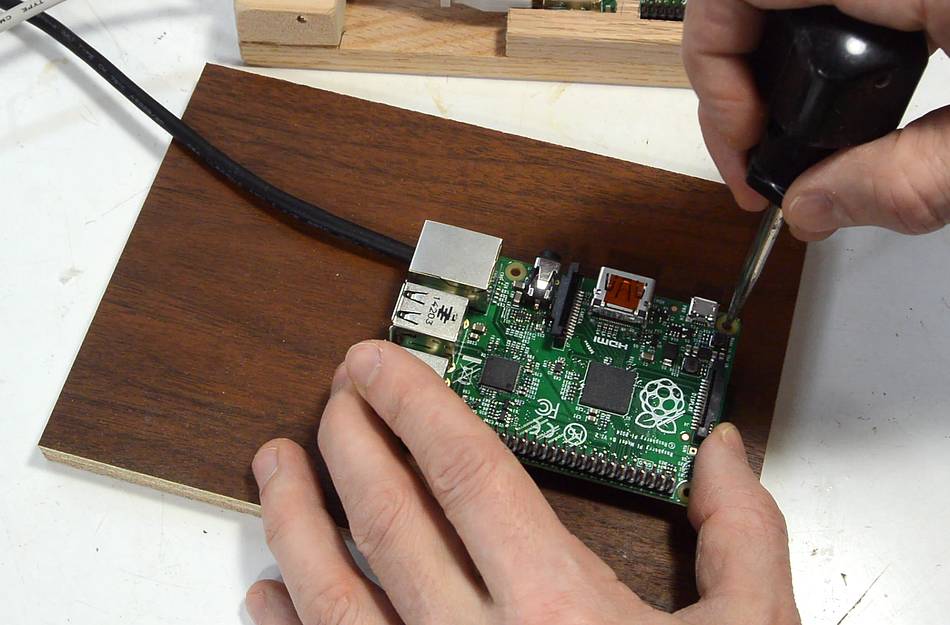
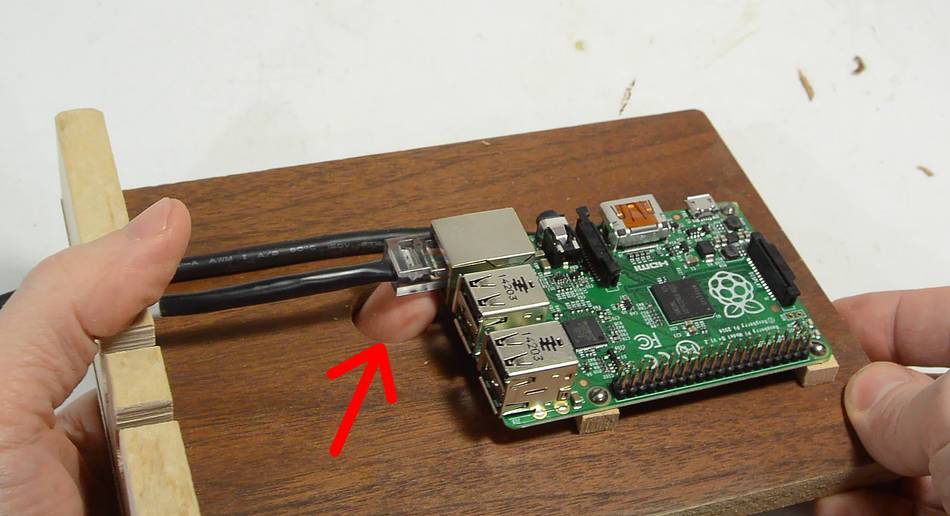
You can also see a black cable off to the left in this photo. I didn't have a
micro USB cable handy, so I soldered a cut-off USB cable to the power pins
instead.
I didn't have any wood screws small enough for the holes in the Raspberry Pi,
so I used some small machine screws and screwed these straight into slightly
undersized holes in the plywood.
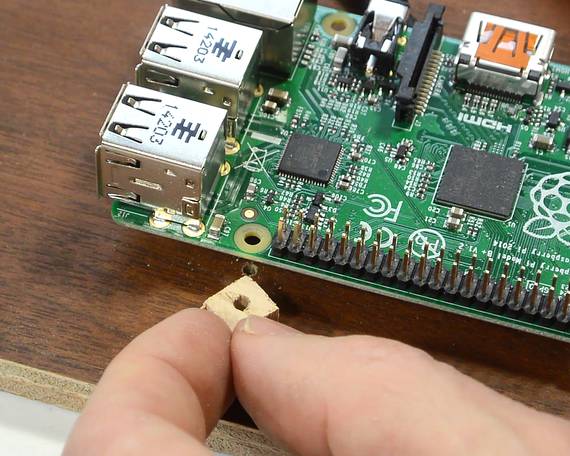
I made some wooden spacers to go under the board to allow for room for the
components on the bottom and the cable.
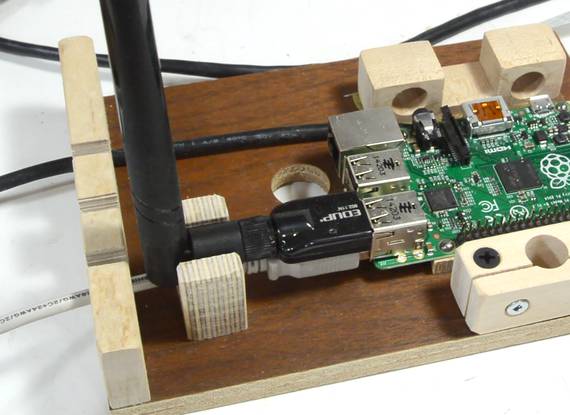
I added a board with slots opposite to the USB and Ethernet connectors to
pass the cables through.
I figure that way, if I trip over the cables, the connectors won't get
yanked to the side, so it shouldn't damage the connectors.
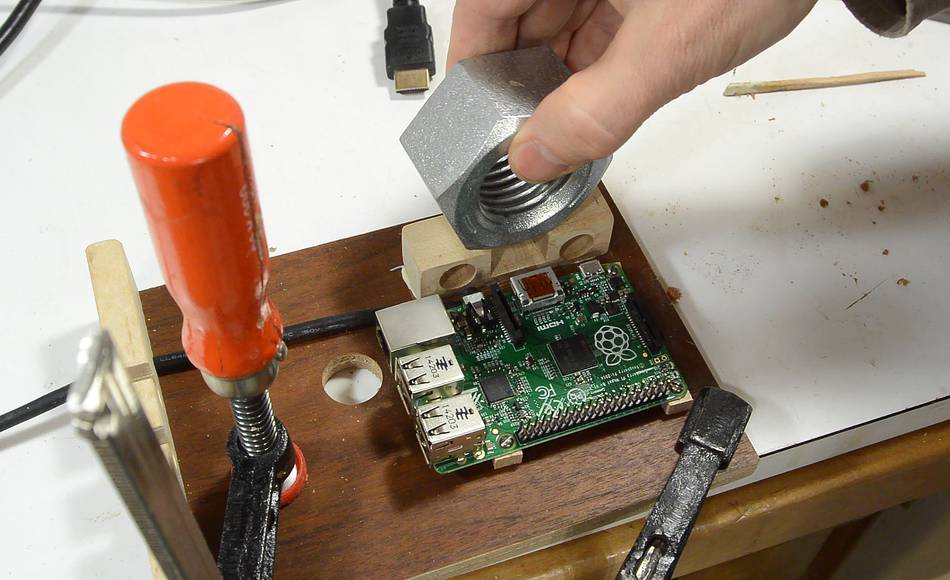
A hole in the plywood base makes it easier to push the tab on the Ethernet
connector to release the Ethernet cable.
The block next to the HDMI connector protects it against getting yanked
off to the side. There are two holes in the block to allow access
to the micro-USB connector and 3 mm audio connector. I won't be using the power
connector on this one because I already have a power cable soldered to the board.
Raspberry Pi camera module holder (V1 and V2 modules)
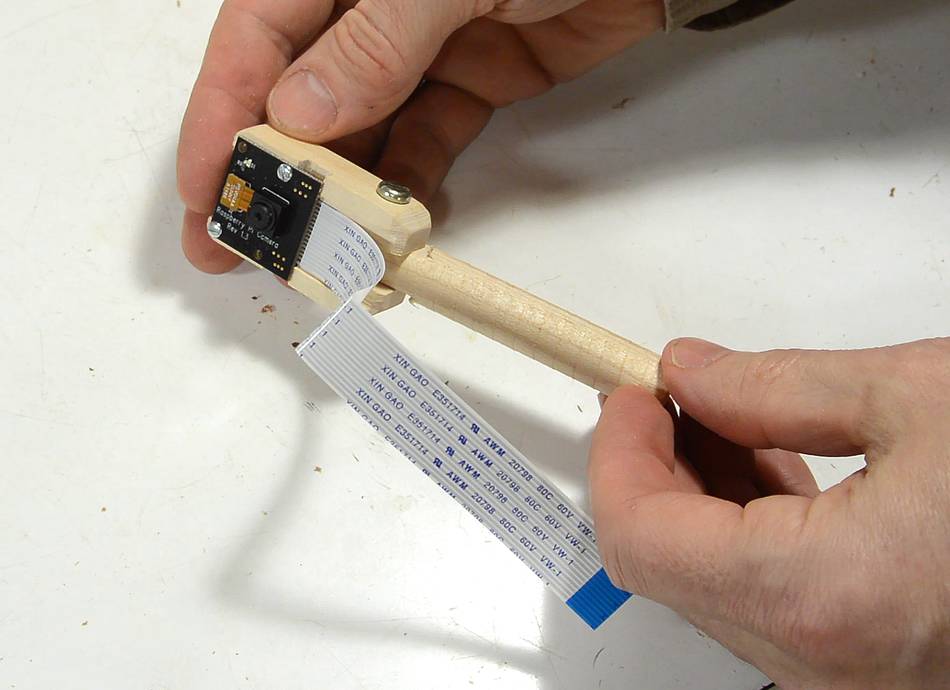
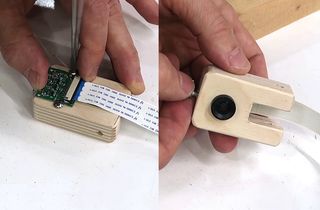
I also made turn-able and tilt-able camera module holder for it.
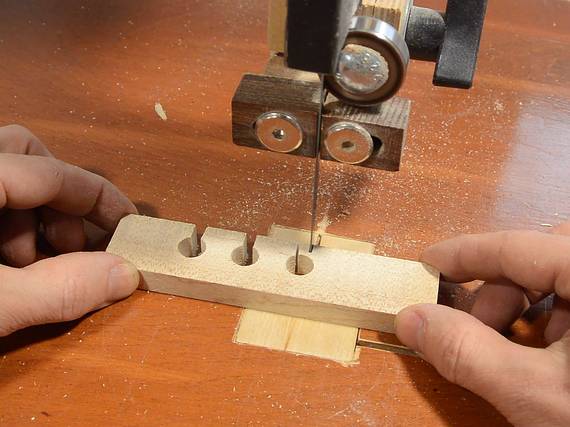
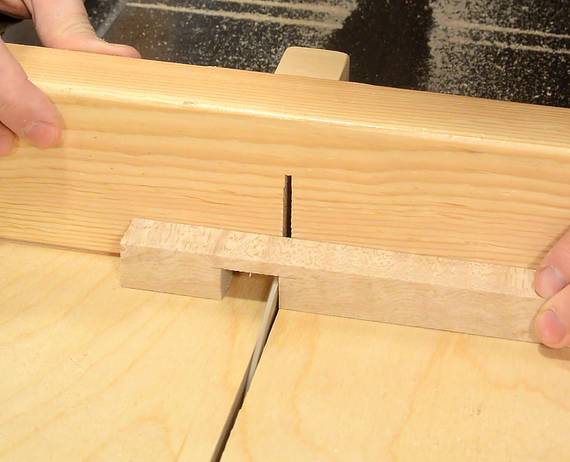
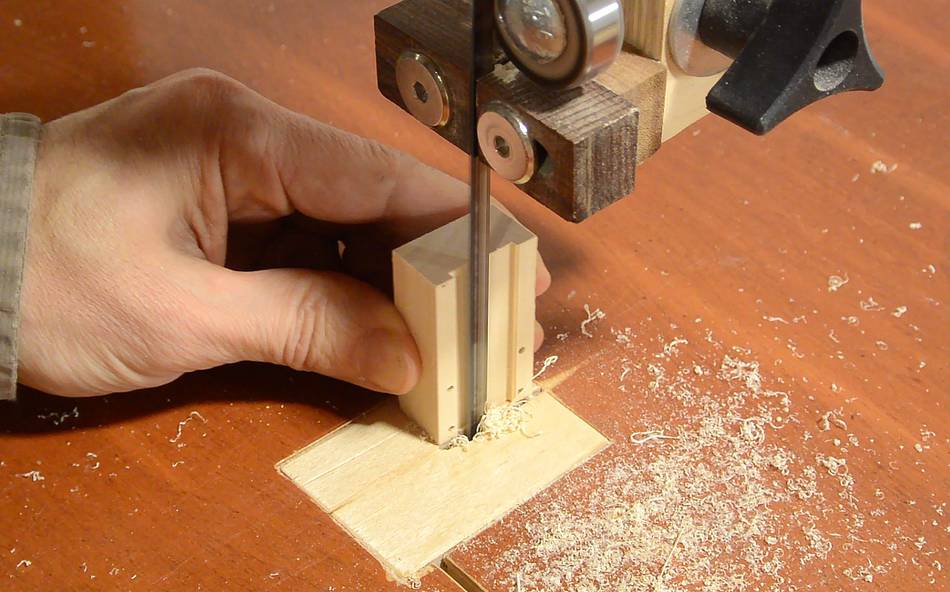
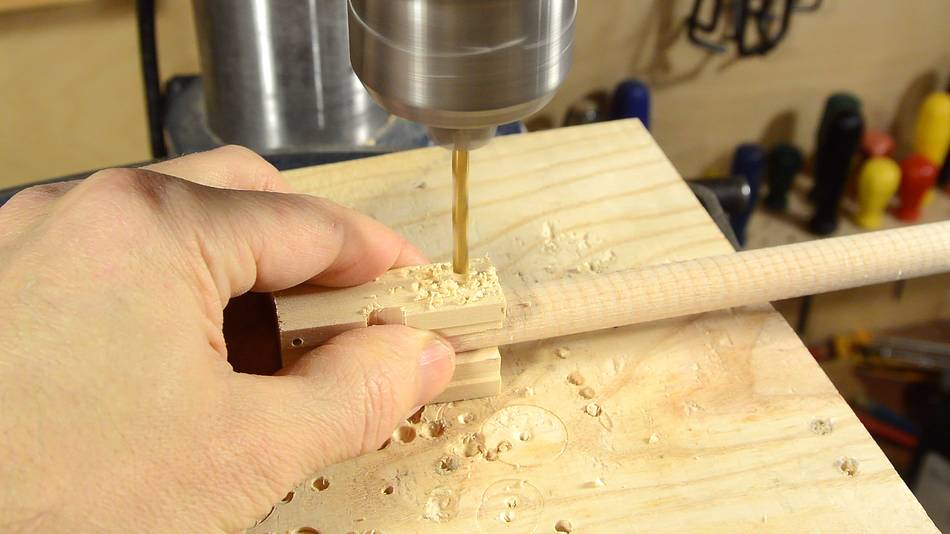
This started as a block of wood. I drilled pilot holes for the screws,
then cut a notch along the length, and one across it on the bandsaw.
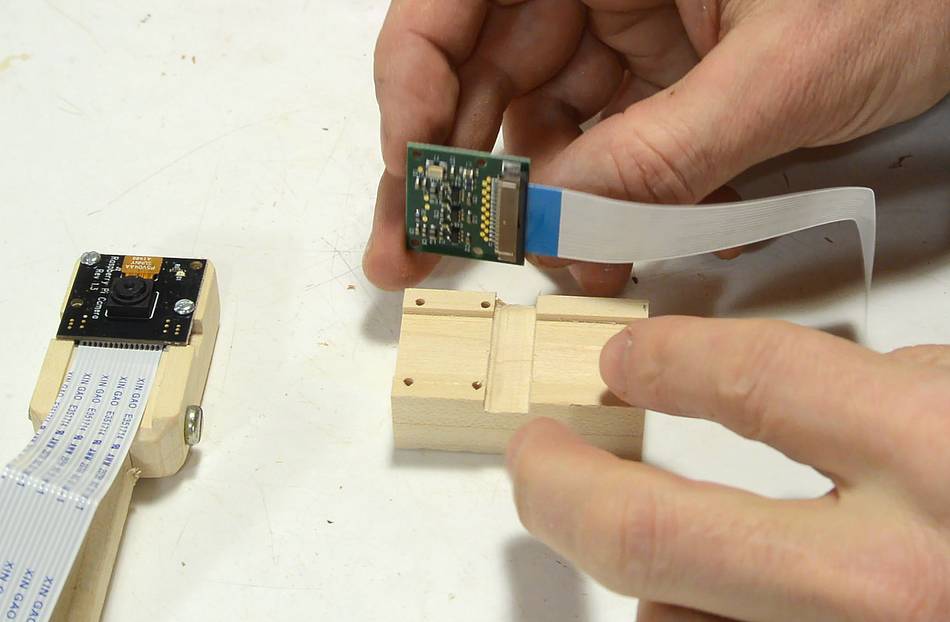
These notches provide clearance for the components and ribbon cable connector
on the back of the module.
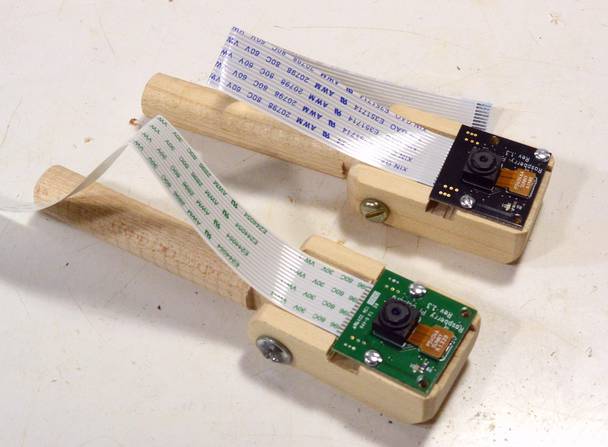
The camera module itself is a 5-megapixel cellphone camera module. Very very small,
with a very tiny lens. Surprisingly acceptable photo quality, all things considered.
Better than the wildlife cameras, and better than webcams.
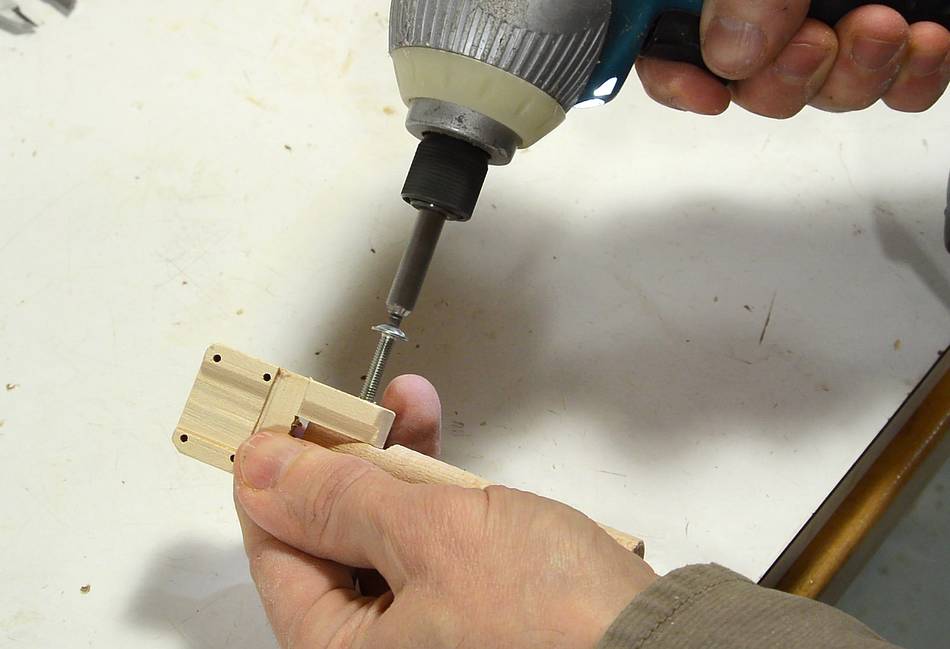
I cut a slot in the bottom of the block, and a dowel, flattened on two sides,
fits in the slot. A hole drilled through both parts acts as a hinge pin.
For a hinge pin, I used a machine screw, which fits tightly in the hole. That way, I could
just screw the pin in, and there is enough friction that the camera keeps whatever tilt
that it's set to.
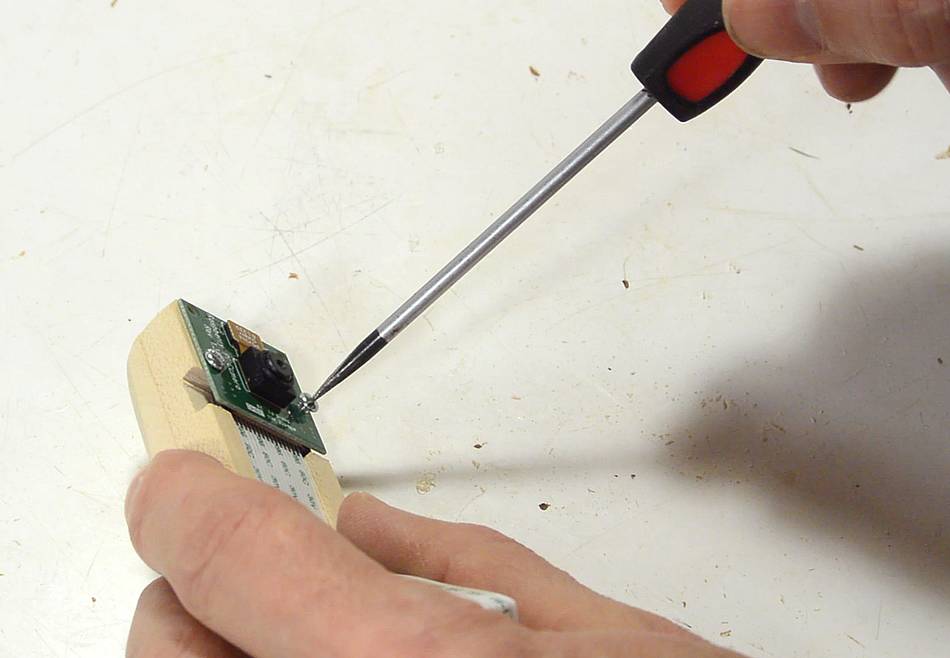
Finally, screwing on the camera module, with some very tiny machine screws. As with the
main board, these are just screwed into the wood.
A clamp, tightened with a wood screw, holds the post for the Pi's camera. This
allows me to adjust it side-to-side.
I also made another small bracket to help support the long antenna on
the USB wifi adapter. The adapter's connector is all plastic so I could
easily snap off, especially with a big antenna hanging off it. It has to
be relatively far back so the lower USB connector can still be used.
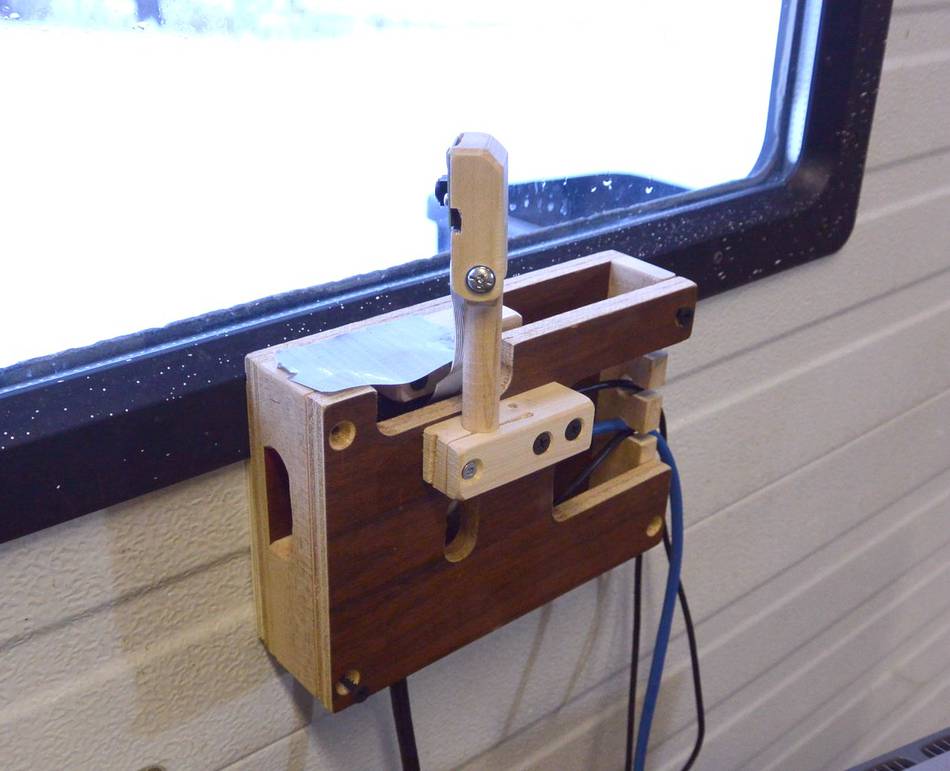
I also made a top cover for one of my Raspberry Pi holders, with a camera mount at an angle.
This is the one I mounted to the garage on my
big garage shop in the country
I bought both of my Raspberry Pis before the Pi 2 came out. But for what I'm doing
the slower Pi 1 (model B+) is fast enough. I can only get about three still frames
per second out of the camera module, and analyzing those takes under 20% CPU utilization.
The Raspberry Pi article caused an increase in the number of people
asking "Why don't you build a CNC machine".
Here's why not
Several people have asked where to buy a Raspberry Pi.
I bought my first one off of Amazon. The second one, I bought
from Buy a Pi.ca. That option is cheaper
for Canada. And they just happen to be within walking
distance from my house and offer local pickup for online orders, so I didn't
even have to pay for shipping.
Three years after the above article, I set up another surrvielance camera using
a raspberry pi, mounted outside, and powered over ethernet.
I have also used one of my Raspberry Pis to try to see how the mice
escape my bucket mice trap. But it apperas there weren't any mice
left to trap. My set-up only confirmed that nothing happened!
 I set up several wildlife cameras, and an IP camera connected to the internet
to track the coming and going at my rural property.
But the passive infrared detector on the wildlife cameras
don't work very well in the winter cold, and the IP (internet) camera's motion
detection isn't very good.
I set up several wildlife cameras, and an IP camera connected to the internet
to track the coming and going at my rural property.
But the passive infrared detector on the wildlife cameras
don't work very well in the winter cold, and the IP (internet) camera's motion
detection isn't very good.


 M12 lens mount for Pi camera moudle
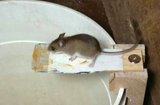 Building a better mouse trap (using Raspberry pi)
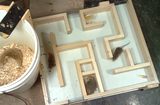 Field mouse maze experiments
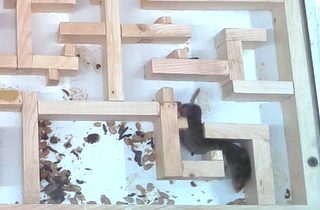 Bigger, tighter mouse maze experiments
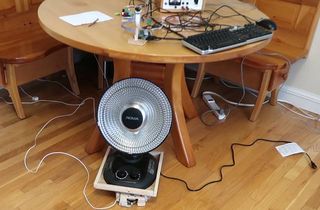 High-tech automatic Infrared heater aimer
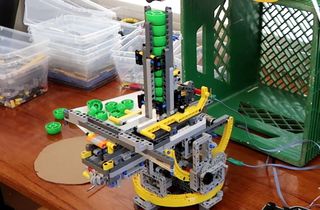 Computer controlled cap shooter aimer
 My imgcomp program
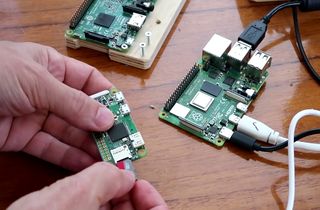 Headless Raspberry Pi blink assigned IP address
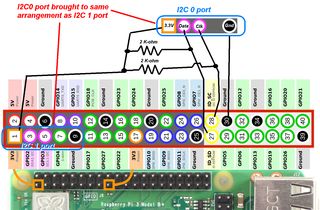 Using the second (I2C 0) port on a Raspberry Pi
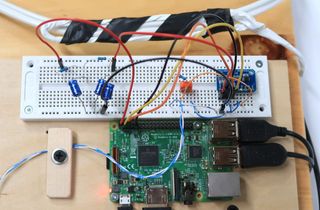 Inductive current measuring using Raspbery Pi
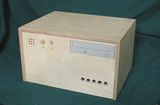 Wooden computer case
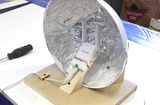 Wifi antenna
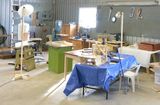 Big garage workshop
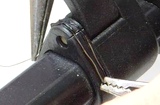 Repairing plastic parts
 Eyeballing game
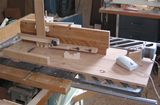 Computer controlled
 Homemade benchtop power supply