 I previously wrote about my wall tool holders,
which I built years ago. Now I'm making some tool holders for my
big garage workshop,
and I documented the construction.
I previously wrote about my wall tool holders,
which I built years ago. Now I'm making some tool holders for my
big garage workshop,
and I documented the construction.
I previously wrote about my wall tool holders,
which I built years ago. Now I'm making some tool holders for my
big garage workshop,
and I documented the construction.
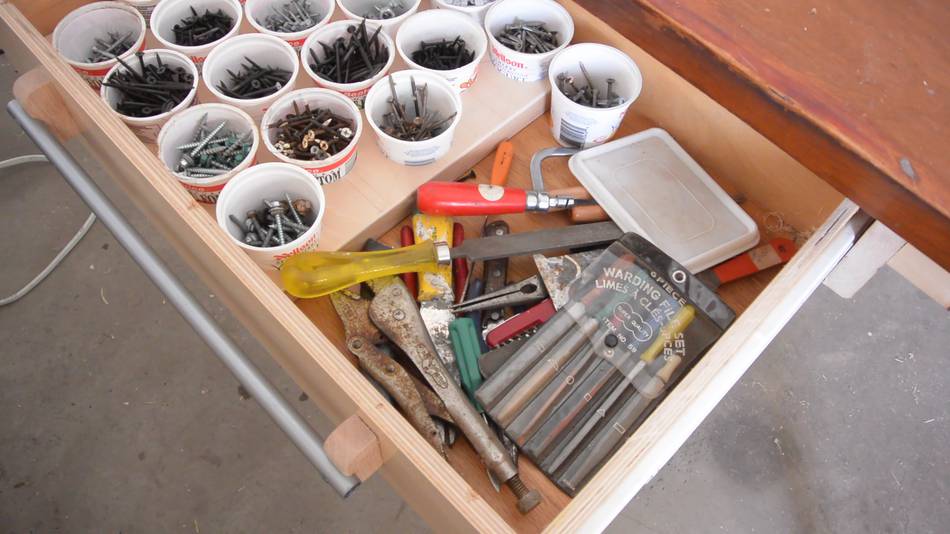
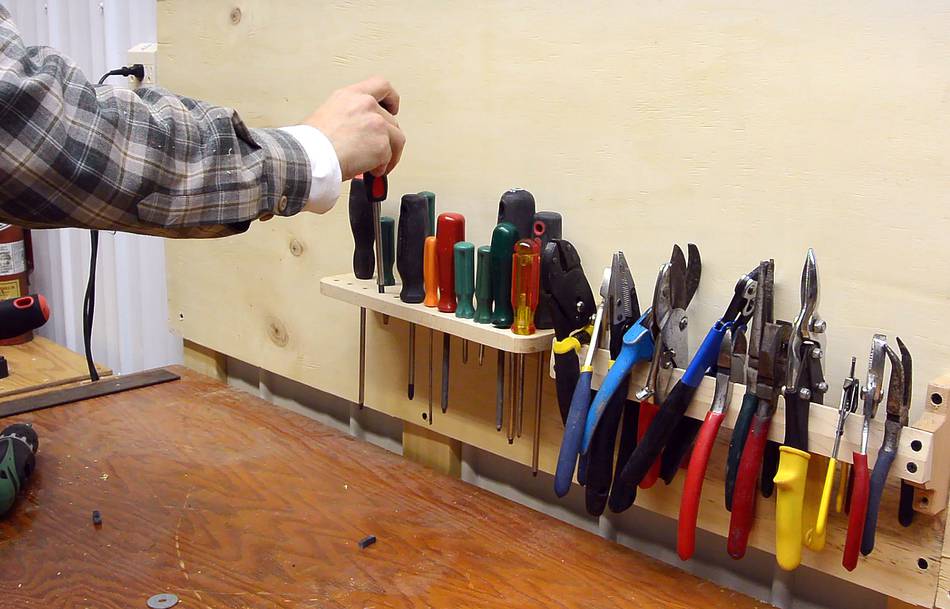
I first kept all the tools in drawers, but that was kind of a mess to dig through, so back to wall tool holders.
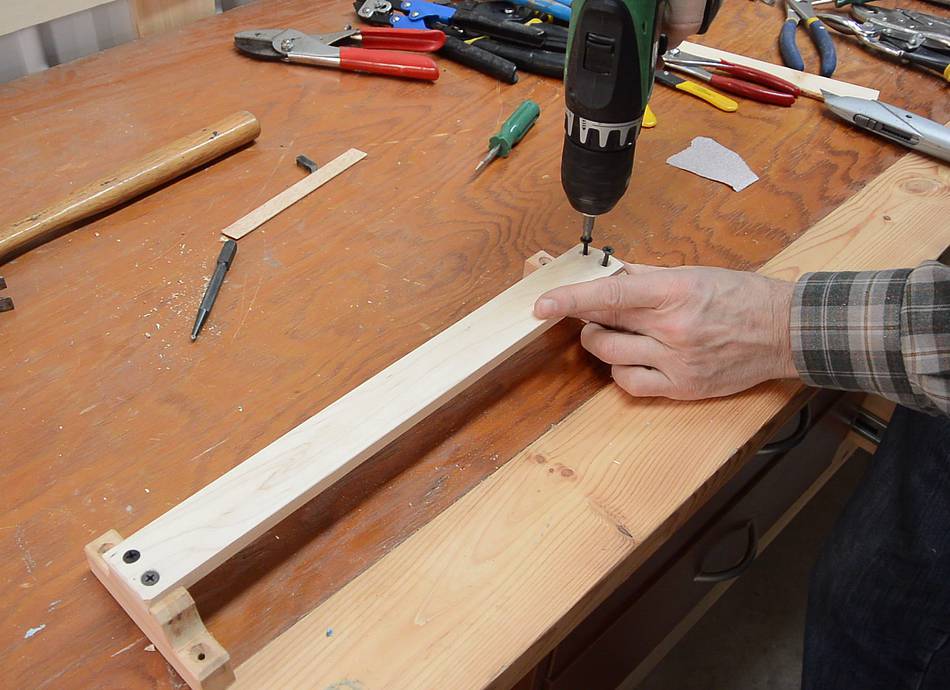
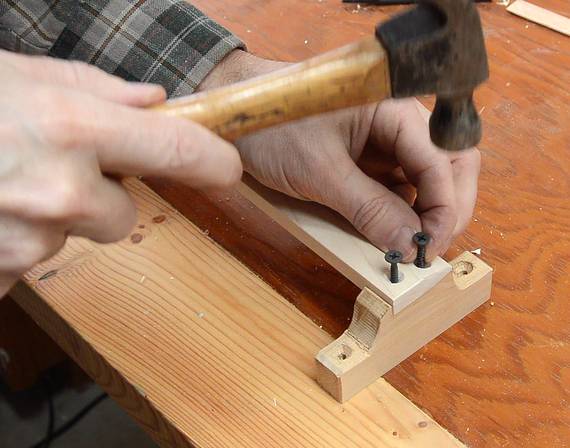 The first thing I made was a rail to hang pliers off of.
This is a hardwood rail, slightly tapered towards the top so the pliers fit over it more easily.
Because it's hardwood, all the screws have holes, countersinks and pilot holes. My favourite technique of transferring pilot hole locations is to put the screws in the holes and tap them with a hammer. The tip of the screw then leaves a divot for where the pilot hole needs to go.
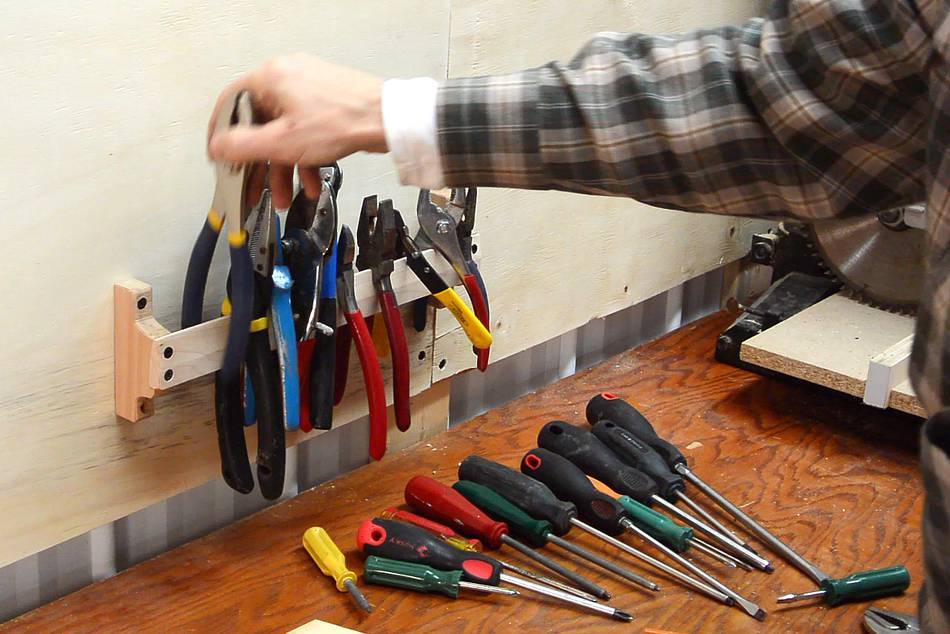 Putting away the pliers.
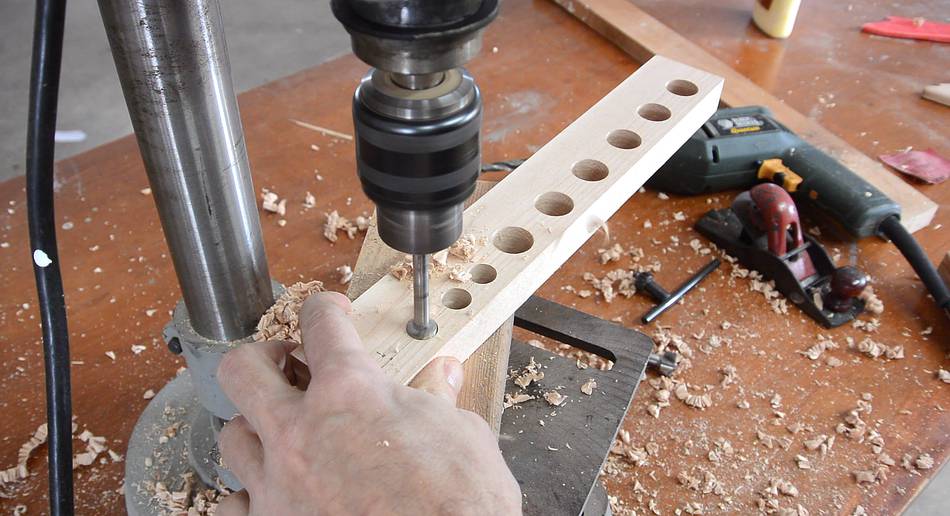
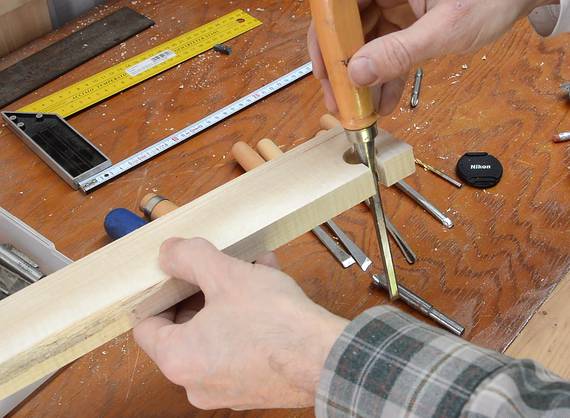
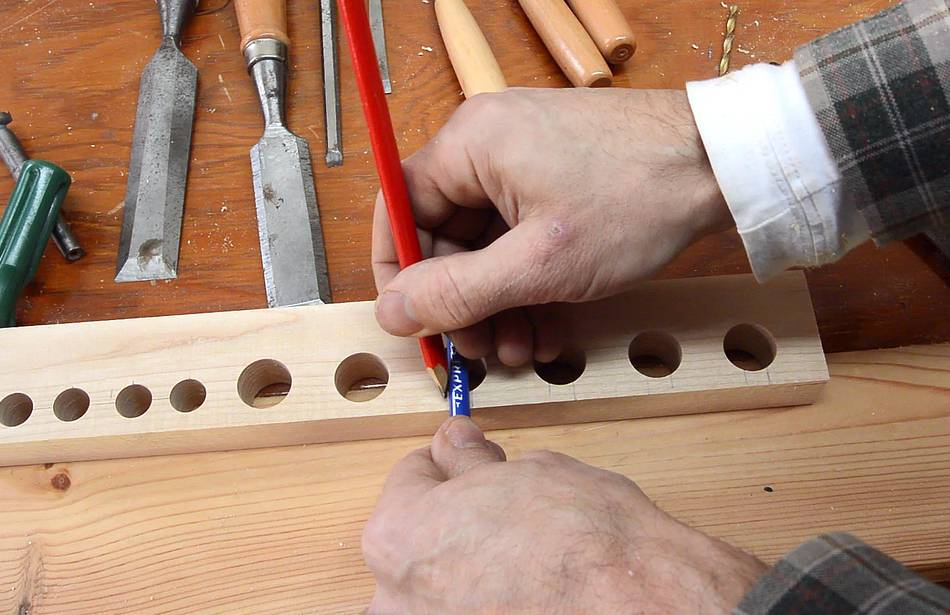
 Next a little shelf with holes in it for the screwdrivers.
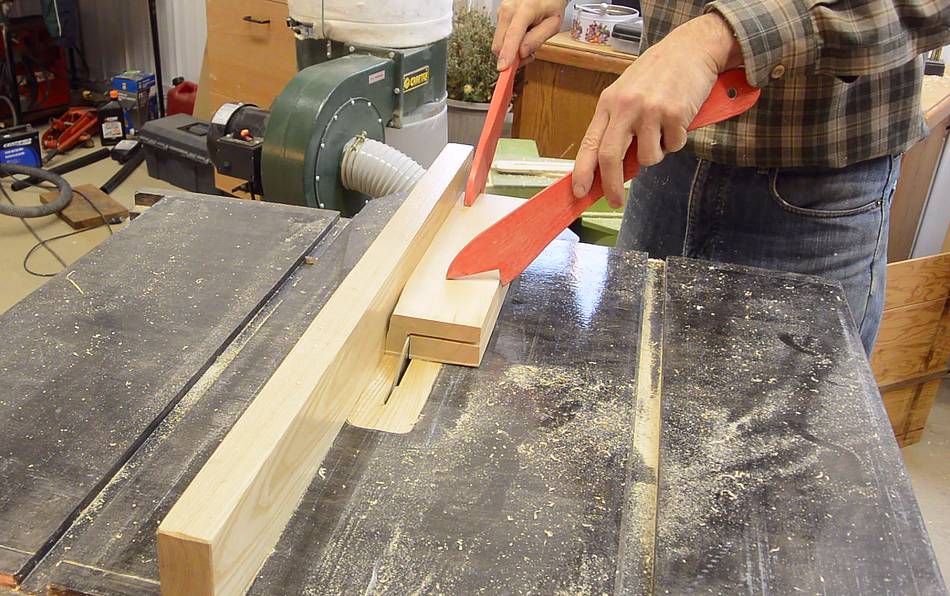
I cut an L-shaped profile out of a piece of hardwood (from firewood) on my homemade table saw
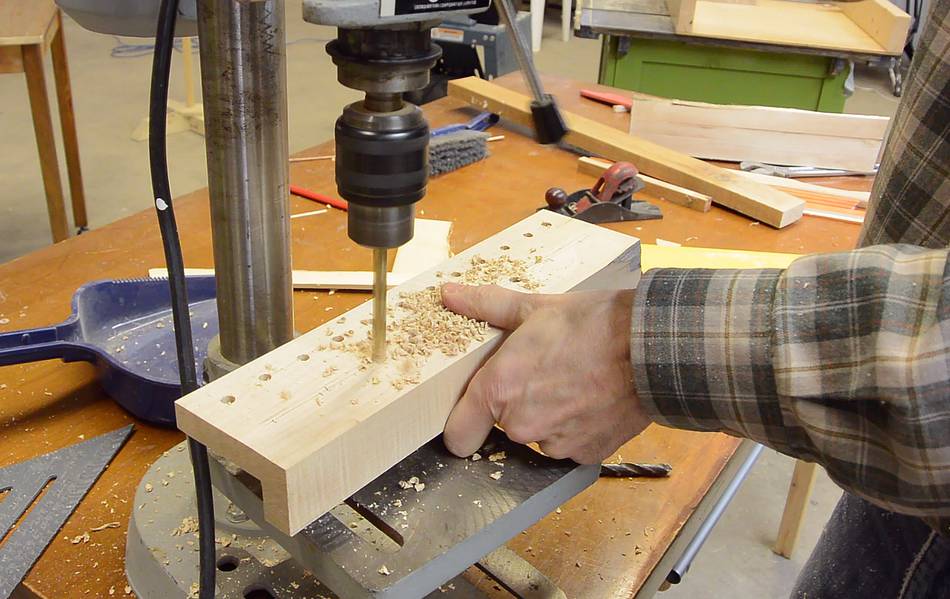
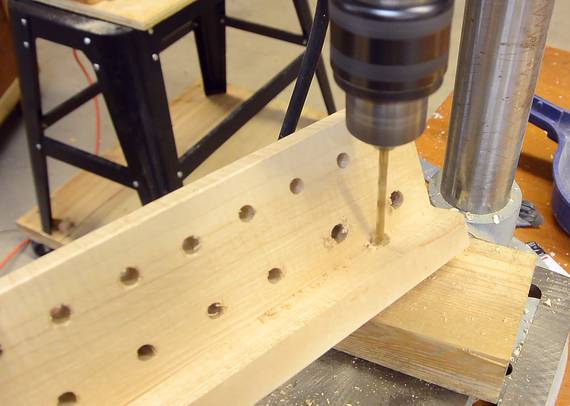 Then lots of holes. Some of the holes are larger to fit
flat head screwdrivers.
Then lots of holes. Some of the holes are larger to fit
flat head screwdrivers.
Screws, at an angle from the inside corners will hold it to the wall.
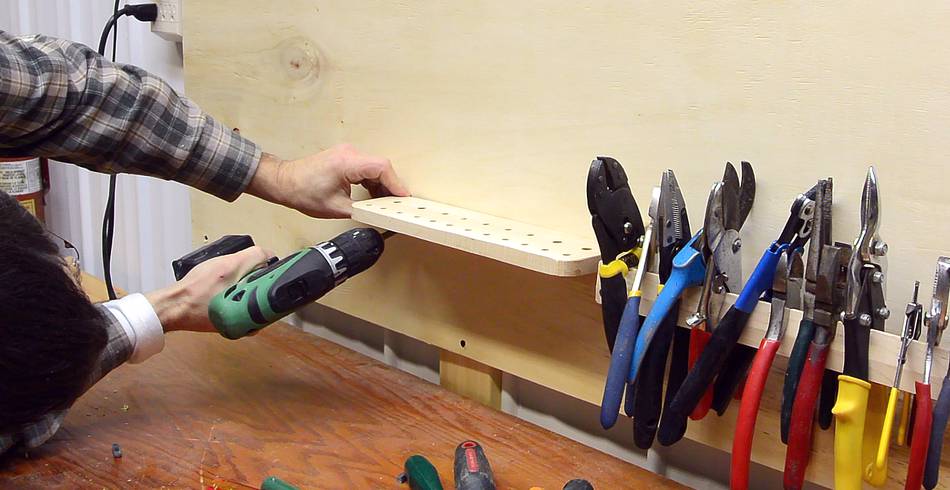
 Mounting the shelf....
 ... and loading it up with screwdrivers.
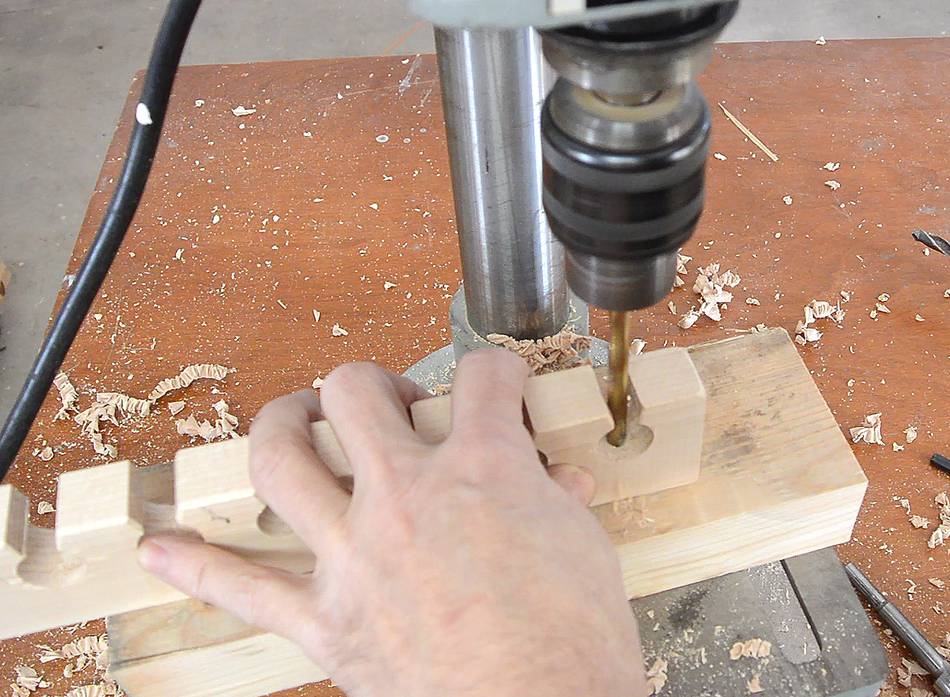
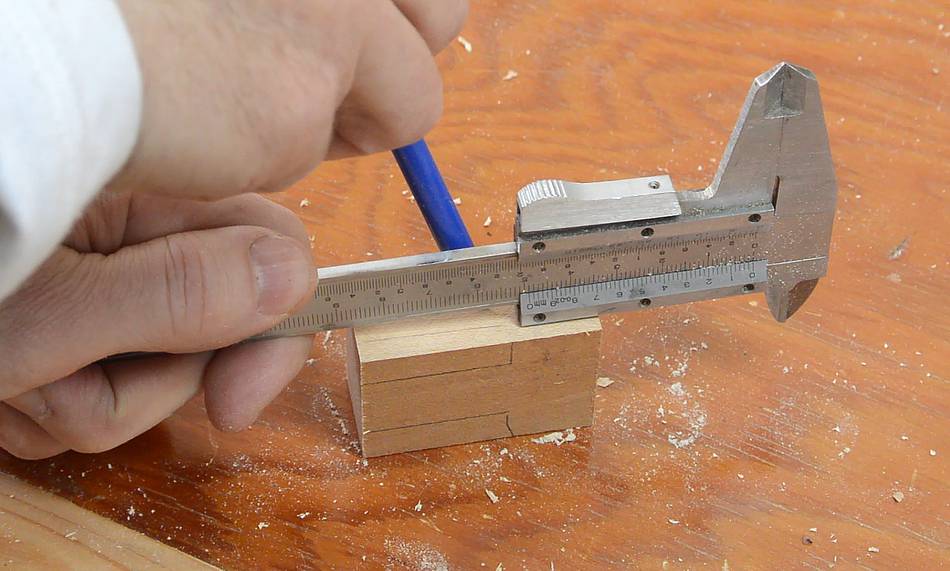
 The chisels need larger holes for the handles. I first experimented
with what size hole and slot at the front would comfortably hold the chisels.
The chisels need larger holes for the handles. I first experimented
with what size hole and slot at the front would comfortably hold the chisels.
 Using a pencil guide to mark slots of the same width for all the holes,
then cutting them out on the bandsaw.
Using a pencil guide to mark slots of the same width for all the holes,
then cutting them out on the bandsaw.
 To mount this, it's easy enough to drill a hole in the back of one of the
chisel holes.
To mount this, it's easy enough to drill a hole in the back of one of the
chisel holes.
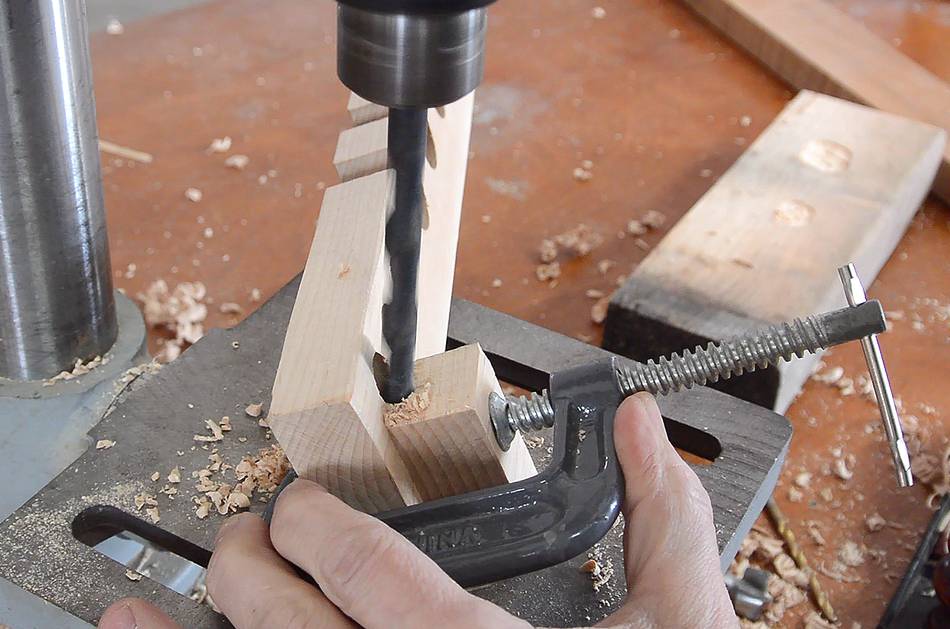 The other end of the chisel holder only has smaller holes for carving
chisels. So instead, I drilled a pocket hole to screw it
on from below.
The other end of the chisel holder only has smaller holes for carving
chisels. So instead, I drilled a pocket hole to screw it
on from below.
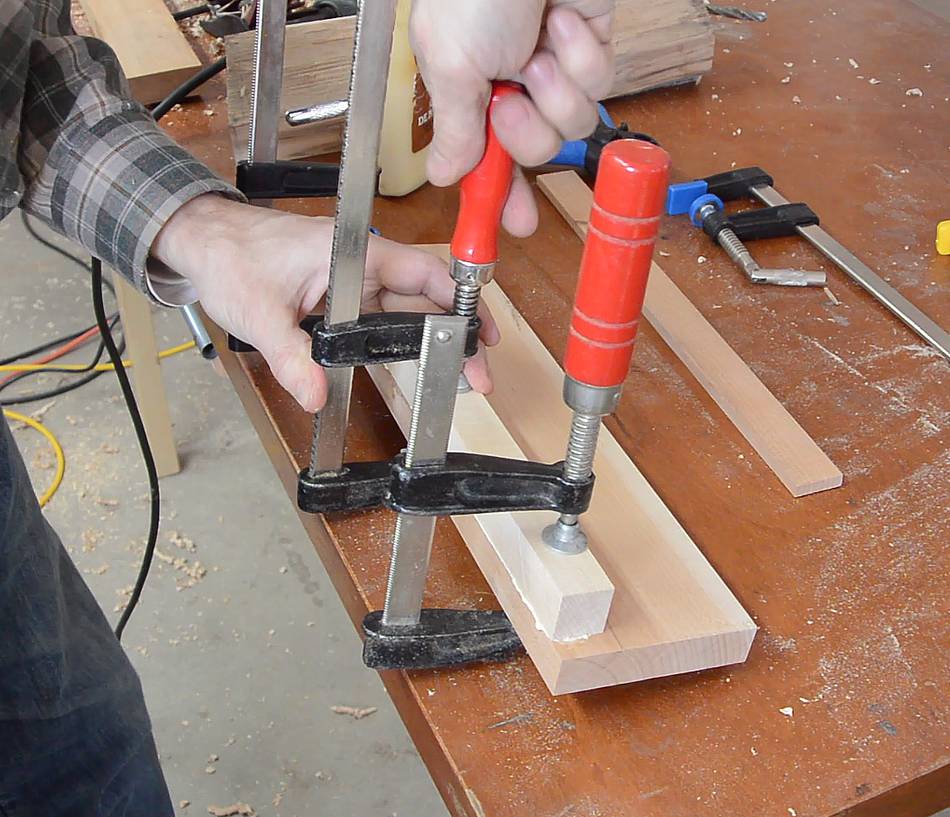
 I didn't have a pocket hole jig handy (nor did I want the standard angle
of pocket hole), so I clamped a sacrificial block of wood to my workpiece
and then drilled in at an angle, first with a larger drill to make a hole
for the screw head, then with a smaller drill for the screw shank.
I didn't have a pocket hole jig handy (nor did I want the standard angle
of pocket hole), so I clamped a sacrificial block of wood to my workpiece
and then drilled in at an angle, first with a larger drill to make a hole
for the screw head, then with a smaller drill for the screw shank.
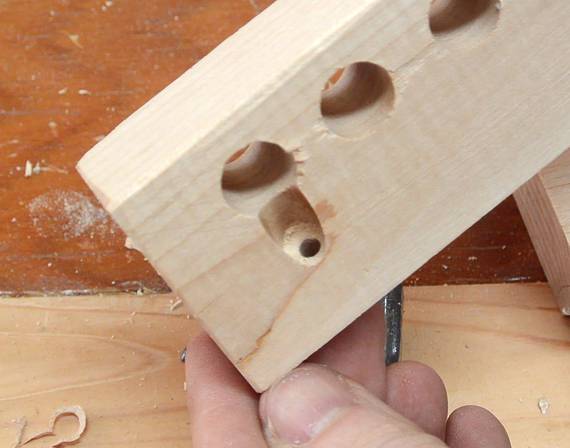
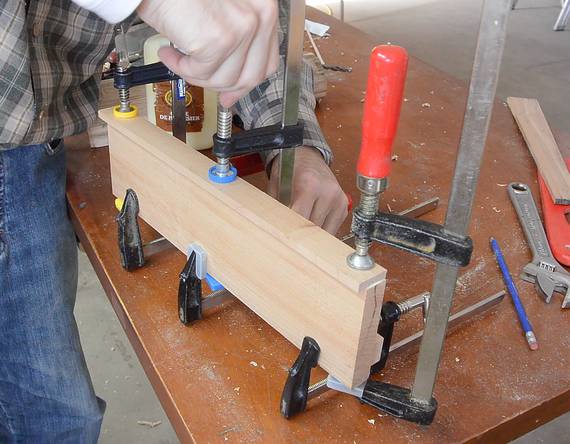
The pocket hole came out quite clean.
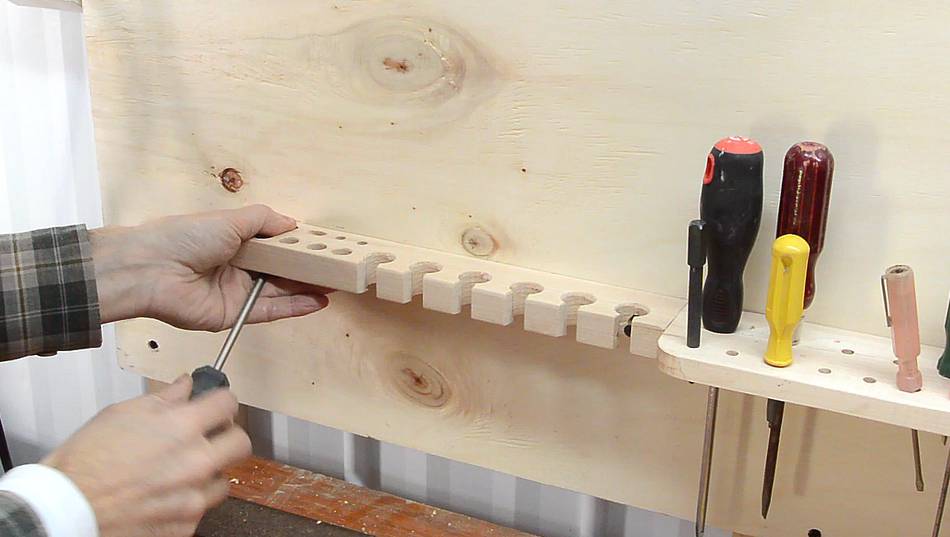 Mounting the chisel rail...
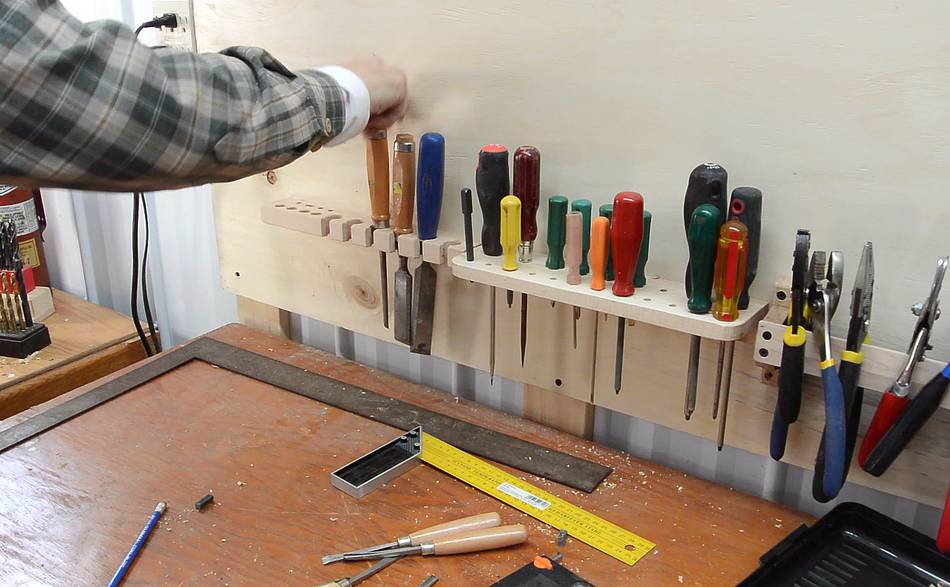 ... and loading it up with chisels.

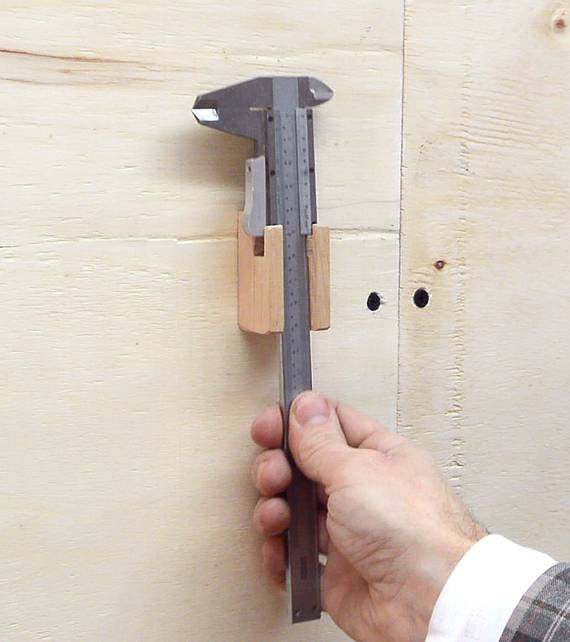 ...then cutting it out on the bandsaw. The block, screwed to the wall,
puts the callipers within easy reach.
...then cutting it out on the bandsaw. The block, screwed to the wall,
puts the callipers within easy reach.

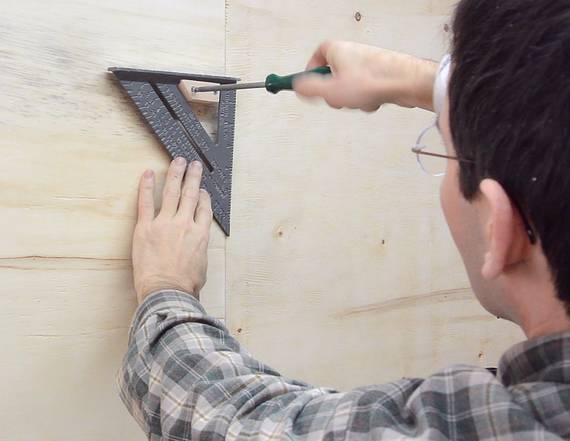 This is a really simple tool holder to hang a speed square.
It has a rabbet cut in the top.
This is a really simple tool holder to hang a speed square.
It has a rabbet cut in the top.
I had the square hanging off of it while I screwed it to the wall to make sure I got it on level.
 I made a shelf to hold my drill indexes.
Like my screwdriver shelf, this one has a ledge on the bottom for screwing to the wall, but this time I made it by gluing two pieces of wood together.
I also glued a piece of wood to the front edge to give it a lip.
 Drilling screw holes at an angle to allow for screwing it to the wall.
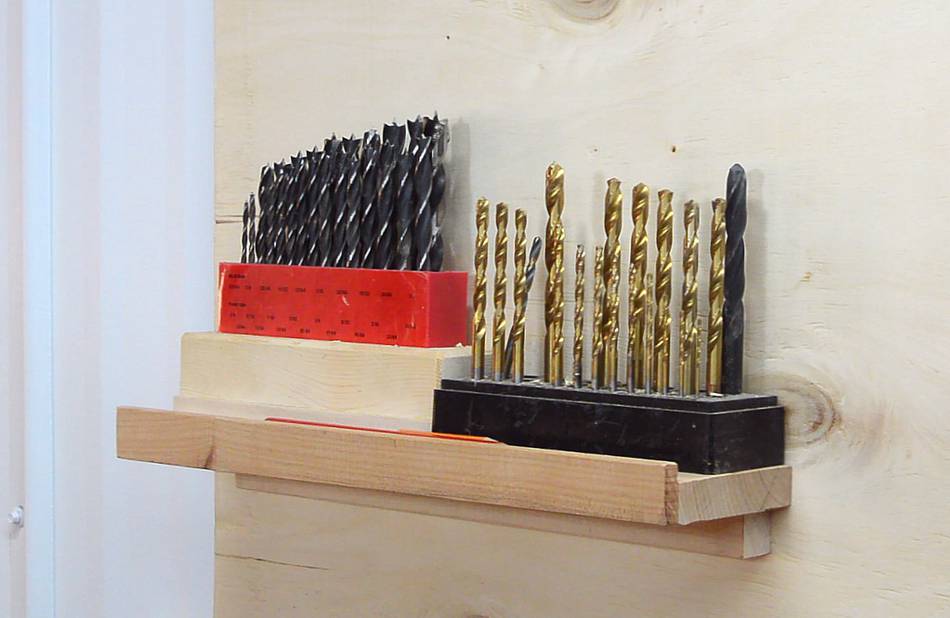 And here it is mounted with the drill indexes on it. There's an extra bit of space
at the front, which I use to keep pencils.
And here it is mounted with the drill indexes on it. There's an extra bit of space
at the front, which I use to keep pencils.
These things take quite a bit of time to make, and I have a lot more to make, but this is all for now.
 Chisel holder for my tool wall #shorts
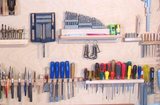 Wall tool holders
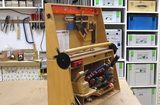 An interesting tool chest design
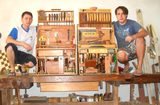 Some nice homemade tool chests
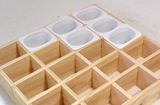 Parts sorting tray
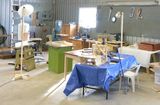 Big garage workshop
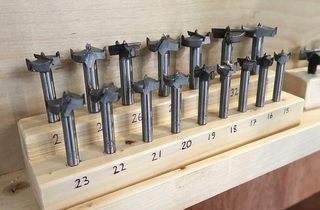 Making a drill index for Forstner bits