Drawers for the bandsaw stand
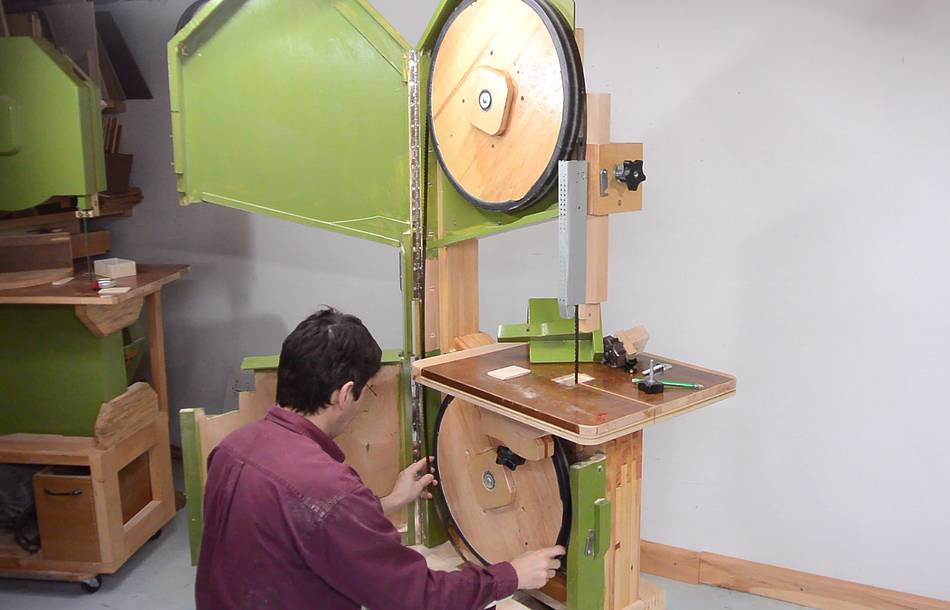
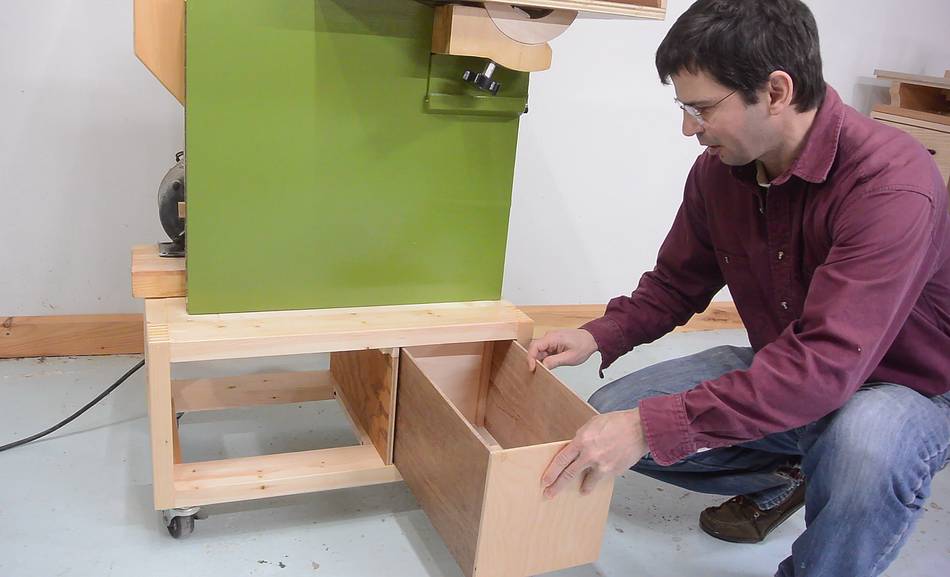 Having built several tool stands
including one for my 20" bandsaw,
it was time to make some drawers for the bandsaw stand.
Having built several tool stands
including one for my 20" bandsaw,
it was time to make some drawers for the bandsaw stand.
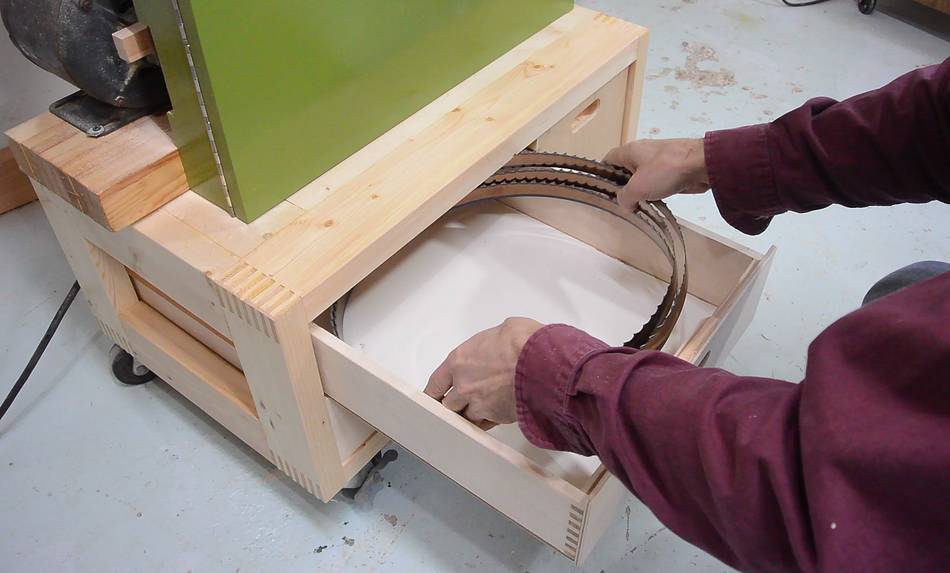
I already made the sawdust drawer for this stand before I decided to film it. The sawdust drawer is just glued together out of five pieces of plywood. 1/2" thick for the bottom, 1/4" (6 mm) thick for the sides, with an extra piece of wood in the vertical corners for extra gluing surface.
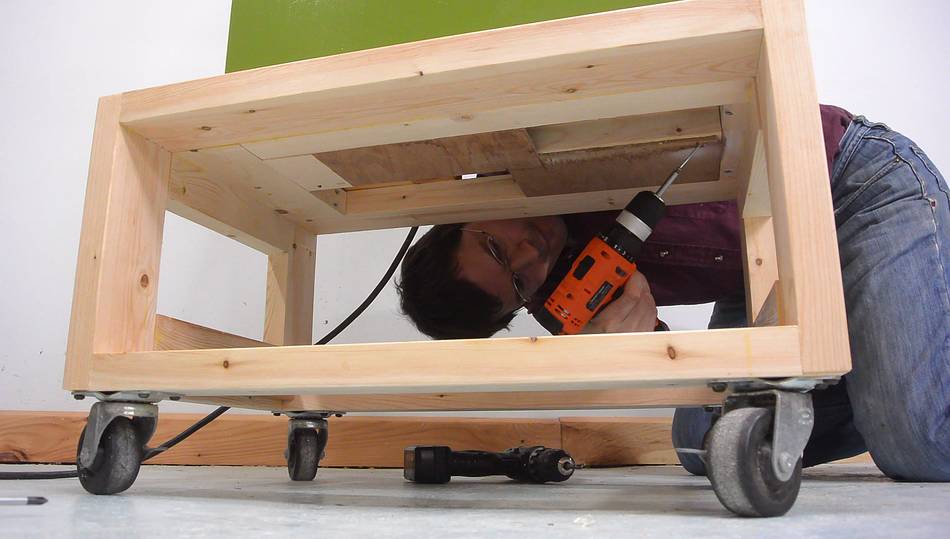 I made a piece to go in the top of the tool stand to cover the back of the
drawer. It also closes the space below the wheel left of the
drawer to keep dust out of the other drawers.
I made a piece to go in the top of the tool stand to cover the back of the
drawer. It also closes the space below the wheel left of the
drawer to keep dust out of the other drawers.
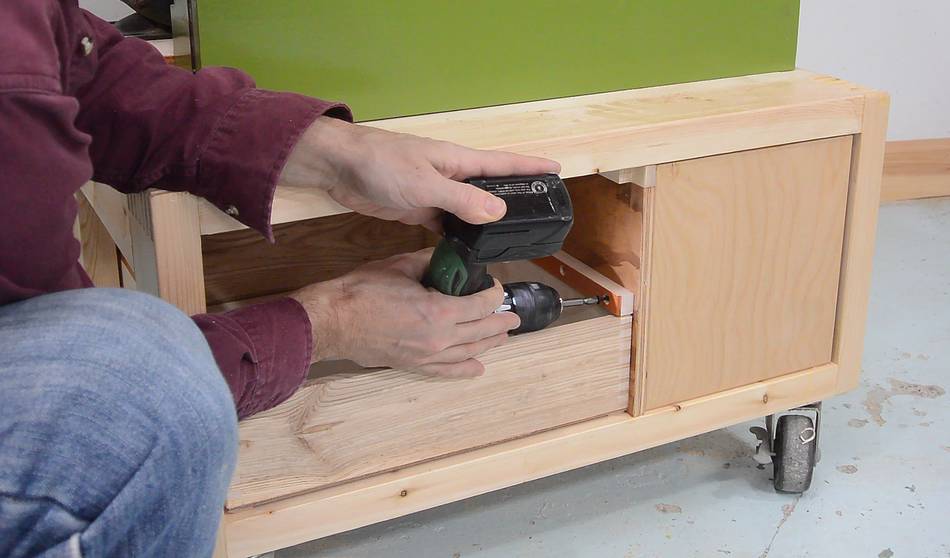
But I decided I should add a port for hooking up a dust collector to pull air out of the saw, so I had to remove this piece again. It's only screwed in.
 Marking a hole for the port.

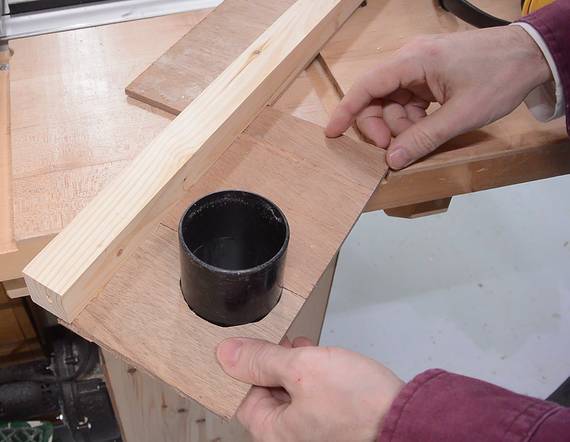 Then cutting it out on the scrollsaw. I don't have enough room around my scrollsaw,
even changing the blade direction didn't help. I hit my belt sander with
the workpiece. But I managed to get it cut. Not a perfect hole, but the 2.5"
hose connector piece fits tightly.
Then cutting it out on the scrollsaw. I don't have enough room around my scrollsaw,
even changing the blade direction didn't help. I hit my belt sander with
the workpiece. But I managed to get it cut. Not a perfect hole, but the 2.5"
hose connector piece fits tightly.
The hose connector will be over the back of the drawer to pull air out of the whole bandsaw when doing a lot of resawing, though most of the sawdust will still end up in the drawer. Most of the time, I'll be using it without dust collection, and I'll cover that hole with a piece of wood.
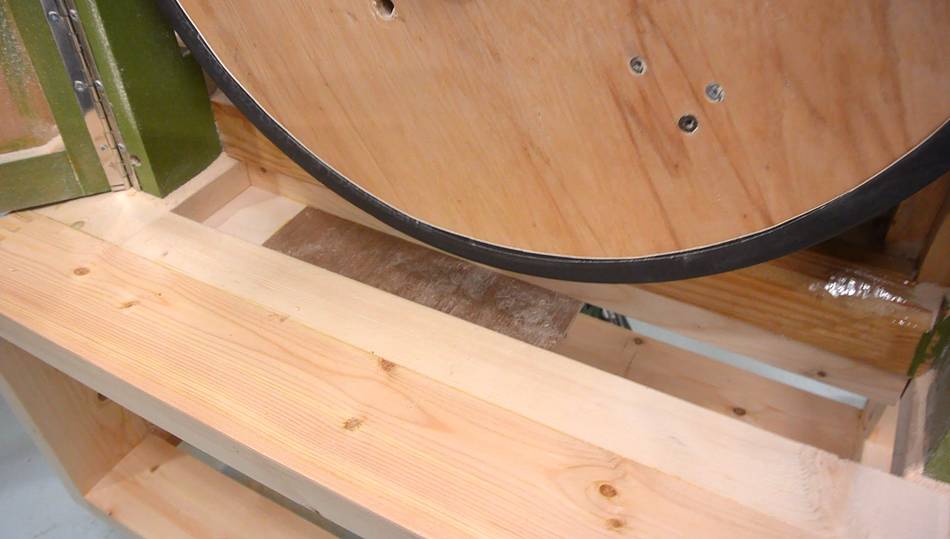 Here, looking in the front of the saw, you can see that the area below the wheel is
closed off on the left and open on the right where the drawer goes.
Here, looking in the front of the saw, you can see that the area below the wheel is
closed off on the left and open on the right where the drawer goes.
 I needed to resaw some wood to make the other drawers, and, even though I already
have the right kind of blade in my 18" bandsaw, I put a resaw blade in this saw
because I wanted to use it, because, well, it's my new toy.
I needed to resaw some wood to make the other drawers, and, even though I already
have the right kind of blade in my 18" bandsaw, I put a resaw blade in this saw
because I wanted to use it, because, well, it's my new toy.
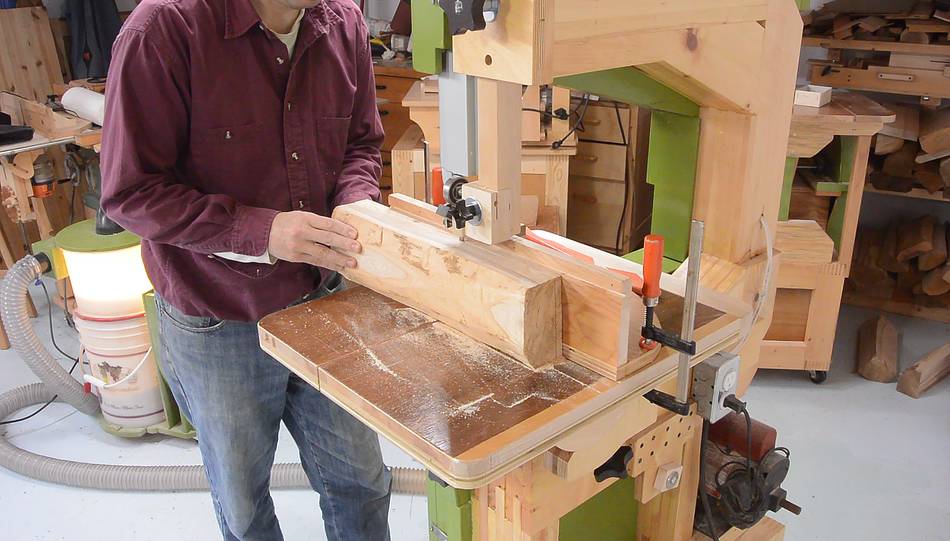 Resawing a thick piece of silver maple for the drawer sides. It was very satisfying
how that saw sliced through the wood. But it's a brand new blade, and that
makes a big difference.
Resawing a thick piece of silver maple for the drawer sides. It was very satisfying
how that saw sliced through the wood. But it's a brand new blade, and that
makes a big difference.
 Then cutting 1/4" box joints in the end of the pieces. I won't go into details
about this here, because I have done that operation many many times,
for example here.
More on that technique here.
Then cutting 1/4" box joints in the end of the pieces. I won't go into details
about this here, because I have done that operation many many times,
for example here.
More on that technique here.
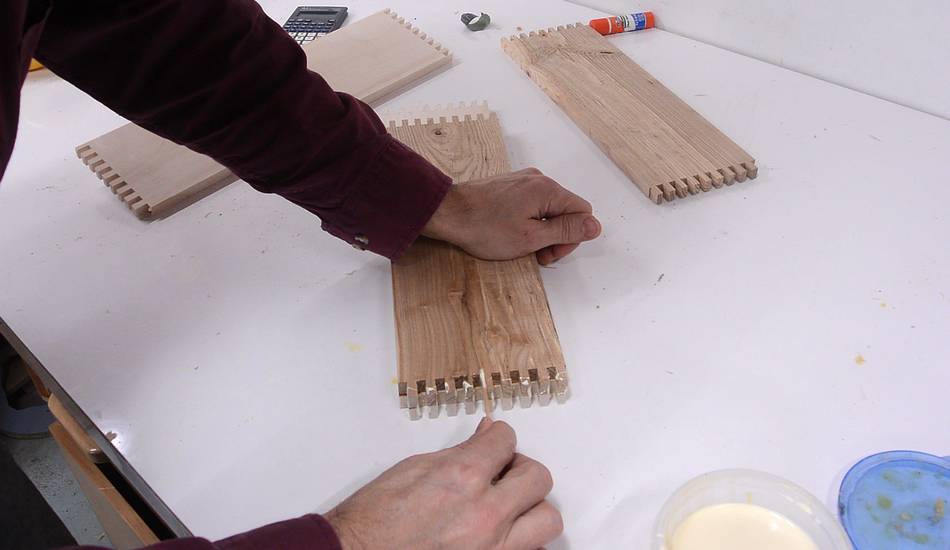
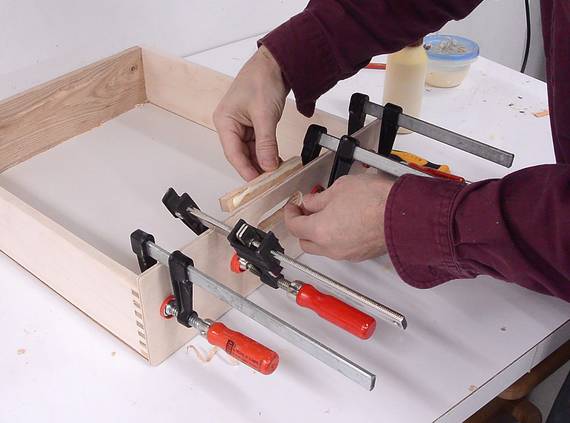
 I laid the first two pieces on top of each other to apply glue to both of them for the first joint,
but for the other three joints I had to hold them side-by-side to apply
glue to both parts at the same time.
I laid the first two pieces on top of each other to apply glue to both of them for the first joint,
but for the other three joints I had to hold them side-by-side to apply
glue to both parts at the same time.
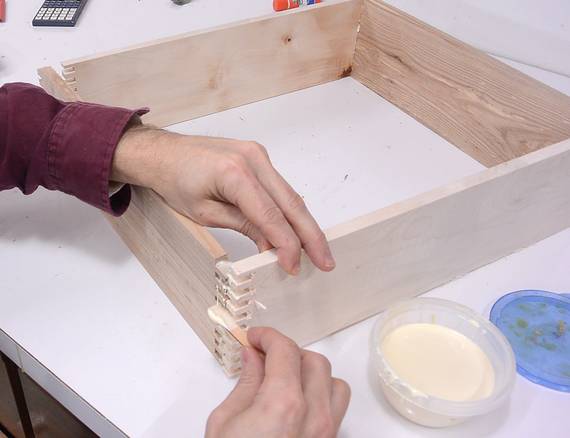
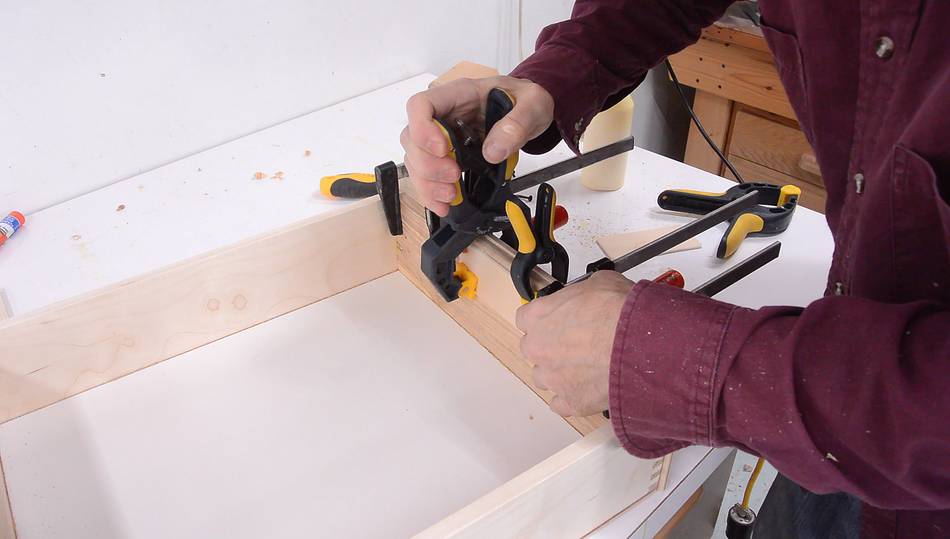
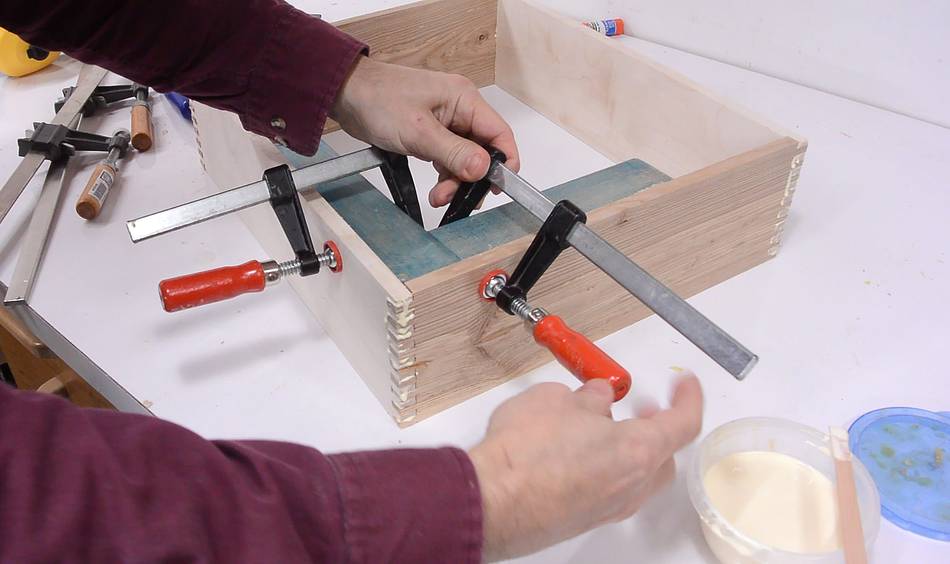 Using a clamping square to make sure the box is square.
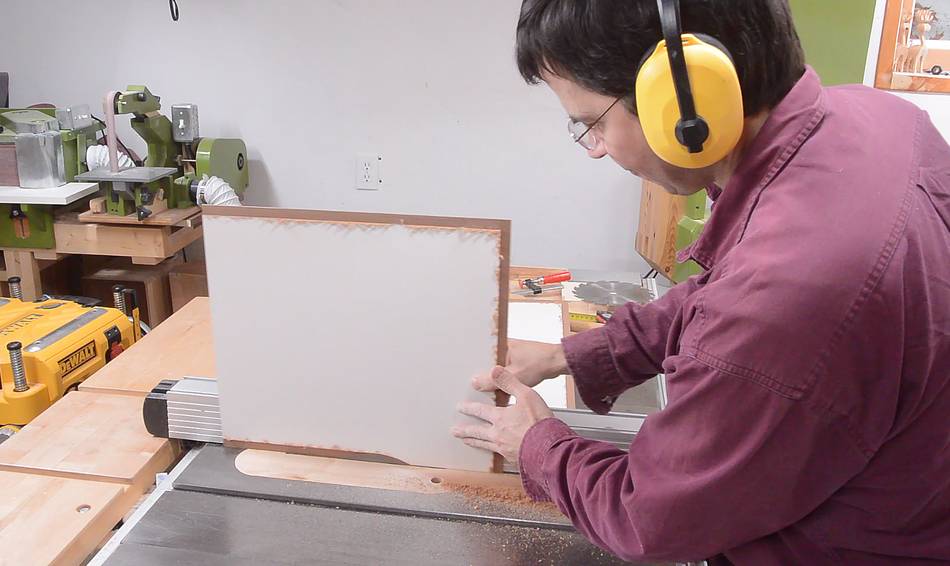 I had some hardboard with a white coating on one side that I used for the bottom.
I used my table saw to strip the coating off around the edges so I could glue it
coated side up to the bottom of the drawers.
I had some hardboard with a white coating on one side that I used for the bottom.
I used my table saw to strip the coating off around the edges so I could glue it
coated side up to the bottom of the drawers.
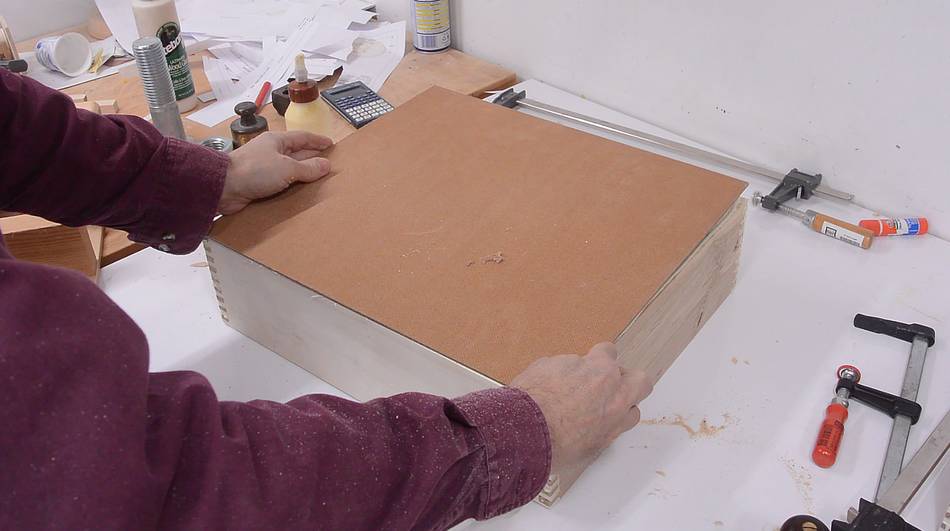 Then gluing it on the bottom. I added lots of clamps after this picture.
 I cut some thin strips of wood to act as runners...
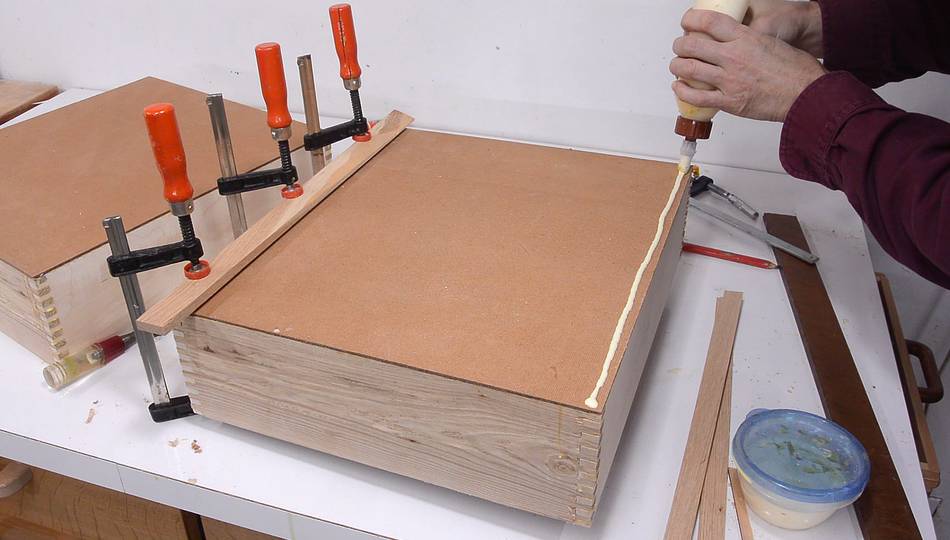 ... then glued these onto the sides of the bottom of the drawer. The rough
surface of the hardboard would not be very good for sliding a drawer on.
... then glued these onto the sides of the bottom of the drawer. The rough
surface of the hardboard would not be very good for sliding a drawer on.
 I used a hand plane to flush trim the hardboard to the bottom.
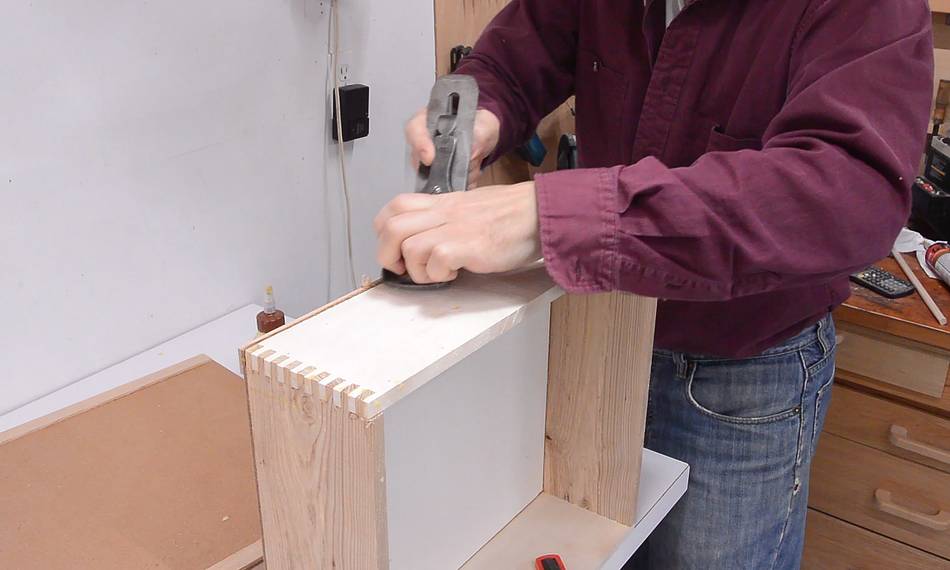
 Then sanding the box joints flush on the
6x48" belt sander.
Then sanding the box joints flush on the
6x48" belt sander.
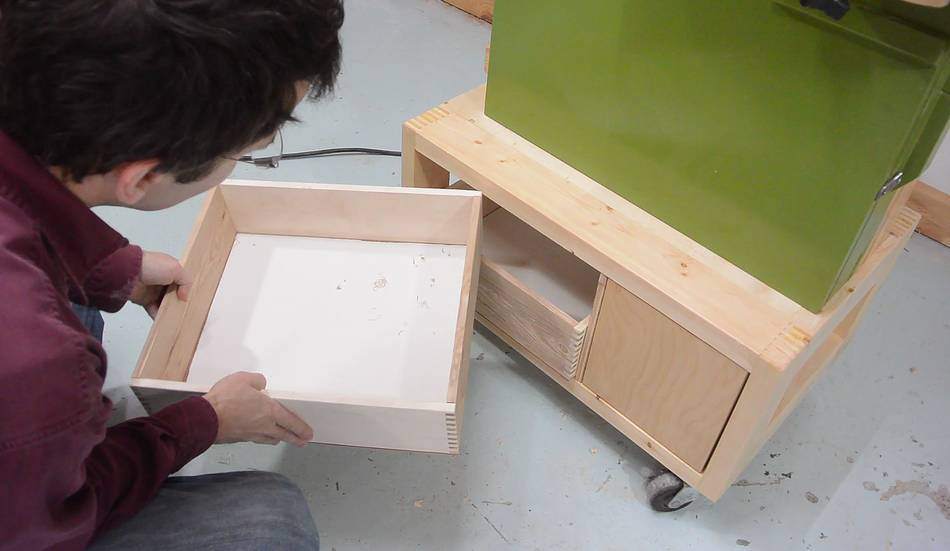 Test fitting the drawers. They fit in terms of length and width, but somehow
I made them too tall. I forgot to account for the thickness of the bottom and the
runner that I added. I also forgot to leave space for rails for the drawers
to slide on.
Test fitting the drawers. They fit in terms of length and width, but somehow
I made them too tall. I forgot to account for the thickness of the bottom and the
runner that I added. I also forgot to leave space for rails for the drawers
to slide on.
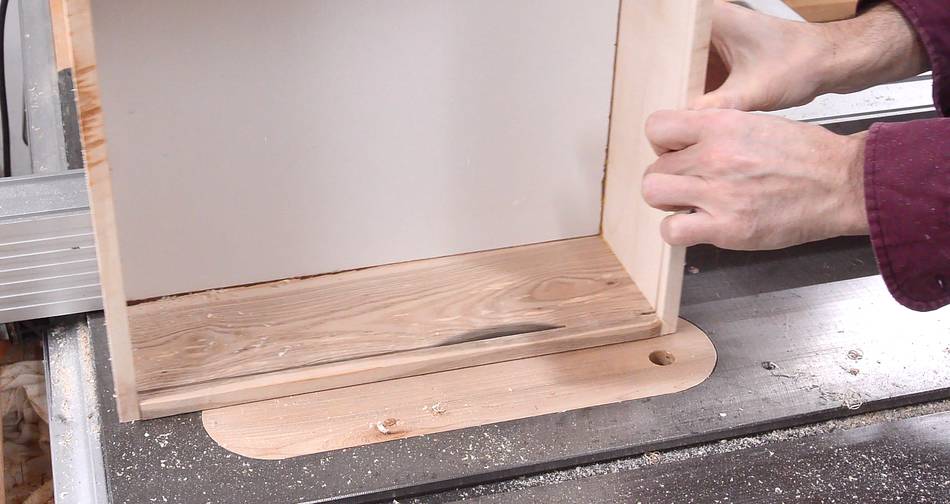
 So I cut a bit of height off the drawers on the table saw.
After that, I added a slight chamfer to the inside and outside edges with a small palm plane to make them feel nicer to the touch.
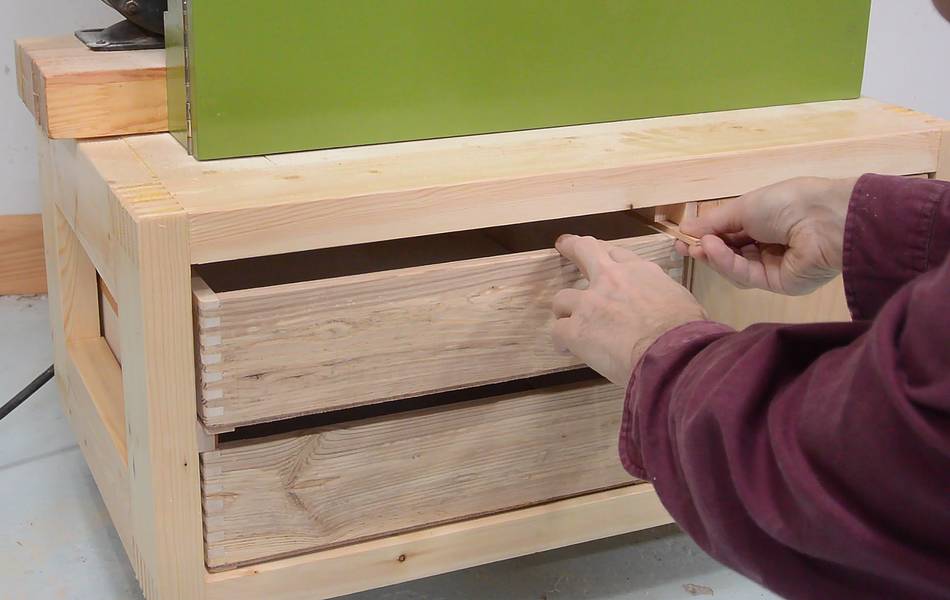 Fitting the drawers again. I stacked the bottom drawer, the rails between them,
and the top drawer. There is also a rail above the top drawer. I used two pieces
of wood that together took up the remaining space.
Fitting the drawers again. I stacked the bottom drawer, the rails between them,
and the top drawer. There is also a rail above the top drawer. I used two pieces
of wood that together took up the remaining space.
 I then took out the top drawer, put one of the spacers below the rail above the
bottom drawer, and screwed that rail in place. That way, the remaining slack
is divided between the two drawers (about 2 mm of space for each drawer).
I then took out the top drawer, put one of the spacers below the rail above the
bottom drawer, and screwed that rail in place. That way, the remaining slack
is divided between the two drawers (about 2 mm of space for each drawer).
 The next challenge was how to locate the drawer fronts. I didn't want to put a handle
on the drawers, and with the drawer fronts just 1/4" thick, I couldn't screw them on from
behind either. I screwed two drywall screws into the drawers from the inside
so the points protruded just a few millimeters on the front.
The next challenge was how to locate the drawer fronts. I didn't want to put a handle
on the drawers, and with the drawer fronts just 1/4" thick, I couldn't screw them on from
behind either. I screwed two drywall screws into the drawers from the inside
so the points protruded just a few millimeters on the front.
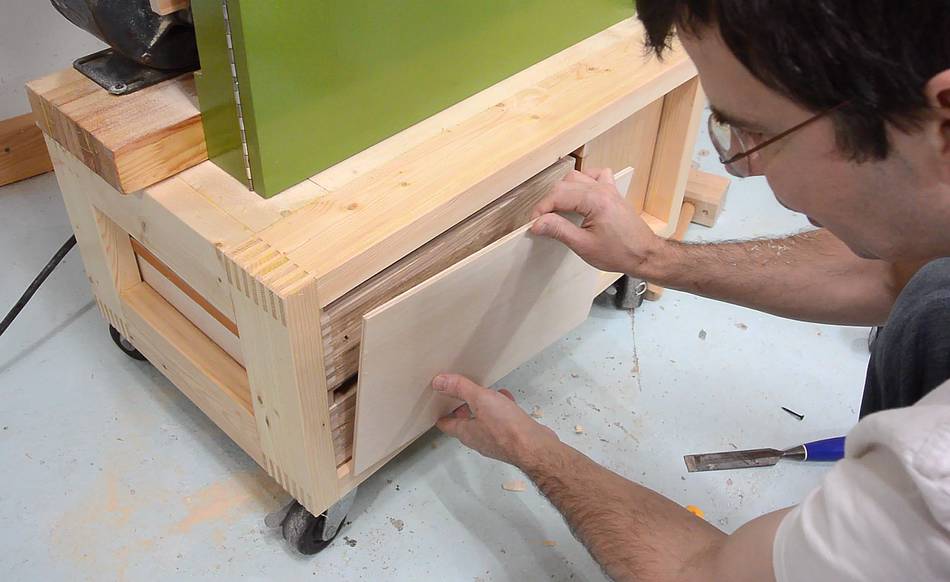
 Then I applied the front (which is still in one piece at this point), and tapped
it against the drawers with a mallet (I added a temporary back-stop to keep the drawers
from sliding back)
Then I applied the front (which is still in one piece at this point), and tapped
it against the drawers with a mallet (I added a temporary back-stop to keep the drawers
from sliding back)
 I then took the front off again and placed the top drawer on it, using the screw divots
to place it in the same position as in the cabinet. I lined it up on the table saw
to cut the front apart just below the drawer.
I lifted the drawer off before making the cut.
I then took the front off again and placed the top drawer on it, using the screw divots
to place it in the same position as in the cabinet. I lined it up on the table saw
to cut the front apart just below the drawer.
I lifted the drawer off before making the cut.
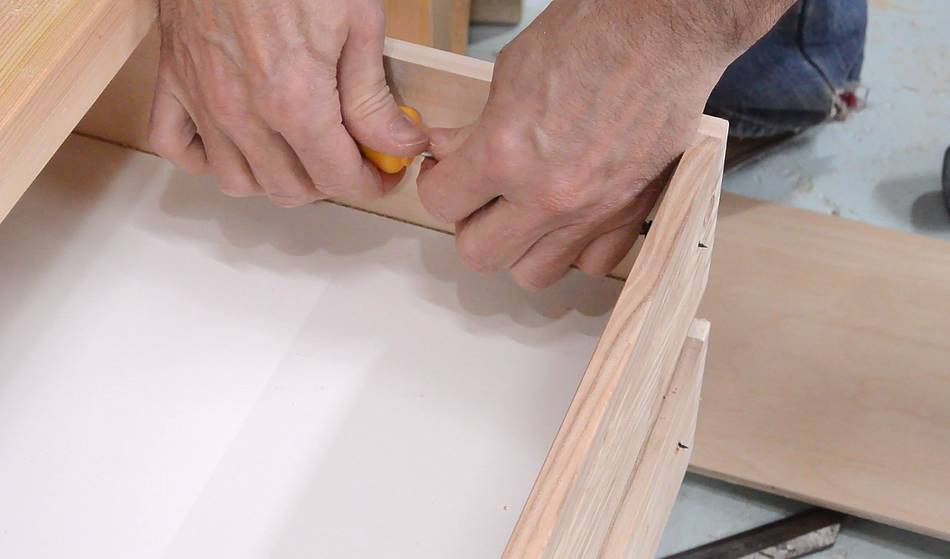
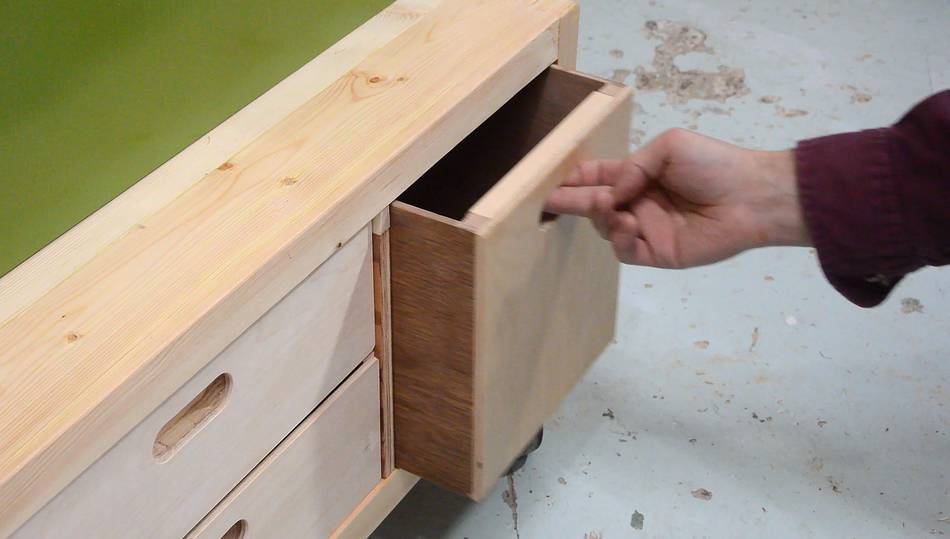
 I then made an elongated slot in each drawer for a recessed drawer pull.
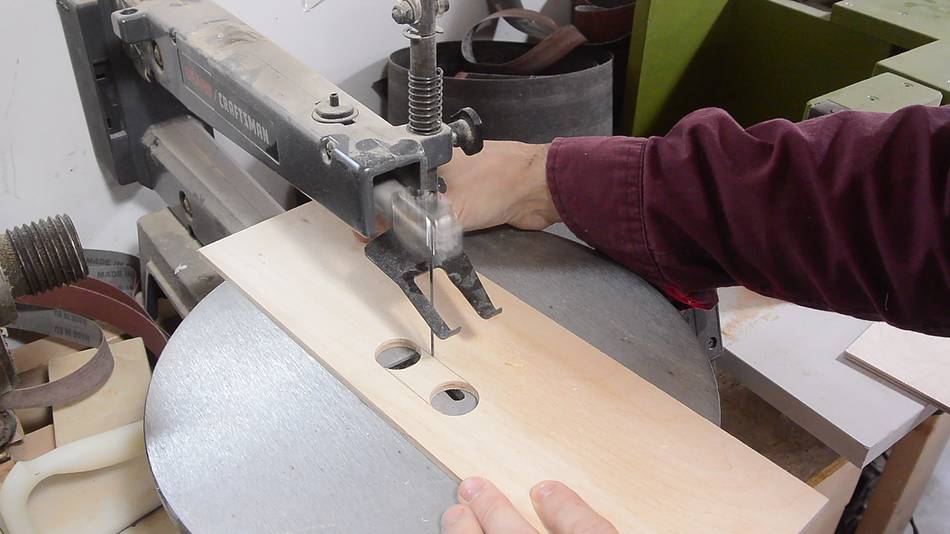 I cut between the holes with a scrollsaw.

 I then put the drawer front on the drawer again and used the same drill bit as before
to mark the centers of the holes onto the drawer itself.
I then put the drawer front on the drawer again and used the same drill bit as before
to mark the centers of the holes onto the drawer itself.
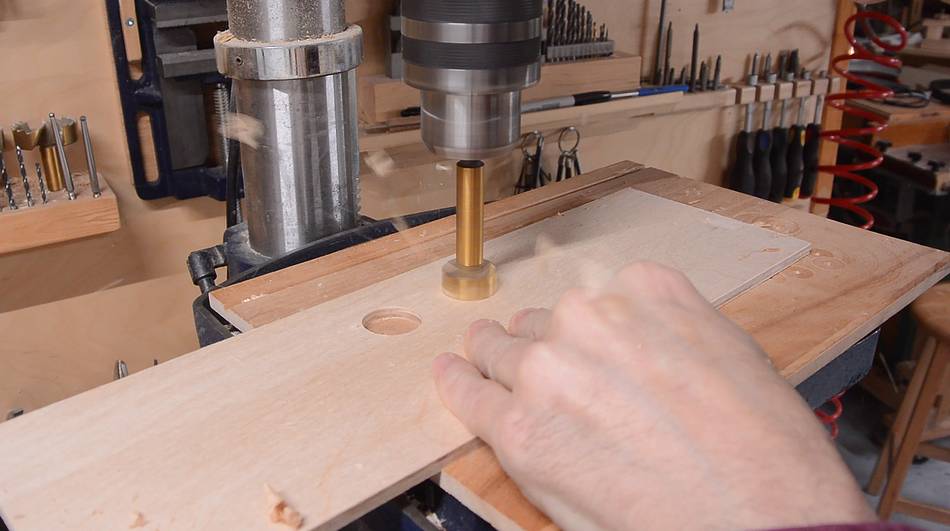
I then used a larger drill bit to make a hole in the drawer.
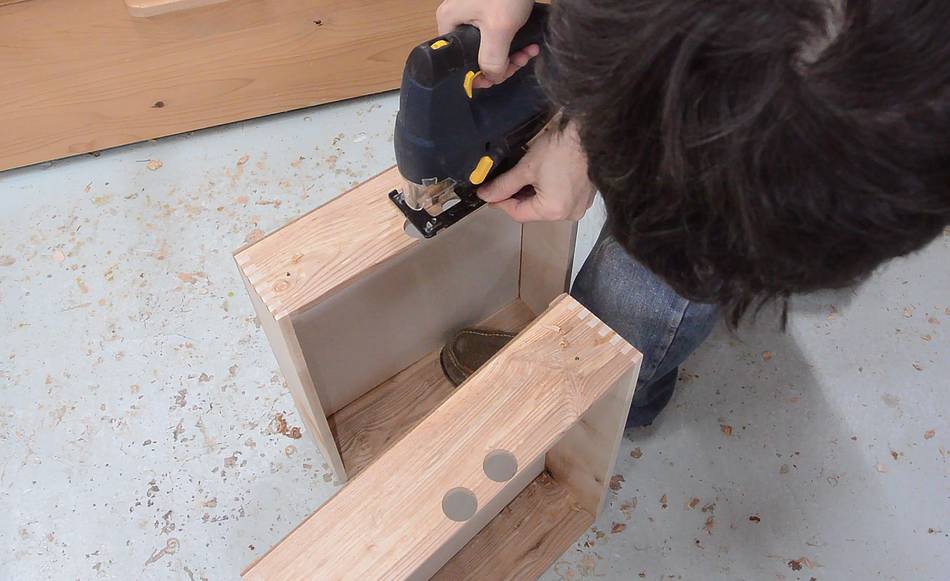 I finished cutting this slot with a jigsaw.
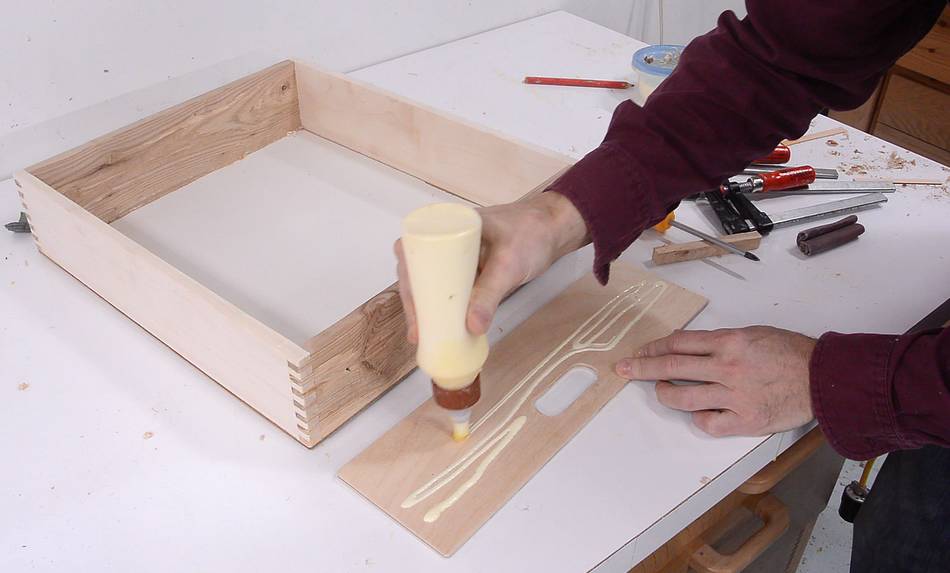
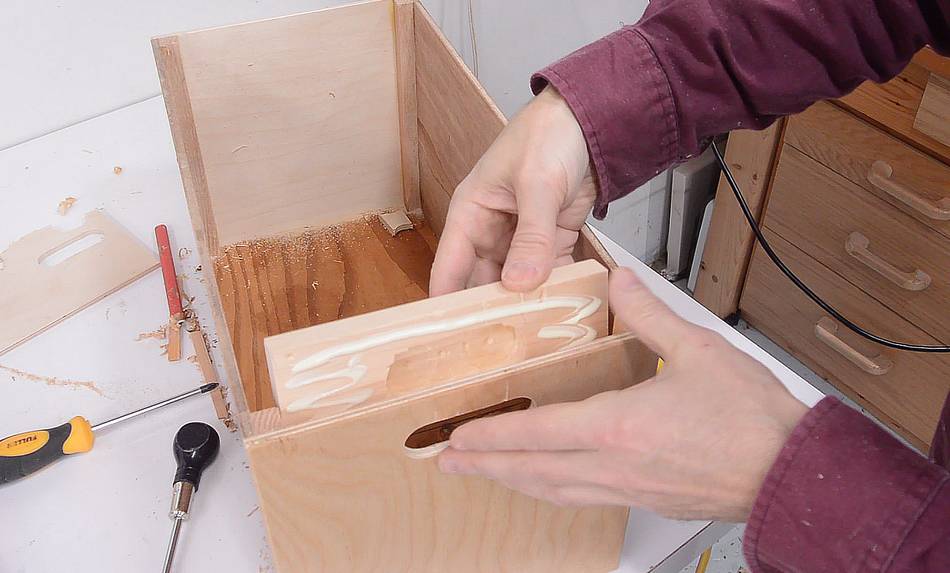
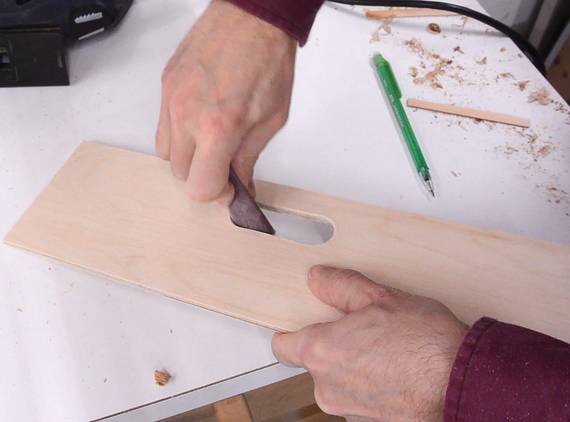 I then sanded the edges of the slot round, then glued it to the drawer front.
I only applied glue along a relatively narrow region. The drawer, made of solid wood, will expand and contract vertically with humidity changes, but the plywood drawer front will not.
 I added another piece of wood to close off the top of the hand hold, and a thin
piece of plywood (1/8", 3 mm) to the back of the handle opening to close it off.
I added another piece of wood to close off the top of the hand hold, and a thin
piece of plywood (1/8", 3 mm) to the back of the handle opening to close it off.
 The drawers are barely big enough to hold extra bandsaw blades, and I have
to squeeze them in a bit. I would have made the drawers wider, but I didn't
want to make the sawdust drawer any narrower.
The drawers are barely big enough to hold extra bandsaw blades, and I have
to squeeze them in a bit. I would have made the drawers wider, but I didn't
want to make the sawdust drawer any narrower.
 I also cut a similar slot into the sawdust drawer and added a piece of wood with
a recess cut into it to the back (I really didn't want sawdust coming out the
handle hole of the sawdust drawer!)
I also cut a similar slot into the sawdust drawer and added a piece of wood with
a recess cut into it to the back (I really didn't want sawdust coming out the
handle hole of the sawdust drawer!)
 I quite like how this ended up looking. The recessed drawer fronts give the whole front
of the stand a nice flat look.
I quite like how this ended up looking. The recessed drawer fronts give the whole front
of the stand a nice flat look.
Inspired by these, I made more
Drawers with recessed handles
See also:
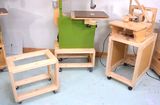 Mobile tool stands
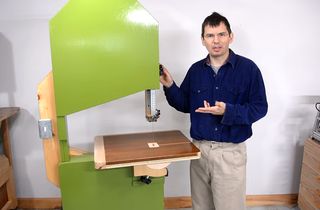 20" bandsaw build
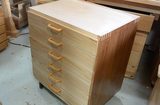 Making drawers for the
mobile tool stand
Making drawers for the
mobile tool stand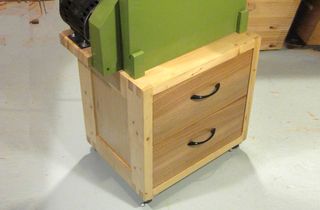 Making a stand
for my 16" bandsaw
Making a stand
for my 16" bandsaw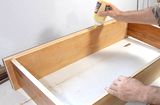 Making dresser drawers
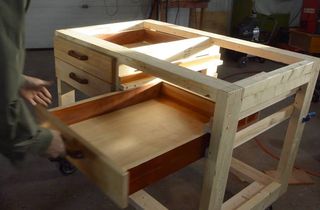 Drawers for the workbench on wheels
 6x48" belt sander
 Recessed drawer pulls
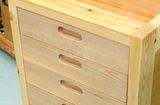 Drawers with recessed handles
Back to my woodworking website