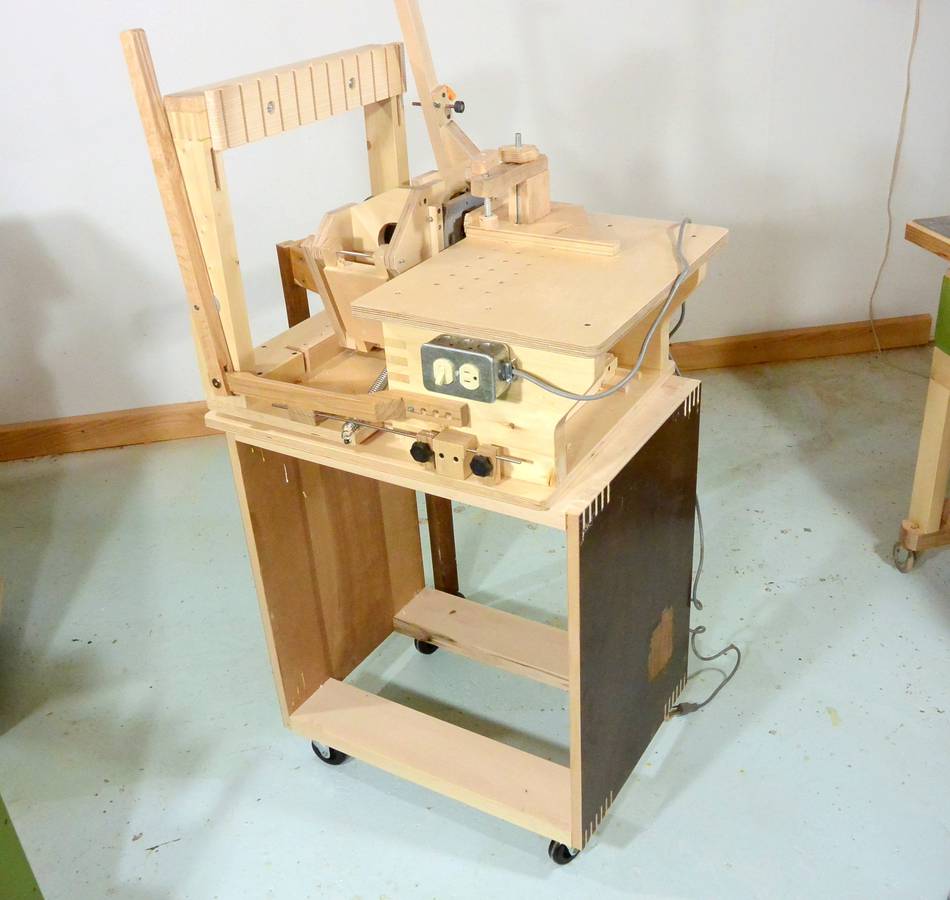
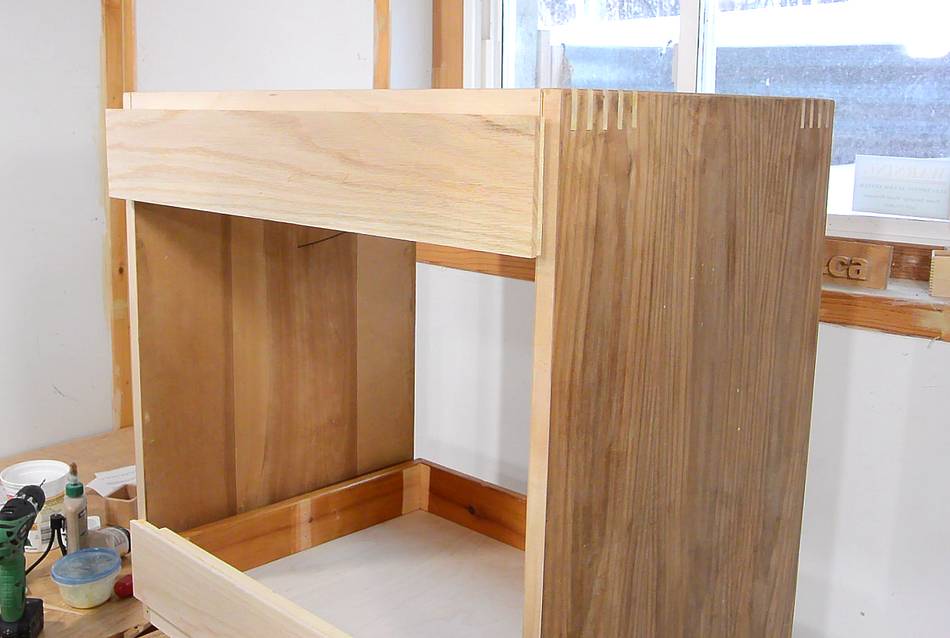
 I had previously built the cabinet part of my
mobile tool stand. Now it's time to build the drawers.
I had previously built the cabinet part of my
mobile tool stand. Now it's time to build the drawers.
I had previously built the cabinet part of my
mobile tool stand. Now it's time to build the drawers.
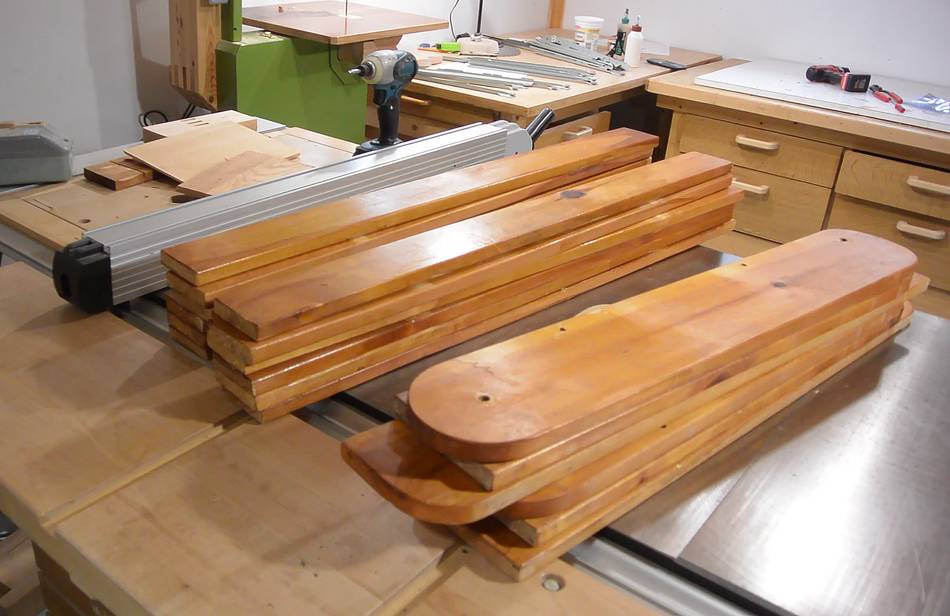 Drawers take up a lot of wood. But I had just found a single futon
frame on the curb, and the boards for that were just the right
size for what I needed.
Drawers take up a lot of wood. But I had just found a single futon
frame on the curb, and the boards for that were just the right
size for what I needed.
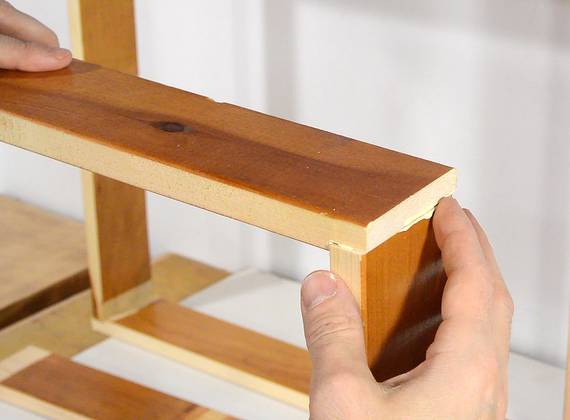
 I originally planned to use box joints for the corners,
like on these drawers, but if I used
rabbet joints instead, the pieces would be just long enough to get
two sides out of each slat.
I originally planned to use box joints for the corners,
like on these drawers, but if I used
rabbet joints instead, the pieces would be just long enough to get
two sides out of each slat.
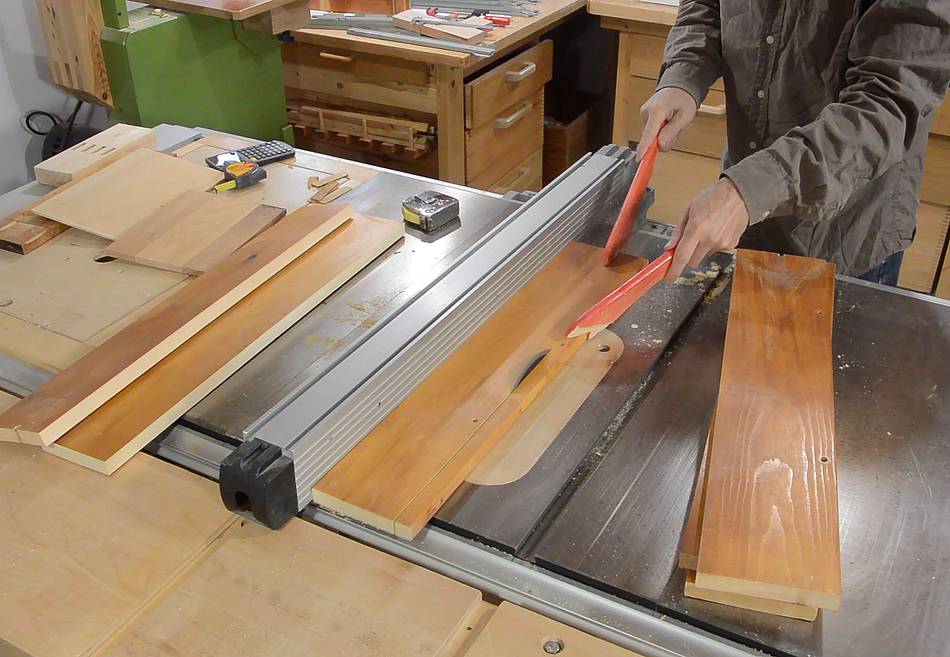
 There were also some wider boards, which I ripped down a bit to use as the fronts.
Overall, the futon was just the right amount of material for the drawers,
with just scraps left over.
There were also some wider boards, which I ripped down a bit to use as the fronts.
Overall, the futon was just the right amount of material for the drawers,
with just scraps left over.
I left the original varnish on the wood, except for where I had to glue it and for the fronts, so I could glue a nice veneer to those later.
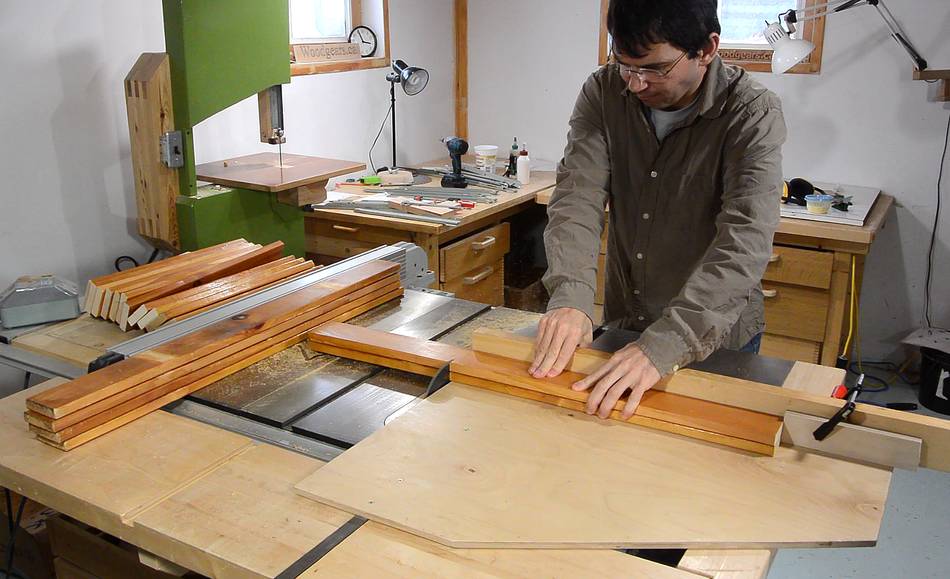
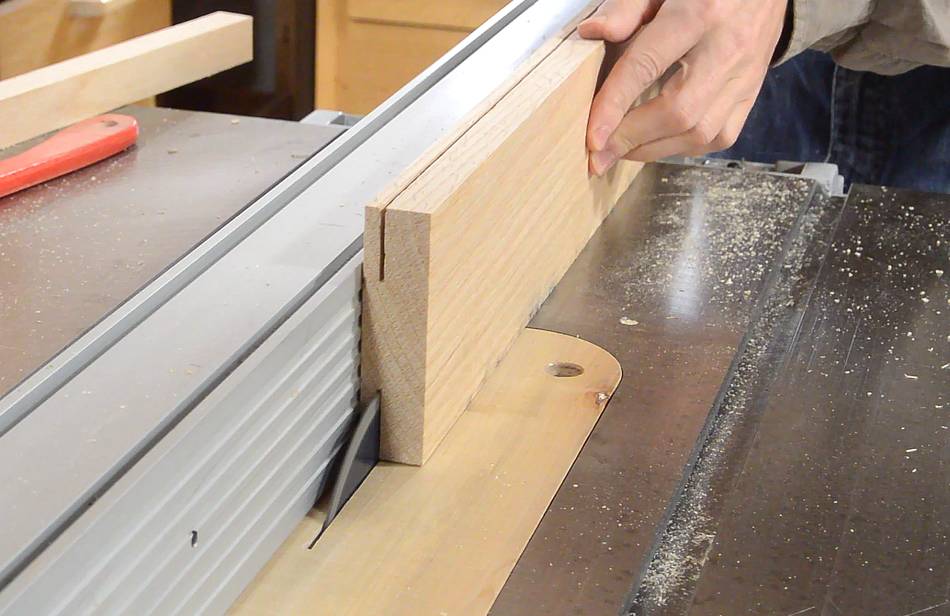
 Cutting the rabbets for the drawer fronts, with two cuts on the table
saw. Quicker that way than switching to a dado blade and back.
Cutting the rabbets for the drawer fronts, with two cuts on the table
saw. Quicker that way than switching to a dado blade and back.
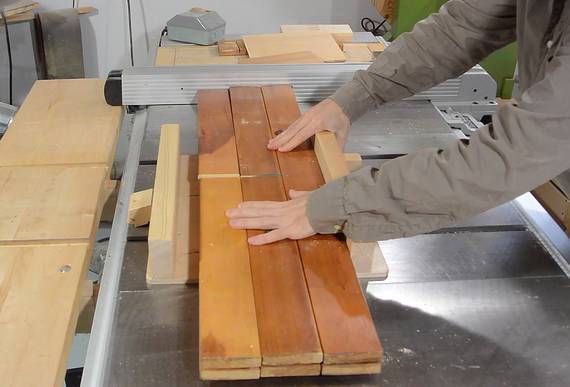
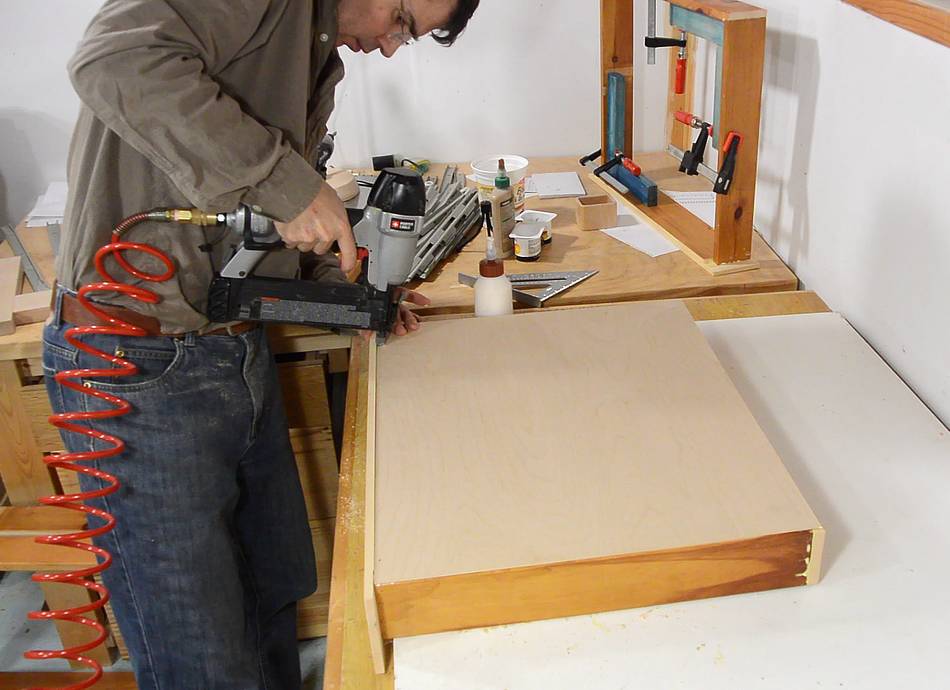
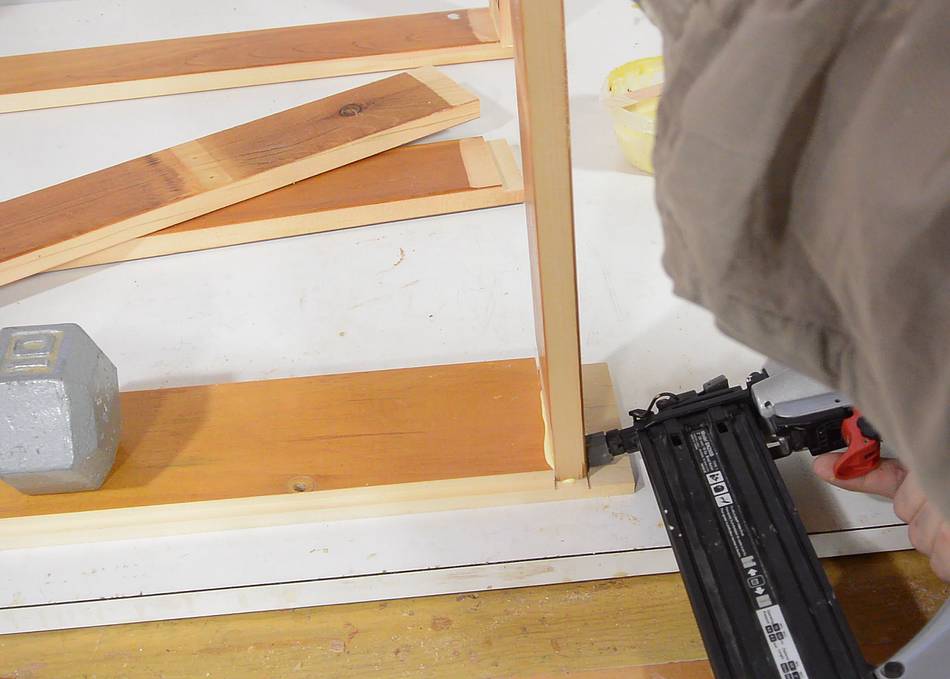 Nailing the sides onto the fronts, nailing from the side. That way, the
impact of slamming the drawers closed won't pull the nails out over time.
Nailing the sides onto the fronts, nailing from the side. That way, the
impact of slamming the drawers closed won't pull the nails out over time.
The joint is also glued, of course.

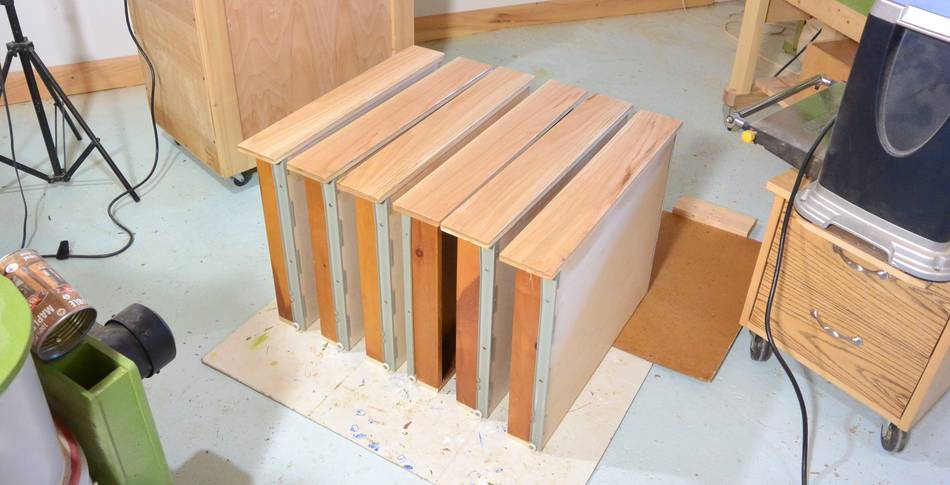
 Lots of drawers to assemble.
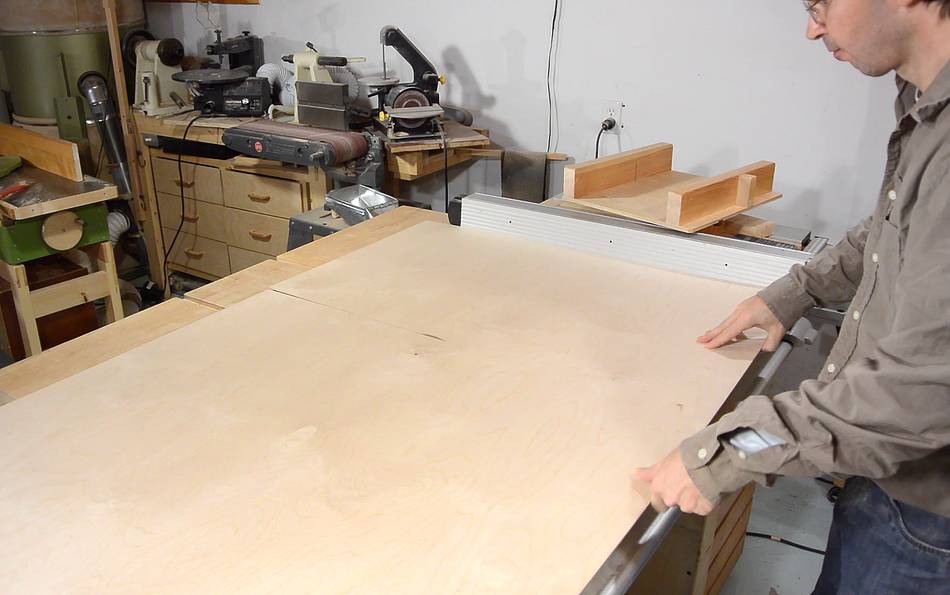 I used some 3 mm Baltic birch plywood for the drawer bottoms, which I'm
cutting here. The blade just barely protrudes above the material. I find
I get less tearout on the bottom if the blade is very low.
I used some 3 mm Baltic birch plywood for the drawer bottoms, which I'm
cutting here. The blade just barely protrudes above the material. I find
I get less tearout on the bottom if the blade is very low.
I had to use all new plywood for the drawer bottoms because I used up all my recycled thin plywood on the drawers for Rachel's dresser
 Brad nailing the drawer bottoms on with 1" brad nails. These are not
ideal because the nail heads are so small. But I also used
glue, so I should be ok.
Brad nailing the drawer bottoms on with 1" brad nails. These are not
ideal because the nail heads are so small. But I also used
glue, so I should be ok.
The drawer front has a rabbet cut on the bottom side so that the plywood is hidden from the front.
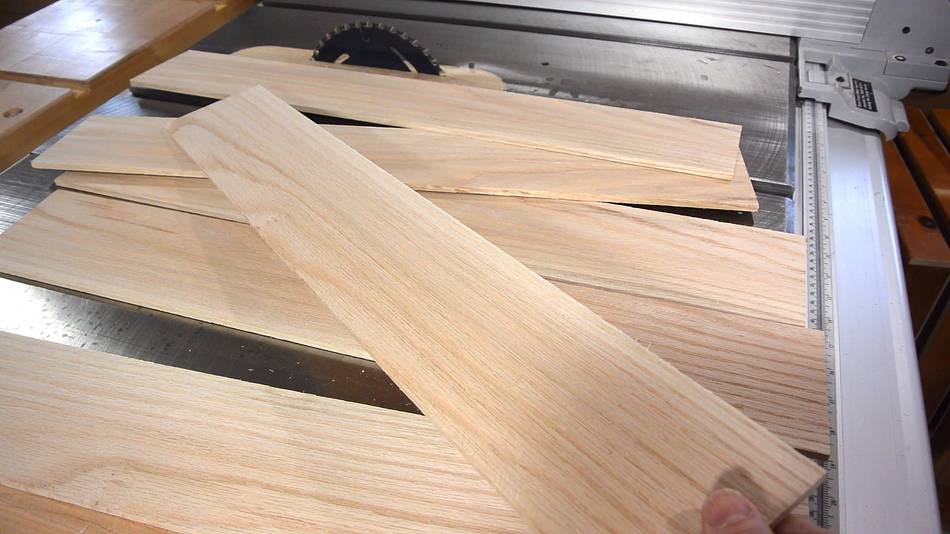
 I used some red oak for the drawer fronts. Here I'm cutting 5 mm thick
layers on the table saw.
I used some red oak for the drawer fronts. Here I'm cutting 5 mm thick
layers on the table saw.
I like resawing with a thin 7 1/4" skillasw blade, provide that the wood is narrow enough that I can do it with such a small blade.
I first make a half-depth cut, then a full depth cut. That way, even with limited power on my saw, I can feed the wood through relatively fast...
 ...and with a fast feed rate, I avoid getting any burning on the wood.
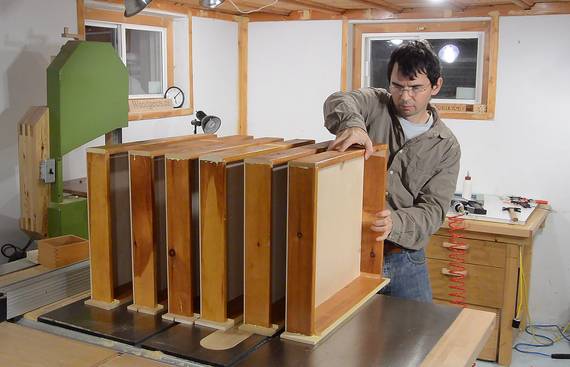
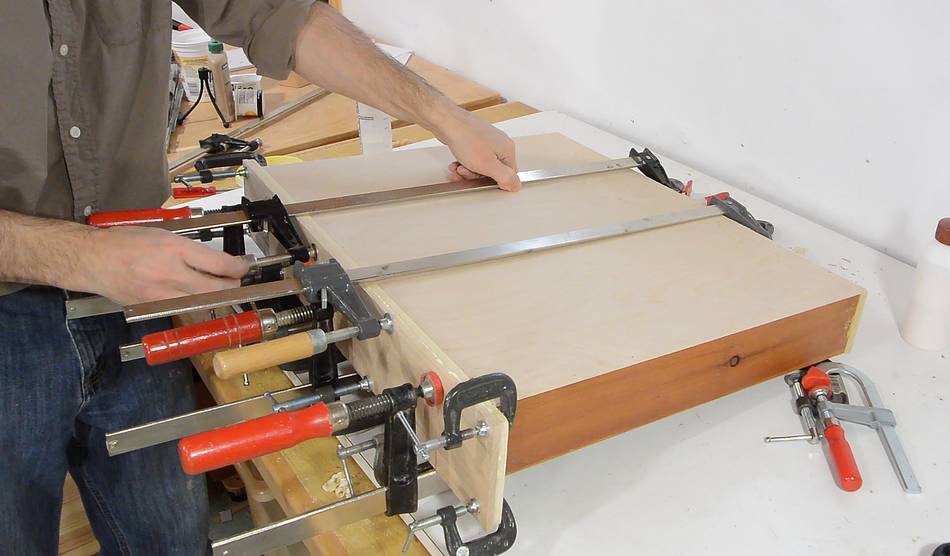 I applied glue to the drawer front and the veneer, then used a lot of clamps
to make sure there was contact along the whole surface.
I applied glue to the drawer front and the veneer, then used a lot of clamps
to make sure there was contact along the whole surface.
I only had enough clamps to glue three drawers at a time.
 The drawer slides are just 3/4 extension slides from a relatively new Ikea
dresser that I saw on the curb. The dresser looked nice, but it was missing
a drawer, so it wasn't worth fixing.
The drawer slides are just 3/4 extension slides from a relatively new Ikea
dresser that I saw on the curb. The dresser looked nice, but it was missing
a drawer, so it wasn't worth fixing.
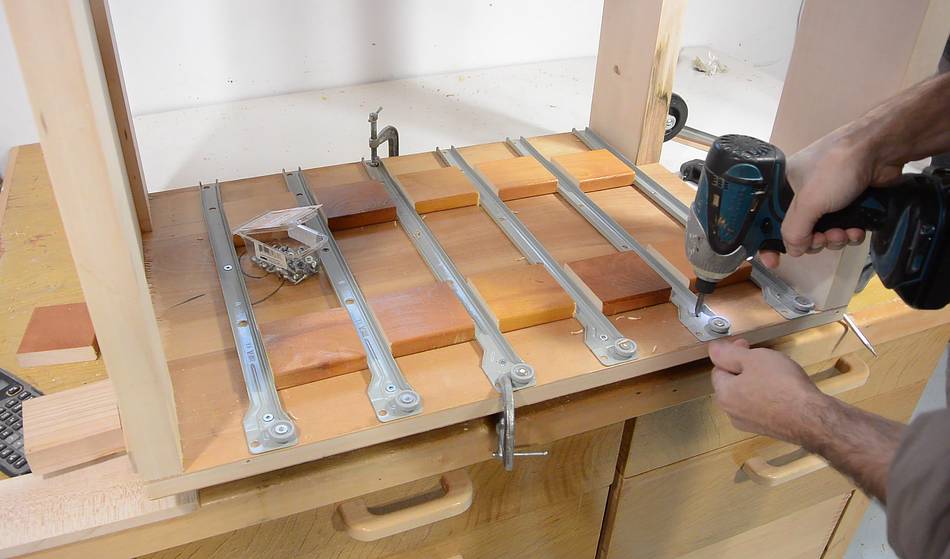
 Screwing on the slides. It's convenient that they hook around
the drawer bottom. That way I don't have to carefully measure where to place
them.
Screwing on the slides. It's convenient that they hook around
the drawer bottom. That way I don't have to carefully measure where to place
them.
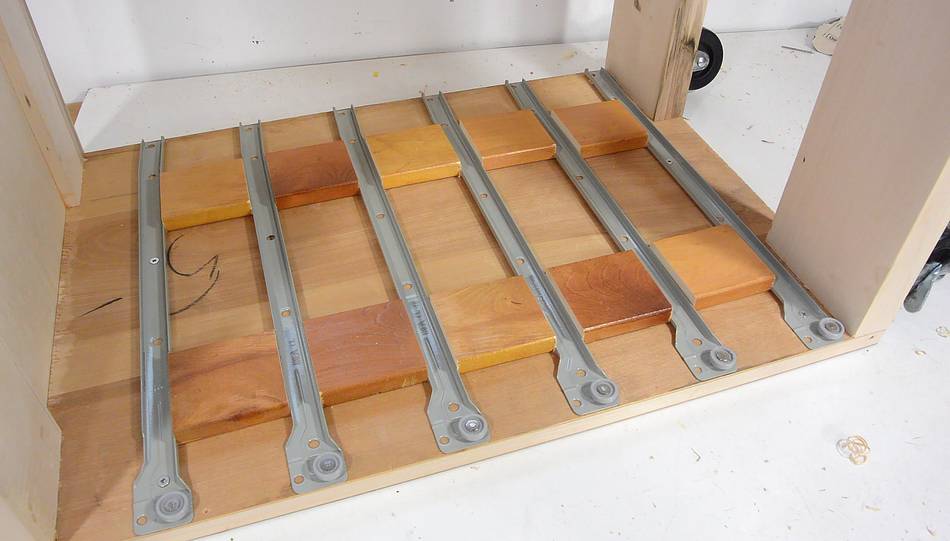
 Next challenge is installing the drawer slides in the cabinet. Getting these
precisely aligned is not one of my favourite things to do!
Next challenge is installing the drawer slides in the cabinet. Getting these
precisely aligned is not one of my favourite things to do!
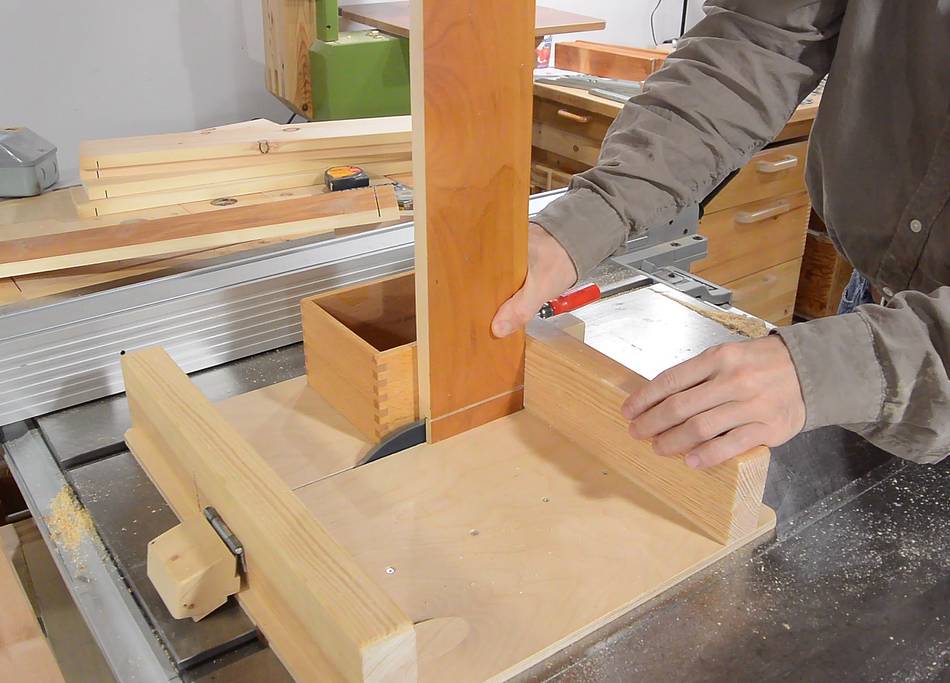
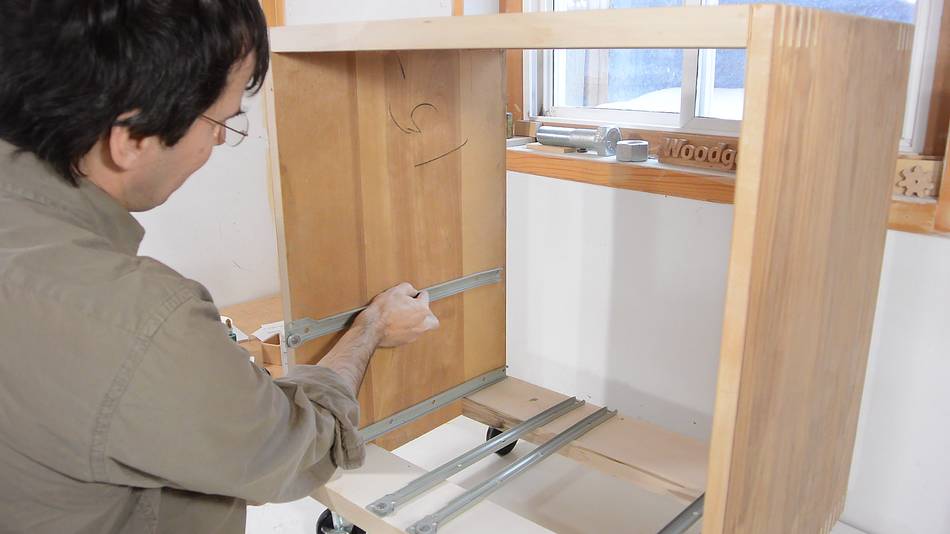
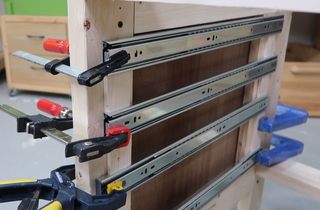
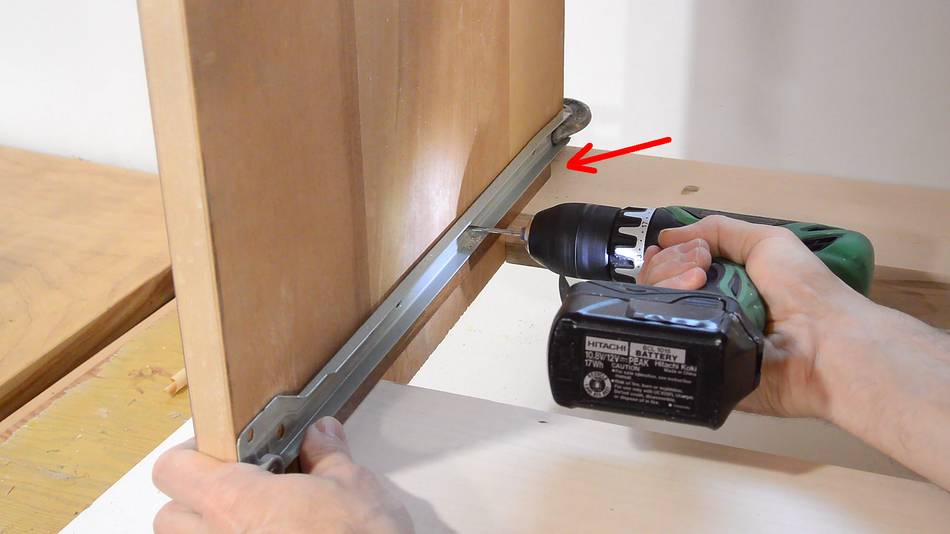 I started by working out how far the bottom-most slides had to be from
the bottom for the drawer to just clear the bottom of the
cabinet. I then made some spacers (see arrow), clamped the slides
in place, and tried it with a drawer. I then center-punched the holes,
drilled pilot holes, and screwed on the drawer slides.
I started by working out how far the bottom-most slides had to be from
the bottom for the drawer to just clear the bottom of the
cabinet. I then made some spacers (see arrow), clamped the slides
in place, and tried it with a drawer. I then center-punched the holes,
drilled pilot holes, and screwed on the drawer slides.
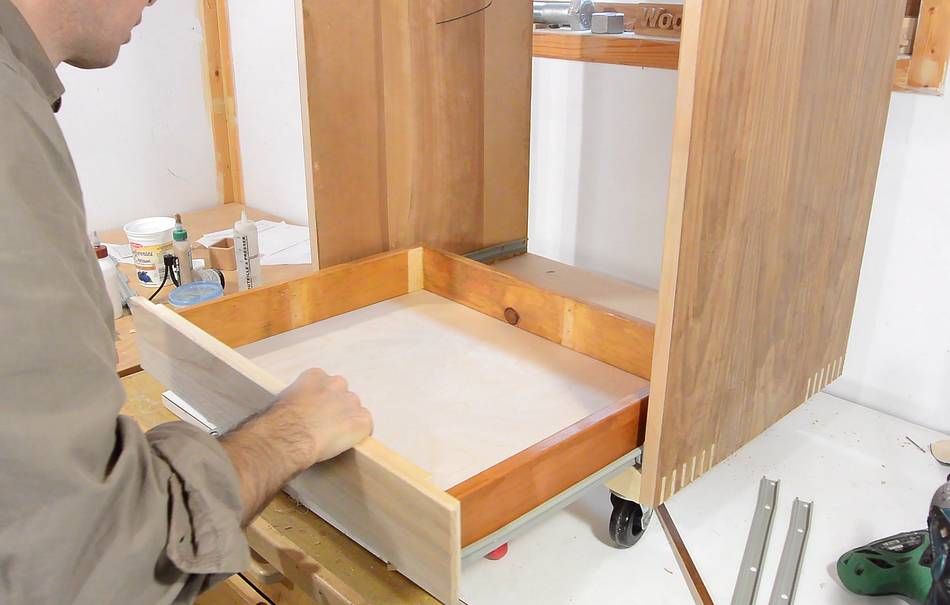 Checking with a drawer to make sure it's ok.
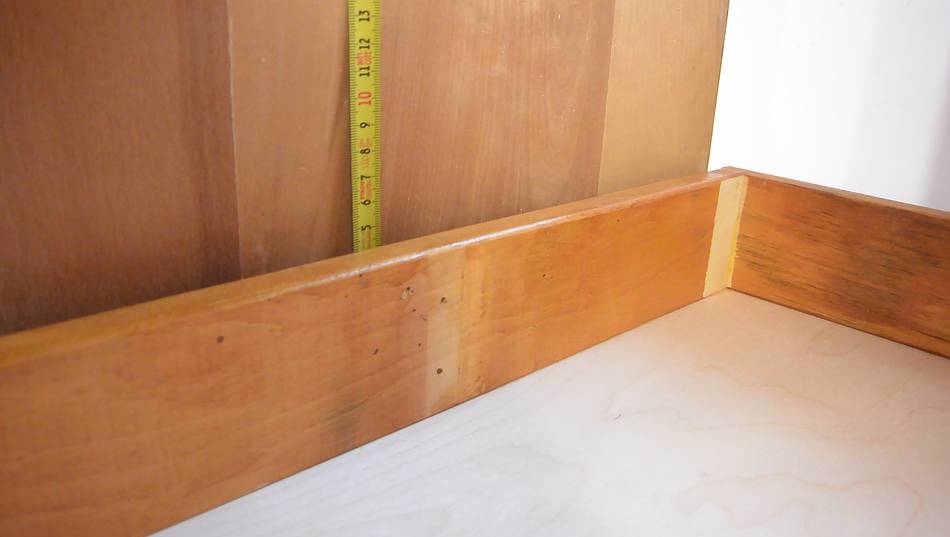 Next challenge: where to mount the top one? With the bottom drawer in the cabinet,
I measured 5.6 cm from the top edge of the drawer to the top of the slide.
Next challenge: where to mount the top one? With the bottom drawer in the cabinet,
I measured 5.6 cm from the top edge of the drawer to the top of the slide.

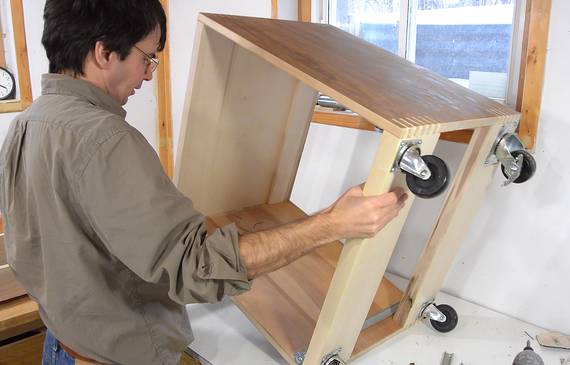 I then flipped the cabinet on its side.
I figured I should give the top drawer an extra 1 cm of clearance (for the drawer part itself) to allow me to get it in and out. So I made some spacers 6.6 cm long, which I used to position the top slides.
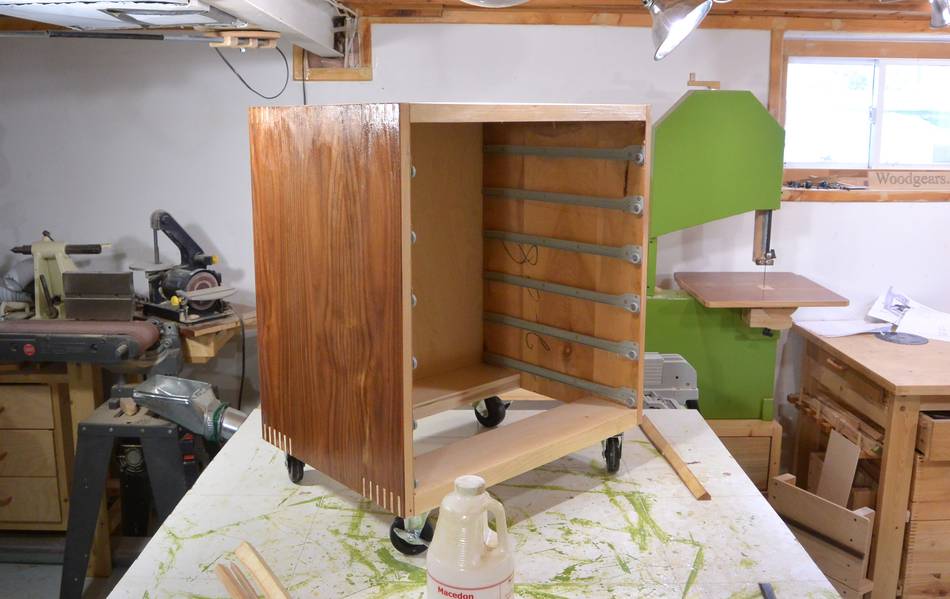
 With the top and bottom drawer slides installed, I needed to space the remaining
four slides evenly between the top and bottom ones.
With the top and bottom drawer slides installed, I needed to space the remaining
four slides evenly between the top and bottom ones.
 So I measured the space between the top and bottom slides, subtracted
the width of the four slides, and then divided the remaining distance
by five and cut spacers that size (there are four slides, but a total
of five spaces between those and the top and bottom).
These five spacers position the four slides evenly between the top and bottom ones.
So I measured the space between the top and bottom slides, subtracted
the width of the four slides, and then divided the remaining distance
by five and cut spacers that size (there are four slides, but a total
of five spaces between those and the top and bottom).
These five spacers position the four slides evenly between the top and bottom ones.
 I made my spacers a fraction of a millimeter too short, so between
the five of them, I had one millimeter of play. So I clamped
one of the middle slides to be in the middle of its wiggle range,
which reduced the play on either side to half a millimeter.
I then proceeded to center punch, drill and screw the slides on.
I made my spacers a fraction of a millimeter too short, so between
the five of them, I had one millimeter of play. So I clamped
one of the middle slides to be in the middle of its wiggle range,
which reduced the play on either side to half a millimeter.
I then proceeded to center punch, drill and screw the slides on.

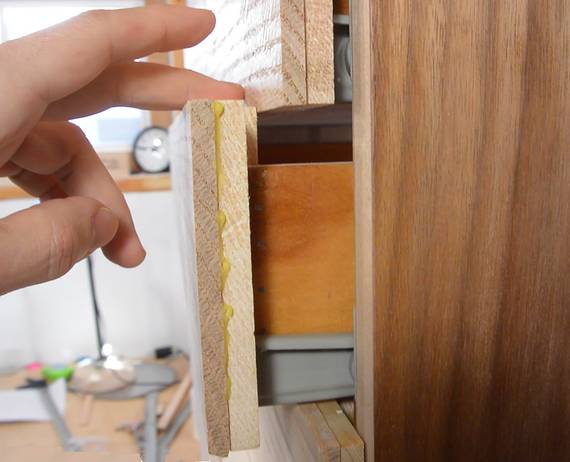 Test fitting the drawers. The drawer fronts were a bit too tall for
the drawers to be able to slide past each other, especially with the
veneer protruding past the drawer fronts.
Test fitting the drawers. The drawer fronts were a bit too tall for
the drawers to be able to slide past each other, especially with the
veneer protruding past the drawer fronts.
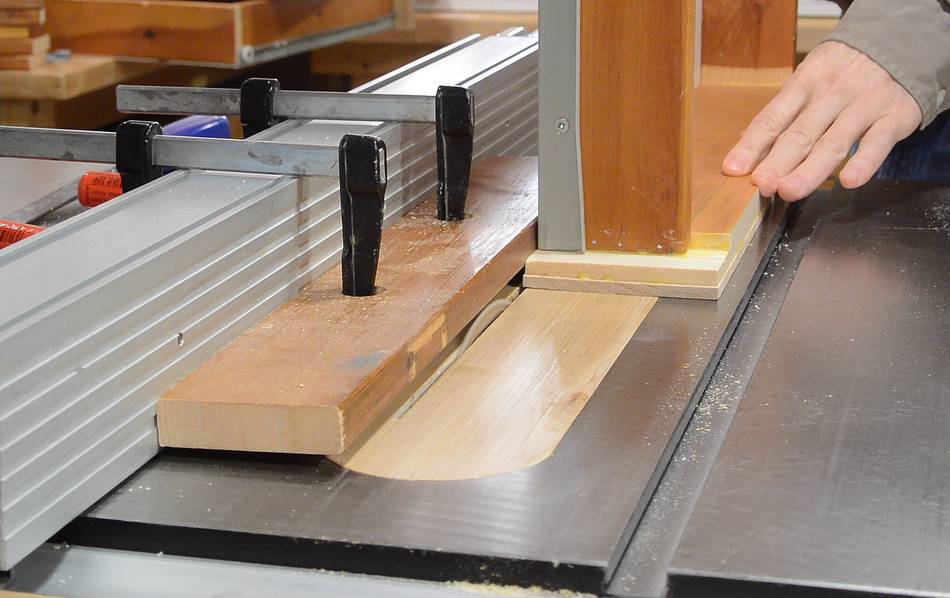 I rigged up a fence just above the saw blade, which allowed
me to flush trim the veneer that I glued on the front of the drawers.
I rigged up a fence just above the saw blade, which allowed
me to flush trim the veneer that I glued on the front of the drawers.
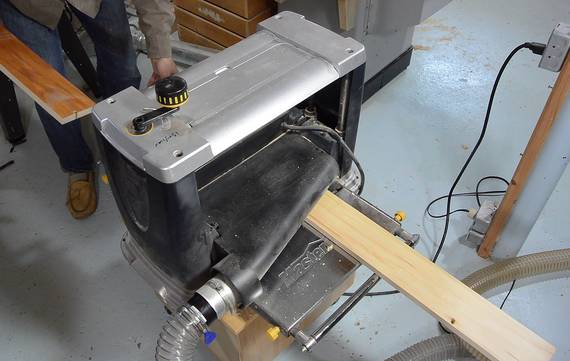
 After that, I checked the drawers again, then planed down the top
of each drawer so I'd have a 1 mm gap between it and the drawer above.
I also numbered the drawers so I could put them back in the cabinet
in the same order.
After that, I checked the drawers again, then planed down the top
of each drawer so I'd have a 1 mm gap between it and the drawer above.
I also numbered the drawers so I could put them back in the cabinet
in the same order.
 Then chamfering and rounding the edges of the drawers using a small
palm plane...
Then chamfering and rounding the edges of the drawers using a small
palm plane...
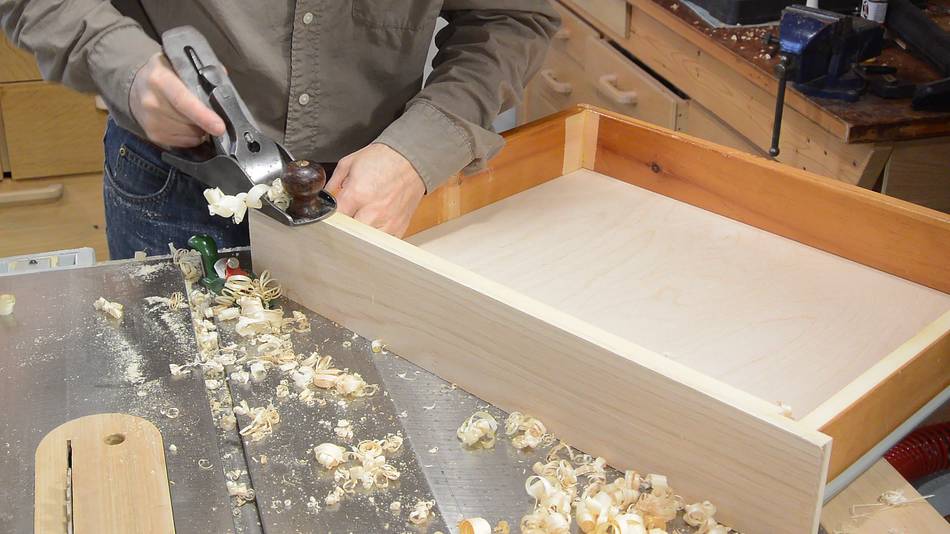
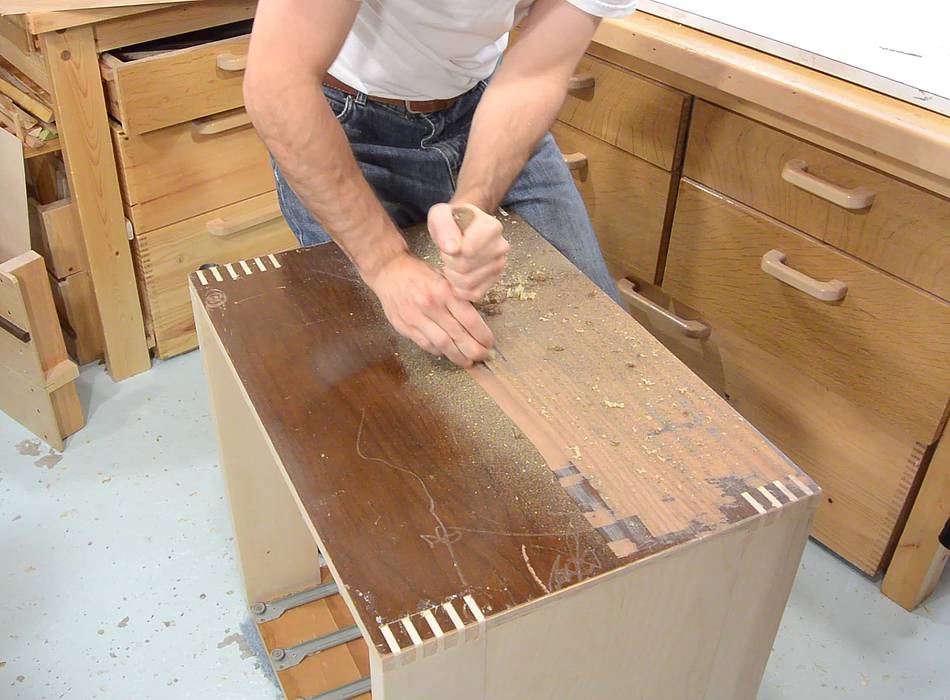
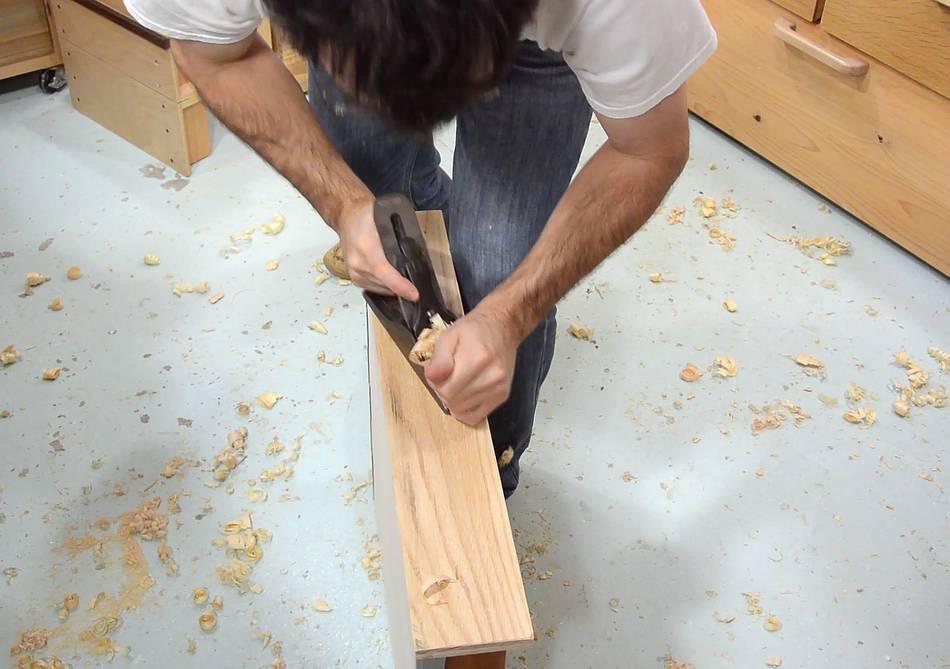 ... and using another hand plane to smooth the fronts of the drawers.
The circular saw blade I resawed them with left the surface fairly smooth,
but not finish smooth.
... and using another hand plane to smooth the fronts of the drawers.
The circular saw blade I resawed them with left the surface fairly smooth,
but not finish smooth.
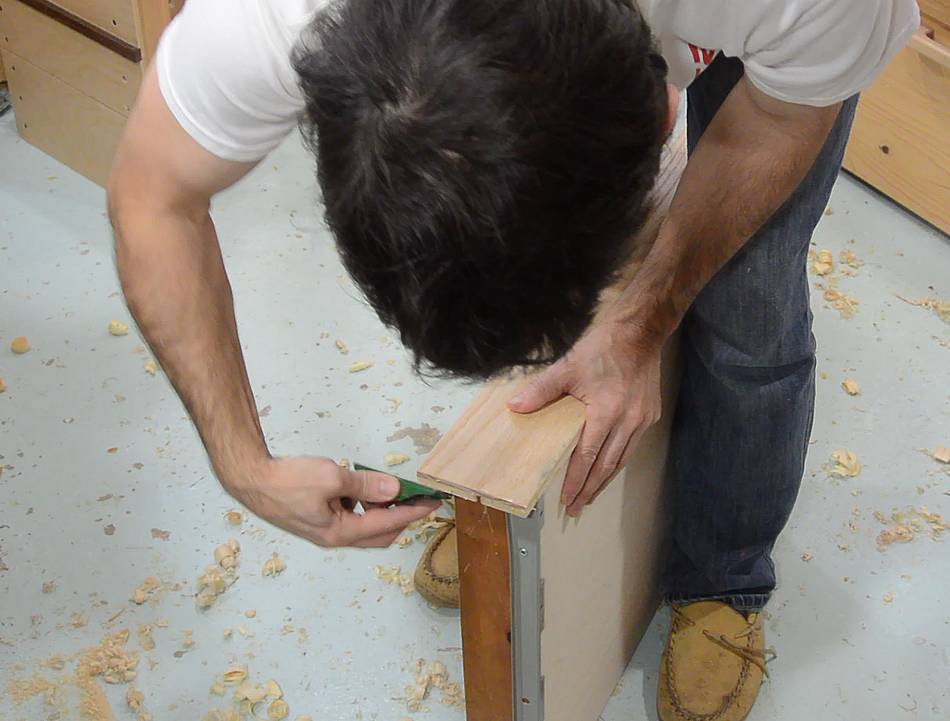
 Next I tackled the finish on the cabinet sides. Here, scraping
the veneer off with a chisel. The finish came clean off in one
pass, but it took a lot of pressure, and the chisel dulled quickly.
The area cleared in this photo was about as much as I could do
before resharpening the chisel.
Next I tackled the finish on the cabinet sides. Here, scraping
the veneer off with a chisel. The finish came clean off in one
pass, but it took a lot of pressure, and the chisel dulled quickly.
The area cleared in this photo was about as much as I could do
before resharpening the chisel.
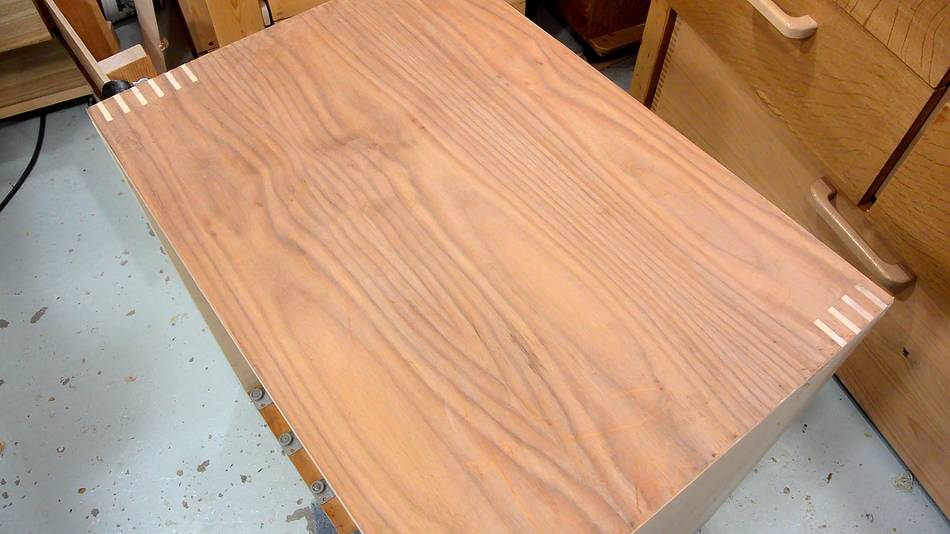 The veneer came out really nice looking. Quite surprising, considering
it was from a banged up dresser in the garbage!
The veneer came out really nice looking. Quite surprising, considering
it was from a banged up dresser in the garbage!
 Then gluing and nailing 6 mm plywood on the back. This is also new plywood.
The plywood, nails, and varnish were the only parts of this cabinet
that I had to buy.
Then gluing and nailing 6 mm plywood on the back. This is also new plywood.
The plywood, nails, and varnish were the only parts of this cabinet
that I had to buy.
 After that, time to varnish the whole cabinet. I varnish all my shop furniture,
just to keep it looking nice. I use Varathane diamond floor varnish. It's
a water borne varnish, glossy, and fairly slippery, which I like. Though
for some jigs, slippery is not a good thing.
After that, time to varnish the whole cabinet. I varnish all my shop furniture,
just to keep it looking nice. I use Varathane diamond floor varnish. It's
a water borne varnish, glossy, and fairly slippery, which I like. Though
for some jigs, slippery is not a good thing.
 The drawers received one coat on the inside bottom of the drawers, and on the front
all around. Four coats on the front faces, and drying with the front facing
up for best results.
The drawers received one coat on the inside bottom of the drawers, and on the front
all around. Four coats on the front faces, and drying with the front facing
up for best results.

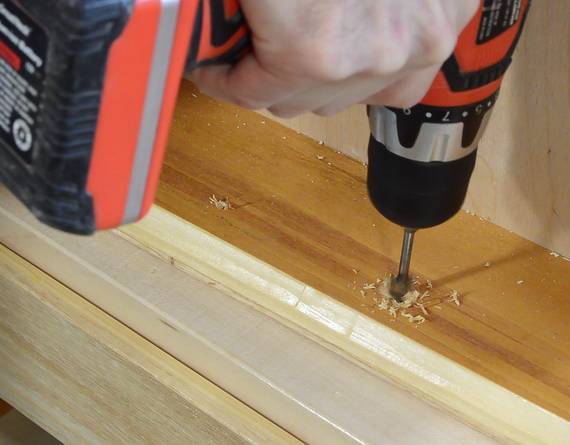 A hardwood scrap with two holes drilled in it serves as a guide for
positioning the holes for the handles.
A hardwood scrap with two holes drilled in it serves as a guide for
positioning the holes for the handles.
The drawer fronts were slightly too thick for the screws I had, so I had to counter-bore from the back. For this, I used a counter-boring tool that a friend had sent me. It's essentially like a drill, with a pin sticking out the front, which fits in the hole.
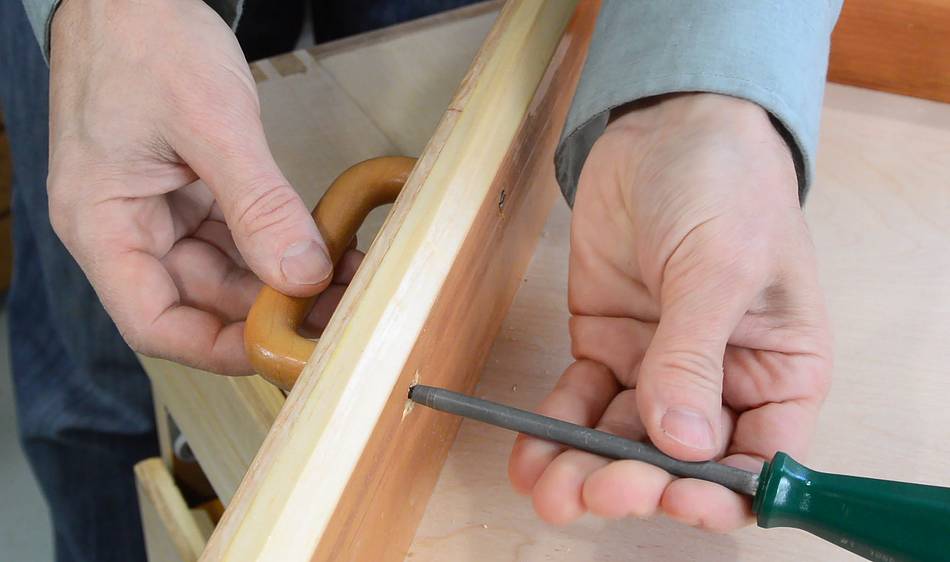 Screwing on some wooden handles. I got a lot of these for pennies
at a yard sale years ago.
Screwing on some wooden handles. I got a lot of these for pennies
at a yard sale years ago.
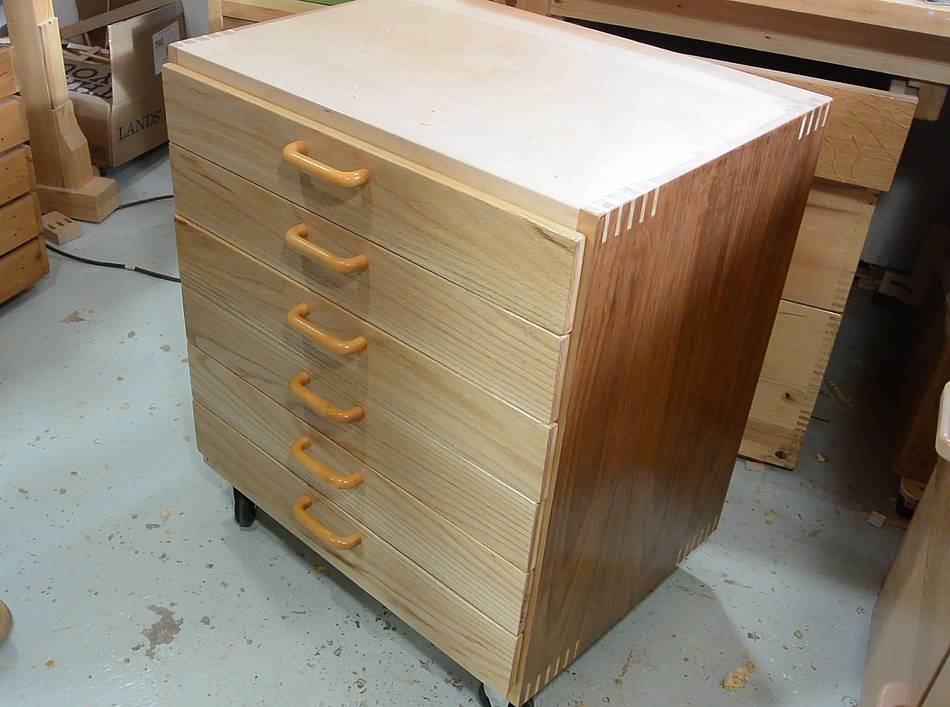 It came out really nice for "shop furniture". Nice enough to put in
a living room.
It came out really nice for "shop furniture". Nice enough to put in
a living room.
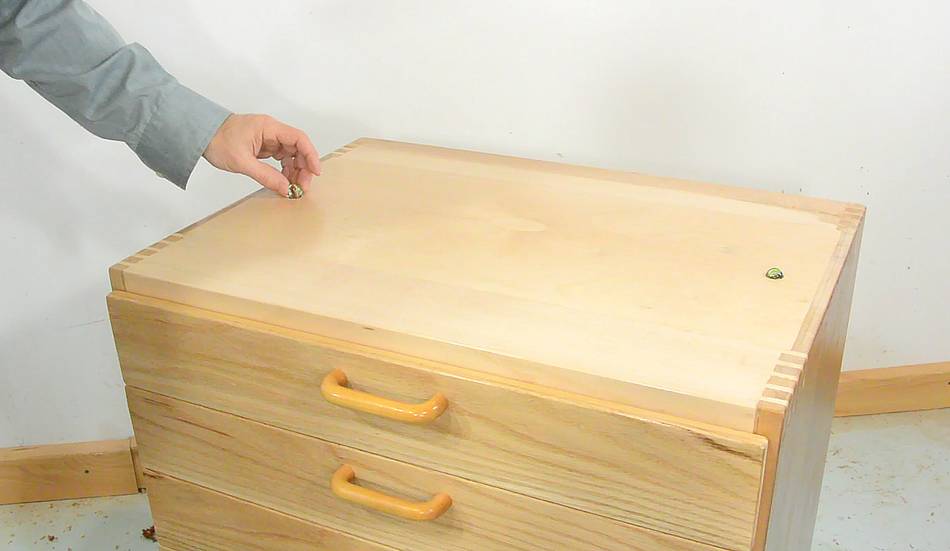
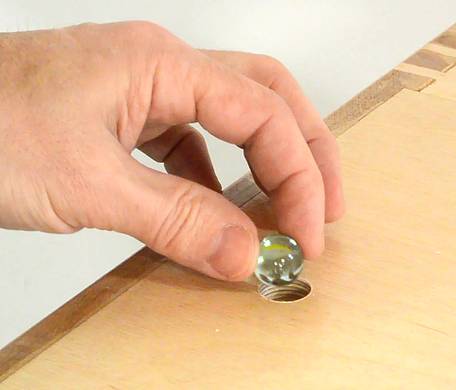 I then drilled two holes in the top, just the size of a glass marble
and half as deep. I then placed a marble in each one.
I then drilled two holes in the top, just the size of a glass marble
and half as deep. I then placed a marble in each one.
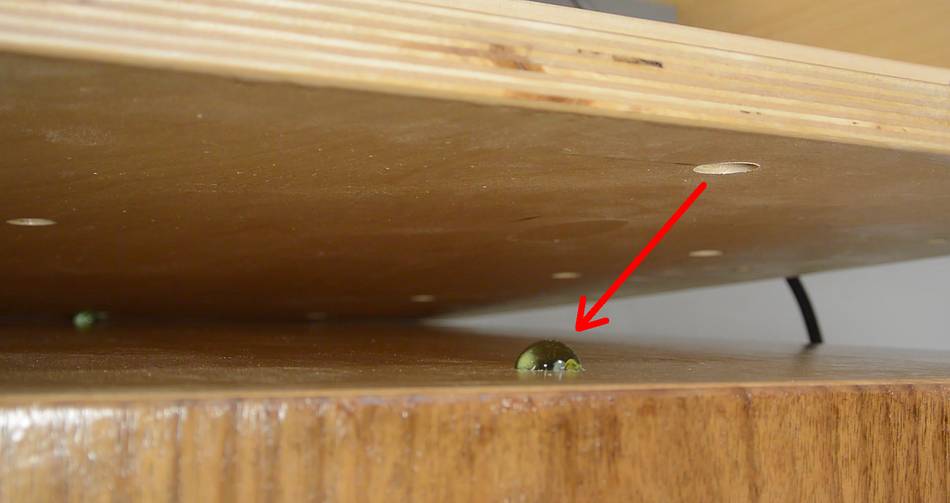 The marble fits into similar holes on the bottom of my pantorouter machines
to keep them in alignment.
The marble fits into similar holes on the bottom of my pantorouter machines
to keep them in alignment.
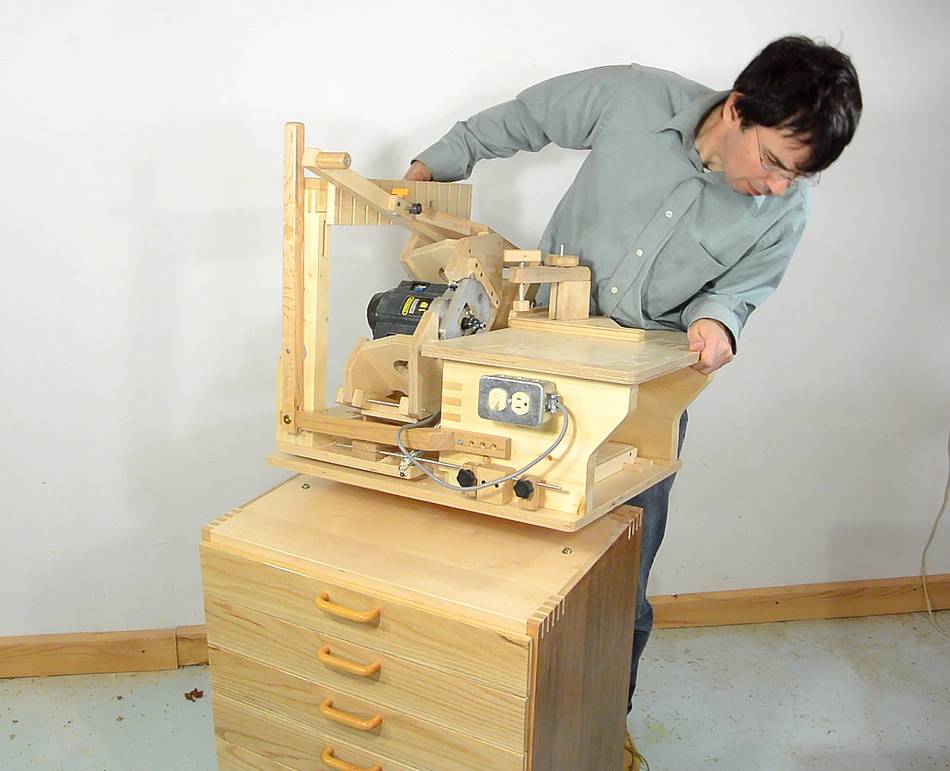 That way, I can easily lift the machine off and put it back down,
sliding it in place until the marble locks it. Very satisfying.
That way, I can easily lift the machine off and put it back down,
sliding it in place until the marble locks it. Very satisfying.
A short video showing, among other thins, how I filled the drawers
in this tool stand:
Screws drawer organized
 Using spacers to lay out drawer slides
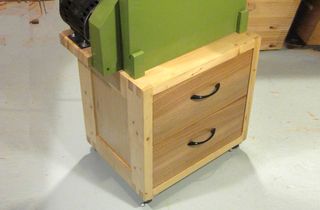 Mobile bandsaw stand
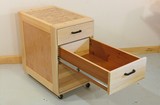 Drawers for an earlier tool stand
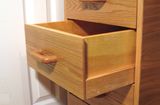 More on wooden drawers
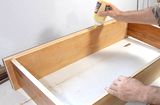 Building a dresser drawers
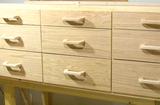 Workbench drawers
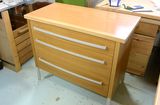 A dresser made from junk
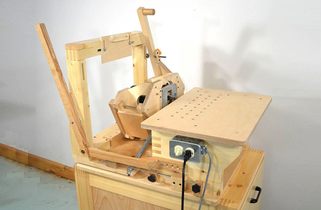 Pantorouter XL
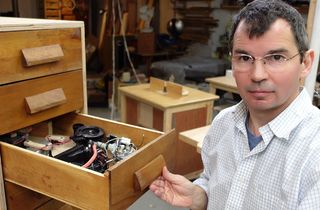 Cabinet from Junky drawers for storing junk