Making tool stands
 I needed to make a stand for my big bandsaw,
and I also never got around to making a stand for my
14" bandsaw which I built back in 2011.
And while I was at it, I figured while I was at it, I should
make another smaller tool stand, similar to this one or
this one, for one of my pantorouters.
I needed to make a stand for my big bandsaw,
and I also never got around to making a stand for my
14" bandsaw which I built back in 2011.
And while I was at it, I figured while I was at it, I should
make another smaller tool stand, similar to this one or
this one, for one of my pantorouters.
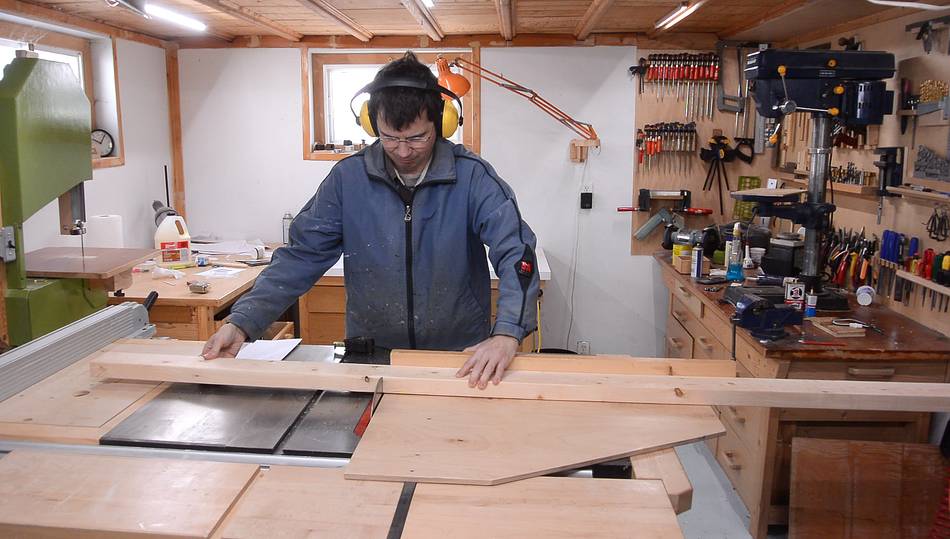
I started by cutting pieces of 2x4 to the right length on my table saw, using a big table saw sled.
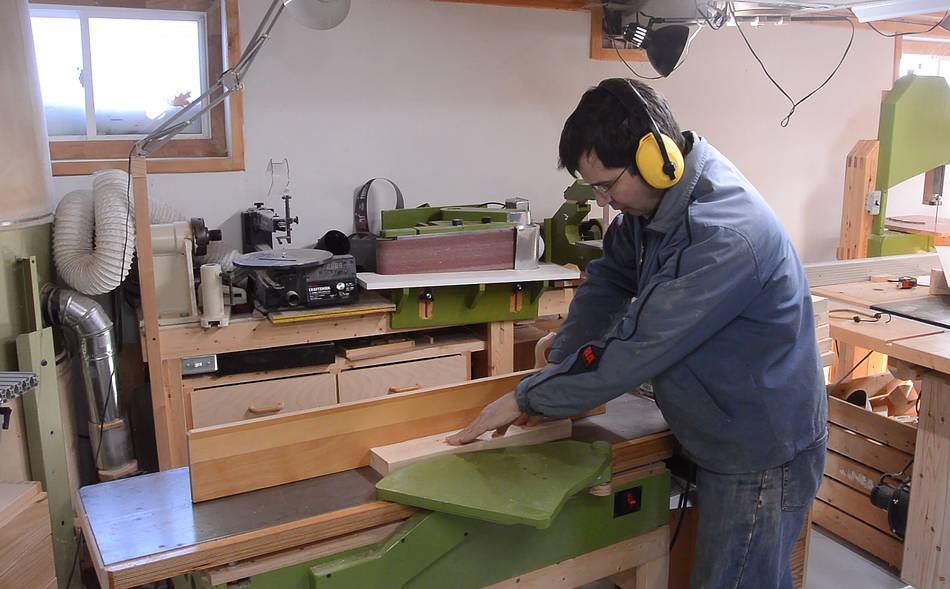 Then flattening one face and one edge on the jointer.
 Then doing the other face and the other edge with the thickness planer.
While doing this, at some point I forgot to turn on the big dust collector, and the pressure from the blower in the planer caused the hoses to pop apart, making a big mess. The other thing I realized is that I had the dust collector and the planer plugged into the same circuit, which caused the breaker to pop.
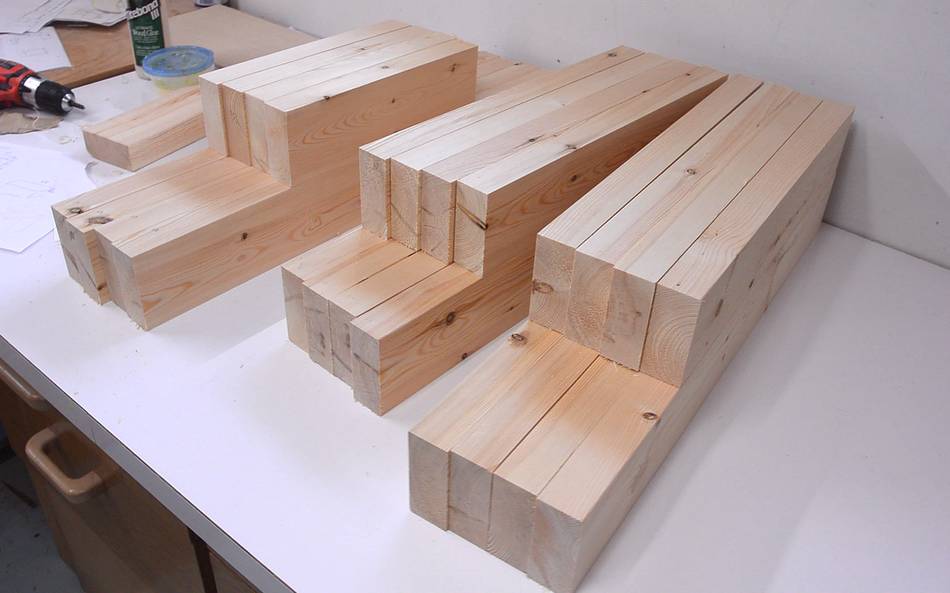 Pieces for the front and back frames of the stands planed and cut to length.

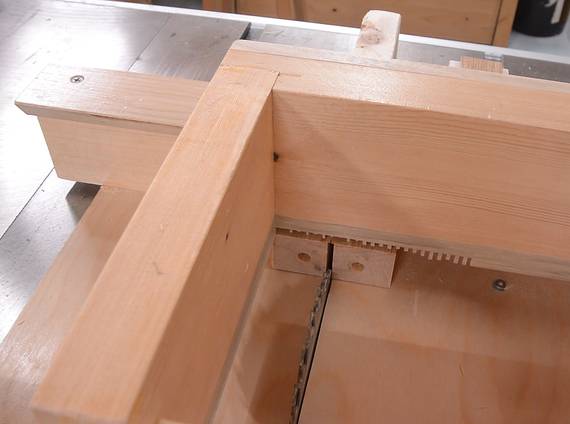 I'm joining the corners using my screw advance
box joint jig. I experimented with trying to contain the dust
a bit better in the jig. I added a block where the blade comes out of the
wood to direct the dust back instead of all over the jig...
I'm joining the corners using my screw advance
box joint jig. I experimented with trying to contain the dust
a bit better in the jig. I added a block where the blade comes out of the
wood to direct the dust back instead of all over the jig...
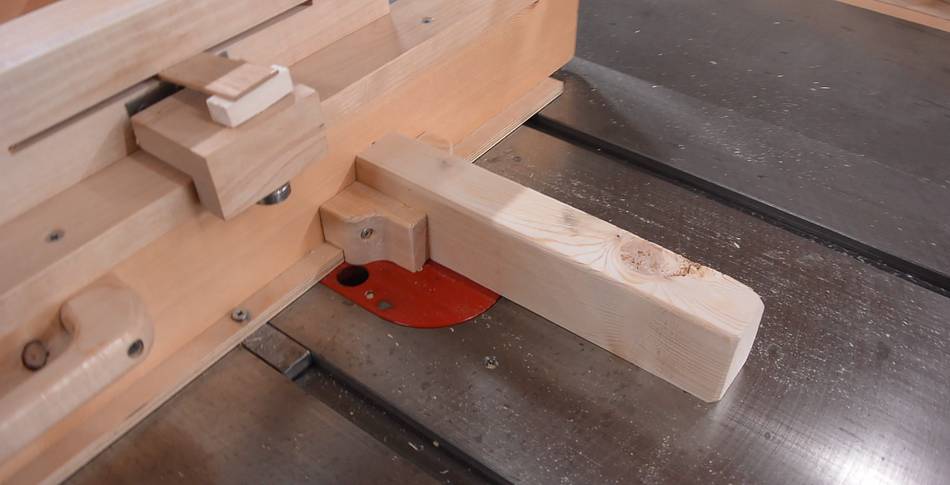 ... and another piece where the blade comes out of the jig, forcing the chips
down into the saw.
... and another piece where the blade comes out of the jig, forcing the chips
down into the saw.
 I cut 1/4" fingers. Because I had a lot of slots to cut, I stacked two 7 1/4"
blades on the arbor. This way, I could clear out the 1/4" wide slot with
just two passes. I made the second cut pulling the jig backward over the blade.
I cut 1/4" fingers. Because I had a lot of slots to cut, I stacked two 7 1/4"
blades on the arbor. This way, I could clear out the 1/4" wide slot with
just two passes. I made the second cut pulling the jig backward over the blade.
My blocks to keep the dust inside the jig helped, but for the cuts on either end of the workpiece, the dust still got thrown to the side.
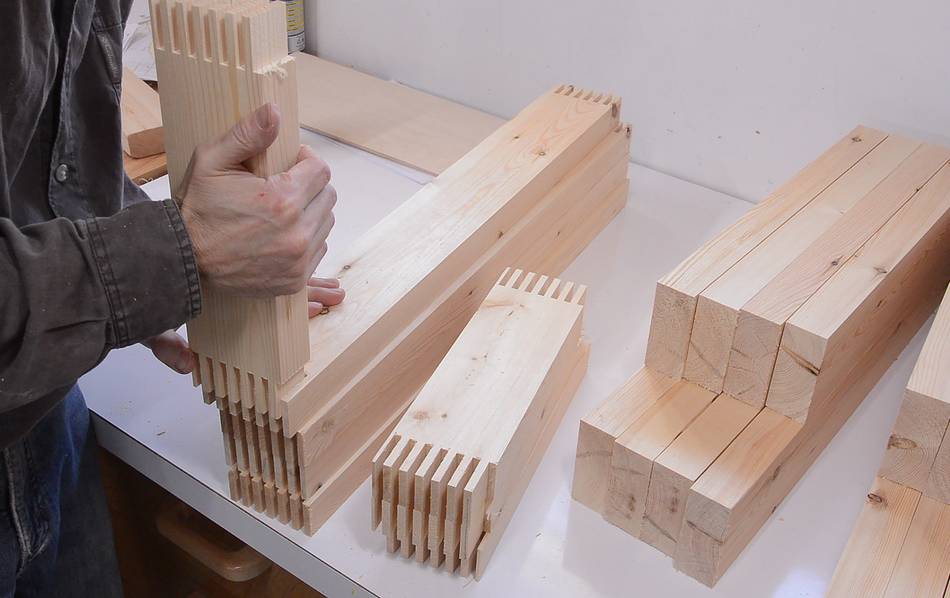 The first set of fingers I cut were much too tight, so a lot of force would have
been needed to force them together. Oops!
The first set of fingers I cut were much too tight, so a lot of force would have
been needed to force them together. Oops!

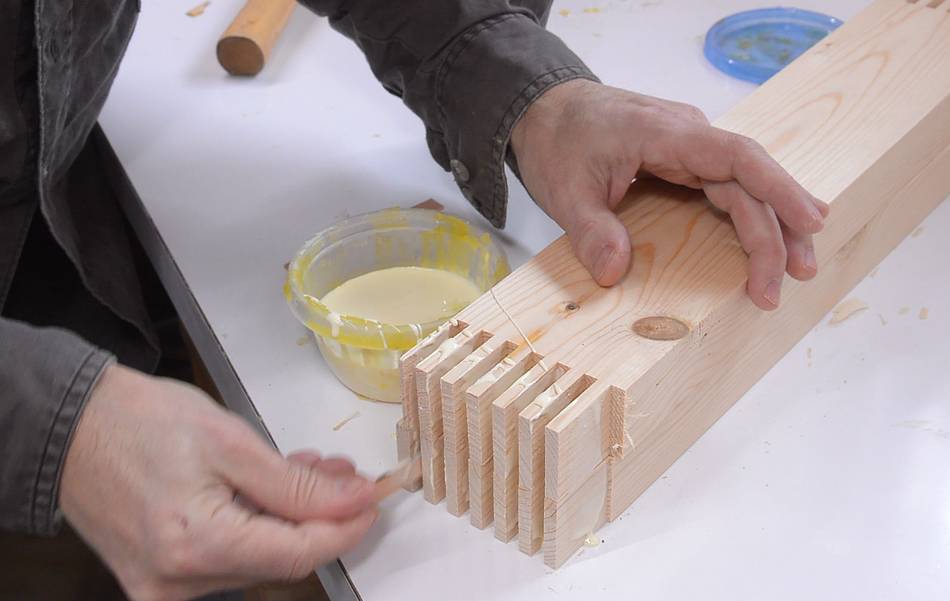 I stacked the two pieces to be glued on top of each other and spread
the glue in the fingers for both.
I stacked the two pieces to be glued on top of each other and spread
the glue in the fingers for both.
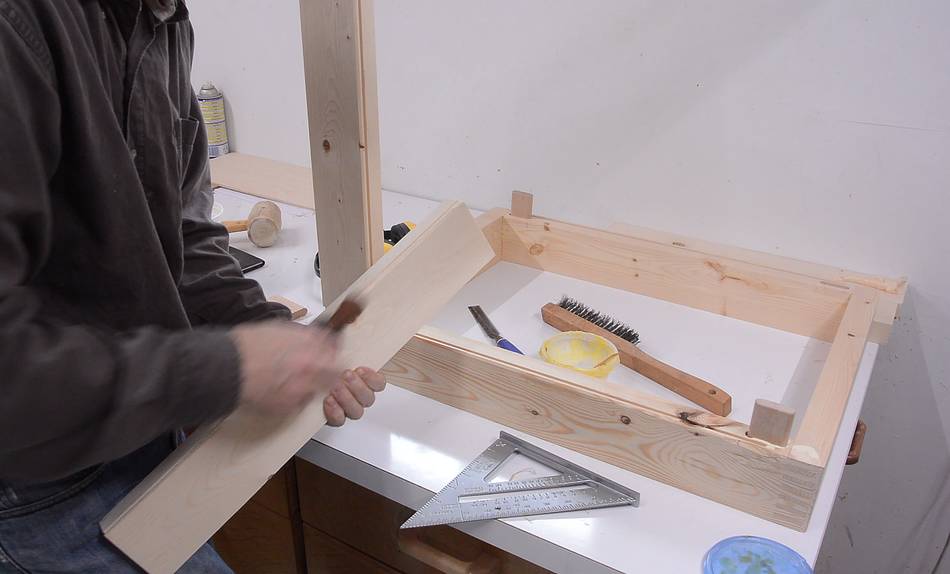
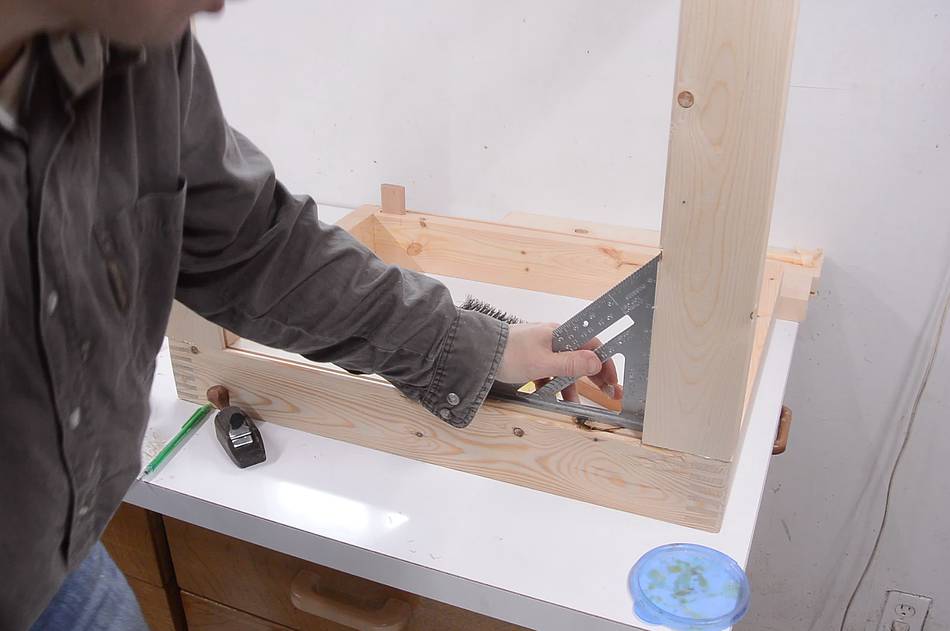
 Then assembling the joints, checking each joint for square.
With so much glue area and fairly tight joints, the glue sets very quickly, so it's best to make sure the joints are square right away.
 By the time I added the last piece, the first two joints were stiff already.
I didn't bother checking for square-ness at this point.
A lot of people like to check the diagonals,
but I rarely bother to. Putting a square in the corners is much quicker.
By the time I added the last piece, the first two joints were stiff already.
I didn't bother checking for square-ness at this point.
A lot of people like to check the diagonals,
but I rarely bother to. Putting a square in the corners is much quicker.
 Six frames for three stands all glued up.
 I cut 1/2" (12.7 mm) wide mortises near the corners for the pieces that join the
front and back frames. The key is to not make the mortise go all the way
into the corners, leaving the corner box joint intact.
I cut 1/2" (12.7 mm) wide mortises near the corners for the pieces that join the
front and back frames. The key is to not make the mortise go all the way
into the corners, leaving the corner box joint intact.
I'm sometimes asked what's a good strong way to join three pieces of wood in one corner. Three pieces in a corner makes sense with welded steel, but there isn't a good way to do it with wood. It's best to design in a way that doesn't require three pieces to join in a corner. That said, if you are building a cabinet with plywood panels glued in the sides it doesn't matter as much, because the panels will help hold it together.
 I made a spacer block to set the stop with respect to the end of the mortise.
I cut half the slots with the stop on the right, then, for the other slots, I had
to move it to the left.
I made a spacer block to set the stop with respect to the end of the mortise.
I cut half the slots with the stop on the right, then, for the other slots, I had
to move it to the left.

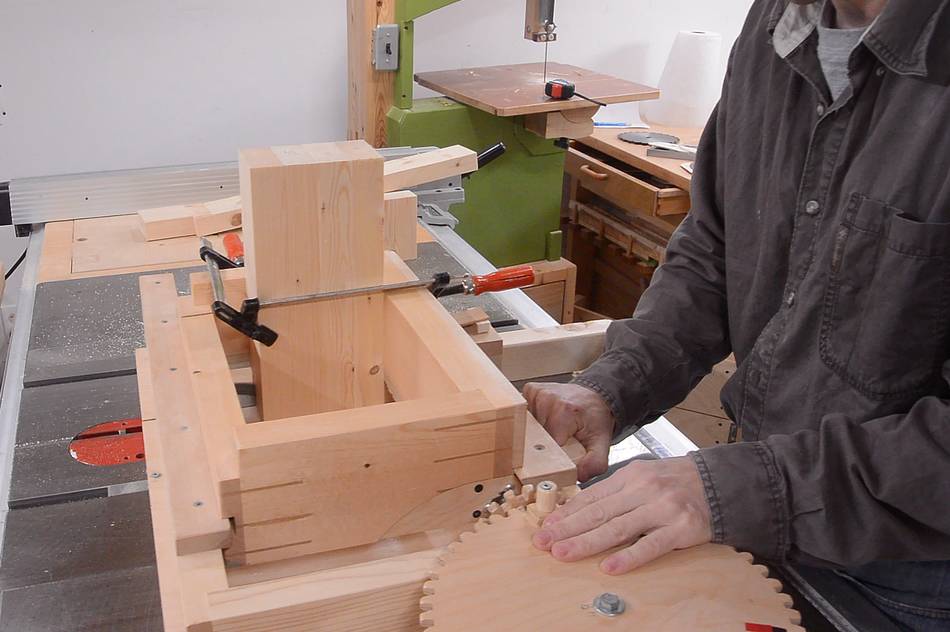
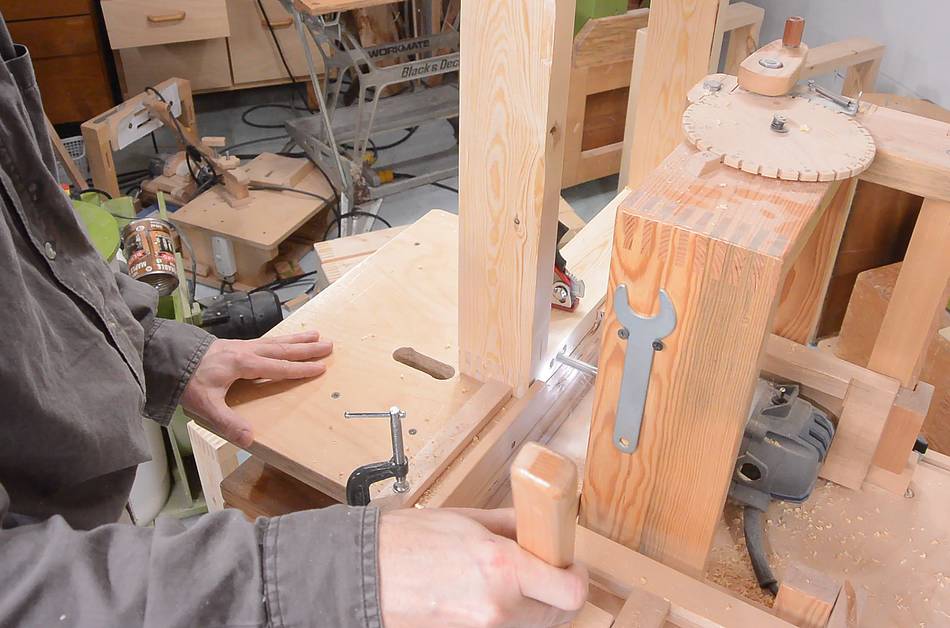
 I'm using one of these Bessy T-track clamps to hold the workpiece. I made a block to
fit under the table to hold the bottom of the clamp in place when it's not clamped.
I'm using one of these Bessy T-track clamps to hold the workpiece. I made a block to
fit under the table to hold the bottom of the clamp in place when it's not clamped.
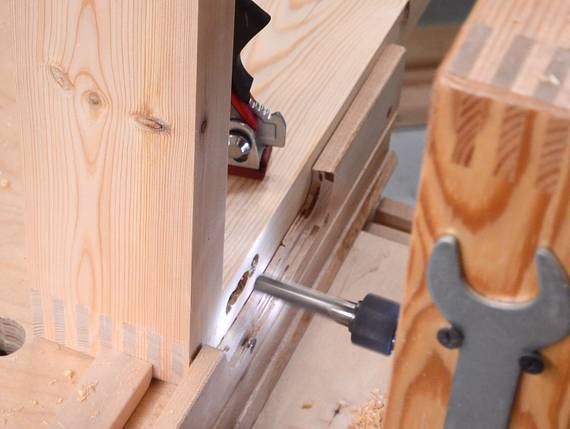
 It was pretty quick work cutting the mortises. I used a spiral bit, making three
plunge cuts to remove most of the material, then two more plunge cuts between
the holes, then sliding side to side. All this with the router running at it's
lowest speed.
It was pretty quick work cutting the mortises. I used a spiral bit, making three
plunge cuts to remove most of the material, then two more plunge cuts between
the holes, then sliding side to side. All this with the router running at it's
lowest speed.
 Annoyingly, when putting a new workpiece in place,
whenever I bumped the lever of the clamp it would fall all the way down.
But putting a magnet against the side of the clamp mostly prevented it
from sliding down when bumped.
Annoyingly, when putting a new workpiece in place,
whenever I bumped the lever of the clamp it would fall all the way down.
But putting a magnet against the side of the clamp mostly prevented it
from sliding down when bumped.
Another problem with the clamp is, when tightening it, there is a tendency to slightly shift the clamp so it pulls the workpiece towards the clamp. So the clamp would ideally be behind some fence that the workpiece pushes up against. That way this shifting would help hold the workpiece against the fence. This works out well on the metal pantorouter (which is what I got this clamp for), but I didn't want to drill yet another hole in the table to put the clamp behind the stop. Instead, I pulled the clamp back a bit before tightening it to counteract this tendency.
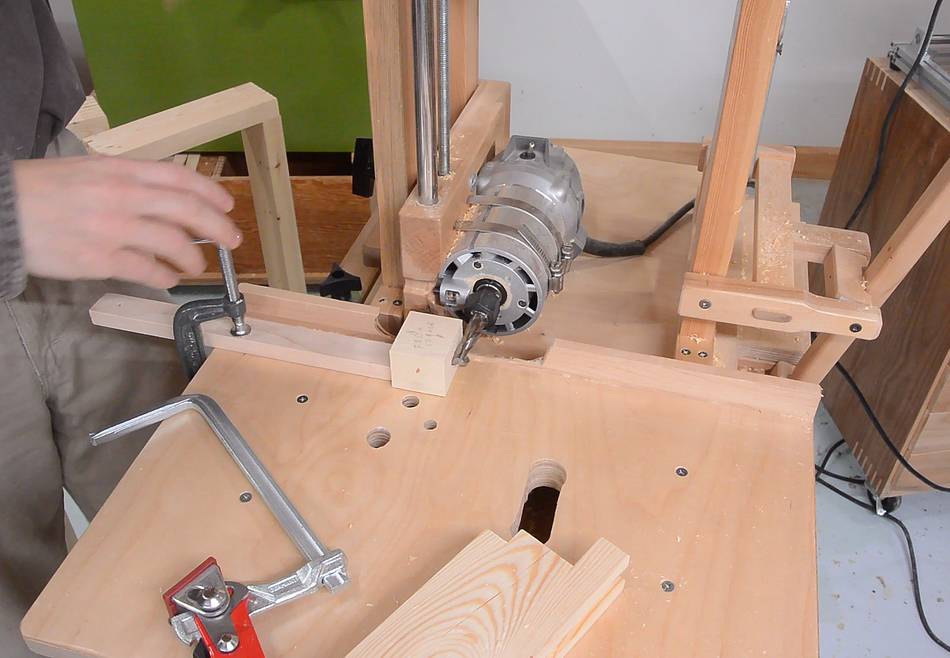
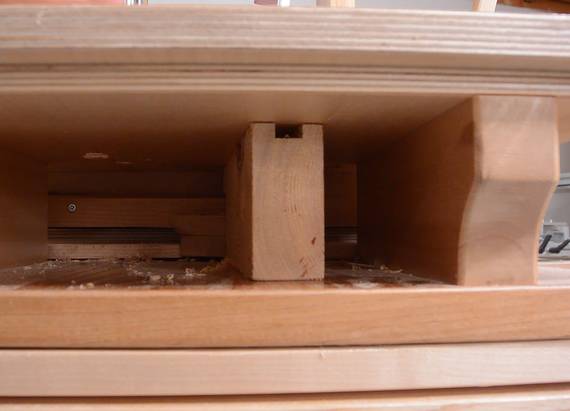
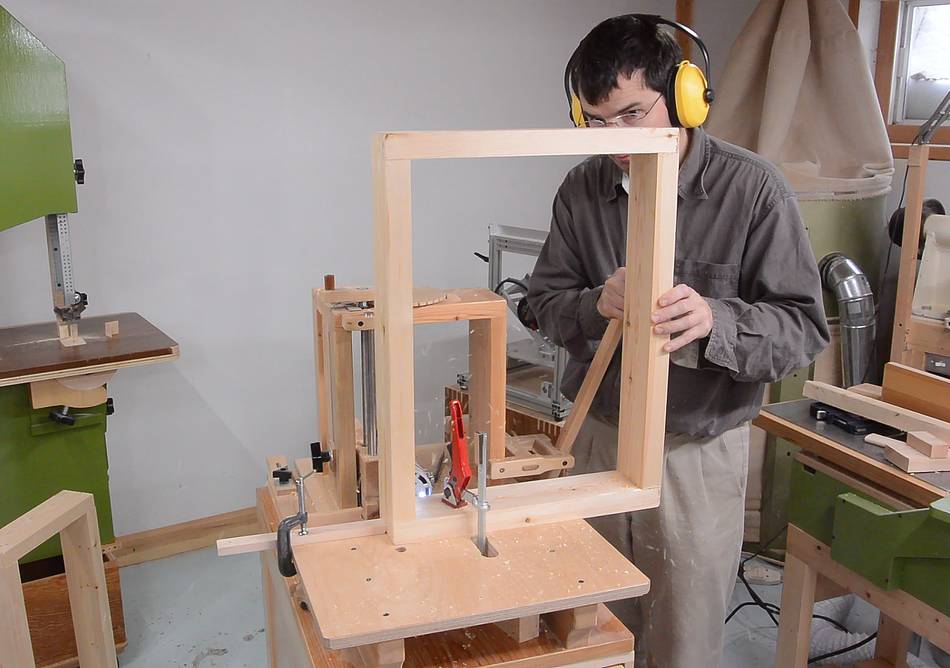
 Next I cut mortises in the end of the pieces that connect the two frames.
I'm going to join these together using "floating tenons" that fit into mortises
on either workpiece.
Next I cut mortises in the end of the pieces that connect the two frames.
I'm going to join these together using "floating tenons" that fit into mortises
on either workpiece.
 I cut some strips of hardwood, 1/2" thick and 40 mm wide, using a round-over
bit to round either edge. I then cut these into pieces of the right length.
Sort of like Festool dominoes, but bigger.
I cut some strips of hardwood, 1/2" thick and 40 mm wide, using a round-over
bit to round either edge. I then cut these into pieces of the right length.
Sort of like Festool dominoes, but bigger.
 I want to put some panels in the side of the pantorouter stand, so I had to cut
slots in the four pieces surrounding the panel.
I want to put some panels in the side of the pantorouter stand, so I had to cut
slots in the four pieces surrounding the panel.
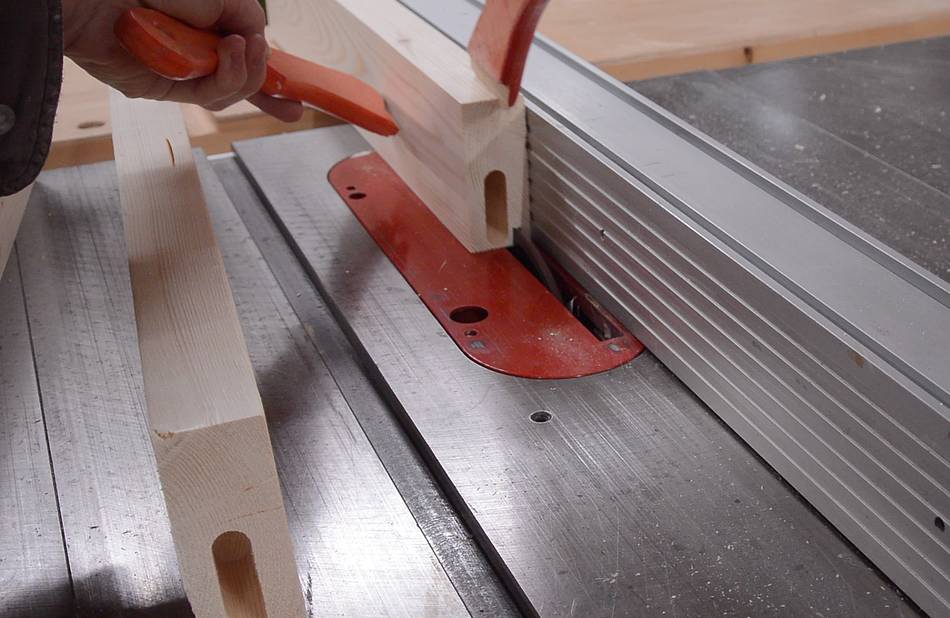
 The slots in the frames need to not go all the way to the ends. But with
the joints as wide as they are, using a stack of 7 1/4" blades in the saw,
I was able to cut them to full depth for the length needed without cutting
out of either end of the frame. I lowered the frame onto the spinning
blade at the start, pushed it to the end then lifted it off the spinning blade.
The slots in the frames need to not go all the way to the ends. But with
the joints as wide as they are, using a stack of 7 1/4" blades in the saw,
I was able to cut them to full depth for the length needed without cutting
out of either end of the frame. I lowered the frame onto the spinning
blade at the start, pushed it to the end then lifted it off the spinning blade.
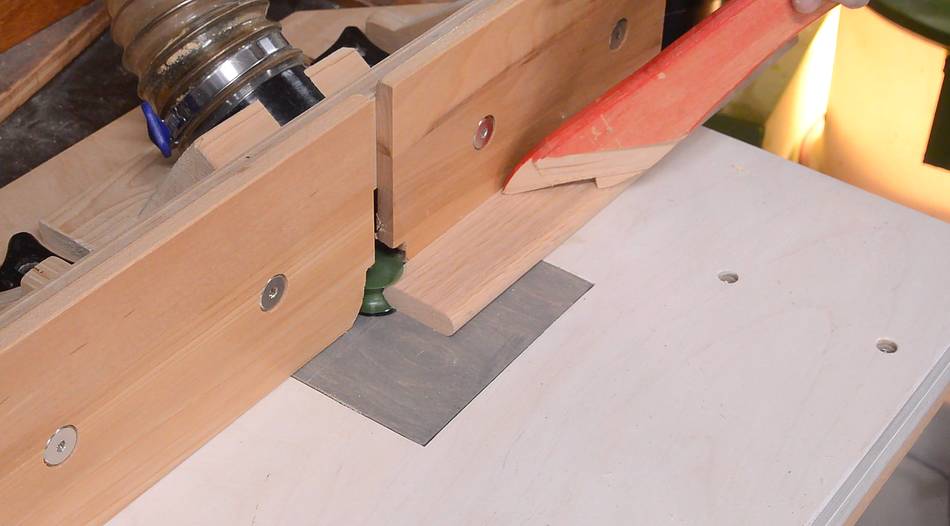
 I added a round-over to the edges where the panels go by taking many strokes
with a hand plane (I didn't bother to set up a router for this).
I added a round-over to the edges where the panels go by taking many strokes
with a hand plane (I didn't bother to set up a router for this).
 Then gluing the pieces on.
 And checking each piece for square, as usual.
 Then sliding the panel in. I added some glue to the slots to glue the panel
in place. The panel is made out of hardboard (or Masonite), not solid wood,
so I don't have to worry about the panel wanting to expand and contract
with moisture changes like I would for a solid wood panel.
Then sliding the panel in. I added some glue to the slots to glue the panel
in place. The panel is made out of hardboard (or Masonite), not solid wood,
so I don't have to worry about the panel wanting to expand and contract
with moisture changes like I would for a solid wood panel.
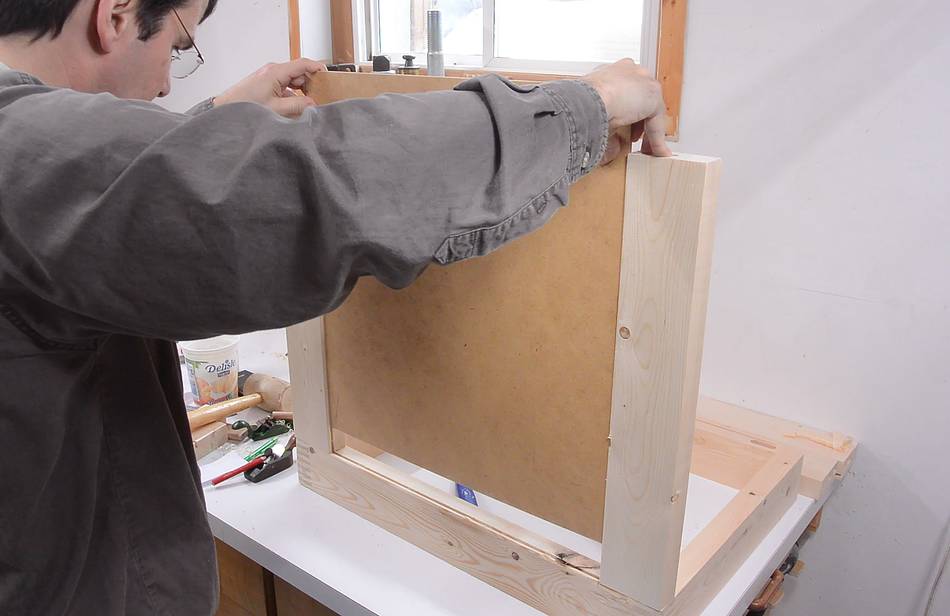
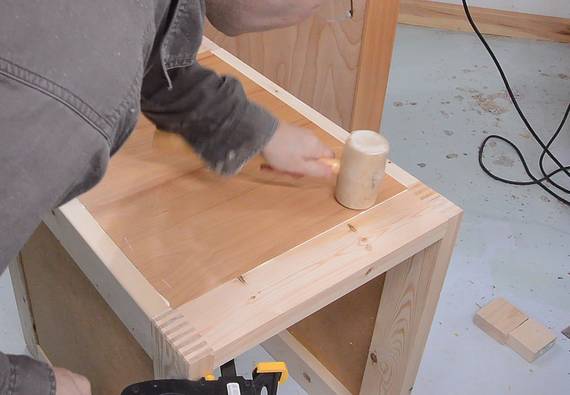
 Then gluing the second frame on. This is trickier, with four mortise and
tenons and two panels that need to line up.
Then gluing the second frame on. This is trickier, with four mortise and
tenons and two panels that need to line up.
 For some reason, some of the joints ended up with some gaps in them,
So I glued some strips of wood in to close the gaps.
For some reason, some of the joints ended up with some gaps in them,
So I glued some strips of wood in to close the gaps.
 I also used a knife to whittle the round-over all the way into the corners of
the panels.
I also used a knife to whittle the round-over all the way into the corners of
the panels.
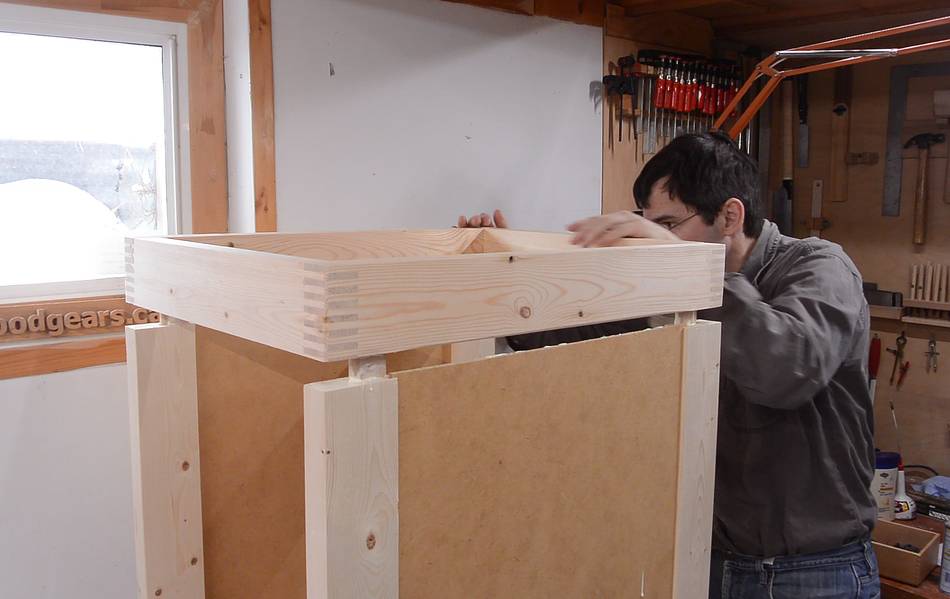
 The pantorouter stand will also have a 3/4" panel in the top, which I want
to inset into the frame. A rabbeting bit would be ideal for this, but
I don't have a rabbeting bit. I always just use a regular router bit, with
a guide attached to the base of the router.
The pantorouter stand will also have a 3/4" panel in the top, which I want
to inset into the frame. A rabbeting bit would be ideal for this, but
I don't have a rabbeting bit. I always just use a regular router bit, with
a guide attached to the base of the router.

 Then routing around the edge of the top. Lots of dust flying from this!
I should have made some extension for the router's base to help me hold it level.
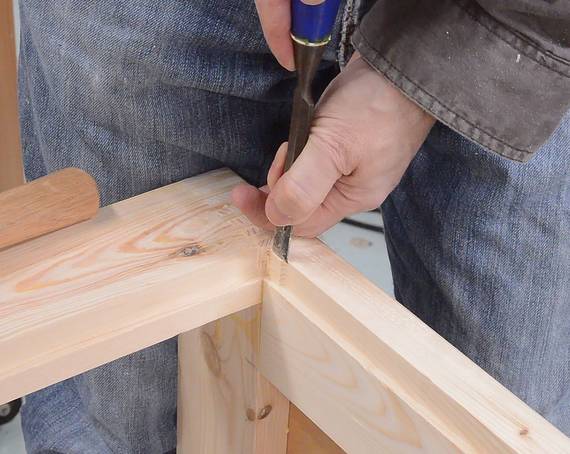
I used a chisel to cut the rabbet all the way into square corners.
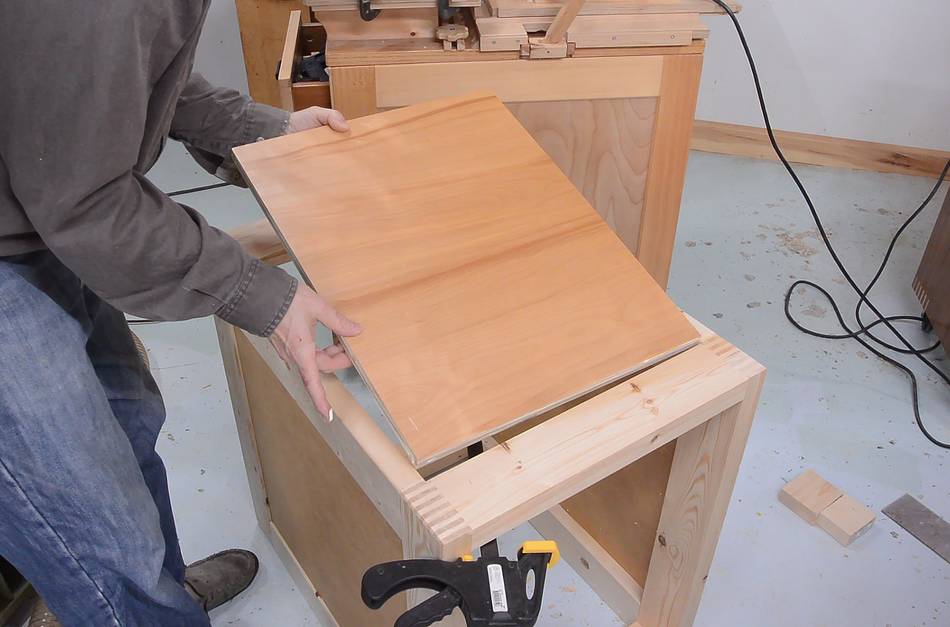
 It's always tricky to fit a panel in a hole like this. The hole is never
quite square, and usually half a millimeter wider on one end than the other.
But this time it only took about four tries of fitting and trimming
a fraction of a millimeter on the table saw to get it to fit.
It's always tricky to fit a panel in a hole like this. The hole is never
quite square, and usually half a millimeter wider on one end than the other.
But this time it only took about four tries of fitting and trimming
a fraction of a millimeter on the table saw to get it to fit.
The hole was actually a parallelogram by about 2 mm, but I used a clamp across the diagonal to force the cabinet into square.
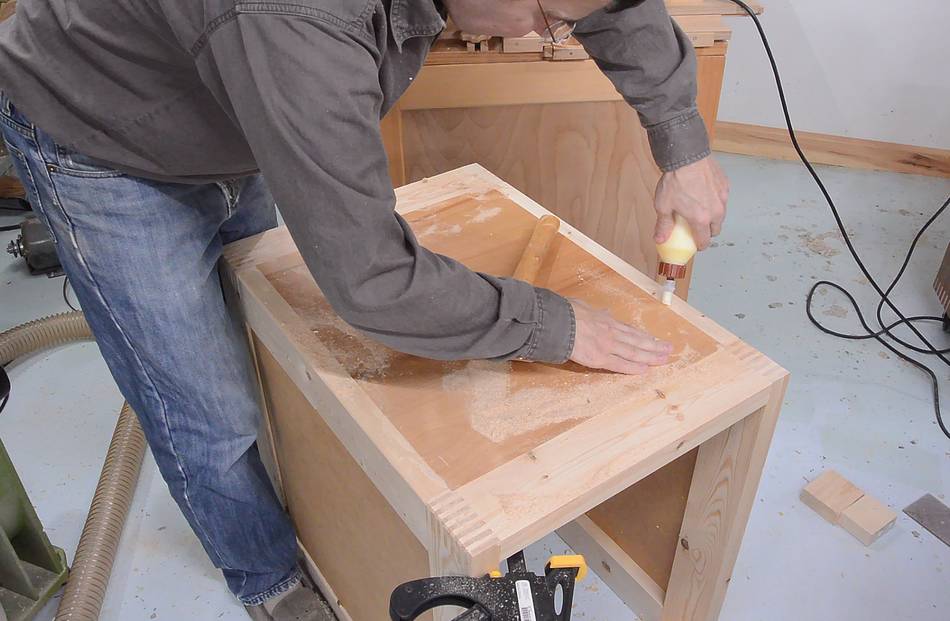 I then used sawdust and glue to fill any remaining gaps so they aren't visible.
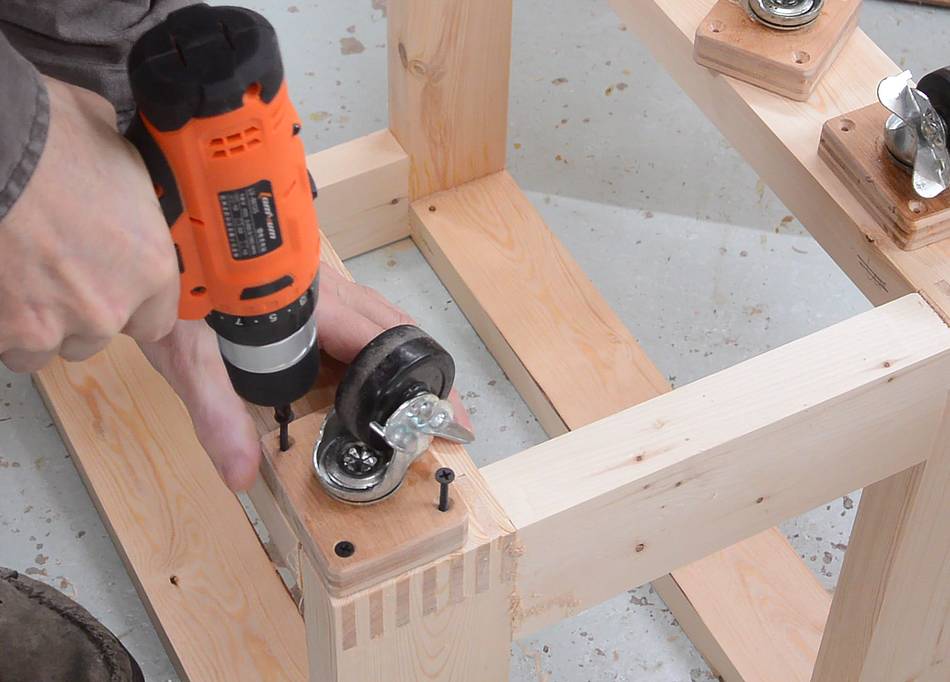
 I like to put wheels on stuff, but casters are expensive, so I always save any
suitable caster wheels I come across for free. And then I try to use the
crummiest, least suitable casters first.
I like to put wheels on stuff, but casters are expensive, so I always save any
suitable caster wheels I come across for free. And then I try to use the
crummiest, least suitable casters first.

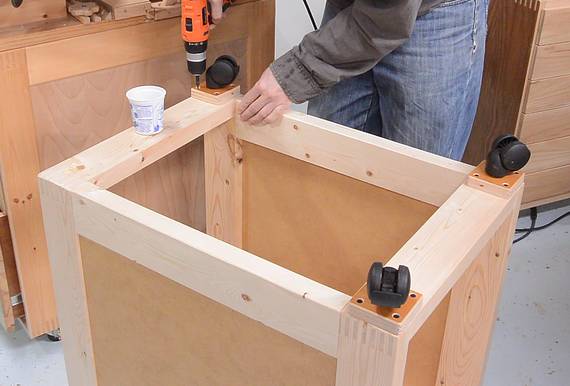 These plastic office chair style casters just have a smooth shaft. I drilled
some slightly undersized holes in all hardwood plywood, then press fit the
casters into the holes with a vise.
These plastic office chair style casters just have a smooth shaft. I drilled
some slightly undersized holes in all hardwood plywood, then press fit the
casters into the holes with a vise.
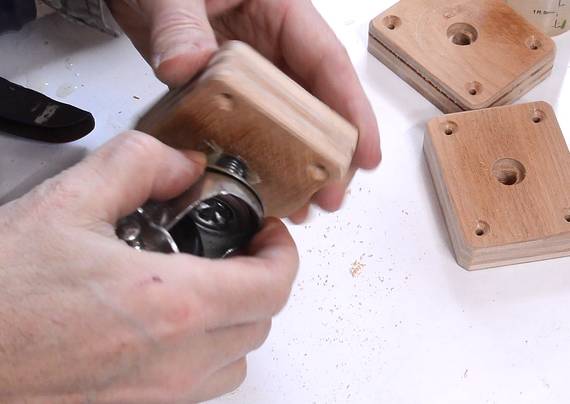 Another set of casters just had a threaded shaft for mounting. I cut a matching
thread in some plywood, then used construction adhesive to glue them in place.
Another set of casters just had a threaded shaft for mounting. I cut a matching
thread in some plywood, then used construction adhesive to glue them in place.
I had previously used casters like that by threading them into a T-nut on the other side, but that ended up working its way loose eventually.

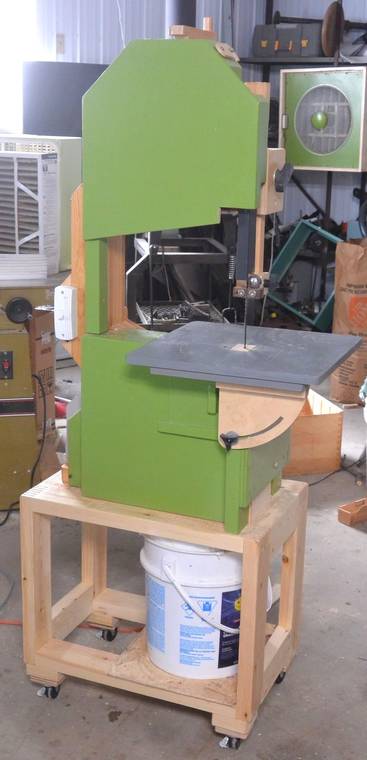 Three stands (minus drawers) done. The one on the left is for
my 14" bandsaw,
which I don't have in my shop at this time.
Three stands (minus drawers) done. The one on the left is for
my 14" bandsaw,
which I don't have in my shop at this time.
Ever since I built my screw advance box joint jig, a key design element for cabinets for me has been box joint corners, especially along the front.
A fully closed box, even with poor joinery, will be completely rigid if it's closed on all sides. But I always want a maximum sized opening on the front. By making the front out of thick lumber, with tight box joints in the corners, I can make sure the front stays rigid and square, and the back, even without a back panel stays rigid also, making for a sturdy cabinet.
See also:
 Drawers for the bandsaw stand
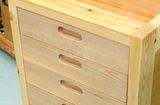 Drawers with recessed handles
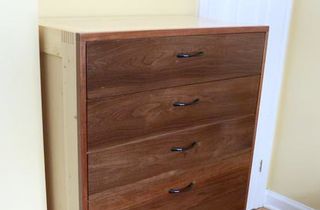 Seven drawer dresser
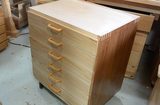 Tool stand / parts cabinet
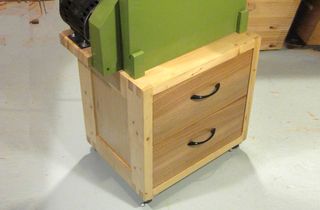 Mobile bandsaw stand
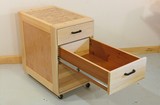 Tool stand
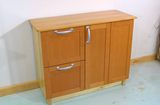 Building a storage
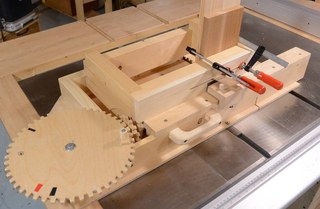 Screw advance
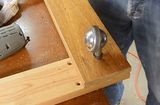 Office chair wheel dolly (video only)