
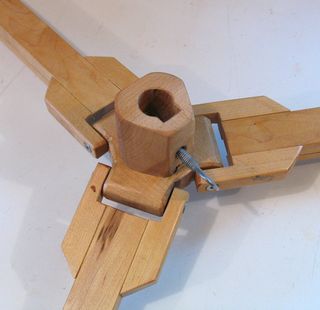
For locking the tripod shaft in place, I made lever which formed a sort of cam to jam the shaft.
This shoulder joint didn't last overly long. I found that the plywood was not hard enough, and the screws and do so rigidly.
So I rebuilt the shoulder joint, this time using 3 cm thick piece of solid maple.
I also replaced the cam locking mechanism for the shaft with a thumb screw. This allowed me to clamp it more securely.
Note that the screw doesn't push directly against the wooden shaft. Instead it pushes against a rectangular piece of metal, which pushes against the shaft. That way, the end of the screw doesn't dig into the tripod shaft.
But even with the screws holding the legs screwed into hardwood, I found that with seasonal changes in humidity, the legs still ended up getting a little bit loose over time. Also, I wanted the shoulder piece to be smaller for my second tripod, so I came up with another method for that one.
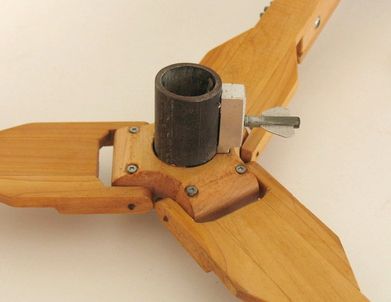 I used some 1/8" steel shafts from some random piece of machinery that I had disassembled. The shaft is rigidly
fixed in the shoulder via two screws on either end, and passes through two holes in the leg segments. The holes
are sized so that the shaft fits in them rather tightly - I had to drive them in with a hammer.
I used some 1/8" steel shafts from some random piece of machinery that I had disassembled. The shaft is rigidly
fixed in the shoulder via two screws on either end, and passes through two holes in the leg segments. The holes
are sized so that the shaft fits in them rather tightly - I had to drive them in with a hammer.
The tricky part with doing it this way was drilling the holes for the shaft in the shoulder piece. The grain of the wood tends to pull a thin drill a little, especially when the grain is at a 60 degree angle with respect to the drill. So I used a thicker drill. I also drilled from both ends for each hole, so I wouldn't have to drill as deep. The holes still didn't totally align where they met, but close enough.
With the hole being perhaps 1.5 x as large as the shaft, I needed to use screws to hold it in place. The screws act more or less like set screws on the shaft.
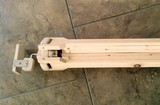
The other refinement was to use a piece of galvanized steel pipe to hold the shaft. That way, I could make that part a fair bit smaller. The thumb screw is threaded into an aluminium block attached to the steel pipe. The tripod shaft has a flat side where it faces the screw, and a piece of steel is in between the end of the screw and the shaft, inside the pipe, to keep the end of the screw from digging into the wooden shaft. The flat part of the tripod shaft allows room for this piece of metal.
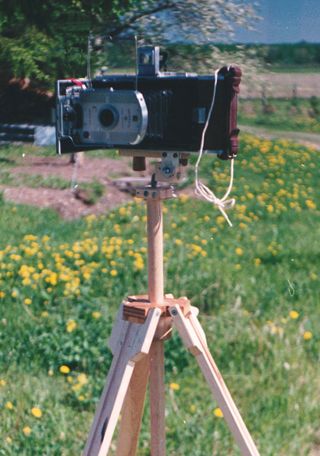
This shoulder joint design hasn't given me any problems since I built the second tripod back in 1988.
 I spent a bit of time coming up with the tripod head when I built my first tripod. When I built the second one,
I really couldn't think of a way to improve on it, so just built the same head again.
I spent a bit of time coming up with the tripod head when I built my first tripod. When I built the second one,
I really couldn't think of a way to improve on it, so just built the same head again.
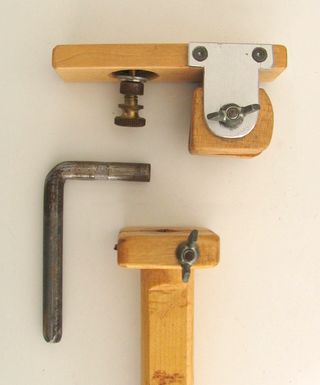
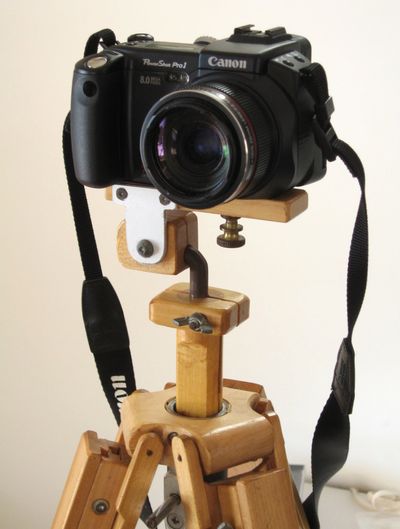
The key piece of the head is a 3/16th shaft bent at a right angle.
Panning is achieved by the steel shaft turning inside the tripod's shaft. Pitch and roll are achieved by the clamp
turning on the shaft, and by the clamp turning about the screw with the wing nut on it.
The block with the wing nut through it is actually two parts, so that tightening the wing nut will tighten
the aluminum brackets, as well as tightening the head on the shaft. The wing nut fixes both pitch and
roll at the same time.
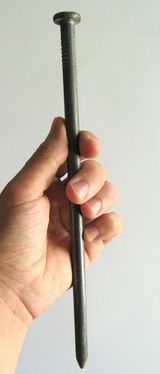 The shaft that I used is actually a very large framing nail. The sort of nail is sometimes
used in timber frame construction. These can be obtained in single quantities in some hardware stores
that sell nails from open boxes by the pound. I found the nail had the right degree of hardness
and workability to be able to bend to 90 degrees without breaking.
However, I did have to cut a few relief cuts into the nail with a hacksaw prior to bending.
The shaft that I used is actually a very large framing nail. The sort of nail is sometimes
used in timber frame construction. These can be obtained in single quantities in some hardware stores
that sell nails from open boxes by the pound. I found the nail had the right degree of hardness
and workability to be able to bend to 90 degrees without breaking.
However, I did have to cut a few relief cuts into the nail with a hacksaw prior to bending.
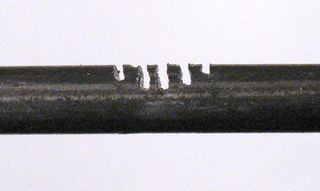
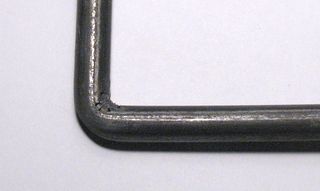
With the relief cuts in the nail, bending could be achieved by clamping it in the vise, with the first relief cut
at the edge of the vise, and just bending it over with a heavy hammer.
![]()
For an old Manfrotto tripod, where the screw was missing, I used yet another approach. I just filed a notch into
the screw and put a snap ring on it. A snap ring is one of these doohikeys:
Previous: Tripod Legs
 Justin's tripod (2012)
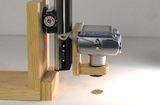 Macro photography (2009)
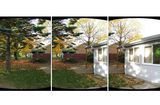 Panorama photography (2005)
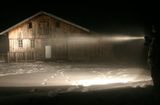 Night time photo fun (2003)
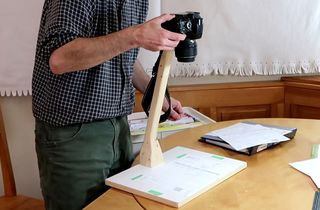 Document photographing stand (2020)
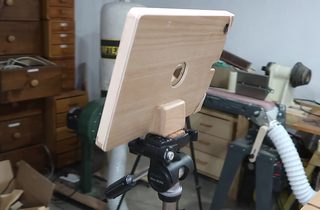 iPad tripod mount (2018)
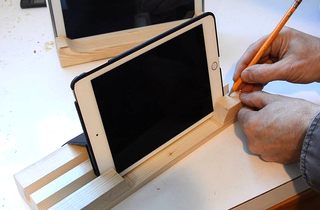 Super simple iPad stand (2018)
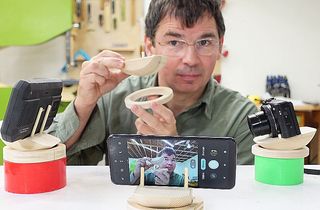 Simple camera or phone aiming platform, replaces tripod
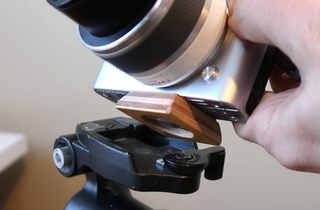 Camera quick release plate for tripod
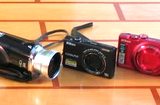 Best cheap camera for YouTube videos?
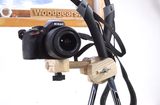 Bipod/tripod from ski poles camera jig
 The steadycam you already own but didn't know (2015)