Making sound absorbing panels
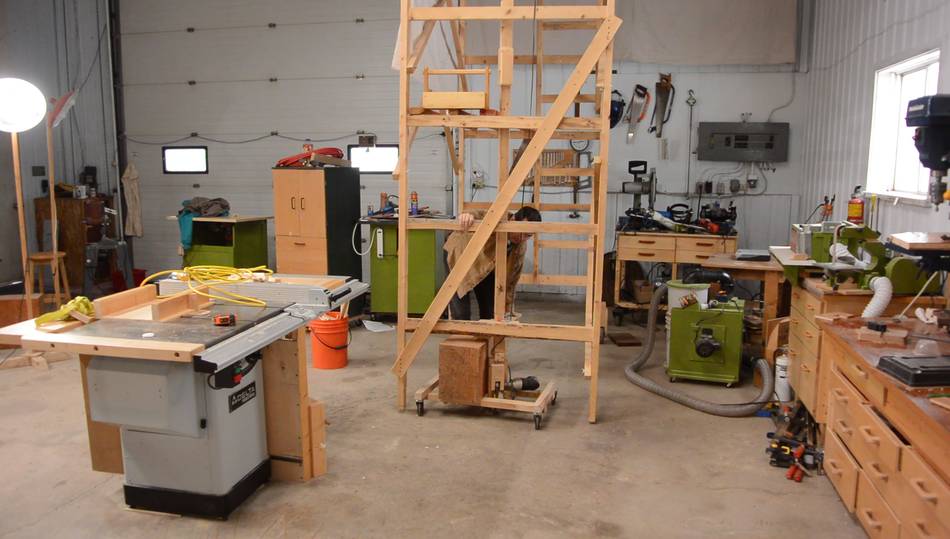
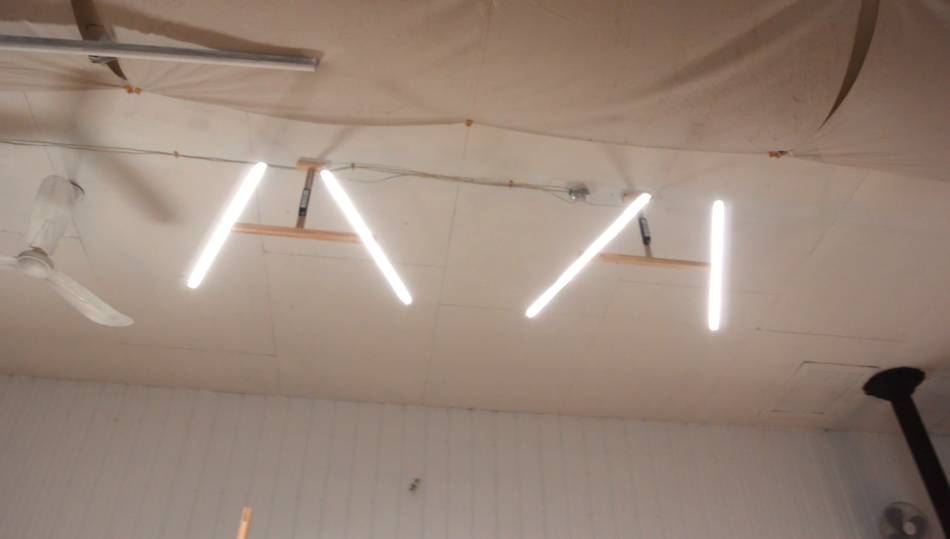 I wanted to make some sound absorbing panels to attach to the ceiling,
right behind the
lights in this picture.
I wanted to make some sound absorbing panels to attach to the ceiling,
right behind the
lights in this picture.
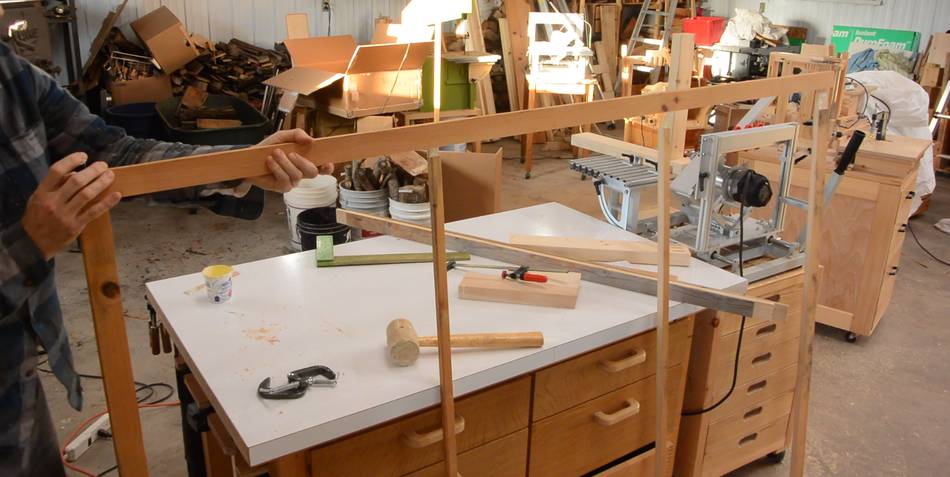
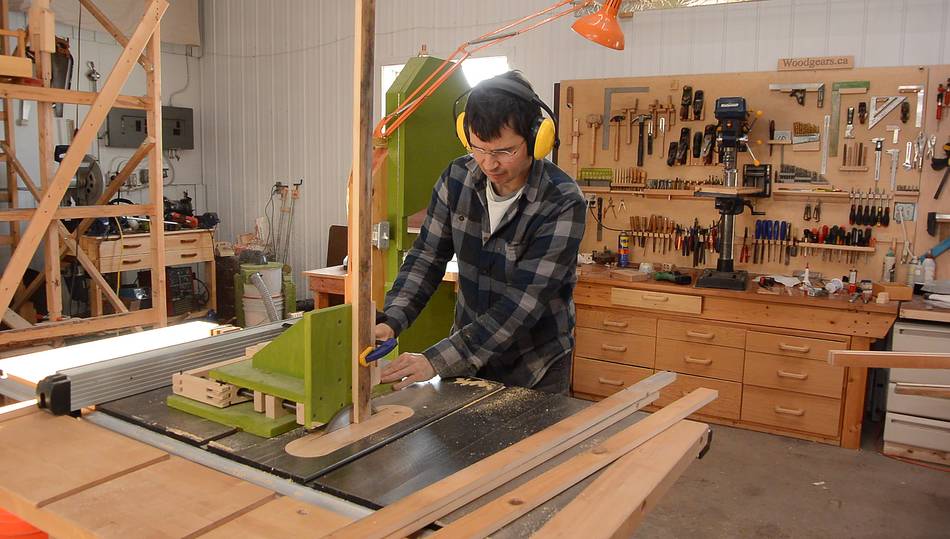 The frames for these are made out of boards, joined at the corners
with bridle joints, which I cut with my
quick set tenon jig.
The frames for these are made out of boards, joined at the corners
with bridle joints, which I cut with my
quick set tenon jig.
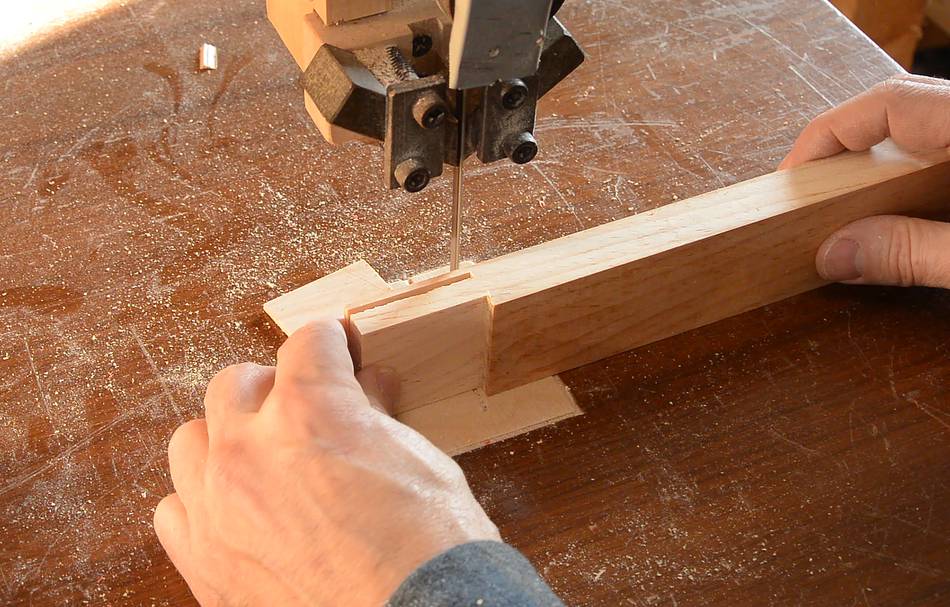
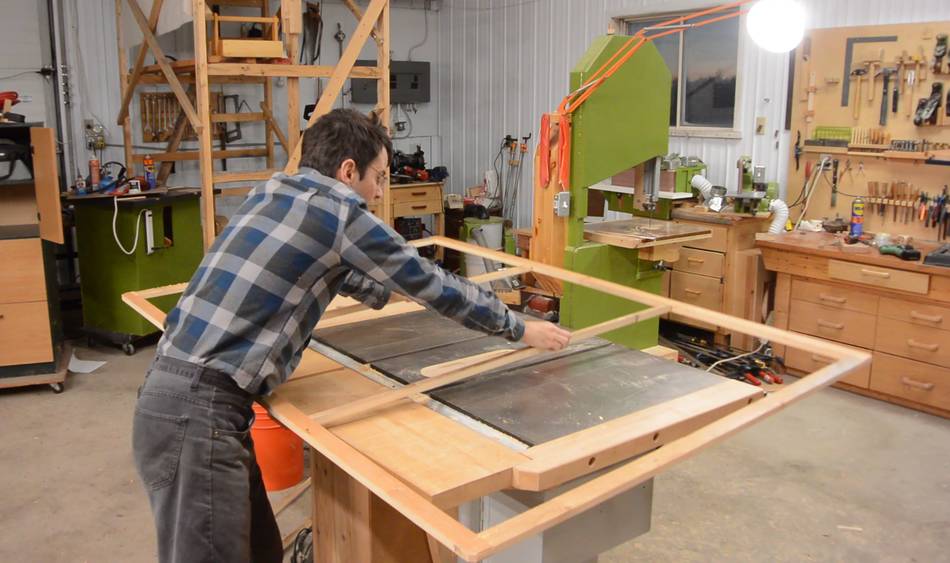
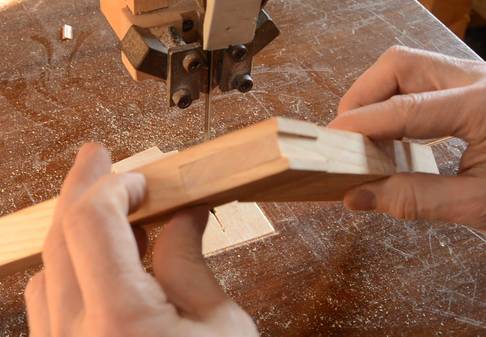 I cut the shoulders of the joints on the bandsaw, here a test fit
of the corners with some test pieces.
I cut the shoulders of the joints on the bandsaw, here a test fit
of the corners with some test pieces.
 The panels also have some cross-pieces inside the frame, which are
joined with mortise and tenon joints. I cut the mortises with my
slot mortising machine
and the tenons with my quick set tenon jig.
The panels also have some cross-pieces inside the frame, which are
joined with mortise and tenon joints. I cut the mortises with my
slot mortising machine
and the tenons with my quick set tenon jig.
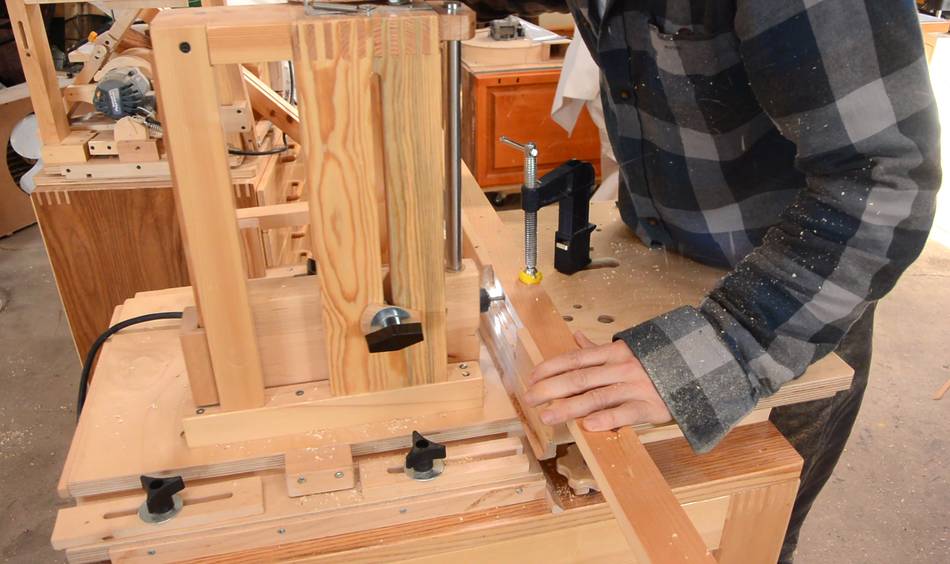
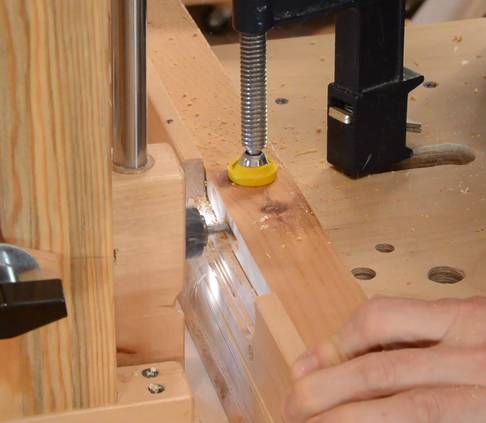
 When assembling bridle joints, I always put a clamp across them to
squeeze them tighter as the glue dries.
When assembling bridle joints, I always put a clamp across them to
squeeze them tighter as the glue dries.
Also note the block of wood clamped to the workpiece at left in this picture. This keeps the frame upright as I work on it.
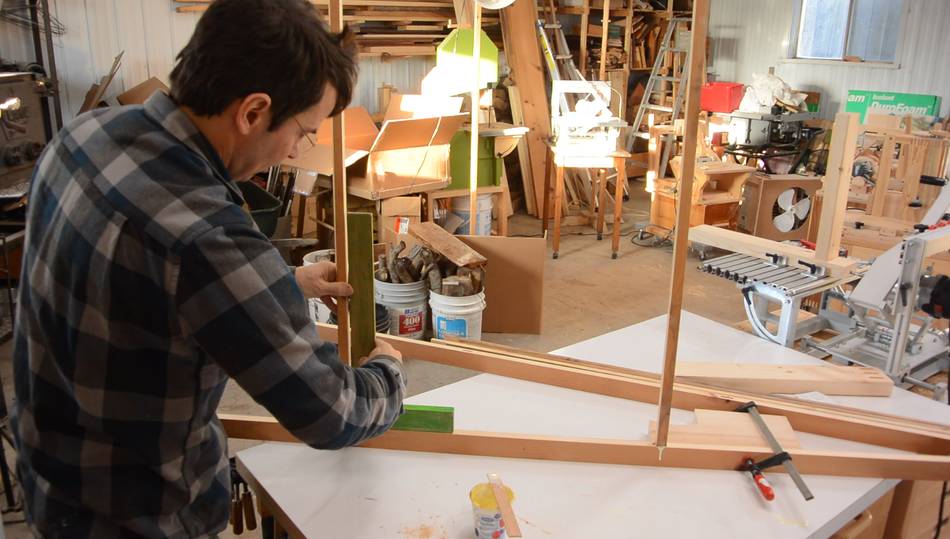 Installing the cross pieces...
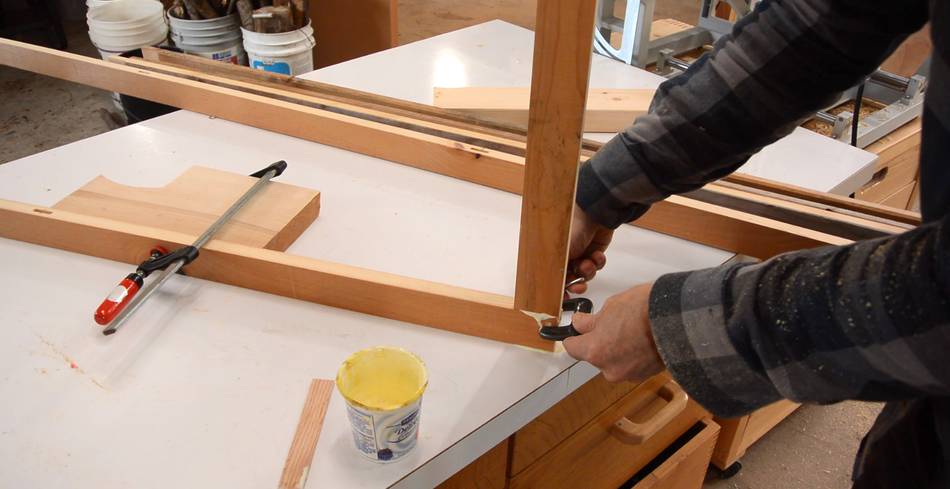
 ... then the opposite rail, mating the two mortise and tenon joints
for the cross pieces and the two bridle joints in the corners at the same time.
... then the opposite rail, mating the two mortise and tenon joints
for the cross pieces and the two bridle joints in the corners at the same time.
 One of the frames, after the glue dried.
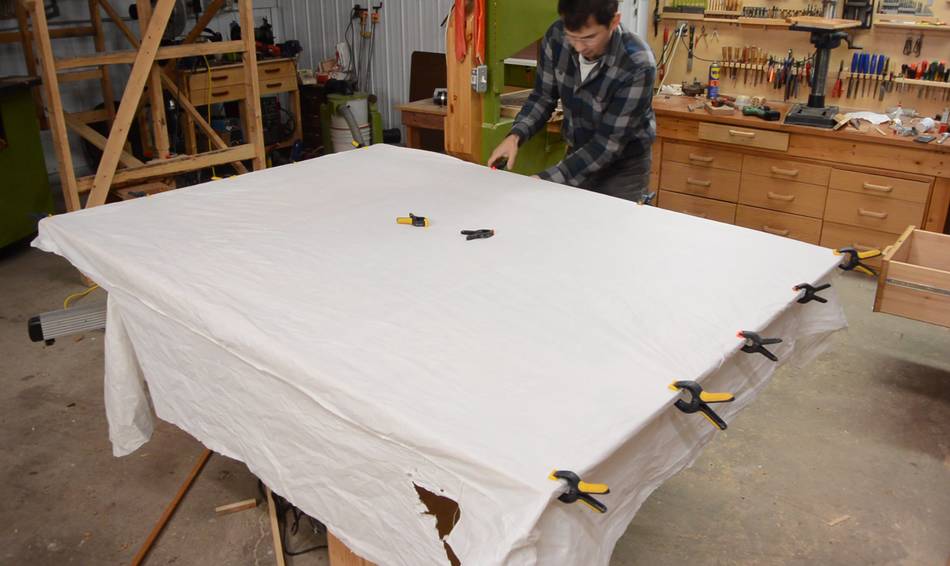
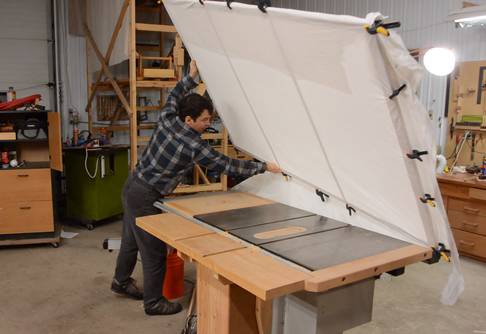 Stretching some fabric over the frame. This is some very cheap
white fabric that used to be a mattress cover.
Stretching some fabric over the frame. This is some very cheap
white fabric that used to be a mattress cover.
After attaching it with clamps, I flipped it over...
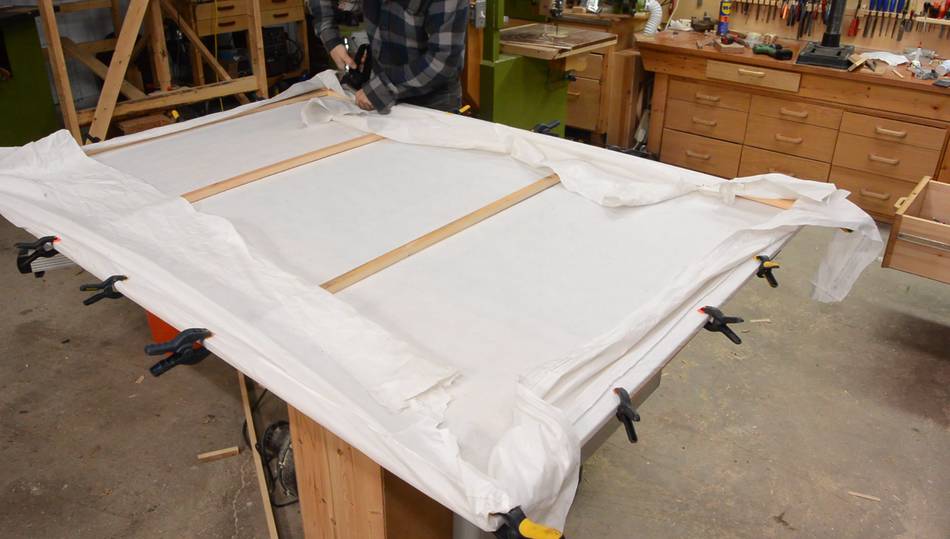 ... then wrapped the fabric around to the back and stapled it on
the inside of the frame.
... then wrapped the fabric around to the back and stapled it on
the inside of the frame.
 The folded over fabric covered much of the back as well, but where it
didn't, I added another scrap of old fabric to cover that.
The folded over fabric covered much of the back as well, but where it
didn't, I added another scrap of old fabric to cover that.
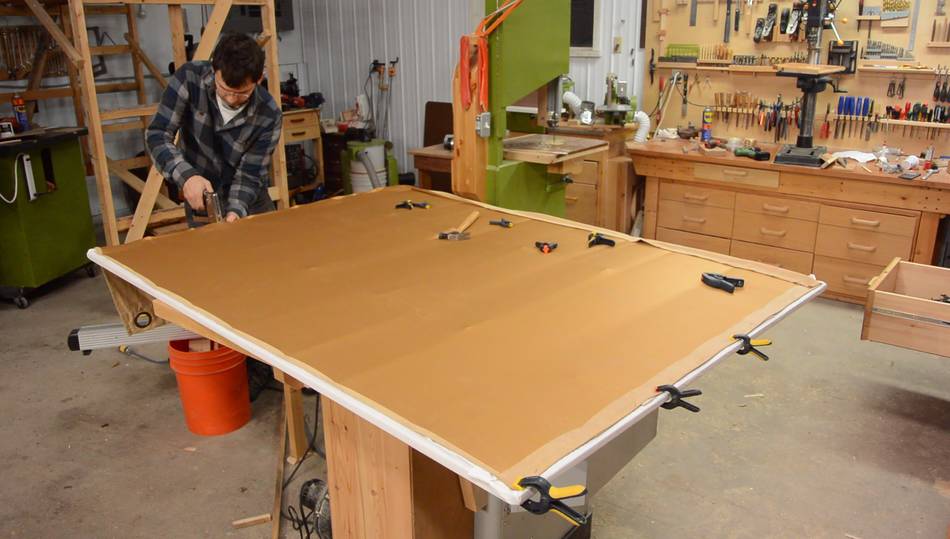
 I then stretched another layer of fabric over the back. This used to be
an ugly curtain.
I then stretched another layer of fabric over the back. This used to be
an ugly curtain.
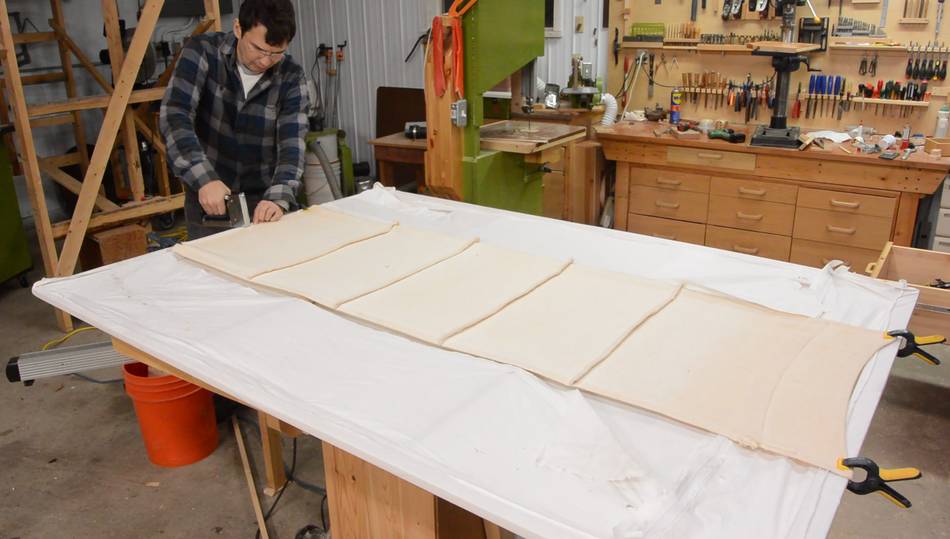
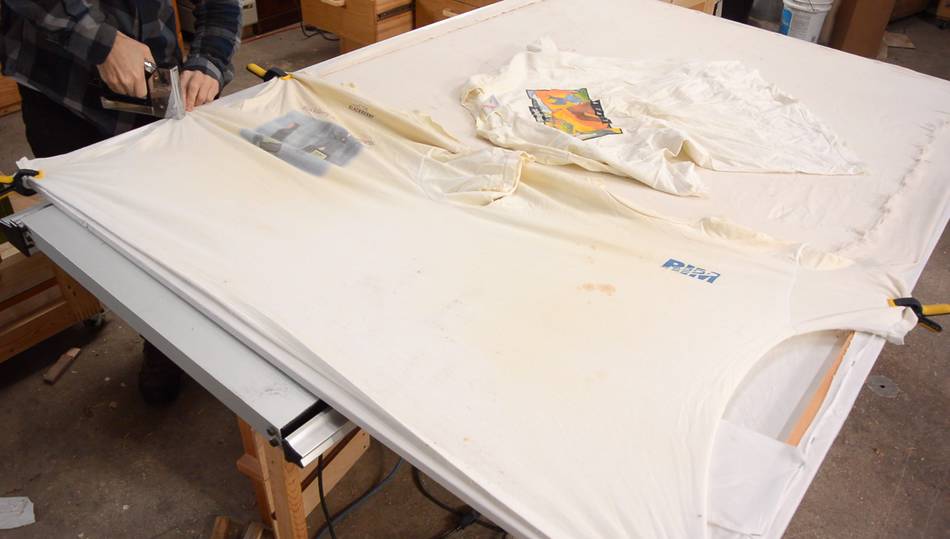 For the next panel, I used more scraps, including an old cotton T-shirt.
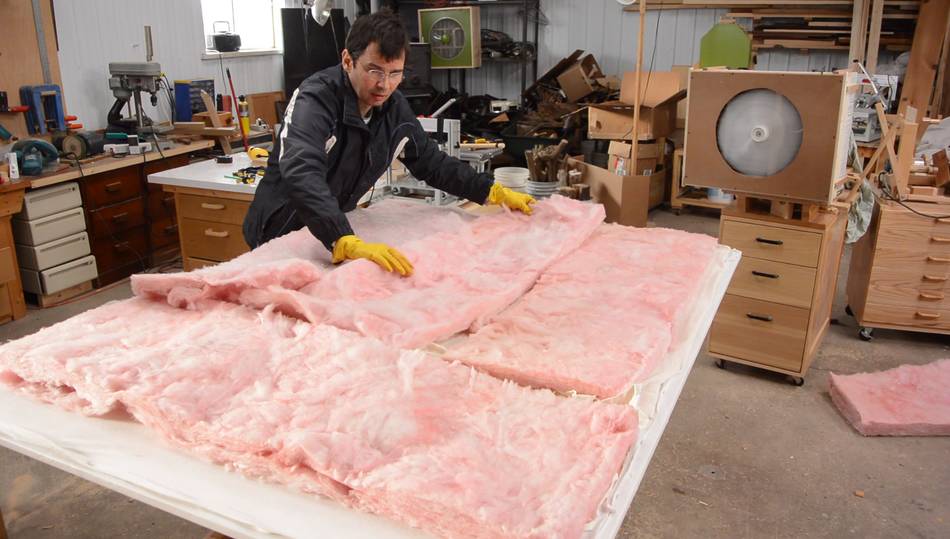 I also added a layer of insulation consisting of an R12 batten split
in thickness (so effectively R6).
I also added a layer of insulation consisting of an R12 batten split
in thickness (so effectively R6).
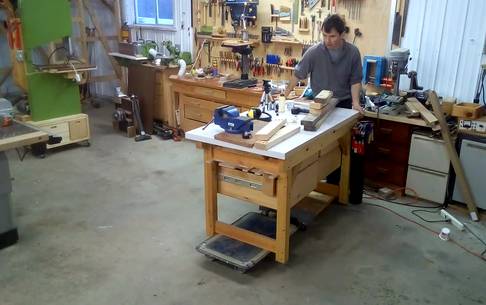
 I tested the panels inside by moving them between the camera and router.
The difference wasn't very dramatic.
I tested the panels inside by moving them between the camera and router.
The difference wasn't very dramatic.
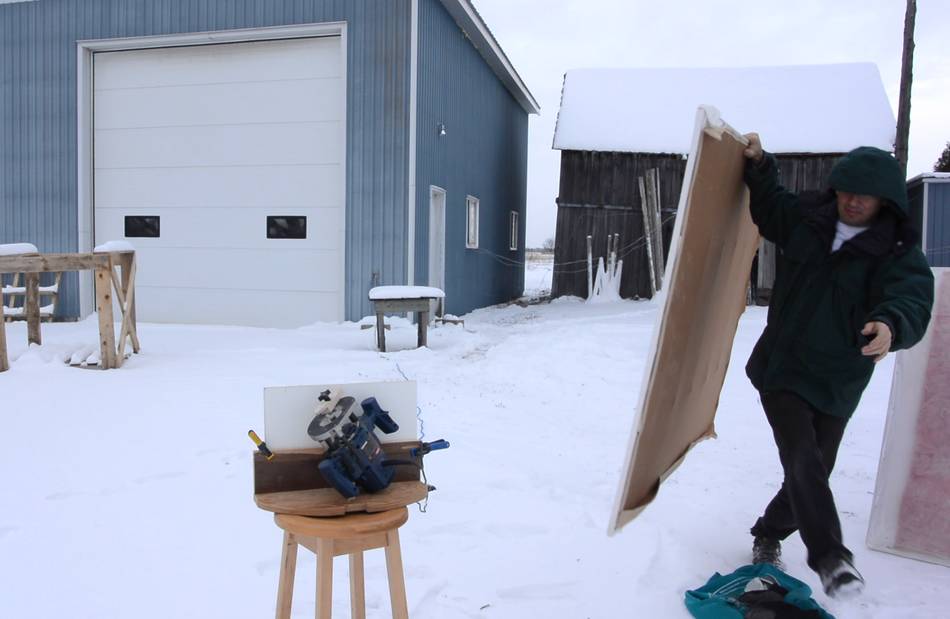
But testing them outside in the snow, where there are fewer nearby surfaces for the sound to bounce off of, the panel with just fabric cut the noise level from the router by about 6 db, and the panel with fiberglass cut the sound level by over 10 dB. 6 dB means only one quarter of the sound makes it through, 10 dB is one tenth. But that is for sound transmitting through the panel. Any sound going through the panel will still need to bounce off the ceiling, then go through the panel again, so the reflection through the panel again will be a quater of a qurter, or only only one 16th as strong. Or about a 93% reduction in sound power. Which makes me think anything more than 6 dB only makes for a very marginal improvement.
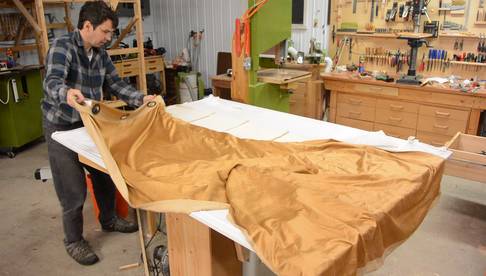
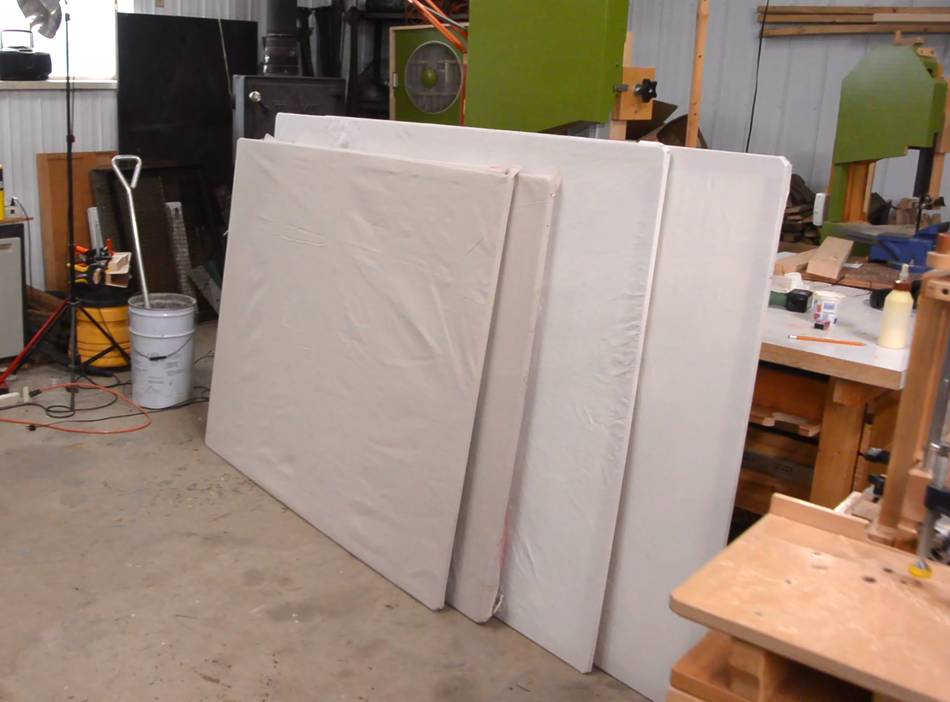 I also made two smaller panels, using some canvas drop cloth as the front fabric.
 Before installing the panels, I recorded myself clapping so I could see how
long the echo reverberated.
Before installing the panels, I recorded myself clapping so I could see how
long the echo reverberated.
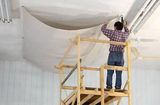
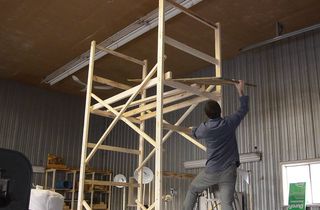
 Then installing the panels, using my
homemade scaffold, though I didn't
use the motorized part this time.
Then installing the panels, using my
homemade scaffold, though I didn't
use the motorized part this time.
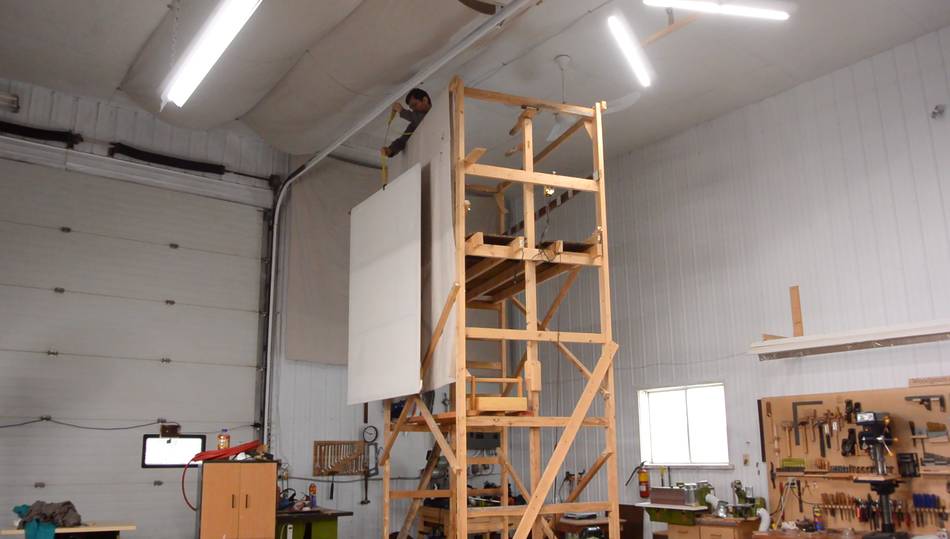 I clamped a strap to the panels, then pulled them up the scaffold. I had to
move the scaffold out of the way of the light fixtures and ceiling fans for
pulling the panel up, then rest the panel on the scaffold and move the
scaffold where the panels needed to go.
I clamped a strap to the panels, then pulled them up the scaffold. I had to
move the scaffold out of the way of the light fixtures and ceiling fans for
pulling the panel up, then rest the panel on the scaffold and move the
scaffold where the panels needed to go.
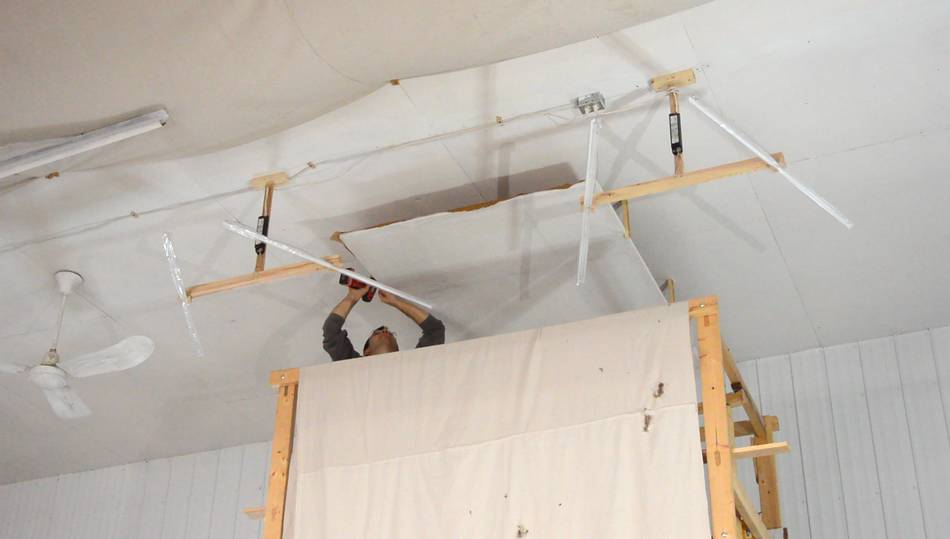
 I made some mounting brackets that mounted the panels about 20 cm from the ceiling.
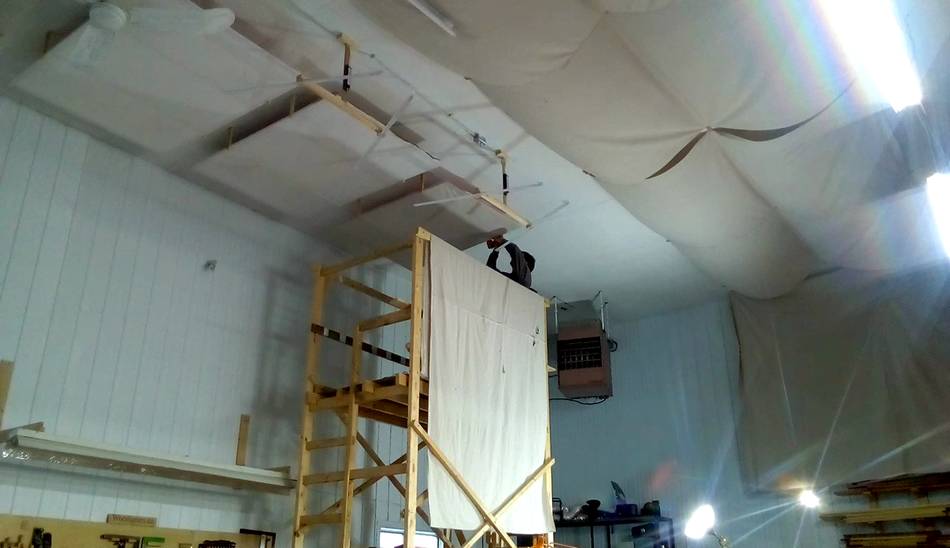 Mounting the last panel.
You can see some canvas drop cloths that I attached in early 2015.
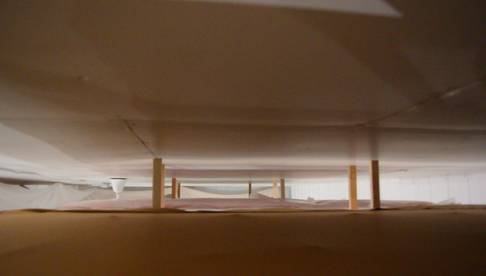
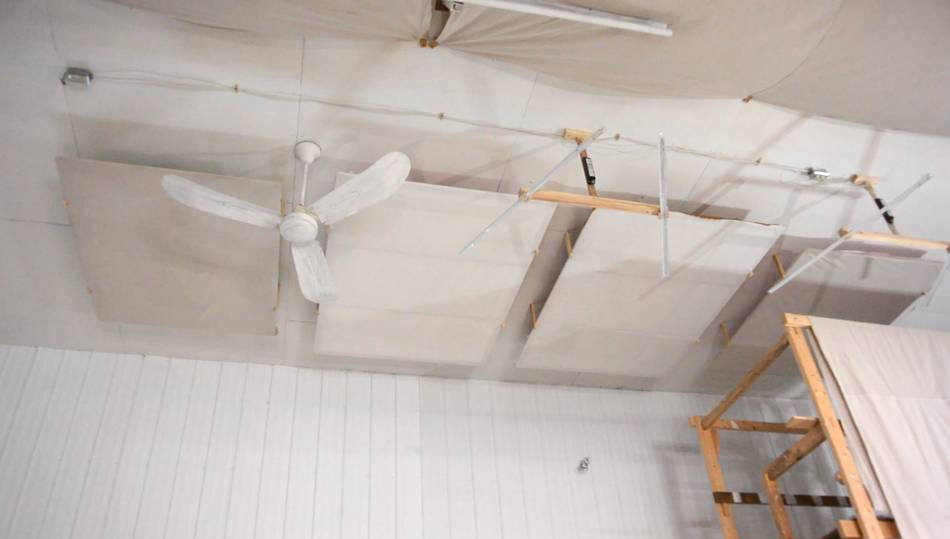 Four panels mounted.
I repeated my echo test. With me standing under the panels and the camera near me, it made the echo die down maybe 20% faster. The echo pinging from the clap bouncing off the floor and the ceiling was noticeably reduced, but that was a subjective observation (not measured).
So it wasn't a huge difference. But then again, these panels only cover a small part of the overall wall and ceiling surfaces in my shop.
Overall, echo is a much bigger issue in larger rooms. Imagine if the room was half this size. Even if the walls have the same sound reflectivity, the same number of bounces of the sound will only take half as long, so the echo naturally dies down faster in smaller rooms.
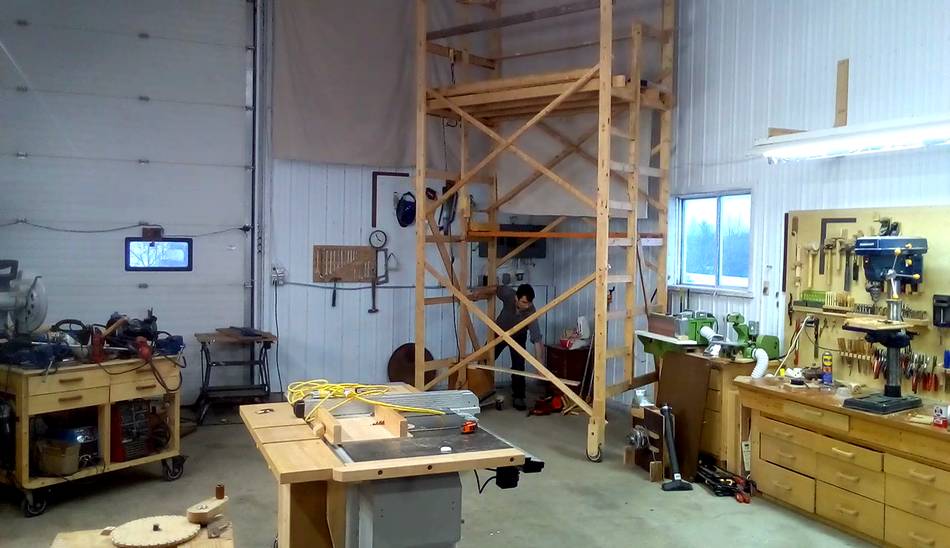
 Then moving stuff back into place. I put my
workbench on two dollies to make
it easier to move (it's not a traditional or roubo style workbench, but
it's quite heavy, especially with the
particle board top). I also parked the scaffold back in the corner
where I normally park it.
Then moving stuff back into place. I put my
workbench on two dollies to make
it easier to move (it's not a traditional or roubo style workbench, but
it's quite heavy, especially with the
particle board top). I also parked the scaffold back in the corner
where I normally park it.
See also:
 Echo reduction in the big workshop
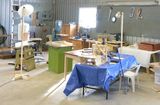
 Building a scaffold
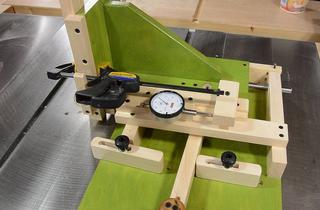 Quick-set tenon jig
To my Woodworking website.