Making a wooden bevel gauge
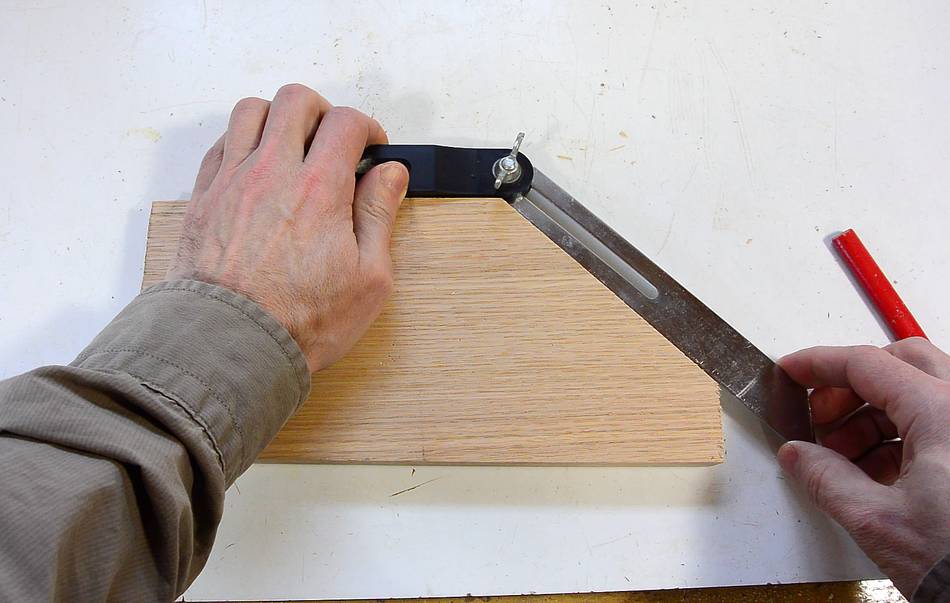 A bevel gauge is used in woodworking to copy angles. Even if a particular angle
is needed, it's often better to set a bevel gauge from a protractor and then
use that.
A bevel gauge is used in woodworking to copy angles. Even if a particular angle
is needed, it's often better to set a bevel gauge from a protractor and then
use that.
 I used some scraps of bamboo flooring for my homemade bevel gauge.
Bamboo resists denting well, so I'm hoping it will be durable enough.
I used some scraps of bamboo flooring for my homemade bevel gauge.
Bamboo resists denting well, so I'm hoping it will be durable enough.
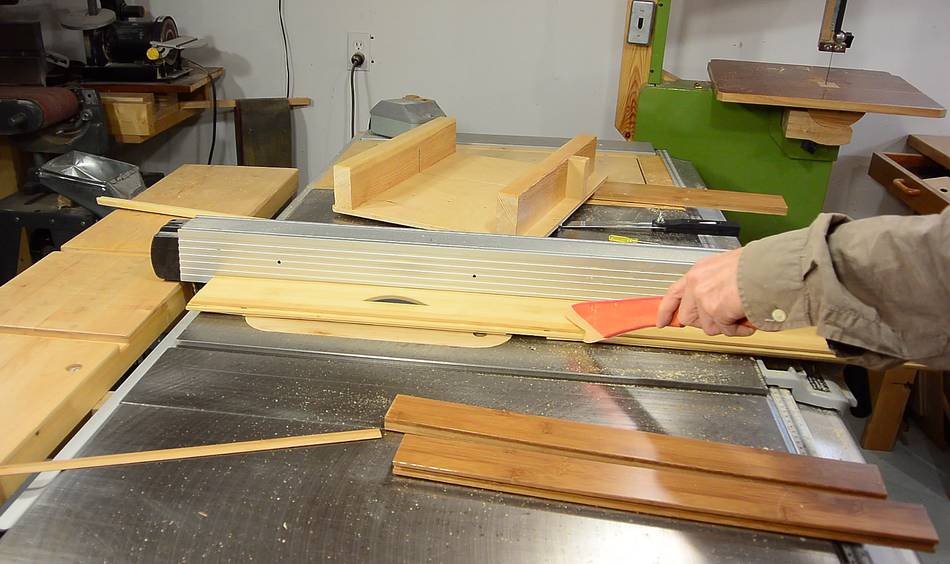
 I had some brown bamboo, which I resawed into a thinner layer for the
blade part of the bevel gauge. The brown colour was achieved by the
flooring manufacturer though heat treatment.
A slightly burned smell as I cut it confirmed this.
I had some brown bamboo, which I resawed into a thinner layer for the
blade part of the bevel gauge. The brown colour was achieved by the
flooring manufacturer though heat treatment.
A slightly burned smell as I cut it confirmed this.
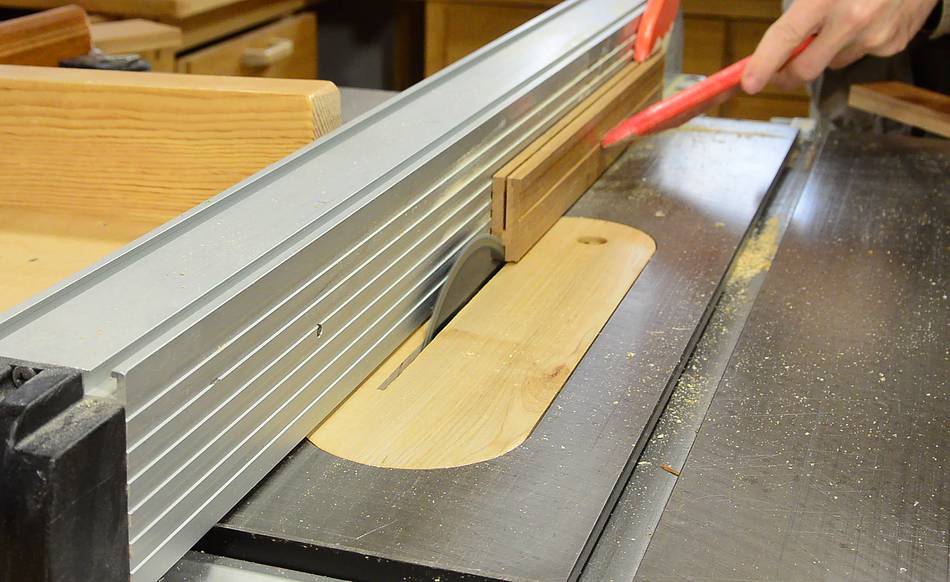
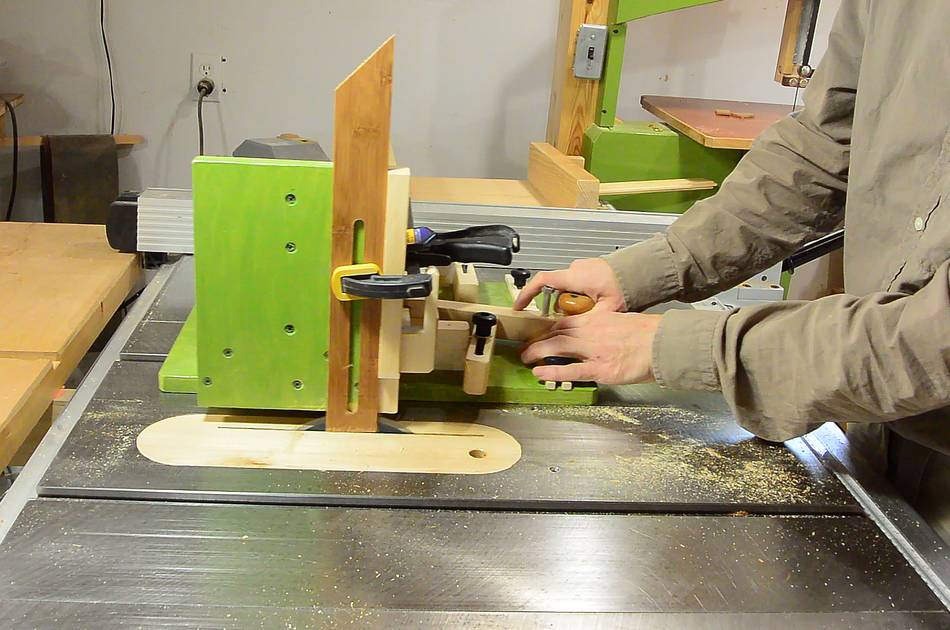
 I cut a slot for the blade by making two side-by-side partial
cuts on the table saw.
I cut a slot for the blade by making two side-by-side partial
cuts on the table saw.
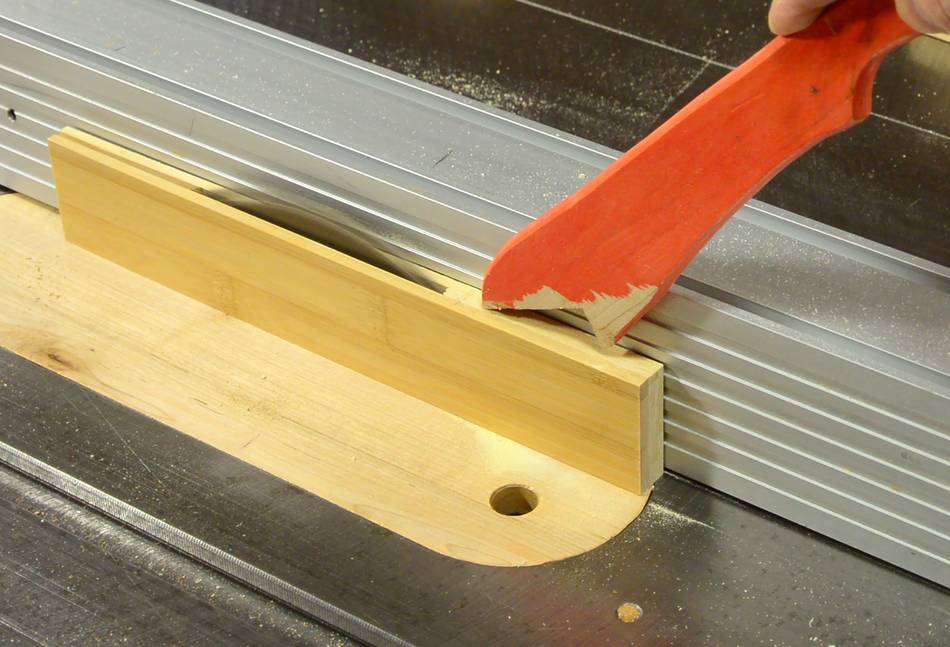 The bamboo had some internal stresses and clamped down on
the blade as I cut it. I had to shut off the saw to safely back the
wood off the blade after the second cut.
The bamboo had some internal stresses and clamped down on
the blade as I cut it. I had to shut off the saw to safely back the
wood off the blade after the second cut.
 I ended up making two bevel gauges. Before cutting the slot in the blade,
I had to figure out what bolt and knob combination I'd use to lock it.
That way I knew how wide a slot I needed for the bolt.
I ended up making two bevel gauges. Before cutting the slot in the blade,
I had to figure out what bolt and knob combination I'd use to lock it.
That way I knew how wide a slot I needed for the bolt.
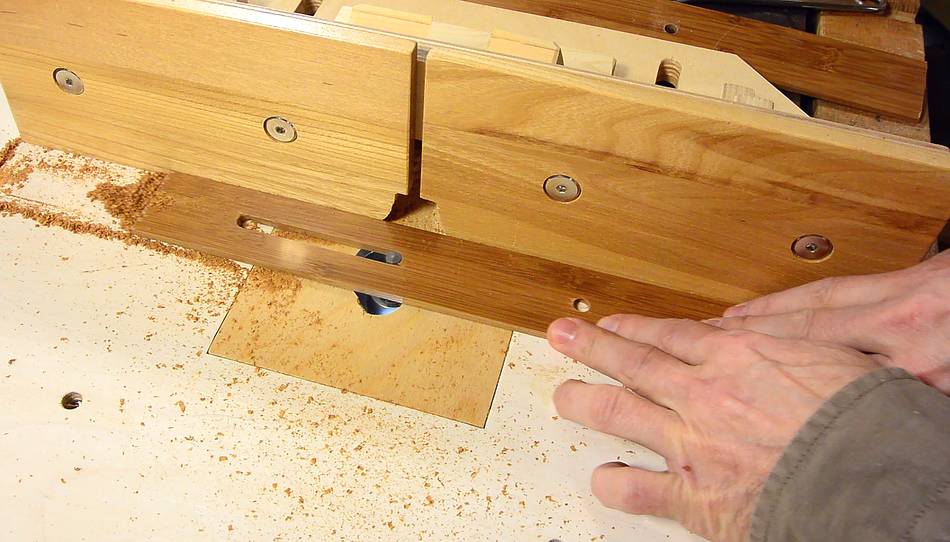
I drilled a hole on either end of where the slot goes, then used my router lift to mill the slot. I did this in three or four passes of increasing depth so I wasn't cutting away too much at once.
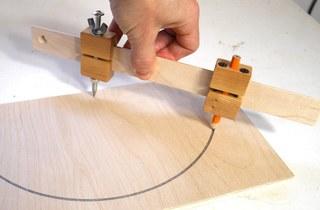
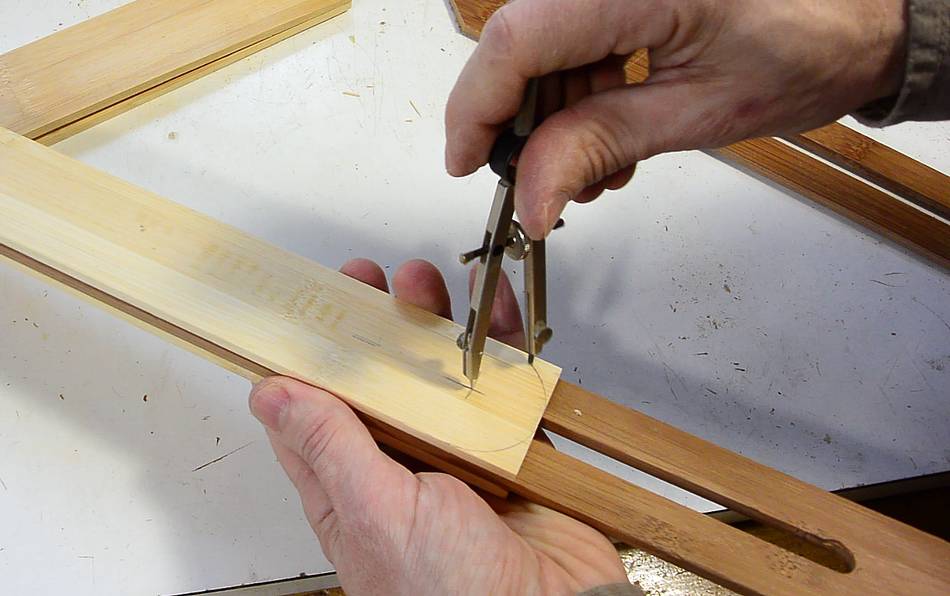 The hole for the screw and knob at the end of the handle needs to be
in the centre of a semicircle at the end. Here, working out the
geometry before drilling the hole.
The hole for the screw and knob at the end of the handle needs to be
in the centre of a semicircle at the end. Here, working out the
geometry before drilling the hole.
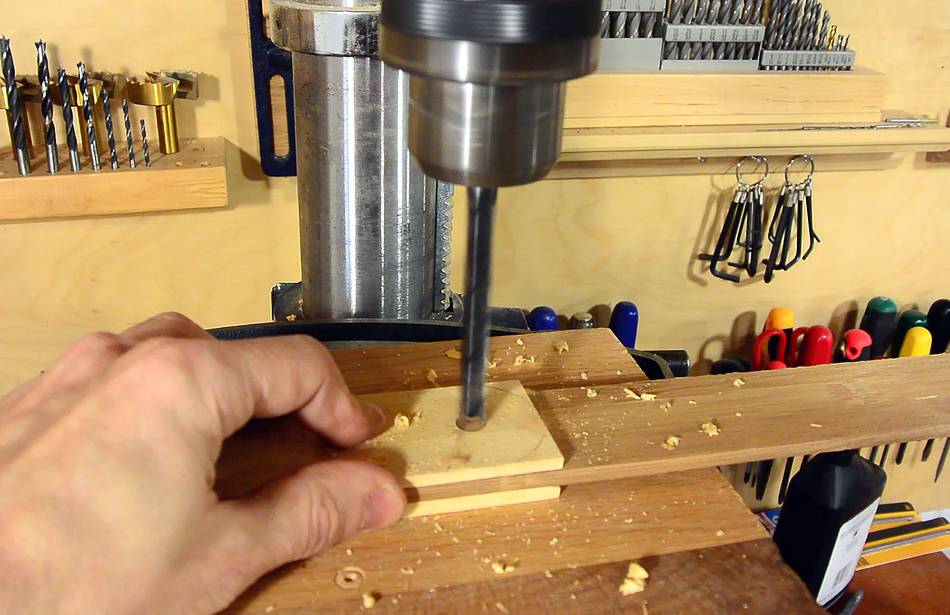 I put a sacrificial piece of wood in between the two halves of the handle
while drilling the hole to avoid chipout damage in the middle.
I put a sacrificial piece of wood in between the two halves of the handle
while drilling the hole to avoid chipout damage in the middle.
 Though resistant to denting, bamboo is prone to split and splinter.
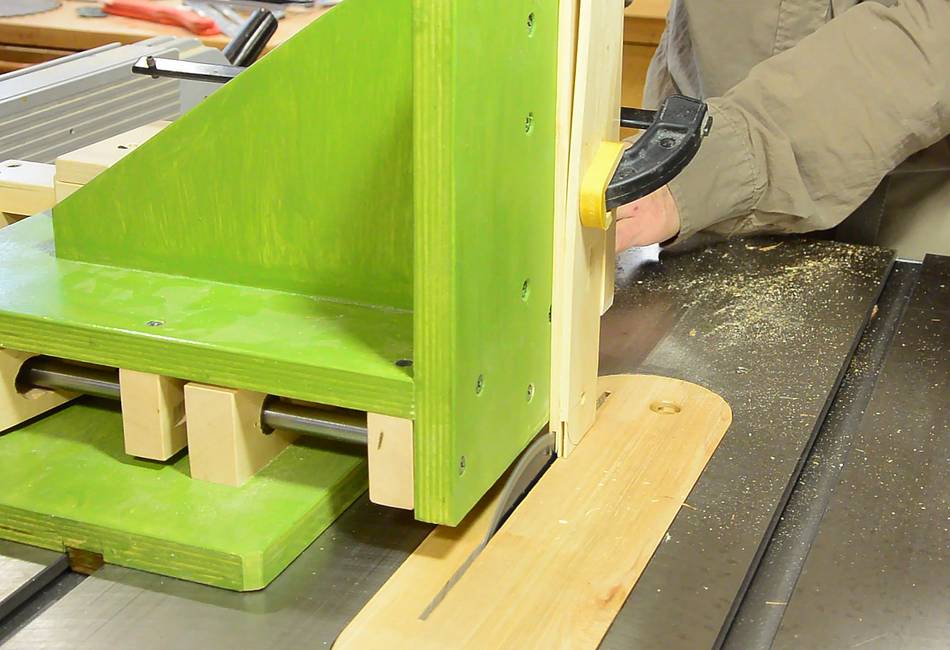
To prevent the ends from splitting, I cut a slot in the ends of the pieces for a spline.
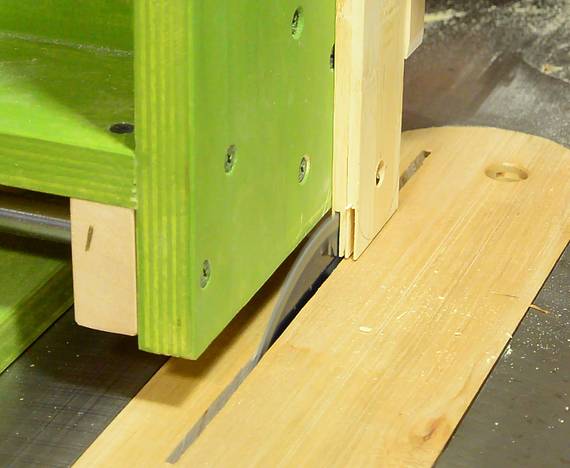 I used my tenon jig and a very thin 7 1/4" blade.
The blade has about a 2 mm kerf.
I used my tenon jig and a very thin 7 1/4" blade.
The blade has about a 2 mm kerf.
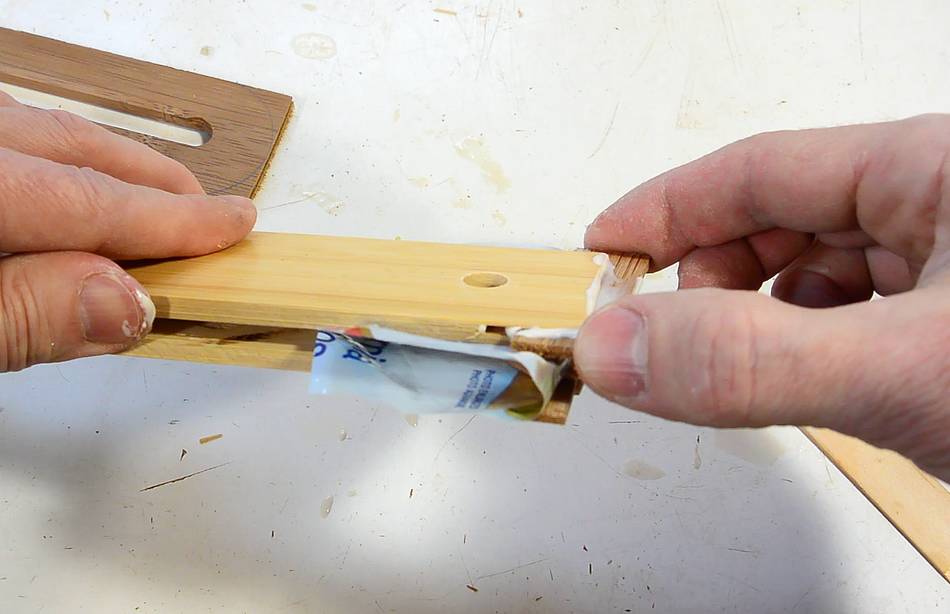
 I then cut a thin strip of bamboo to glue in the slot.
I put a wooden spacer, wrapped in plastic, between the two ends of the handle to prevent accidentally gluing them together.
To accent the spline, I used the dark wood for the spline in the handle, and light wood for the spline in the darker blade.
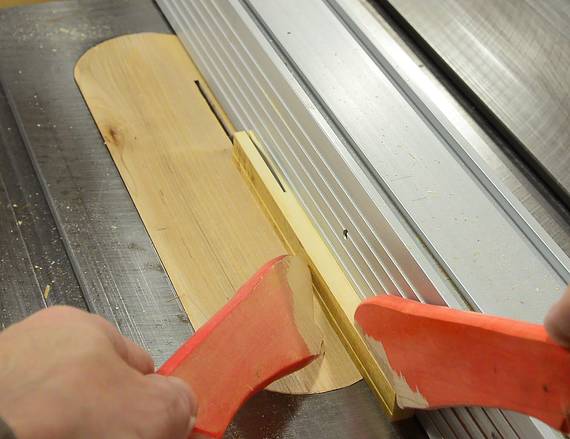
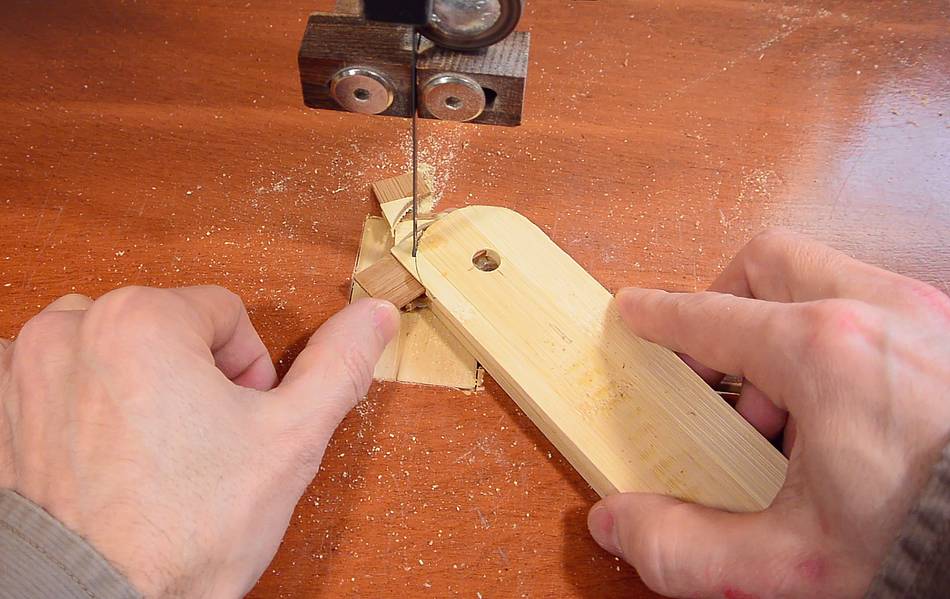 After the glue dried, I cut the end of the handle and the end of the blade
round on the bandsaw.
After the glue dried, I cut the end of the handle and the end of the blade
round on the bandsaw.
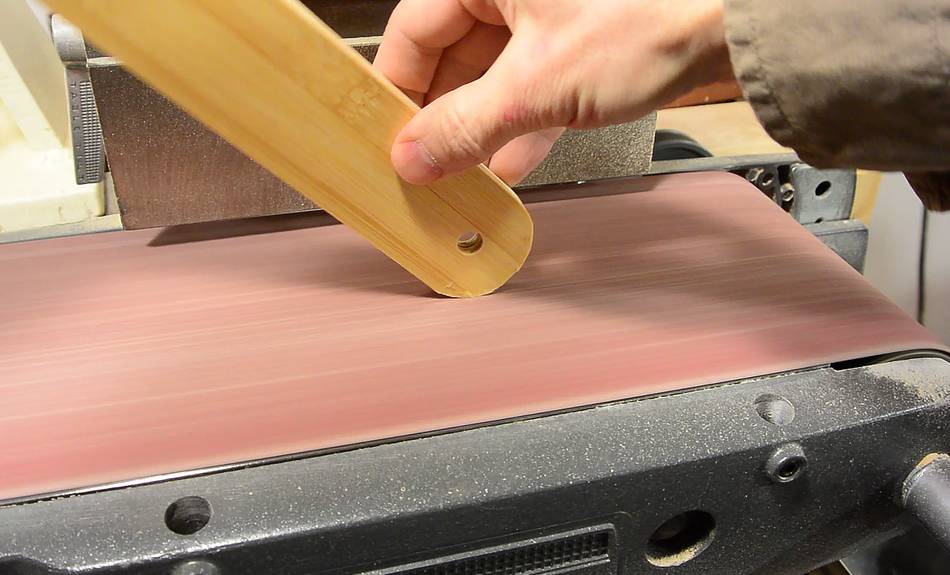 Then sanded all the edges and rounds.
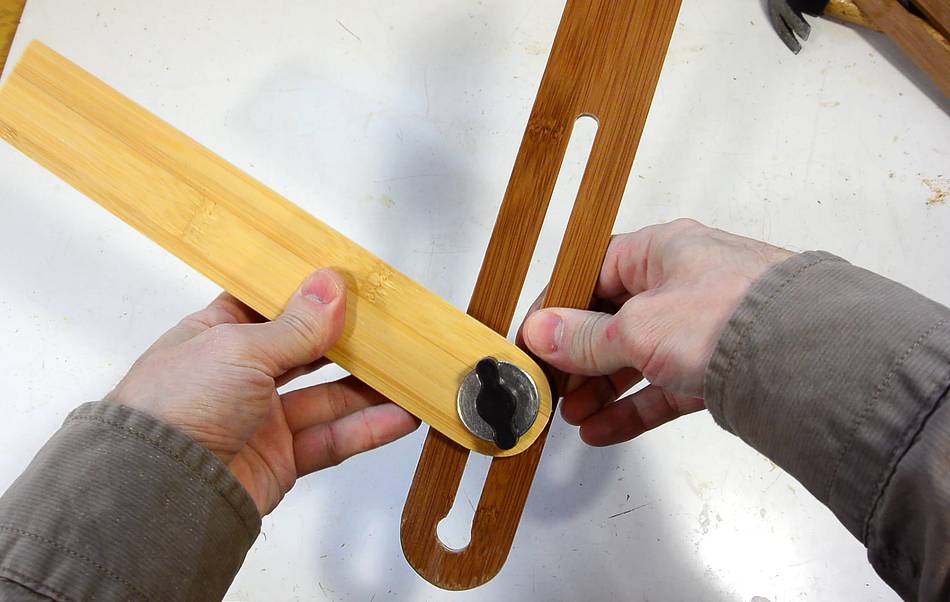 I ended up drilling a 1/2" (12.5 mm) hole at the end of the 3/8" (9.5mm)
wide slot to allow some flexibility for how the blade is
positioned in the handle. When measuring inside angles, it's important
that the handle doesn't protrude past the blade, and the blade doesn't
protrude past the handle.
I ended up drilling a 1/2" (12.5 mm) hole at the end of the 3/8" (9.5mm)
wide slot to allow some flexibility for how the blade is
positioned in the handle. When measuring inside angles, it's important
that the handle doesn't protrude past the blade, and the blade doesn't
protrude past the handle.
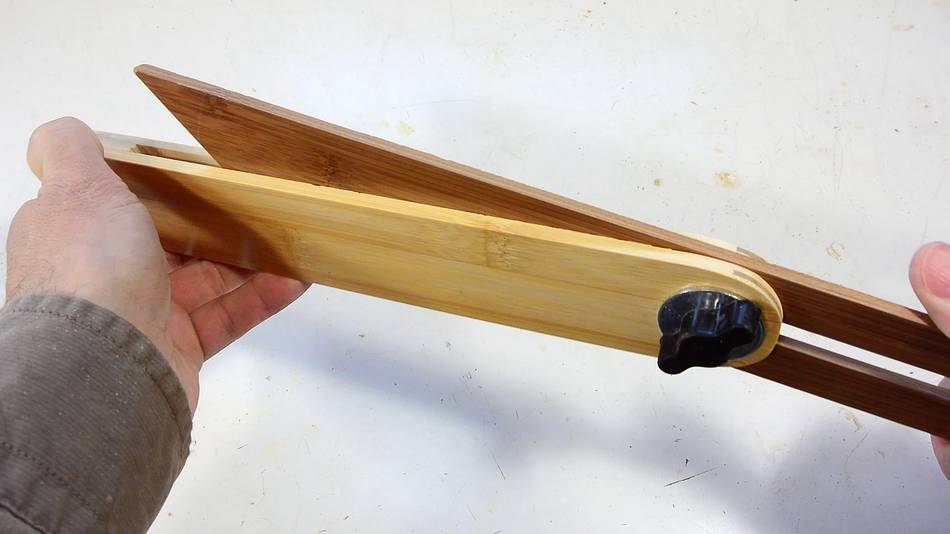 Much of the blade folds neatly into the handle.
 Adding the finished bevel gauge to my wall of tools. This will come in handy when
I need a bigger bevel gauge. For example, when I did the hexagonal layout for my
sorting tray, my bevel gauge was too short and I
had to hold a ruler next to it.
Adding the finished bevel gauge to my wall of tools. This will come in handy when
I need a bigger bevel gauge. For example, when I did the hexagonal layout for my
sorting tray, my bevel gauge was too short and I
had to hold a ruler next to it.
See also:
 Trammel points compass
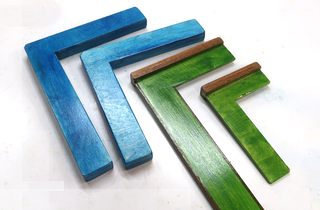 Making shop squares
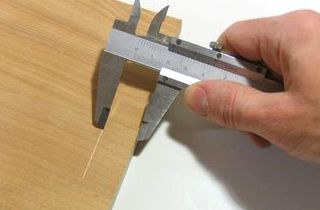 Callipers as
 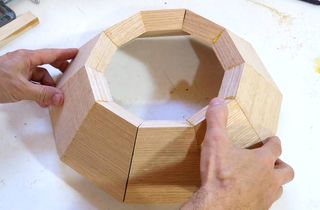 Angles for
 Table saw fence
Back to my woodworking website.