Making the nightstand drawers
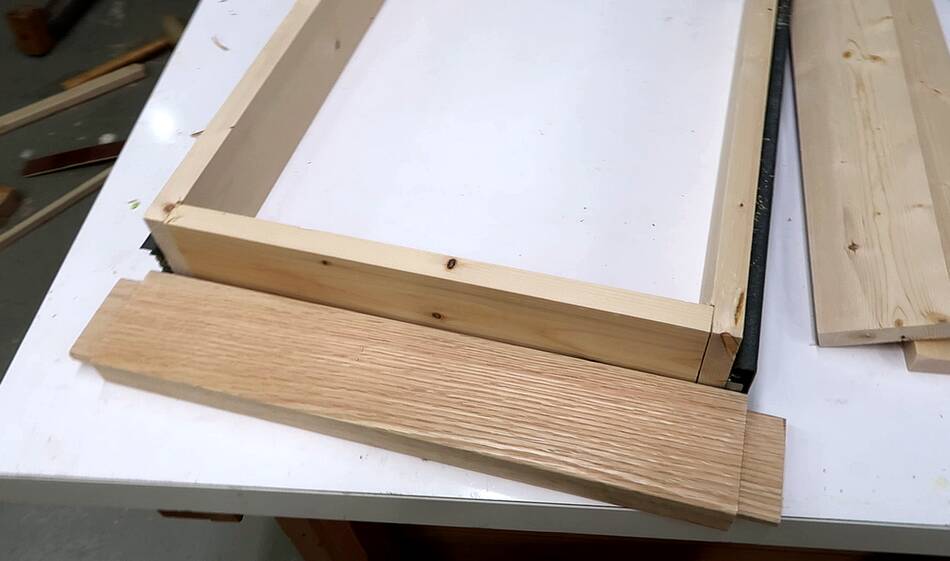
 When assembling boxes for drawers, if I'm not using fancy joinery
I like to cut a shallow rabbet in the sides before putting them together.
When assembling boxes for drawers, if I'm not using fancy joinery
I like to cut a shallow rabbet in the sides before putting them together.
The shallow rabbet helps to align the pieces as I assemble it and also compensates for any inconsistencies in thickness of the side pieces.
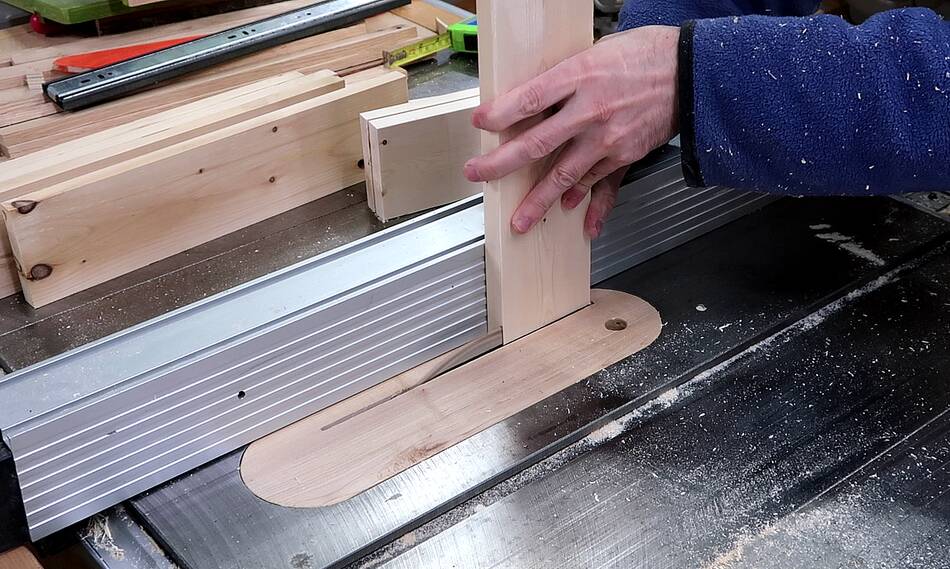
 The space for the drawers is the same as the length of the cross-piece between
the two frames (without the tenons), so I just laid it out all together to make
sure I had the right length for the front and back of the drawers to make them
the right width so that they'd fit with the full extension metal slides.
The space for the drawers is the same as the length of the cross-piece between
the two frames (without the tenons), so I just laid it out all together to make
sure I had the right length for the front and back of the drawers to make them
the right width so that they'd fit with the full extension metal slides.
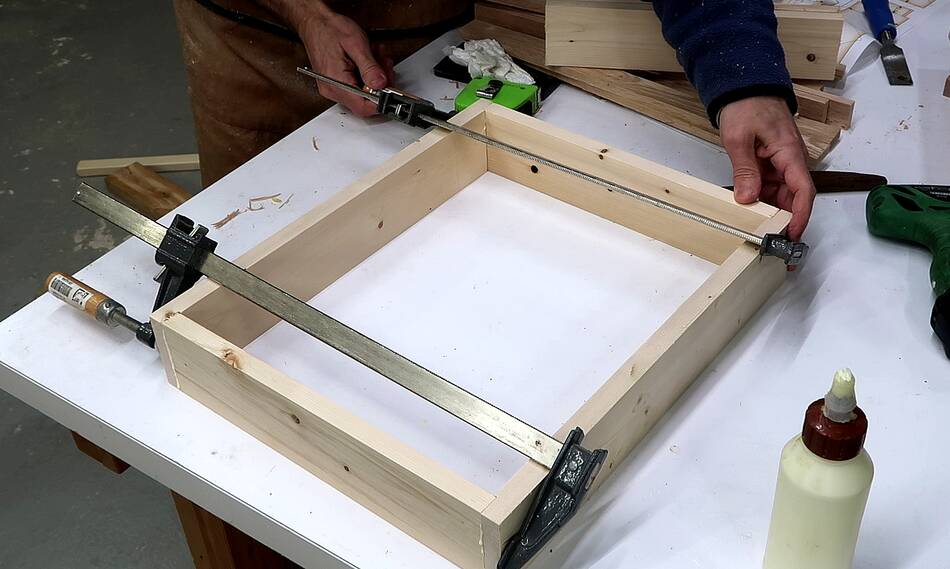 I assembled the drawers with just glue.
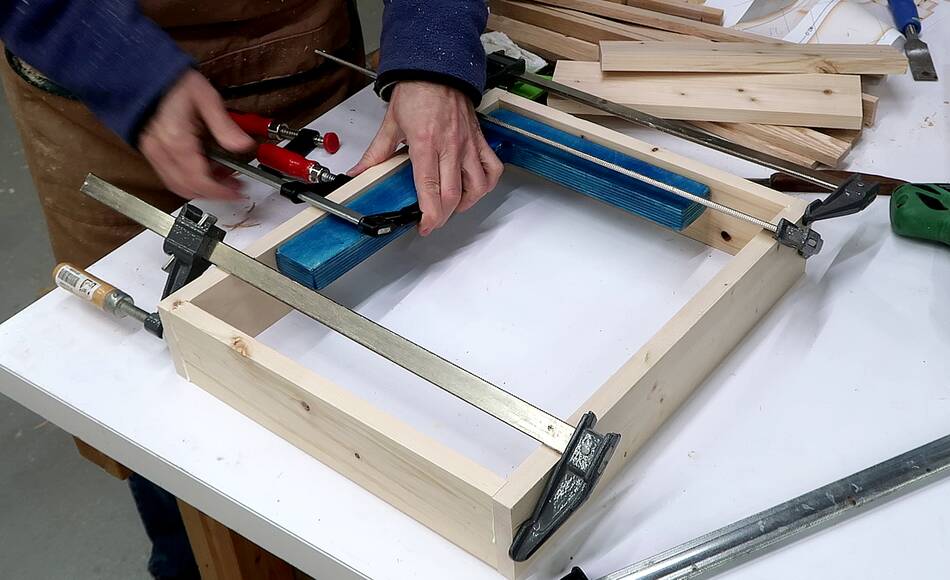 I used one of my clamping squares
to make sure it stayed square, especially as
I moved the assembly off the bench before the glue dried.
I used one of my clamping squares
to make sure it stayed square, especially as
I moved the assembly off the bench before the glue dried.
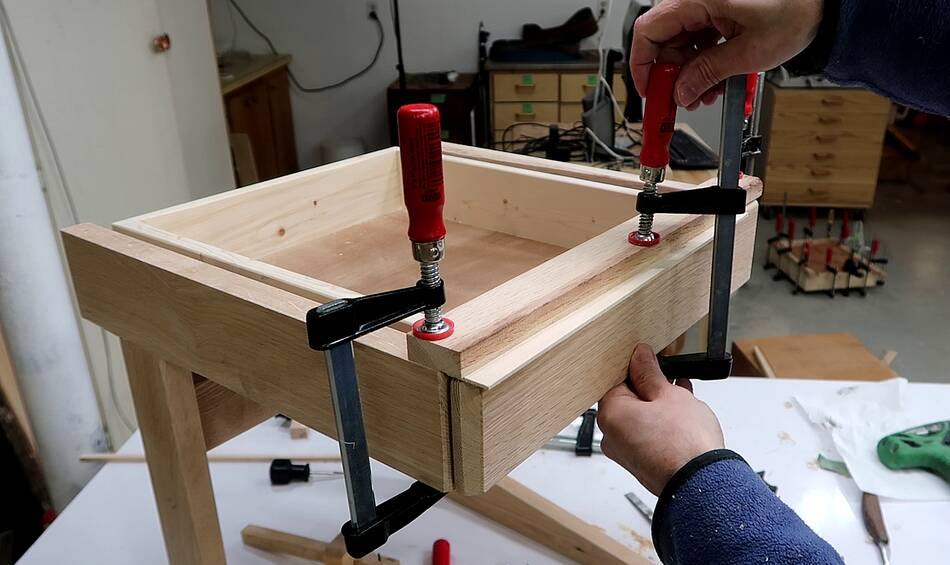
 After the glue dried for the box, I glued on the bottom using lots of clamps
to glue it on all around the edges.
After the glue dried for the box, I glued on the bottom using lots of clamps
to glue it on all around the edges.
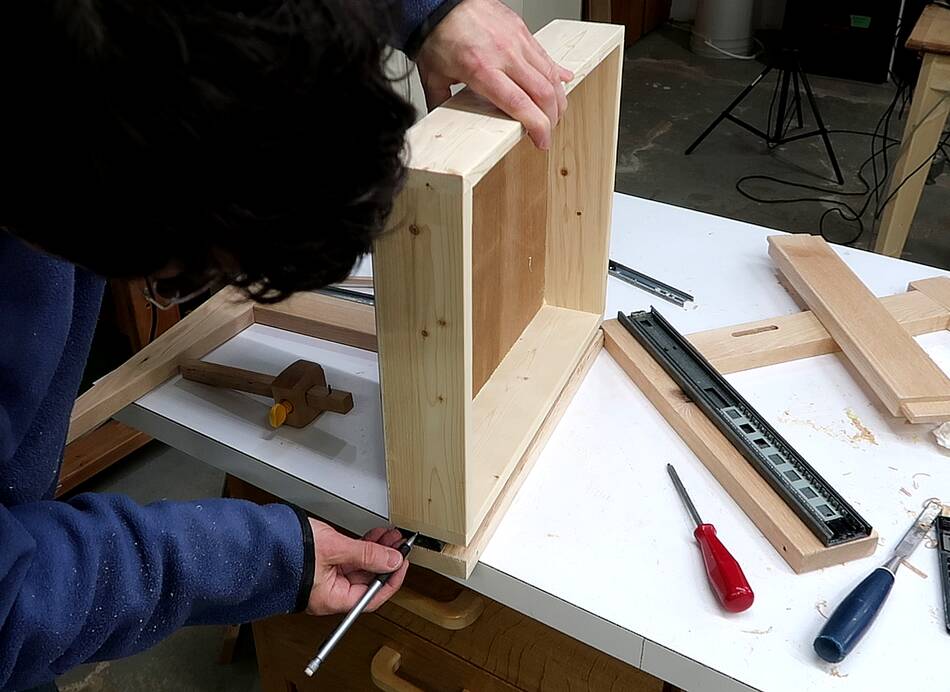
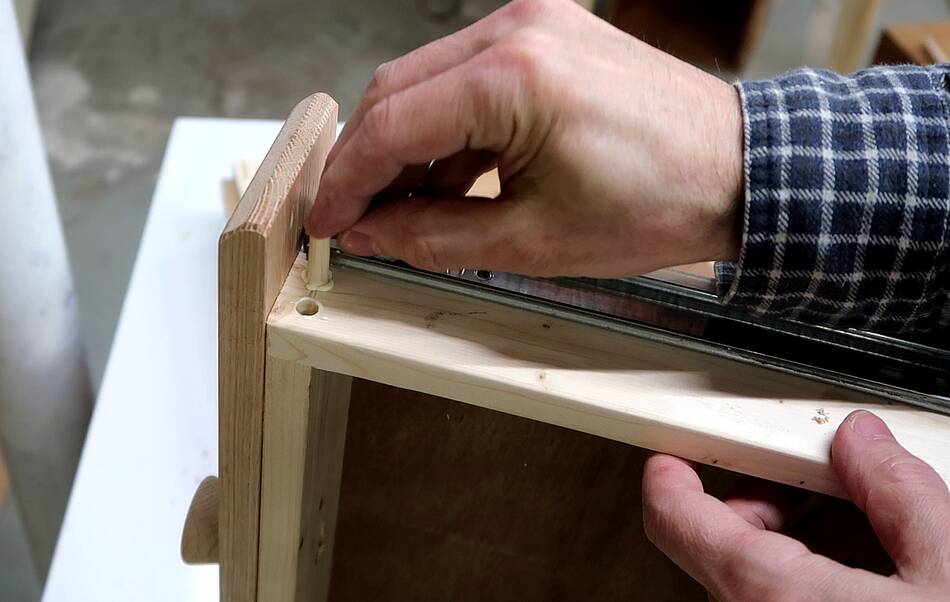 I hadn't used any nails or fancy joinery to put these drawers together. Butt joints
(or shallow rabbets) could break, so I added some dowels to upper corners
of the drawers later. Just the top corners, I figured the glued on bottom
would hold the sides together well enough near the bottom.
I hadn't used any nails or fancy joinery to put these drawers together. Butt joints
(or shallow rabbets) could break, so I added some dowels to upper corners
of the drawers later. Just the top corners, I figured the glued on bottom
would hold the sides together well enough near the bottom.
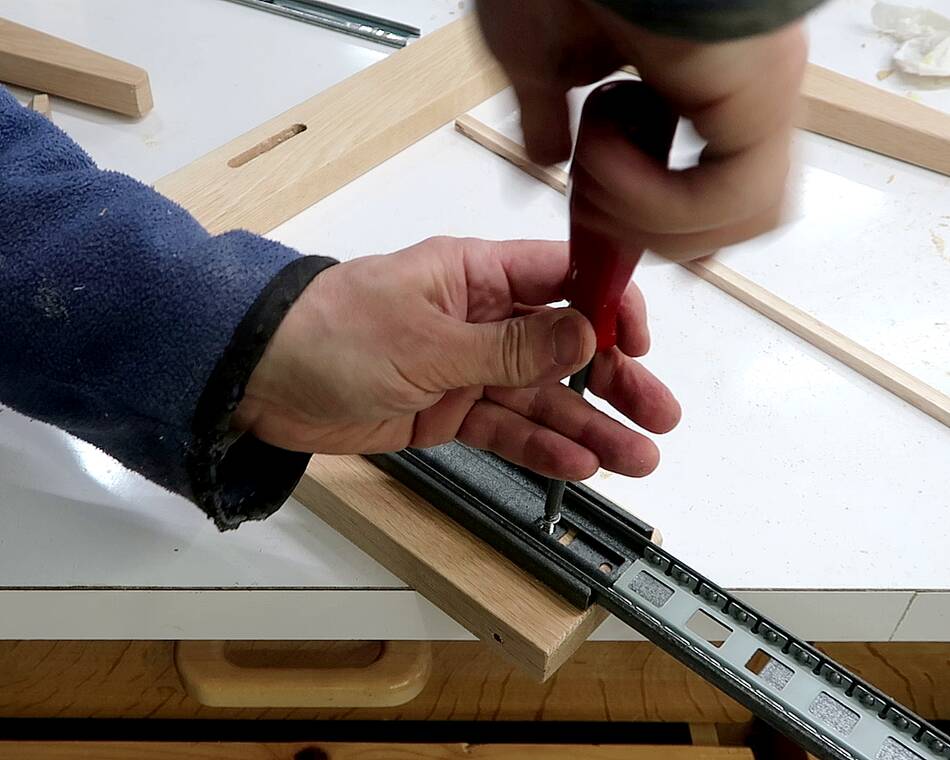
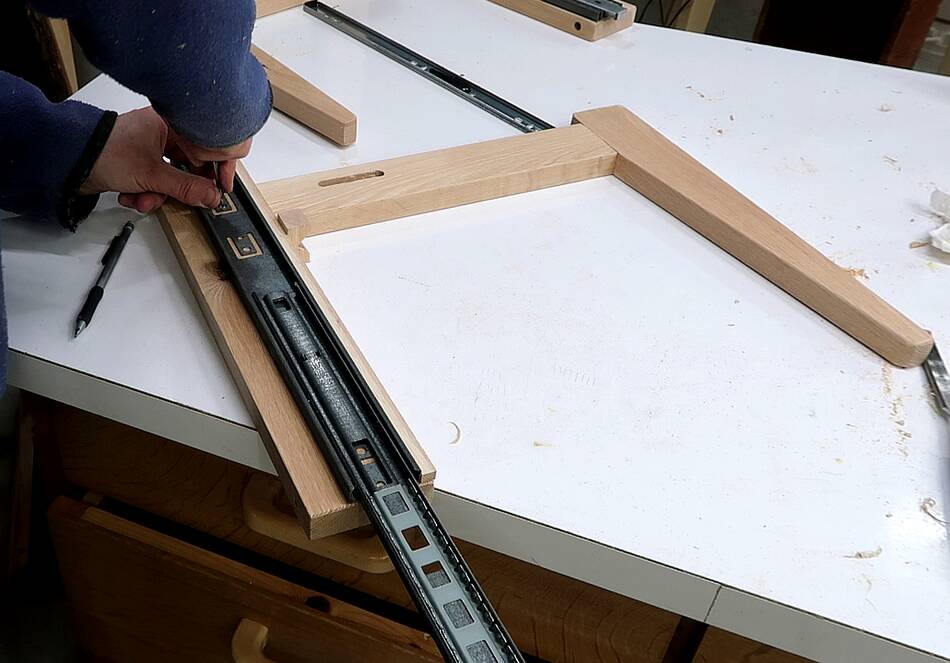 I had some extra 16" (41 cm) full extension drawer slides kicking around,
so figured I'd use those. I used a strip of wood to line them up a consistent
distance from the bottom edge of the side frame. I hadn't glued the mortise
and tenons that tie the side frames together yet, so it's easier
to just take the table apart to mount these. Here I'm marking where
the mounting holes need to go.
I had some extra 16" (41 cm) full extension drawer slides kicking around,
so figured I'd use those. I used a strip of wood to line them up a consistent
distance from the bottom edge of the side frame. I hadn't glued the mortise
and tenons that tie the side frames together yet, so it's easier
to just take the table apart to mount these. Here I'm marking where
the mounting holes need to go.
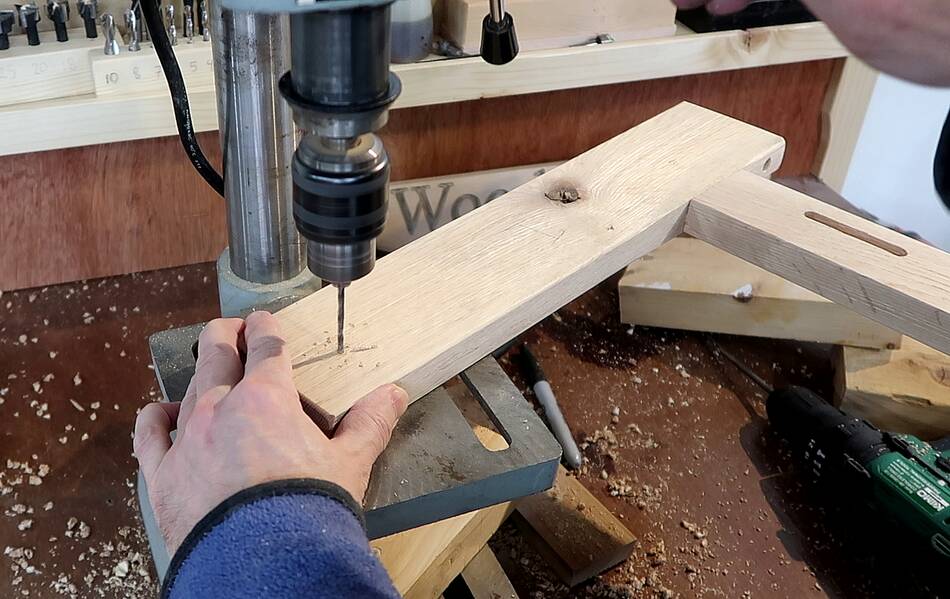 I definitely needed some pilot holes for the screws in the hard oak.
 Then mounting the slides.
 I positioned the drawer box against the slide to mark how far up the side
of the drawer the slides need to mount.
I positioned the drawer box against the slide to mark how far up the side
of the drawer the slides need to mount.
 I set a marking gauge to that distance and used it to place the slide, then mark
exactly where the screw holes need to go.
I set a marking gauge to that distance and used it to place the slide, then mark
exactly where the screw holes need to go.
Even though the drawers are made of soft wood, I drilled small pilot holes to help position the screws more precisely.
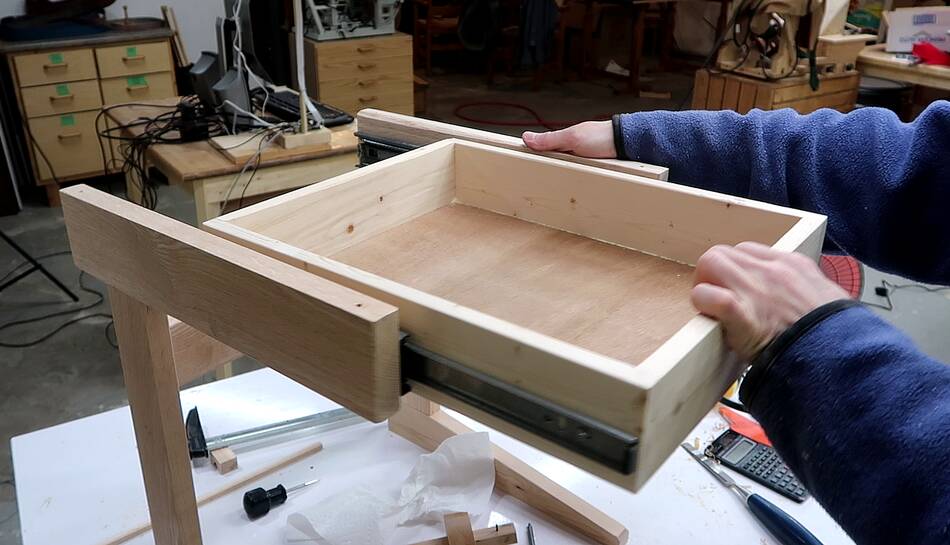 With the slides mounted, I checked how it fit.
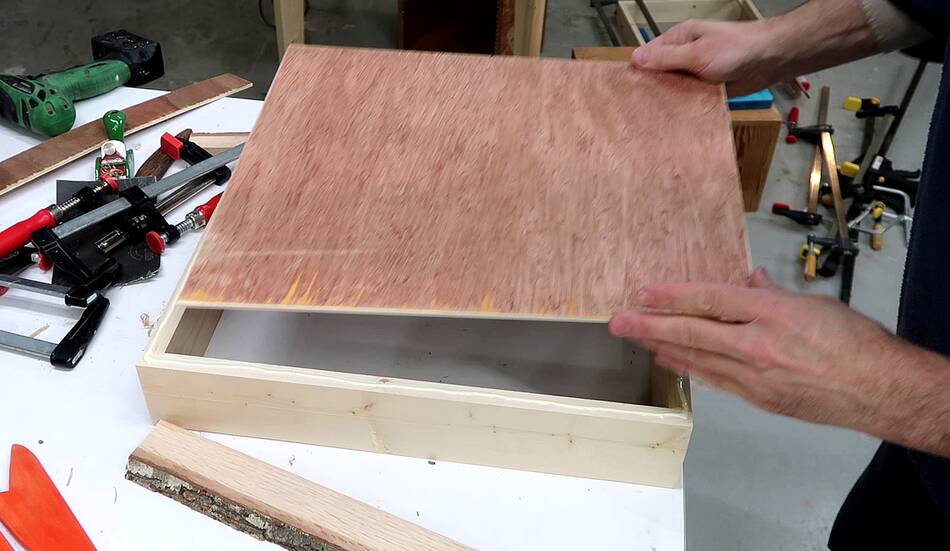
 I cut a 45° bevel on the edges for the drawer front.
 I clamped a piece of wood across the top of the front, then used a 2 mm thick
strip of wood to position the front 2 mm from the top. With no top on it,
I could then just glue and clamp it straight on the front.
I clamped a piece of wood across the top of the front, then used a 2 mm thick
strip of wood to position the front 2 mm from the top. With no top on it,
I could then just glue and clamp it straight on the front.
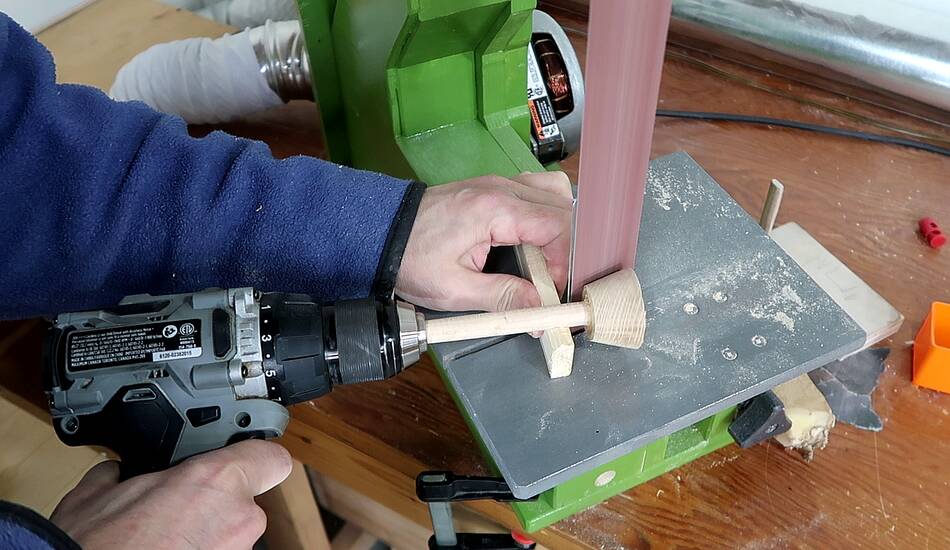 I needed some kind of handle or knob for the drawers. I didn't have anything
just right at hand, so I made some
conical knobs for these nightstands.
I needed some kind of handle or knob for the drawers. I didn't have anything
just right at hand, so I made some
conical knobs for these nightstands.
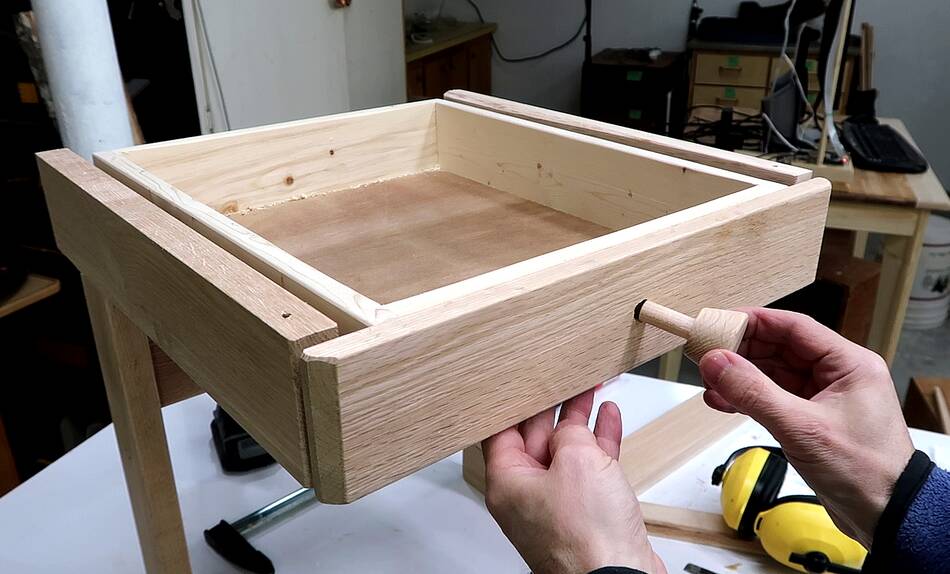 The knob glues to the front with a 1/2" dowel, that was already part of the
knob while I was making it.
The knob glues to the front with a 1/2" dowel, that was already part of the
knob while I was making it.

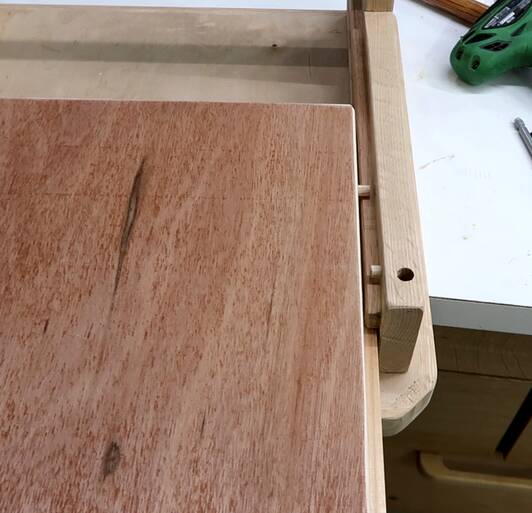 full extension drawer slide are nice, but seemed a bit much for a little
night stand. For the second one I glued a strips of hardwood to the sides of the
drawers and two strips of hardwood for it to slide in between to the sides of
the frame. But kids tend to pull dresser drawers out and let them crash to the floor,
so to prevent that, I put a short dowel on either side of the drawer
and on either side of the nightstand to stop the drawer when it's about two thirds
of the way out.
full extension drawer slide are nice, but seemed a bit much for a little
night stand. For the second one I glued a strips of hardwood to the sides of the
drawers and two strips of hardwood for it to slide in between to the sides of
the frame. But kids tend to pull dresser drawers out and let them crash to the floor,
so to prevent that, I put a short dowel on either side of the drawer
and on either side of the nightstand to stop the drawer when it's about two thirds
of the way out.
The tricky part is getting the drawer in the first place, but without the top screwed on, the front ends of the sides can be flexed out far enough to get the drawer through between the dowels.
Back to nightstand build