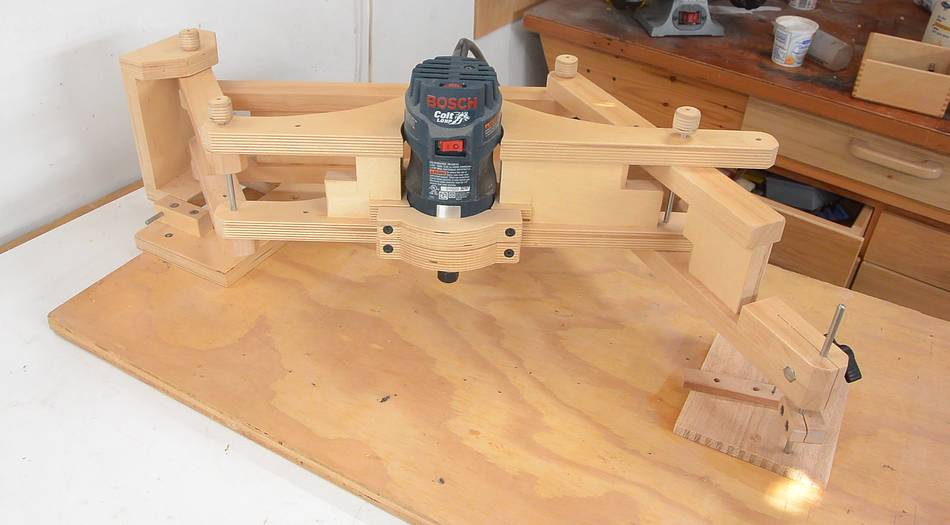
 A CNC plasma cutter would be a handy thing to have for cutting intricate shapes.
I often use a pantograph with my router to do things
that would normally require a CNC router, so I figured, if it works for a router,
why not for a plasma cutter?
A CNC plasma cutter would be a handy thing to have for cutting intricate shapes.
I often use a pantograph with my router to do things
that would normally require a CNC router, so I figured, if it works for a router,
why not for a plasma cutter?
A CNC plasma cutter would be a handy thing to have for cutting intricate shapes.
I often use a pantograph with my router to do things
that would normally require a CNC router, so I figured, if it works for a router,
why not for a plasma cutter?
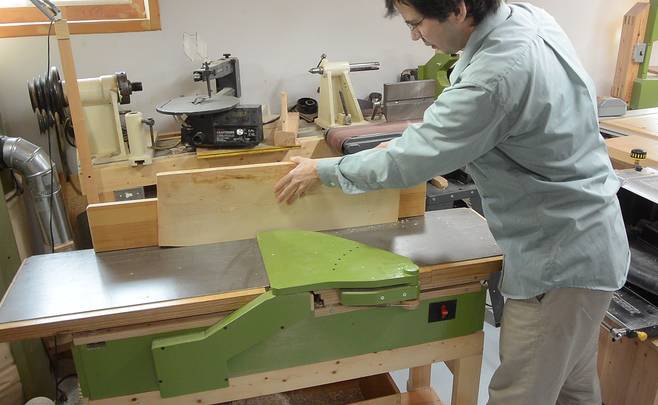
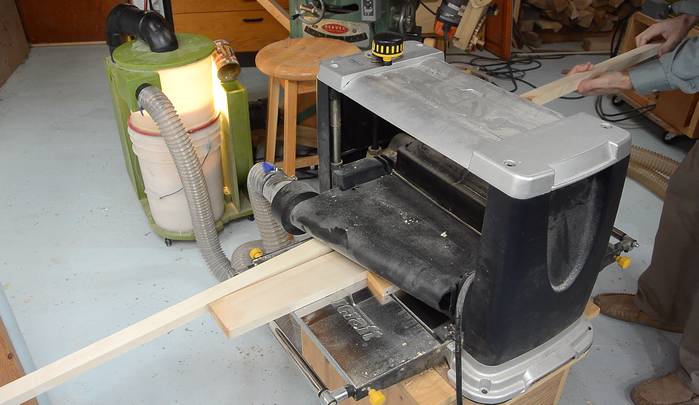
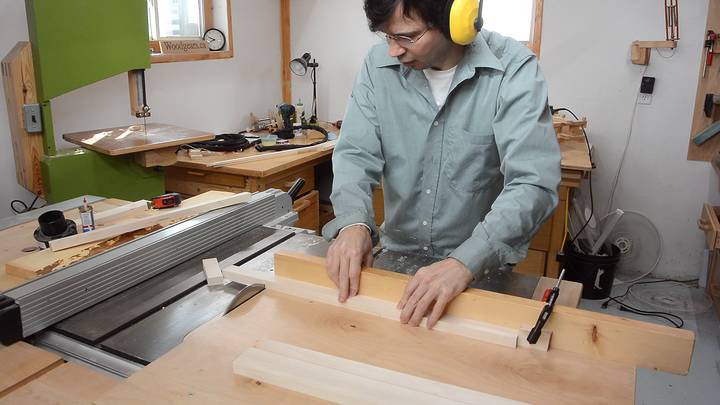
I started with some boards of silver maple that I milled on my own sawmill a few years ago, and it's been drying in my basement since. I'm confident that it's stable. I jointed, ripped, and planed it it to get the pieces of the appropriate size.
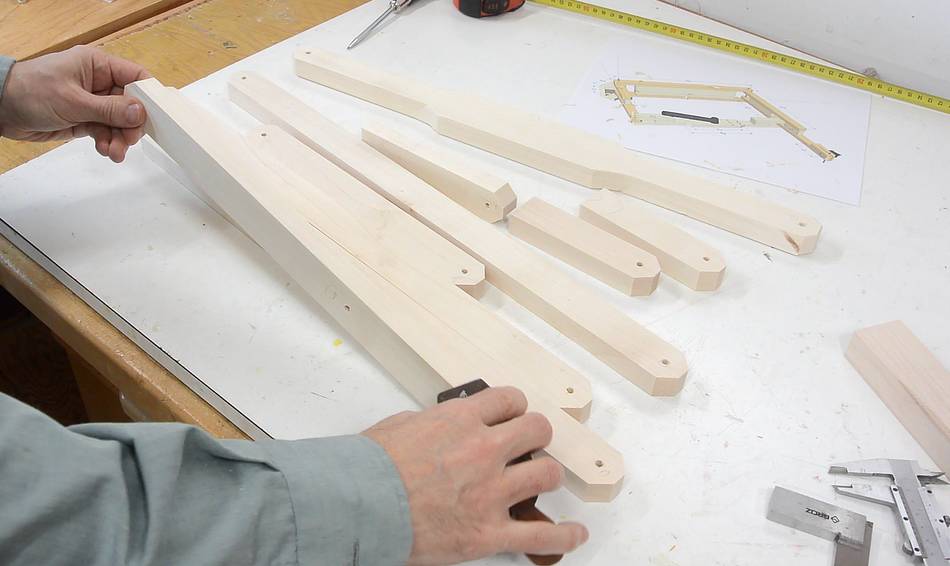
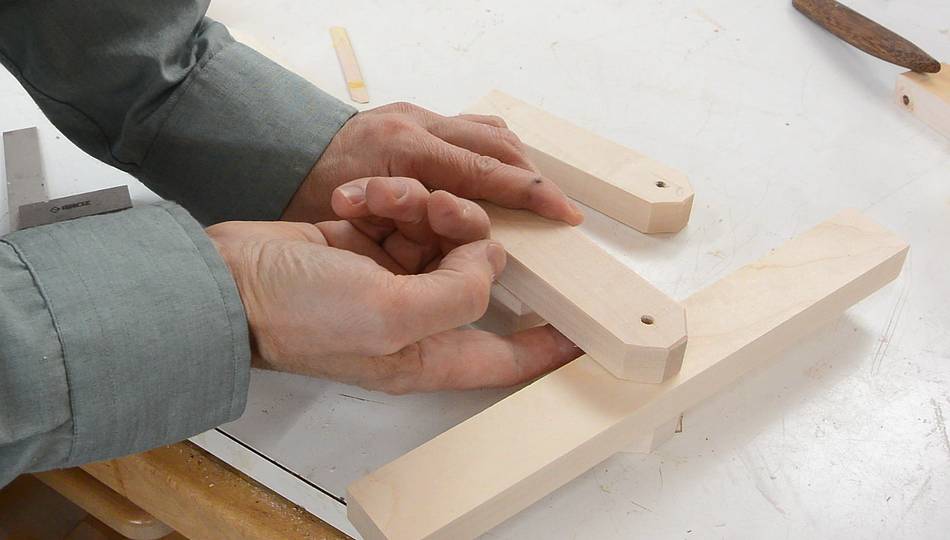
Making sure I have all the parts cut out by stacking them how they will be in the pantograph.
 The large piece of wood in the long link in the back needs to be just
wider than the links that fit with it, so I measure the stack then trim
the part of the link half a millimeter wider.
The large piece of wood in the long link in the back needs to be just
wider than the links that fit with it, so I measure the stack then trim
the part of the link half a millimeter wider.

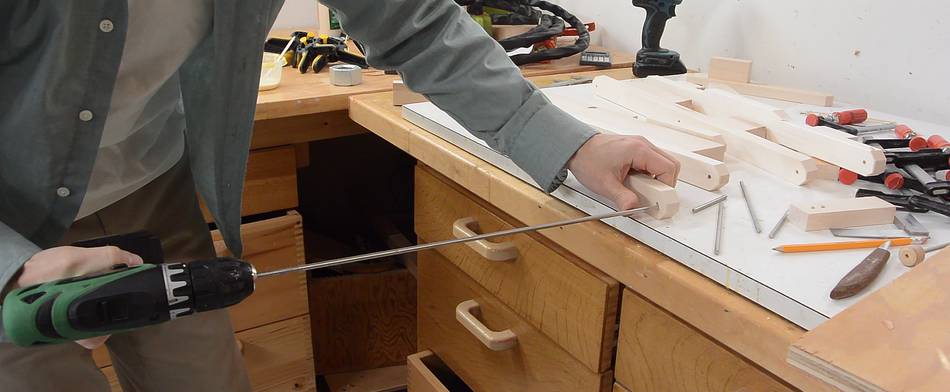
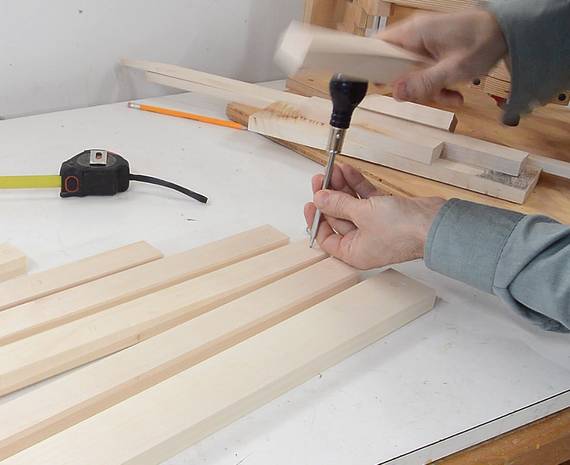 The holes need to be precisely drilled. I used my callipers to score
lines from the end, setting it to half the width of the parts and
scoring from both sides. Then punching a divot at the intersection with
an awl.
The holes need to be precisely drilled. I used my callipers to score
lines from the end, setting it to half the width of the parts and
scoring from both sides. Then punching a divot at the intersection with
an awl.

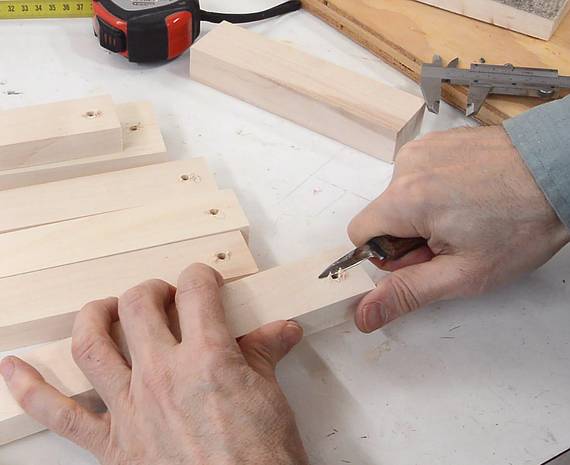 The point of a brad point drill naturally aligns itself with the divot,
even if the drill bit wobbles a little.
The point of a brad point drill naturally aligns itself with the divot,
even if the drill bit wobbles a little.
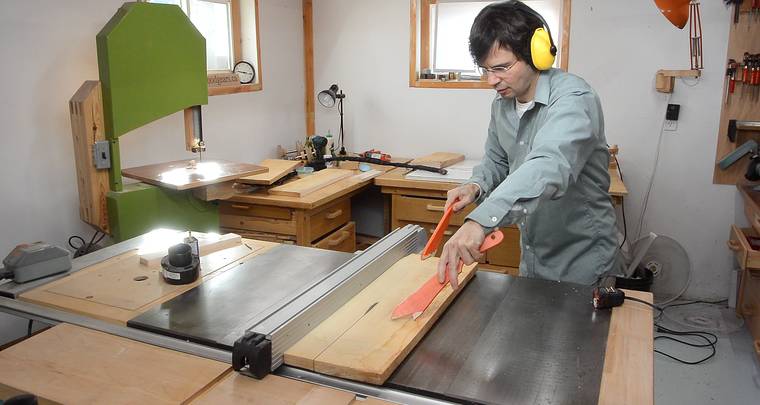
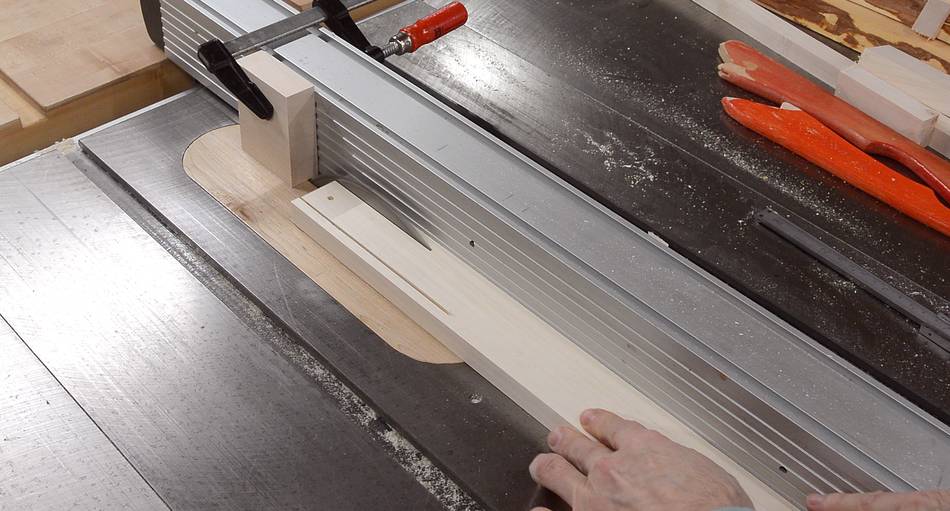
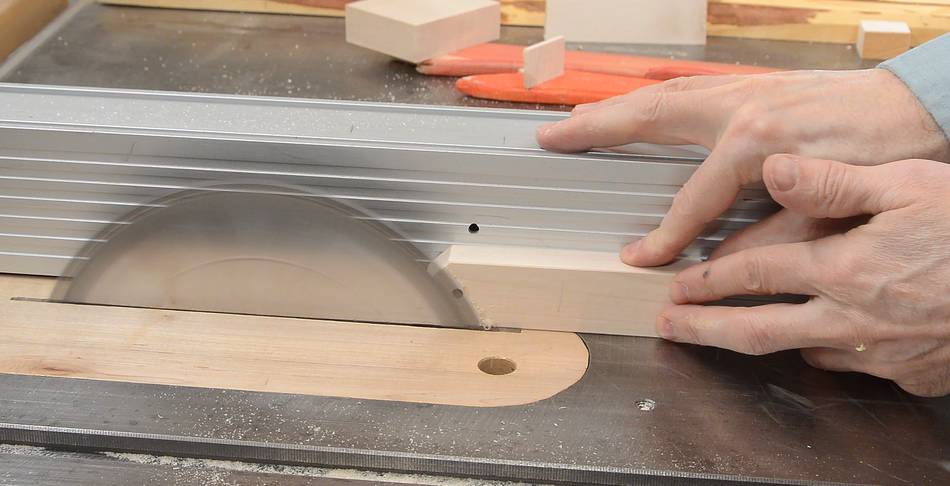
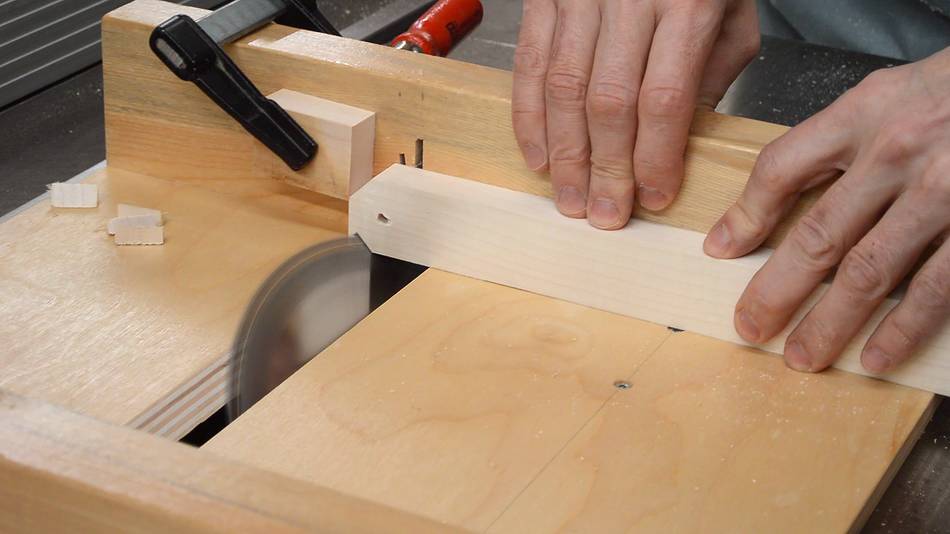 I trimmed a 45 degree angle on the ends of all the links. There was
enough of these that it was worth setting up the table saw
(normally, I'd just mark them and cut them on the bandsaw)
I trimmed a 45 degree angle on the ends of all the links. There was
enough of these that it was worth setting up the table saw
(normally, I'd just mark them and cut them on the bandsaw)
 The torch part of the plasma cutter needs to mount in the middle of this
link. I made it wider so I could drill a hole large enough without
drilling it apart.
The torch part of the plasma cutter needs to mount in the middle of this
link. I made it wider so I could drill a hole large enough without
drilling it apart.
But I want the ends of the link only as wide as the rest of the pantograph...
 ... so I set up the table saw to cut away parts towards the ends,
then finished the cut on the bandsaw.
... so I set up the table saw to cut away parts towards the ends,
then finished the cut on the bandsaw.
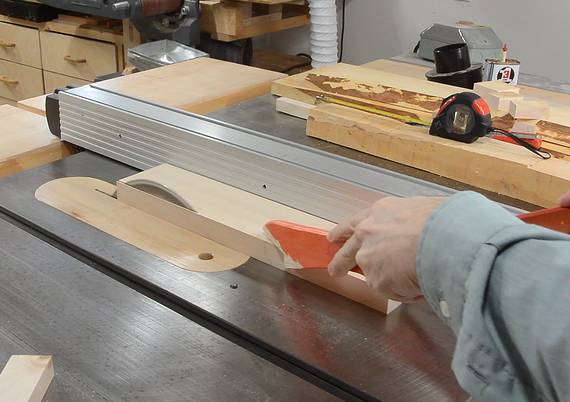
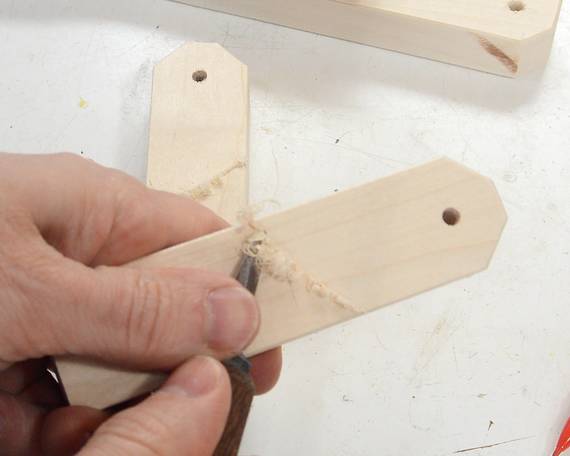
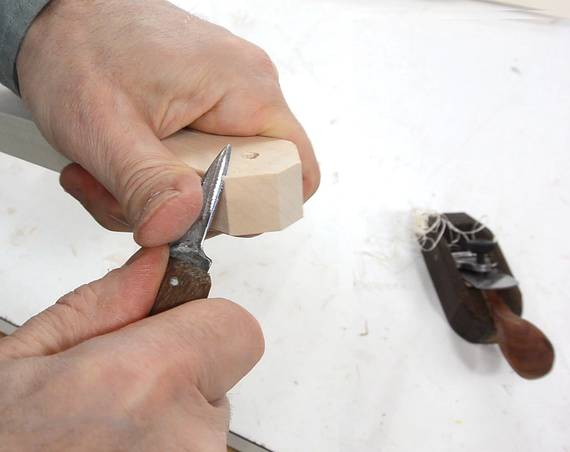 Finally, adding a slight chamfer to the sides of the links using a
small palm plane, and the ends
using a carving knife
Finally, adding a slight chamfer to the sides of the links using a
small palm plane, and the ends
using a carving knife
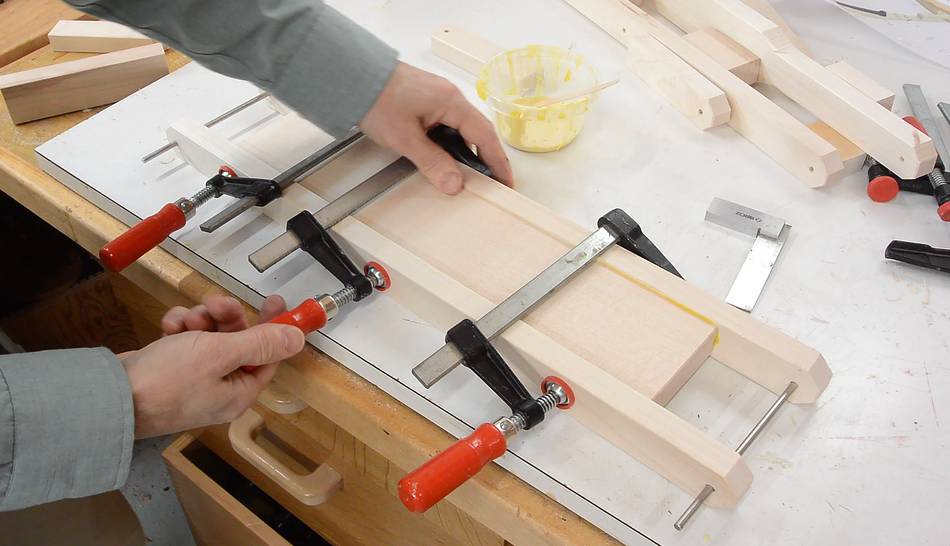
 I glued the links together, starting with the middle part with one side.
That way, I don't have to worry about aligning all the pieces at once.
I glued the links together, starting with the middle part with one side.
That way, I don't have to worry about aligning all the pieces at once.
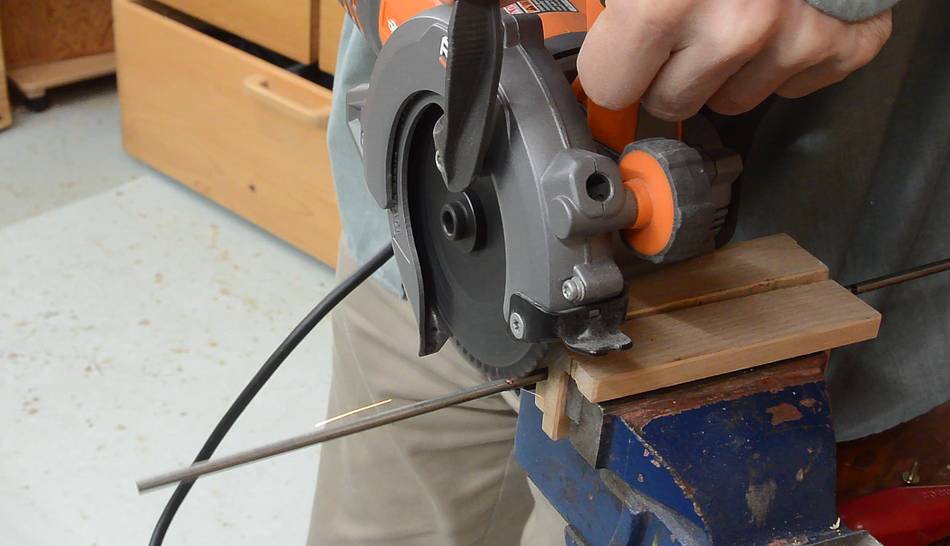
 I used some 3/16" (4.5 mm) stainless steel rod for the pivots. Here, cutting
the length that I need. Stainless steel rod can be bought at places
like The Home Depot, Lowe's, or other hardware stores.
I used some 3/16" (4.5 mm) stainless steel rod for the pivots. Here, cutting
the length that I need. Stainless steel rod can be bought at places
like The Home Depot, Lowe's, or other hardware stores.
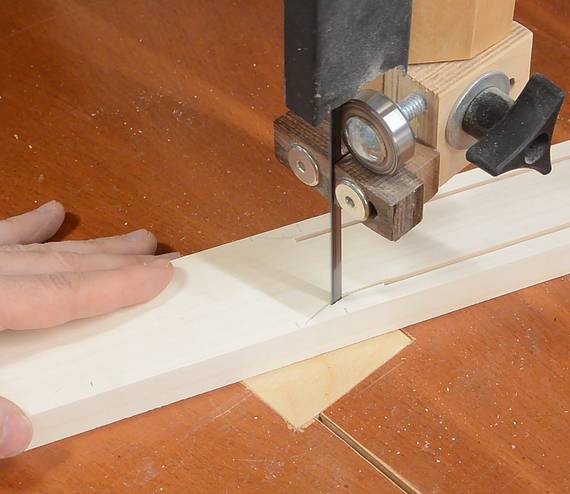
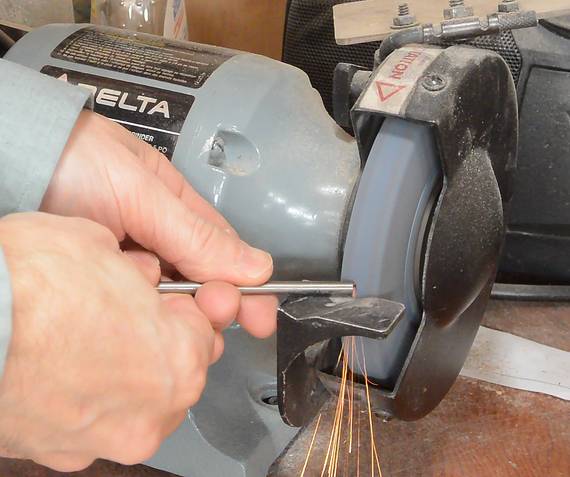
 The holes I drilled were a very tight fit, so I cut a notch in the end
of the remaining stainless steel rod and used it as a reamer to expand
the holes to get a better fit.
The holes I drilled were a very tight fit, so I cut a notch in the end
of the remaining stainless steel rod and used it as a reamer to expand
the holes to get a better fit.
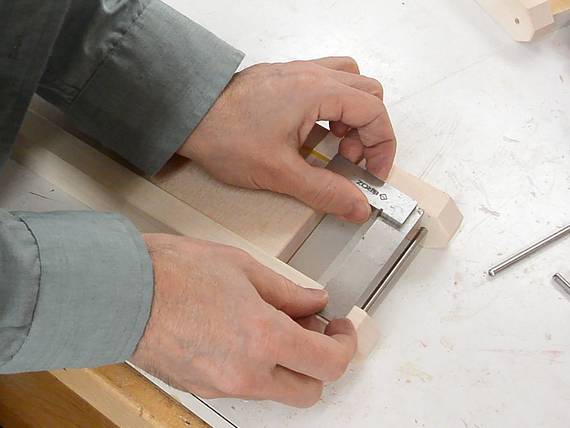 I then added the other sides of the links, using pieces of stainless steel
rod to help align it. I checked that the rod is square to
the link.
I then added the other sides of the links, using pieces of stainless steel
rod to help align it. I checked that the rod is square to
the link.
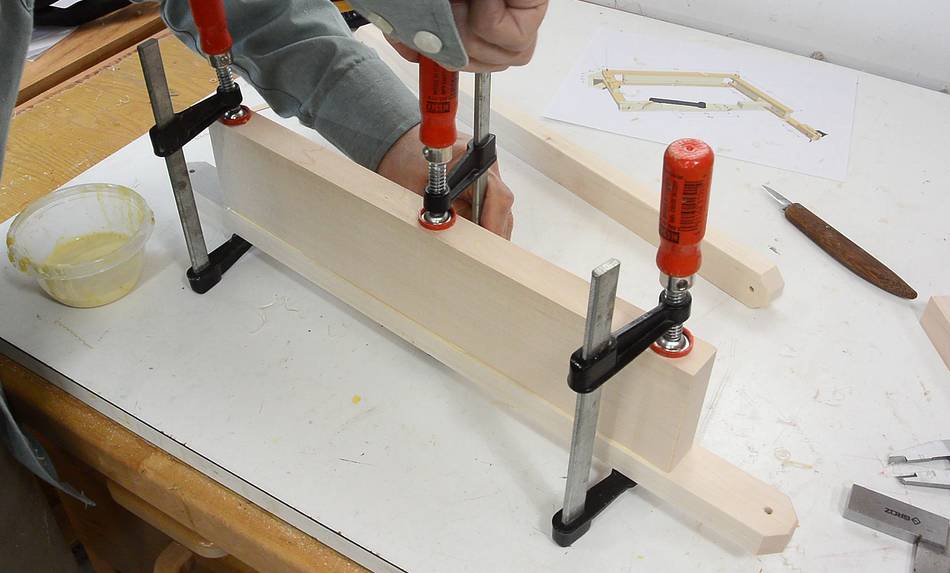
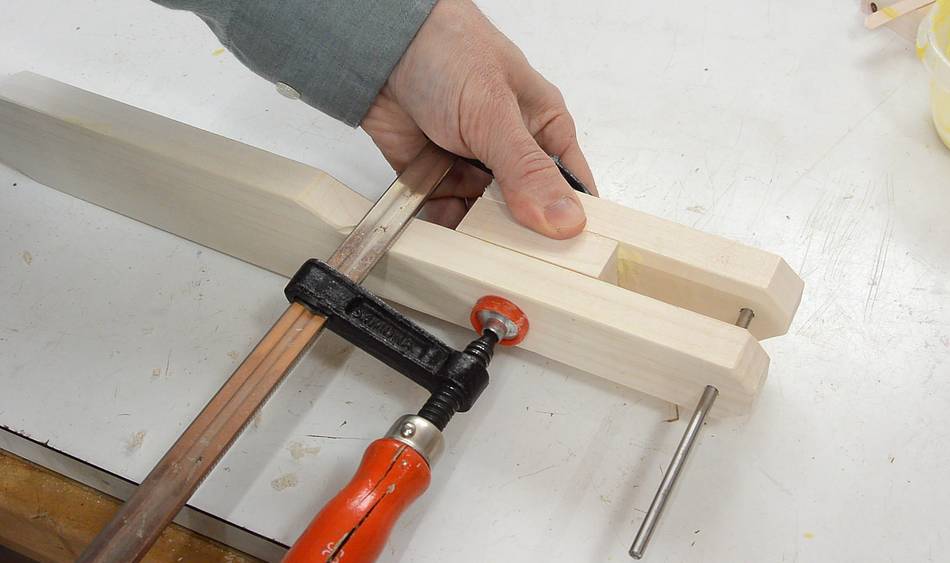
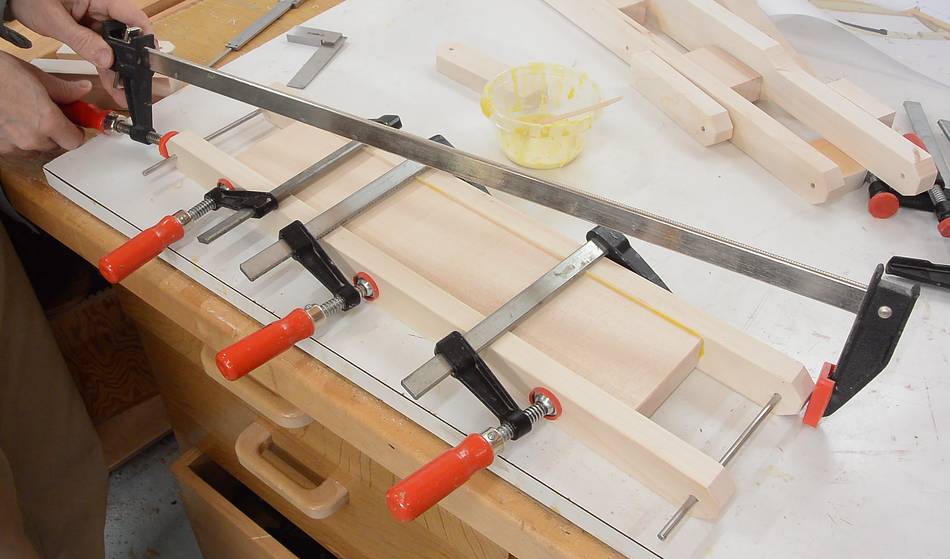 When I glued the long link, the clamps pulled it out of square slightly, so
I used a longer clamp at an angle to pull it back into square.
When I glued the long link, the clamps pulled it out of square slightly, so
I used a longer clamp at an angle to pull it back into square.
 The ends of the link with the plasma torch need to fit around parts of
the other links. This fit was too tight.
The ends of the link with the plasma torch need to fit around parts of
the other links. This fit was too tight.
 So I shaved a fraction of a millimeter off the ends of the pieces on the
inside on the table saw, then cleaned up the burr with a carving knife.
So I shaved a fraction of a millimeter off the ends of the pieces on the
inside on the table saw, then cleaned up the burr with a carving knife.
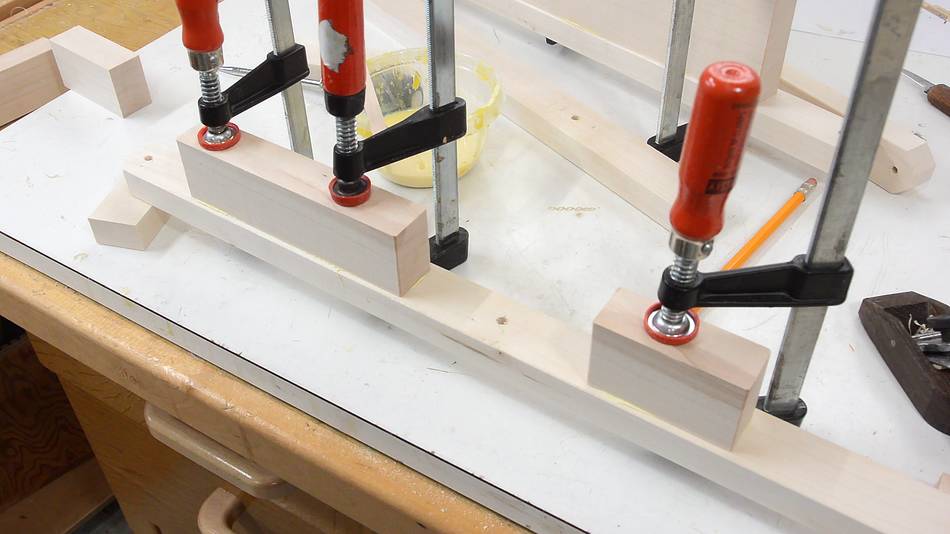
 Then clamping the links on.
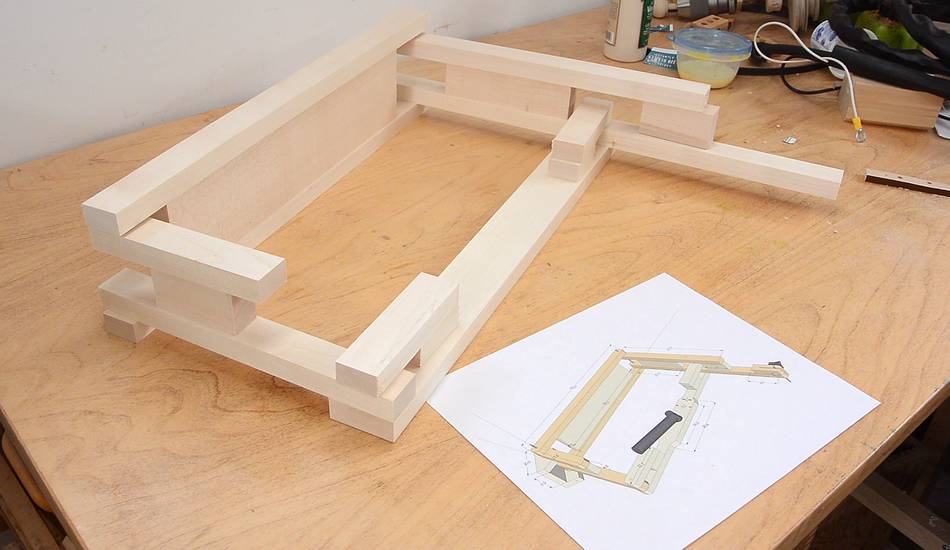
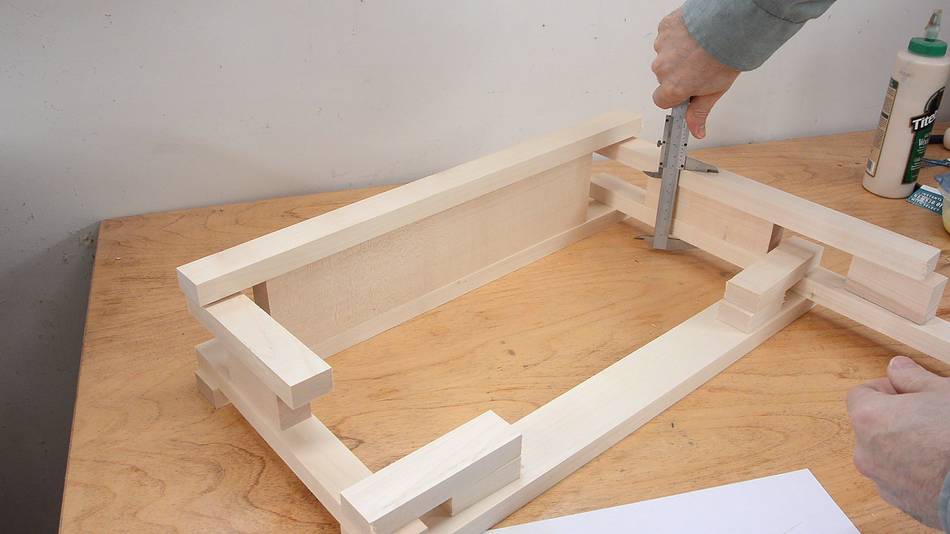
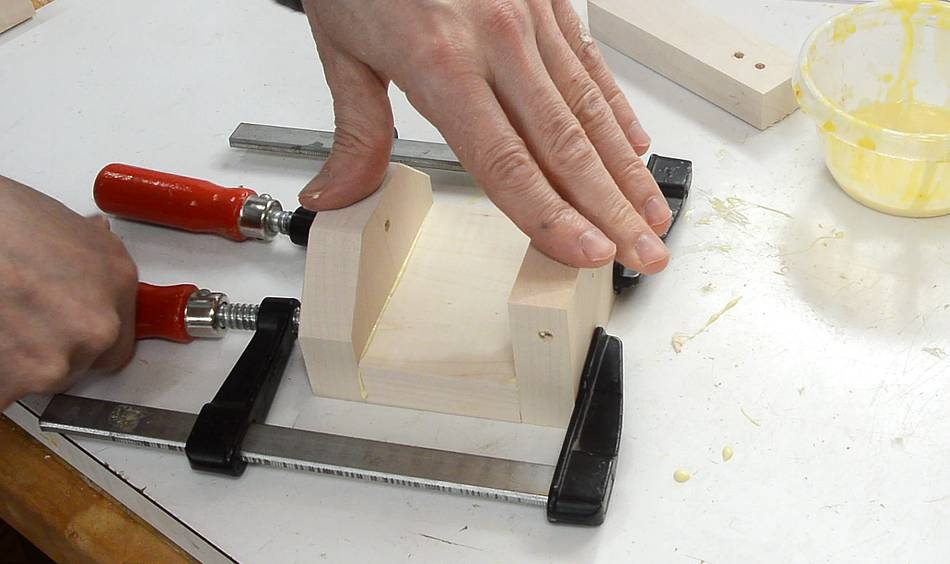 While the glue dried on the link, I assembled and glued together the
pivot mount. This is the thing that holds the links on the back of
the pantograph, opposite to where the follower mounts.
While the glue dried on the link, I assembled and glued together the
pivot mount. This is the thing that holds the links on the back of
the pantograph, opposite to where the follower mounts.
![]()