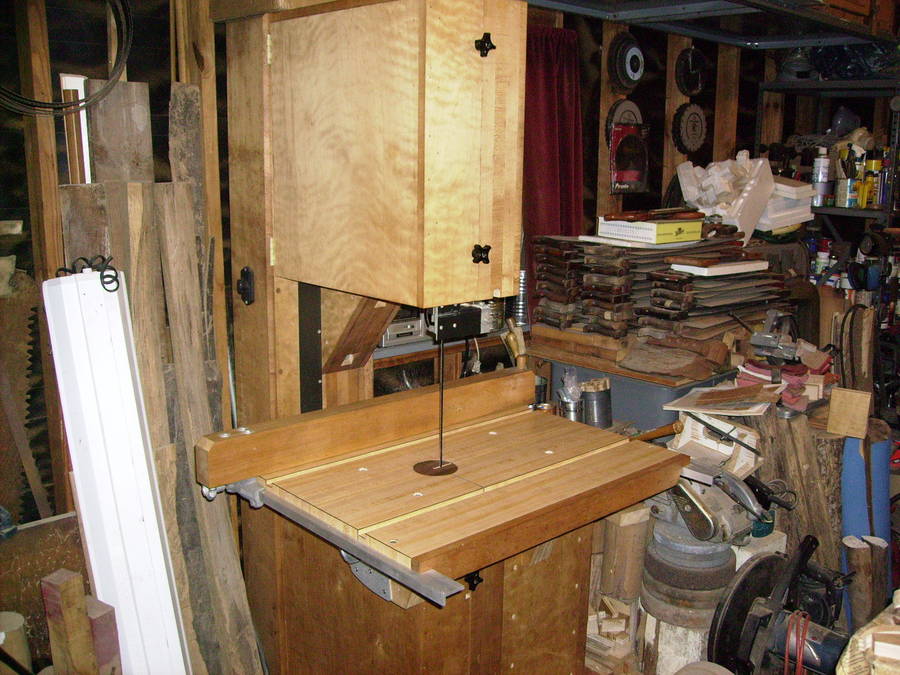
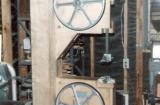
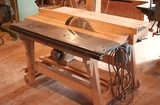
18 inch bandsaw tilting table
Jim Wheeler writes:
Matthias:
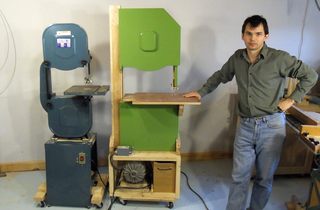
It has taken most of my spare time for the last couple of months, but I have finally completed adding table tilt capability to my 18 inch Gilliom-based bandsaw. Here are some photos of the process.
Before I first completed the saw to the point where I could use it - about 1987 or 88 - I had not intended that the table should tilt. I had envisioned the saw to be used primarily for rough, heavy ripping, and for re-saw work. In my experience a tilting table seemed unnecessary for such - a sturdy table seemed much more important. But I was so pleased with the general performance of the machine, and I already had put so much time and effort into it, I figured why not go all the way with it.
So I decided to see if I could think of some way to make the table tilt without sacrificing either re-saw height capacity or strength of table support - and without having to completely rebuild the saw. After much dreaming and scheming I came up with what seemed to be a workable design and planned it all out on paper with full-sized drawings. I even began building it and got as far along as to partially complete the trunnions. That was sometime in 1994 or 95, but I subsequently became distracted by other things and put the work aside until recently when I resumed work on it.
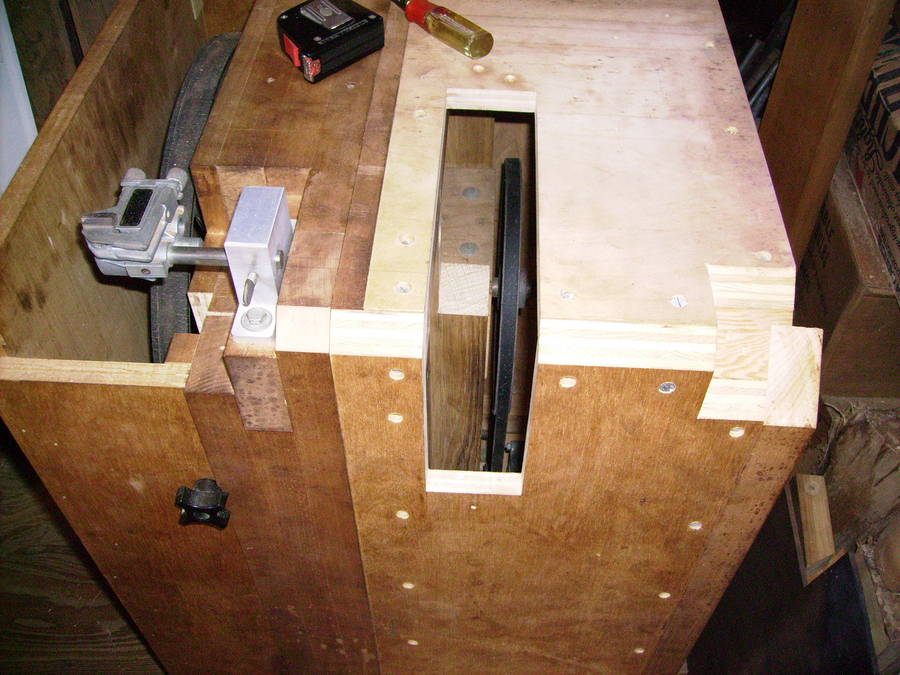
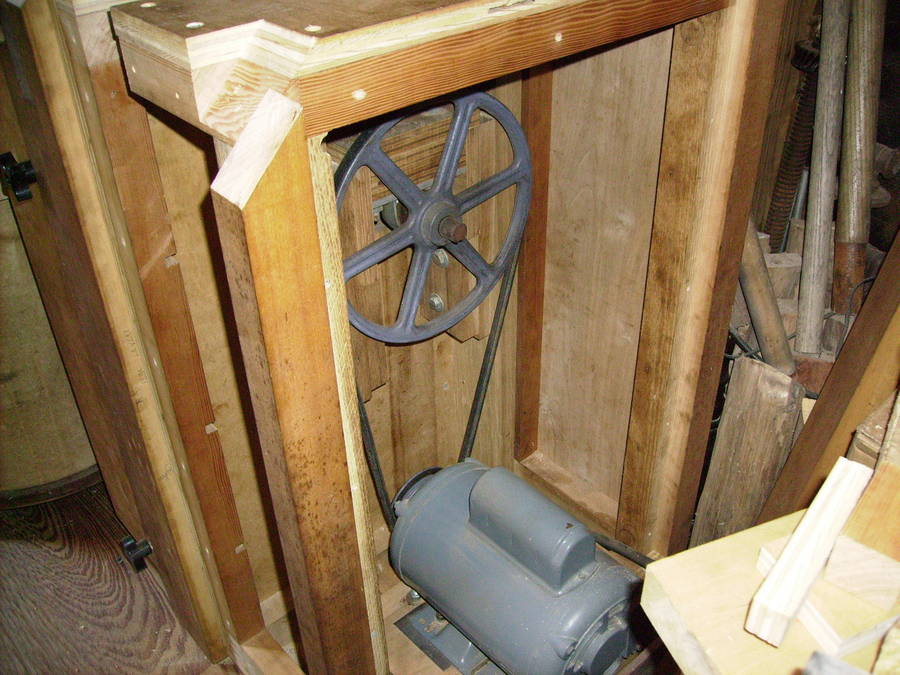
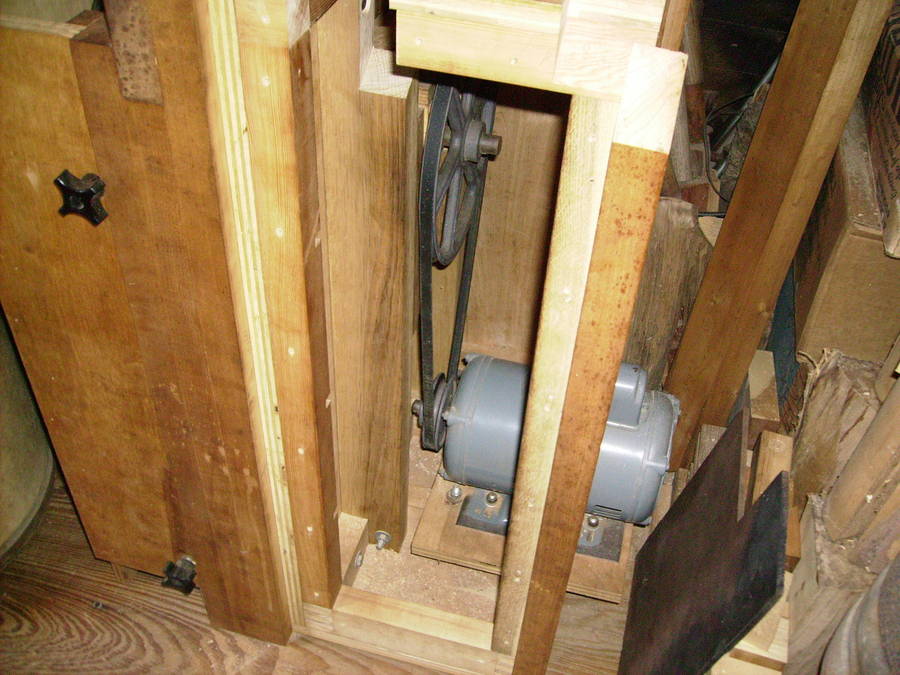
The tires are a little cracked. If I remember correctly, they were cracked when I received them back in the early 80's. That or they cracked soon after I installed them on the wheels. There's no telling how long they had set in inventory before I got them. I suspect they are made of natural rubber as opposed to neoprene which holds up better. The tube of rubber adhesive which came with them had dried out and hardened and was unusable. I've never had any problem with the tires though - they seem to work okay. Although, if I had to true them, they might begin to crumble away. Anyway I have pieces of neoprene gasket to make replacements with. Believe it or not, I've had the neoprene tucked away since 1995 and it is in fine shape.
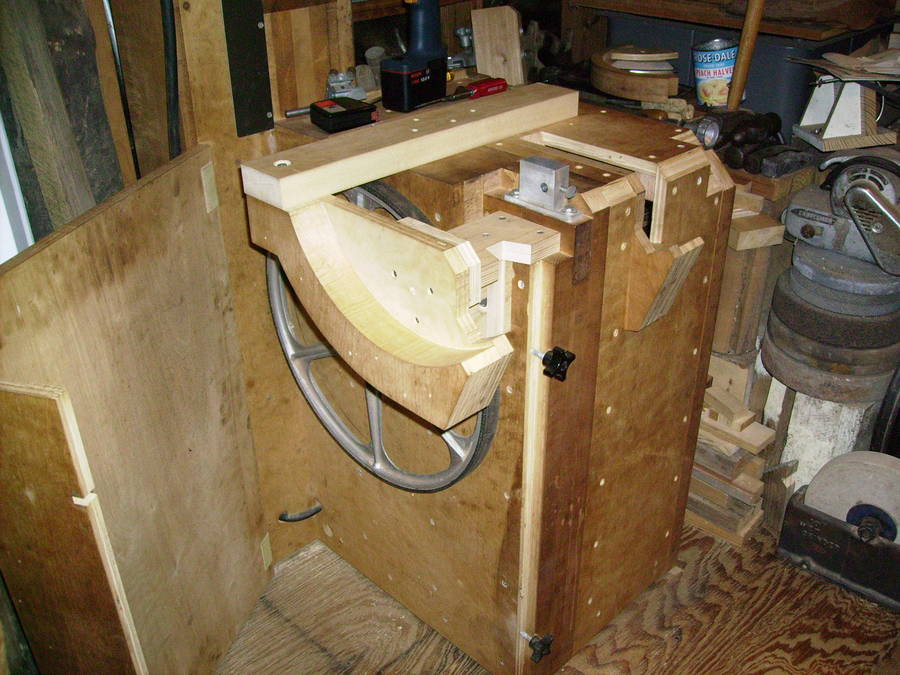
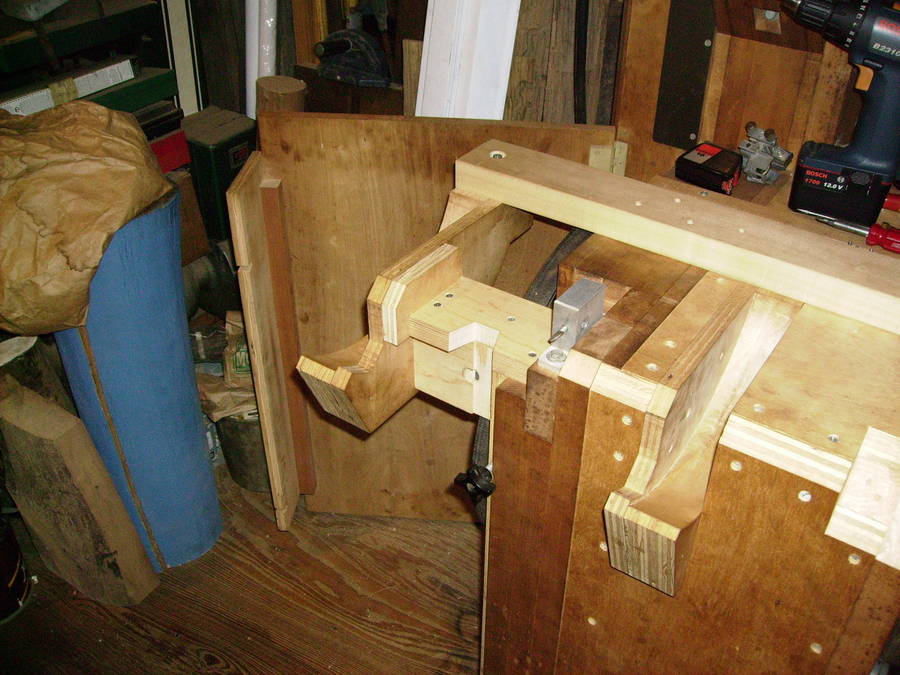
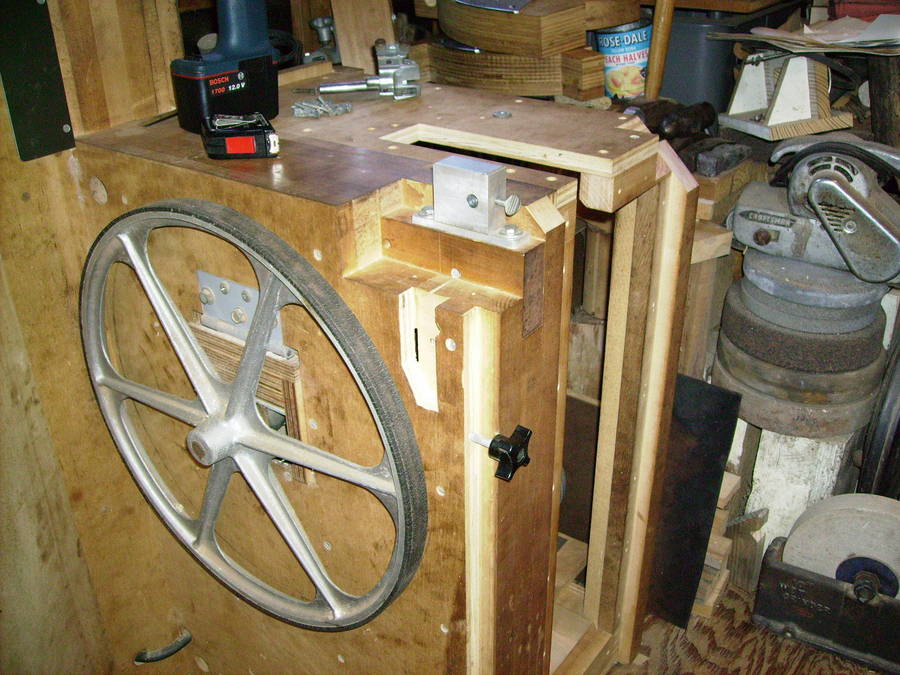
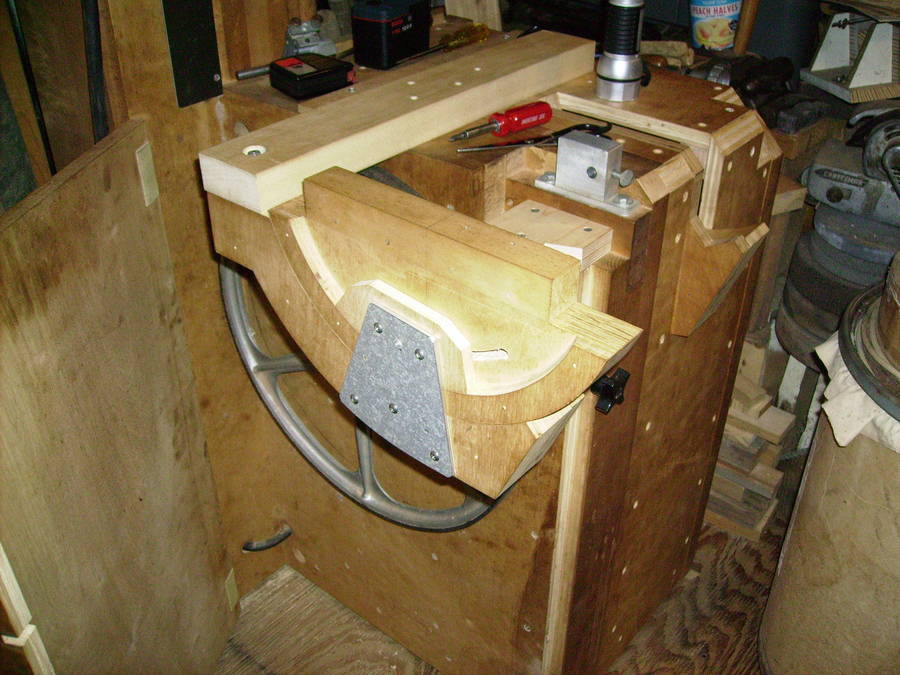
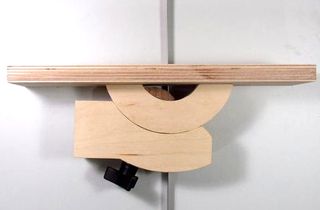
I had decided that since my table used a side take out slot for the blade, I should have a trunnion fore and aft of the blade, and also for maximum support. Secondly, I decided that the trunnions should be fairly large, because the table itself is large - 24 by 30 inches. Given large trunnions made of wood, I was concerned about dimensional stability, so that seemed to rule out solid wood. I made them of cabinet grade Birch plywood. If I were to make them again, I'd use Baltic or Russian Birch plywood - it's harder, stronger, and an all-around nicer material to work with.
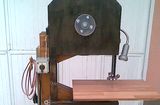
I could think of only two ways to lock the trunnions. One would be with individual locking handles for each, pulling the trunnions down into their cradles - as is done on your 16 inch saw and many manufactured saws like a Delta or Jet. Given that my rear trunnion would be inside the cabinet, that option seemed to be ruled out - plus I would have to remove a lot of the lower door to accommodate a handle for the front trunnion.
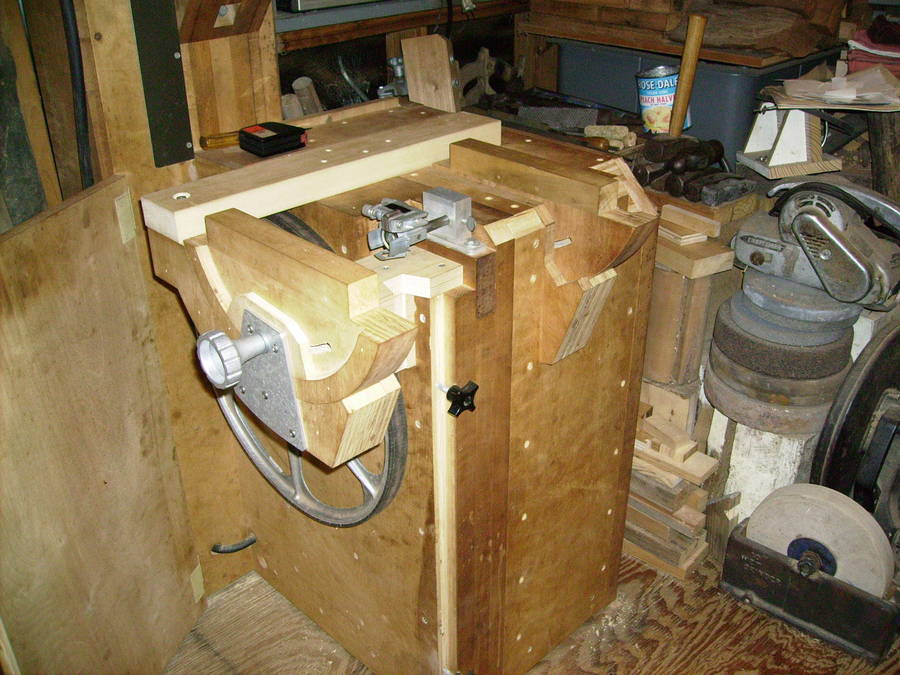
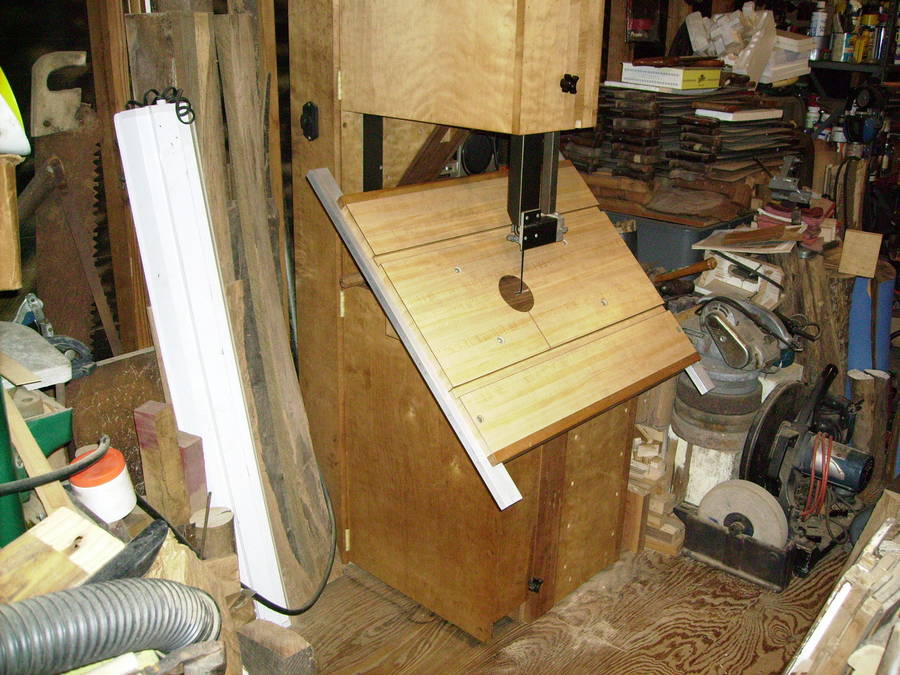
So I hit upon a second method that I had seen used on the table of a Powermatic disc sander - namely to squeeze the trunnion segments between plates, similar to the way calipers lock the rotor of the wheel in automotive disc brakes and prevent it turning. In my version both trunnions are simultaneously locked by a single handle and rod pressing wooden plates against the sides. The same plates also keep the trunnion segments seated firmly in their cradles as well.
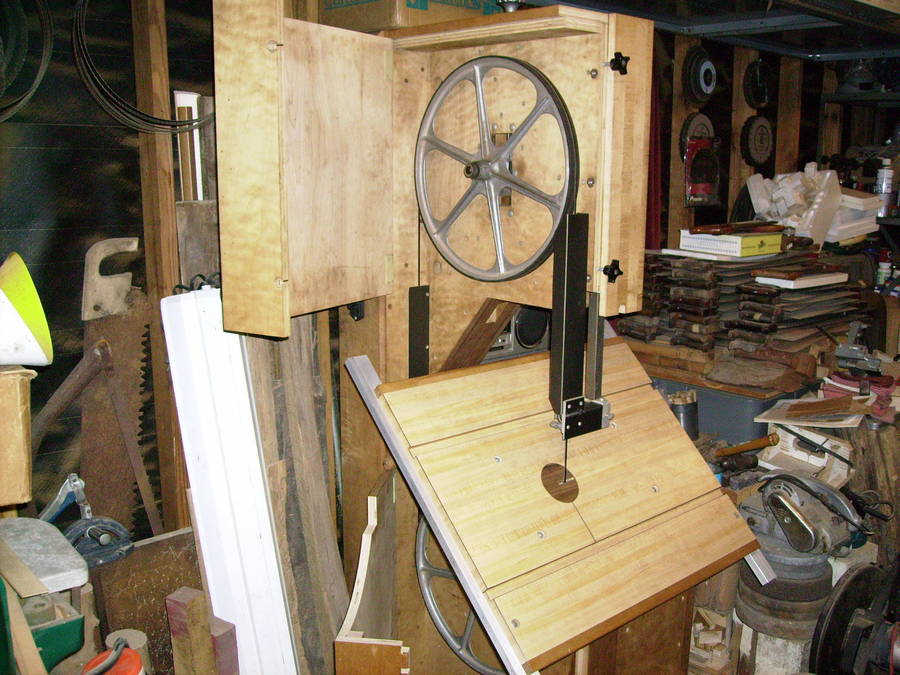
I am fairly pleased with the modification. The table tilts easily enough, and it locks firmly with just a turn or two of the handle. Both the handle and rod are part of the original Gilliom kit, but the two aluminum plates were fabricated by me. I could have used some other material, but I had the aluminum, so I used it. Table support in front of the blade seems firm enough - actually better than it was before. An unforeseen advantage of having tilt capability is that now I can much more easily reach the adjustment screws for the lower blade guide. Before, I had to get on my knees and reach up under the table while simultaneously trying to look over the top to see the guides through the blade hole. Now I just tilt the table.
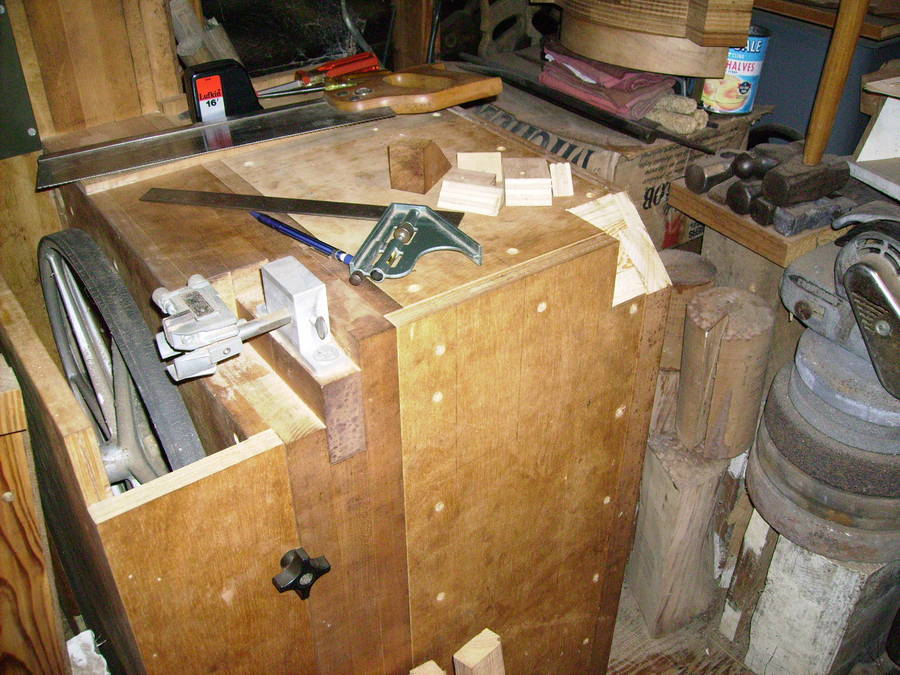
This more or less brings the saw to completion as far as construction goes - about all that's left to do is cosmetic stuff. I need to edge band some exposed plywood edges, fill some nail holes and plug the screws. I also have to decide whether to glue the plywood panels. And of course, everything should be sanded and varnished. Still plenty to do, I guess. Regards, Jim
See also:
Jim Wheeler's bandsaw |
More reader built bandsaws |
My homemade 18" bandsaw |
Making bandsaw trunnions |
Dad's homemade table saw |
More reader projects on woodgears.ca