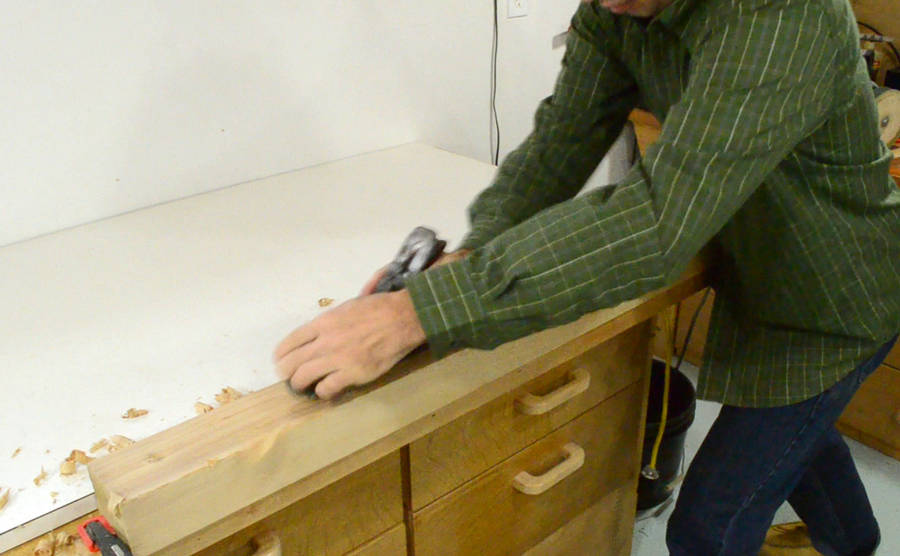
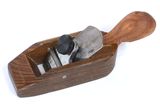
 I primarily use hand planes to clean up dirty lumber before I run it through my power planer or
jointer. Hand planes are much easier to resharpen than power planers.
I primarily use hand planes to clean up dirty lumber before I run it through my power planer or
jointer. Hand planes are much easier to resharpen than power planers.
Given how much emphasis a lot of hand tool aficionados put on sharpening, with various Japanese water stones, different grits and what not, my method of sharpening hand planes surely is barbaric by comparison.
But it's quick, cheap, and it works for me.
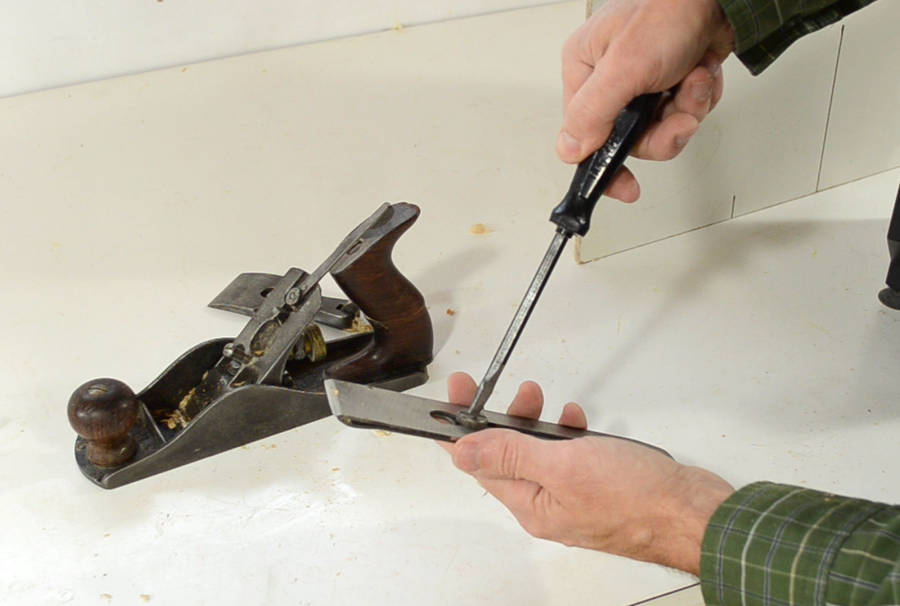 I start by taking the blade out of the plane, and separating it from the chip breaker.
Although, if the blade has a slight skew to it that needs to be corrected, leaving the chip breaker
on, just as a visual guide, can be useful.
I start by taking the blade out of the plane, and separating it from the chip breaker.
Although, if the blade has a slight skew to it that needs to be corrected, leaving the chip breaker
on, just as a visual guide, can be useful.
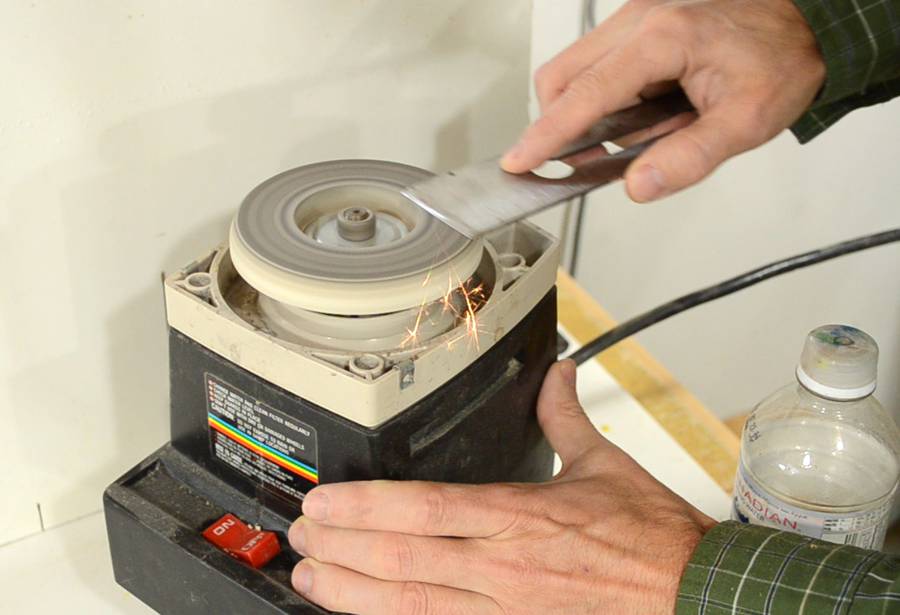
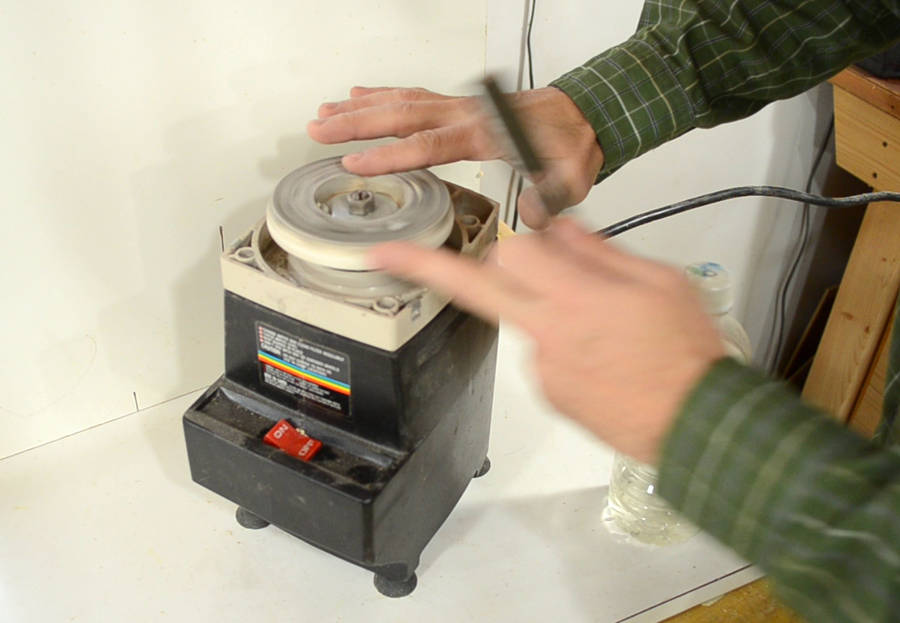 I use this cheap knife sharpener that I bought used at a yard sale for $10 a few years ago.
It has a fine, white aluminium oxide wheel, very similar to the wheel on my dad's planer sharpener.
This sharpener used to be a wet sharpener, with a continuous drip of water onto the stone. But the water pump was already broken when I bought it, and I just stripped the top of the machine off to give better access to the stone. I always wet the wheel by hand before getting started, although once it runs, most of the water gets flung away horizontally.
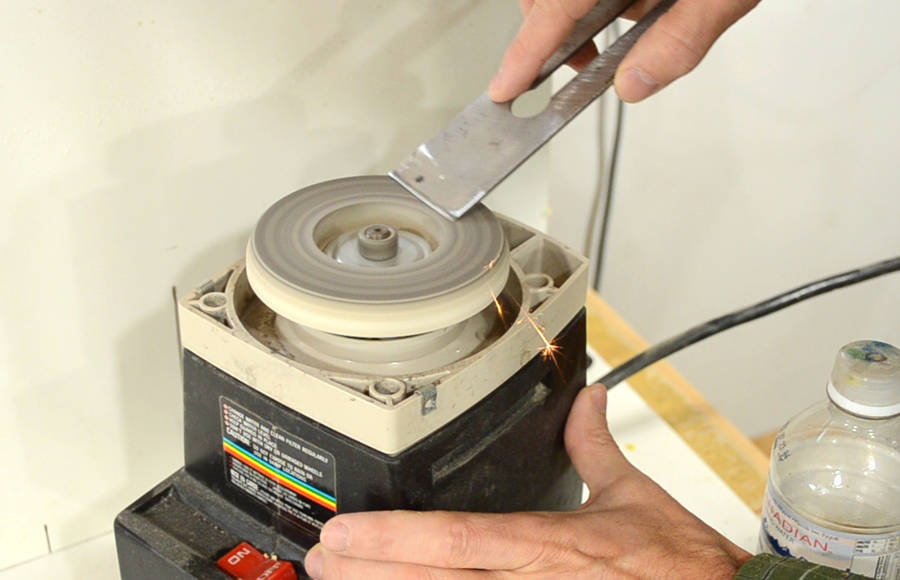 I sharpen the bevel side completely freehand.
I'm not entirely consistent with how I hold the blade, so the edge always ends up with a slight convex curve to it. What really matters is the angle at the very edge of the blade. Whether it's hollow ground or curves away from the wood behind it is of aesthetic importance, but as far as cutting ability, it doesn't matter.
 The important thing is to angle the blade close to the angle that it has in the plane, but no higher.
If you angle it higher, the bevel behind the cutting edge will lift the blade and prevent the cutting edge from reaching into the wood.
If you angle it too low, the cutting edge won't have enough metal behind it and will be too fragile and dull too quickly.
 The wheel leaves a slight burr on the edge of the blade. You can reduce that by lightly grinding
the flat side (I only graze that side). This of course leaves the blade a bit scratched.
Owners of fancy expensive hand planes with lapped blades will no doubt be horrified by
that sort of treatment.
The wheel leaves a slight burr on the edge of the blade. You can reduce that by lightly grinding
the flat side (I only graze that side). This of course leaves the blade a bit scratched.
Owners of fancy expensive hand planes with lapped blades will no doubt be horrified by
that sort of treatment.
Overall, the wheel leaves a clean enough finish for rough work...
 ... but I usually finish the sharpening with my buffing wheel.
My buffing wheel is made of hard felt. I use this green polishing paste, which I apply by just slightly touching the edge of the wheel. It's this green paste that actually has the abrasive property.
I bought that felt wheel and polishing compound from Lee Valley Tools, and mounted it on a 1/3 HP 1750 RPM motor.
 Polishing the bevelled edge. It's a bit tricky to get the angle just right.
I often accidentally hold the blade at too low an angle and end up polishing
the back of the bevel instead of the cutting edge!
Polishing the bevelled edge. It's a bit tricky to get the angle just right.
I often accidentally hold the blade at too low an angle and end up polishing
the back of the bevel instead of the cutting edge!
Please note that the wheel is turning away from the edge of the blade.
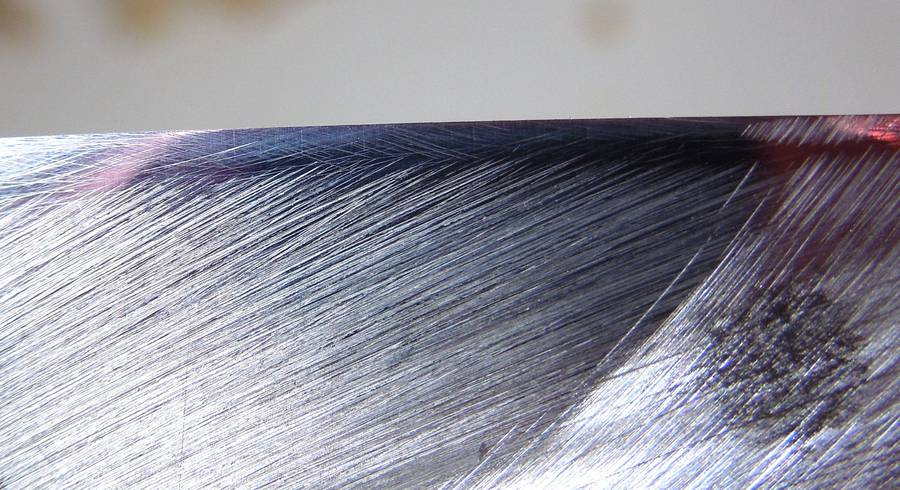
 A visual check of the bevel edge. This is good enough for me. The scratches from the stone are
still clearly visible, but the edge is smooth.
A visual check of the bevel edge. This is good enough for me. The scratches from the stone are
still clearly visible, but the edge is smooth.
 I also polish the flat edge on a buffing wheel.
My buffing wheel is made out of hard felt, but apparently you can also make a buffing wheel out of MDF
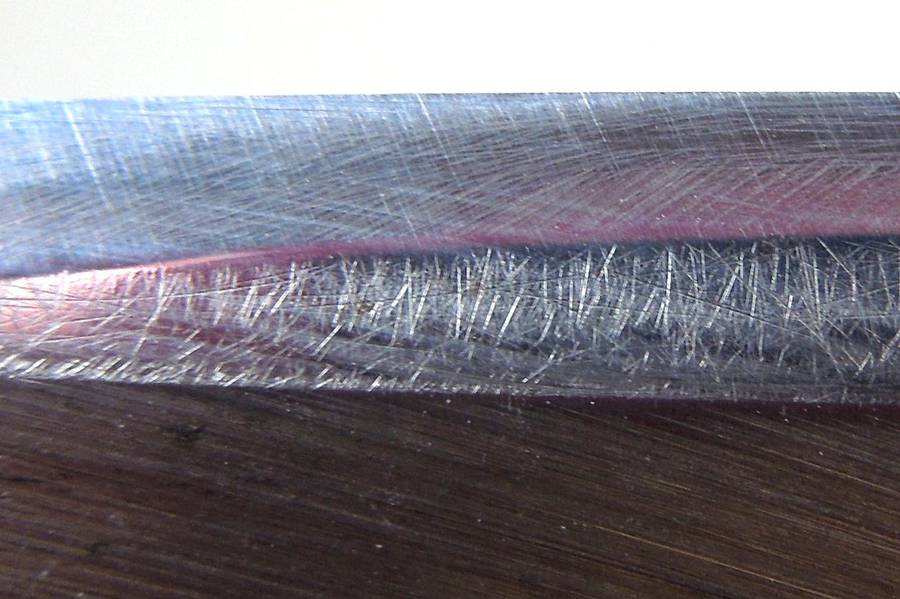
 Here's what the flat edge typically looks like. Note all the scratches from the stone, but
the edge, which is what matters, is smooth.
Here's what the flat edge typically looks like. Note all the scratches from the stone, but
the edge, which is what matters, is smooth.
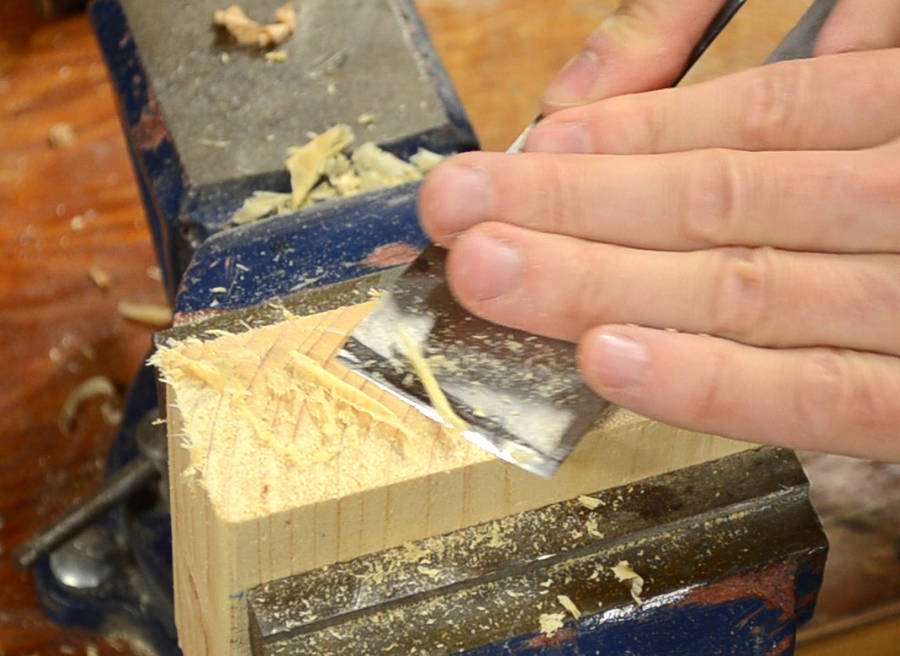 A sharp hand plane blade should be able to shave fine shavings off the end grain from soft wood.
It's necessary to cut with a bit of a skew when doing this.
A sharp hand plane blade should be able to shave fine shavings off the end grain from soft wood.
It's necessary to cut with a bit of a skew when doing this.
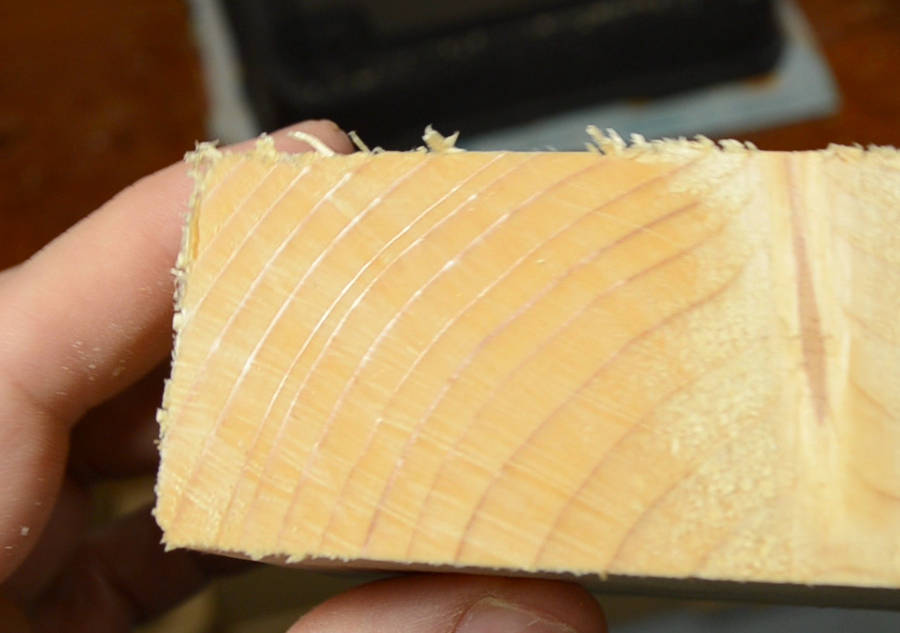 The cut should be left with a bit of a shine to it.
I used that same sharpening technique to prepare the blade that I used to shave the end grain for my wood grain macro photos. So I really have put my cuts under a microscope.
 When used on wood, a well sharpened hand plane blade leaves a silky
smooth surface that has a bit of a shine to it as well.
When used on wood, a well sharpened hand plane blade leaves a silky
smooth surface that has a bit of a shine to it as well.
I use that same grinder and buffing wheel method to sharpen chisels and knives.
A leather strop with polishing compound on it can also be used in place of the buffing wheel.
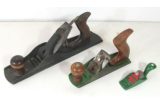 My favourite hand planes
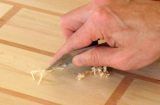
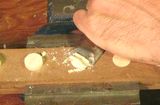 Flush cutting with a chisel
 Sharpening and using
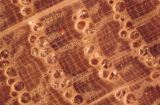
 Making a small hand plane (palm plane)
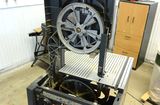 Bandsaw repair fail
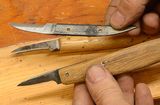 Chip carving knife
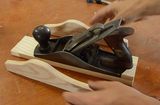 A better hand plane