
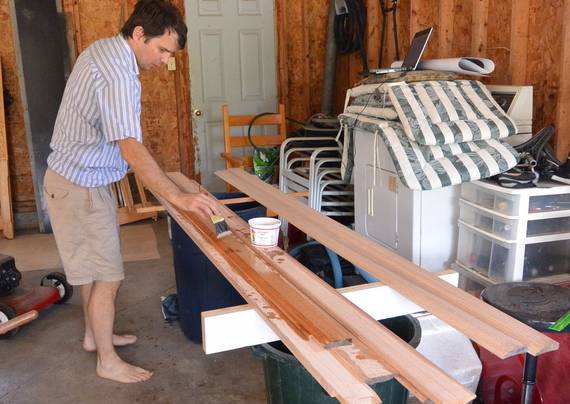
 I made some nice solid oak baseboards
for our house, which I pre-varnished. Now it was time to install them.
I made some nice solid oak baseboards
for our house, which I pre-varnished. Now it was time to install them.
I made some nice solid oak baseboards
for our house, which I pre-varnished. Now it was time to install them.
 A challenge I ran into is that the walls of our house are neither straight
or square. But the oak baseboards I made were kind of stiff, so a lot
of fitting was needed.
A challenge I ran into is that the walls of our house are neither straight
or square. But the oak baseboards I made were kind of stiff, so a lot
of fitting was needed.
 Most baseboards are very thin and often made of MDF, which makes them flexible
enough to follow walls that are not straight. They are still stiff in the vertical
direction, but normally a quarter round is nailed on the bottom edge. The quarter
round follows contours in the floors more closely, covering up the gap.
Most baseboards are very thin and often made of MDF, which makes them flexible
enough to follow walls that are not straight. They are still stiff in the vertical
direction, but normally a quarter round is nailed on the bottom edge. The quarter
round follows contours in the floors more closely, covering up the gap.
Any remaining gap is hidden with a bead of caulking along the top and in the corners, followed by a coat of paint to hide it all. This makes for a lot less work than my baseboards.
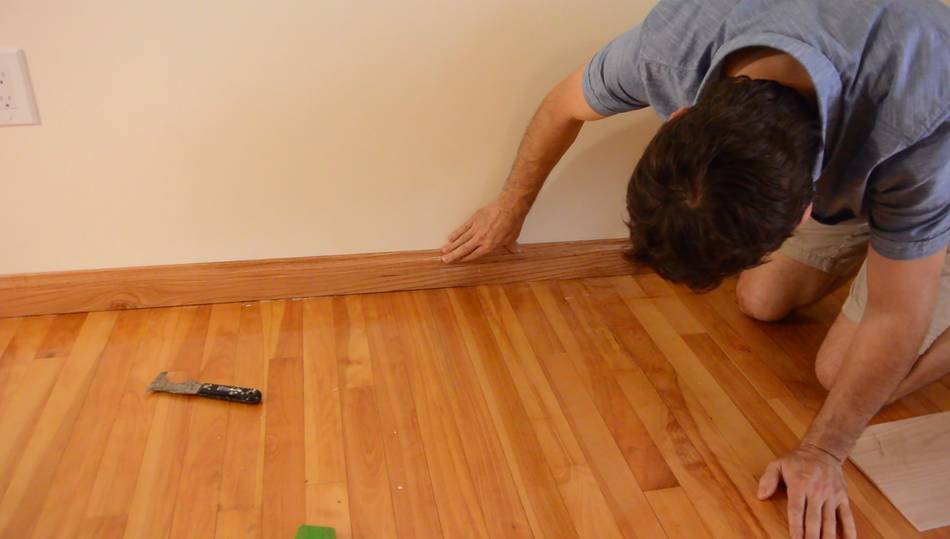
 Before I got started, I had to scrape off the line in the paint from the old baseboards.
We had the house repainted professionally, but the painters didn't
bother to scrape off the paint ridge. "Professional" doesn't always mean good.
Before I got started, I had to scrape off the line in the paint from the old baseboards.
We had the house repainted professionally, but the painters didn't
bother to scrape off the paint ridge. "Professional" doesn't always mean good.
I made the new baseboards about 5 mm taller than the old ones to cover up what was left of this ridge after I scraped it.
 Marking the length for a piece to be cut...
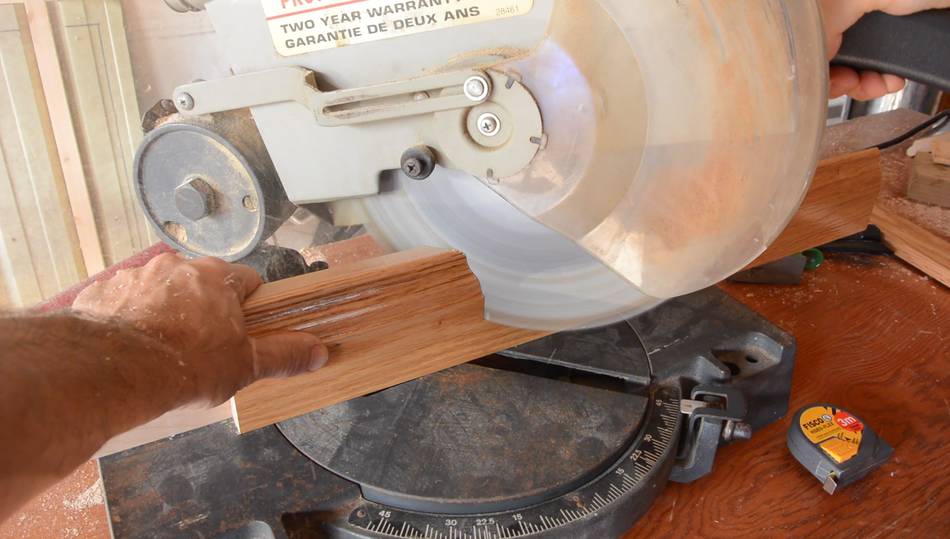
 ... then cutting it on the miter saw.
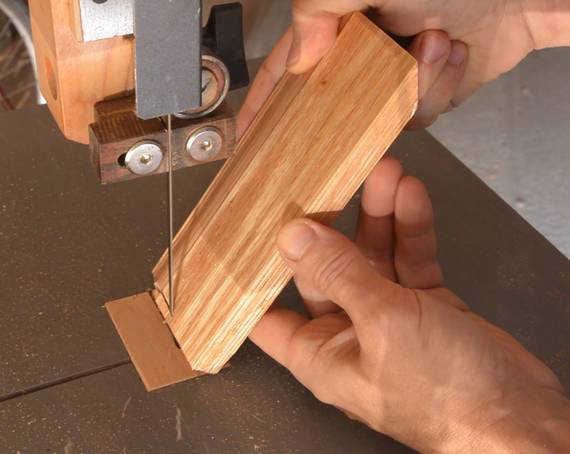
I also added a slight bevel to where it joins up with the door frame because my baseboards are thicker than the door trim.
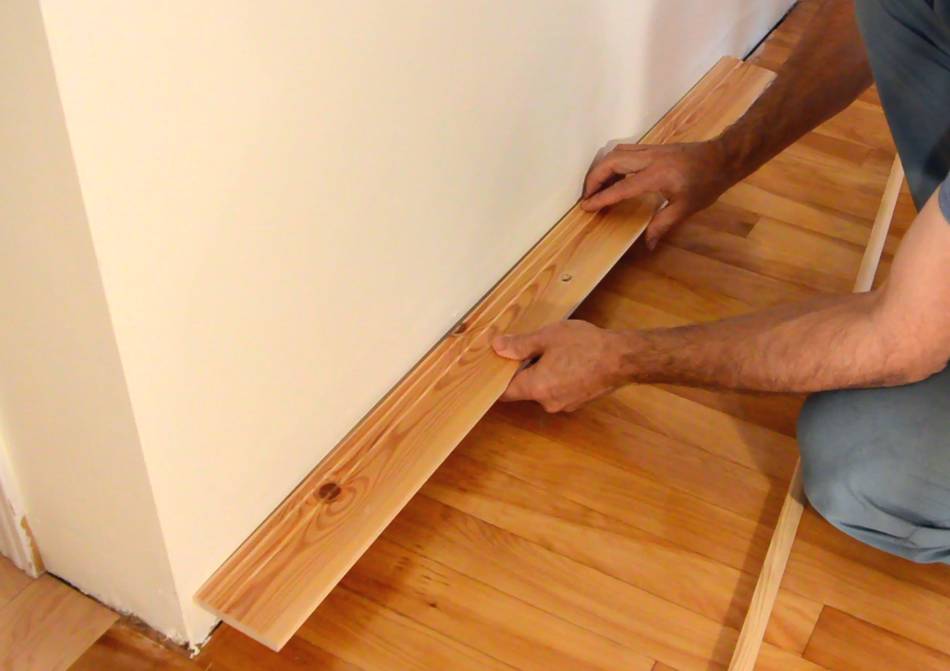
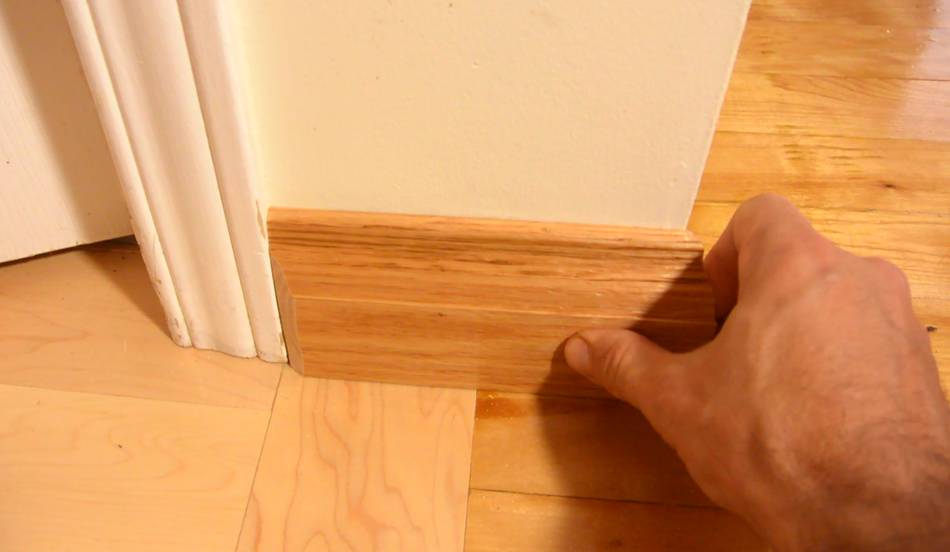 Here's how it fits. You can see the bevel on the left side of the board
I'm adding.
Here's how it fits. You can see the bevel on the left side of the board
I'm adding.
 Going through my stash of boards to find one about the right length for the next
straight section of wall.
Going through my stash of boards to find one about the right length for the next
straight section of wall.
 Fitting the next one on. I could press it flat against the wall if I pushed
hard enough, but I was afraid that it might work its way loose eventually
with that much tension on it.
Fitting the next one on. I could press it flat against the wall if I pushed
hard enough, but I was afraid that it might work its way loose eventually
with that much tension on it.
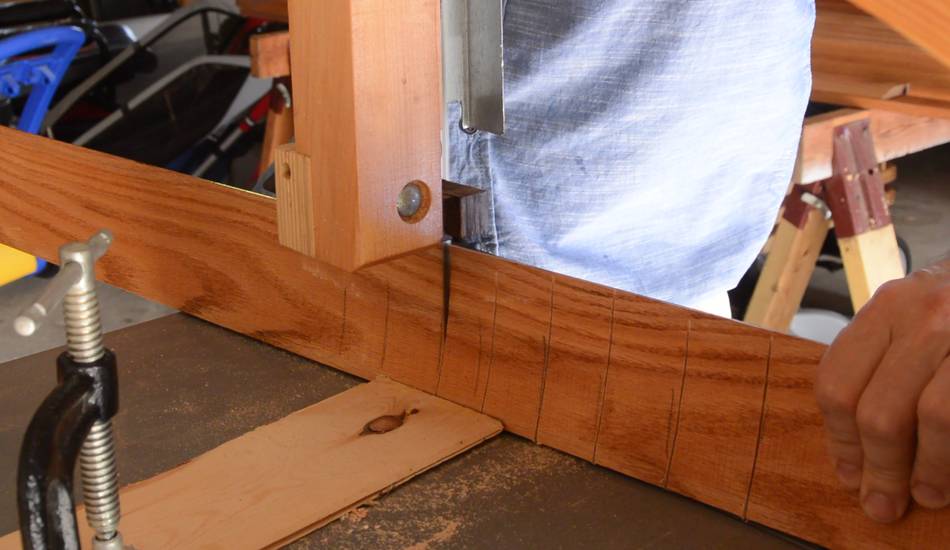 So I made some relief cuts in the back to make this section
easier to bend. I cut these on the bandsaw. The relief cuts only extend as far
as I could without cutting into any of the visible part.
So I made some relief cuts in the back to make this section
easier to bend. I cut these on the bandsaw. The relief cuts only extend as far
as I could without cutting into any of the visible part.
 The next challenge was the corner. The problem with corners in drywall is that
they are never quite square.
When drywall is installed, in the corners, a layer of gypsum is
applied, then some tape, then more gypsum to cover gaps and make a smooth
corner joint. But this builds up the corners up by a few millimeters, which means
all the corners curve inward slightly for about the last 5 cm.
Not something you'd normally notice, unless you put something square into the corner.
The next challenge was the corner. The problem with corners in drywall is that
they are never quite square.
When drywall is installed, in the corners, a layer of gypsum is
applied, then some tape, then more gypsum to cover gaps and make a smooth
corner joint. But this builds up the corners up by a few millimeters, which means
all the corners curve inward slightly for about the last 5 cm.
Not something you'd normally notice, unless you put something square into the corner.
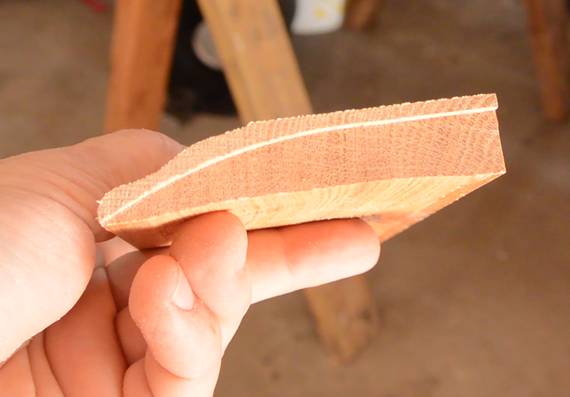
This curvature is a bit too tight to bend the baseboards around, so I used a hand plane to taper the back of the baseboards toward the ends a bit to make it fit with the non-square corner.
 I also had a gap under the baseboards because the floor, though it's fairly flat,
has some vertical variations on the order of a millimeter or two. I could bend
the baseboards a bit to follow gradual curvatures, but for more localized bumps
I had to carve the bottom edge to fit.
I also had a gap under the baseboards because the floor, though it's fairly flat,
has some vertical variations on the order of a millimeter or two. I could bend
the baseboards a bit to follow gradual curvatures, but for more localized bumps
I had to carve the bottom edge to fit.
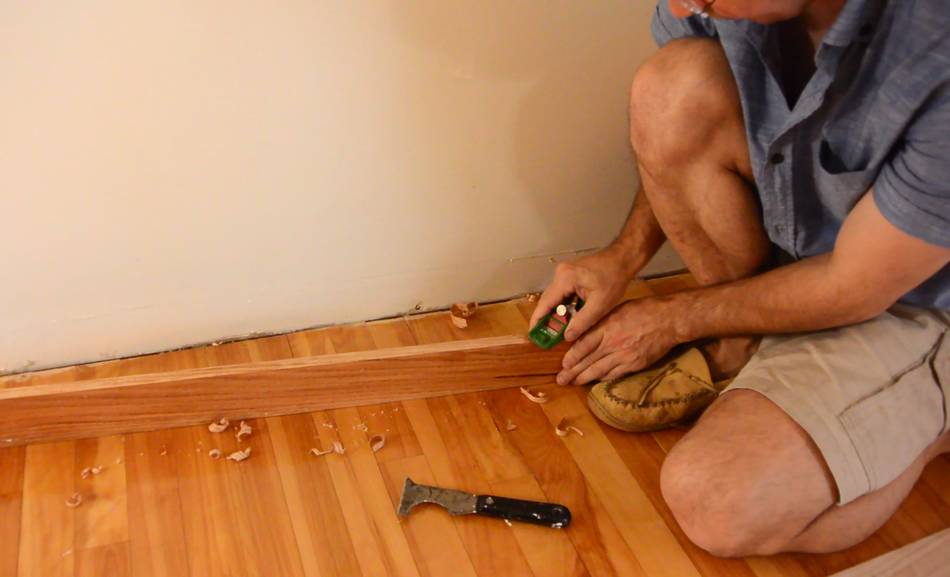 I used a small hand plane and a spokeshave to shave the baseboards down where
they had to fit over bumps in the floor.
I used a small hand plane and a spokeshave to shave the baseboards down where
they had to fit over bumps in the floor.
 A mitered outside corner. It looks very nice like this, but the sharp corner makes
for a toe stubbing and toddler bumping hazard. So I cut a counter-bevel
on each piece on the miter saw before nailing them on.
A mitered outside corner. It looks very nice like this, but the sharp corner makes
for a toe stubbing and toddler bumping hazard. So I cut a counter-bevel
on each piece on the miter saw before nailing them on.
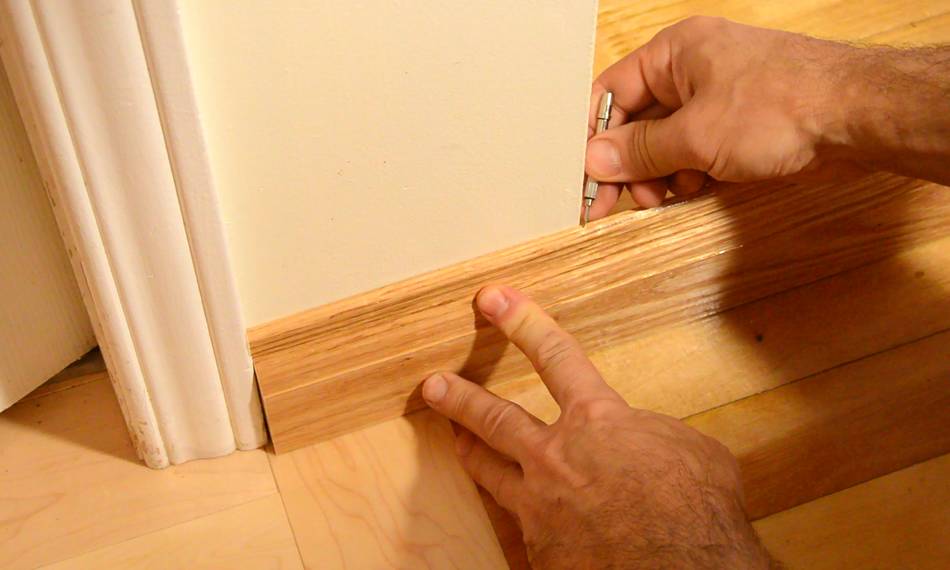
 Bevel added, and nailing it on.
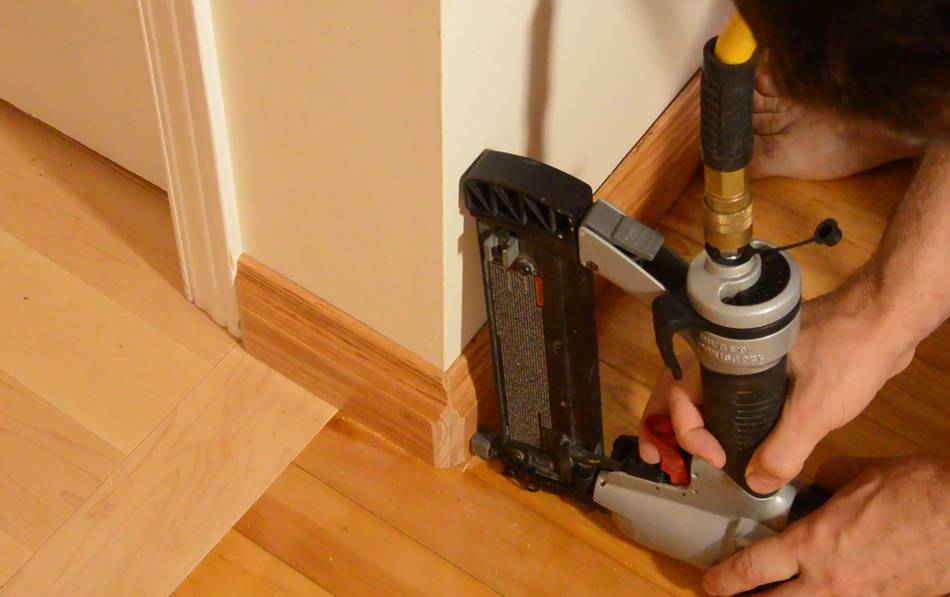
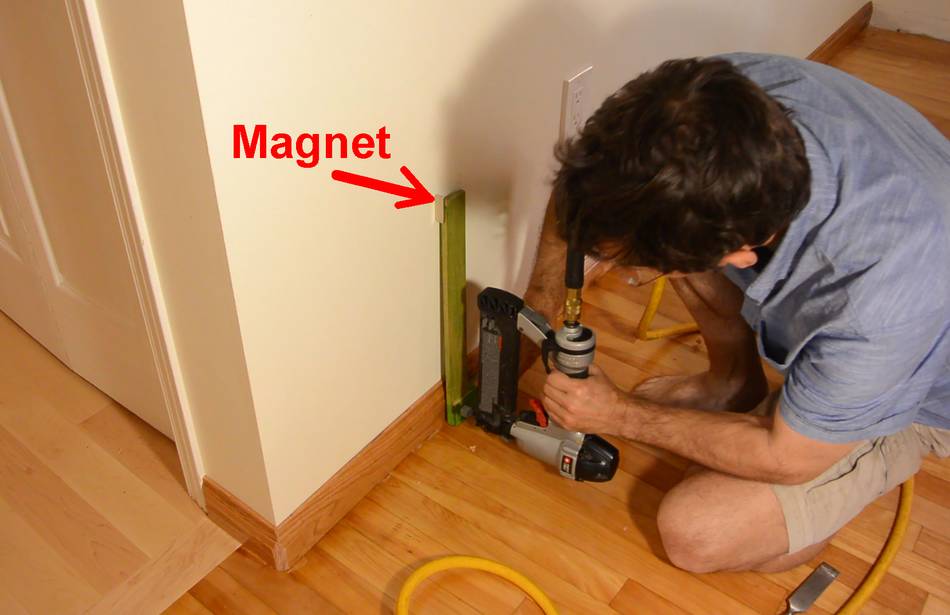 I put most of the nails along the bottom edge of the boards so if the boards
shrink a little from lower humidity in the winter, they are less likely to open
up a gap below them. But I still needed to put a few nails in further up to make
sure there's no gap along the top edge. I located the studs by searching for the
screws with a magnet, then left the magnet stuck to the wall and used a square to
figure out where the stud is further down, then nailed it on.
I put most of the nails along the bottom edge of the boards so if the boards
shrink a little from lower humidity in the winter, they are less likely to open
up a gap below them. But I still needed to put a few nails in further up to make
sure there's no gap along the top edge. I located the studs by searching for the
screws with a magnet, then left the magnet stuck to the wall and used a square to
figure out where the stud is further down, then nailed it on.
 I used a miter joint for the first corner that I did, but it was very difficult to
try to get that miter accurate enough. So for the rest of the inside corners,
I coped them. Here, using a scrap of trim to mark the profile onto the end of the board.
I used a miter joint for the first corner that I did, but it was very difficult to
try to get that miter accurate enough. So for the rest of the inside corners,
I coped them. Here, using a scrap of trim to mark the profile onto the end of the board.
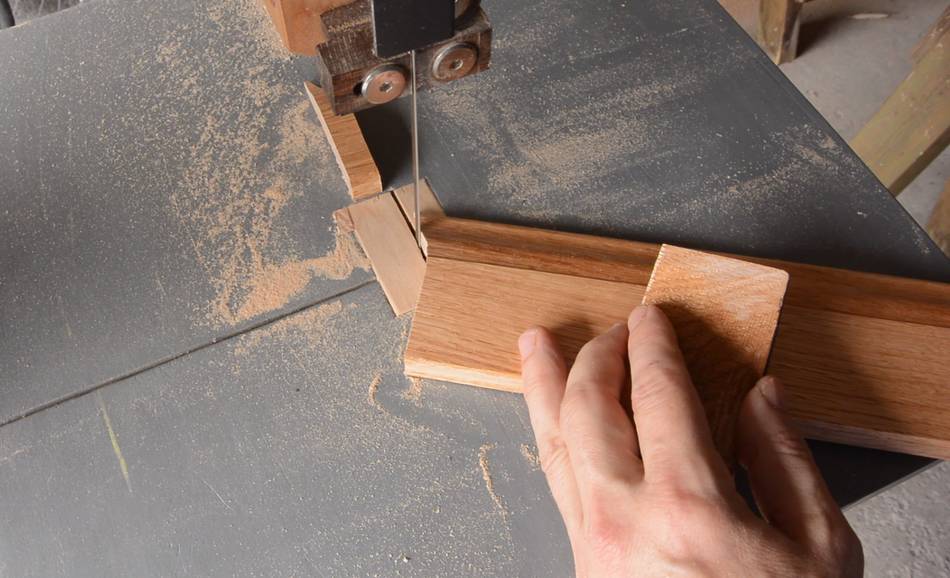 Then cutting that out on the bandsaw.
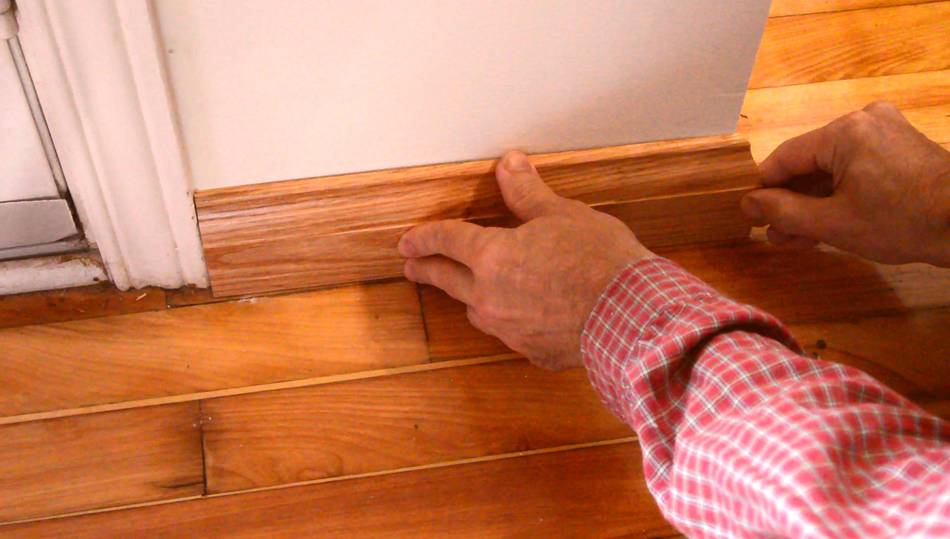
 A coped corner joint. There is a slight gap still, but it's much less noticeable
than a gap in a miter joint
A coped corner joint. There is a slight gap still, but it's much less noticeable
than a gap in a miter joint
 Another piece fit, and, again, a 1 mm gap because the wall isn't straight. I had to
plane both ends down a bit to make it follow the wall.
Another piece fit, and, again, a 1 mm gap because the wall isn't straight. I had to
plane both ends down a bit to make it follow the wall.
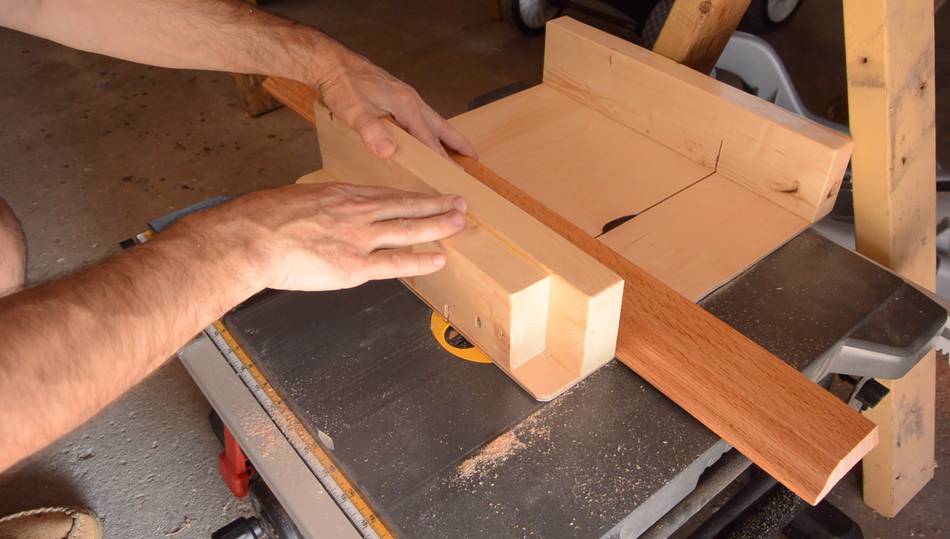
 About half the pieces I installed ended up needing some relief cuts to follow some of
the wall curvatures. I switched to cutting these on the table saw because the round blade
allowed me to cut away more of the baseboards than with the straight bandsaw cut.
About half the pieces I installed ended up needing some relief cuts to follow some of
the wall curvatures. I switched to cutting these on the table saw because the round blade
allowed me to cut away more of the baseboards than with the straight bandsaw cut.
I hadn't anticipated the walls being this curvy. Last time I installed solid oak baseboards, after I built an addition to my first house, I had thinner baseboards and much straighter walls to work with. My framing was more accurate, and I used better 5/8" drywall, which doesn't bend so easily.
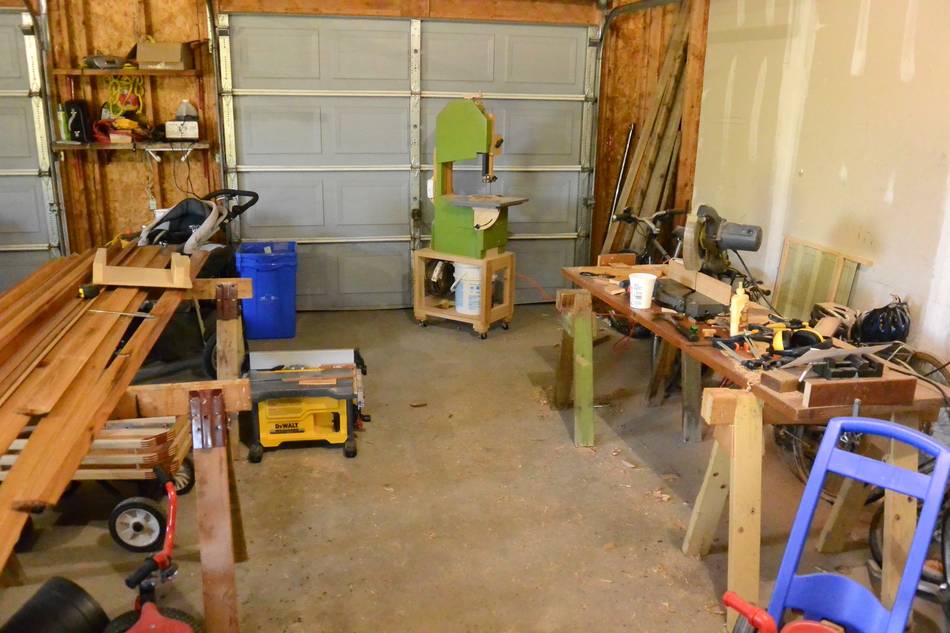 With all the machines I hauled to the garage from my shop - miter saw, bandsaw,
small table saw, and various hand tools, I pretty much had a temporary workshop
set up!
With all the machines I hauled to the garage from my shop - miter saw, bandsaw,
small table saw, and various hand tools, I pretty much had a temporary workshop
set up!
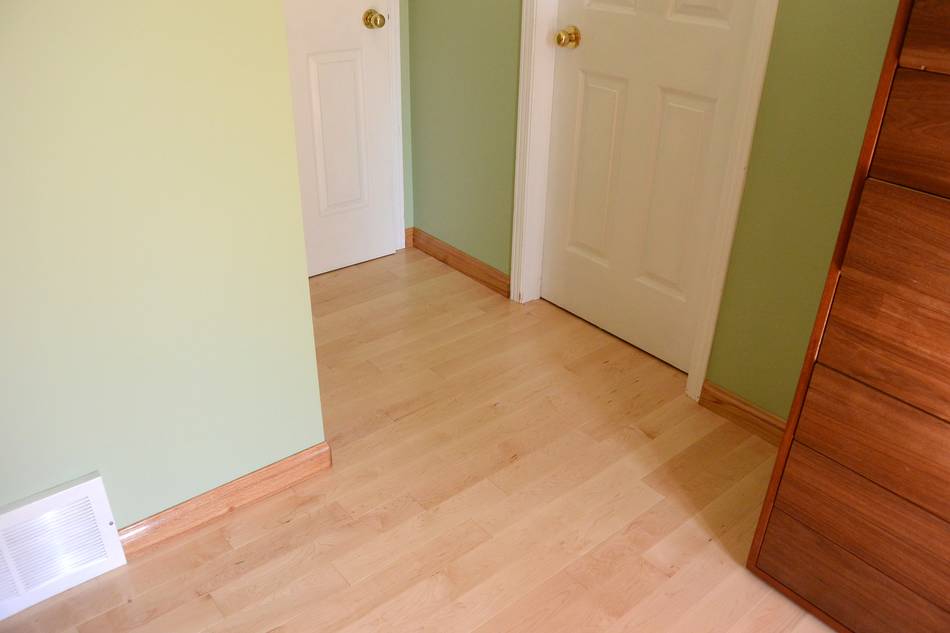
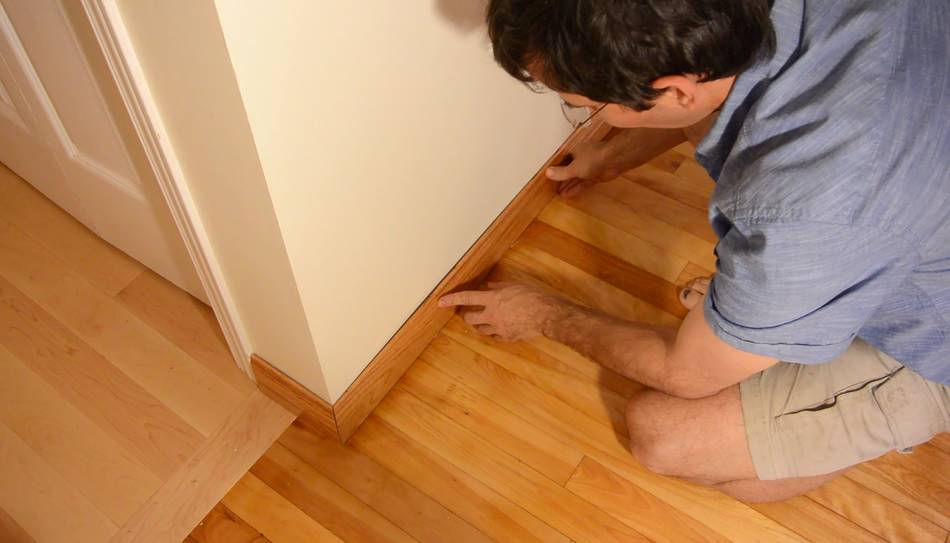
 Installing all these baseboards was a LOT of work. I really like how they turned out,
but if I had to do it again, I'm not sure if I'd do it this way again.
Maybe make them thinner and add quarter round on the bottom.
Installing all these baseboards was a LOT of work. I really like how they turned out,
but if I had to do it again, I'm not sure if I'd do it this way again.
Maybe make them thinner and add quarter round on the bottom.
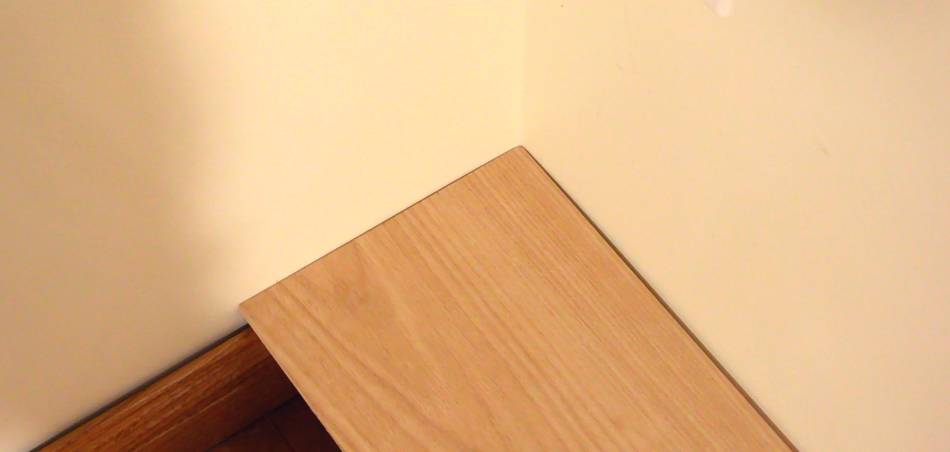
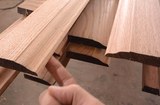
But if they were thinner, it would have been more difficult to shave them down to fit around some of the tighter variations, especially in the corners. As it was, having slightly hollowed out the back of the baseboards made it easier to shave them down where needed. One change I'd make for sure is to add a relief cut on the bottom (added to the example at right to show), which would have made it easier to shave a bit off the bottom where needed to follow uneven floors.
If the door trim was oak as well, that would look really cool. But I'd also have to replace the door frames for that. So it's not something I'll get around to any time soon! I made natural wood door and window trim for the addition on my first house, and I really liked how that looked.
 Making baseboard molding
 How long for floor boards to acclimatize -- experiments
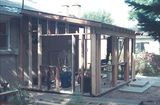 Building a house addition
 Installing a boot nook
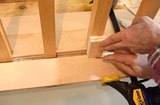 Hardwood flooring around stair spindles
 Curtain rod around