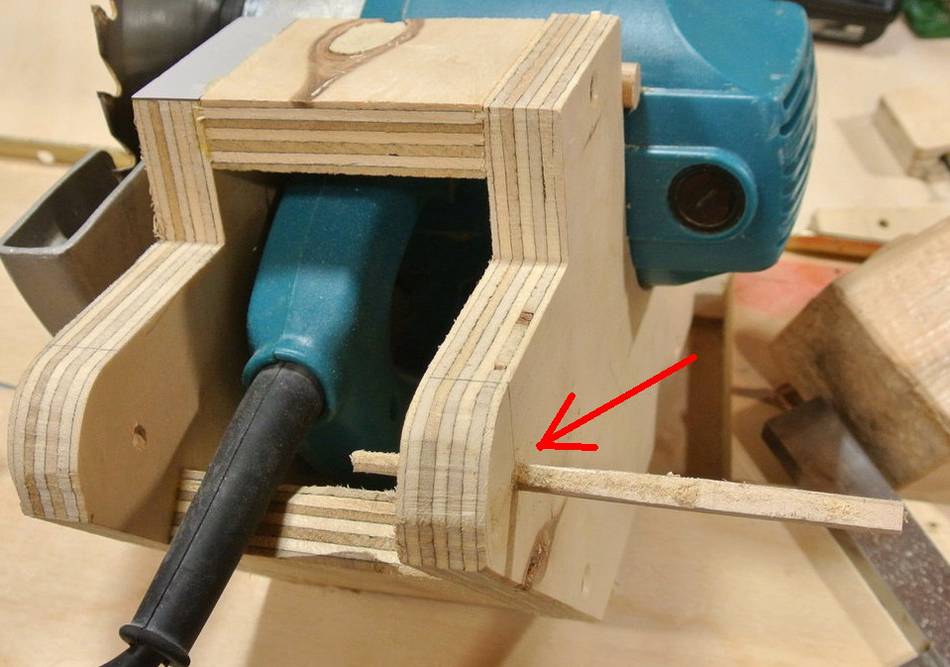
From my previous tests, I found that the blade moved slightly side to side
as I changed the depth setting. Checking it over, I found I had one of the
holes that the saw unit pivots on about 2 mm off. I had previously
compensated for that by shimming the pivot mounts, but the slightly
crooked tilt axis resulted in a slight side-to-side movement during plunging.
So time to fix that.
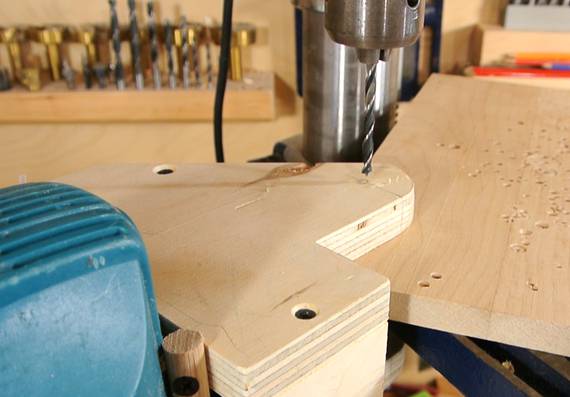
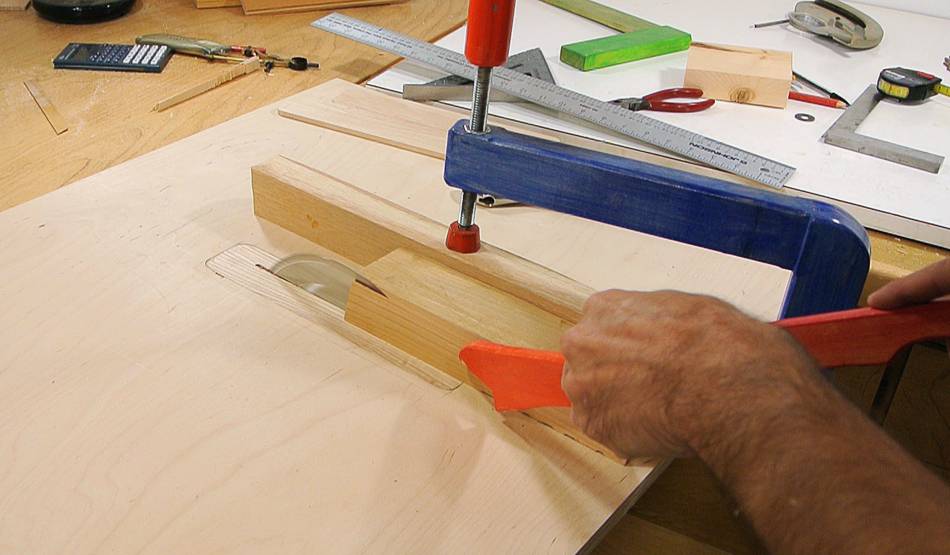
I glued a peg into that hole and then re-drilled it in the correct spot.
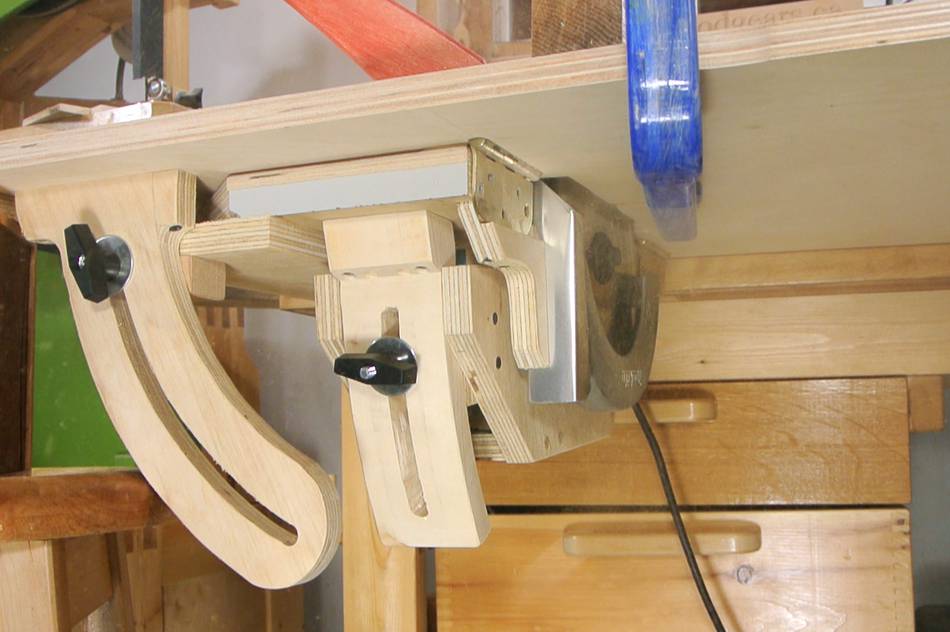
Next challenge: making a tilt angle locking mechanism.
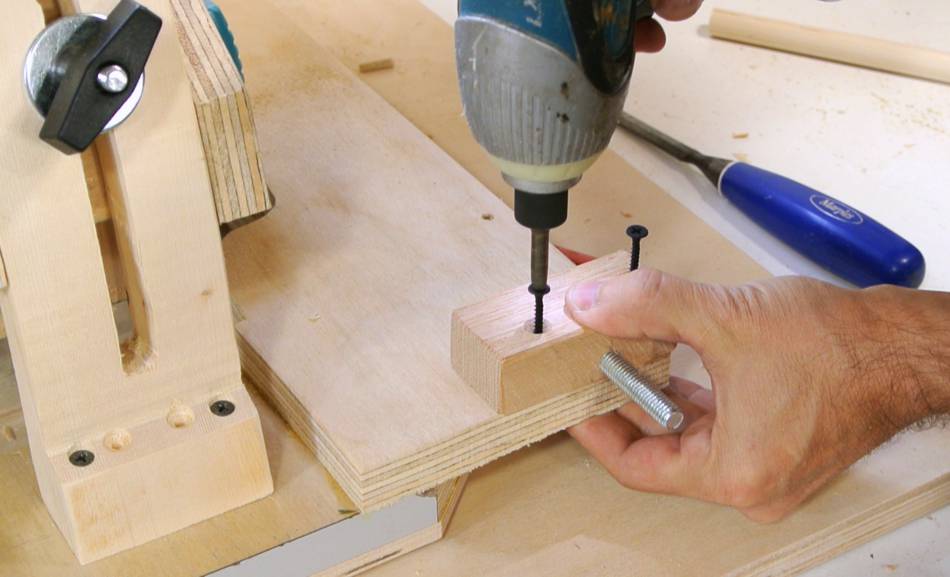
I decided to make some sort of knob attached to the tilting frame
that pinches against a curved slot.
I laid out the shape of the curved slot
on a scrap of plywood using a beam compass.
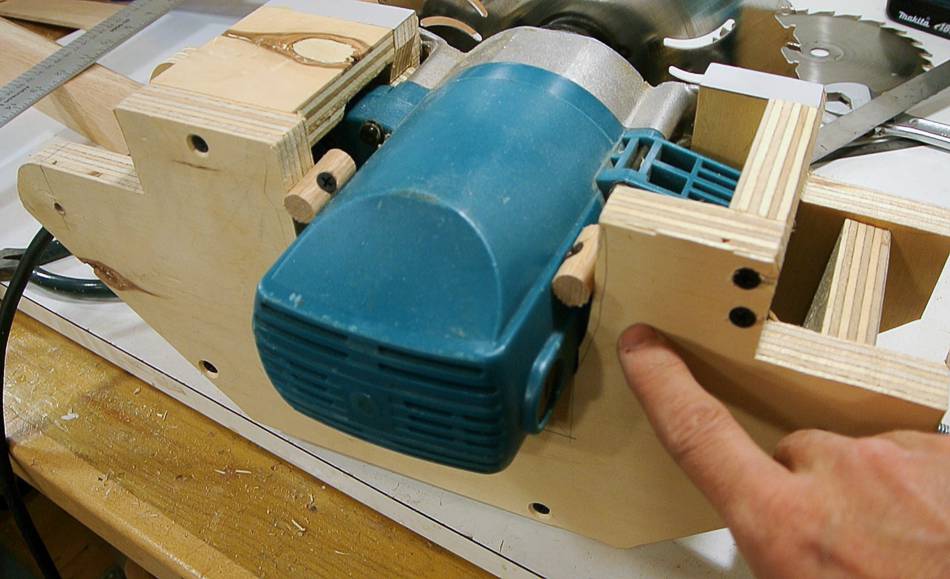
I mostly cut it out on the bandsaw, but cut the slot by drilling
a hole on either end and cutting between with a jigsaw.
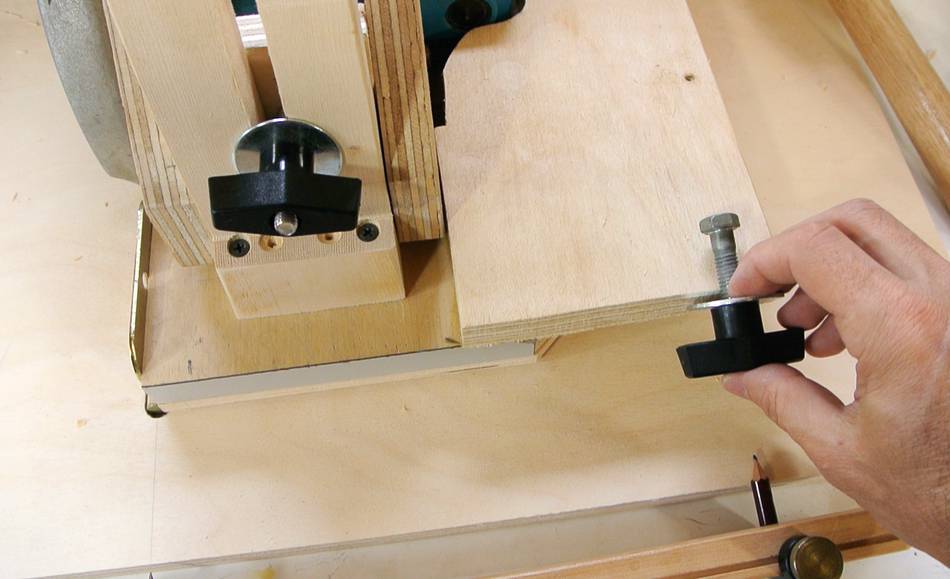
A block of wood holds the bolt for the knob. The bolt fits tightly in
the wood (I drilled the hole 1/64" (0.4 mm) undersized, then
hammered the bolt into the hole).
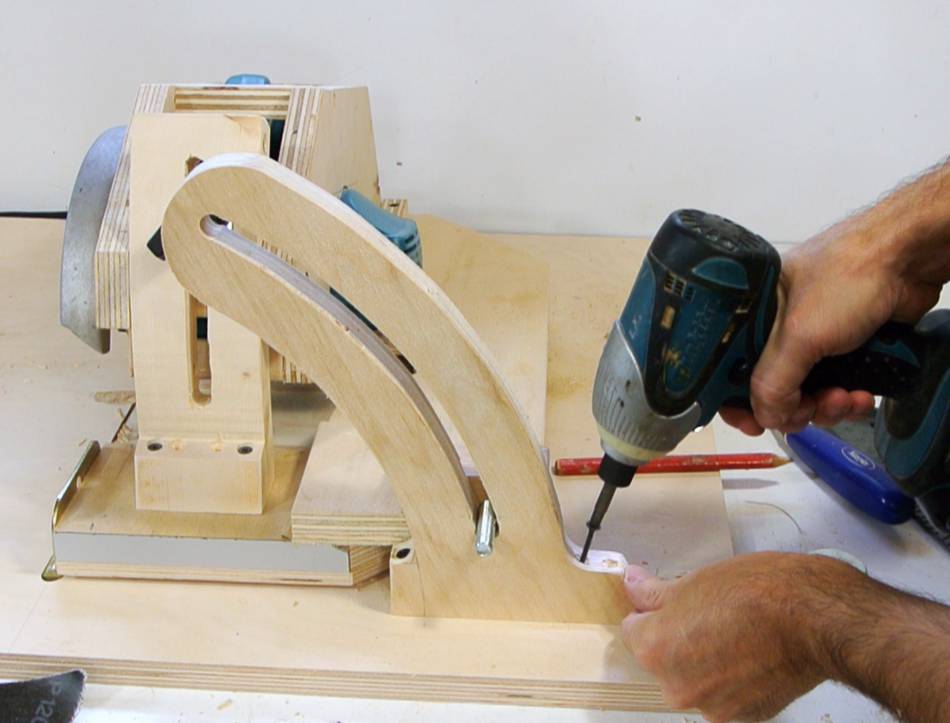
Mounting the locking piece on the underside of the table.
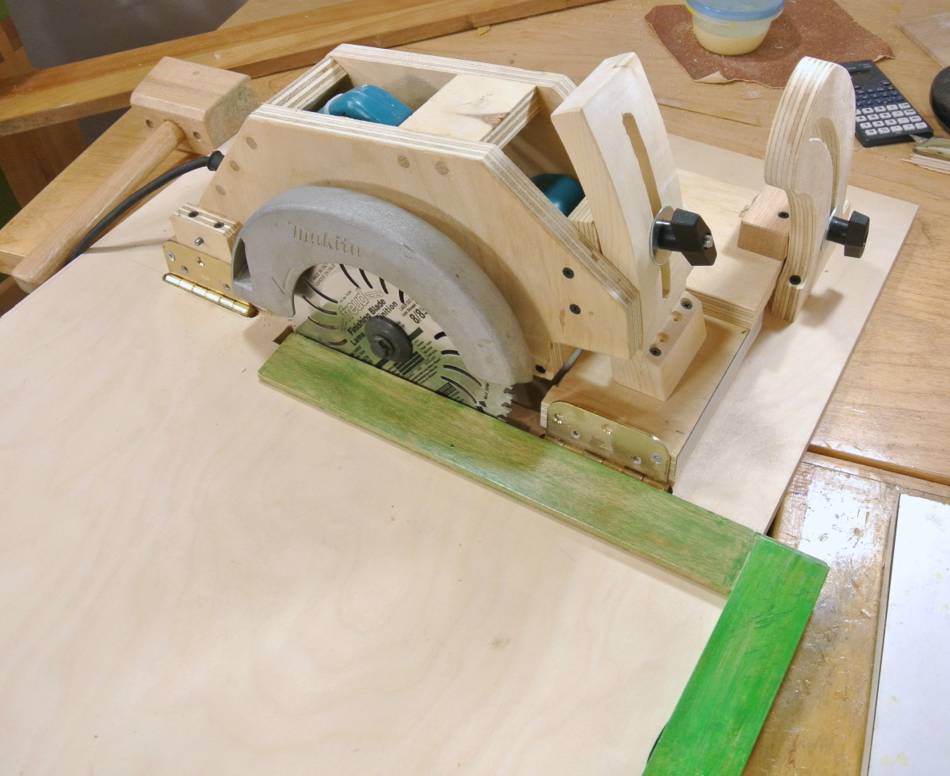
It turned out, my slot covered a bit more than 45 degrees, and the end of the
piece gets a bit in the way of the depth adjustment mechanism, so I shortened
it a little.
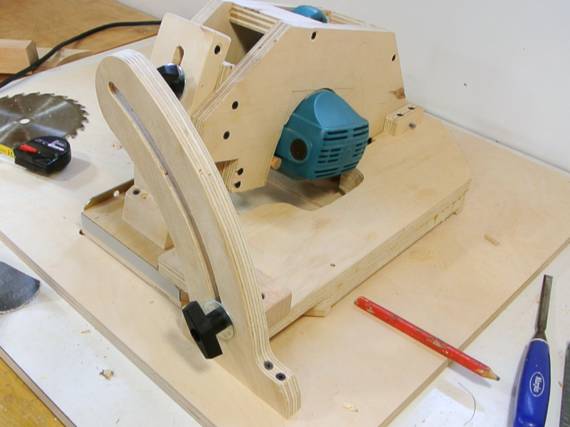
With the saw all the way down, it barely withdraws
the blade from the slot far enough to tilt.
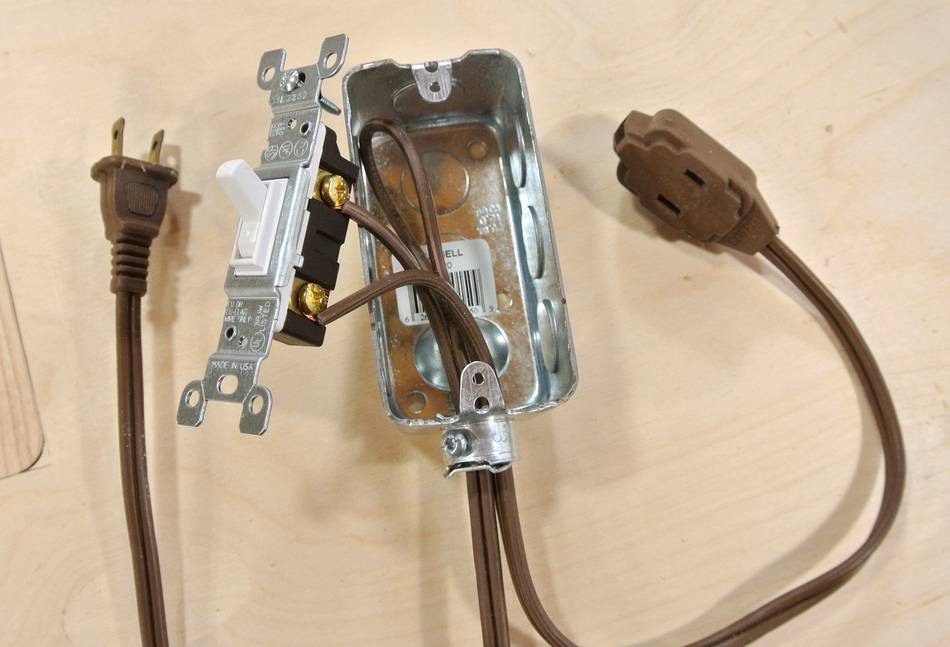
Up to this point, I had been turning the saw on and off by plugging it in
and unplugging it. I finally made a "switch" for it by installing a light switch
in a cheap extension cord.
But then I left that switch on the floor, where I could turn it on
accidentally with my feet, so I still ended up unplugging the saw when working
on it.
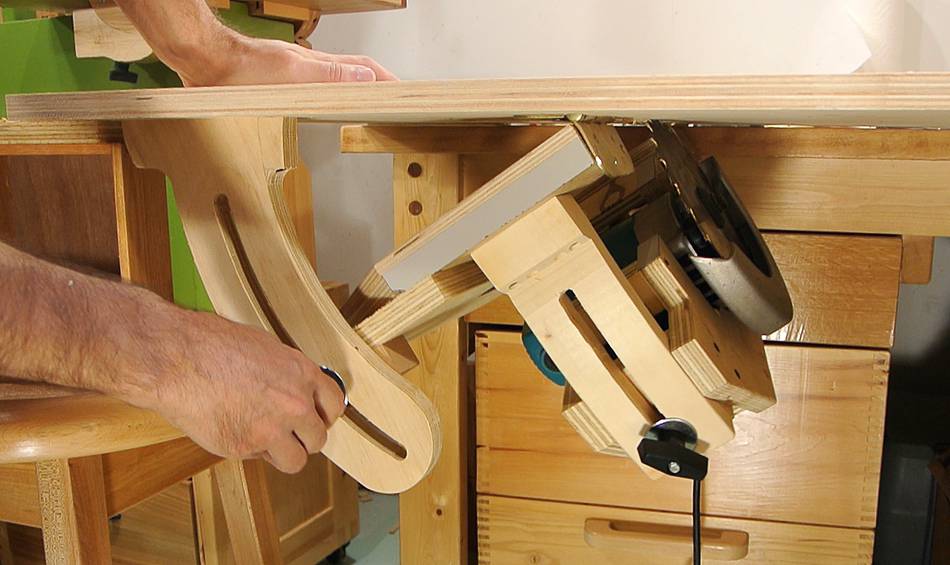
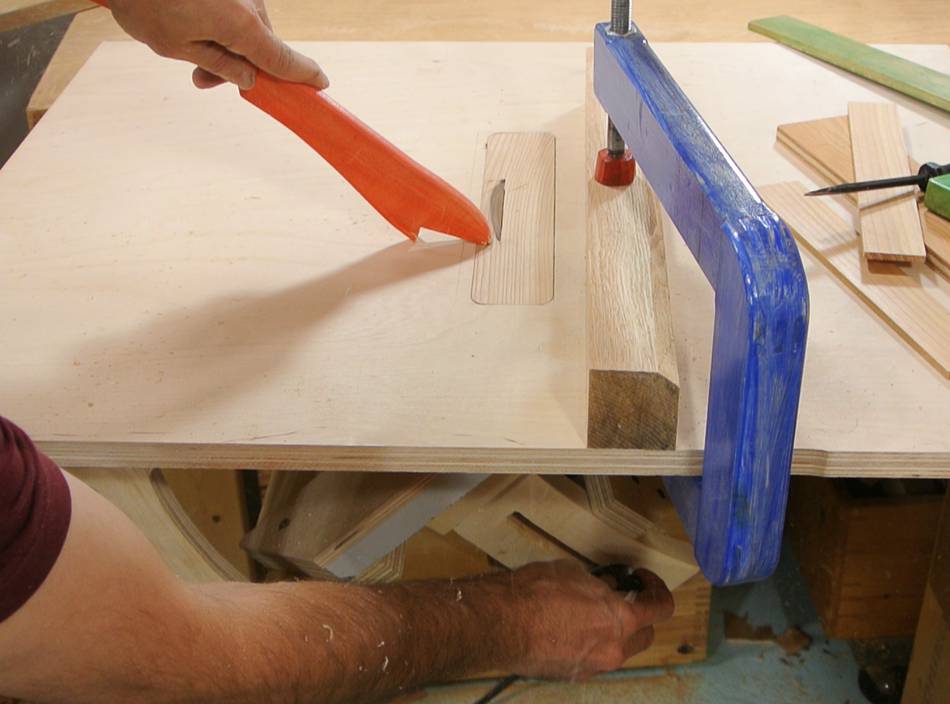
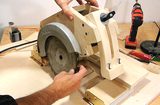
Making a 45 degree plunge cut from below. Very dusty!
Table saw inserts
With where the blade comes through the table at 45 degrees and 90 degrees,
I would need a VERY wide slot to accommodate all the angles.
A solution would be to build trunnions,
like on my bandsaw, instead of using hinges for the angle adjustment.
But I wanted to keep this saw as something relatively easy to build.
Besides, this will never be a really good table saw.
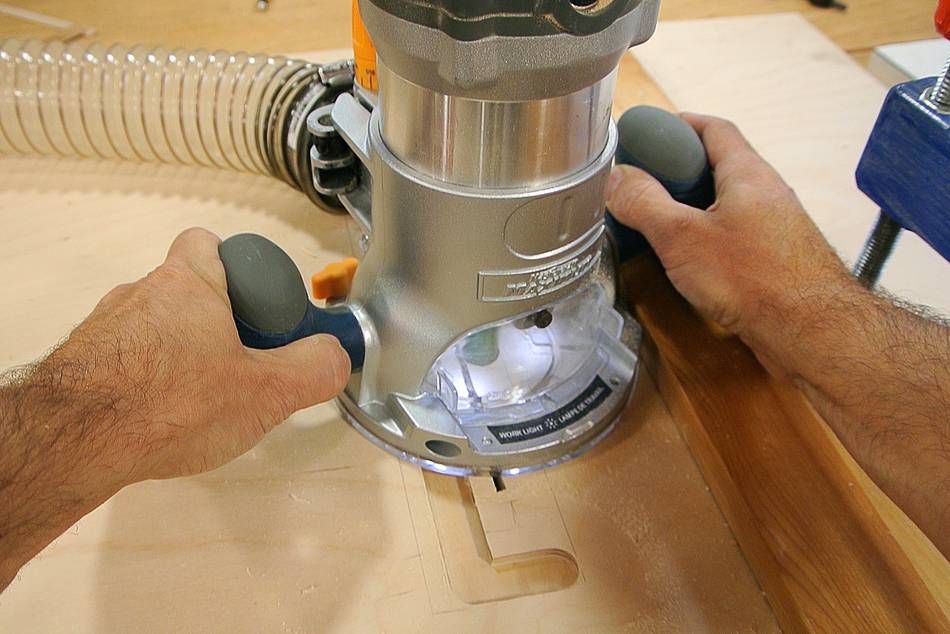
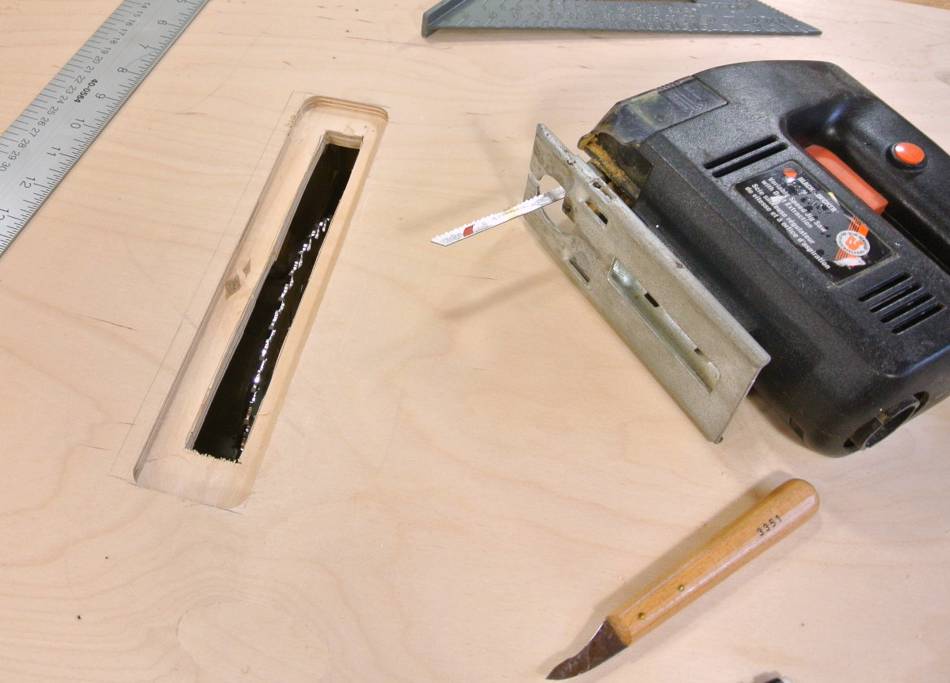
So my solution was to route a cavity for a table saw insert into the table.
This time, I used one of my fixed routers with a dust collection hose
attached. Much much nicer to work with than a plunge router, hardly any dust
goes flying.
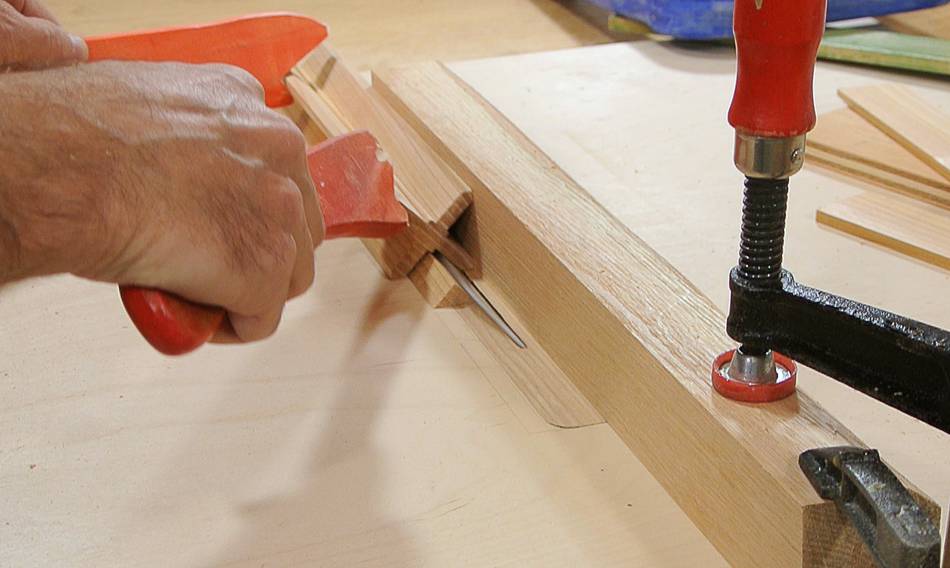
I then cut an opening inside the cavity with my jigsaw.
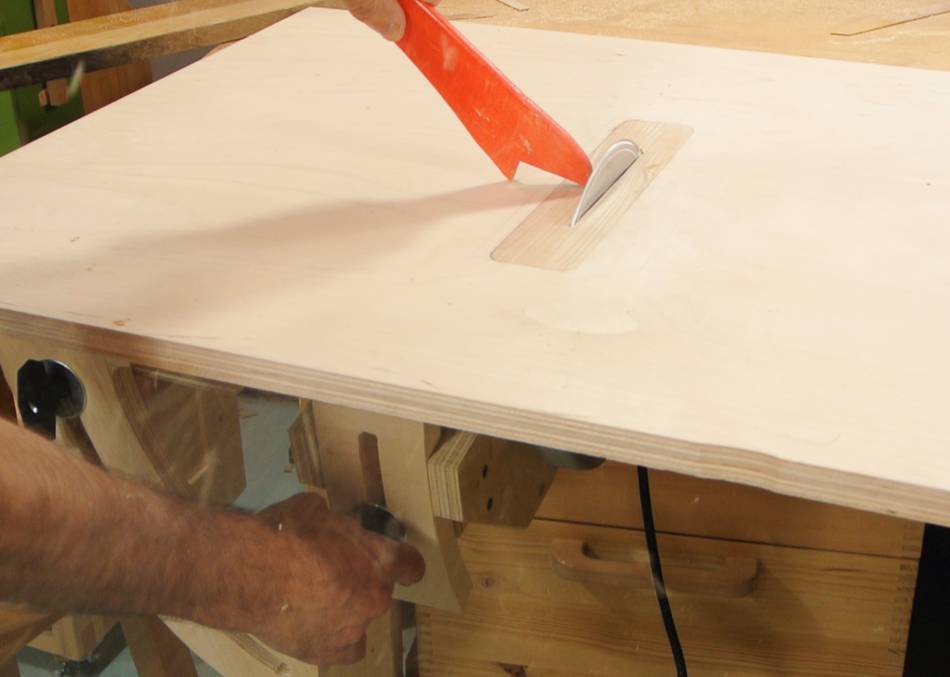
I made several inserts to fit in this slot. These are just pieces of ash.
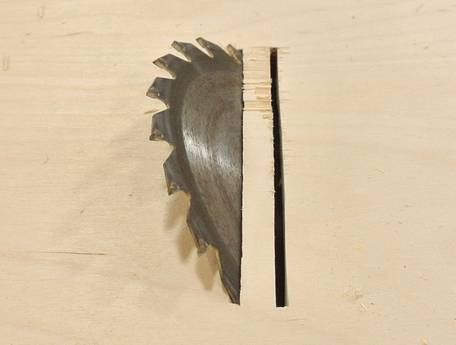
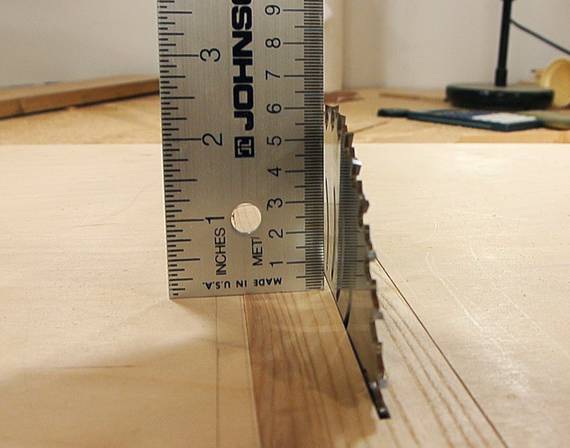
I made the slot large enough that even a 8 1/4" blade can be
inserted through the top.
The circular saw was designed for a 7 1/4" blade, but with the retracting
blade guard removed, a 8 1/4" blade will just barely fit inside
the outer guard.
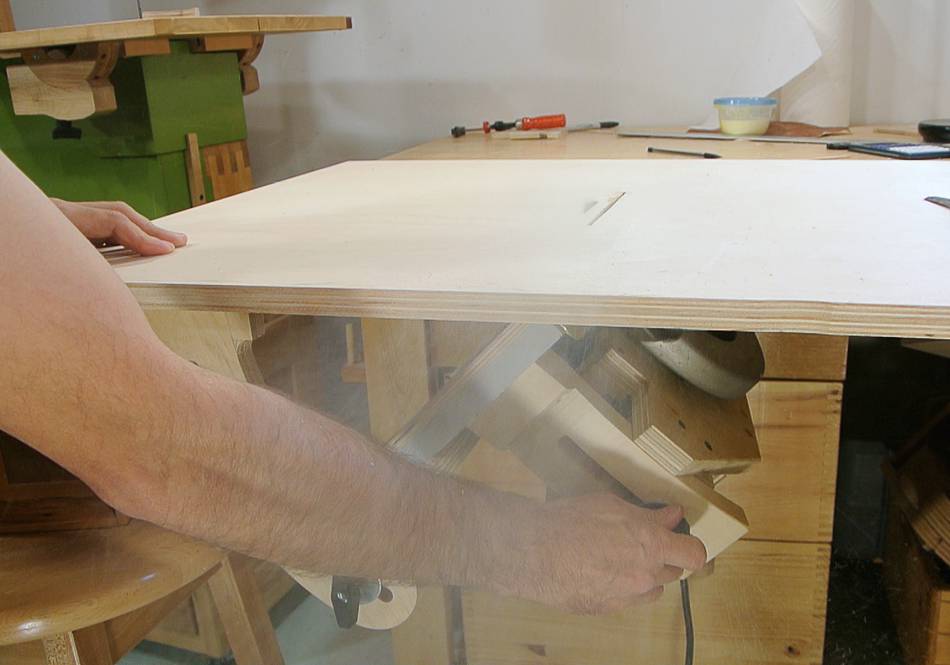
Cutting the slot in the insert with a plunge cut.
With the 8 1/4" (210 mm) blade, I can get a depth of cut of 60 mm, or 2 3/8".
That's about the same depth that the circular saw could do originally.
So the larger blade just makes up for depth that I lost because of
the thick plywood table.
I used one of my long reach C-clamps
to attach a temporary fence and made another test rip cut.
Surprisingly, the cut surface had a bit of a shine to it, even though
I was cutting soft wood. But deeper cuts are usually cleaner.
I was also using a brand new blade.
But I had to mount the fence slightly off from perpendicular to the
edge of the table.
So more checking of the alignment. The saw turned out to be at a slight angle
in the mount. I cut the opening for the back of the motor a bit wider and,
using two dowels wedged in, locked it at the new position.
Re-checking it, it looks pretty square.
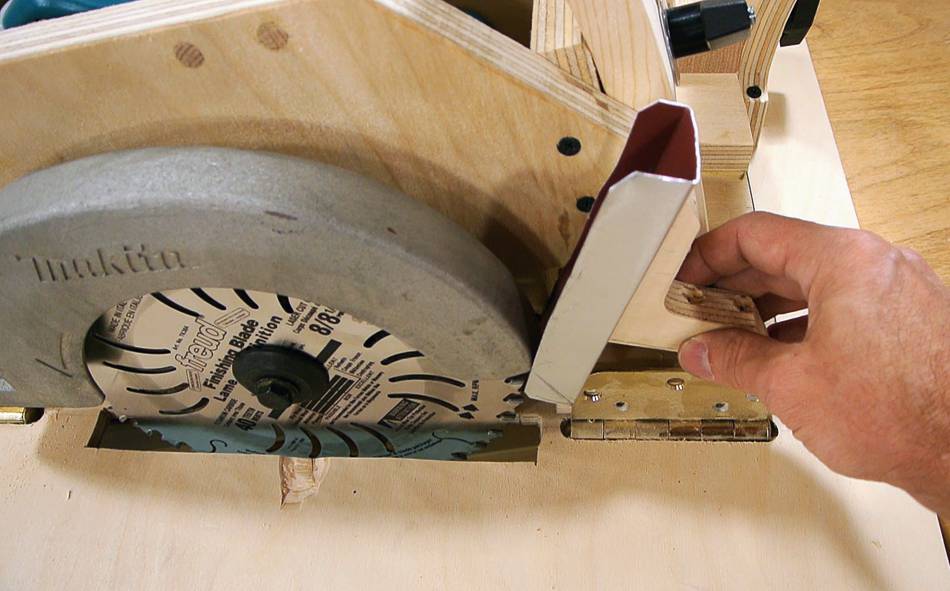
I also made a dust deflector. Too much of the sawdust dust
coming off the saw was thrown towards me. Not fun. This
deflector should throw it down.
Dust flying, while making a cut. There's dust everywhere, though it's no longer
thrown at me quite as much.
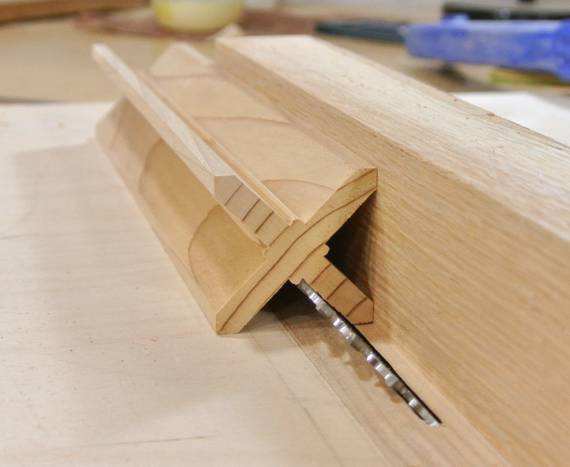
Now making a plunge cut in my first 45 degree insert.
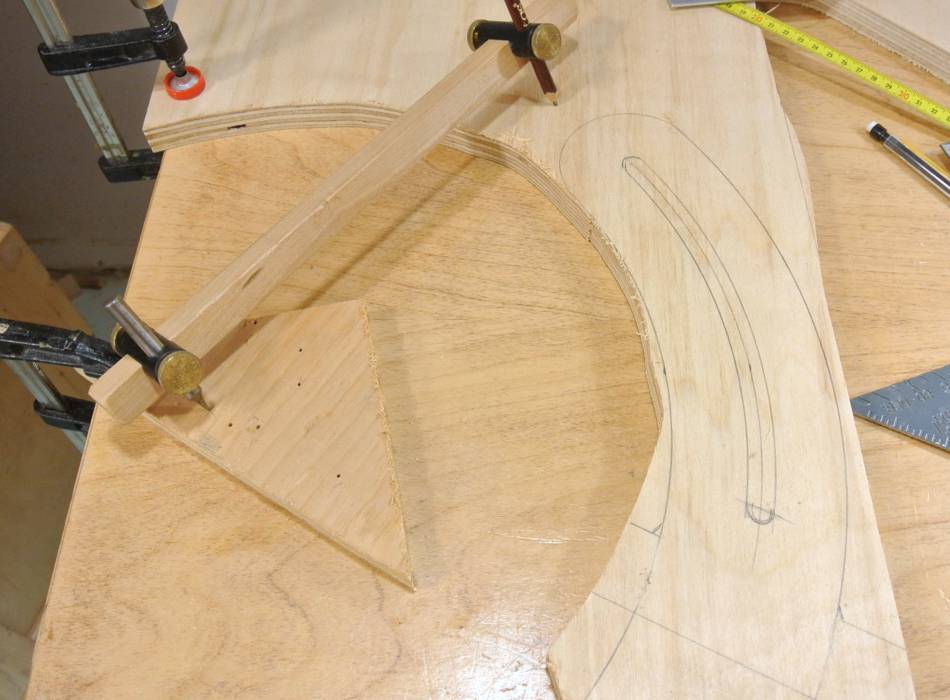
Cutting out a test shape with 45-degree angles.
This is the sort of thing that would be very difficult to make without a
tilting arbour table saw.
And most of the dust ended up underneath the saw, so the dust deflector
helped, though not as much as I had hoped.
 From my previous tests, I found that the blade moved slightly side to side
as I changed the depth setting. Checking it over, I found I had one of the
holes that the saw unit pivots on about 2 mm off. I had previously
compensated for that by shimming the pivot mounts, but the slightly
crooked tilt axis resulted in a slight side-to-side movement during plunging.
So time to fix that.
From my previous tests, I found that the blade moved slightly side to side
as I changed the depth setting. Checking it over, I found I had one of the
holes that the saw unit pivots on about 2 mm off. I had previously
compensated for that by shimming the pivot mounts, but the slightly
crooked tilt axis resulted in a slight side-to-side movement during plunging.
So time to fix that.


 Homemade tablesaw build part 1
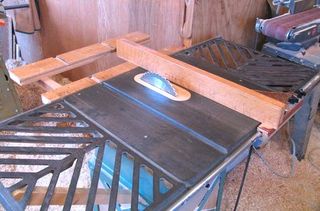 Fixing my old table saw
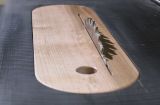 Making table saw inserts
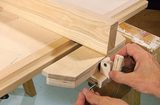 Homemade table saw fence