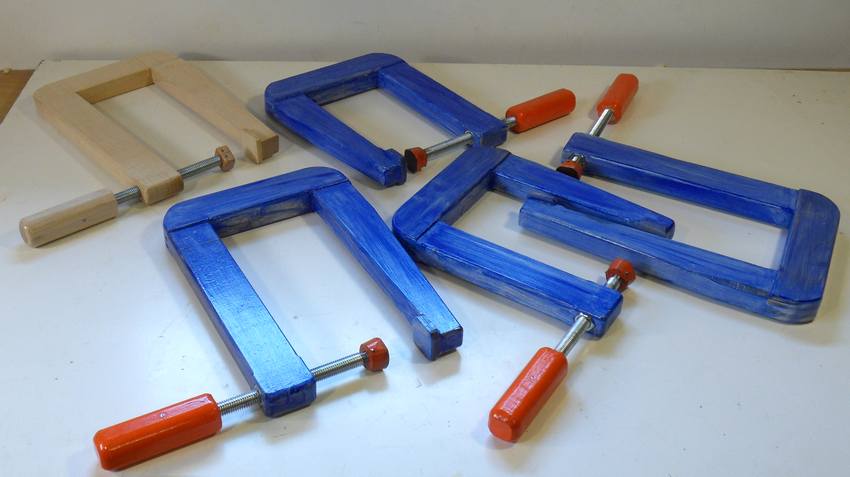
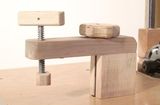
After building the hold down clamp for my pantorouter,
I started thinking about building some more wooden clamps.
Sometimes I need to clamp something far enough from the edge that none of my
regular clamps can reach it.
So I figured I should try to build some really deep reaching C clamps out of wood.
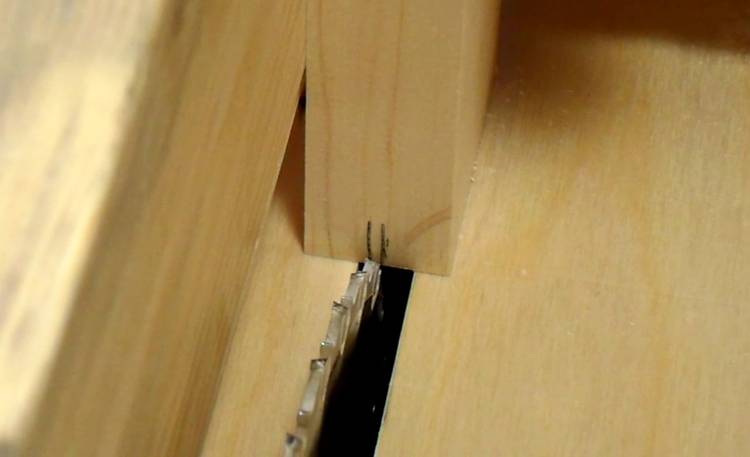
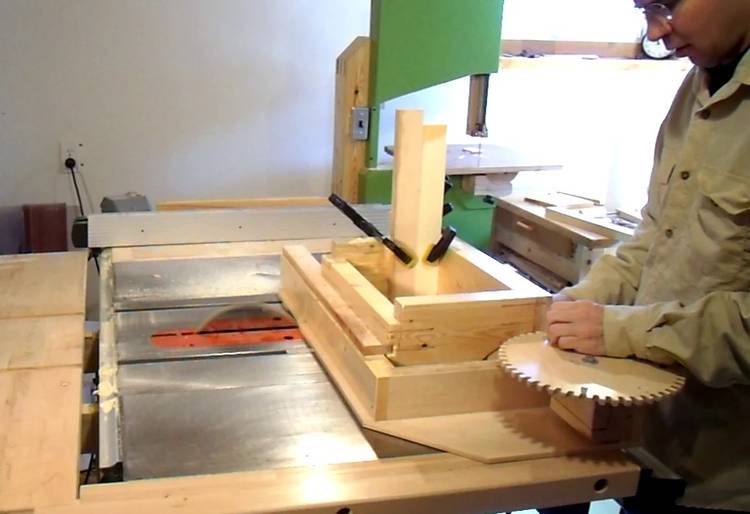
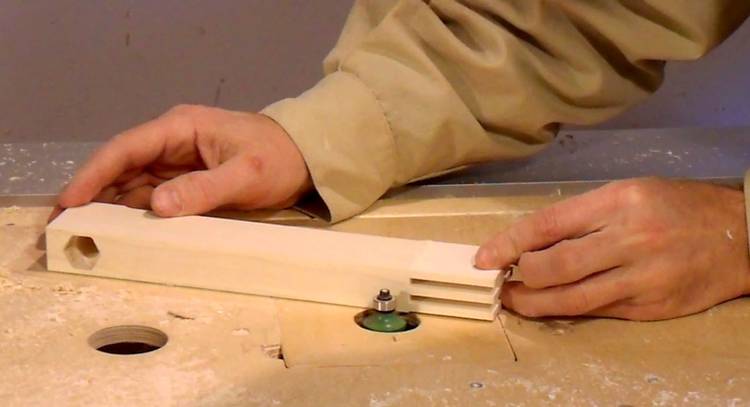
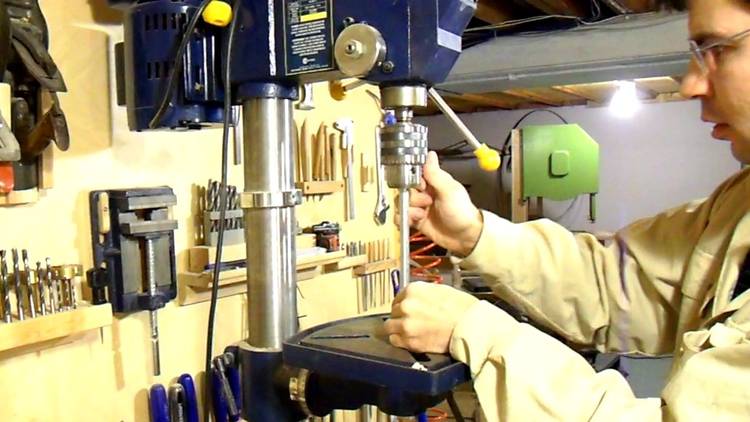
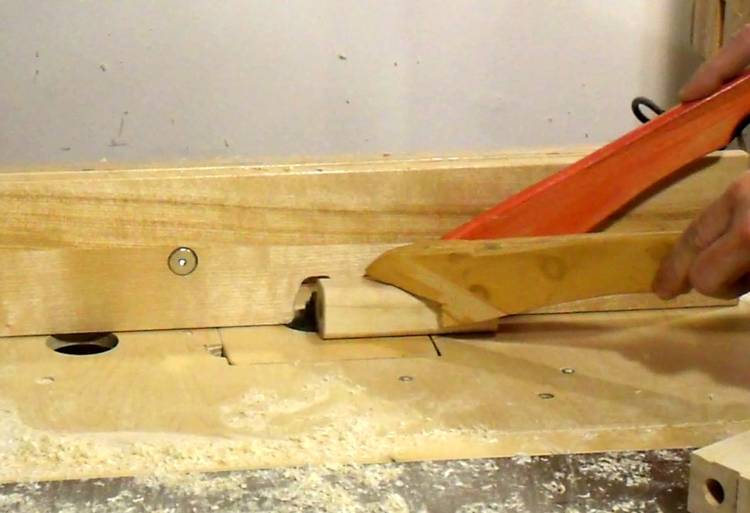
I joined the corners using 3/16" (5 mm) wide fingers, which I made with my
screw advance box joint jig.
I started by marking the center on one of my pieces of stock and adjusted the jig so
that the blade would line up with those marks.
Each 3/16" wide slot is made as two cuts spaced about 0.088" apart. My blade cuts
a kerf of about 0.101", so the two cuts make a slot about 0.189" - just over 3/16"
(to leave a bit of room for glue). I usually work things out in metric, but because
my box joint jig is based on a 16 TPI threaded rod, and the blade is close to 0.1", it's
easier to do it in thousandths of an inch.
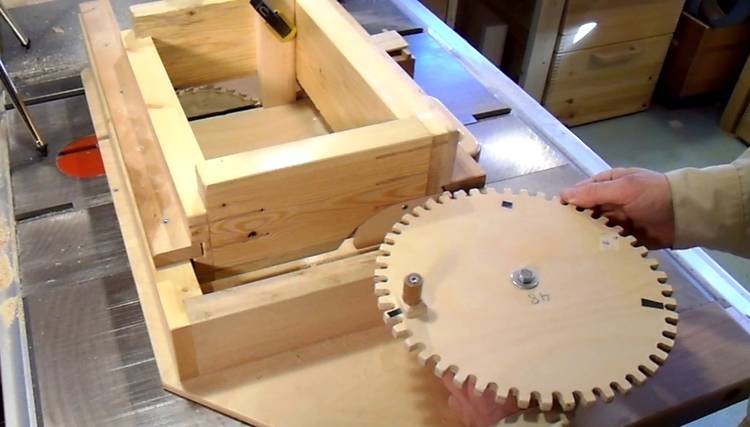
With the 48 tooth gear against the 16 tooth gear, I get an advance of three turns,
or 3/16" (0.1875") per turn of the crank gear. A movement of 0.88" works out
to 0.47 turns of the gear, or by 48 * 0.47 = 22.5 teeth worth of turn.
Ok, this all sounds very complicated, but I have to admit, I didn't actually
do any math when I set up this joint.
I already had the position for the 3/16" slot marked on the gear.
The only thing I had to worry about is getting the fingers centered.
My center mark on the stock would need to be in the center of a 3/16" space,
so my crank gear had to be half way between the home (crank handle
facing right) and the 3/16" position (faint masking tape nearest my hand). Ignore
the black tape marks on the gear - those are for another setup. So
I decoupled the big gear and then re-meshed it so that it was half way
between the crank handle and the masking tape mark.
The cutting sequence was to cut once with the crank at the right, then turn it
counterclockwise by just under half a turn to the masking tape mark on the gear,
then make the second cut for the slot.
After that cut, I needed to turn the gear just over one and a half turns to
get the crank handle back to facing right again.
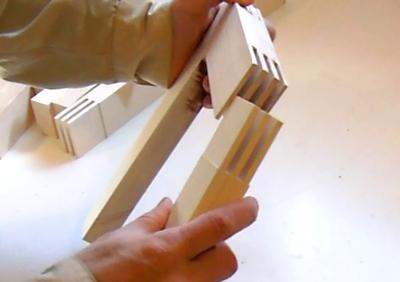
I clamped two pieces of stock in the jig at a time. Cutting the joints meant cutting
fingers into the ends of 16 pieces, but it hardly took any time at all.
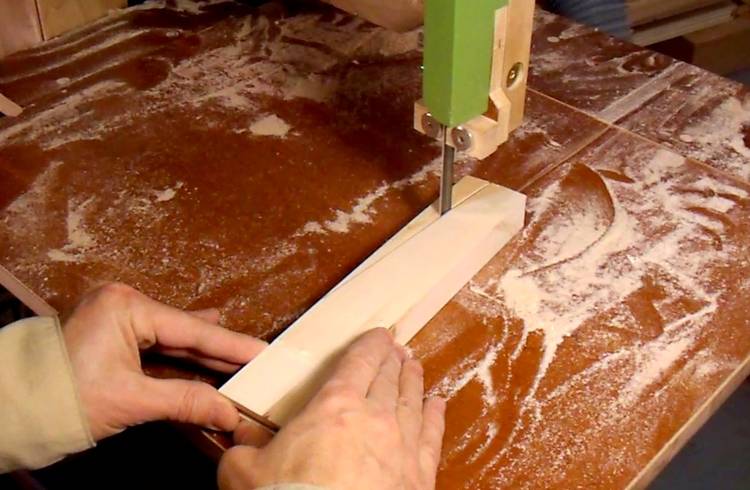
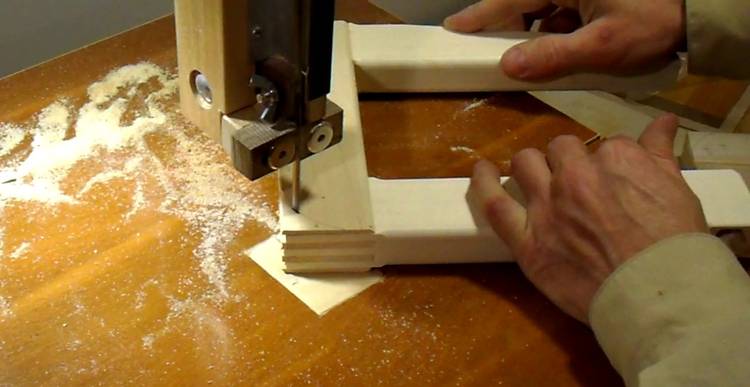
I cut a taper into the bottom arm of the clamps. That will make it easier to
get into tight spots.
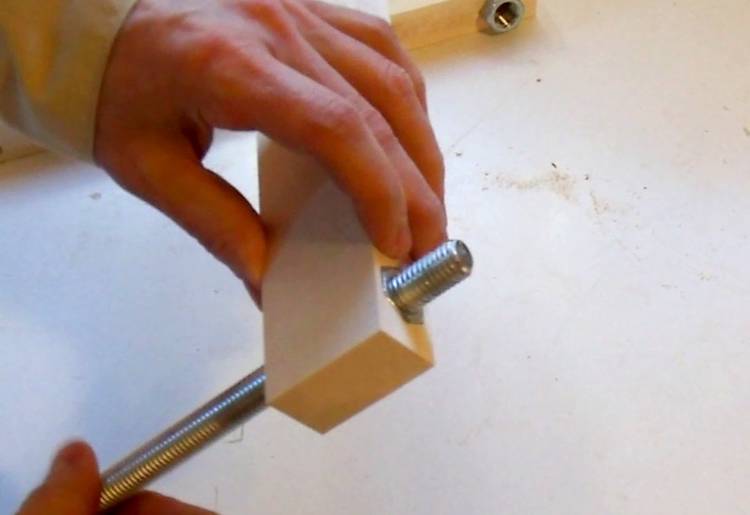
For my first prototype clamp, I tapped a 1/2" thread straight into the wood. This worked
quite well, but I couldn't spin the handle easily. So for these clamps, I inserted
some nuts in the wood to get a metal thread.
T-nuts would have been easier to mount, but I was using 1/2" threaded rod (about
the size of M12 thread), and I couldn't find any T-nuts larger than 3/8"
I was about to drill out holes slightly smaller than my nuts to start chiseling them out
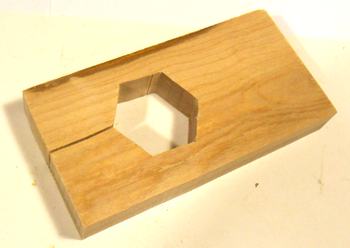
into hexagons, and I was thinking "it would be cool to have a machine for that".
My next thought was "Wait a minute, I HAVE a machine that can do that!"
So I drew a hexagon on a piece of wood, twice the size of the nuts, and cut that
out on the bandssaw to make a template for the pantorouter.
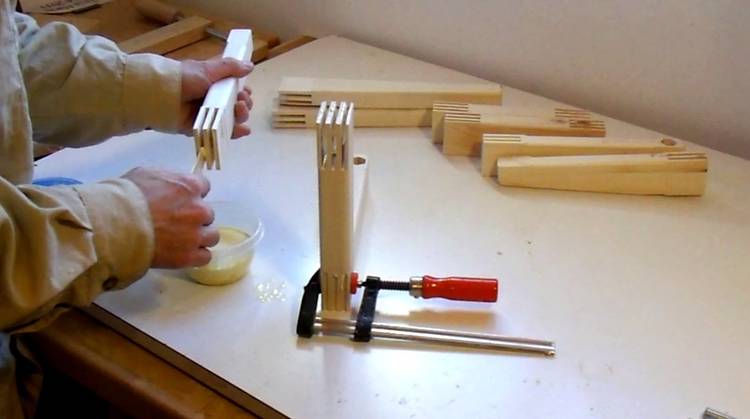
I routed all the edges with a roundover bit before putting the clamps together.
The short pieces on the "back" of the clamps was about 3/16" (5 mm) thicker, so
the clamps wouldn't lay completely flat on the router table once assembled.
Putting the clamps together. Note that the "back" piece of the clamp is a bit
thicker than the arms of the clamp. Stresses are greatest on that part of the clamp
and the joints, so it made sense to make that part thicker.
Rounding the corners of the clamp.
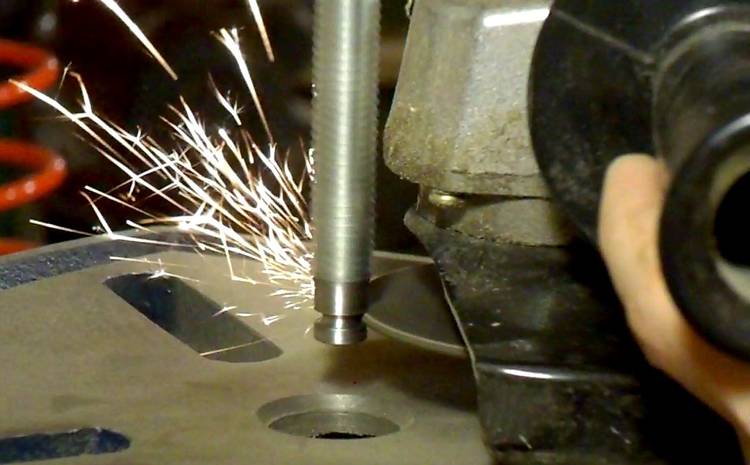
I needed to cut a sort of cylinder with a notch in it into the end of my threaded
rod. I found that using a drill press and angle grinder are quite effective
at shaping metal
Here's finishing up shaping the end of the rod.
The angle grinder leaves a rough surface, so after shaping the end, I smoothed
it a little bit with a finer grinding wheel on my bench grinder.
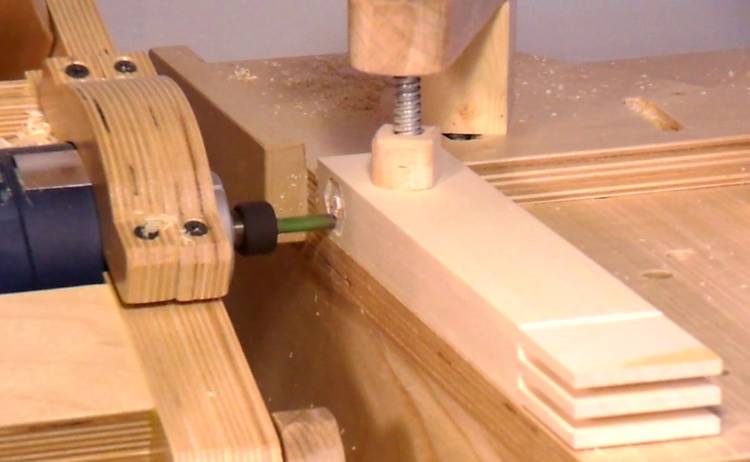
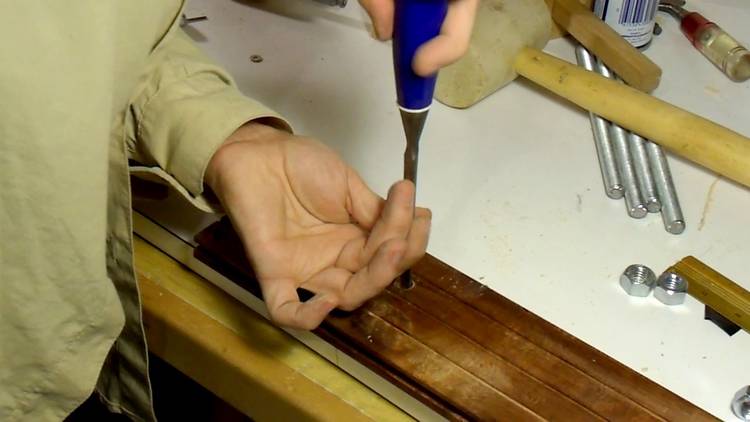
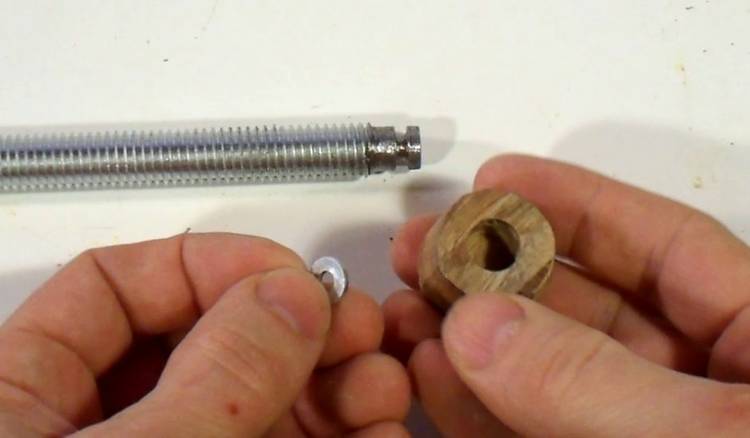
I needed some flat-bottomed holes in the pieces of wood to form the pads. Neither an
iron drill nor a brad point drill will make for a flat bottomed hole, and I didn't have
an endmill of the right diameter. So after drilling the holes, I twisted a chisel around
in the bottom of the hole to carve it flat.
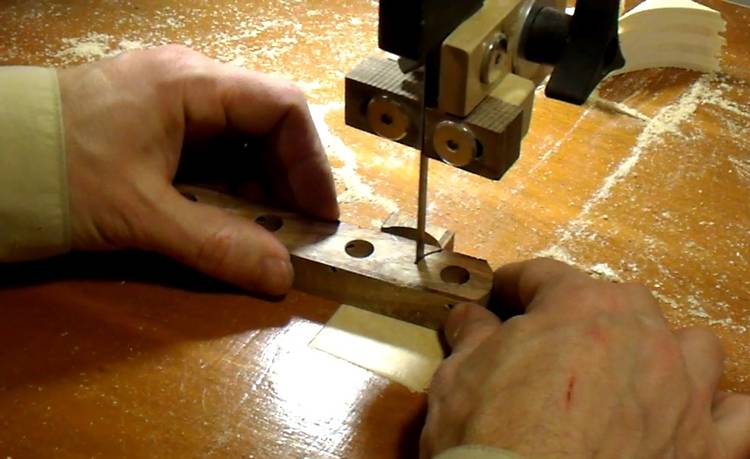
Cutting out the pads on the bandsaw.
So here's one of my pads and the threaded rod end. I placed a small washer in the
bottom of the pad so that the threaded rod wouldn't press and rub against the wood
while it's tightened.
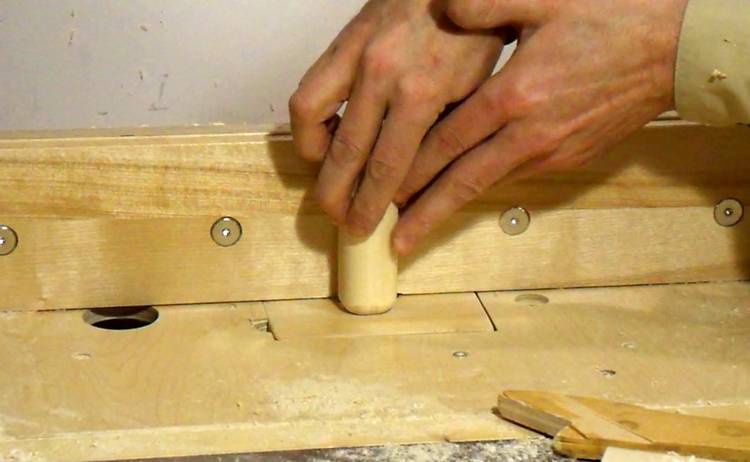
The pad is held in place with a pin (a nail, actually) that goes through the pad.
The pin intersects the main hole tangentially and fits into the neck at the end
of the threaded rod
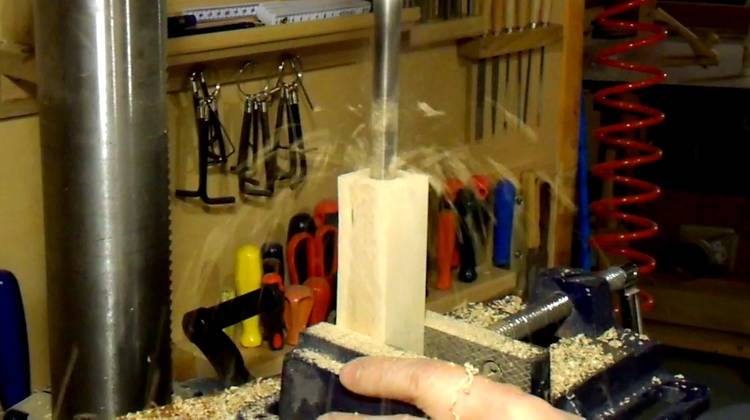
Making the handles
Making the handles. I drilled some 1/2" holes about 5 cm deep into my handle blanks.
Next I rounded the corners of my handles with a 1/2" radius roundover bit
I used that same roundover bit to round the ends of the handles.
This operation is a little bit iffy, so I had to be prepared to have the handle
thrown out of my hands. The key is placing the hands in such a way that
the fingers won't reach the router bit if that happens.
The handles are attached to the threaded rod by a pin that goes through the handle
and the threaded rod. Here I'm drilling the hole in the threaded rod. I had to
measure carefully before drilling the hole in the handle to make sure it would
line up with the hole in the rod.
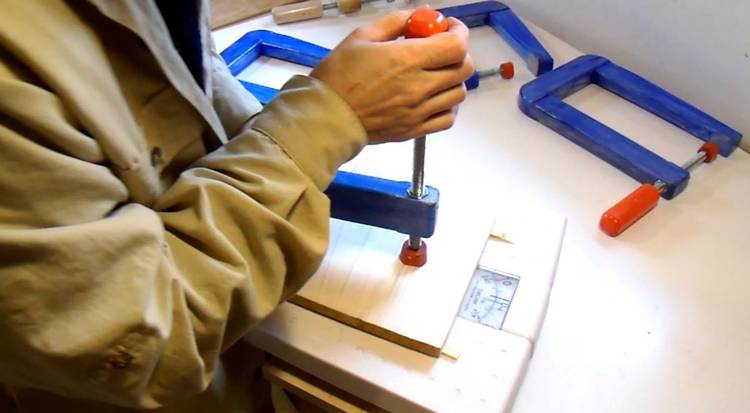
Testing one of the clamps with a bathroom scale. This clamp has a reach of 25 cm
(10"). The scale reads zero (click image to enlarge), but that is after it made
a full turn, so it's actually 260 pounds.
Uses for my long reach clamps
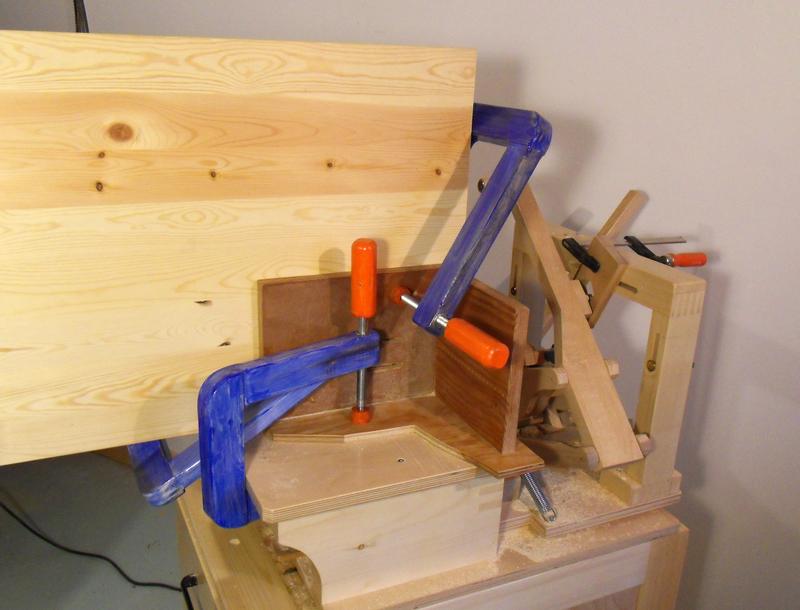
The clamps are really good for jigging up large and awkward stock. For example, if
I need to clamp a large panel to my pantorouter
or slot mortising machine
They are also very handy for jigging things up on the table saw; they can reach
around the fence rail with room to spare.
Also for clamping a fence to the bandsaw
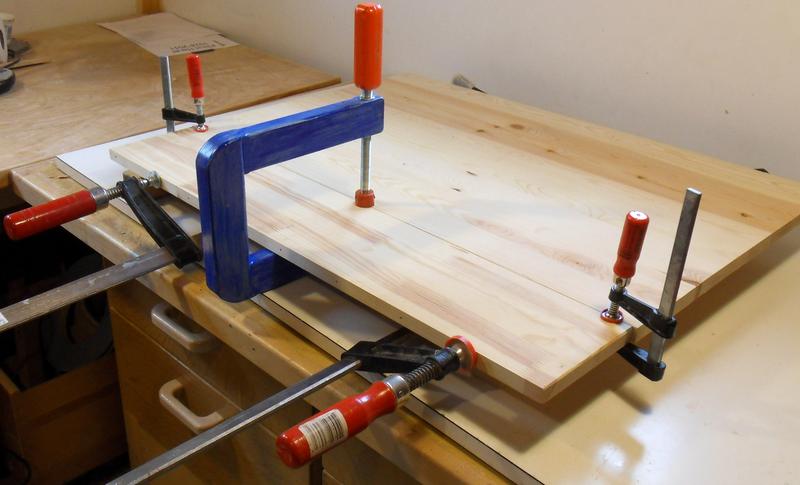
But the most important use is when gluing up panels. I usually put small clamps
on the edges of my glue joints to make sure the boards line up flush. But
the middle of the boards are often impossible to reach with regular clamps.
I'm still using those clamps. Not often, but I use them when no other clamp can reach.
Working on this table top, I found myself in need of a lot more long reach clamps, so I made
another batch of 6, these ones simplified quite a bit from the previous ones. Video below.
 After building the hold down clamp for my pantorouter,
I started thinking about building some more wooden clamps.
Sometimes I need to clamp something far enough from the edge that none of my
regular clamps can reach it.
So I figured I should try to build some really deep reaching C clamps out of wood.
After building the hold down clamp for my pantorouter,
I started thinking about building some more wooden clamps.
Sometimes I need to clamp something far enough from the edge that none of my
regular clamps can reach it.
So I figured I should try to build some really deep reaching C clamps out of wood.


 The pantorouter machine
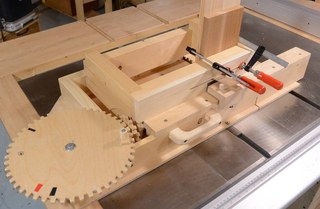 Screw advance box joint jig
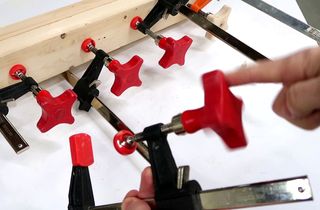 More ergonomic bar clamp handles
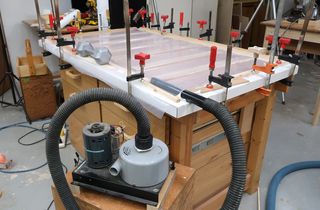 Vacuum clamping on the cheap
 Building a holddown clamp
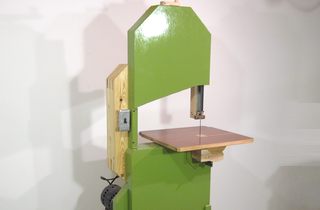 Homemade bandsaw
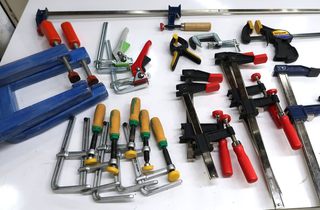 A box full of Microjig, and clamps that I like
 Bar clamp extender
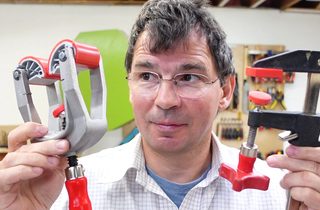 Bessey edge clamp vs F-clamp and wedge hack
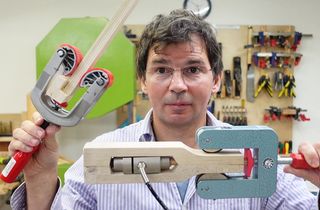 Homemade vs. store bought edge clamps