Why wood moisture content matters
 Because I wrote a fair bit about measuring moisture
and
wood shrinkage, Wagner Meters
offered to send me one of their contactless moisture meters for
free, on the basis that I'd use it for some of my articles.
Because I wrote a fair bit about measuring moisture
and
wood shrinkage, Wagner Meters
offered to send me one of their contactless moisture meters for
free, on the basis that I'd use it for some of my articles.
I had mixed feelings about doing that. I like free stuff, but I wouldn't want to get to the point where my videos start with "...brought to you by Powermatic...". Just not my thing. Plus I'd had a disagreement at some point with the makers of a dowel jig who claimed dowel joints are always stronger, even though my tests came out differently.
I don't think it would be much fun for me to just review the meter, so the focus of this article and video are going to be more about why wood moisture content matters.
 So why is wood moisture content so important? Because it causes the wood to
shrink and expand.
There will always be some seasonal changes, but the largest amount
of shrinkage happens when drying lumber from "green" to normal humidity levels.
So why is wood moisture content so important? Because it causes the wood to
shrink and expand.
There will always be some seasonal changes, but the largest amount
of shrinkage happens when drying lumber from "green" to normal humidity levels.
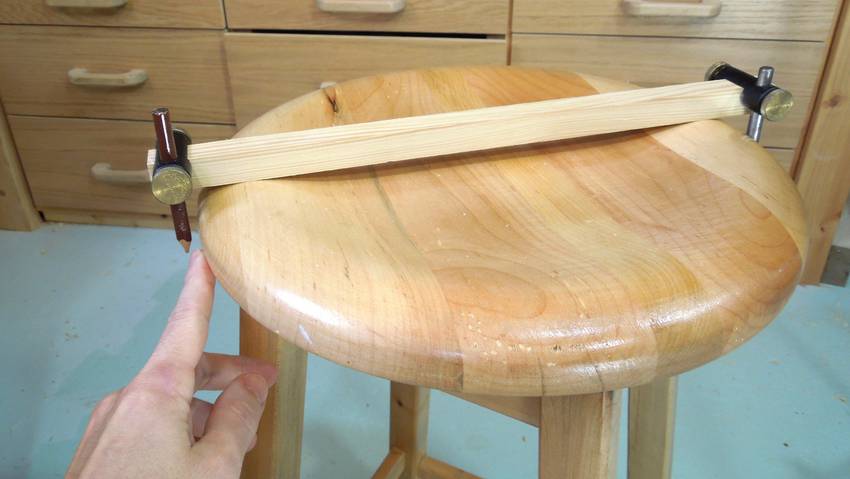
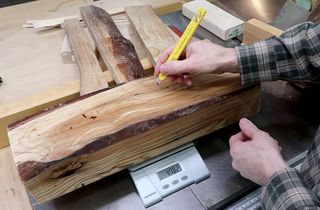
I made the seat of this stool on the lathe, so it was perfectly round. Out of curiosity, I set the trammel points to exactly span the top in the direction of the grain, then turned them to span the top perpendicular to the grain. You can see there's at least 5 mm (1/4") of shrinkage with respect to the length. I built that stool in the summer, and with drier winter humidity, it shrunk a bit.
One always has to take some amount of wood movement into account, but starting with wood that is sufficiently dry reduces the amount of change that furniture has to deal with.
 Wood hardly shrinks in length, but seasonal changes can easily be
a percent or more in width (perpendicular to the grain),
so any time pieces of wood join at an angle, one has to take
different rates of seasonal shrinkage into account.
Wood hardly shrinks in length, but seasonal changes can easily be
a percent or more in width (perpendicular to the grain),
so any time pieces of wood join at an angle, one has to take
different rates of seasonal shrinkage into account.
There are two ways of dealing with different rates of wood shrinkage. One way is to rigidly hold the wood in place to overpower wood movement. Plywood works that way. Most mortise and tenon joints also rely on this. I also relied on this with the cross grained overlapping joint of this bandsaw frame. The long direction of the pieces simply prevent the wood from shrinking or expanding by holding it in place.
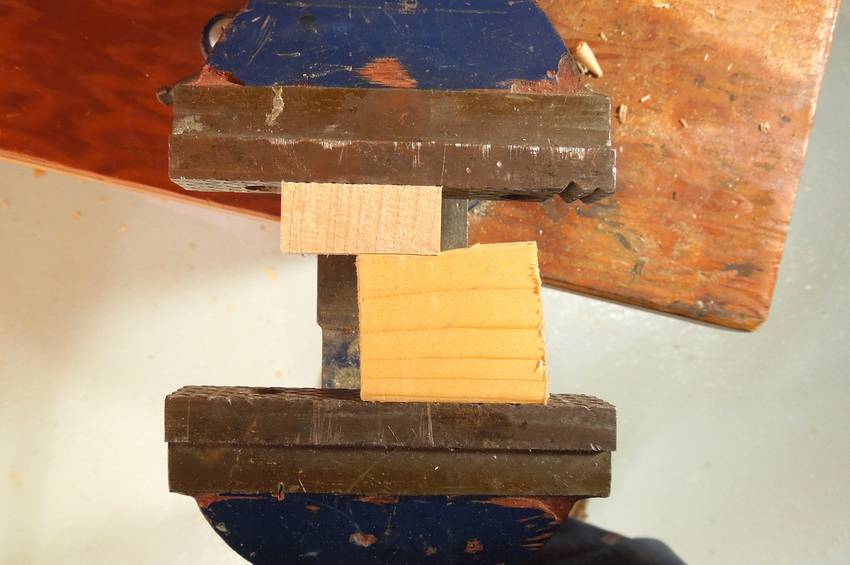 This works because wood has a fair bit of flexibility perpendicular to the grain.
For example, I could easily squish this piece of wood by 2 mm without
breaking it. Note how the other piece of wood, with the grain in the direction
of pressure, did not get compressed. Both pieces are from spruce.
This works because wood has a fair bit of flexibility perpendicular to the grain.
For example, I could easily squish this piece of wood by 2 mm without
breaking it. Note how the other piece of wood, with the grain in the direction
of pressure, did not get compressed. Both pieces are from spruce.
To overpower the wood, a joint has to be tight, with lots of gluing surface. Some people like the idea of really big mortise and tenon joints for workbenches, but that's actually not a good idea. If you have a really large tenon, the glue surface is probably not enough to "hold" it against wood movement and it will simply shrink and expand, breaking the glue joints around it. Any time you have a tenon that's thicker than maybe 15 mm (5/8"), you should consider switching to a double tenon joint instead.
 The other approach is to join the wood in a way that lets it move a little bit.
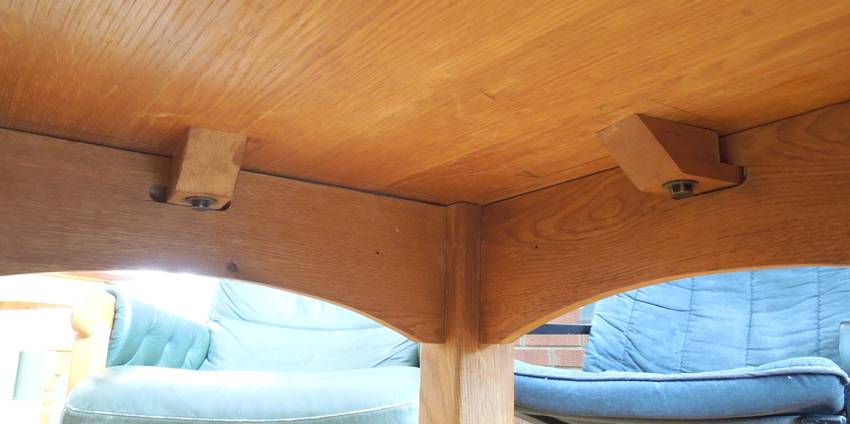
For example, with this coffee table, the top is attached to the frame with four little
blocks. When the top shrinks and expands seasonally, these can slide around
in the slots.
The other approach is to join the wood in a way that lets it move a little bit.
For example, with this coffee table, the top is attached to the frame with four little
blocks. When the top shrinks and expands seasonally, these can slide around
in the slots.
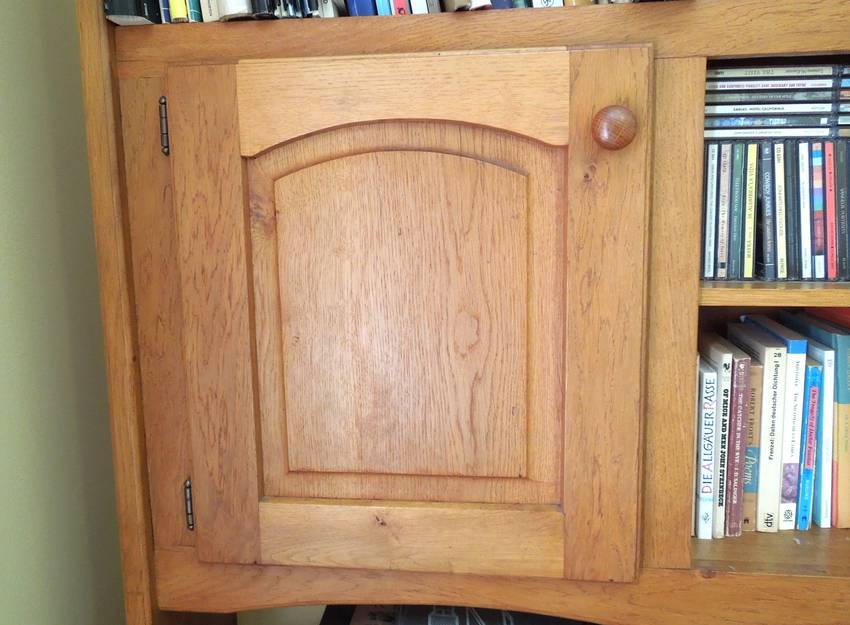 Another approach is used in raised panel doors. The way I like to see it,
raised panel doors were invented because people didn't have plywood.
Another approach is used in raised panel doors. The way I like to see it,
raised panel doors were invented because people didn't have plywood.
The central panel in a solid-wood raised panel door is held in slots in the rails surrounding it. With seasonal changes in moisture, the panel will change in width by a little bit. But instead of busting out of the frame or cracking apart, it just expands into the slots in the frame surrounding it. A beautiful solution to a classic problem.
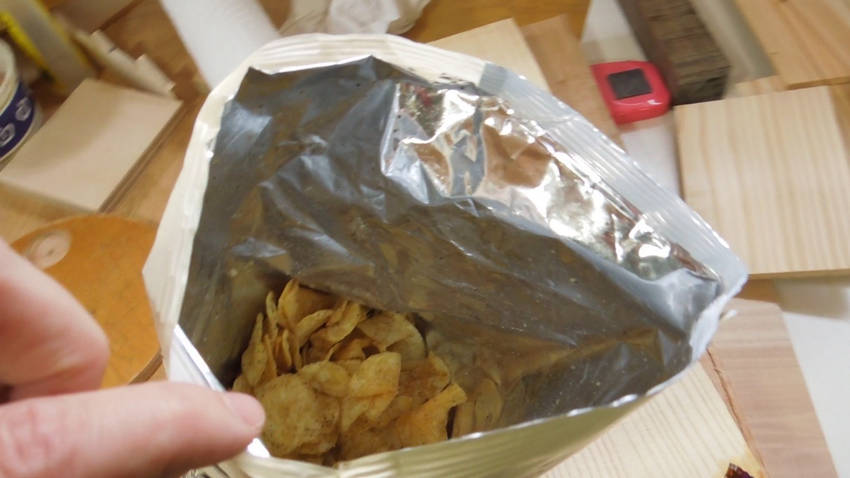 Sometimes when I point out aspects of people's design that will run into
problems with wood shrinkage, they say "I sealed it all with varnish, so there
isn't going to be any water coming in or out". True enough, varnish will greatly
slow down the rate at which moisture can get in and out of the wood, but it's not
impermeable. Neither are plastics. That's why potato chip bags are shiny on
the inside. A thin layer of aluminium on the inside of the bag is needed to stop
moisture from slowly getting through the plastic.
Sometimes when I point out aspects of people's design that will run into
problems with wood shrinkage, they say "I sealed it all with varnish, so there
isn't going to be any water coming in or out". True enough, varnish will greatly
slow down the rate at which moisture can get in and out of the wood, but it's not
impermeable. Neither are plastics. That's why potato chip bags are shiny on
the inside. A thin layer of aluminium on the inside of the bag is needed to stop
moisture from slowly getting through the plastic.
 With or without varnish, changes in wood moisture content take a long time
to happen, so it's hard to appreciate that anything happens at all.
With or without varnish, changes in wood moisture content take a long time
to happen, so it's hard to appreciate that anything happens at all.
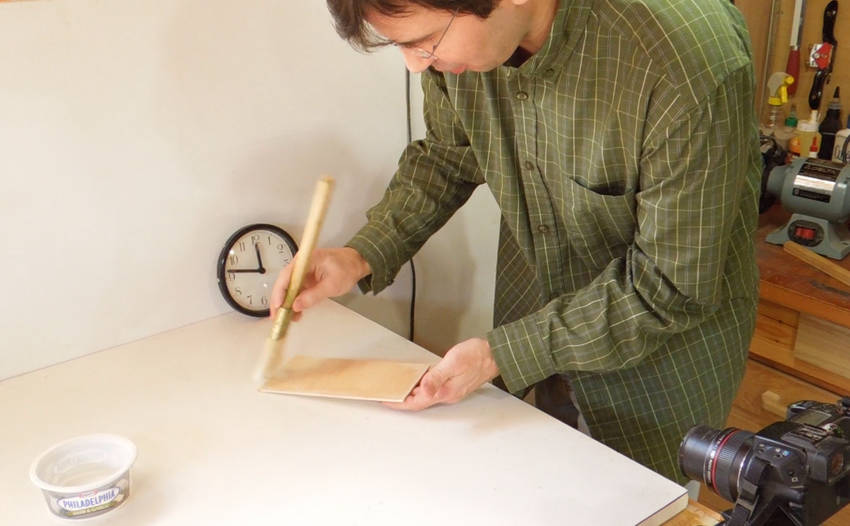
But I came up with a neat experiment that shows a significant effect in half an hour.
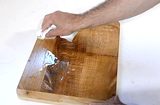
I used a thin piece of hardwood, just 4 mm thick, but 20 cm wide. I then brushed water onto one side of it, and placed it, wet side down, on the table. Then I waited...
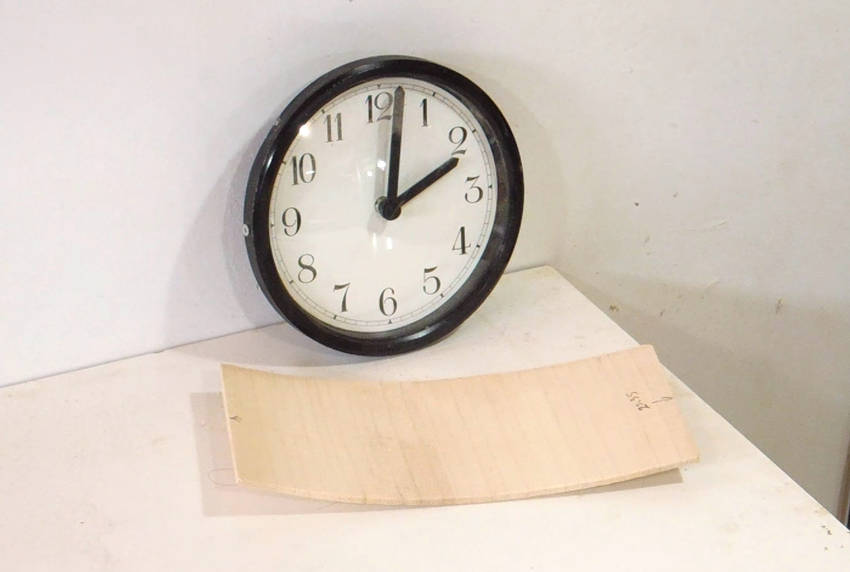 Within ten minutes, I could see the wood was starting to bow, and two hours later,
the wood had bowed quite a lot. This is all from the moisture migrating into
the wood, causing it to expand on that side. The expansion is
perpendicular to the grain, but this piece has the grain running
along the short edge of the wood, so it arches along the long edge.
Within ten minutes, I could see the wood was starting to bow, and two hours later,
the wood had bowed quite a lot. This is all from the moisture migrating into
the wood, causing it to expand on that side. The expansion is
perpendicular to the grain, but this piece has the grain running
along the short edge of the wood, so it arches along the long edge.
This sort of thing happens much faster with thin pieces of wood, and applying water directly also speeds it up. With thicker pieces of wood, without getting water on them directly, moisture changes take weeks. Though initial drying from green to dry takes much longer - on the order of a year.
There was no trace of wetness on the bowed board two hours later. I forced the piece of wood flat on the table two hours later and measured it's width, and it had at that point gained 1.5 mm. Unfortunately, this piece of wood was too thin to measure its moisture content with the Wagner meter.
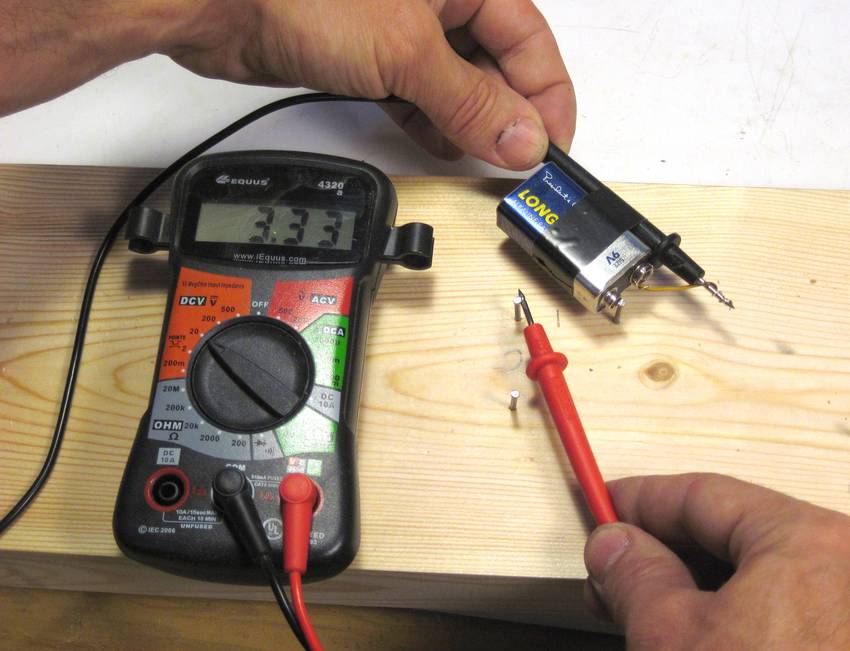 I have previously experimented with a
cheap moisture meter that broke, and then experimented with using a regular multimeter
to measure moisture content. The problem with either approach is that it required
me to drive some prongs or nails into the wood to take a reading, and so I couldn't just use
it to make a quick check.
I have previously experimented with a
cheap moisture meter that broke, and then experimented with using a regular multimeter
to measure moisture content. The problem with either approach is that it required
me to drive some prongs or nails into the wood to take a reading, and so I couldn't just use
it to make a quick check.
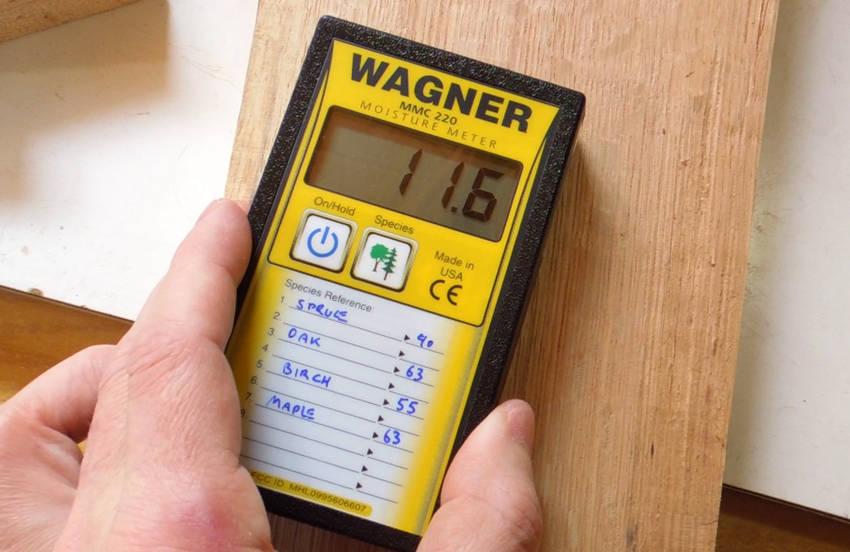
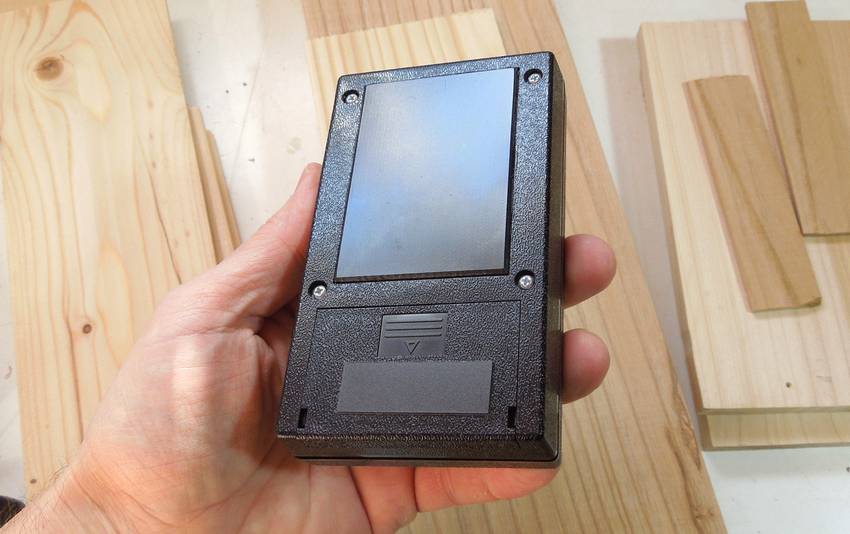 The Wagner meter also uses electrical properties of the wood to measure
moisture content.
But instead of prongs, it has just a flat back and uses high frequency
and capacitative coupling to "connect" to the wood.
This is true for all contactless moisture meters.
The Wagner meter also uses electrical properties of the wood to measure
moisture content.
But instead of prongs, it has just a flat back and uses high frequency
and capacitative coupling to "connect" to the wood.
This is true for all contactless moisture meters.
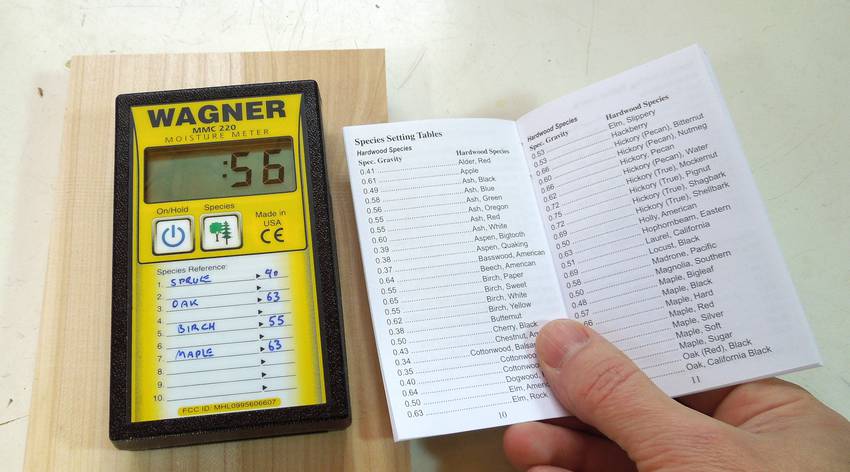 The electrical properties of wood are a function of moisture content
and wood density, though moisture content has a much greater effect
than density.
To get a fully accurate reading, the meter needs to compensate for density.
The meter comes a little booklet to look up the typical wood
density by species and then enter it into the meter. The process is a bit cumbersome.
The electrical properties of wood are a function of moisture content
and wood density, though moisture content has a much greater effect
than density.
To get a fully accurate reading, the meter needs to compensate for density.
The meter comes a little booklet to look up the typical wood
density by species and then enter it into the meter. The process is a bit cumbersome.
Cheap meters, like the one I had previously experimented with, don't allow you to compensate for wood species and density at all. You just know that they will read higher for heavier woods, so you sort of have to mentally compensate.
I can't say that either approach is better. I wish the Wagner meter always showed the entered density on the screen. As it is, it's too easy to set the density incorrectly and then forget about it.
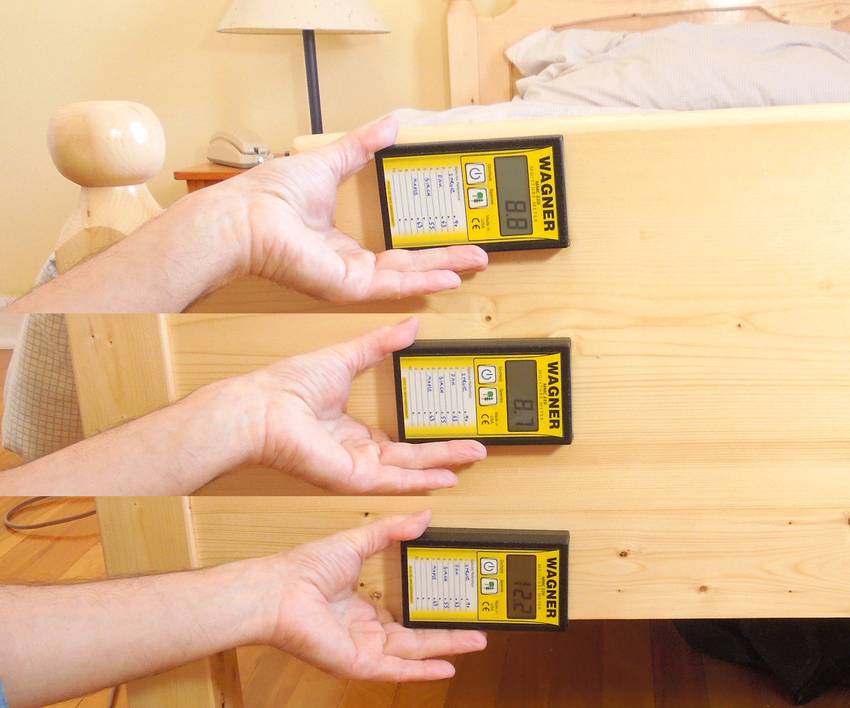 Even if you look up the wood density and set it, there can be considerable
variations in density within the same species.
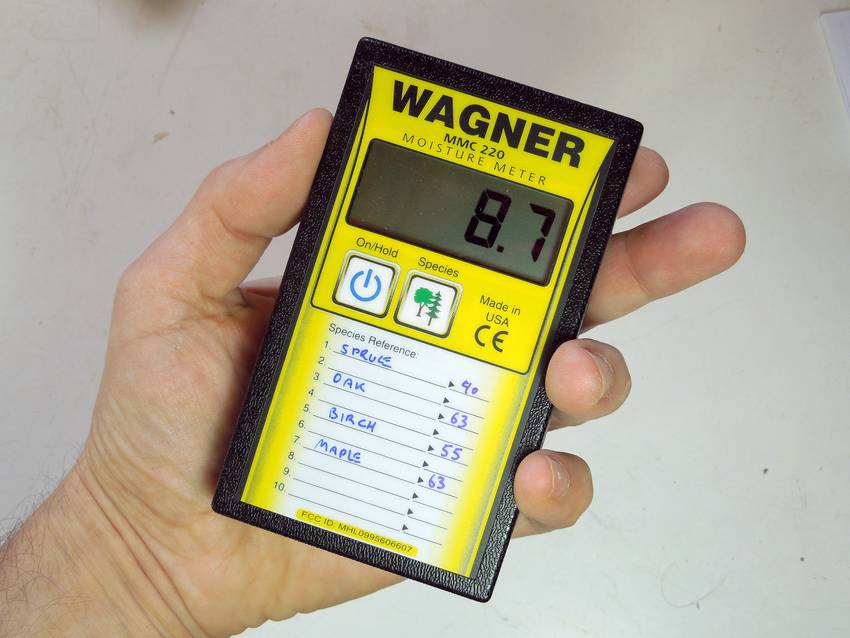
Take this bed footboard, for example. It's all
spruce and has been in the same spot for years, so it should all have the same relative
moisture content. Yet it reads 8.7 for the top part and 12.2 for the bottom-most
part of that lamination. Spruce varies in density more than any other species
that I have encountered. I also found spruce varied quite a lot in
hardness when I did my hardness test.
Some samples are very soft, some as hard as oak.
Even if you look up the wood density and set it, there can be considerable
variations in density within the same species.
Take this bed footboard, for example. It's all
spruce and has been in the same spot for years, so it should all have the same relative
moisture content. Yet it reads 8.7 for the top part and 12.2 for the bottom-most
part of that lamination. Spruce varies in density more than any other species
that I have encountered. I also found spruce varied quite a lot in
hardness when I did my hardness test.
Some samples are very soft, some as hard as oak.
Having said that, this problem is not unique to the Wagner meter. Any electrical method of measuring moisture content is going to be affected by wood density.
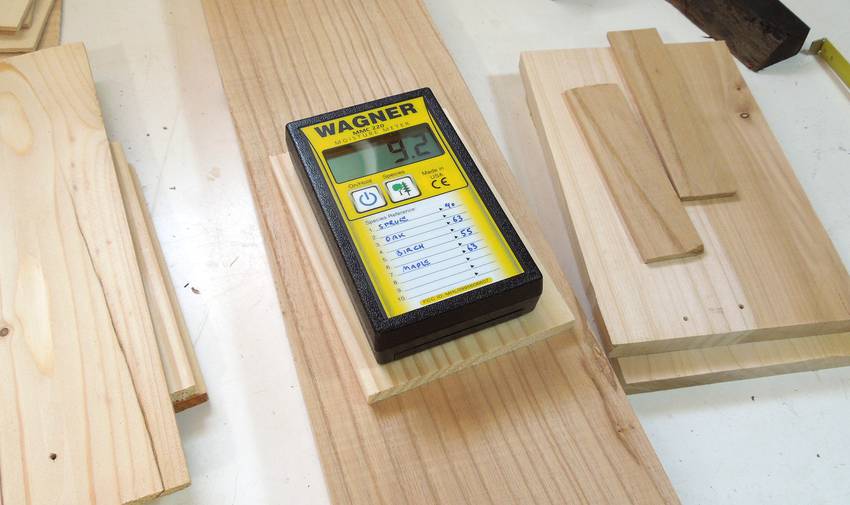 The instruction booklet says that the meter measures a 1 1/2 x 2 1/2 x 3/4" thick
area of wood (38 x 65 x 19 mm) and that the meter measures a relatively large
cross-sectional area. I was curious about how deep this meter measures.
I found that even with 3/4" thick pieces of wood, placing another piece of wood,
or my hand behind it still affected the reading. So the readings
penetrate quite deep.
The instruction booklet says that the meter measures a 1 1/2 x 2 1/2 x 3/4" thick
area of wood (38 x 65 x 19 mm) and that the meter measures a relatively large
cross-sectional area. I was curious about how deep this meter measures.
I found that even with 3/4" thick pieces of wood, placing another piece of wood,
or my hand behind it still affected the reading. So the readings
penetrate quite deep.
Experimenting with layering different densities of wood and measuring the stack, I found that whatever sample occupied the first 1/4" (6 mm) of depth dominated the readings. I'd say about two thirds of the meter's reading are from the first 6 mm of wood. So the meter wouldn't really be able to tell you if a 1.5" (38 mm) thick piece of lumber still has residual moisture in the middle.
 I also found that I needed to use smooth
planed lumber for these tests. Any gaps or roughness between the layers
could throw it off. The meter also needs a fairly flat surface to measure
against. A chainsawed surface is not flat enough, and very rough unplaned
boards can be marginal.
I also found that I needed to use smooth
planed lumber for these tests. Any gaps or roughness between the layers
could throw it off. The meter also needs a fairly flat surface to measure
against. A chainsawed surface is not flat enough, and very rough unplaned
boards can be marginal.
Wagner says the meter measures much deeper than pin type meters, and I'm inclined to agree with that. Though if I were to drive some nails all the way through the wood and use my method I could measure all the way through. But that's not really practical. Imagine if a lumber yard did that, and then conveniently left the nails in the wood so that you could then "discover" them with your thickness planer! It might be more practical to cut a sample board in half and then measure it.
Fact is, I haven't used my nails method since I came up with it, so that is, in a way, a vote for contactless moisture meters. If something is too inconvenient, you end up not using it very much. The Wagner meter definitely wins on that front!
See also:
 How long does wood take to dry (faster than I thought it would)
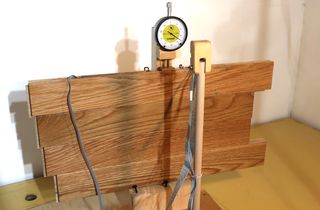 How long for floor boards to acclimatize -- experiments
 Measuring moisture
 Measuring seasonal
 Wood grain macro photography
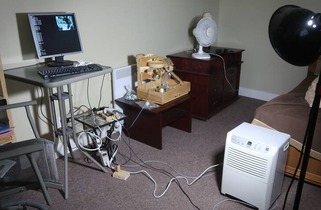 Of dehumidifiers, moisture and vapour barriers - experiments
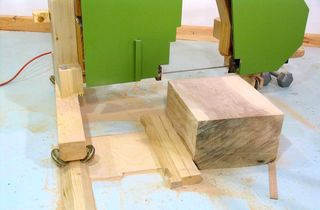 Homemade sawmill
 A simple wood
hardness test
 Warp-free cutting board
Back to my Woodworking website