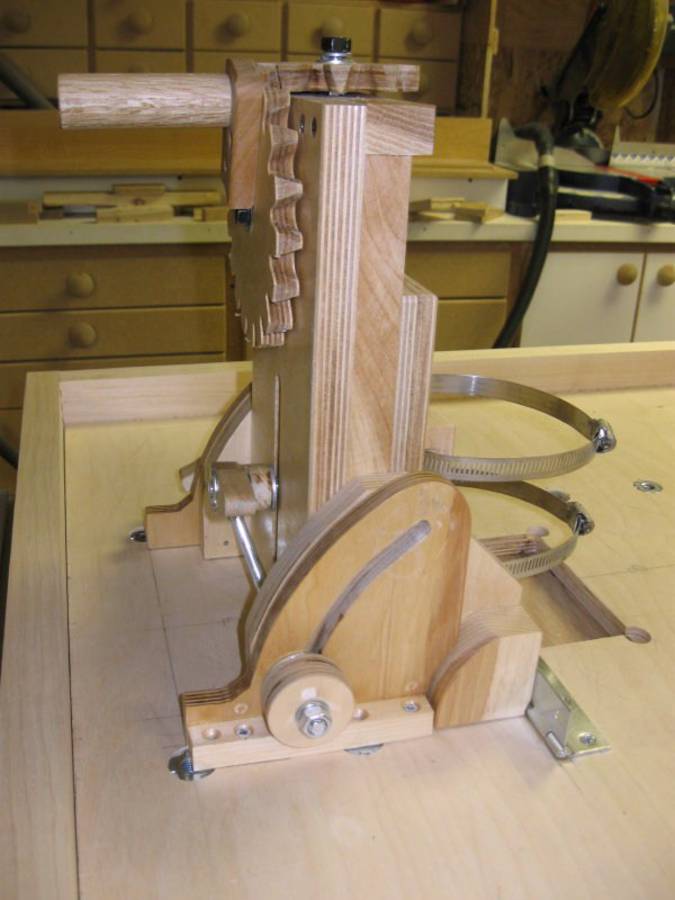
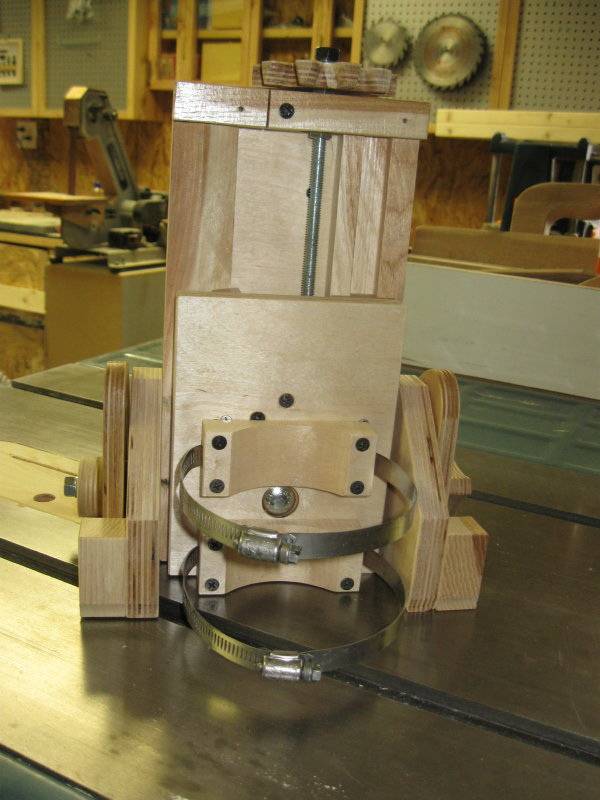
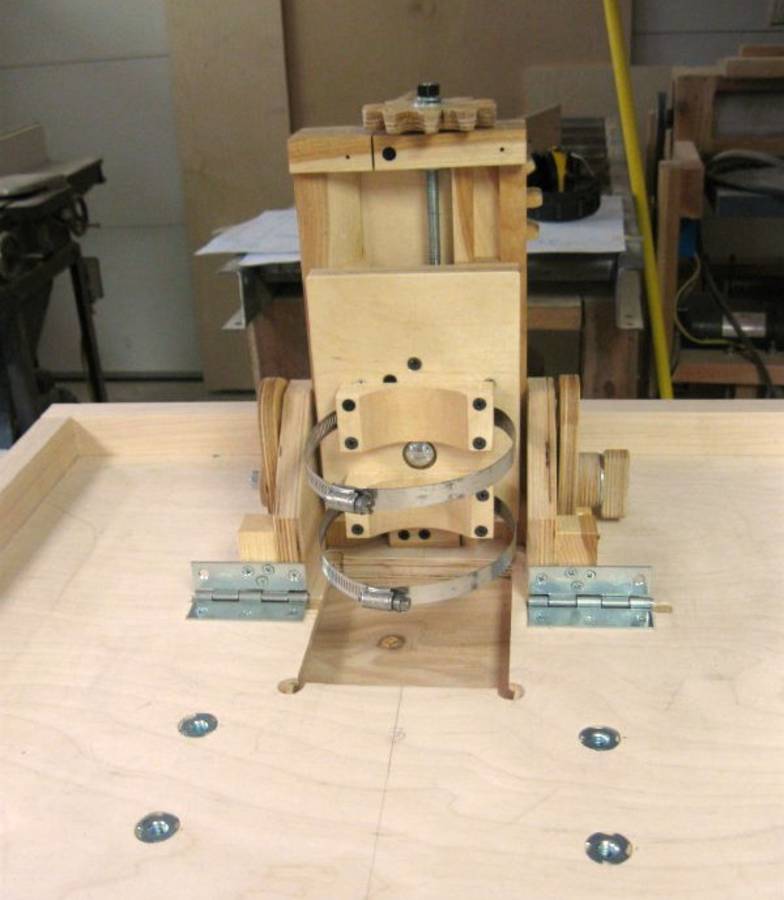
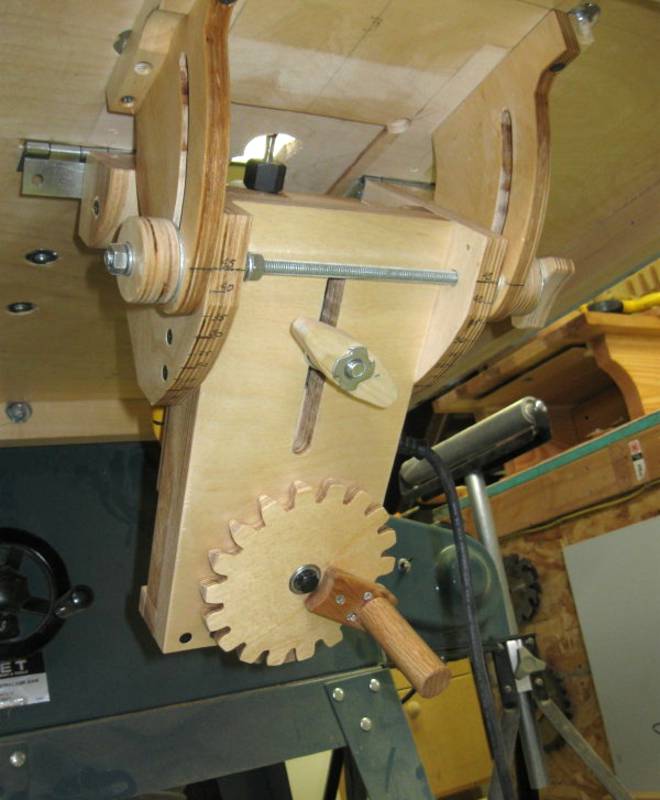
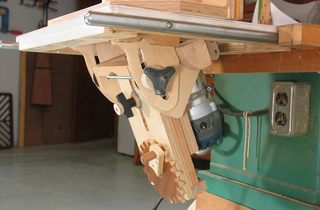
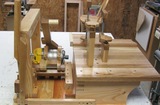
Lee Zimmer's tilting router lift
 Lee Zimmer sent some pictures of his tilting router lift. Very nice build.
Lee also has a larger collection of pictures of the router lift build on
his gallery on photobucket.com

| 
|
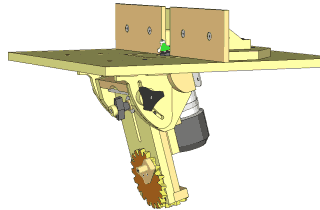
Tilting router part patterns ready to cut. | These bevelled gear teeth were a snap to cut with my new DeWalt scrollsaw because the table tilts both ways. |
| 
|
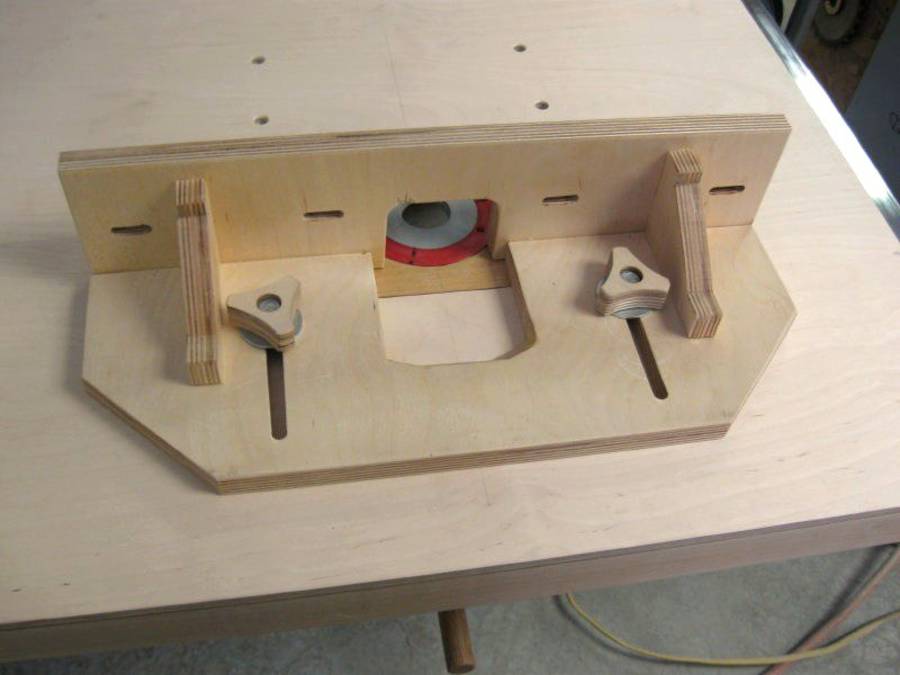
The lift mounts covered the t-nuts which hold the fence in | Marked degrees of tilt on the lift. |
| 
|
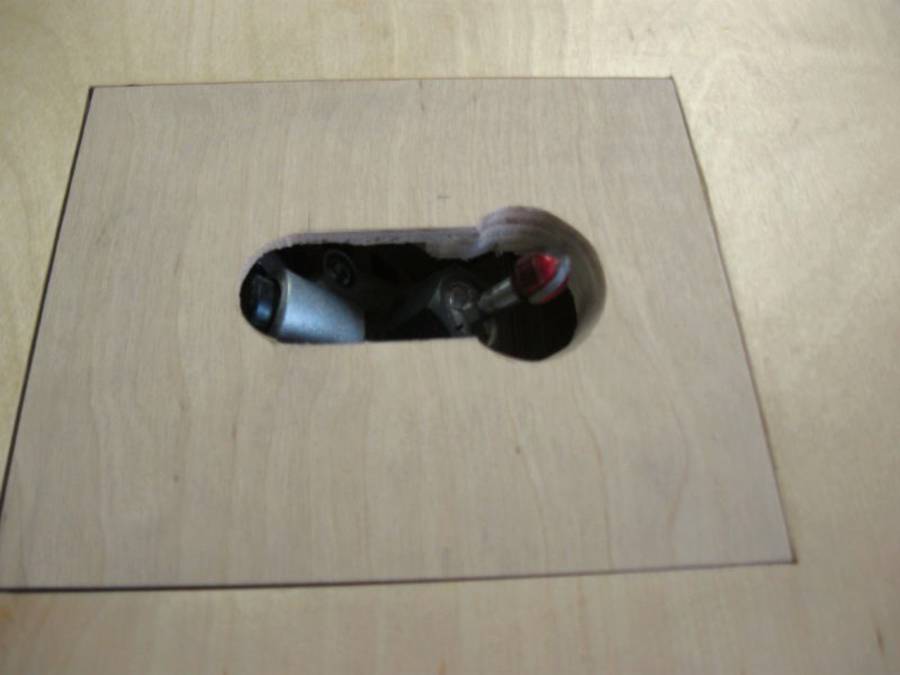
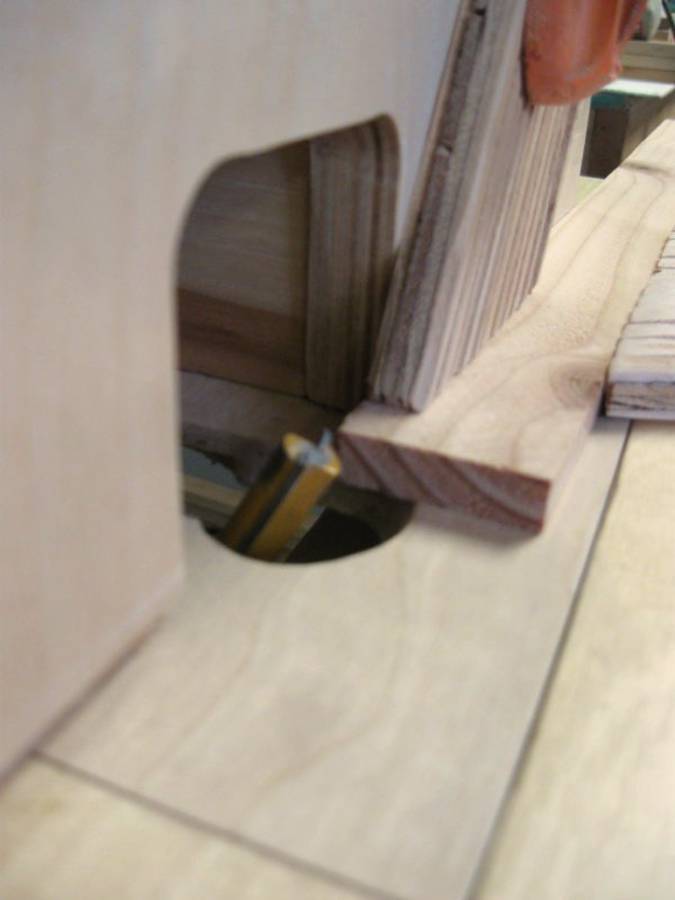
New insert to accommodate the full range of motion of the router. |
My table saw had a 10" stamped steel wing extension. |

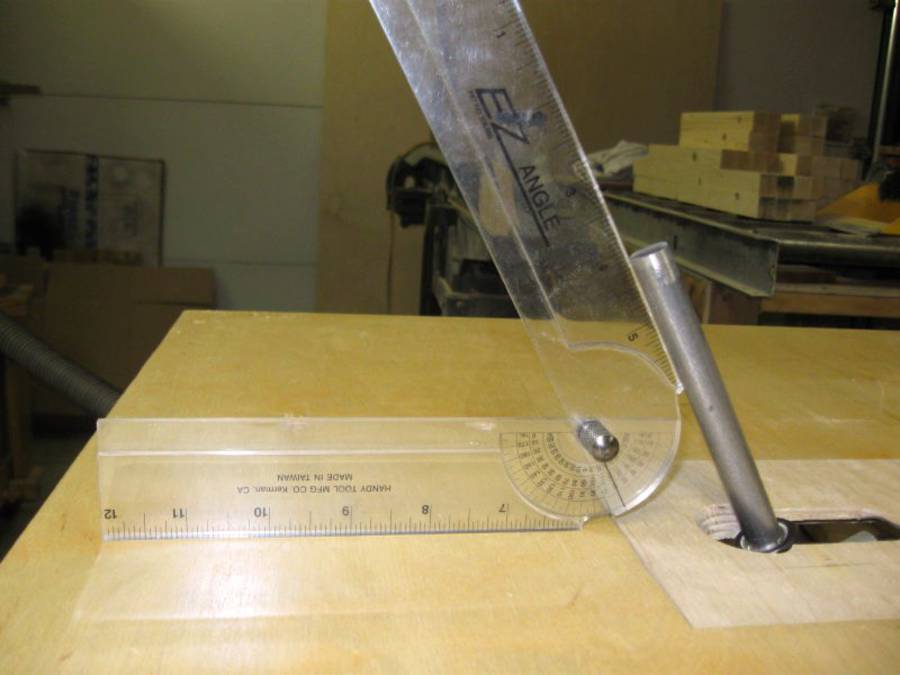
How do you set an accurate degree of tilt? Mount a 1/2" piece of rod
into the router and check the degree of tilt with a compass. Maybe one
of those magnetic readers would work but I don't have one.
|
|
|

| 
|
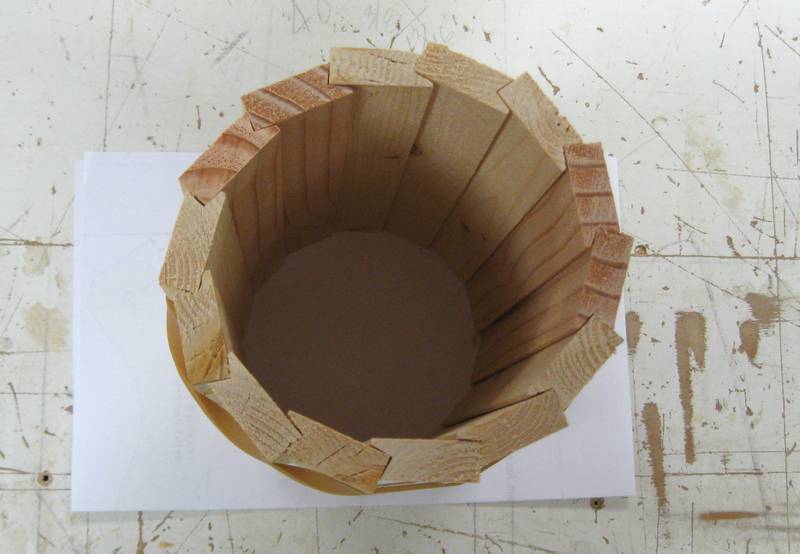
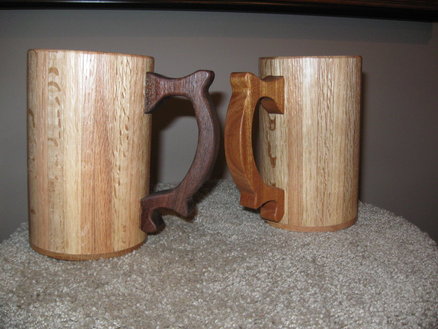
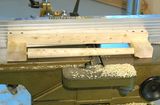
I have sanded the outside of the mug barrel. The inside is next. | This is the sanded pine mug barrel waiting for a bottom and a handle. |
What is this for?
My son and his family are big into the Renaissance Fair experience. They dress in the period costumes, live in period style tents, and partake in the various reenactments during the fair. He asked me if I could make them some period mugs.
See also:
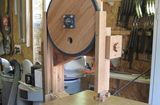 Lee Zimmer's bandsaw |
 More about the Tilting router lift |
 Lee Zimmer's Pantorouter |
 Tilting router lift plans |
 Conic dowels and spindles on the jointer |