When I last made a try square, I made it from two pieces of solid wood with a fancy
box joint joining them, but, when the glue dried, it went marginally out of square
and I had to trim it slightly. This time, I figured I'd just cut it from Baltic birch
plywood.
But made from plywood, I figured the edges might eventually get marred, so I
glued on some very hard exotic wood to the long part of the square.
I also glued on a wider part to the base of it, also made of exotic hardwood.
This will allow the square
to be placed against the edge of a piece of wood, and not flip down if you
let go of it. It also allows the square to stand on end on its own.
Though I was careful, when I checked it against a trusted framing square, I found
the inside long part was out of square by about 0.2 mm along it's length, so
I trimmed it on the table saw to fix that.
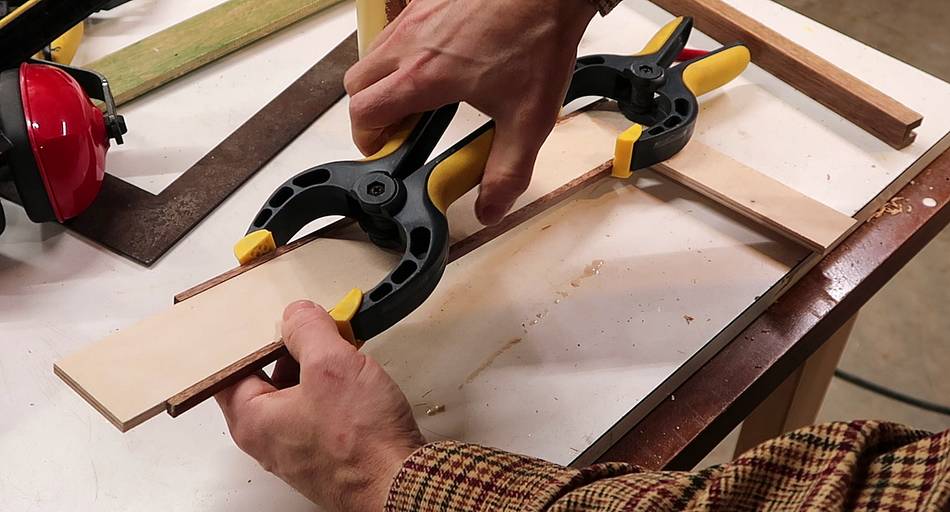
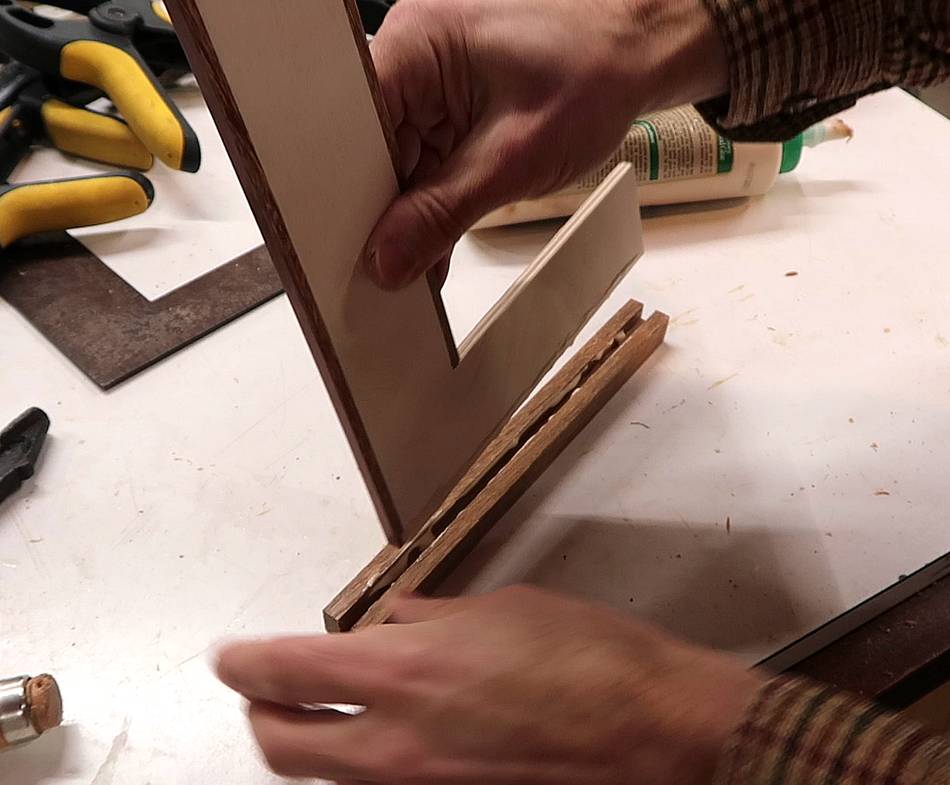
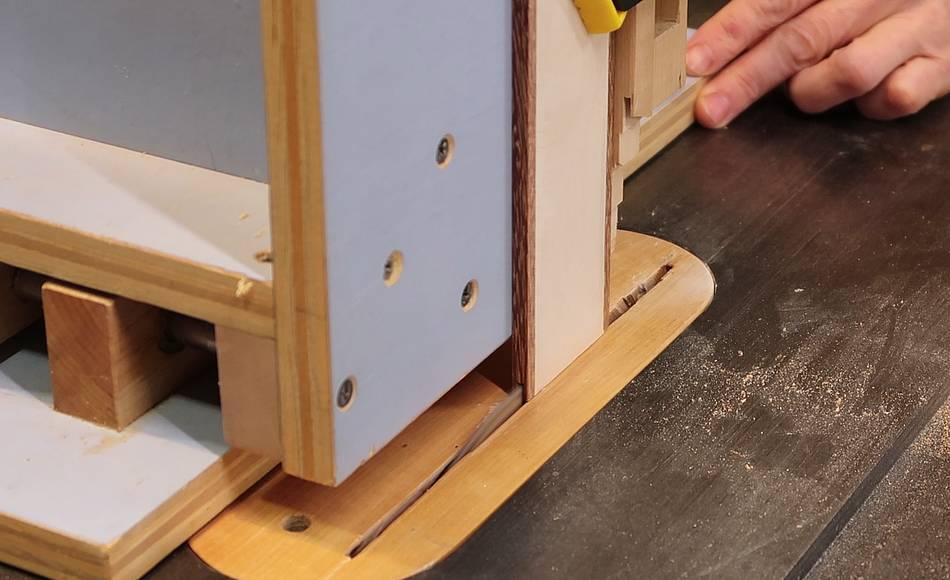
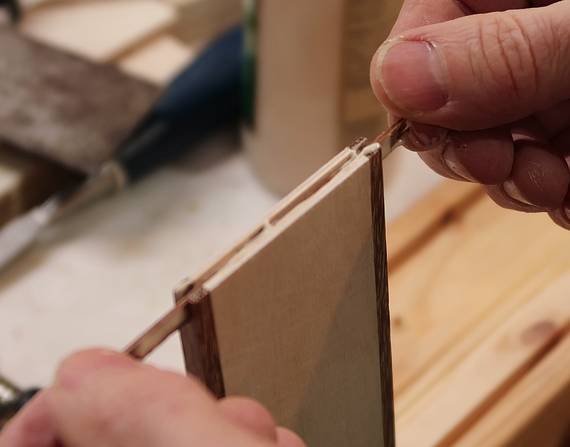
I was worried the exotic hardwood trim might start to crack off if the square
was dropped too many times. So I cut a slot in the end and glued in a spline
to tie the trim to the main body of the square.
Clamping squares
A few years ago I made some clamping squares (you can see one of the old ones
on the table saw in this shot). These are used like corner clamps, basically,
clamped to a corner of something to make sure it's square while it's clamped
and the glue dries (examples here
and here).
These are super handy, so I wanted another set for my new basement workshop.
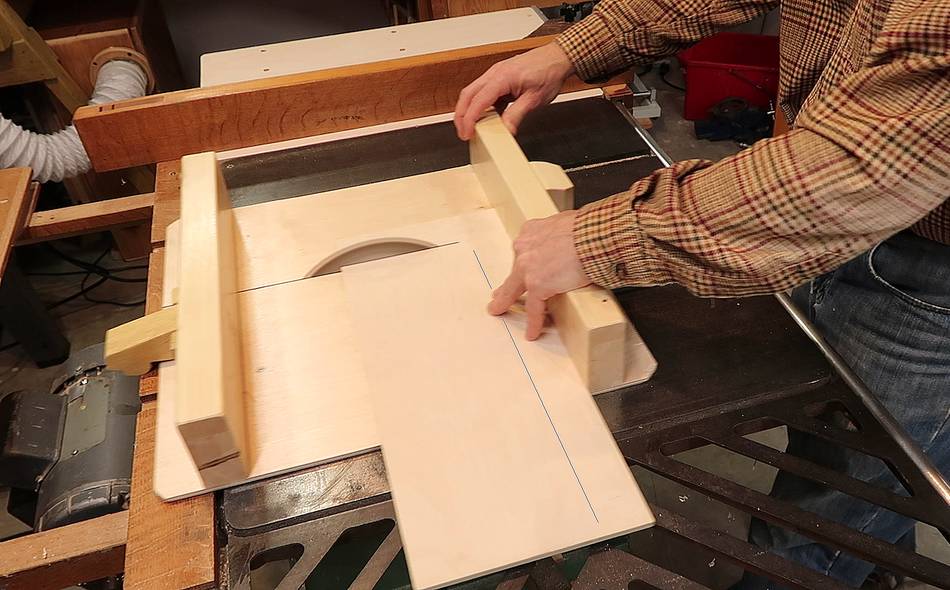
My old squares were made out of solid maple with a very layered box joint
at the corner. The joint is the weakest part of the square because I had
to cut away half the wood from each piece for the joint, so I figured,
why not just make the whole square out of Baltic birch plywood. The straight
parts really don't need to be any stronger than the corner.
I didn't have plywood thick enough, so I glued together some 18 mm plywood
and some 9 mm plywood, making these 27 mm thick.
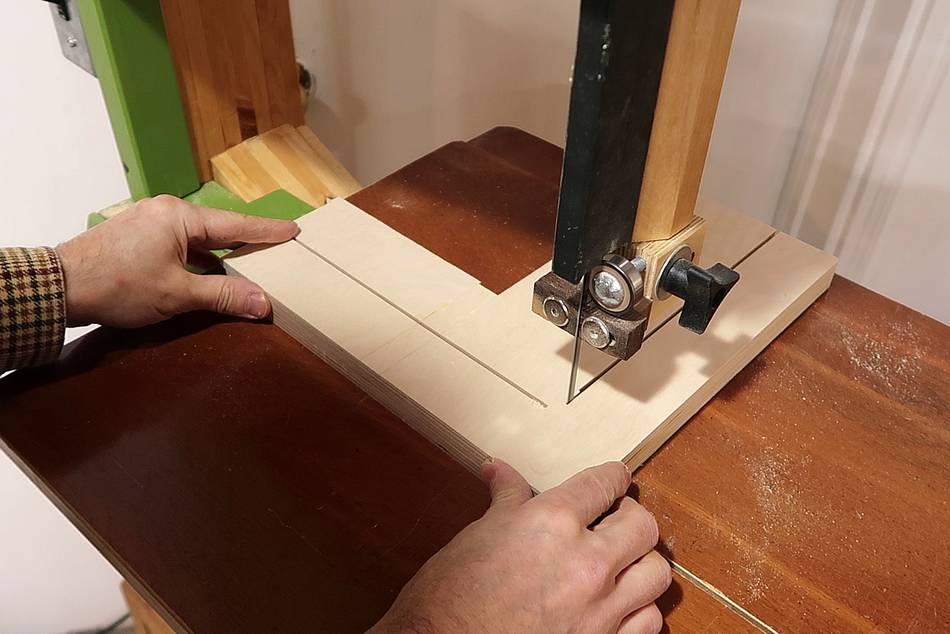
I cut the insides as far as I could with the table saw, then finished the
cut on the bandsaw.
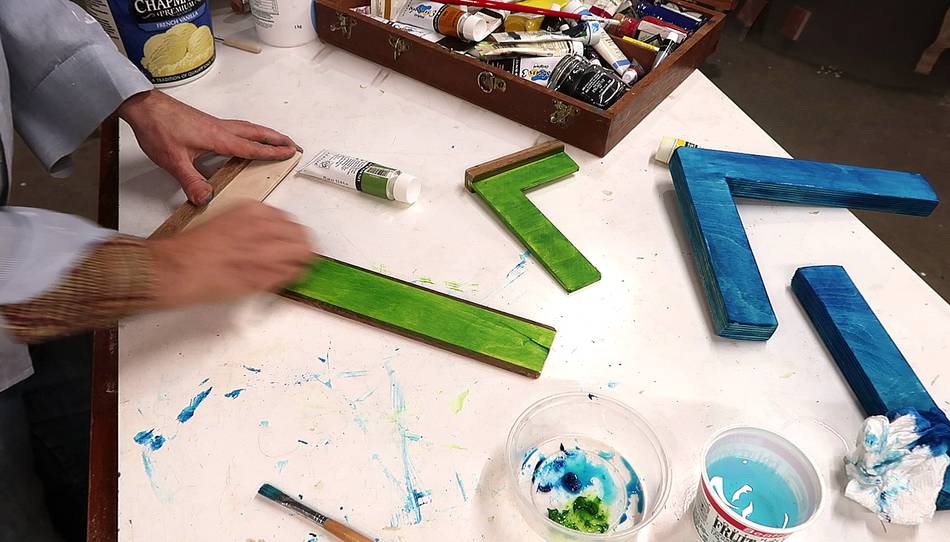
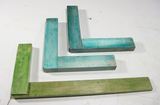
I painted all the squares so they would stand out from various scraps of wood
and workpieces on my workbench. Then two coats of varnish so glue doesn't
stick to them.
The tool wall is actually one I
made for my big garage workshop
but moved to the basement after I moved my good tool wall from my
old basement shop into the big garage.
The workbench was also originally
in the big garage workshop as well.
 When I last made a try square, I made it from two pieces of solid wood with a fancy
box joint joining them, but, when the glue dried, it went marginally out of square
and I had to trim it slightly. This time, I figured I'd just cut it from Baltic birch
plywood.
When I last made a try square, I made it from two pieces of solid wood with a fancy
box joint joining them, but, when the glue dried, it went marginally out of square
and I had to trim it slightly. This time, I figured I'd just cut it from Baltic birch
plywood.


 Old (2009) version of making squares article
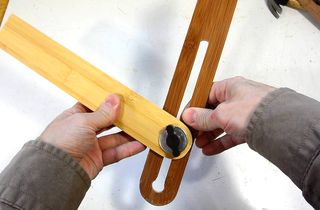 Making a bevel gauge
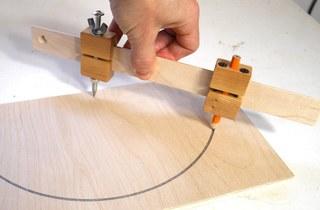 Trammel points compass
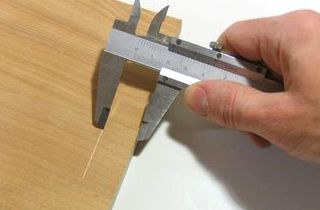 Callipers as
  Table saw fence