Dolly movable workbench
April 2018
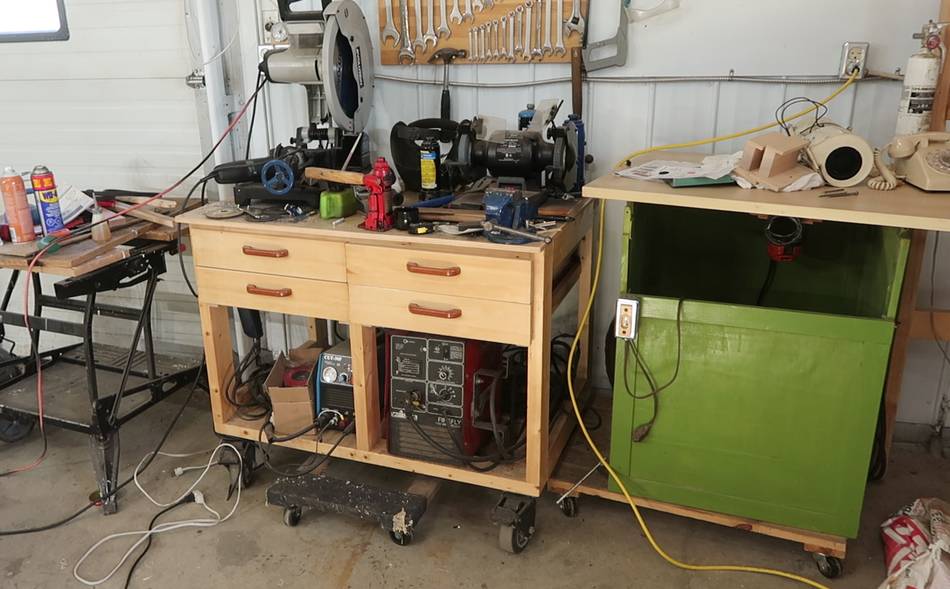
 I built this workbench two years ago for my
metal working stuff, but it's always a mess.
Maybe I'm disorganized, or maybe the workbench isn't big enough.
I built this workbench two years ago for my
metal working stuff, but it's always a mess.
Maybe I'm disorganized, or maybe the workbench isn't big enough.
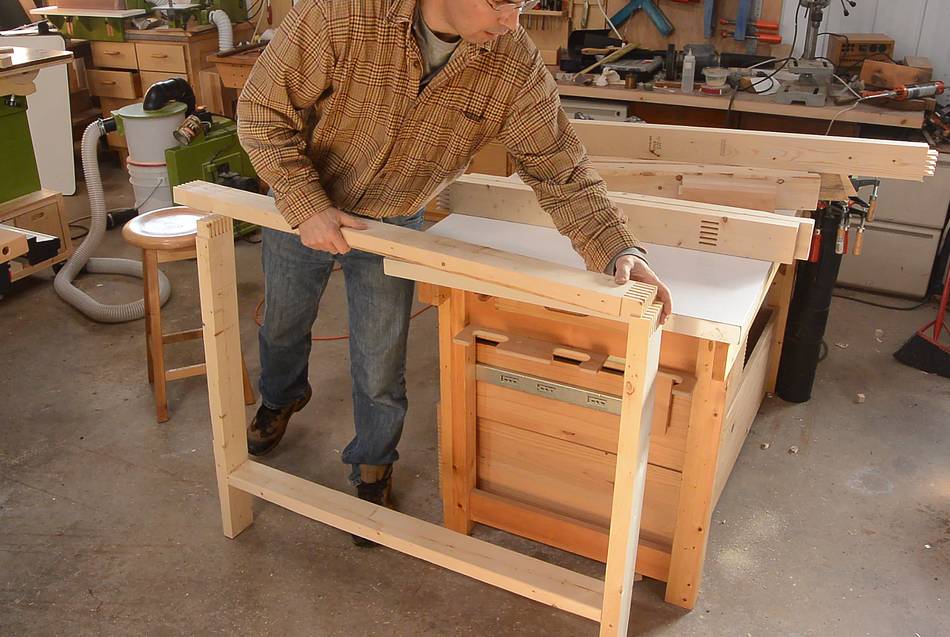
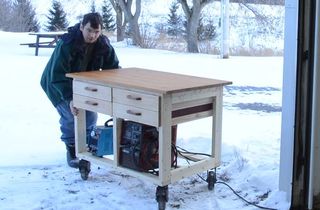
I decided to build another workbench about the same size to go next to it, but this workbench would also need to be easily movable to get the scaffold out of that corner of the shop.
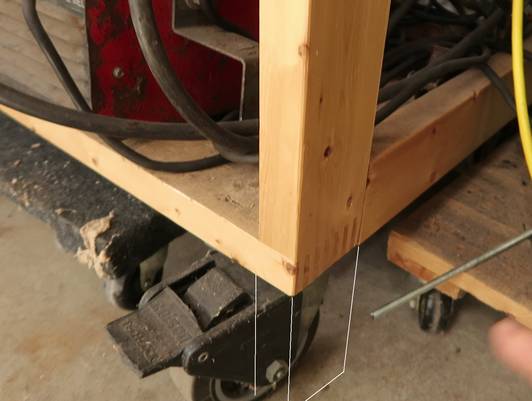
But rather than have a workbench on wheels, I figured I should make it so it's easy to move with a dolly (inspired by my table saw dolly mover). So the legs on this one will go all the way to the floor (see picture at right).
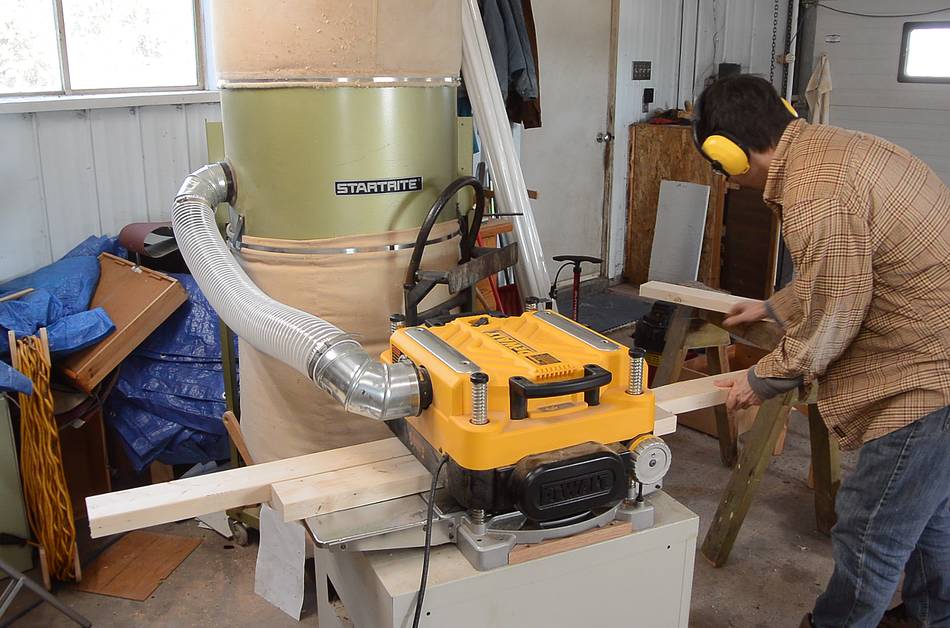 I'm using regular 2x4s. As usual, I started by jointing and planing 0.5 to 1 mm
off each side to make the wood smoother, more accurate and better looking.
I'm using regular 2x4s. As usual, I started by jointing and planing 0.5 to 1 mm
off each side to make the wood smoother, more accurate and better looking.
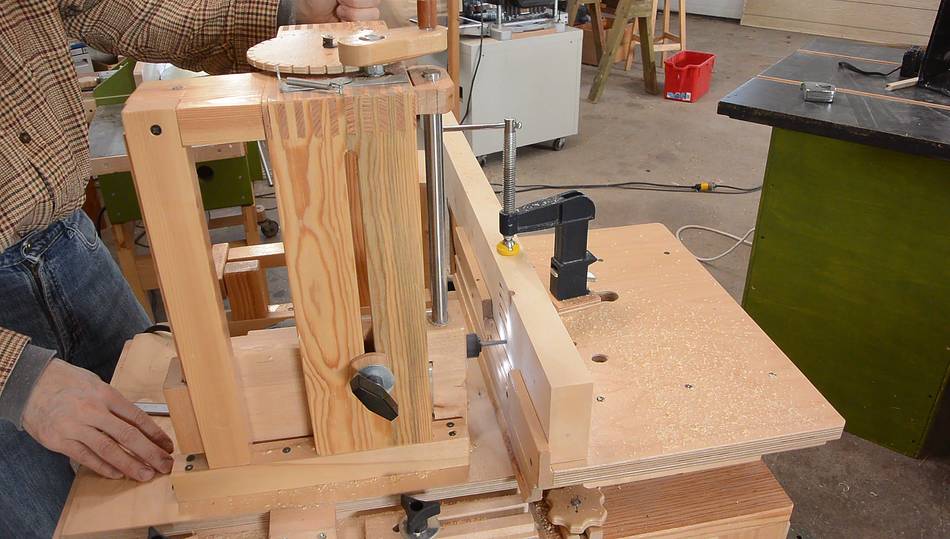
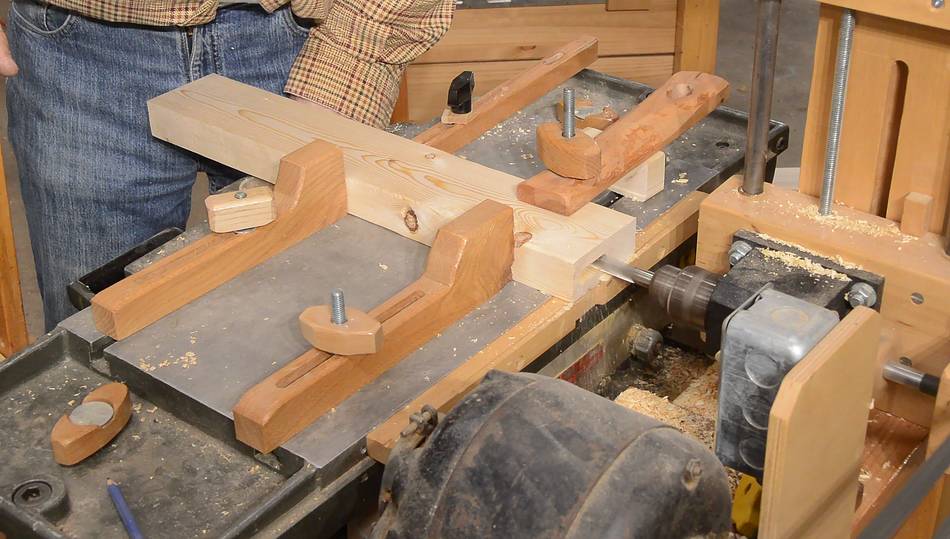
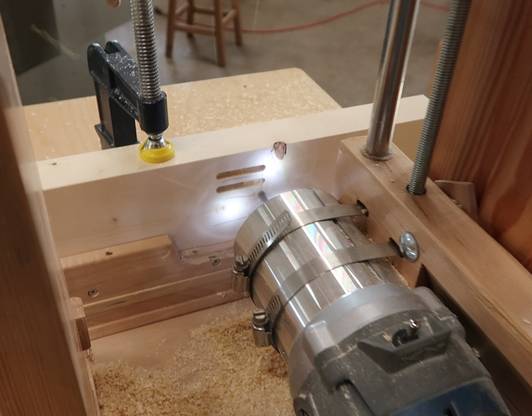 1/4" Box joints on the corners make the other workbench very stiff.
But with the legs extending to the floor,
I needed a "box joint" not at the end of the piece of wood.
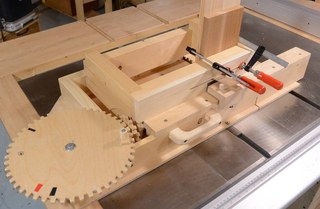
This is where my slot mortiser comes
in. The screw and counter wheel make it easy to make a precisely spaced
series of mortises with it. This is why I sometimes call this machine
the "multi slot mortiser".
1/4" Box joints on the corners make the other workbench very stiff.
But with the legs extending to the floor,
I needed a "box joint" not at the end of the piece of wood.
This is where my slot mortiser comes
in. The screw and counter wheel make it easy to make a precisely spaced
series of mortises with it. This is why I sometimes call this machine
the "multi slot mortiser".
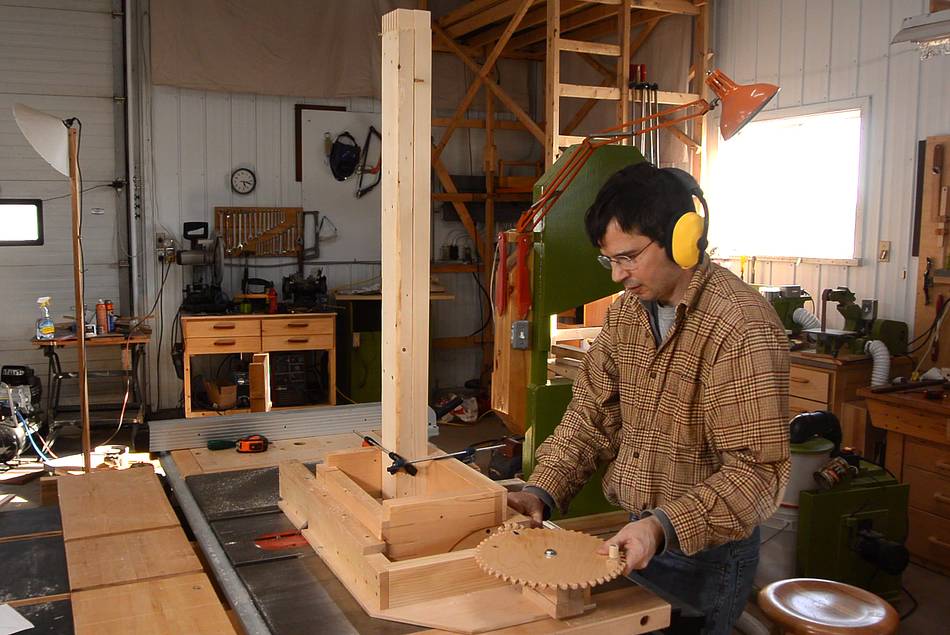
 I cut the other part of the joint using my screw advance box joint jig.
You could call it a box joint, but given that they fit into mortises, I guess
it's also a quintuple mortise and tenon joint.
I cut the other part of the joint using my screw advance box joint jig.
You could call it a box joint, but given that they fit into mortises, I guess
it's also a quintuple mortise and tenon joint.
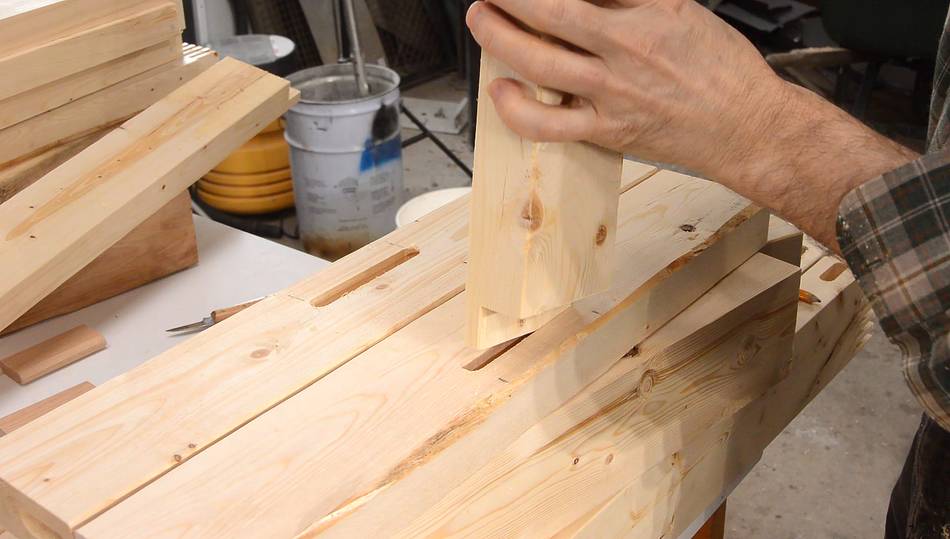
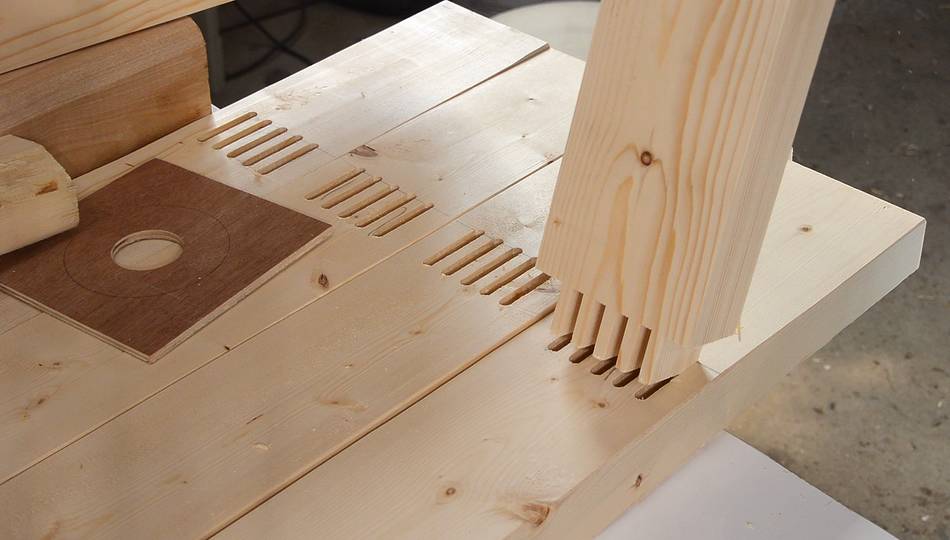 Checking the fit. Five side-by-side tenons. I actually meant to cut six but
I accidentally set it up with a mortise in the middle, which meant I had to
make an odd number of mortises and there wasn't room for seven.
Checking the fit. Five side-by-side tenons. I actually meant to cut six but
I accidentally set it up with a mortise in the middle, which meant I had to
make an odd number of mortises and there wasn't room for seven.
 Then cutting the box joints on the ends of the longer pieces. A sturdy
box joint jig really helps with that, allowing
me to put two pieces of 2x4, each 1.1 meters long in the jig at the same time.
Then cutting the box joints on the ends of the longer pieces. A sturdy
box joint jig really helps with that, allowing
me to put two pieces of 2x4, each 1.1 meters long in the jig at the same time.
 Dry fitting one of the frames.
 I need to connect the frames together, and for that I'm using floating tenons,
1/2" thick. I was looking for my 1/2" spiral bit to put in the slot mortiser
when I realized it was in my
horizontal boring machine. Then I thought, why
not just cut the mortises on that machine? The nice thing about the slot
mortiser is that it runs slower using an induction motor, so it's not very loud.
I need to connect the frames together, and for that I'm using floating tenons,
1/2" thick. I was looking for my 1/2" spiral bit to put in the slot mortiser
when I realized it was in my
horizontal boring machine. Then I thought, why
not just cut the mortises on that machine? The nice thing about the slot
mortiser is that it runs slower using an induction motor, so it's not very loud.
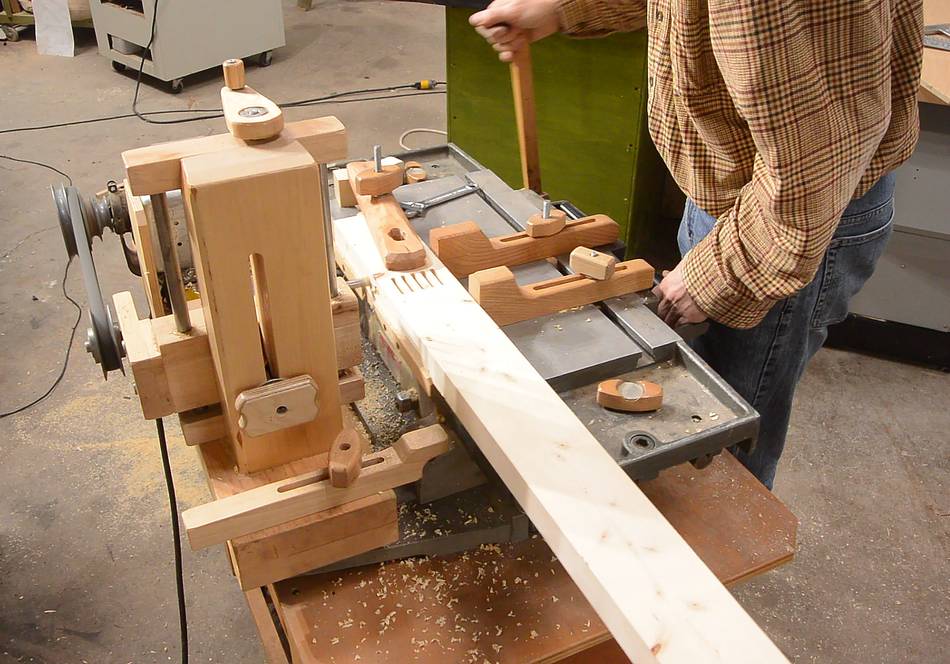
 Cutting mortises in the parts for the front and back frames.
 And some tenons in some more pieces going across the top and bottom.
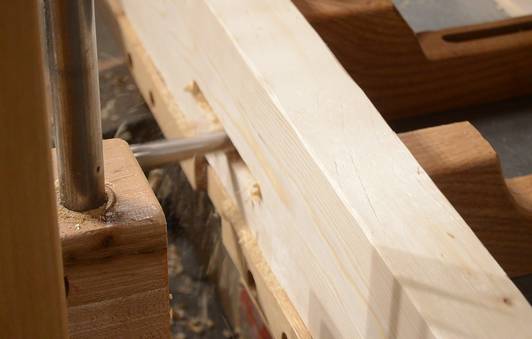
 Test fitting those mortise and tenons.
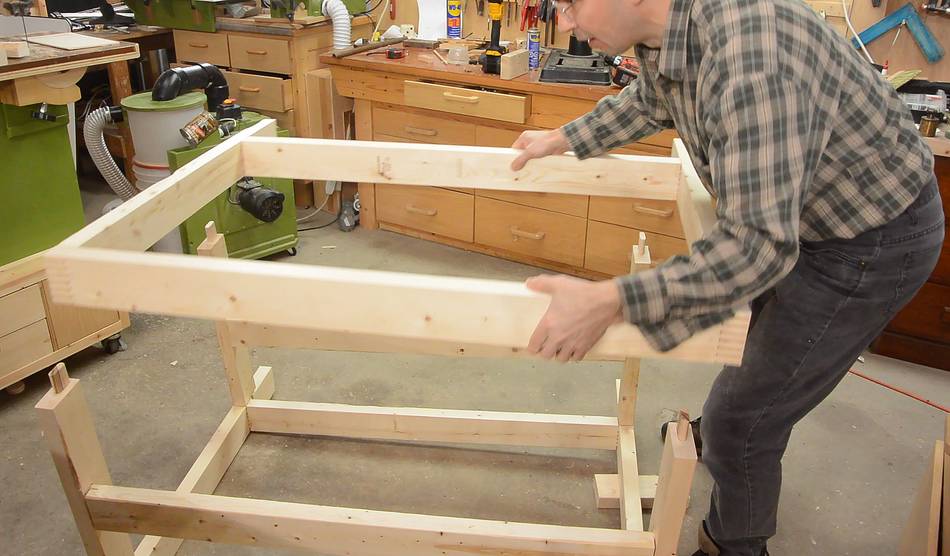 Then dry fitting the whole workbench frame. It's always satisfying to
assemble all the joinery for the first time without glue, with just
the joinery holding it together.
Then dry fitting the whole workbench frame. It's always satisfying to
assemble all the joinery for the first time without glue, with just
the joinery holding it together.
I found my floating tenons were about 3 mm too long, so I shortened them after that.
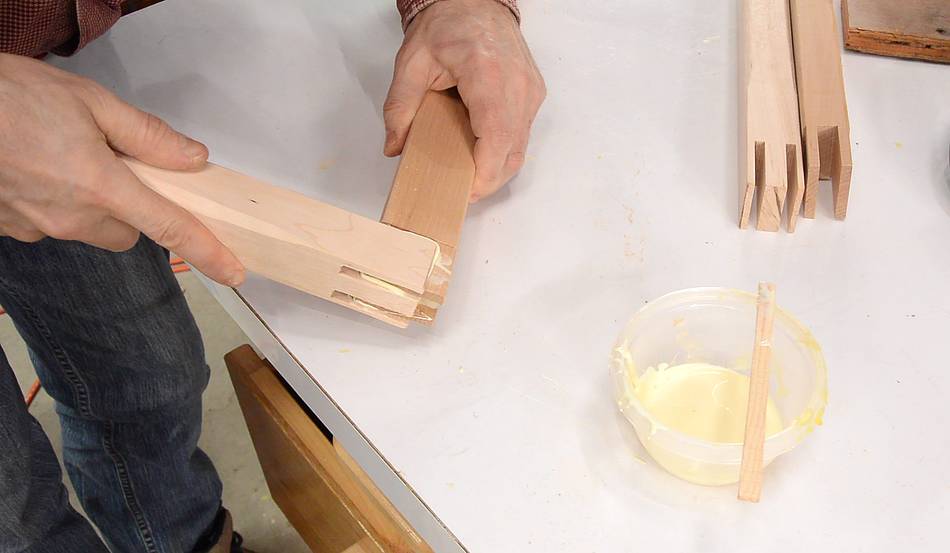
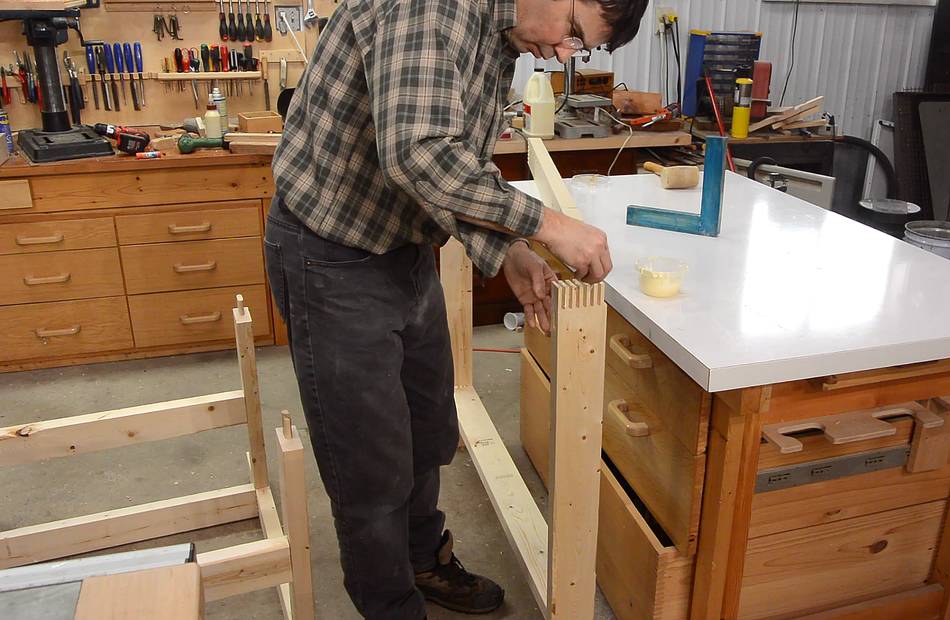 Then taking it apart piece by piece and reassembling it with glue.
I'm using a thin strip of wood to put glue in the corner box joints.
Then taking it apart piece by piece and reassembling it with glue.
I'm using a thin strip of wood to put glue in the corner box joints.
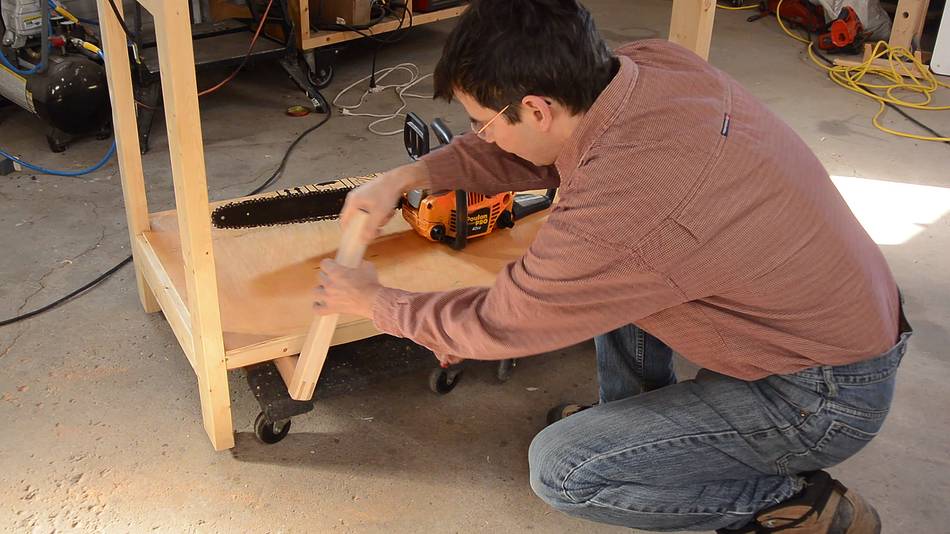
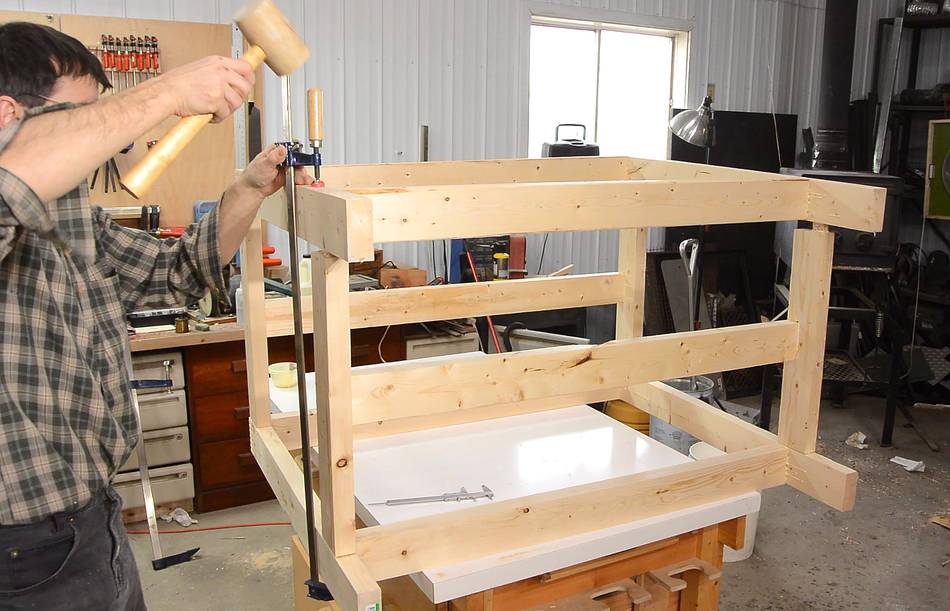 Final fit of the second frame. A bit of banging. One of the 2x4s had a
slight twist to it, which gave the whole frame a tendency to twist,
so I clamped it down on the workbench while it dried.
Final fit of the second frame. A bit of banging. One of the 2x4s had a
slight twist to it, which gave the whole frame a tendency to twist,
so I clamped it down on the workbench while it dried.
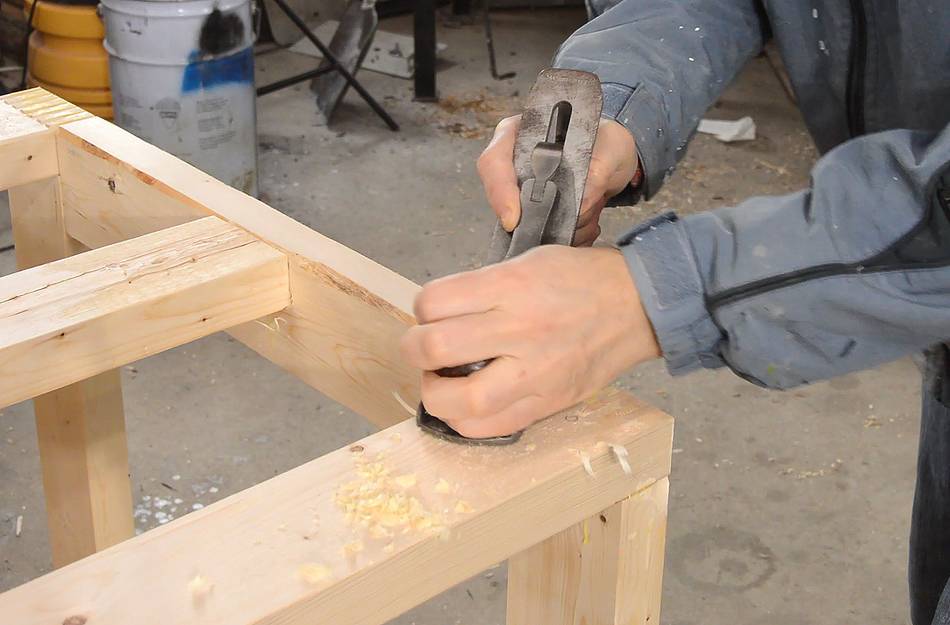 I deliberately cut the box joints a bit longer than needed. I trimmed
them flush with a hand plane.
I deliberately cut the box joints a bit longer than needed. I trimmed
them flush with a hand plane.
 For the top I used some reclaimed 3/4" plywood.
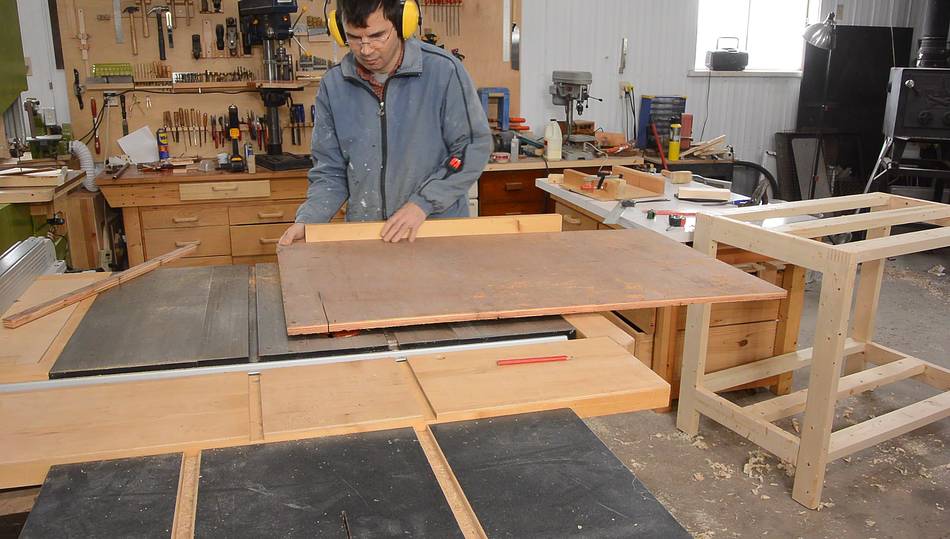 I cut it to final size and square using my table saw sled.
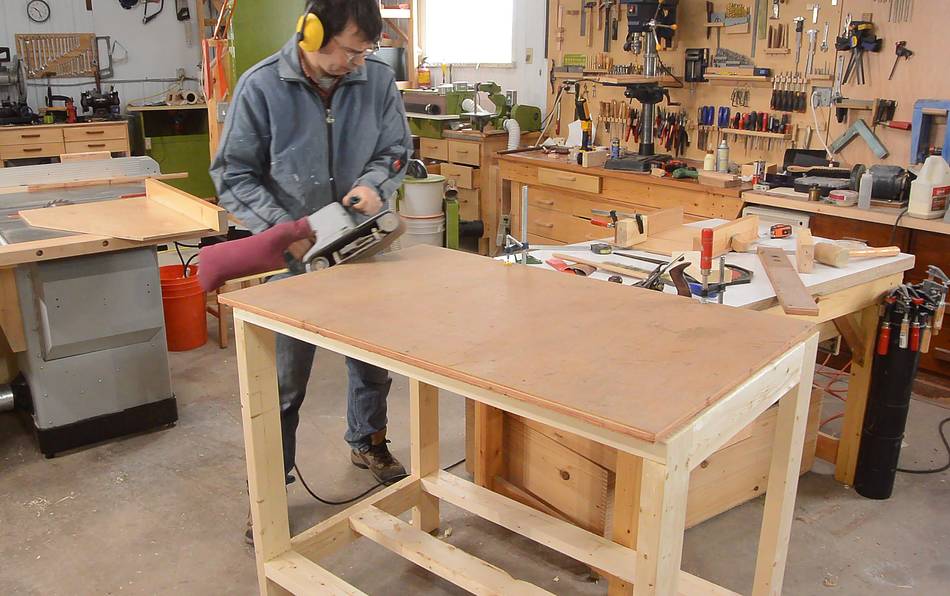 Then sanding the edges smooth and round and giving the top a
light sanding as well.
Then sanding the edges smooth and round and giving the top a
light sanding as well.
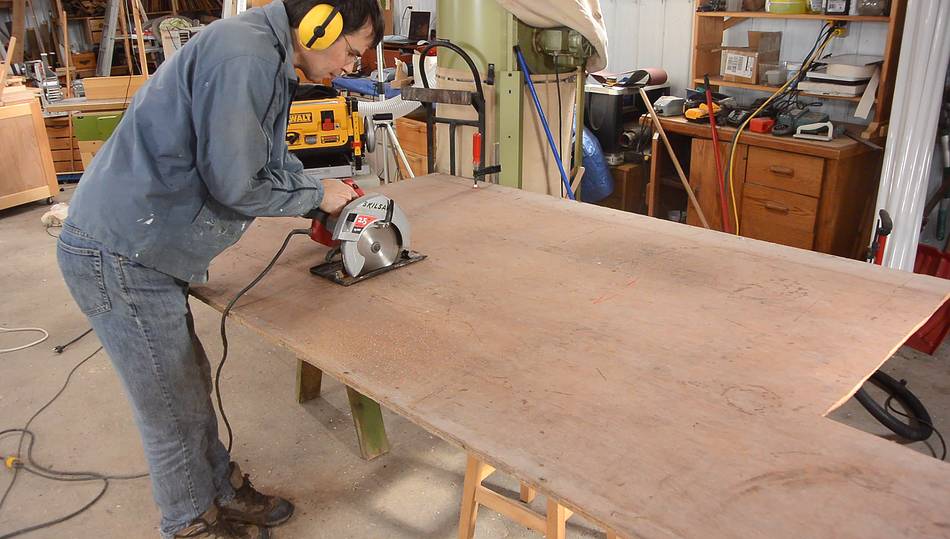
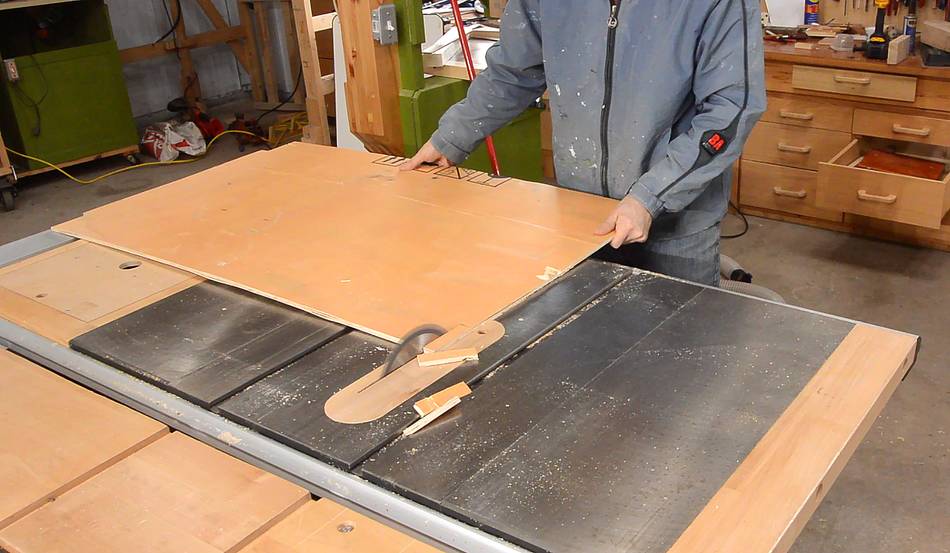 I used some really low quality plywood that came from a crate
for the lower shelf. I had to cut the corners out to make
it fit around the legs. This is one of the few times I'm making a
freehand cut on the table saw. With such a large workpiece and
making short cuts, I'm not worried about kickback.
I used some really low quality plywood that came from a crate
for the lower shelf. I had to cut the corners out to make
it fit around the legs. This is one of the few times I'm making a
freehand cut on the table saw. With such a large workpiece and
making short cuts, I'm not worried about kickback.
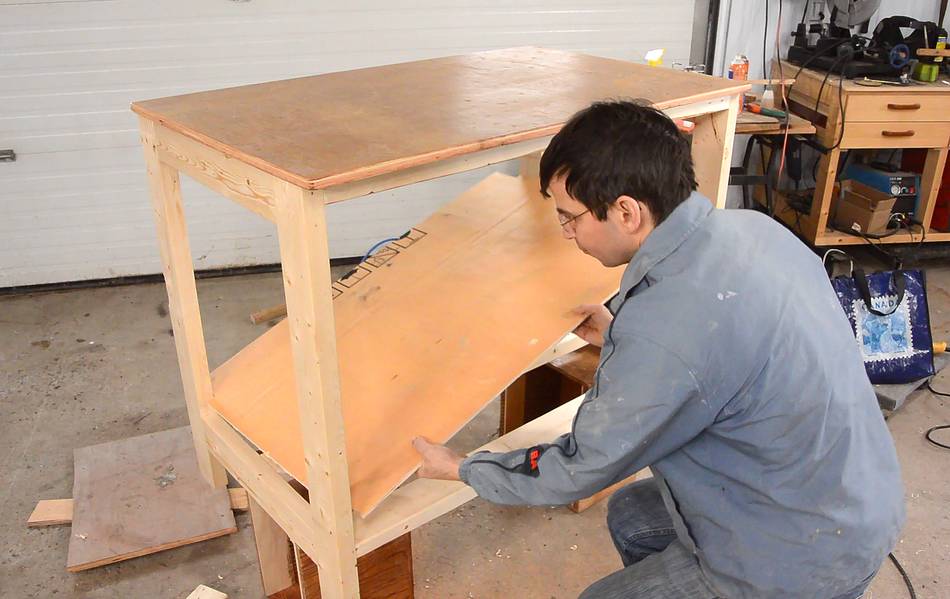 Checking the fit for the shelf.
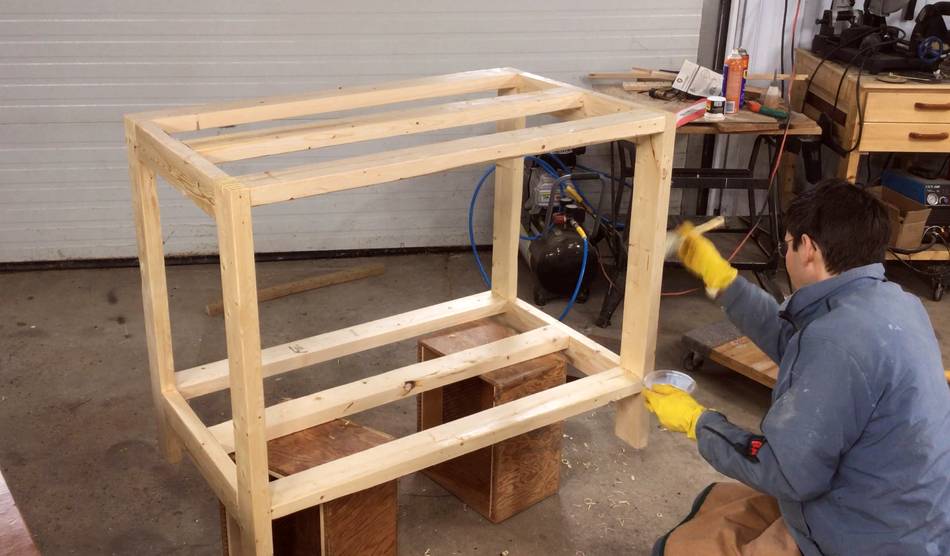 After that I gave everything two coats of varnish. Even though it's just
a workshop workbench. I hate the way wood absorbs dirt from touching.
When working with metal, I'm especially likely to have dirty hands.
After that I gave everything two coats of varnish. Even though it's just
a workshop workbench. I hate the way wood absorbs dirt from touching.
When working with metal, I'm especially likely to have dirty hands.
 Then screwing on the top and the shelf.
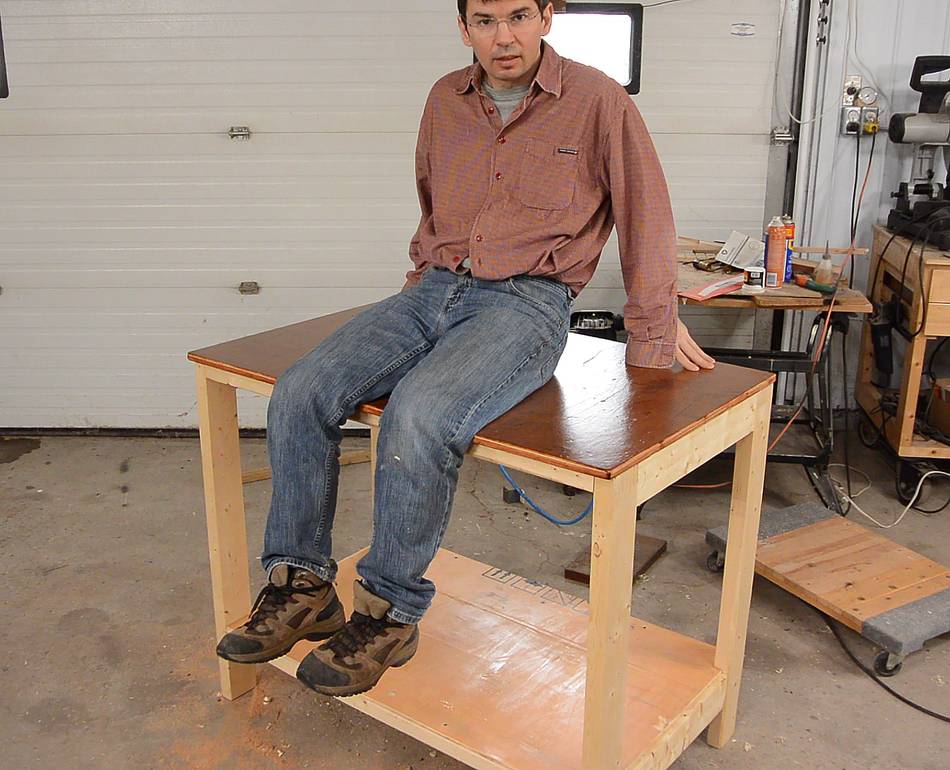 A downside of this sort of joinery is that the workbench is very stiff.
It has a slight twist to it from twisted 2x4s. Even with me sitting
on it it doesn't quite conform to the floor, rocking back and
forth just a bit.
A downside of this sort of joinery is that the workbench is very stiff.
It has a slight twist to it from twisted 2x4s. Even with me sitting
on it it doesn't quite conform to the floor, rocking back and
forth just a bit.
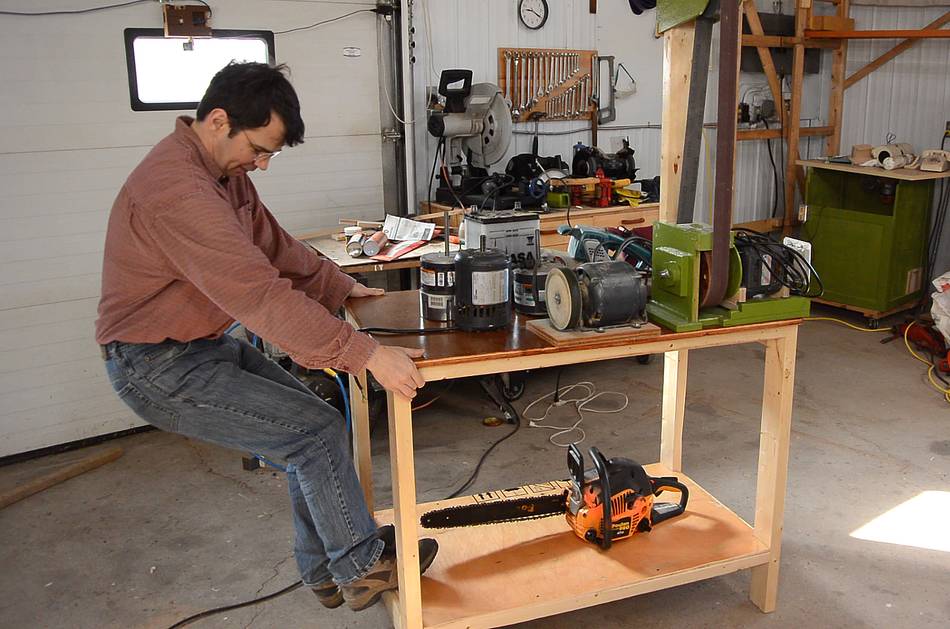 But it's also stiff enough for me to hang off one end with out any problems,
even though there isn't any diagonal bracing.
But it's also stiff enough for me to hang off one end with out any problems,
even though there isn't any diagonal bracing.
 With the basic workbench done, it was time to make the lifting contraption.
This consists of two L-shaped pieces of wood. I cut a double tenon
joint in them using my screw advance box joint jig.
With the basic workbench done, it was time to make the lifting contraption.
This consists of two L-shaped pieces of wood. I cut a double tenon
joint in them using my screw advance box joint jig.
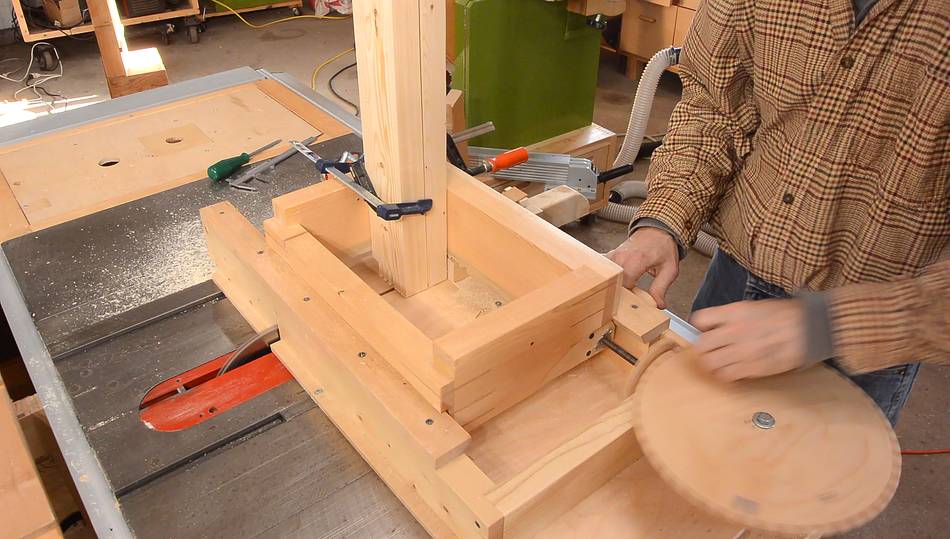
 With two dollies under the workbench, the L's are inserted horizontally
then turned vertical. This lifts the workbench off its legs so it's
supported by the dollies.
With two dollies under the workbench, the L's are inserted horizontally
then turned vertical. This lifts the workbench off its legs so it's
supported by the dollies.
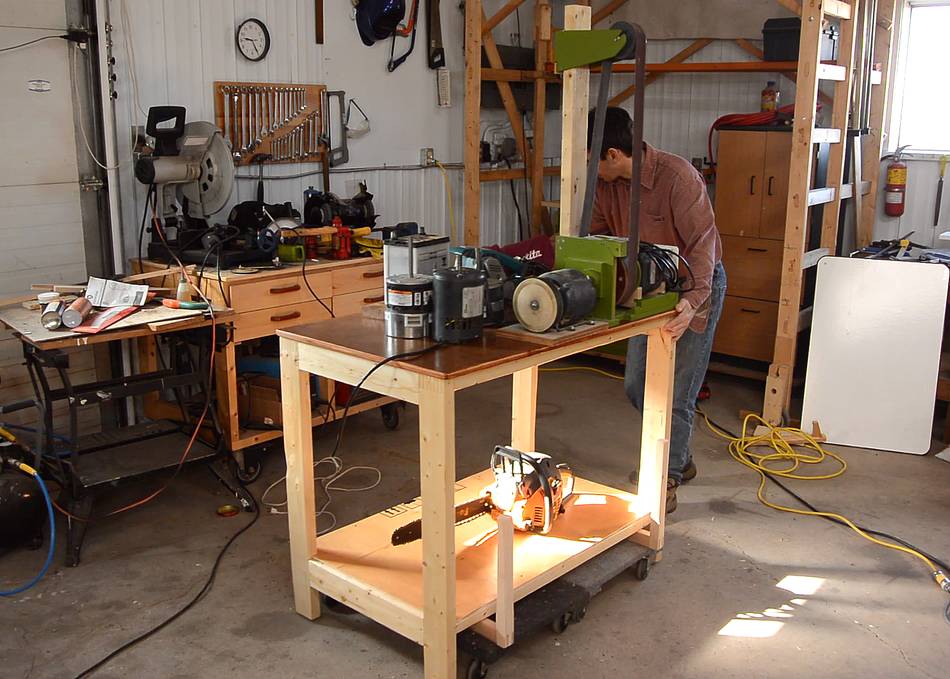 And once it's on dollies, it's easy to move, even with a bunch of heavy
stuff piled on it (including my
belt grinder)
And once it's on dollies, it's easy to move, even with a bunch of heavy
stuff piled on it (including my
belt grinder)
 Update November 2019:
I never used this workbench much in its original location.
The only project I used it for was curtain rods
that same month, and we moved in September.
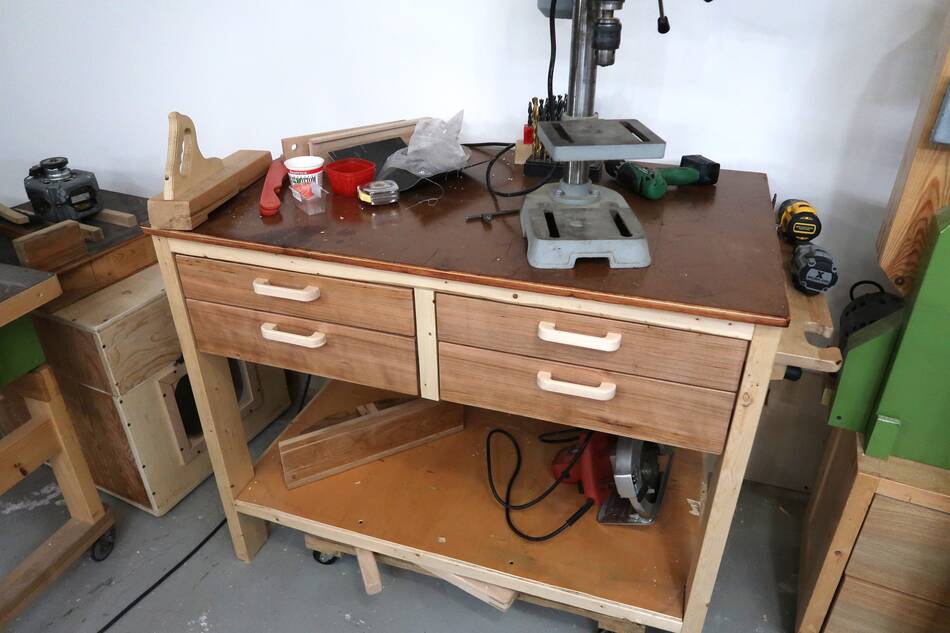
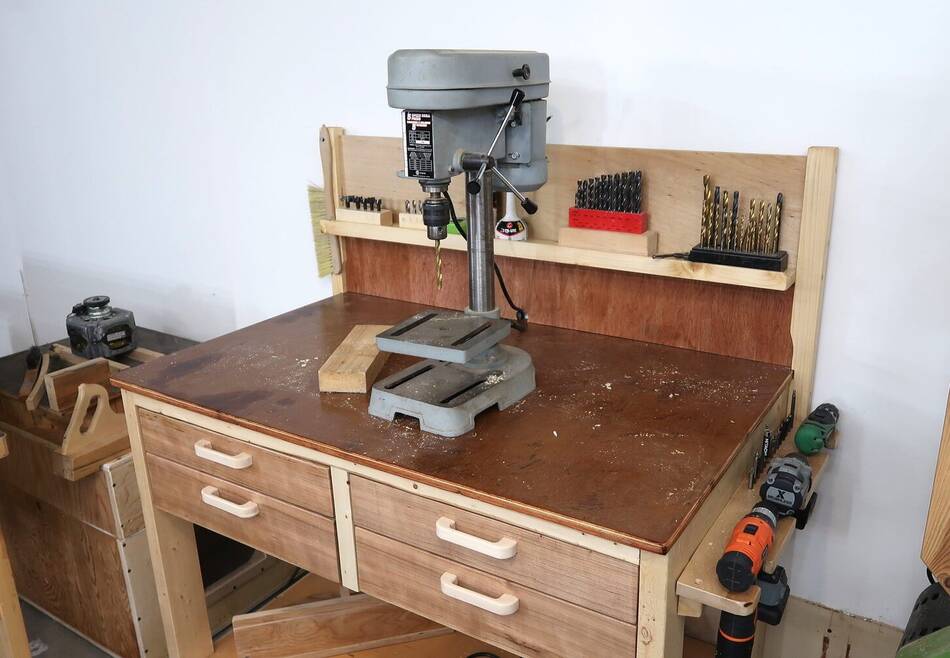
I mentioned that I wanted to make drawers for the top
of it at the end of the video, and in November 2019, I finally
made those drawers. They are the same design as the ones I made
for this workbench, but varnished with water based
varnish instad of oil based, so the cherry colour of the fronts didn't
come out as rich.
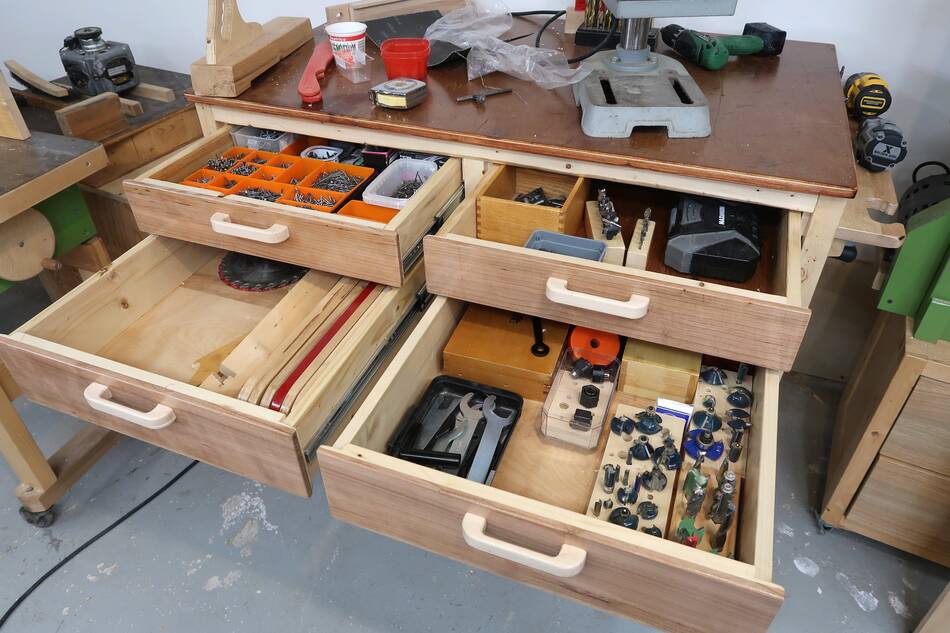
And it didn't take me long to organize things into the drawers.
This workbench is relatively tall, so the drawers are at a very convenient height. I put some of the stuff I rummage through frequently into this workbench.
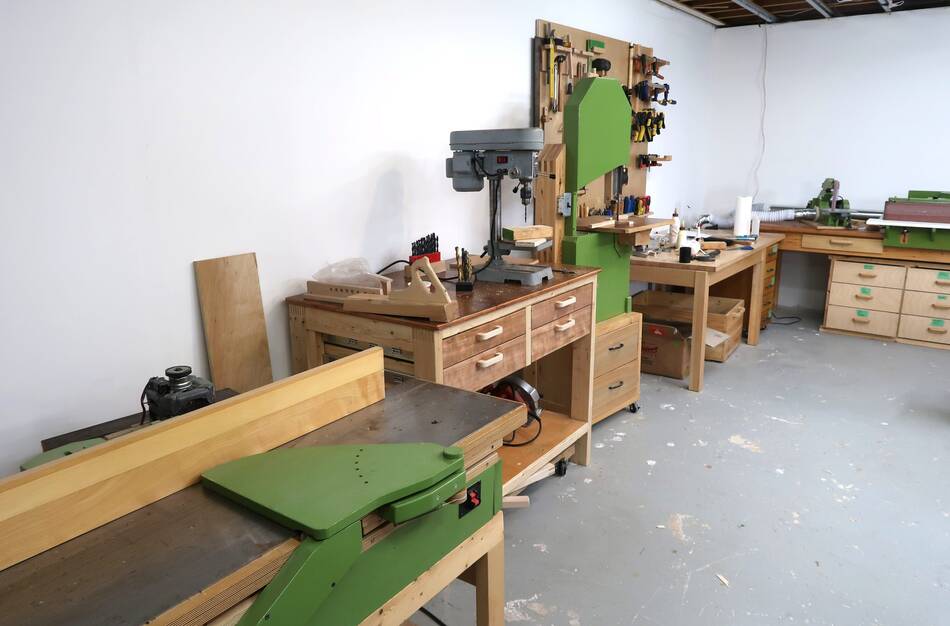
Later that month I made a narrow shelf to go on the back of that workbench. With a small drill press on the workbench, I always get lots of wood chips on the bench that I vacuum up from time to time, but that is much easier to do without clutter on the workbench. So I made this shelf for the back of the workbench to hold my drill indices.
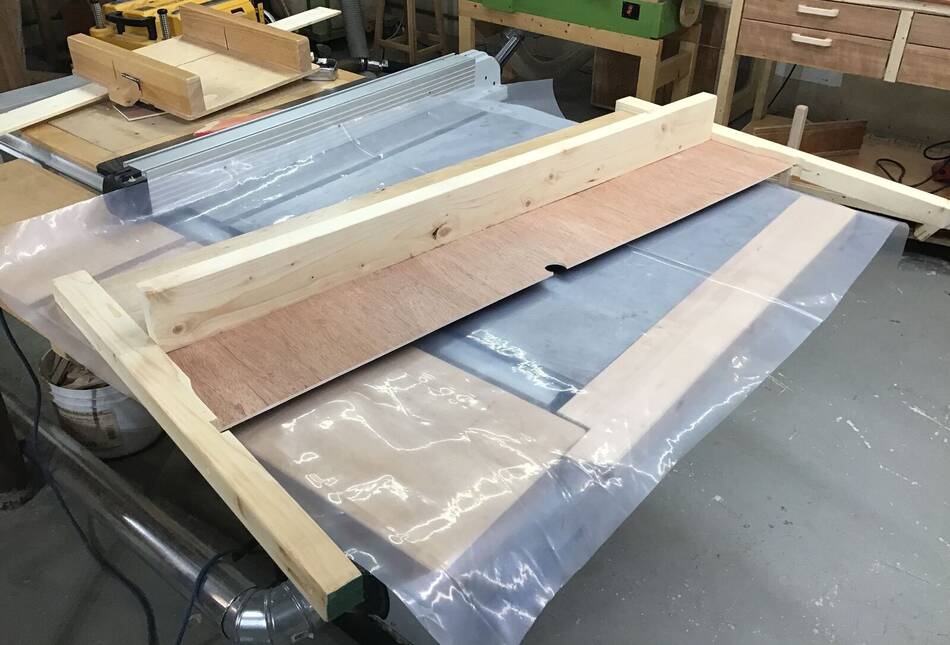
At left, the shelf before varnishing.
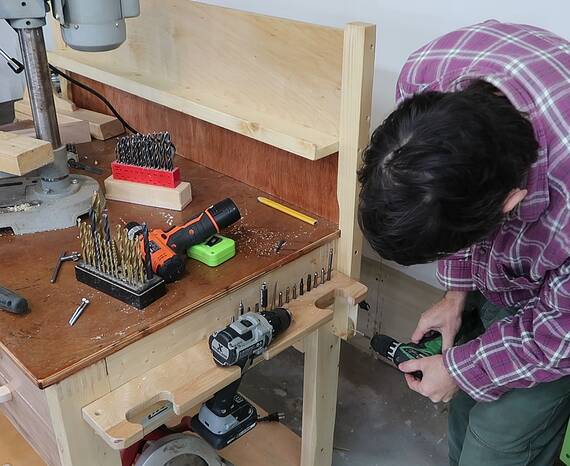 At right, screwing it to the workbench.
It attaches to the workbench instead of the wall because I'm not sure if I'll
keep the workbench in that spot. The shelf is entirely made from scraps, it's
dimensions very much dictated by offcuts I had lying around.
At right, screwing it to the workbench.
It attaches to the workbench instead of the wall because I'm not sure if I'll
keep the workbench in that spot. The shelf is entirely made from scraps, it's
dimensions very much dictated by offcuts I had lying around.
See also:
 Workbench on wheels
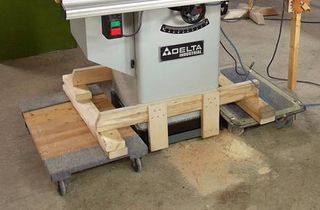 Table saw dolly mover
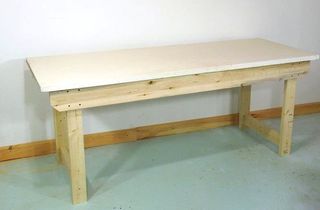 Building a simple workbench
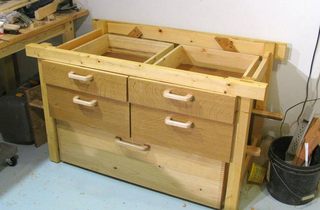 Another workbench design
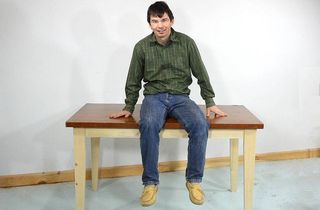 Building a simple table
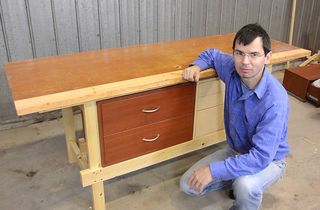 Quickie workbench with the pantorouter
Homemade machines and jigs used:
 Screw advance box joint jig
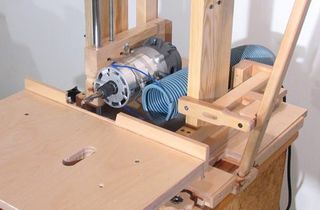 Slot mortising machine
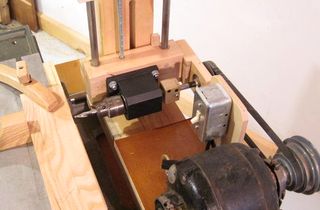 Horizontal boring machine
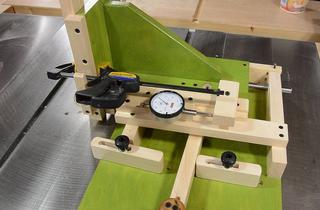 Quick-set tenon jig
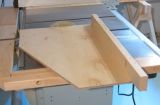 Table saw sled
Back to my Woodworking website.