 The old metal curtain rods had to come down when we had out
windows replaced, and we were not about to re-install those ones.
So it was time to make some more curtain rods.
The old metal curtain rods had to come down when we had out
windows replaced, and we were not about to re-install those ones.
So it was time to make some more curtain rods.
The old metal curtain rods had to come down when we had out
windows replaced, and we were not about to re-install those ones.
So it was time to make some more curtain rods.
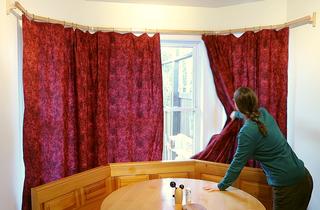
I patterned these after this corner curtain rod because it worked out well and I liked how the rings slide past the mounts.
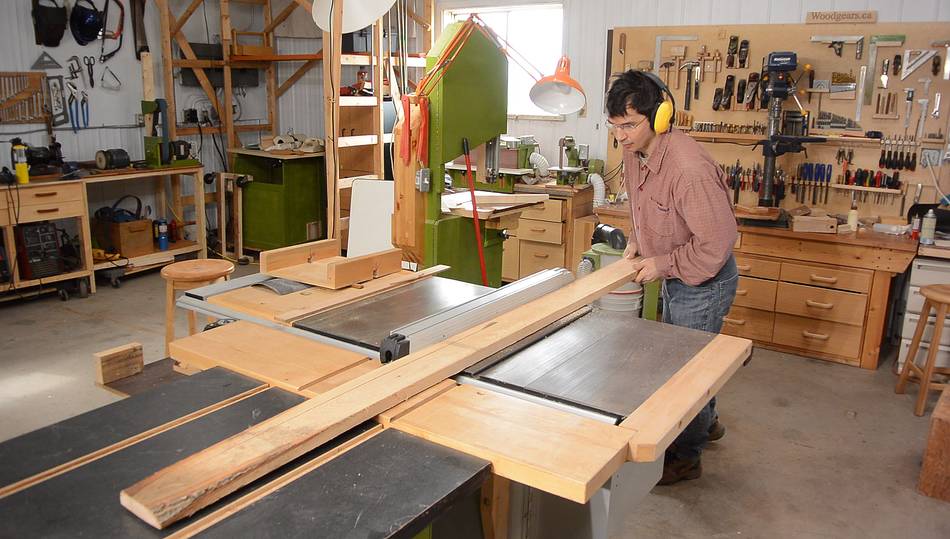
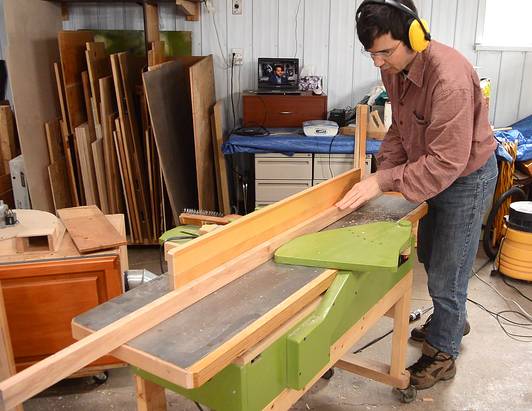
 I cut these from one of the long oak boards left over from when I made
the baseboards for the house.
I cut these from one of the long oak boards left over from when I made
the baseboards for the house.
I used a 1/4" round over bit to round all the corners.
 The next job was making the curtain rings. I needed a lot this time.
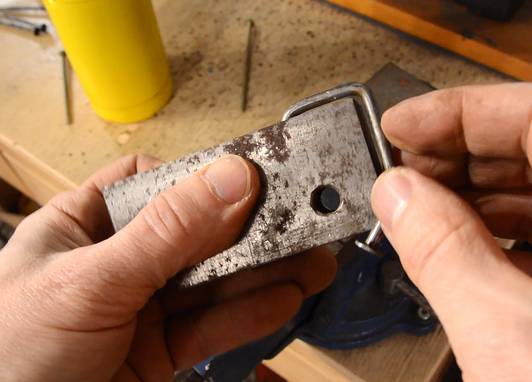
I decided to make a more durable steel bending jig out of a scrap of
metal, consisting of just a hole in one side and a corner cut off the
other side.
The next job was making the curtain rings. I needed a lot this time.
I decided to make a more durable steel bending jig out of a scrap of
metal, consisting of just a hole in one side and a corner cut off the
other side.
 Then inserting the nail in the hole and hammering it around the perimeter of
the jig.
Then inserting the nail in the hole and hammering it around the perimeter of
the jig.
This worked, but not as well as I had hoped. The nail bent away from the metal as I bent it around the jig so the corners ended up very rounded.
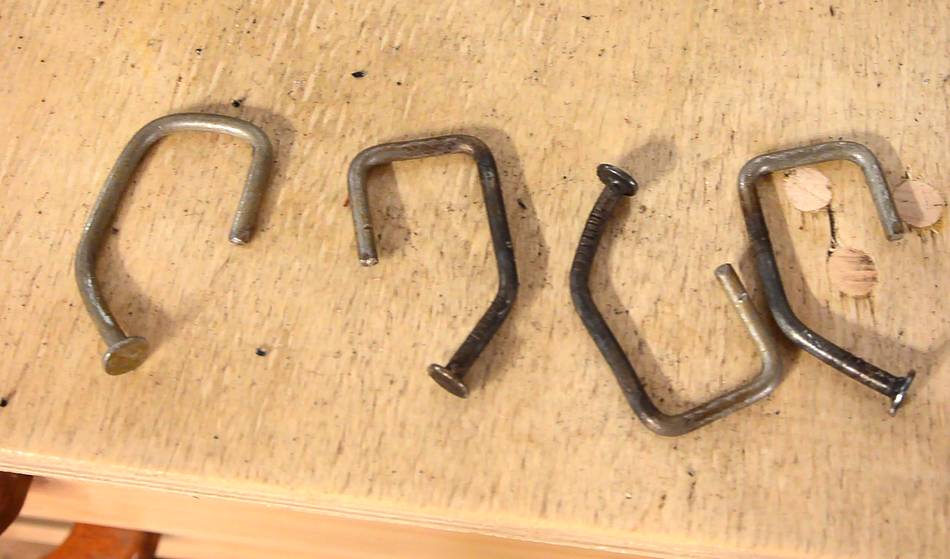 First attempt is leftmost at left.
I experimented with re-clamping the jig and nail in the vise for every
bend to constrain it and make sharper corners.
First attempt is leftmost at left.
I experimented with re-clamping the jig and nail in the vise for every
bend to constrain it and make sharper corners.
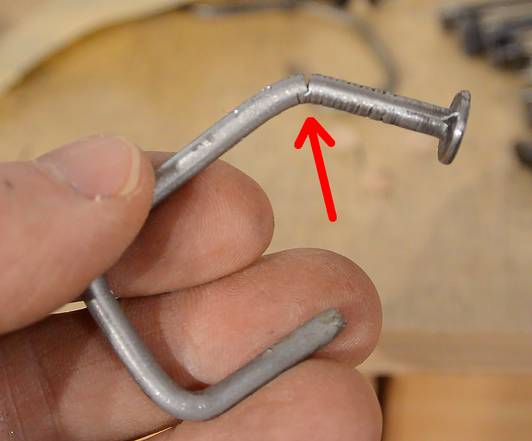 I also ran into problems of the nail breaking at the last bend nearest
the head. That part of the nail is particularly work hardened from the
manufacturing process. The 90° bends nearer the tip didn't break any
nails, but a few broke with the last 45° bend.
I also ran into problems of the nail breaking at the last bend nearest
the head. That part of the nail is particularly work hardened from the
manufacturing process. The 90° bends nearer the tip didn't break any
nails, but a few broke with the last 45° bend.
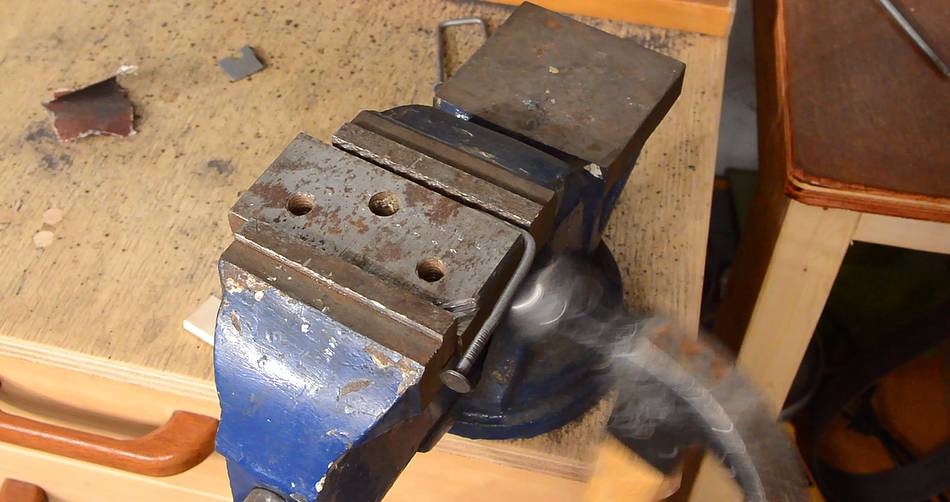
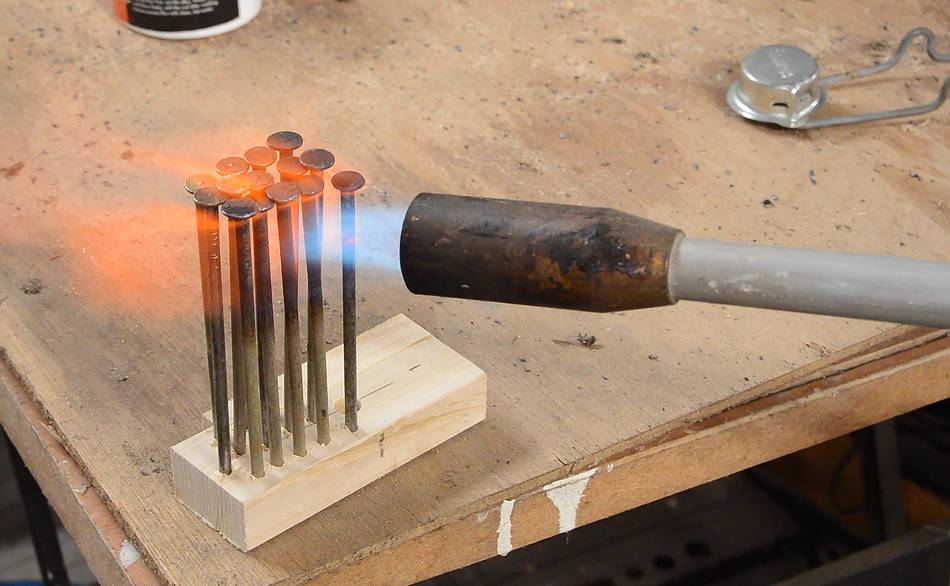 So I heated the up all the nails near the head to a dull red with a
torch to soften that part, then let them cool again. This took out
the hardness and made them easier to bend and, and none broke.
So I heated the up all the nails near the head to a dull red with a
torch to soften that part, then let them cool again. This took out
the hardness and made them easier to bend and, and none broke.
 Having figured out a good bending method, it was time to
make larger batches of rings.
Having figured out a good bending method, it was time to
make larger batches of rings.
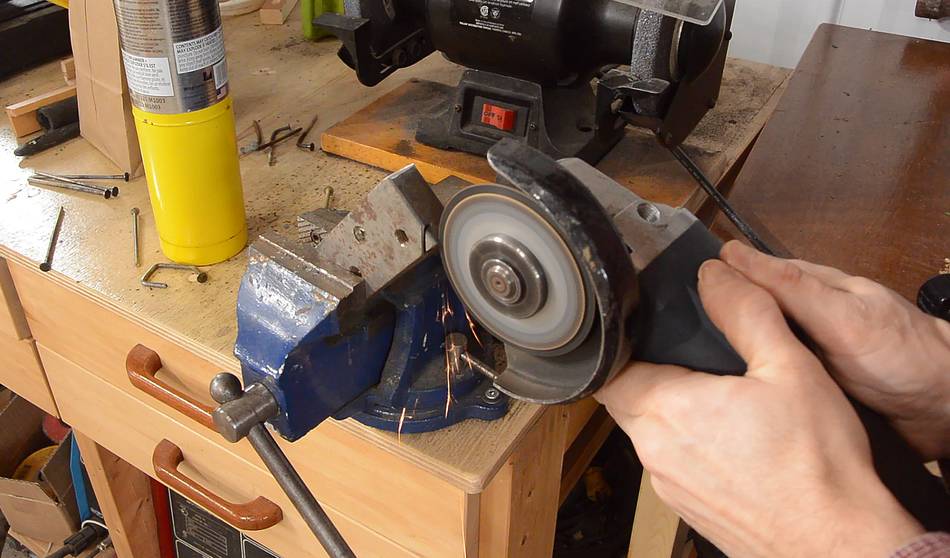
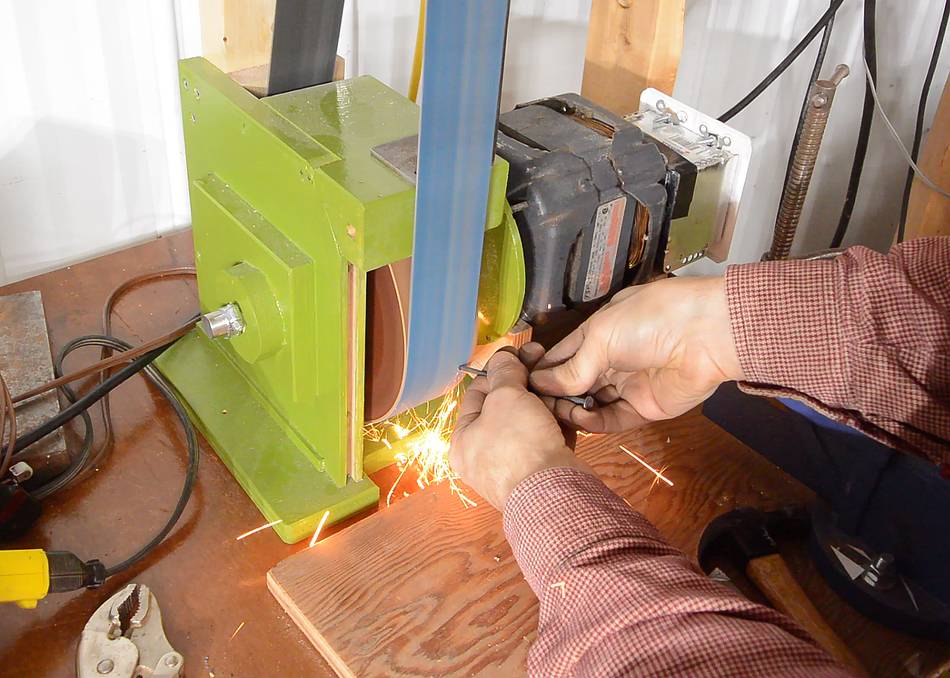
I started by grinding off the tip of the nails. First using a bench grinder (like this one), but then I tried my belt grinder and that ground much faster and cleaner. I'm starting to see why people like belt grinders.
 The heating of the nails left them tarnished, so I sanded them back
to a shiny. First by spinning it in
this drill while holding sandpaper
around the nail, but the stepped speed control
of that drill was just infuriating. I'm starting to hate that drill.
The heating of the nails left them tarnished, so I sanded them back
to a shiny. First by spinning it in
this drill while holding sandpaper
around the nail, but the stepped speed control
of that drill was just infuriating. I'm starting to hate that drill.
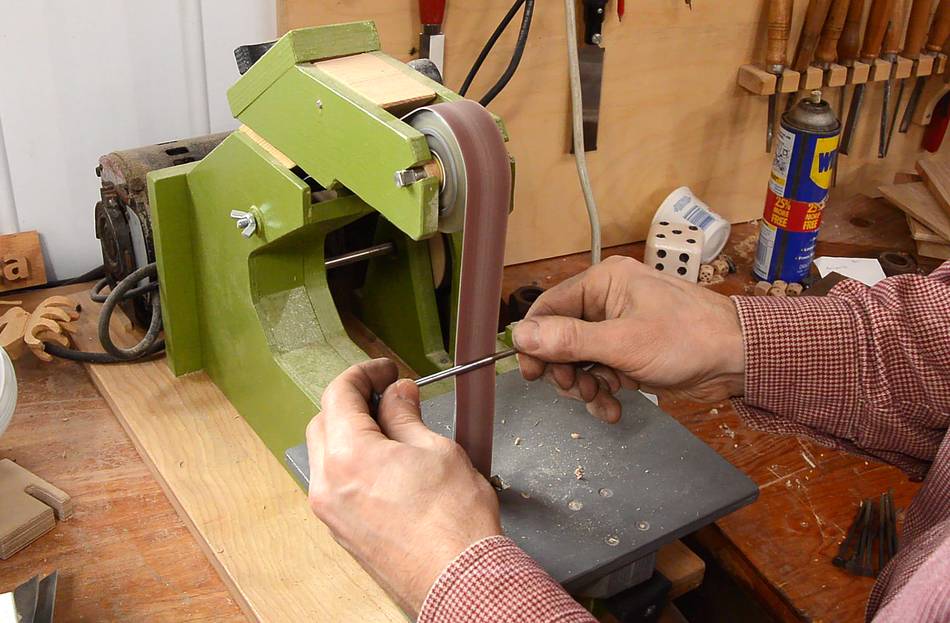
Then I tried my strip sander and that worked much faster.
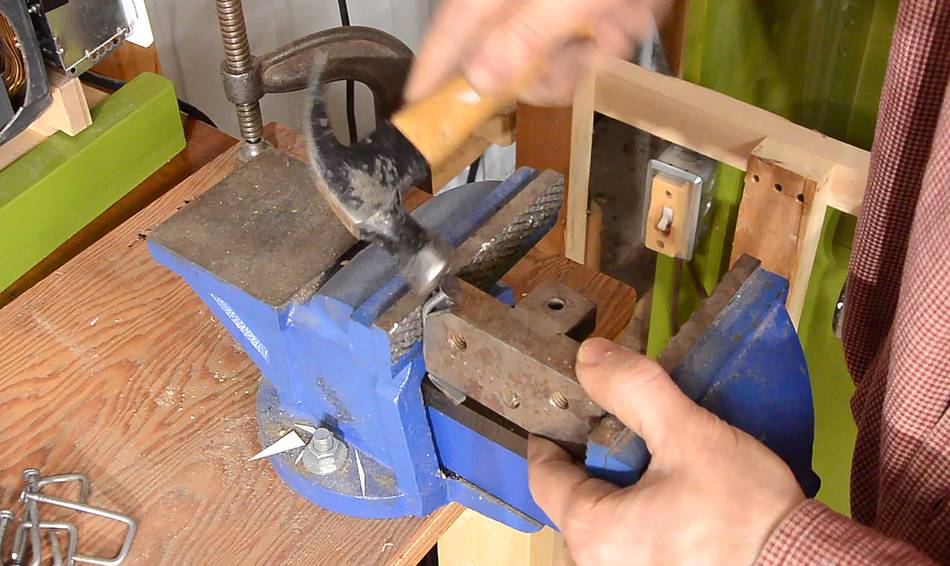
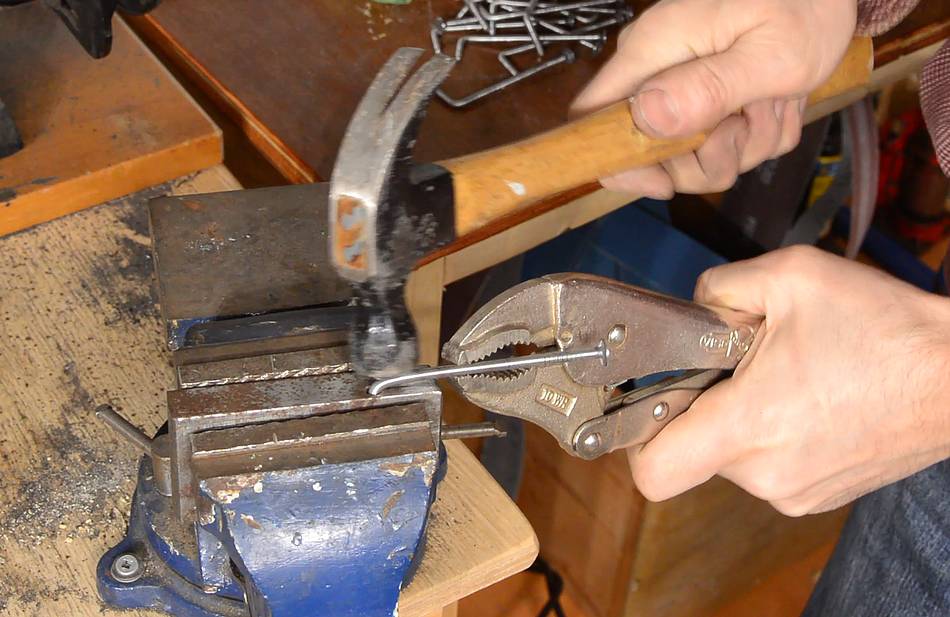 Then doing the first bend. With the jig in the vise, I just inserted each
nail in the hole, and with vise grips and hammer made the first sharp
90° bend in each one.
Then doing the first bend. With the jig in the vise, I just inserted each
nail in the hole, and with vise grips and hammer made the first sharp
90° bend in each one.
 Second bend, with the first bend clamped in the vise so it won't bend
away from the bending jig as I hammer it around the corner.
Second bend, with the first bend clamped in the vise so it won't bend
away from the bending jig as I hammer it around the corner.
 Third bend. Again, with the previous bend clamped in the vise.
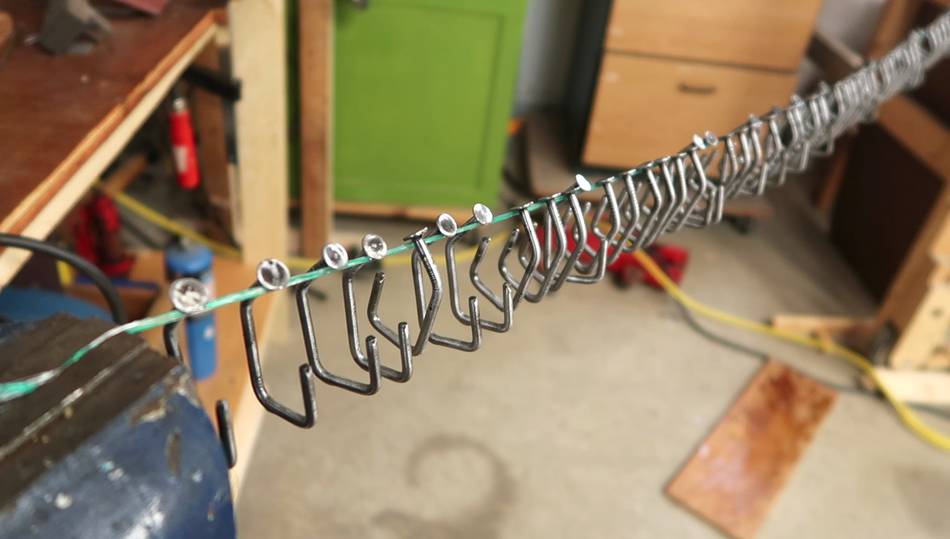
 I made about 80 of these. I dipped them all in some varnish
(this varnish),
which also works on metal, makes it slippery, and to some extent
prevents rust. I hung them off a string to dry.
I made about 80 of these. I dipped them all in some varnish
(this varnish),
which also works on metal, makes it slippery, and to some extent
prevents rust. I hung them off a string to dry.
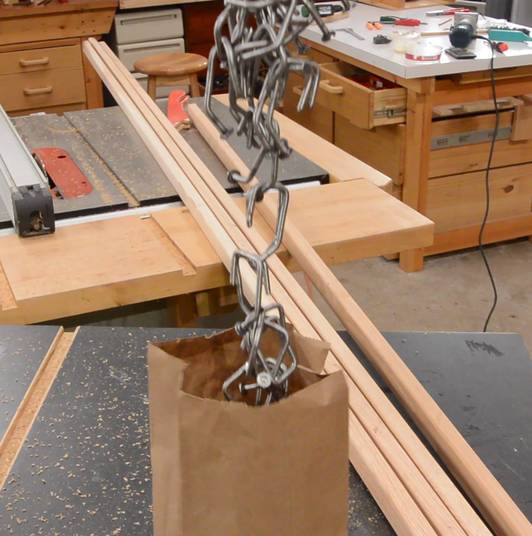
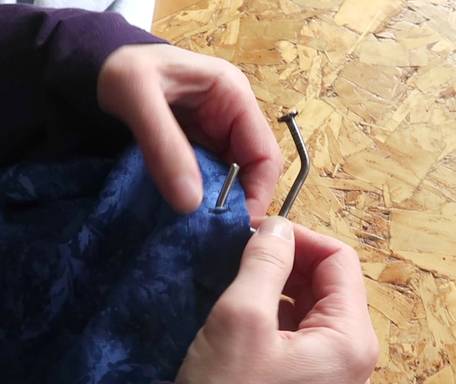
I put the nails (rings) in a paper bag. Pulling one out, the nails sometimes interlocked and formed clumps and chains.
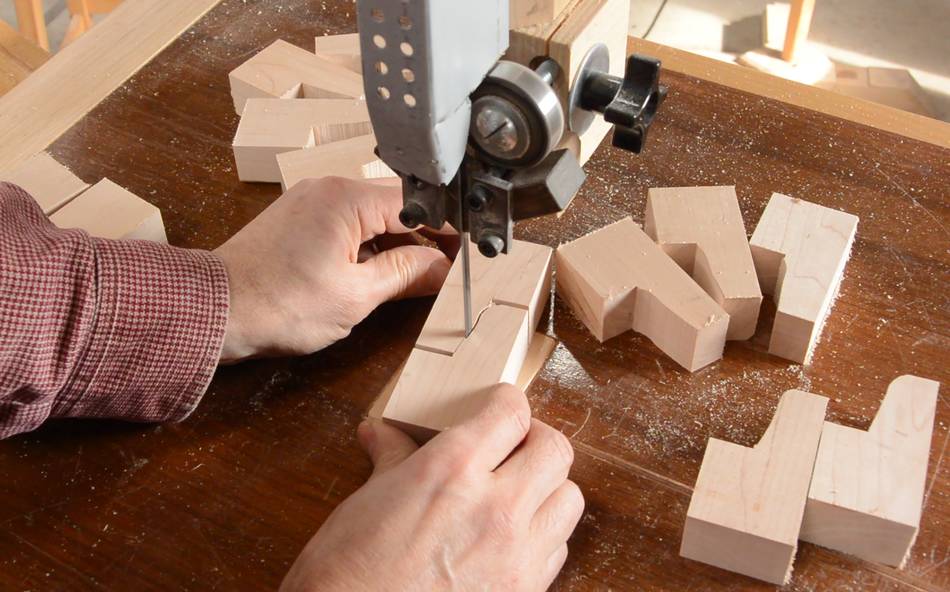
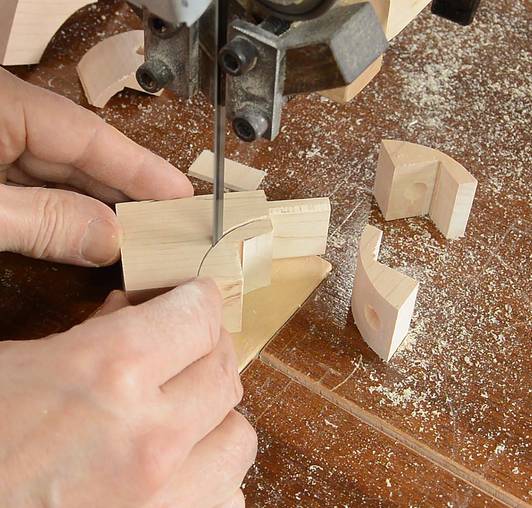
 Then making the mounts for the curtain rods. I needed some L-shaped blanks,
and I couldn't help myself but nest those in the pieces I cut them from to
make less waste.
Then making the mounts for the curtain rods. I needed some L-shaped blanks,
and I couldn't help myself but nest those in the pieces I cut them from to
make less waste.
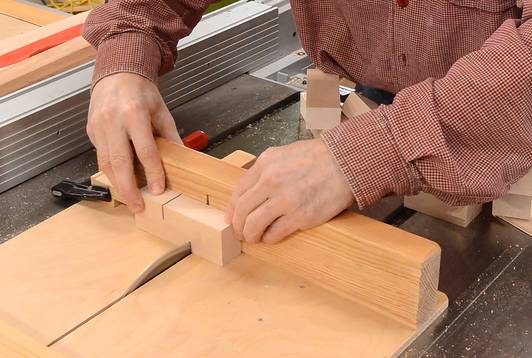
 Then cutting a tenon on one end using my
pantorouter.
Then cutting a tenon on one end using my
pantorouter.
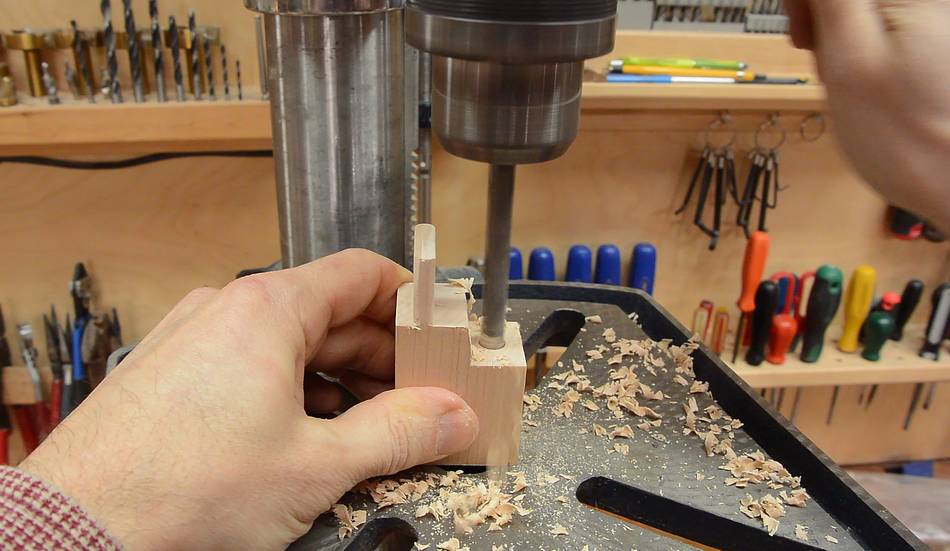
 I drilled a recess for a screw head before cutting the shape round.
That way I didn't have to try to drill into an angled surface.
I drilled a recess for a screw head before cutting the shape round.
That way I didn't have to try to drill into an angled surface.
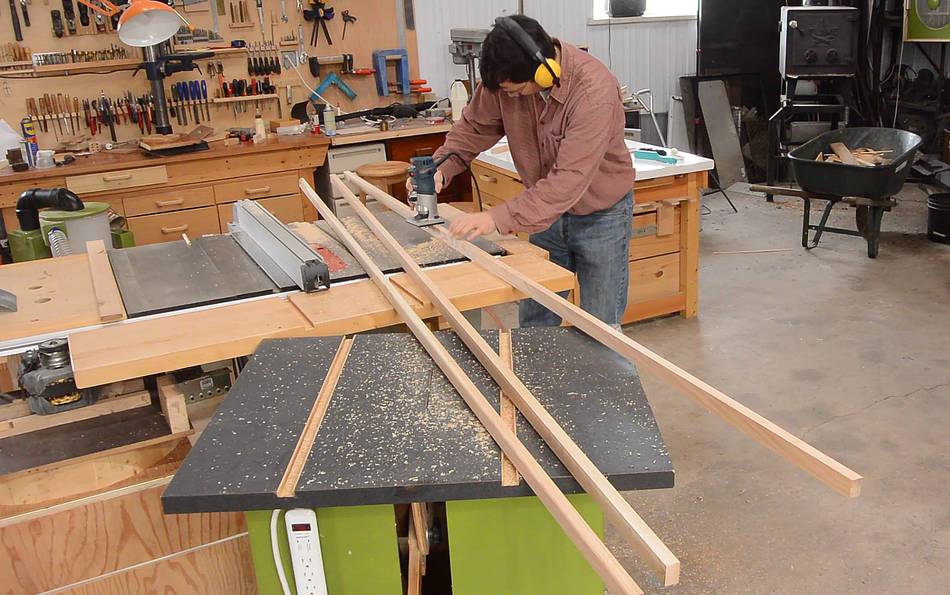
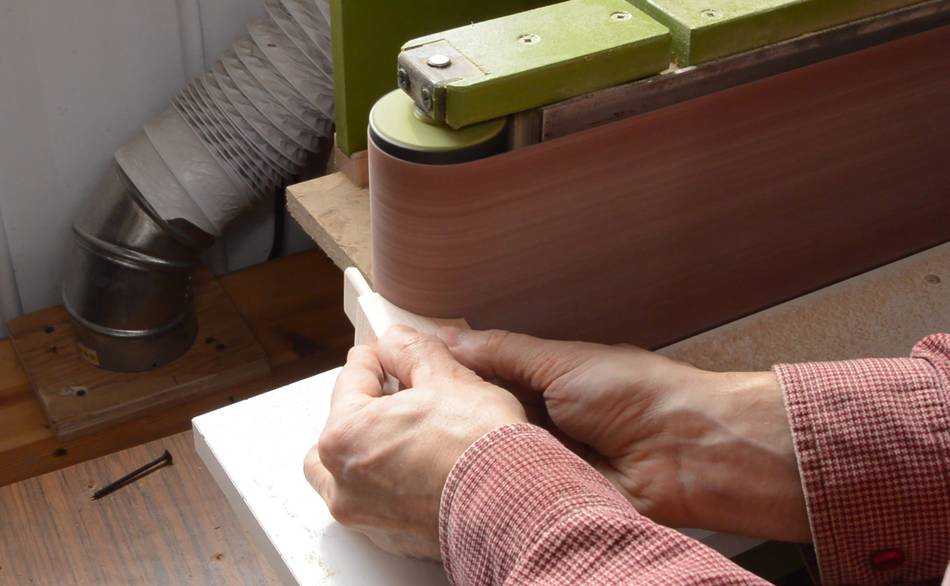 And sanding everything smooth on my
belt sander.
And sanding everything smooth on my
belt sander.
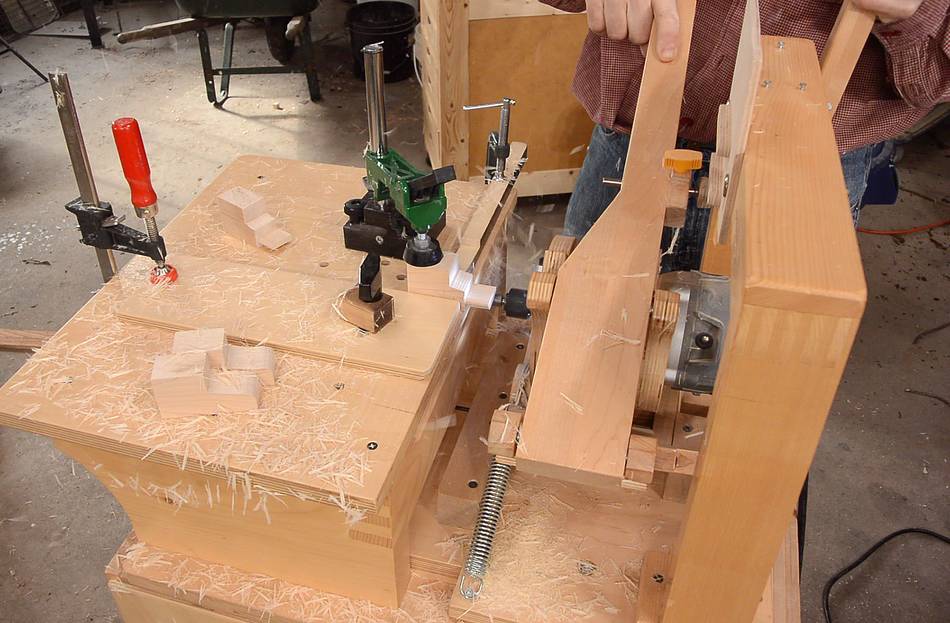
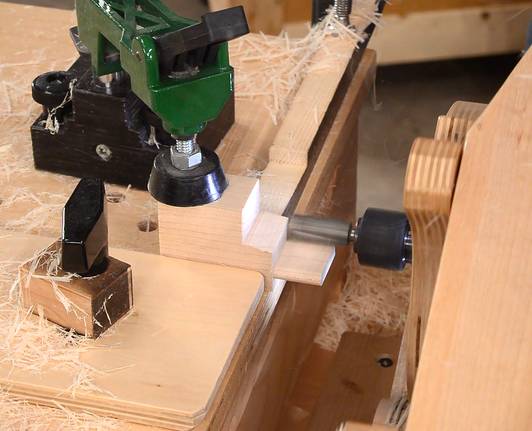
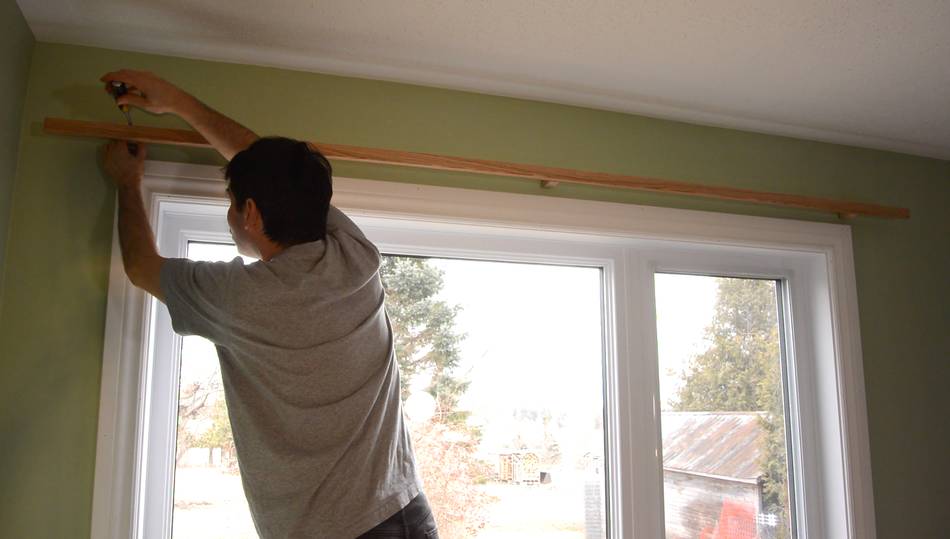
 I cut mortises into the curtain rods for where the mounts attach,
using my slot mortiser.
I cut mortises into the curtain rods for where the mounts attach,
using my slot mortiser.
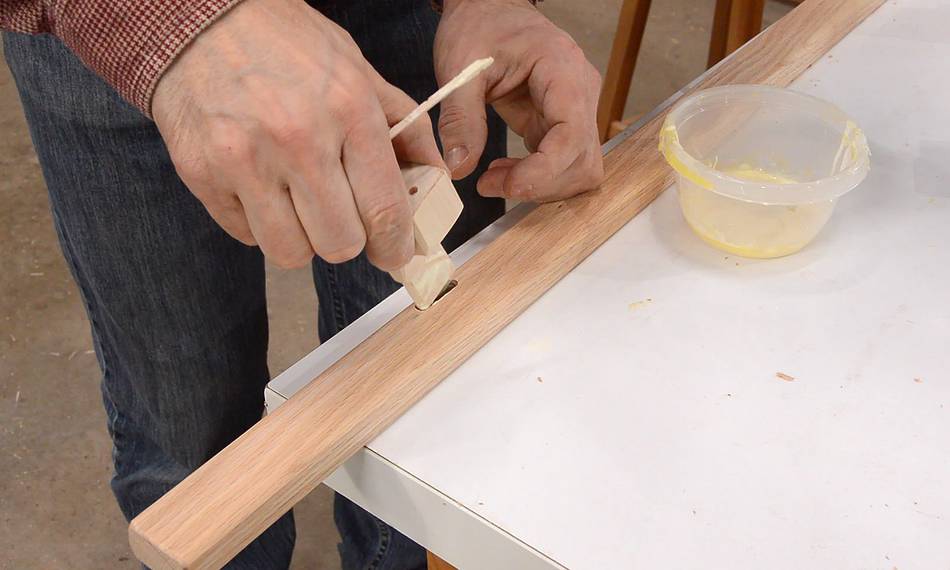 Then gluing the mounts into the mortises.

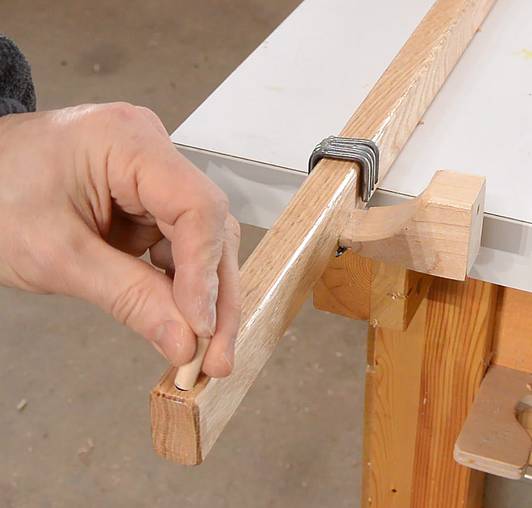 Testing it with some of the rings. At this point, I had already varnished the
curtain rods, and I wanted to see how well the rings slide. Also making sure
they can easily slide past the mounts.
Testing it with some of the rings. At this point, I had already varnished the
curtain rods, and I wanted to see how well the rings slide. Also making sure
they can easily slide past the mounts.
A short piece of dowel goes into the end of the curtain rod to keep the rings from sliding off.
 I made rods for four windows. The two bigger ones also have a mount in the middle.
I assumed the studs were right next to the windows and a header above to screw into.
But of the ten mounts, I found a stud where I expected it just once!
I made rods for four windows. The two bigger ones also have a mount in the middle.
I assumed the studs were right next to the windows and a header above to screw into.
But of the ten mounts, I found a stud where I expected it just once!
On the smaller windows the studs were further apart than anticipated. I cut off the mounts ad made new mortises for mounts further apart (lucky I made a few extra mounts) In the living room there was a header above the window, but it was not directly behind the drywall. Longer screws were able to reach it, but I wasn't sure about the leverage pushing against the drywall with no wood behind it, so I glued an extra piece to the bottom of the mounts for more support. For the master bedroom I glued a small block to the side of one of the mounts to hit the stud. The one on the other end of that was the only one that hit the stud as expected, And for the middle one, I resorted to using a drywall anchor.
 If I did it again I'd locate the studs before attaching the mounts to the
rods. I originally considered attaching the mounts to the rods with screws.
That would at least have given me the flexibility to move them where I needed
them.
If I did it again I'd locate the studs before attaching the mounts to the
rods. I originally considered attaching the mounts to the rods with screws.
That would at least have given me the flexibility to move them where I needed
them.
Next it was Rachel's turn to make a whole lot of curtains.
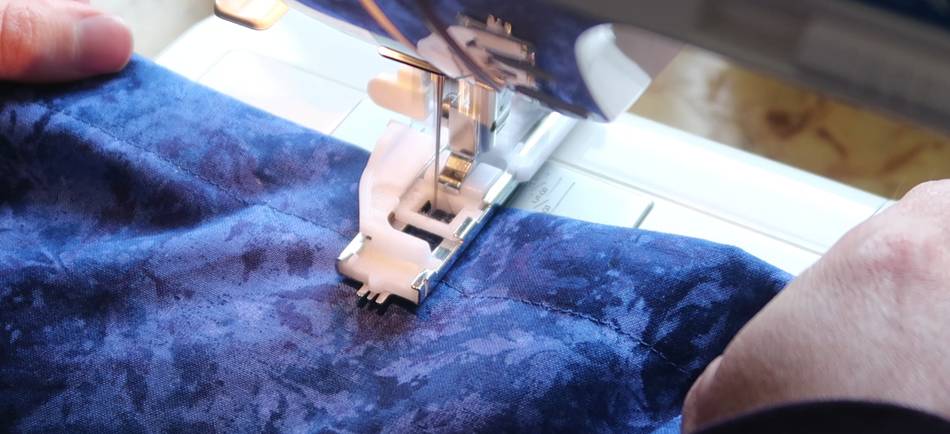
 She made button holes for where the nails go through the fabric.
 A different colour for every room. We had been cautious picking out
the colours when we had the house painted. We wanted bright colours,
and strong colours are darker and can become overwhelming over large
areas.
A different colour for every room. We had been cautious picking out
the colours when we had the house painted. We wanted bright colours,
and strong colours are darker and can become overwhelming over large
areas.
But with all the walls fairly close to white, we went for bolder colours with the curtains.
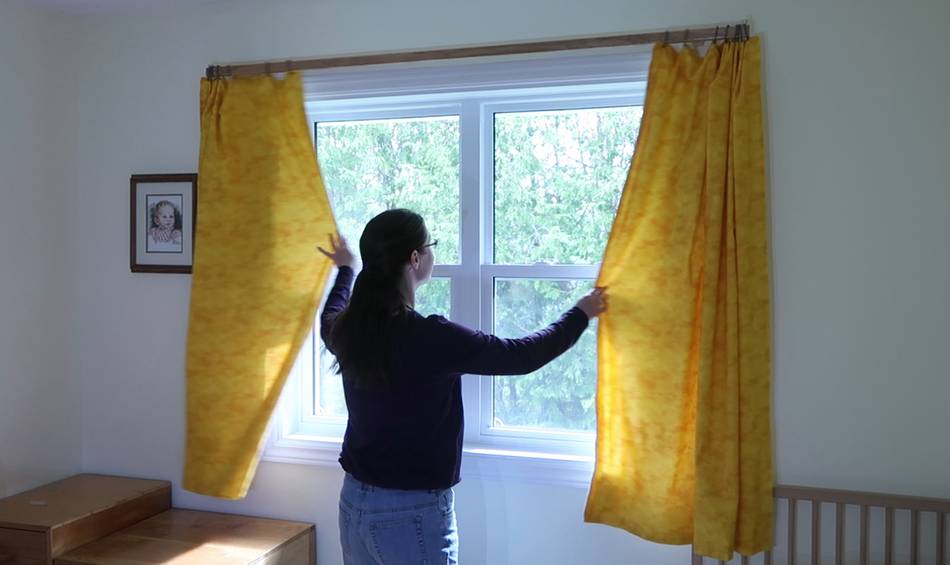 The curtains really slide easily, with a fairly slippery varnish on the rods
as well as the rings. The varnish makes a big difference.
The curtains really slide easily, with a fairly slippery varnish on the rods
as well as the rings. The varnish makes a big difference.
Back to my woodworking website
 Around the corner curtain rod
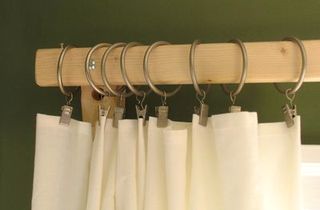 Making simple cheap curtain rods
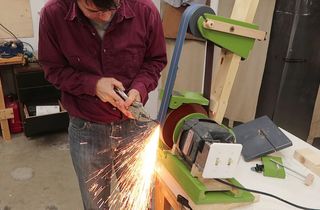 My belt grinder
 Hooks for hanging coat
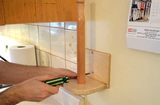 Paper towel roll holder
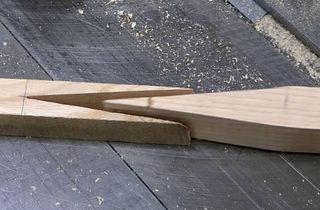 Splicing wood end to make long curtain rods