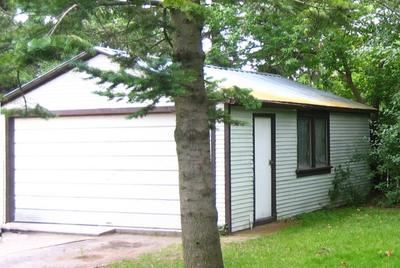
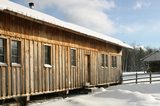
 Fortunately, my house came with a detached double garage, which was just barely
big enough to divide into two parts for car and workshop.
Fortunately, my house came with a detached double garage, which was just barely
big enough to divide into two parts for car and workshop.
This page is about my garage workshop at my old house, from 1996 to 2007. Later I moved and had this basement workshop.
Unfortunately, most housing is not set up to have a good workshop. A garage is a good place, but it's usually windowless. And besides, it's nice to be able to put one's car in there during the winter.
Fortunately, my house came with a detached double garage, which was just barely
big enough to divide into two parts for car and workshop.
I built a wall to divide the garage into roughly equal sized L shaped section. The front is the garage, with the left side being just deep enough to park a VW golf in, while the back and most of the right side is the workshop.
I insulated the workshop walls and ceilings. In the winter, on days that I used it, I heated it with two 1500 watt space heaters. This worked reasonably well as long as it's above -10c outside.
During the first winter, I covered the cement floor with planer shavings for a bit more insulation. But I found the shavings are a nice surface to stand in, so I kept the shavings on the floor year round. Maybe once a year, I sweep them up and throw them out, but then spread new shavings on the floor.
I do end up tracking shavings into the house, although probably not as much so if the garage were attached to the house.

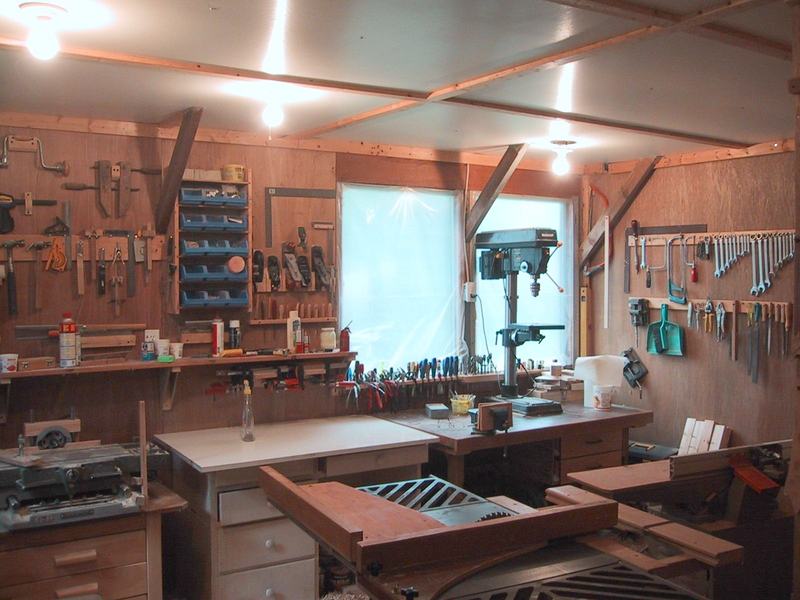
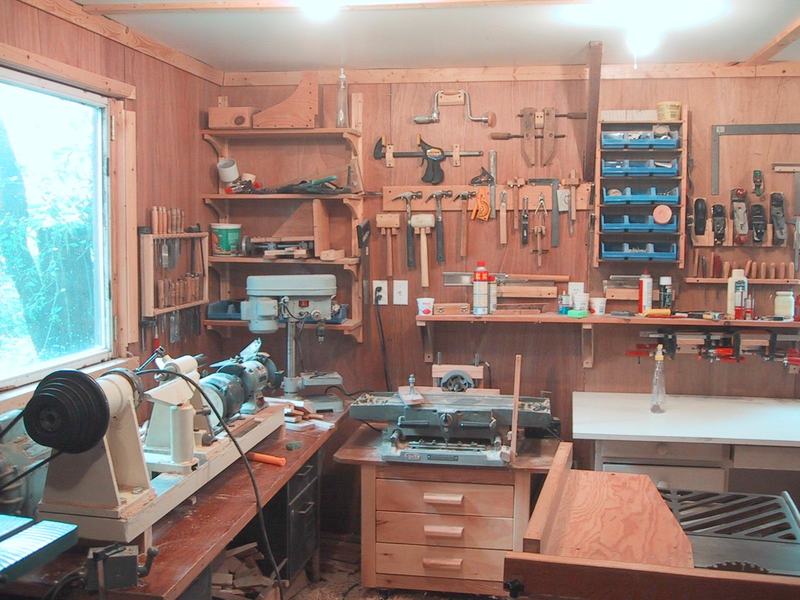
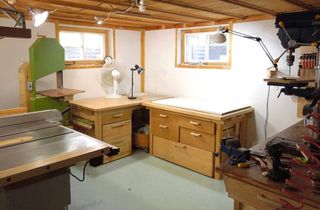
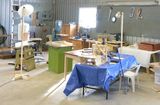
In my workshop, after a cleanup (taken in 2000)
More views of the workshop:
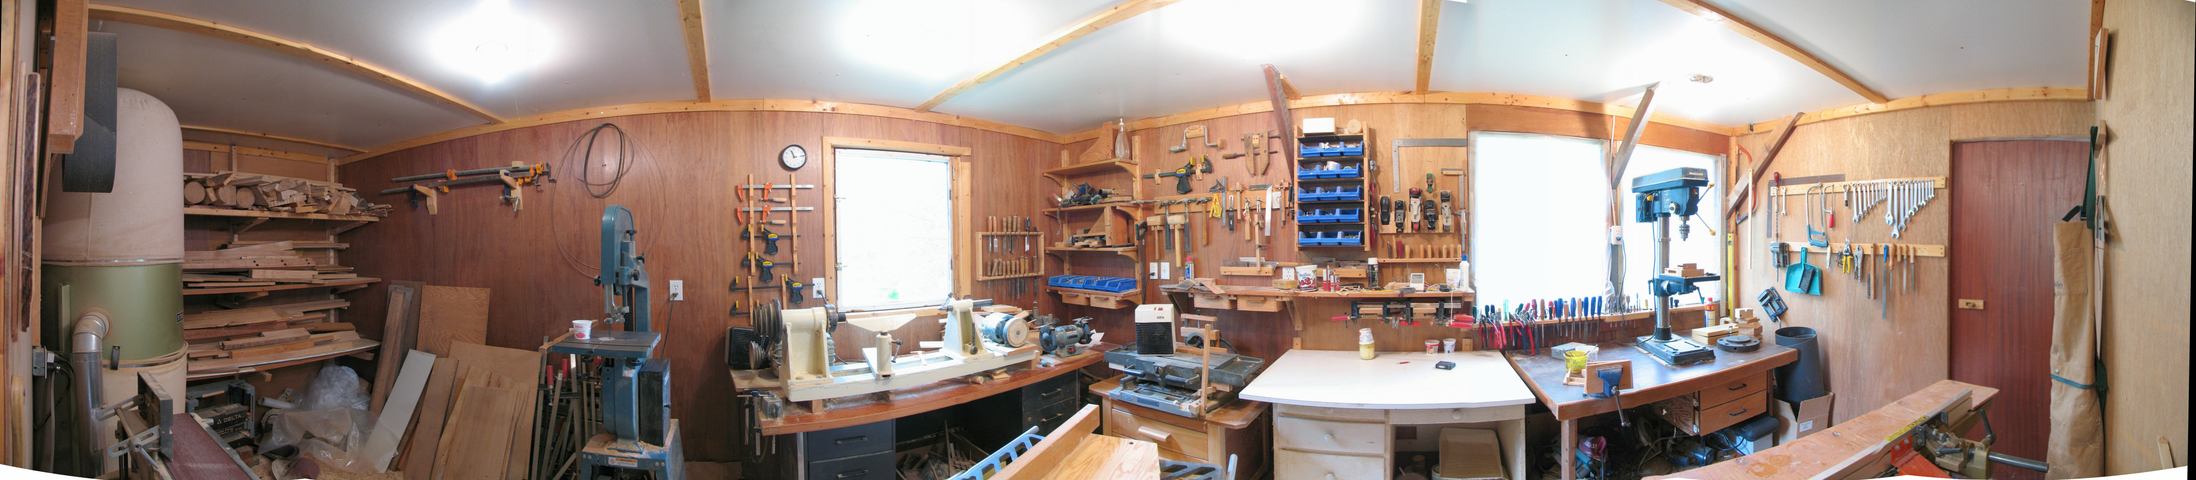
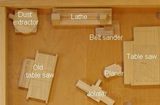
270 degree panorama of my workshop, in 2005
My woodworking machinery at the time consisted of:
I like to build solid furniture - solid enough that it never breaks, even if you stand or fall onto it.
One way to ensure furniture is strong is with good joinery. But I am not one of those people with the patience to hand chisel out some nice dovetail joints and such. I do like mortise and tenon joints though, because they are relatively fast to make, and very strong.
North American equipment is not ideal for making mortise and tenon joints, but I have improvised enough that I can make them fairly efficiently.
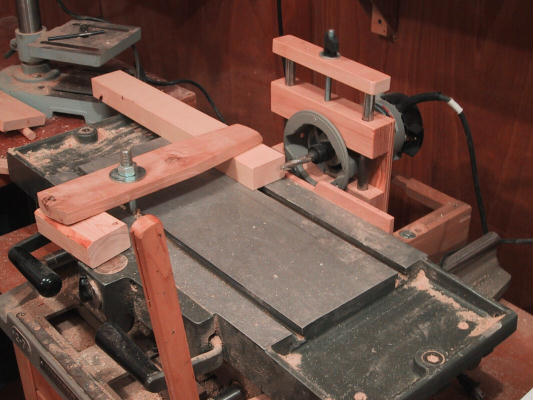
The tenon cutting jig uses a lead screw and two 5/8" shafts I bought at a yard sale, hoping to use those parts to build a mortising machine, before I found the XY sliding table.
The crank adjusts the device left right using a screw, to adjust precisely how far into the wood the cut is to be made. Having a screw adjustment is handy, because I can work out how many turns I need to adjust it between successive passes to get a given width of tenon. I don't adjust it for every tenon though. It's easier to just set it, and then cut all the left sides, adjust again, and cut all the right sides. I use a quick grip clamp to hold the work piece. There's a notch in the jig to position the quick grip clamp. this ensures consistency in how I clamp the pieces for repeatability.
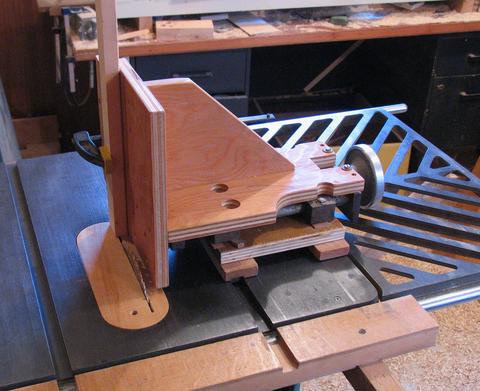
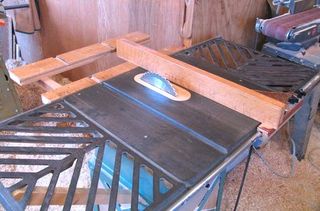
The contraption I use as a substitute is often referred to as a 'panel saw', or a 'table saw sled'. Whatever it's called, I find it very useful.
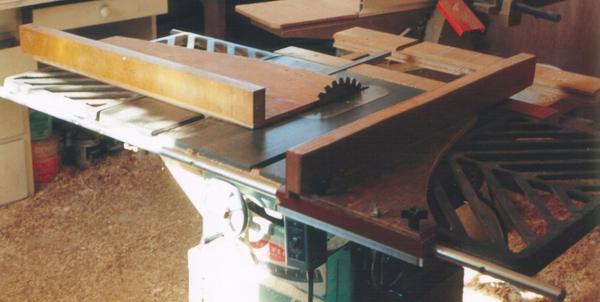
Also shown in this photo is my home made rip fence. The rip fence that came with the saw had at some point been broken and welded back together, but in such a way that it was sufficiently inaccurate to be useless, and I threw it out. This fence is locked down by tightening the knobs on the right side of the fence. Not as convenient as a really good fence, but it does the job, and is stiffer and more accurate than most cheap table saw fences.
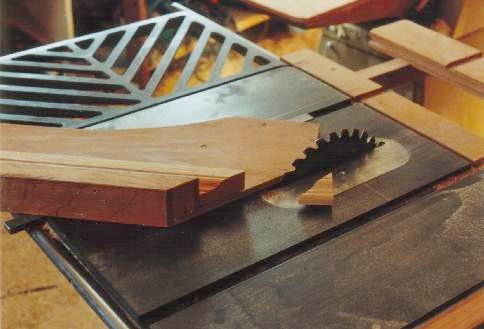
45 degree miter cutting jig |
 My dad's workshop
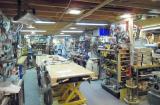
 My big garage workshop