
I needed an extra bed in my old house for one of the tenants. Rather than buy something, I decided to just build a bed out of construction lumber.
I needed an extra bed in my old house for one of the tenants. Rather than buy something,
I decided to just build a bed out of construction lumber.
Building this bed turned out to be a one day project. I was also a little limited by the tools I had around, as I had already moved many of the tools from my old workshop. So the only power tools I used in building this bed were a table saw, a hand drill, a small power planer, and a belt sander.
I spent under $30 on materials, although I already had the screws and dowels. If I had bought everything, it would still have been under $50.
I didn't actually use a single 2x4. Rather, I used spruce lumber normally used for framing. I used three 2x8's, one 2x6, one 2x10, and two 2x2's. all 8' long.
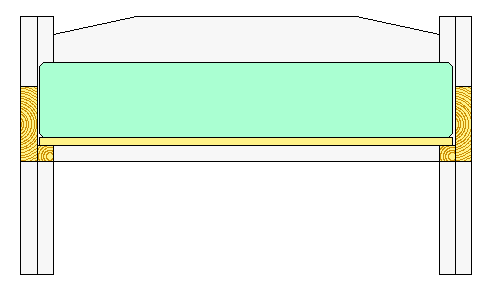 The bed rails each have a 2x2 (1.5"x1.5") attached to the bottom inside edge, on which the slats
supporting the mattress rest. The image at left is a cross section of the bed illustrating this.
The bed rails each have a 2x2 (1.5"x1.5") attached to the bottom inside edge, on which the slats
supporting the mattress rest. The image at left is a cross section of the bed illustrating this.
 When using construction lumber to build furniture, its necessary to carefully select the boards
to use. Fortunately, something like a bed frame is heavy enough that a light twist in the lumber
can be forced straight when assembling it.
When using construction lumber to build furniture, its necessary to carefully select the boards
to use. Fortunately, something like a bed frame is heavy enough that a light twist in the lumber
can be forced straight when assembling it.
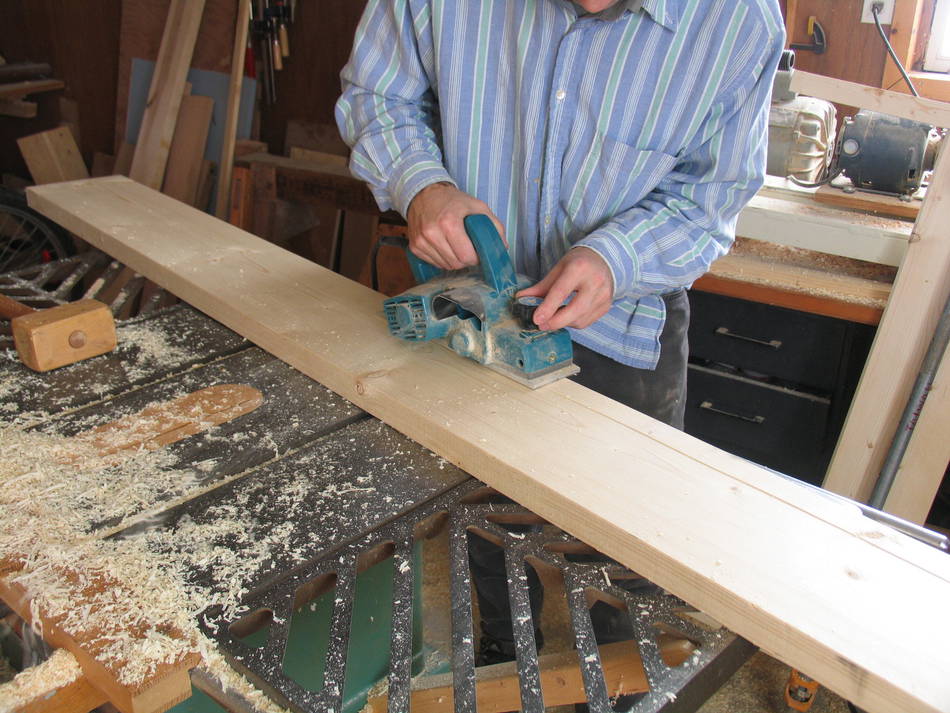
Although construction lumber comes planed, it is typically not planed to a smoothness desired for furniture projects. I had already moved my thickness planer and jointer from my shop, so the next most convenient thing to use was a power planer. The power planer is about the size of a regular jack plane, but it works more like a mini upside down 3" wide jointer. The wider boards required three side by side passes to plane. On some of the boards, I still ended having some ridges between the passes, which I sanded with a belt sander.
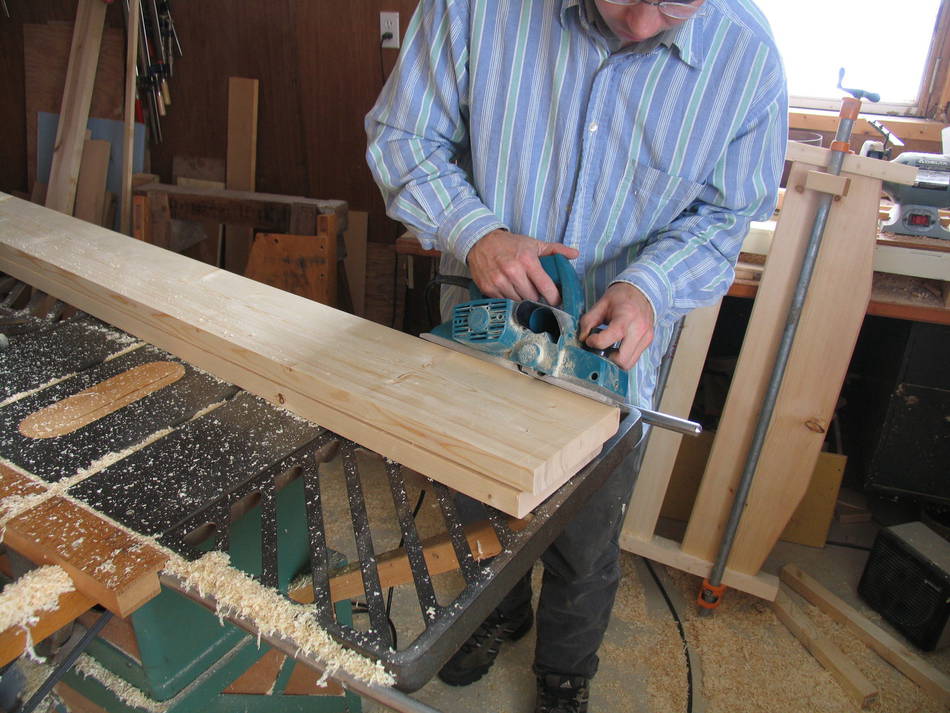 I also put a quarter inch chamfer on all the exposed edges. The power planer infeed side has a 45 degree
V notch in it, which allowed me to get a consistent depth of chamfer whether I was putting it on top of
the factory rounded edge, or a fresh square edge from a rip cut. I decided to make quarter
inch chamfers part of the overall styling of this project.
I also put a quarter inch chamfer on all the exposed edges. The power planer infeed side has a 45 degree
V notch in it, which allowed me to get a consistent depth of chamfer whether I was putting it on top of
the factory rounded edge, or a fresh square edge from a rip cut. I decided to make quarter
inch chamfers part of the overall styling of this project.
For chamfers in the end grain, I just cut them by hand with a sharp knife.
 The overall bed design consists of a headboard and footboard of similar design, with the side rails screwed onto
the head and foot boards. The bed posts are two 2x3's side by side, with a notch for where the side rails
screw in.
The overall bed design consists of a headboard and footboard of similar design, with the side rails screwed onto
the head and foot boards. The bed posts are two 2x3's side by side, with a notch for where the side rails
screw in.
Putting some nice curves on the headboard like I did with this one would have been better, but I already removed my bandsaw from the old shop. So I had to make do with some straight cuts instead.
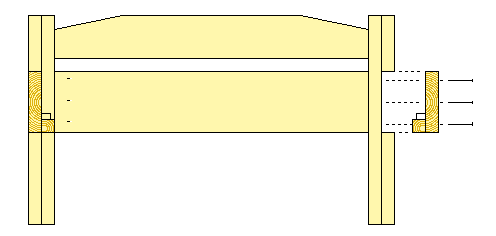
 The horizontal members of the head and foot board are joined to the posts with 5/8" dowels. The dowel
joints are drilled and glued through just one of the 2x3's of the post.
To drill the holes, I securely jig up the
horizontal board with the piece of the post, and drill through both pieces. That way, I can ensure
the holes line up between the two parts, even if I only freehand drill them with a hand drill.
I'd used that same approach when building a workbench
The horizontal members of the head and foot board are joined to the posts with 5/8" dowels. The dowel
joints are drilled and glued through just one of the 2x3's of the post.
To drill the holes, I securely jig up the
horizontal board with the piece of the post, and drill through both pieces. That way, I can ensure
the holes line up between the two parts, even if I only freehand drill them with a hand drill.
I'd used that same approach when building a workbench
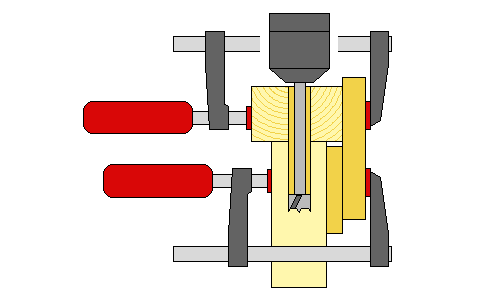 The diagram at left shows how everything is jigged up for the drilling.
The widest board that I was using for the head board was actually cupped a little bit, but jigging it up for drilling also forced it flat while clamped. After drilling the holes, I just glued the dowels in place with the clamps still in, so now the dowels hold it flat.
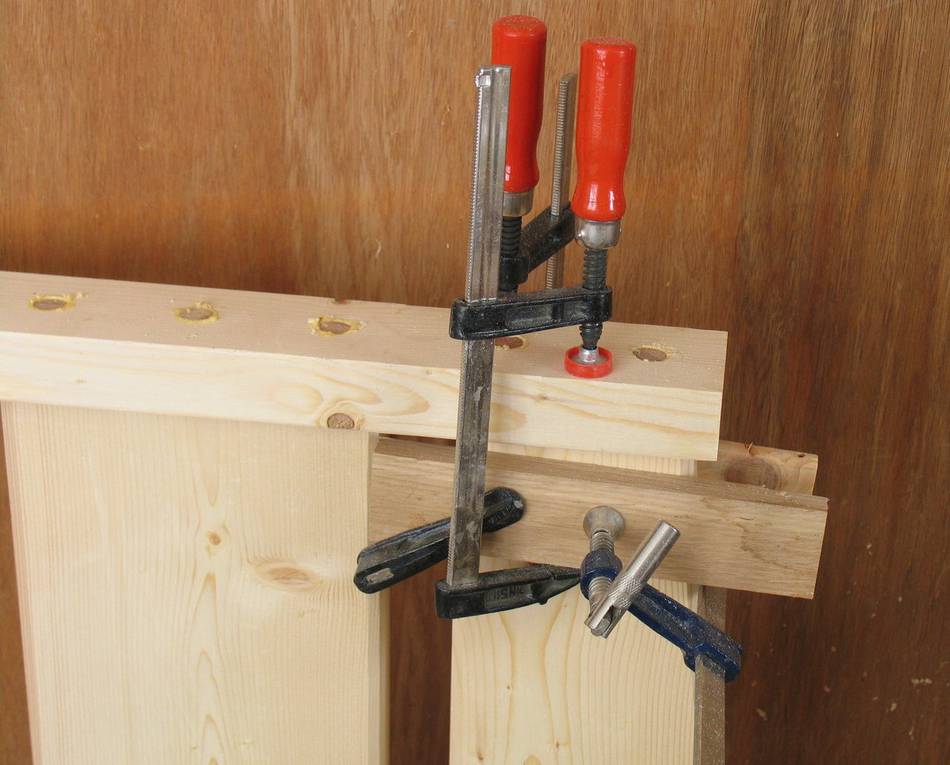 After gluing and hammering the dowels in, I found I had a slight gap between the horizontal
boards of the headboard and the post.
After gluing and hammering the dowels in, I found I had a slight gap between the horizontal
boards of the headboard and the post.
I didn't have any clamps long enough to span the width of the bed, so clamped two pieces of wood to the horizontal board, and used those to pull the joint together.
This does require that the bottom two clamps in the photo are tightened quite hard. I recommend you don't attempt to do this with anything other than all metal clamps that are tightened with a screw.
If all this seems too much trouble to you, another approach would be to use some 4" long wood screws instead of dowels. Not quite as sturdy, but sturdy enough, and the gaps close just by tightening the screws.
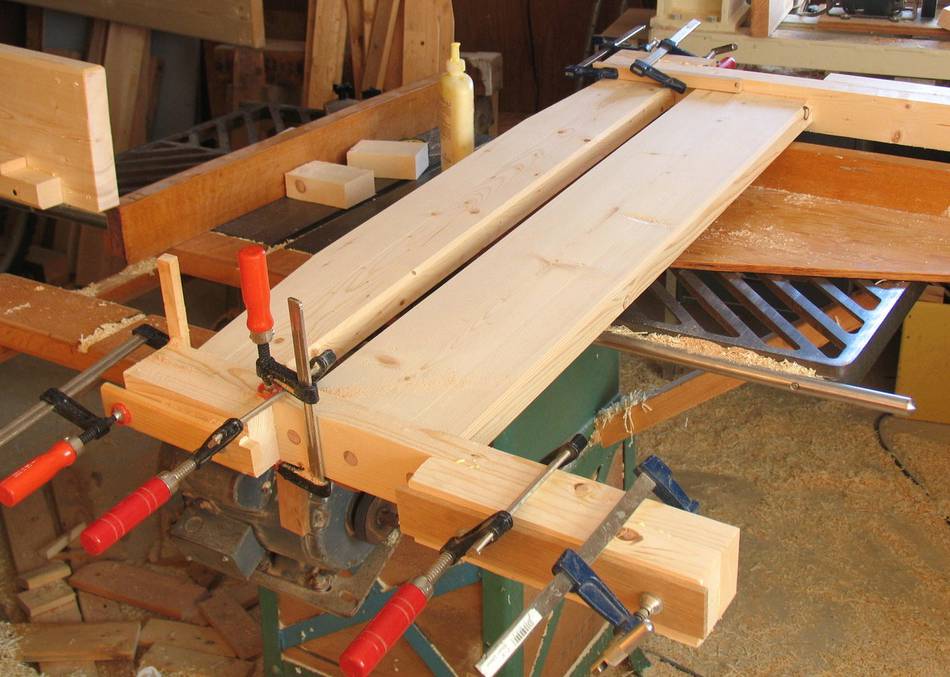 After gluing the head board and foot board together, I took one pass over the half post with the power
planer to flatten the outside surface. I then proceeded to glue the other 2x3 onto the post.
After gluing the head board and foot board together, I took one pass over the half post with the power
planer to flatten the outside surface. I then proceeded to glue the other 2x3 onto the post.
This part is a bit tricky, because with lots of glue in the joint, it will try to 'float' to the side as clamps are applied. The one clamp in the photo that is in a vertical position was to hold that piece aligned better.
I still ended up having the parts misaligned by about a millimeter. I just planed a millimeter or two off the sides of the post to smooth it out afterwards. I cut the bevels onto the post last. For bevels on the inside side (next to the hadboard), I couldn't get the power planer into the corner, so cut those with a hand plane.
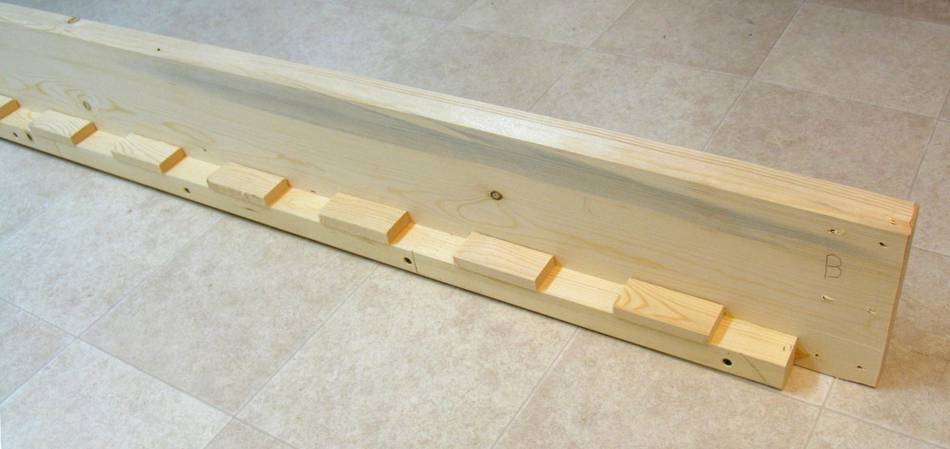 The bed side rails consist of 2x8 x 8' pieces of lumber, cut to 80" in length and 7" in width.
A 2x2 (1.5"x1.5") is screwed and glued to the bottom edge. A small block is then glued every 6"
to keep the slats from sliding around.
The bed side rails consist of 2x8 x 8' pieces of lumber, cut to 80" in length and 7" in width.
A 2x2 (1.5"x1.5") is screwed and glued to the bottom edge. A small block is then glued every 6"
to keep the slats from sliding around.
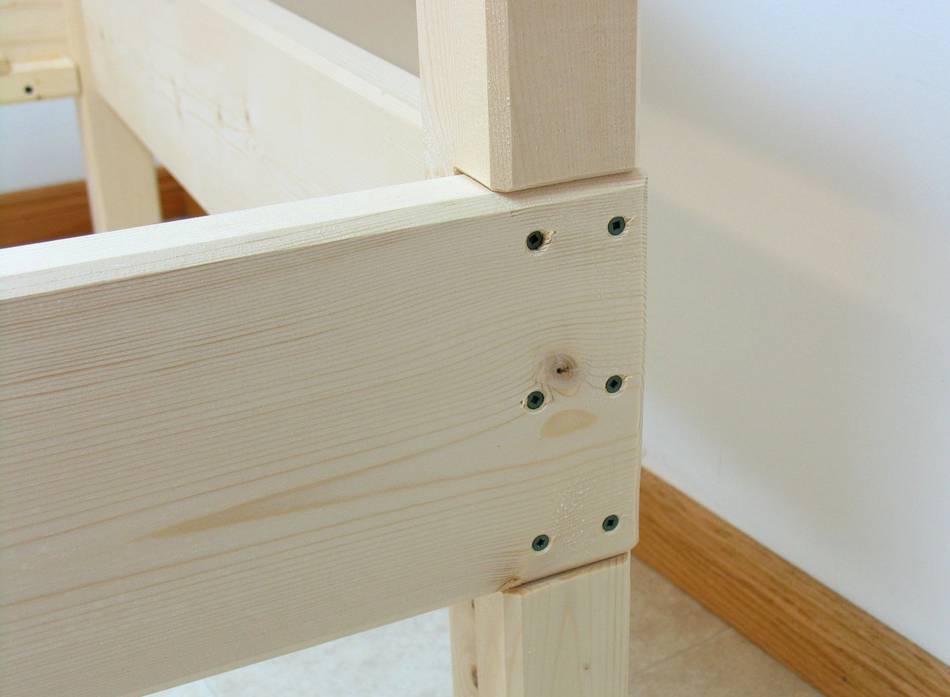 Finally, the side rails are screwed into the gaps left on the post.
I used six 2.5" #8 screws. In retrospect, #10 screws would have been slightly better,
but the #8 screws was what I had lying around.
Finally, the side rails are screwed into the gaps left on the post.
I used six 2.5" #8 screws. In retrospect, #10 screws would have been slightly better,
but the #8 screws was what I had lying around.
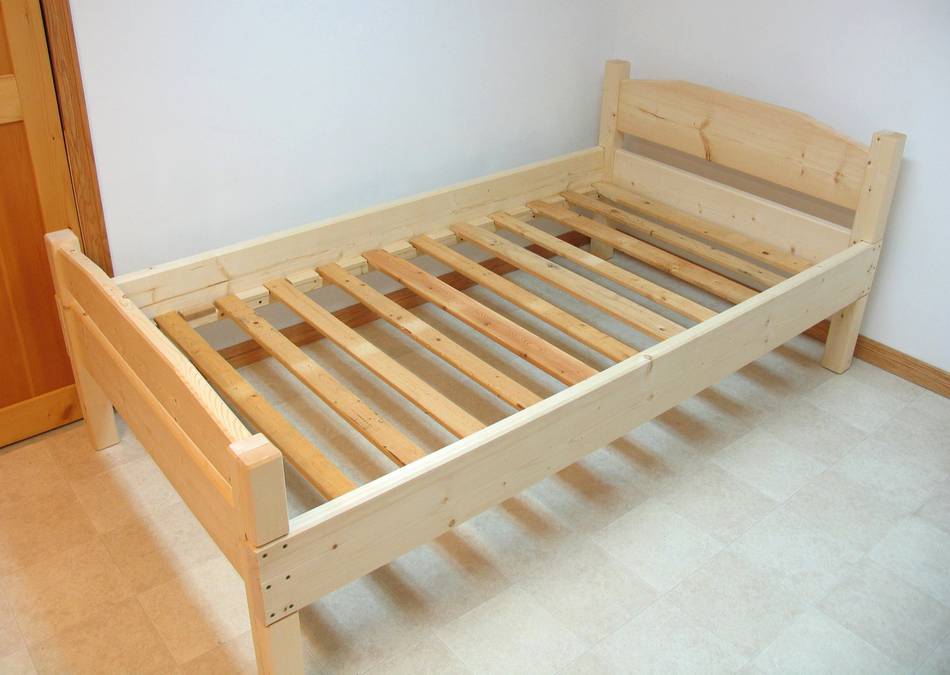 And finally, the bed frame all assembled. For the slats, I used recycled lumber.
Ironically, the slats are salvaged from an old box spring that I had dismantled at some point.
And finally, the bed frame all assembled. For the slats, I used recycled lumber.
Ironically, the slats are salvaged from an old box spring that I had dismantled at some point.
I'm no big fan of box springs. Its much better to have the mattress elevated on slats instead, so that there is lots of room under the bed for storing stuff.
Besides, this gives more room for the Calvin and Hobbes-esque monsters to hide under the bed.
I am rather satisfied with how little time it took to build this bed, and how solid the whole thing ended up.
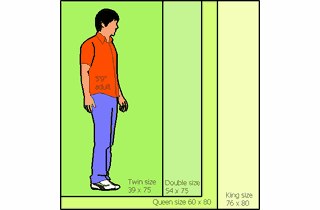 Bed sizes comparison twin, double, queen, king
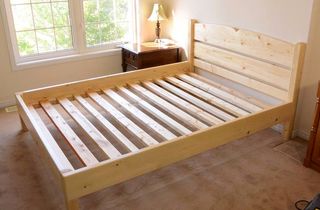 Queen size bed
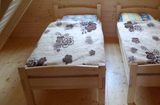
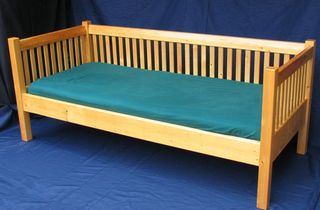 Bulding a daybed
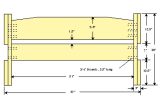 Bed plans
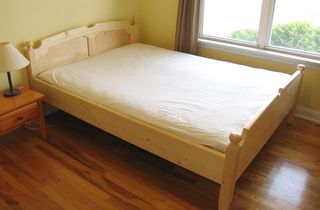 Queen size bed
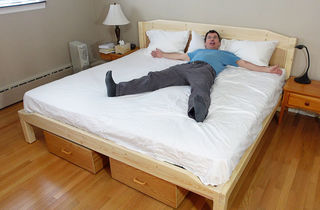 Building a king size bed
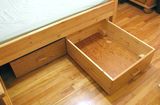 Under bed storage
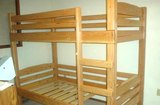 Bunk bed
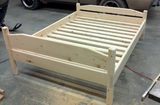 Andy Nagel's bed build
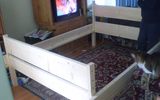 Ron King's bed build
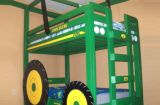 Tractor bunk bed
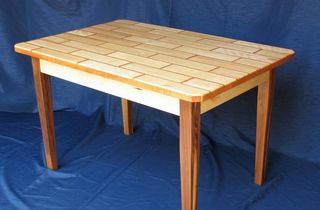 Building wooden tables