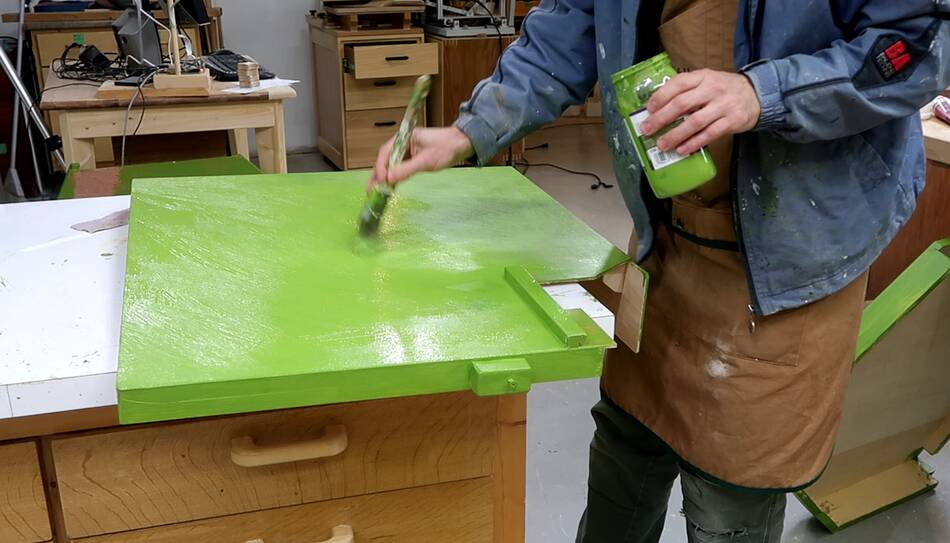
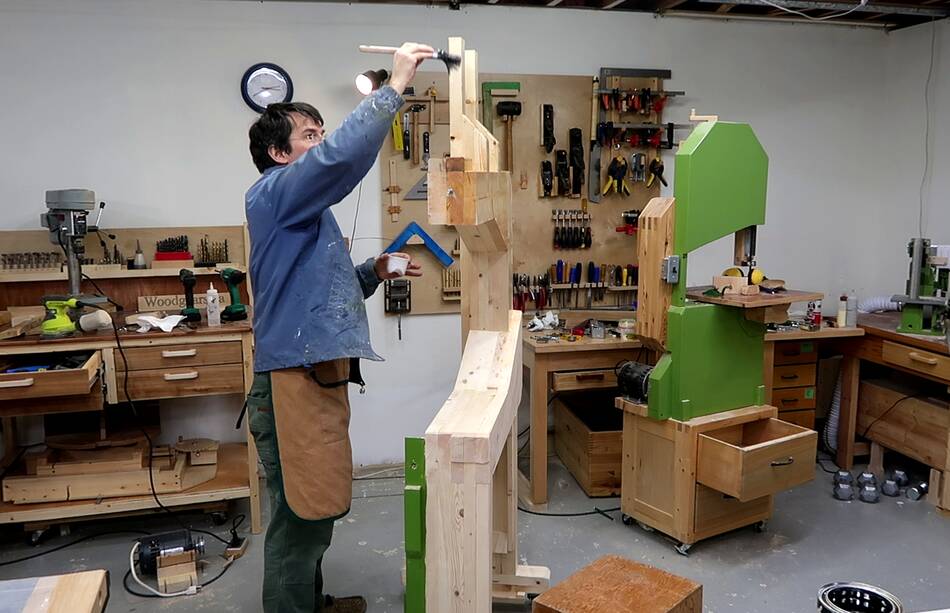
I painted this bandsaw with the usual green colour, using the rest of the
950ml can of paint I originally bought for my 20" bandsaw.
It's only the second small can of green paint I bought.
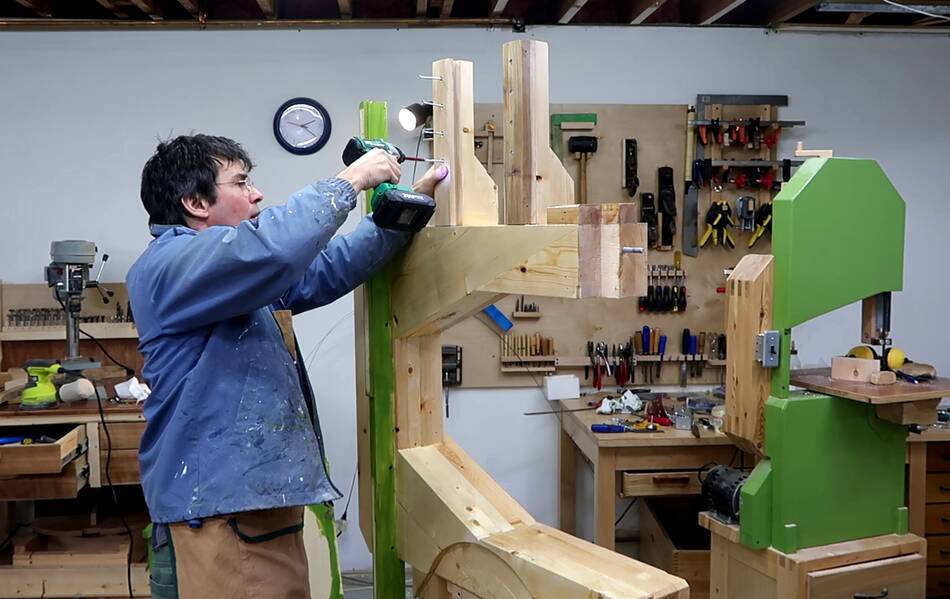
I paint my machines green because the wooden colour just doesn't visually contrast enough from all the other wooden things in my shop or the workpieces. Also, I don't care to emphasize that my bandsaw is made of wood. Primarily it's a bandsaw, wooden is secondary.
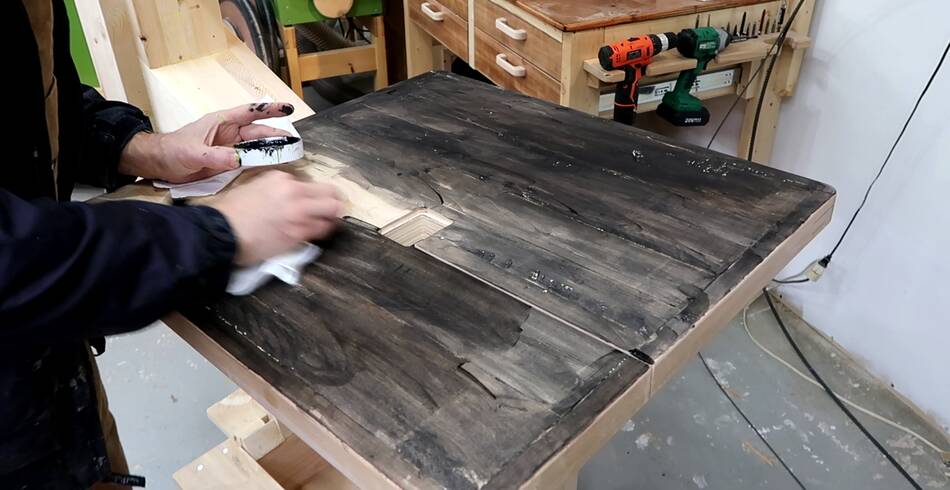
 I wanted to stain the table to make it a bit darker so that when filming,
workpieces stand out more against it. I rubbed some black paint on the
table, but the result came out all blotchy and ugly. The small test
samples I first tried came out much better.
I wanted to stain the table to make it a bit darker so that when filming,
workpieces stand out more against it. I rubbed some black paint on the
table, but the result came out all blotchy and ugly. The small test
samples I first tried came out much better.
So I started sanding it, but the table isn't totally even, so that didn't look great either.
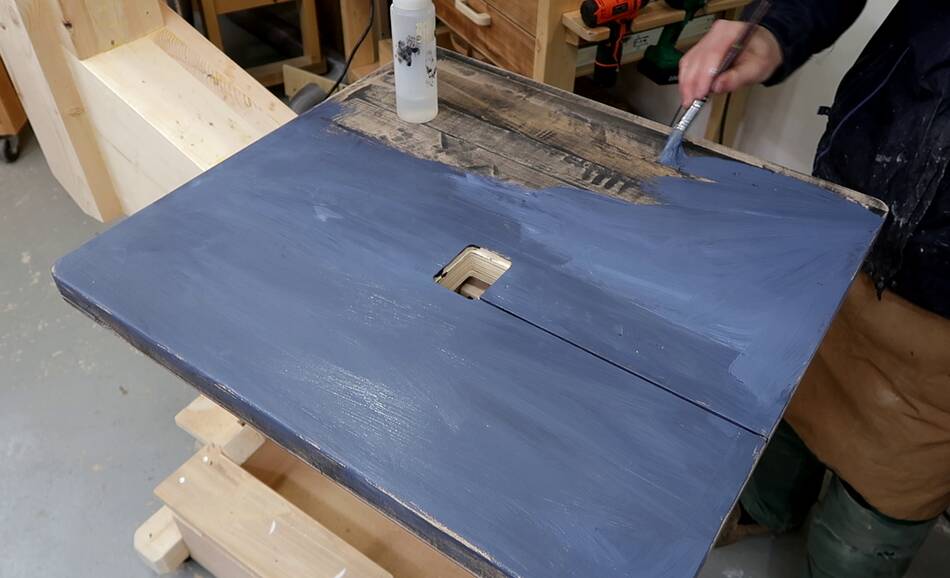
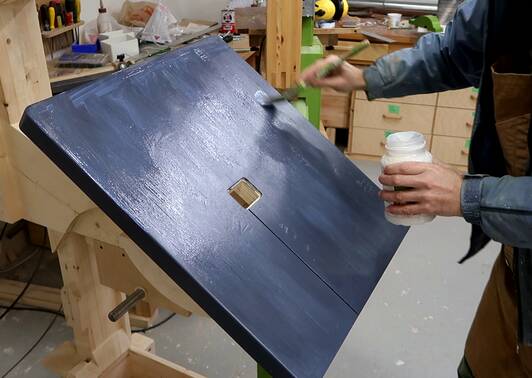 So I resorted to painting it. Painting looks best, but that paint will
wear through eventually. I put several coats of clear water based varnish on
top of the paint to protect it. Ideally I'd have some piece of metal to go on
top of the table, like I did with my jointer.
So I resorted to painting it. Painting looks best, but that paint will
wear through eventually. I put several coats of clear water based varnish on
top of the paint to protect it. Ideally I'd have some piece of metal to go on
top of the table, like I did with my jointer.
I don't particularly recommend staining or painting the table. Scuffs and scratches will show up much less if you leave it natural coloured.
 I used some oil based varnish on the wheels and frame. Oil based is
less moisture permeable, and that's important when cutting into green
hardwoods because the sawdust can be wet.
I used some oil based varnish on the wheels and frame. Oil based is
less moisture permeable, and that's important when cutting into green
hardwoods because the sawdust can be wet.
For the frame, with the thick layers of cross grain lamination, extreme changes in humidity could cause those joints to fail. While oil based isn't enough to prevent humidity changes, it at least slows them down, which should help.
 I put two coats on the whole saw, but more coats around the bottom wheel to
protect against wet sawdust. But even so, if I cut green lumber, I always
clean out all the wet sawdust as soon as I'm done.
Even if your bandsaw isn't wooden, you don't want wet sawdust in
your saw getting it rusty and mouldy. You don't want wet sawdust
in a dust collector either.
I put two coats on the whole saw, but more coats around the bottom wheel to
protect against wet sawdust. But even so, if I cut green lumber, I always
clean out all the wet sawdust as soon as I'm done.
Even if your bandsaw isn't wooden, you don't want wet sawdust in
your saw getting it rusty and mouldy. You don't want wet sawdust
in a dust collector either.
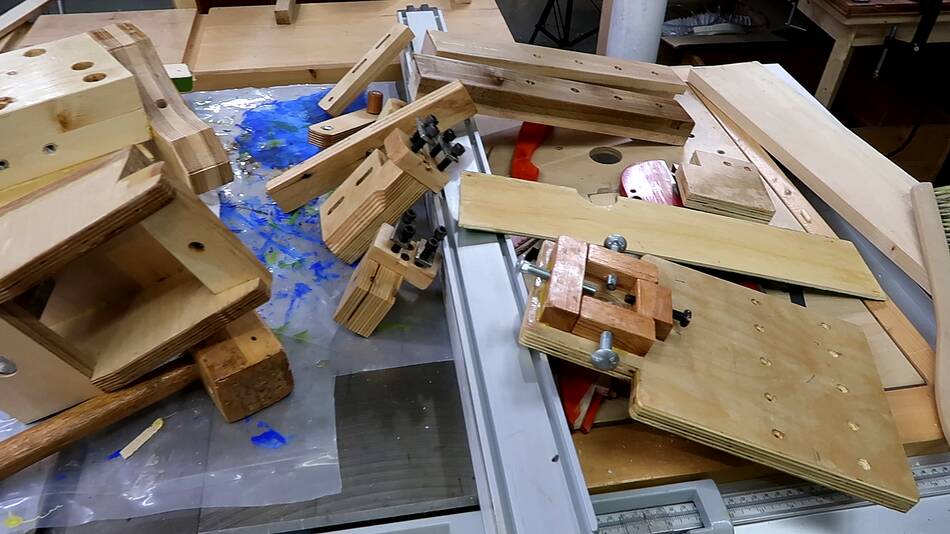 Other parts varnished separately.
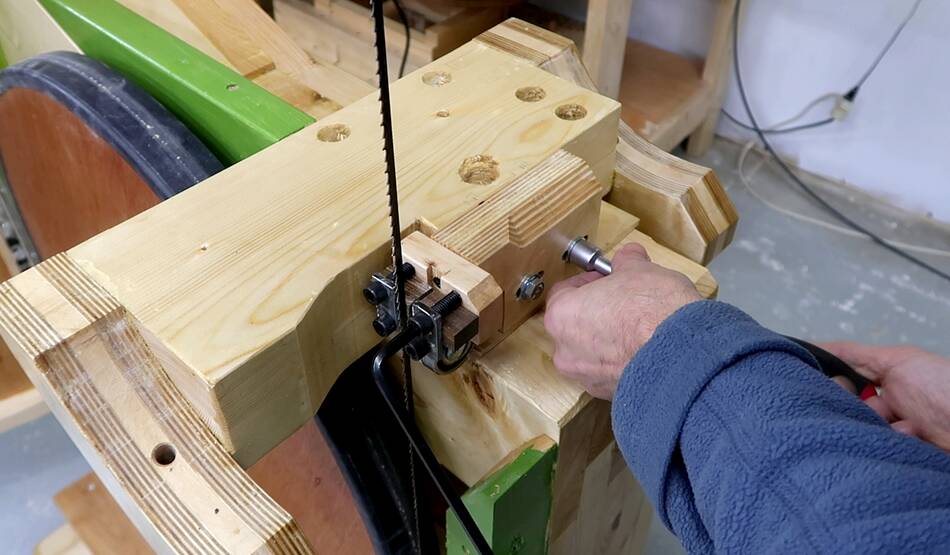
 With the wheels varnished and the tires back on, it was finally time to
balance the wheels. I put 22 mm roller skate ball bearings inside
the 1" ball bearings in the wheels so that the small bearings could roll
inside the bigger ones. The small bearings turn more easily so it's
easier to find small imbalances.
With the wheels varnished and the tires back on, it was finally time to
balance the wheels. I put 22 mm roller skate ball bearings inside
the 1" ball bearings in the wheels so that the small bearings could roll
inside the bigger ones. The small bearings turn more easily so it's
easier to find small imbalances.
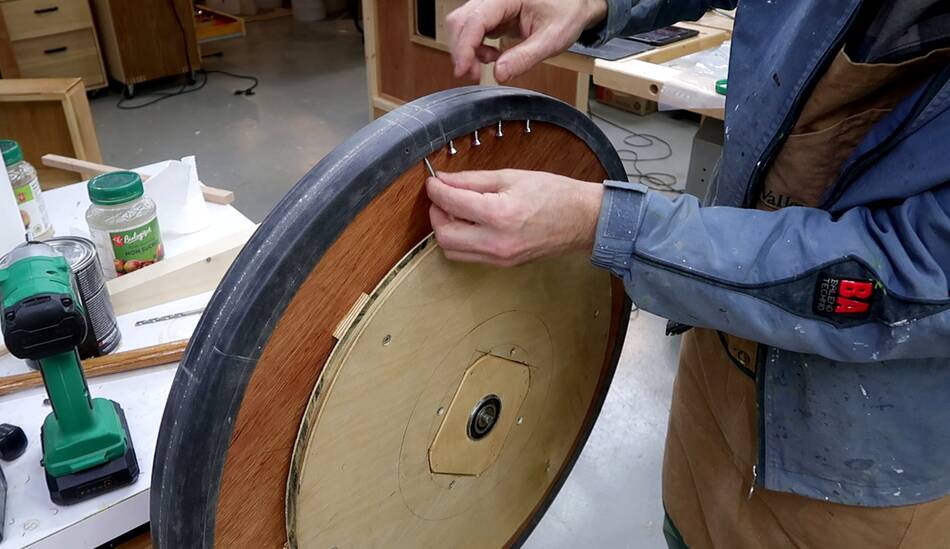
I then stuck screws behind the tires on the light side until it no longer gravitated towards one side.
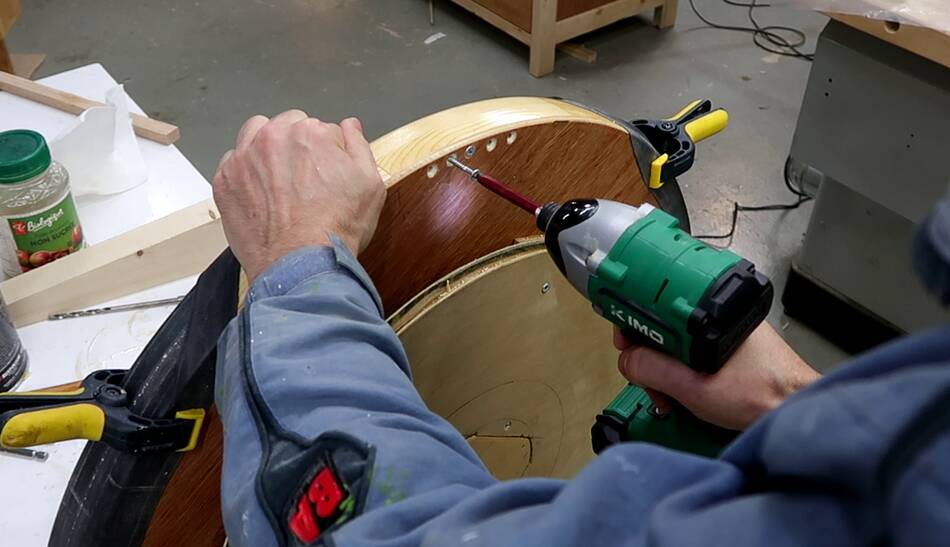 After that, I peeled back part of the tire, drilled pilot holes and
countersinks, and put the screws in near the rim, hidden by the tire.
Each wheel needed five screws to balance.
After that, I peeled back part of the tire, drilled pilot holes and
countersinks, and put the screws in near the rim, hidden by the tire.
Each wheel needed five screws to balance.
 Then putting everything back together.
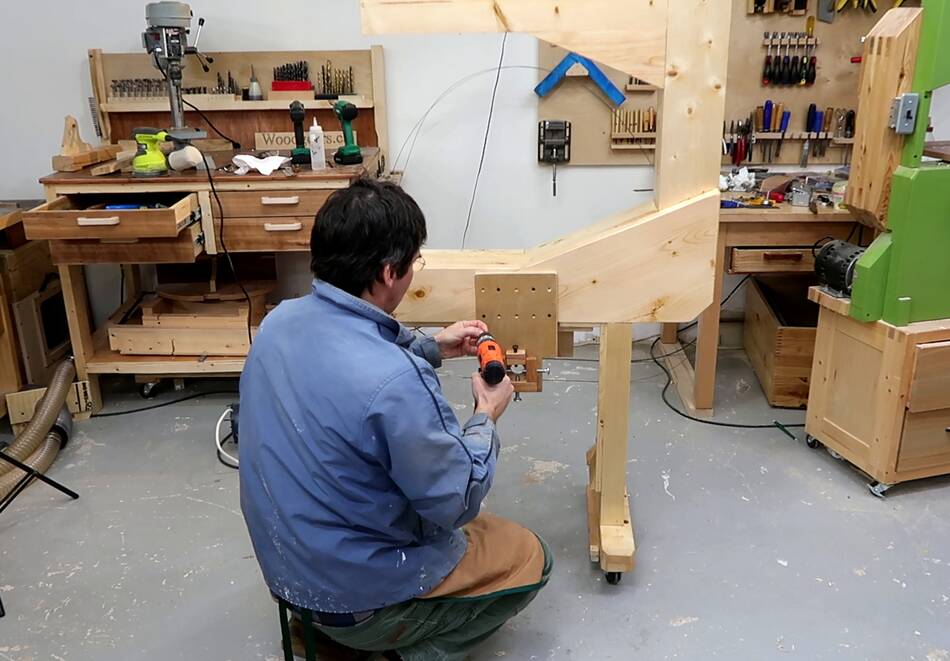
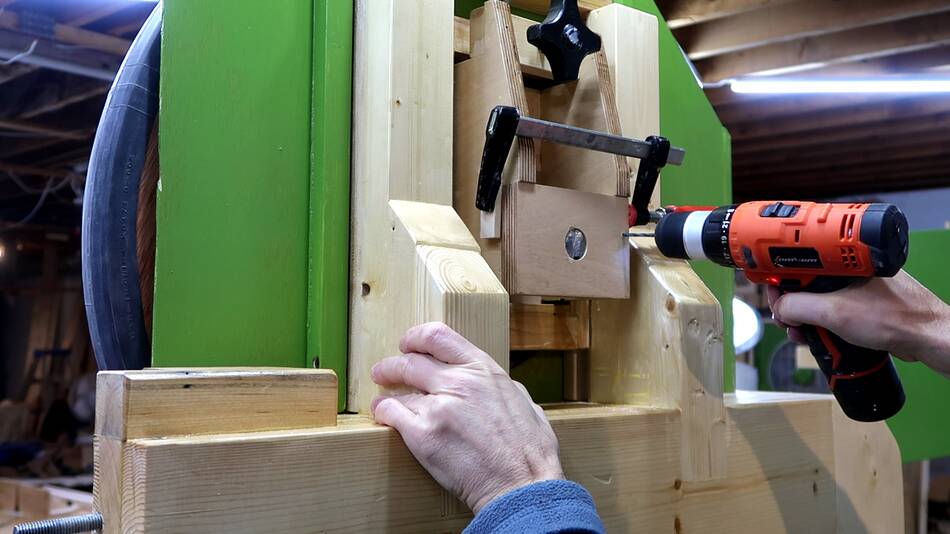
Screwing on the rear mount for the lower axle. On my 20" bandsaw I glued this but that is perhaps overkill. And if this one were to slip slightly, I could always adjust the screws that position the back end of the axle.
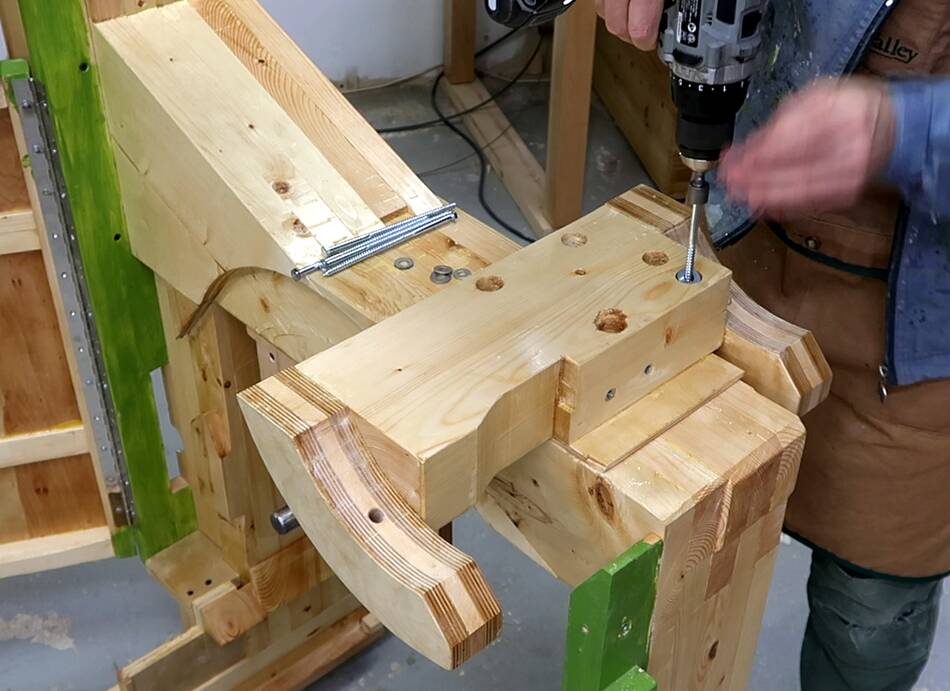 6" long 1/4" wood screws with washers hold the lower trunnion support beam.
I enlarged the pilot holes from when I used #10 screws earlier so I wouldn't
risk splitting the wood.
6" long 1/4" wood screws with washers hold the lower trunnion support beam.
I enlarged the pilot holes from when I used #10 screws earlier so I wouldn't
risk splitting the wood.
I also made sure the spot where that mounts on the frame was very flat so that it makes good contact over a large area for more stiffness.
 Lower door going back on.
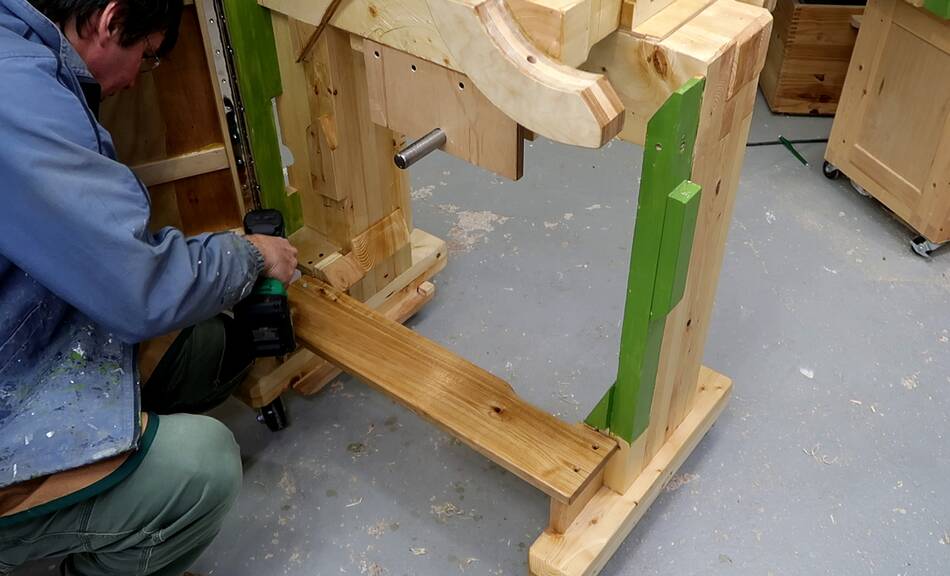 And the lower step.
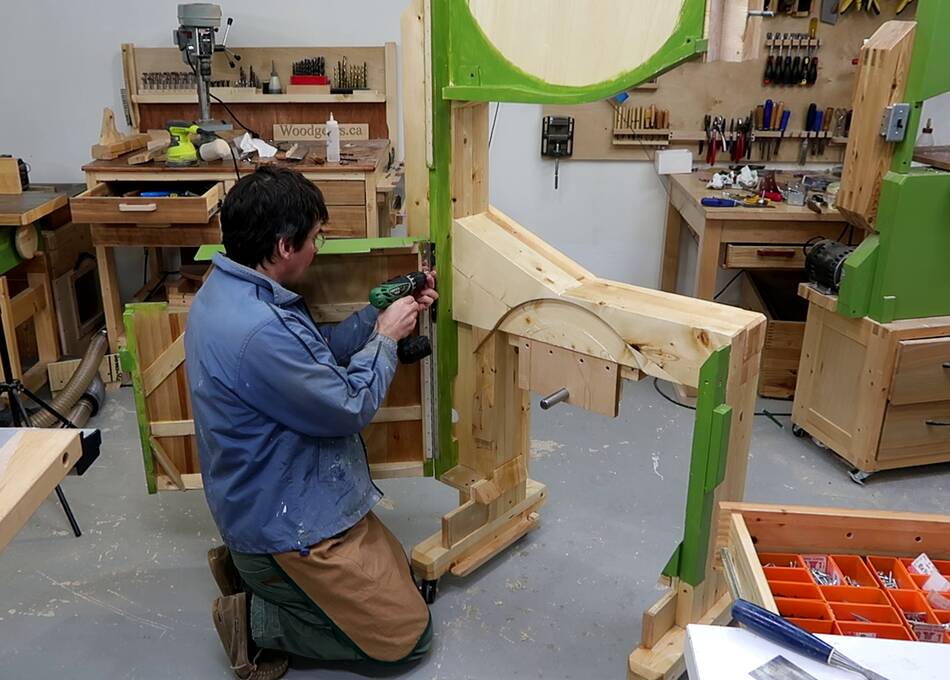
 L-shaped profiles to hold the upper wheel mount.
 And with the upper enclosure mounted, I realized the upper wheel needed
some sideways adjustment, in the yaw axis, to use airplane terminology.
The back of the upper wheel mount bracket wasn't screwed on yet, so I
forced it sideways with a small clamp, then screwed it on in that position.
And with the upper enclosure mounted, I realized the upper wheel needed
some sideways adjustment, in the yaw axis, to use airplane terminology.
The back of the upper wheel mount bracket wasn't screwed on yet, so I
forced it sideways with a small clamp, then screwed it on in that position.
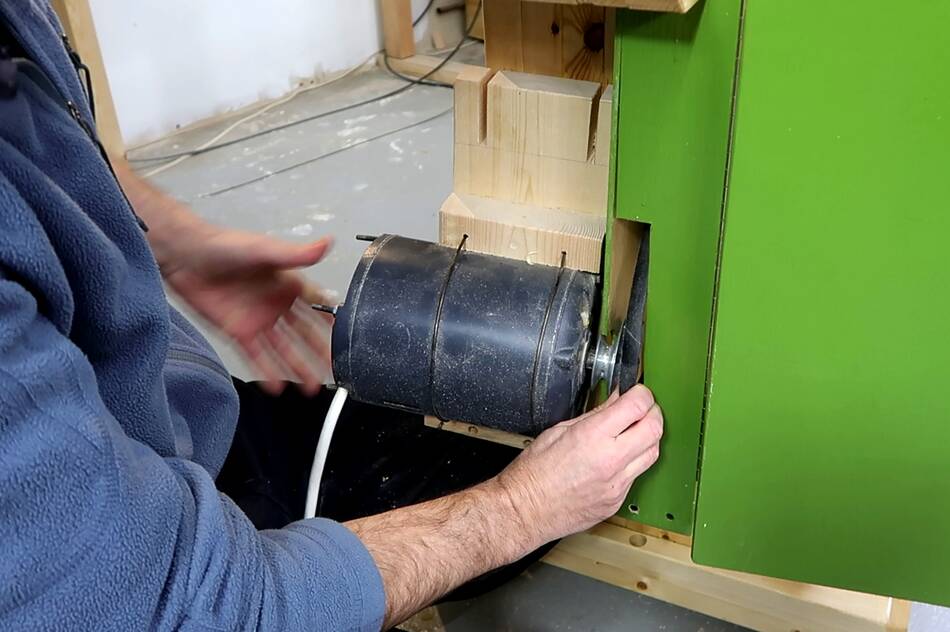 The enclosure comes very close to the motor's pulley. That made the motor
tricky to get on, and it took me three tries to get it on. The key is
to nest the part of the enclosure behind the pulley with the pulley
correctly and then putting motor and enclosure piece on at the same time.
The enclosure comes very close to the motor's pulley. That made the motor
tricky to get on, and it took me three tries to get it on. The key is
to nest the part of the enclosure behind the pulley with the pulley
correctly and then putting motor and enclosure piece on at the same time.
A bigger hole for the pulley would have solved that, but I wanted the enclosure to be fairly closed around the motor because my motor isn't a sealed motor, and it pulls in the cooling air from the front.
Mind you, that motor came from a crappy old bandsaw, on that one it was fully inside the enclosure. It had a lot of dust in it before I cleaned it out.
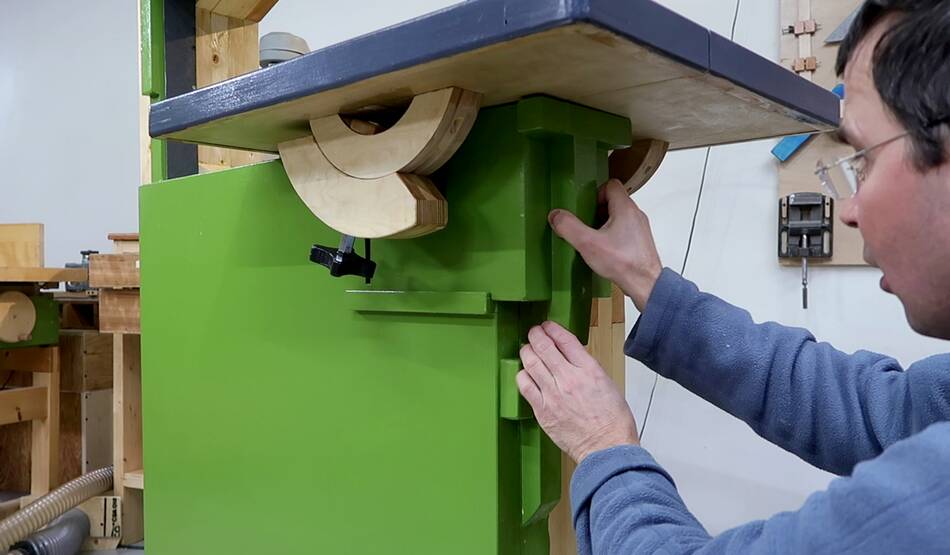
 Though it's possible to adjust the blade guides with the table in place,
if I make more than just minor adjustments, it's less work to take the table
off, adjust, and then put the table back on. It's not that difficult to take
the table off and snake it around the blade.
Though it's possible to adjust the blade guides with the table in place,
if I make more than just minor adjustments, it's less work to take the table
off, adjust, and then put the table back on. It's not that difficult to take
the table off and snake it around the blade.
 And putting the lower blade guide cover back on. This part is key for
keeping the dust inside the saw.
And putting the lower blade guide cover back on. This part is key for
keeping the dust inside the saw.
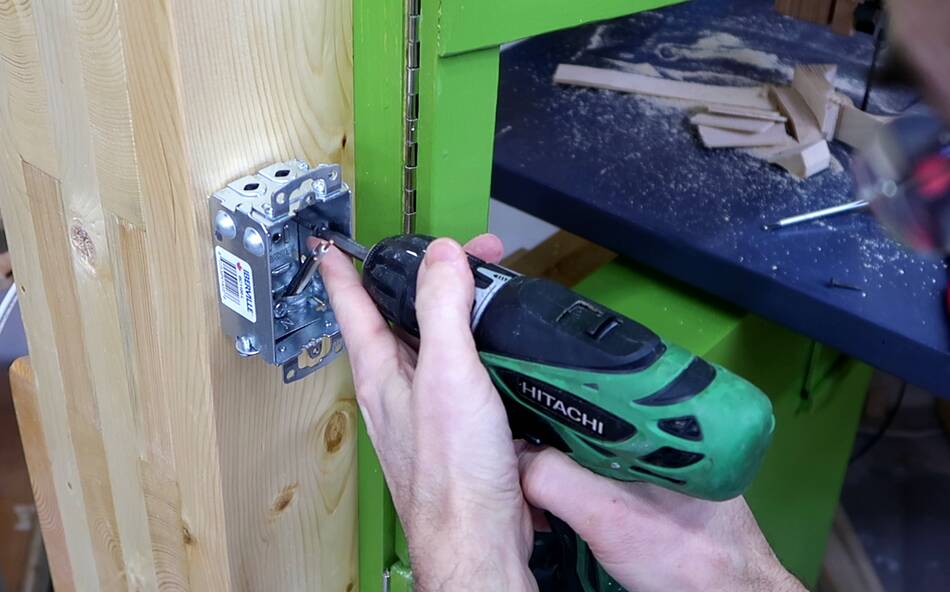
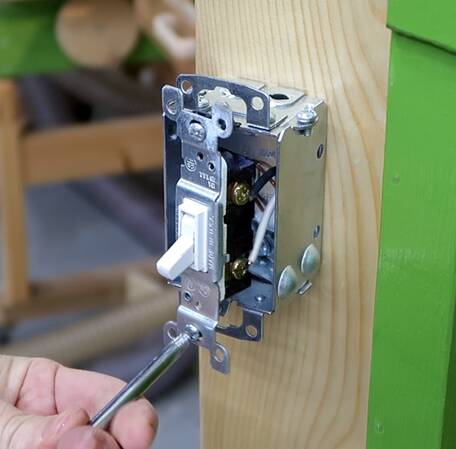 I used a shallow electrical box, made for 2x3 stud walls, for the switch.
The switch is just a regular light switch, not really intended for motors.
But this sort of switch has never given me trouble, and they are very cheap
to replace if one ever does fail.
I used a shallow electrical box, made for 2x3 stud walls, for the switch.
The switch is just a regular light switch, not really intended for motors.
But this sort of switch has never given me trouble, and they are very cheap
to replace if one ever does fail.
The wire for the switch runs through a hole I drilled through the frame.
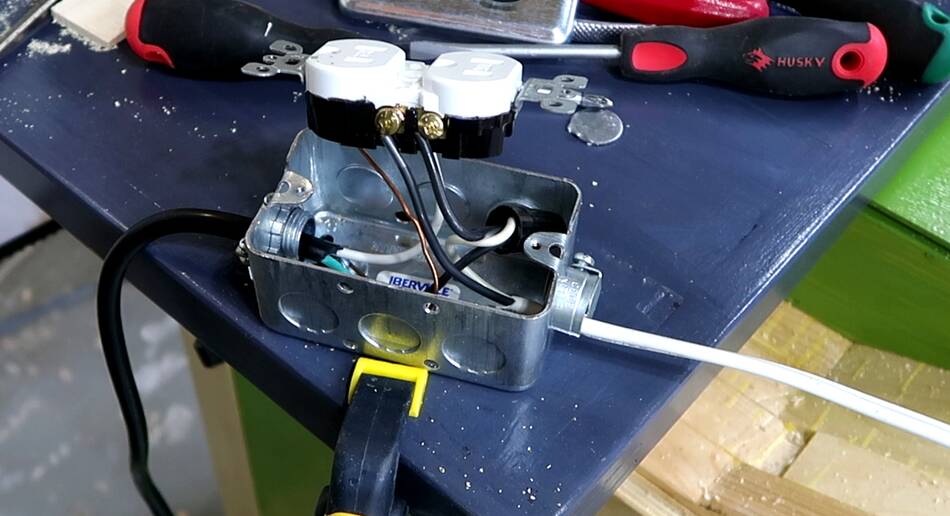 The switch is wired into an electrical socket on the back of the saw.
The switch interrupts the "hot" side of the lower of the two sockets, while
the upper socket is wired to be always on.
The switch is wired into an electrical socket on the back of the saw.
The switch interrupts the "hot" side of the lower of the two sockets, while
the upper socket is wired to be always on.
The wiring for the bandsaw is almost identical to this remote switch, except that I wired one of the sockets unswitched.
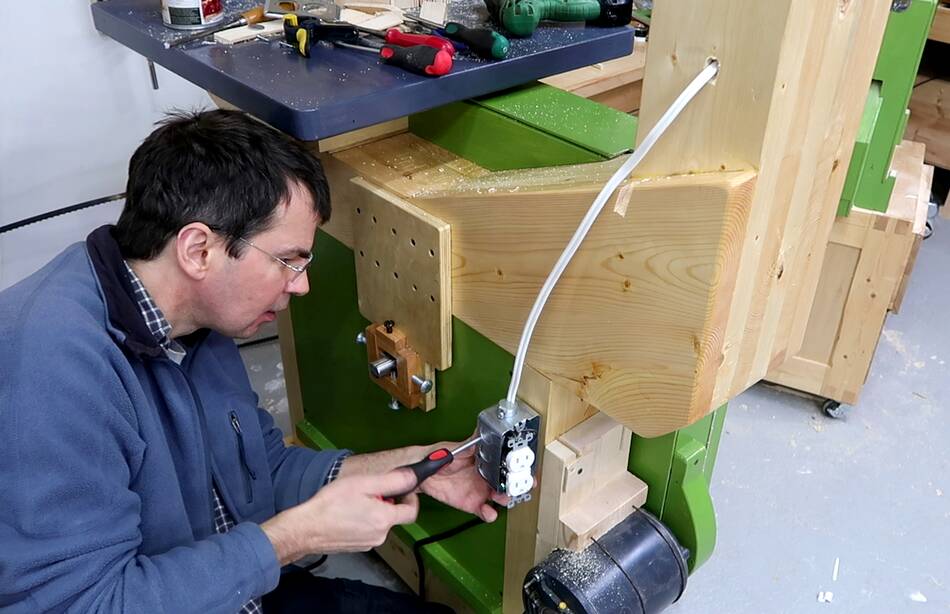
 I mounted the socket sideways on this one, figuring I'm less likely to bump
into the plug that way.
I mounted the socket sideways on this one, figuring I'm less likely to bump
into the plug that way.
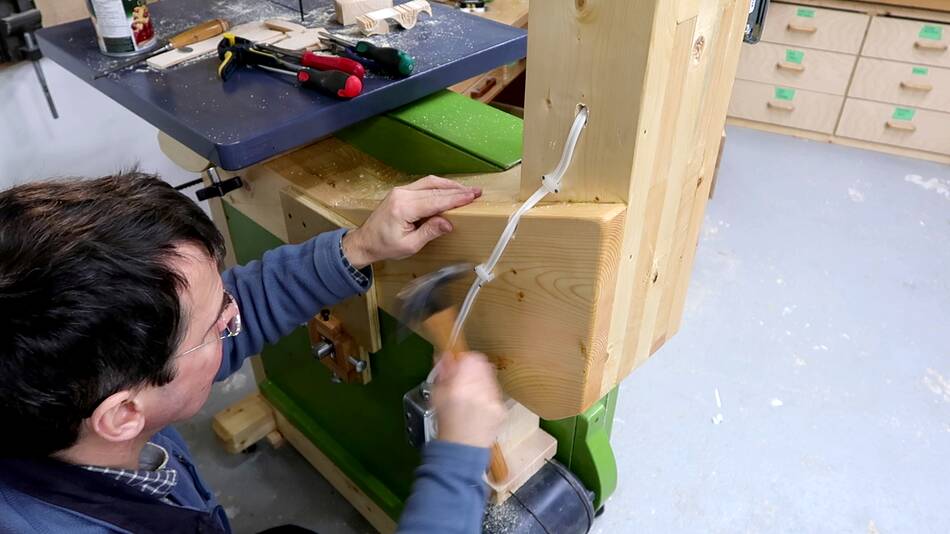 And attaching the wire. I would have run it more parallel to the frame
instead of diagonal, but the scrap of wire I used for this was just long
enough to run it like that.
And attaching the wire. I would have run it more parallel to the frame
instead of diagonal, but the scrap of wire I used for this was just long
enough to run it like that.
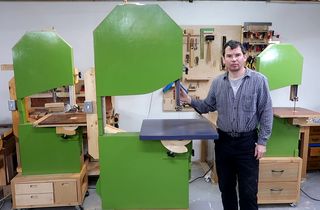
 Assembled 26" bandsaw, between my 20" bandsaw and my
16" bandsaw.
Assembled 26" bandsaw, between my 20" bandsaw and my
16" bandsaw.
My "big" 20" bandsaw seems positively modest in size now. All this for 6" (15 cm) more elbow room.
 And finally trying out the saw again, first time running it since I took it
apart a week earlier to start painting.
And finally trying out the saw again, first time running it since I took it
apart a week earlier to start painting.
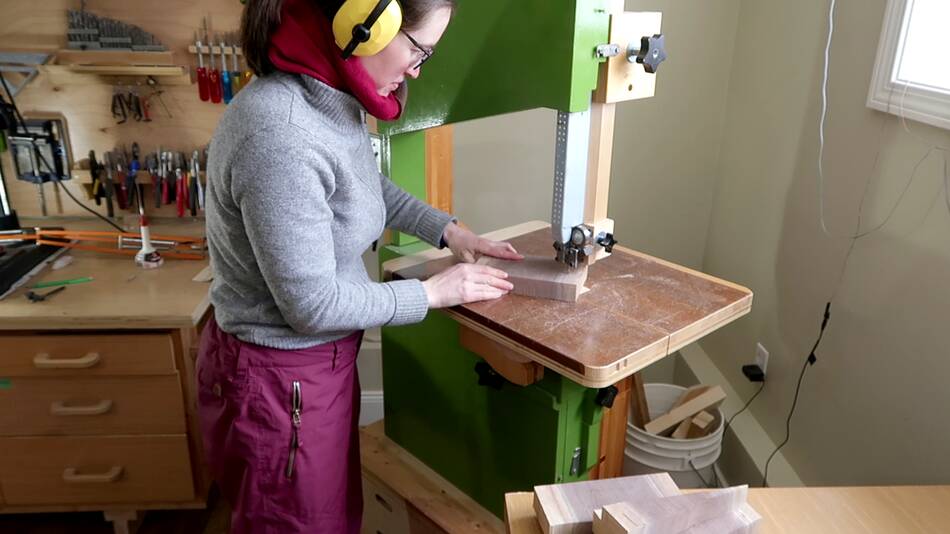
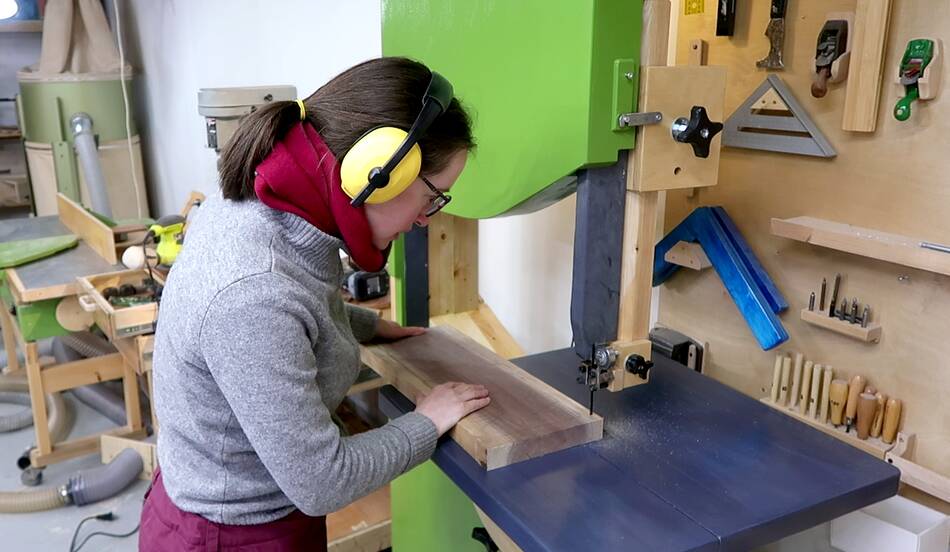 And as soon as it was together, Rachel came down to the basement
to cut out some letters, similar to these
letters, to go to the same family, for their second child.
And as soon as it was together, Rachel came down to the basement
to cut out some letters, similar to these
letters, to go to the same family, for their second child.
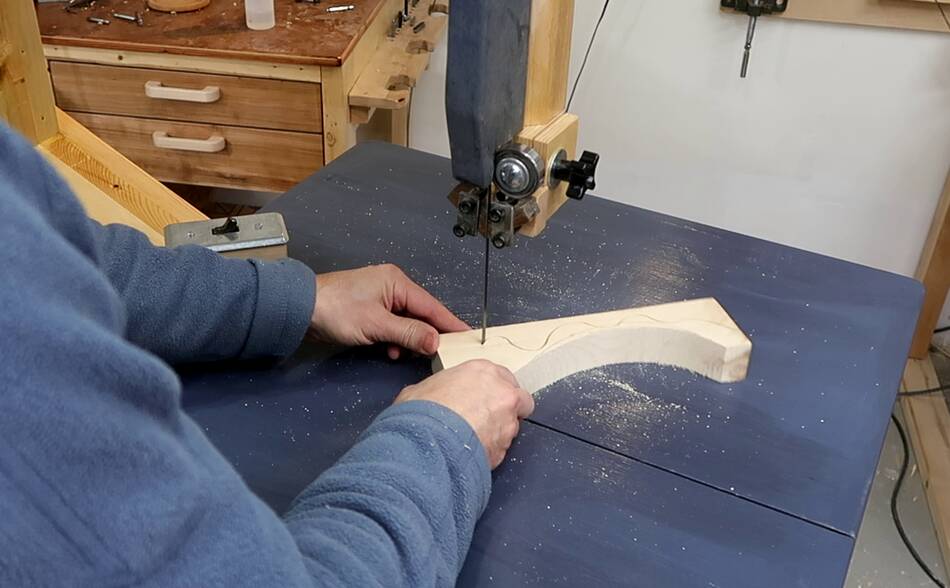
But the hook tooth blade on that saw blade cut too agressively in the hardwood, causing a lot of chatter and bounce.
So she switched to my 20" bandsaw. The blade on that one is six tooth per inch instead of four, and much less hook and much less set. It's also in need of resharpening. It cuts a tenth as fast as the other blade can cut.
 But the cut quality is much smoother. The extra cut time is more
than made up for by time saved sanding.
At right, right piece is cut on the 26" saw with the 4 tpi blade,
left is cut on my 20" saw with the 6 tpi blade.
But the cut quality is much smoother. The extra cut time is more
than made up for by time saved sanding.
At right, right piece is cut on the 26" saw with the 4 tpi blade,
left is cut on my 20" saw with the 6 tpi blade.
 Part of what makes the 6 tpi blade cut smoother is that I had reduced the
set on it a bit. This means it can't cut as tight a radius as the other
blade, but usually that isn't a problem.
Part of what makes the 6 tpi blade cut smoother is that I had reduced the
set on it a bit. This means it can't cut as tight a radius as the other
blade, but usually that isn't a problem.
I ordered some different bandsaw blades for my 26" saw and wrote another article about bandsaw chatter and modifying the set on the blade that had so much chatter.
 26" bandsaw build
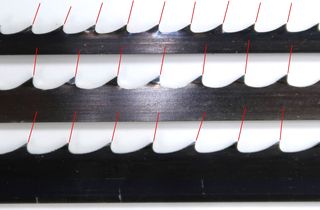 Bandsaw blade chatter and tweaking the tooth set
 Finishing up the 20" bandsaw
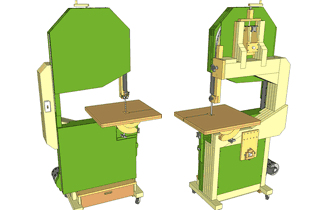 Plans for this bandsaw
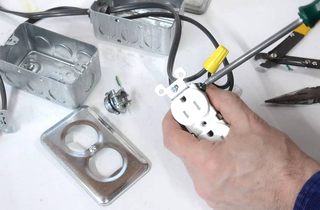 Making a simple remote switch
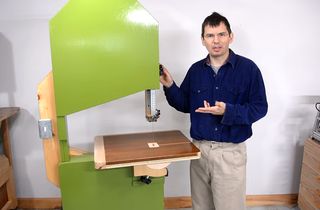 20" bandsaw build