BBQ corner shelf for deck railing
 Rachel's parents just have a
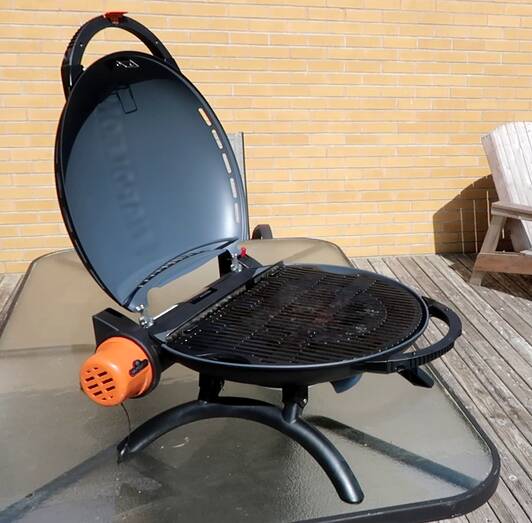
small portable bbq, and it doesn't take up much space and does the job.
So after our move, we just bought a portable one too.
Rachel's parents just have a
small portable bbq, and it doesn't take up much space and does the job.
So after our move, we just bought a portable one too.
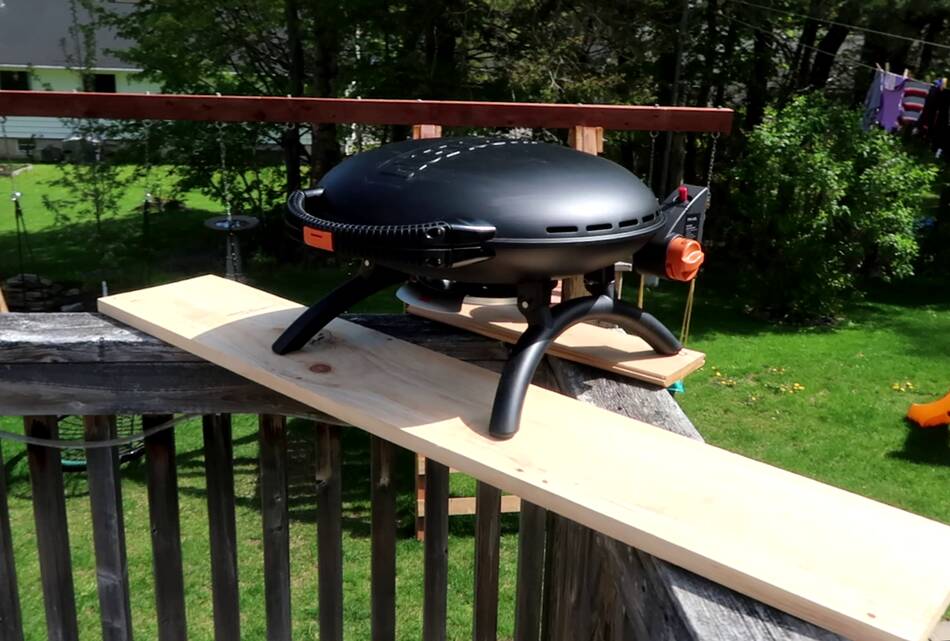
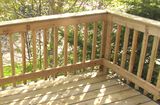
I wanted to make a shelf for it to go on the corner of the deck railing so it would be nicely out of the way.
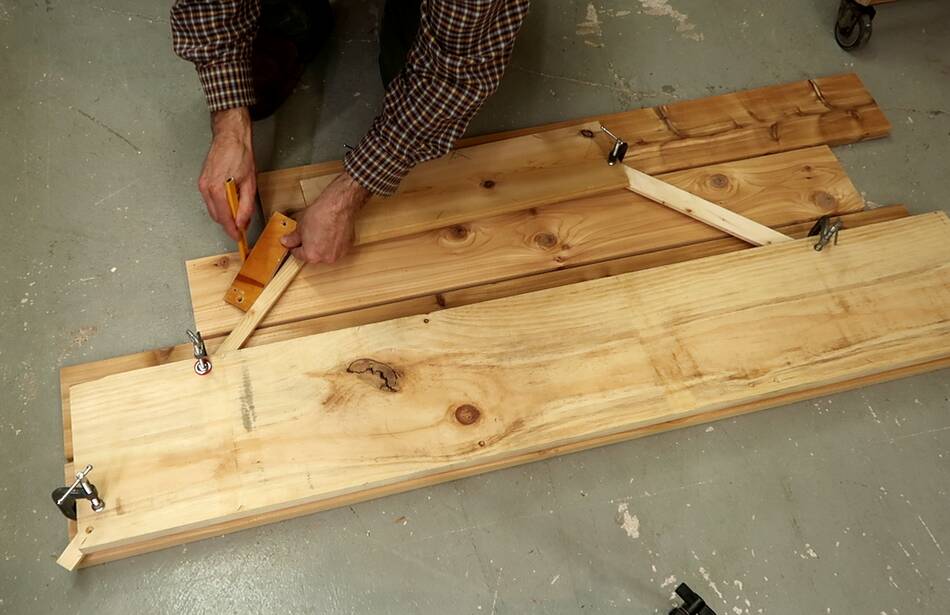
I put two boards on the railing to work out the best size for the shelf.
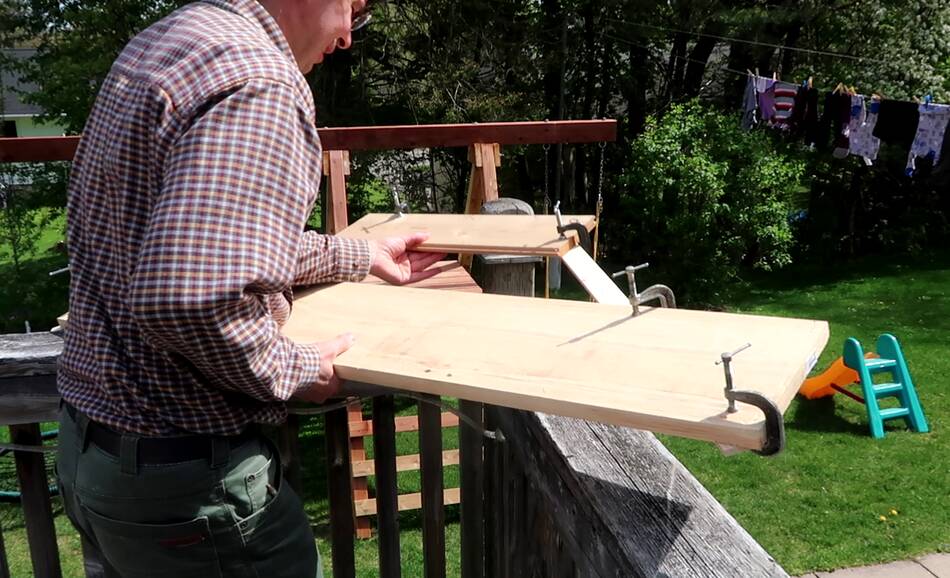 I then clamped some strips of wood to those boards to mark where the railing
is, then lifted the whole assembly off and took it down to the workshop to
use as a template.
I then clamped some strips of wood to those boards to mark where the railing
is, then lifted the whole assembly off and took it down to the workshop to
use as a template.
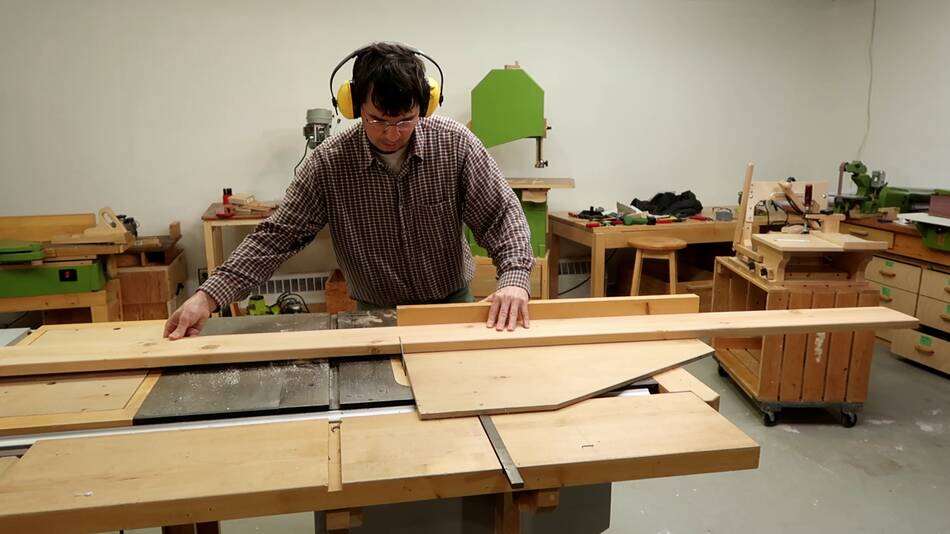 Cutting some cedar boards to length. This is the first time I really used my
big table saw since setting it up more than a month
ago mentioned here.
Cutting some cedar boards to length. This is the first time I really used my
big table saw since setting it up more than a month
ago mentioned here.
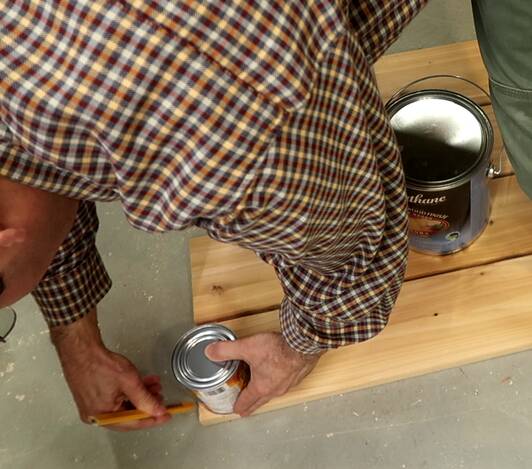 I put the template on top of the boards that I cut to length and
marked where to cut the angles, also some round corners for the boards near
the front. The boards near the front will extend beyond the railing
to make room for plates for cooked or raw hamburgers.
I put the template on top of the boards that I cut to length and
marked where to cut the angles, also some round corners for the boards near
the front. The boards near the front will extend beyond the railing
to make room for plates for cooked or raw hamburgers.
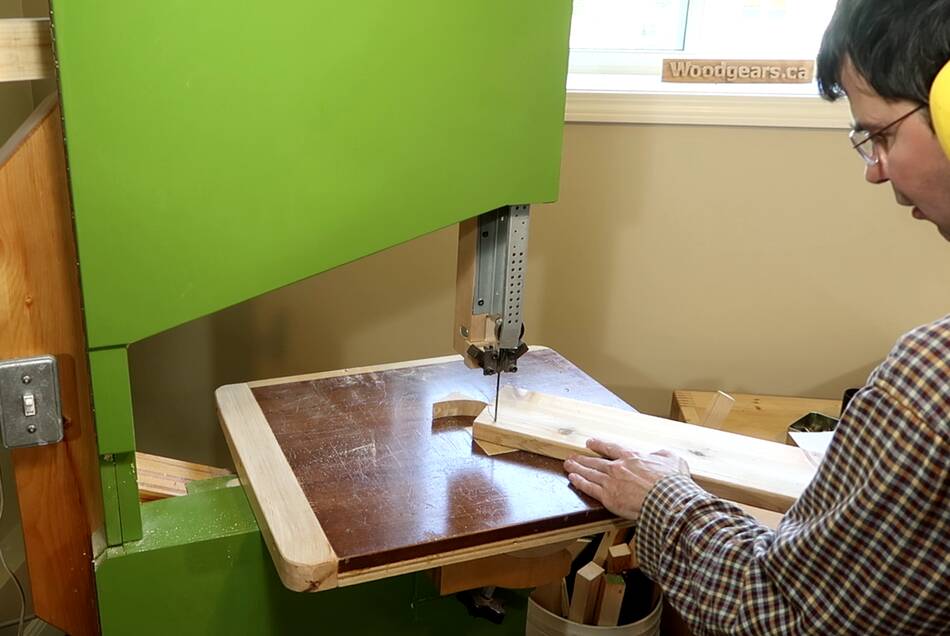
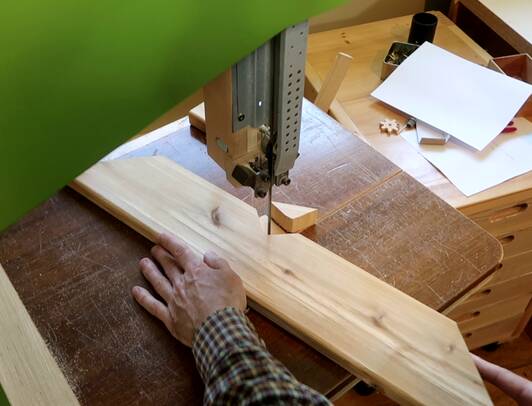 Then cutting all the angles and rounds on the bandsaw. The back-most
board also has a notch to fit around the corner post.
Then cutting all the angles and rounds on the bandsaw. The back-most
board also has a notch to fit around the corner post.
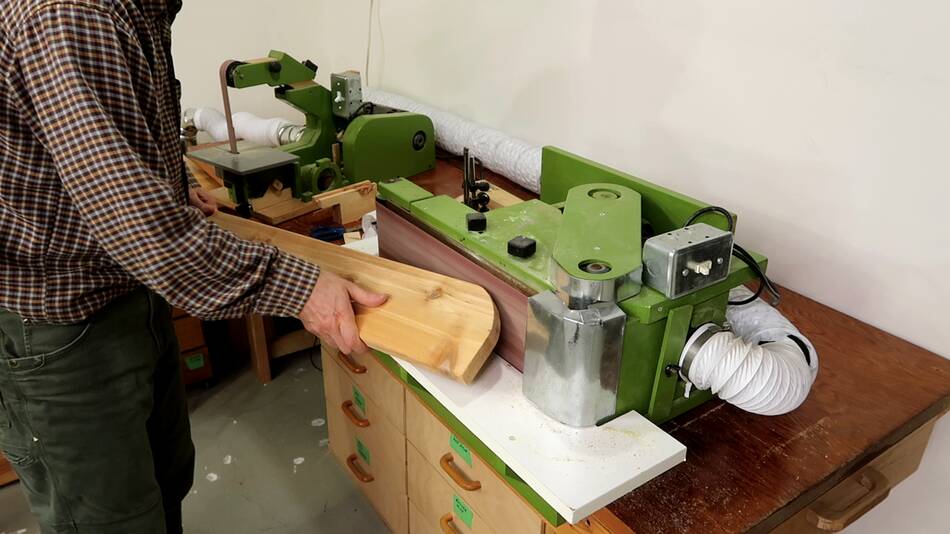 I thought of rounding over the ends with a router, but then used the
belt sander instead because it
doesn't produce any tear-out on the
soft cedar, and with dust collection on it, it doesn't send a lot
of dust into the air.
I thought of rounding over the ends with a router, but then used the
belt sander instead because it
doesn't produce any tear-out on the
soft cedar, and with dust collection on it, it doesn't send a lot
of dust into the air.
 Longer pieces go on the bottom edges to tie the boards together and
go against the outside edge of the railing.
Longer pieces go on the bottom edges to tie the boards together and
go against the outside edge of the railing.
I wanted to use my templates to line these up, but then figured it was easier to just do it on the deck itself.
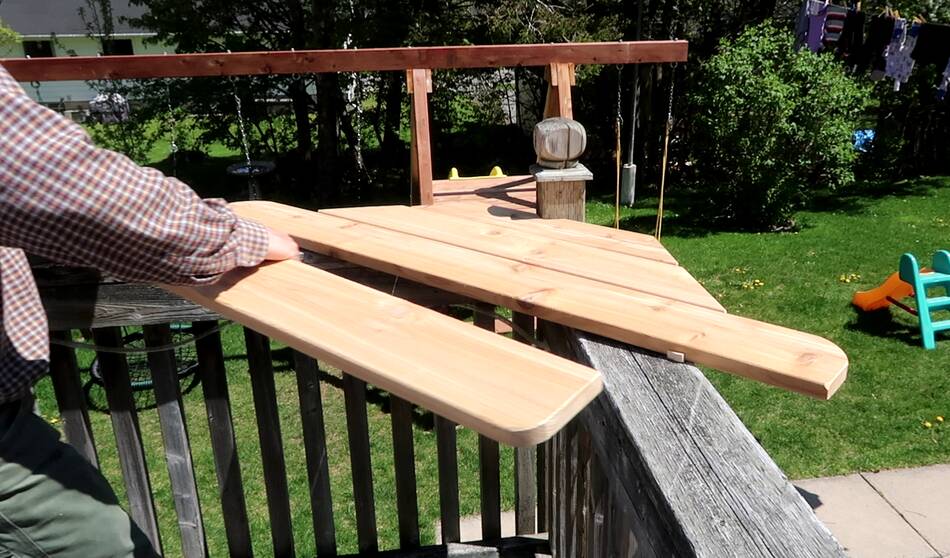 Placing the boards on the railing, with small blocks of wood in between
to get the spacing just right.
Placing the boards on the railing, with small blocks of wood in between
to get the spacing just right.
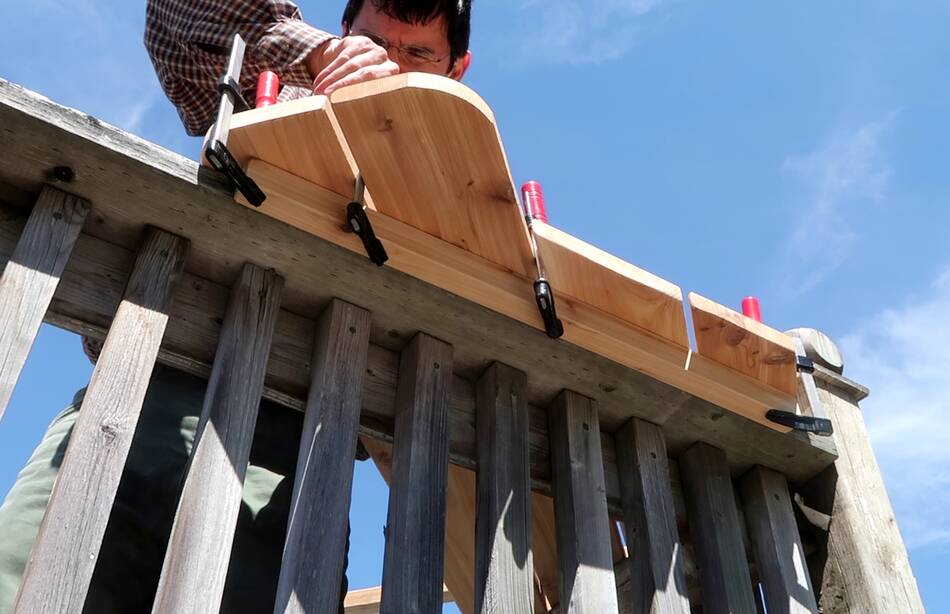 Then clamping the cross pieces on, in place.
 I lifted the whole clamped together assembly off and put it upside down
on some milk crates, then screwed the cross pieces on. That way,
the screws are on the bottom.
I lifted the whole clamped together assembly off and put it upside down
on some milk crates, then screwed the cross pieces on. That way,
the screws are on the bottom.
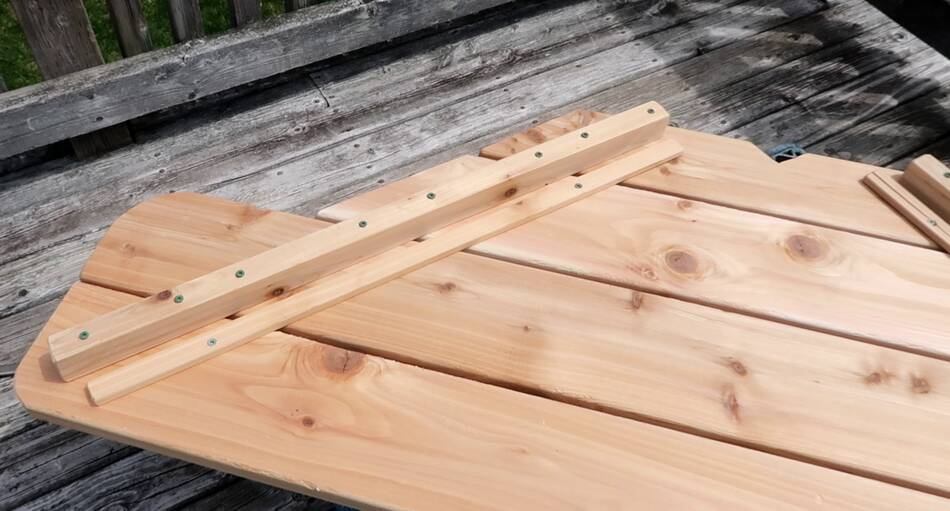 I also added some strips of wood to lift the assembly up off the railing
a little bit. This avoids having a narrow gap where moisture gets trapped
and bugs like to nest.
I also added some strips of wood to lift the assembly up off the railing
a little bit. This avoids having a narrow gap where moisture gets trapped
and bugs like to nest.
I left the screws holding the crosspieces with the heads protruding about a millimeter. Otherwise the points of the 2.5" long screws would end up coming out the other side.
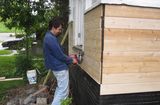
 I also added a piece on the back that goes around the legs of the bbq to keep it
from sliding around and potentially falling off the deck. The bbq also can't slide
straight back because it hits the post (the back of the bbq doesn't even get warm).
Two more screws between the front legs keep it from sliding side to side.
I also added a piece on the back that goes around the legs of the bbq to keep it
from sliding around and potentially falling off the deck. The bbq also can't slide
straight back because it hits the post (the back of the bbq doesn't even get warm).
Two more screws between the front legs keep it from sliding side to side.
The BBQ ended up a bit higher up than is ideal, and I was tempted to shorten its legs, but I figured higher up is also useful to keep the kids out of it, so left it as it was.
See also:
 Building a small deck on a roof
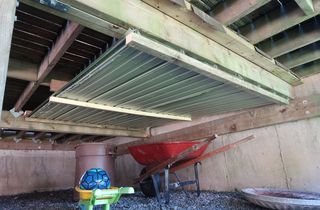 Adding a roof under a deck
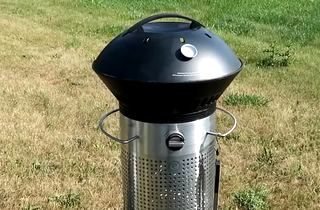 Element bbq: Form over function (video only, 2018)
 Smashed deck repair
hack job (2013)
 Porch repair (2011)
 Building lawn chairs
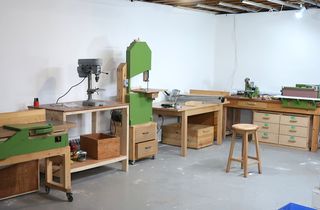 Workshop setup update
More home improvement projects on my woodworking website.