Making birds eye maple cutting boards
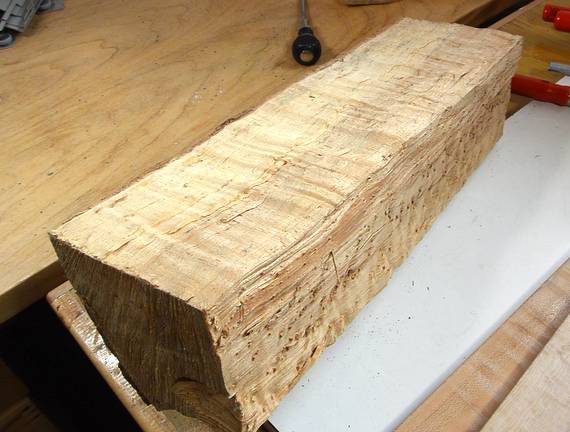 I needed to make some Christmas presents late in December.
I figured a batch of nice cutting boards would fit the bill,
made from birds eye maple firewood that my father-in-law
gave me.
I needed to make some Christmas presents late in December.
I figured a batch of nice cutting boards would fit the bill,
made from birds eye maple firewood that my father-in-law
gave me.
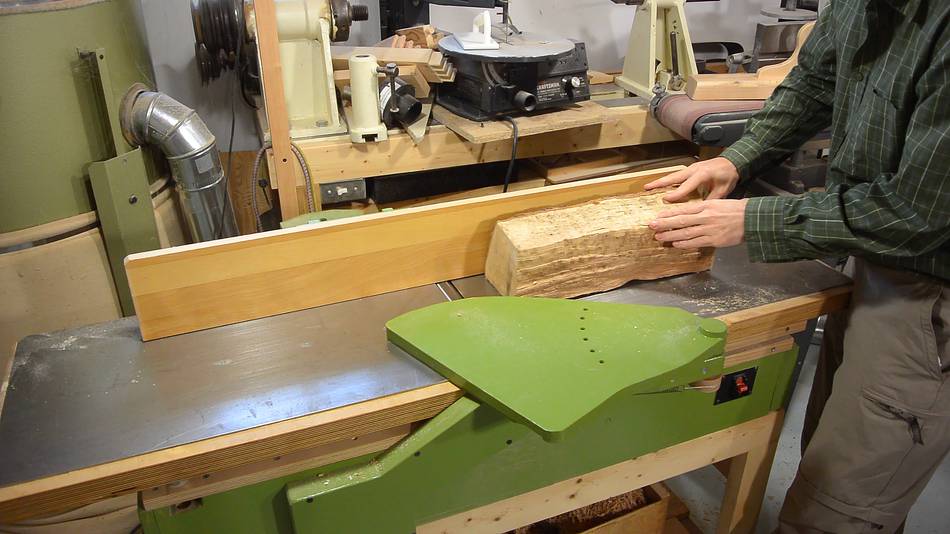
 For each piece of firewood,
I started by squaring up two sides on the jointer...
For each piece of firewood,
I started by squaring up two sides on the jointer...
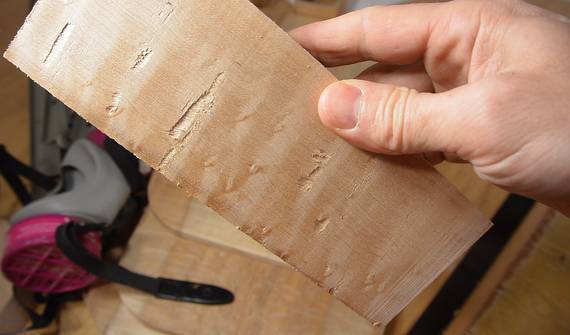
 ...then cut it into slices on the bandsaw.
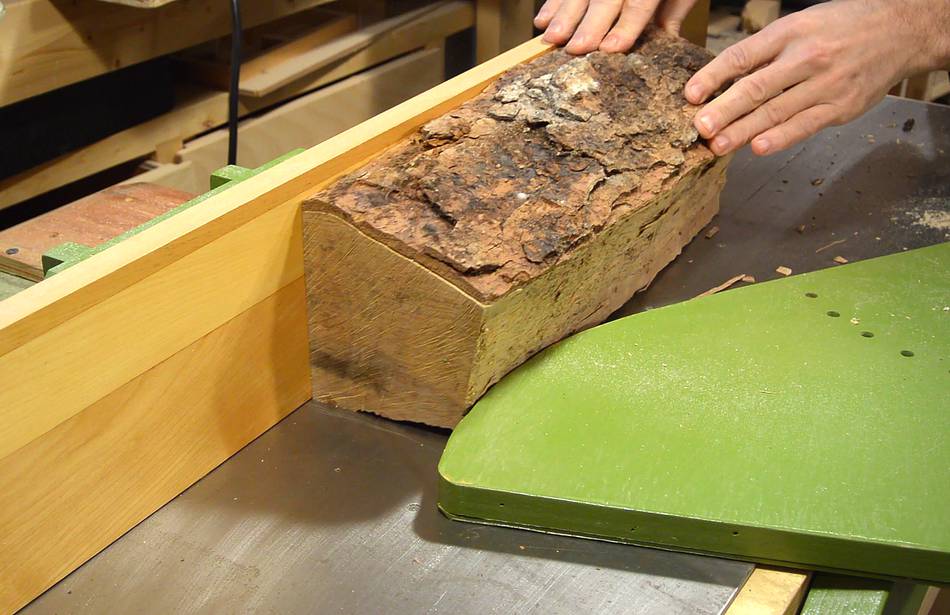
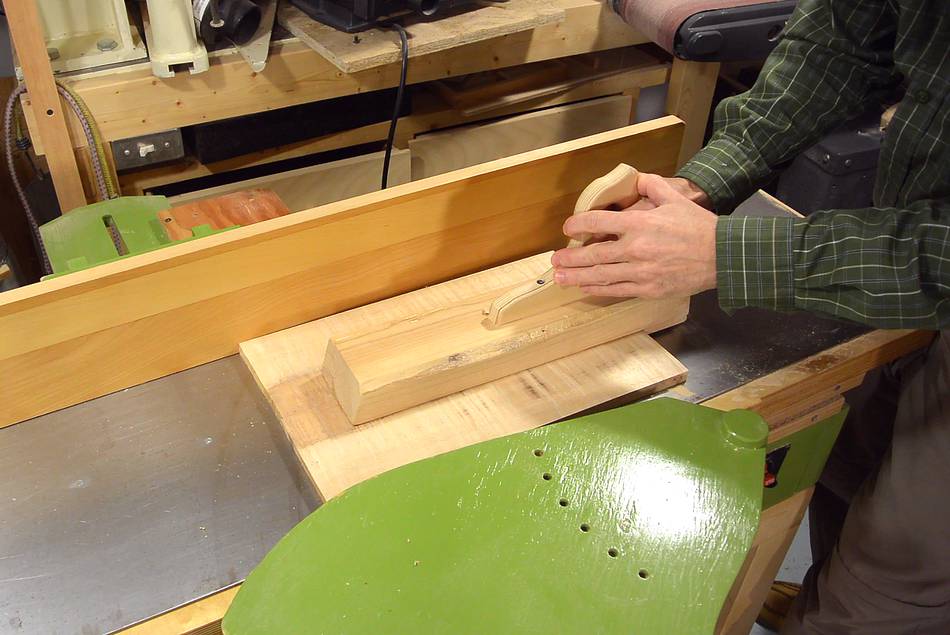
 Next I cut the bark edge off on my table saw, using a sled.
That way, I could make this cut parallel to the rough edge,
leaving me more wood, though slightly tapered.
Next I cut the bark edge off on my table saw, using a sled.
That way, I could make this cut parallel to the rough edge,
leaving me more wood, though slightly tapered.
 Then gluing the pieces together. I glued the tapered pieces together
to oppose each other so that the outside edges are mostly parallel.
Then gluing the pieces together. I glued the tapered pieces together
to oppose each other so that the outside edges are mostly parallel.
 Next flattening it on the 12" jointer.
This is a tricky step. I need a very low feed rate so that I don't get chipout. I experimented some. Going too slow results in burn marks on the wood (and probably isn't good for the knives). Going too fast results in tearout. But going moderately slowly, and taking off a fraction of a millimeter at a time cut the difficult grain without tearout.
 Right off the jointer. No sanding. Looking amazing.
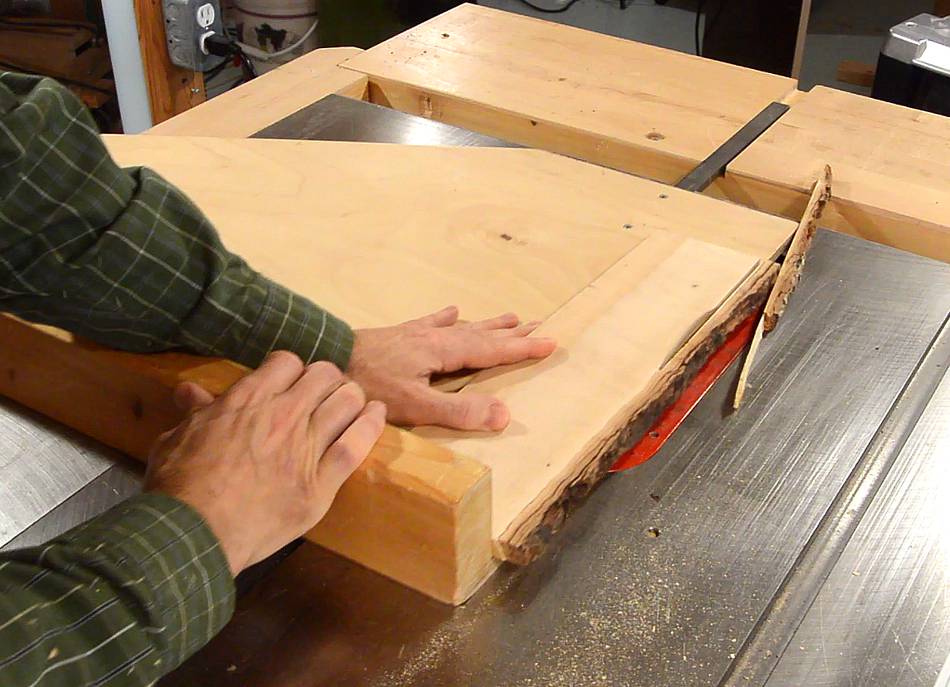
 Squaring the ends on the table saw.
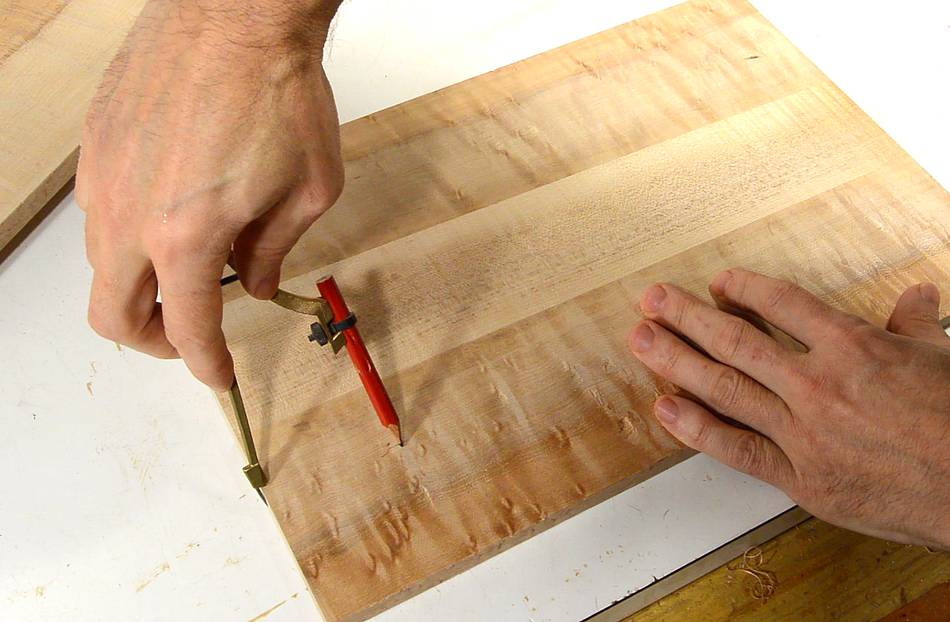
 Then marking rounds on the corners. This is easy to do just by tracing
a round object on the corner, but short of finding something just the
right size, a compass will do.
Then marking rounds on the corners. This is easy to do just by tracing
a round object on the corner, but short of finding something just the
right size, a compass will do.
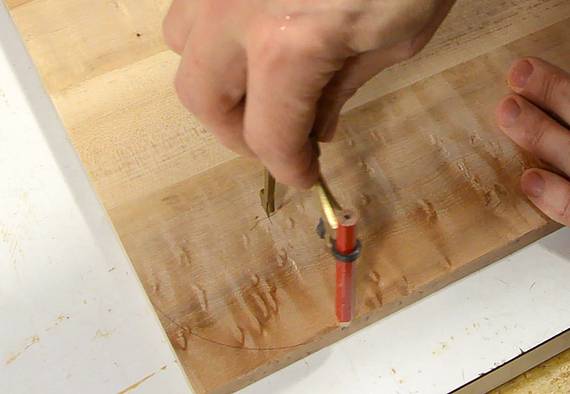
I use the compass to mark the right distance from the edges for where the center of the arc needs to be for rounding the corners.
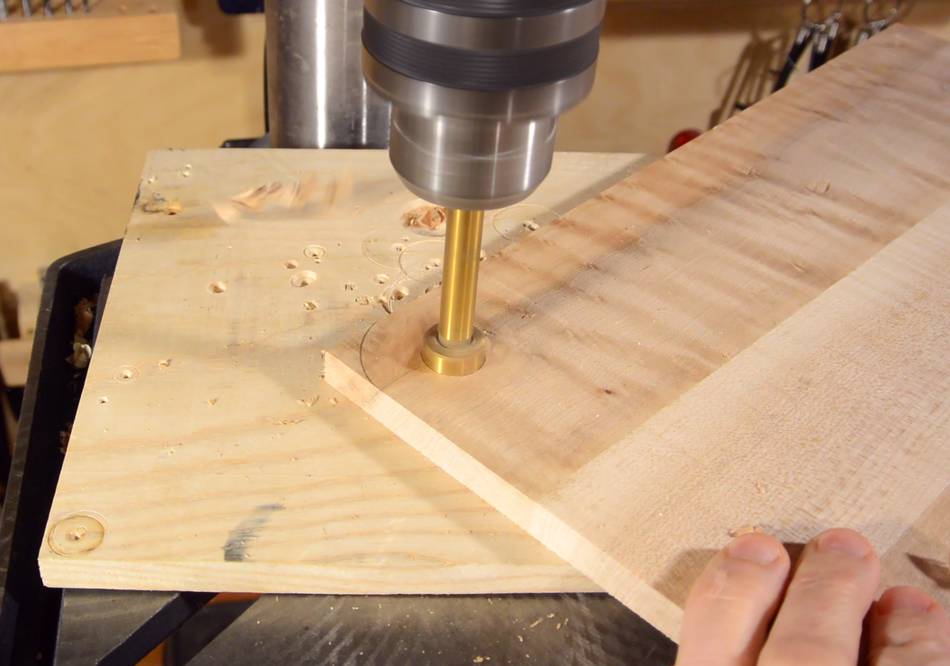 I put a smaller radius on one corner and drilled a hole. This can be useful
for hanging it, but also makes it easier for small hands to pick the cutting
board up off the counter.
I put a smaller radius on one corner and drilled a hole. This can be useful
for hanging it, but also makes it easier for small hands to pick the cutting
board up off the counter.
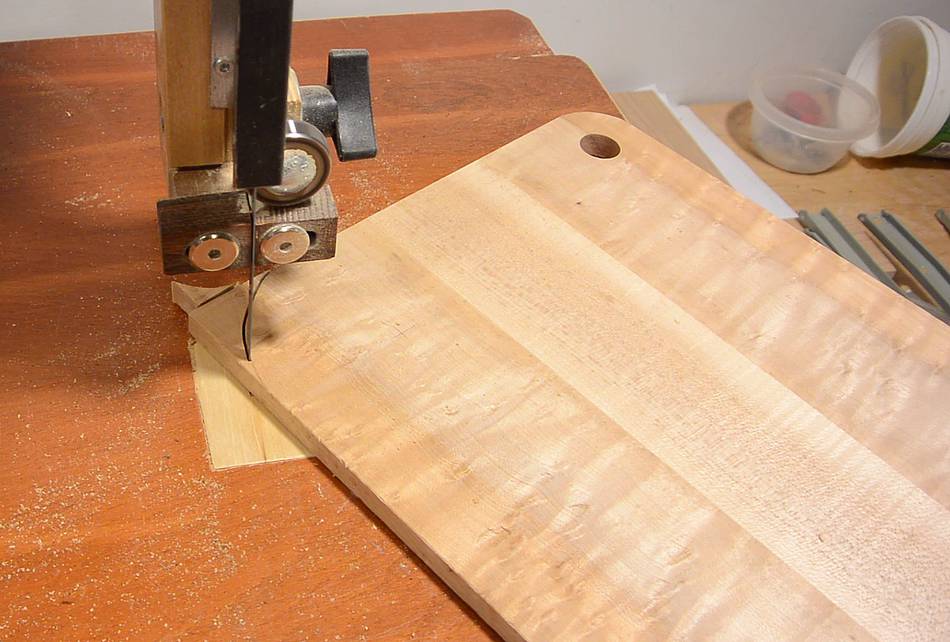 Then cutting the corners round on the bandsaw.
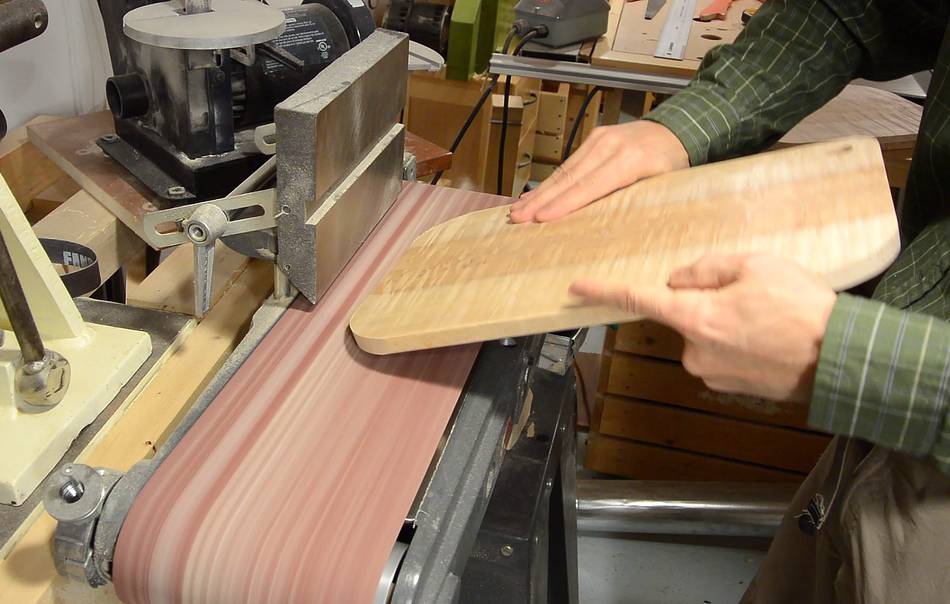
 Smoothing the rounds on the belt sander.
 Then adding a sort of roundover to all the edges by tilting the board
through 90 degrees while sanding an edge.
Then adding a sort of roundover to all the edges by tilting the board
through 90 degrees while sanding an edge.
I thought about using a router bit to chamfer or round over the edges, but with the very hard and highly figured maple, I'd have to contend with either burning from slow cutting, or tearout from cutting too fast.
Approximating a roundover for the curved corners is more difficult. I rotate each edge at different bevel angles on the sander to make for a piecewise round.
 I chamfer the inside of the hole with a carving knife, always cutting
out of the grain. This means cutting the chamfer in four segments,
always cutting from the end-grain edge to the side-grain edge.
I chamfer the inside of the hole with a carving knife, always cutting
out of the grain. This means cutting the chamfer in four segments,
always cutting from the end-grain edge to the side-grain edge.
 Going over the surface with a cabinet scraper.
This takes out any small ridges that may have been left from nicks in the jointer
knives.
Going over the surface with a cabinet scraper.
This takes out any small ridges that may have been left from nicks in the jointer
knives.
The entire flat surface of these cutting boards has been prepared without any sanding.
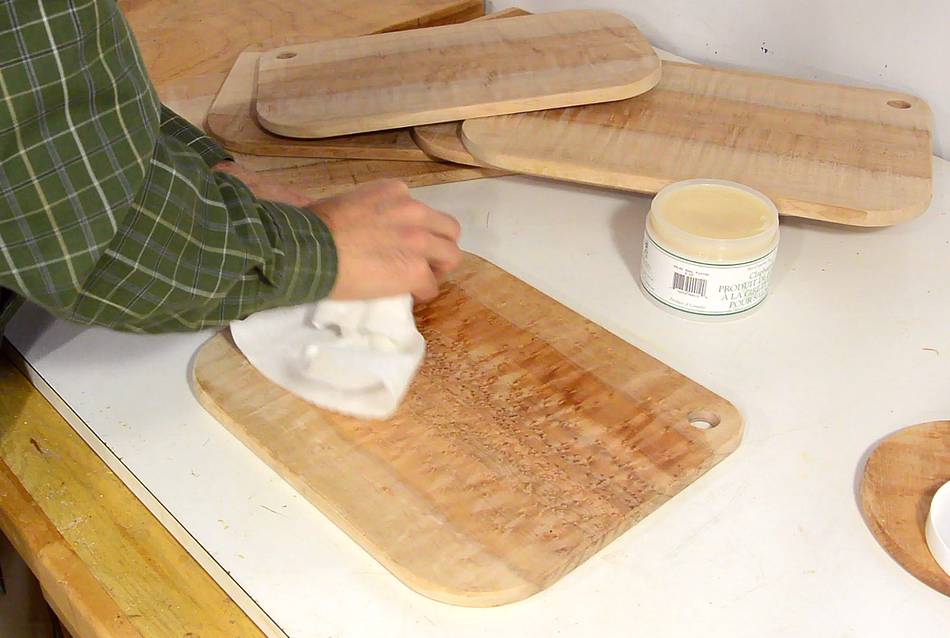
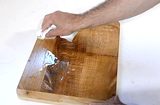
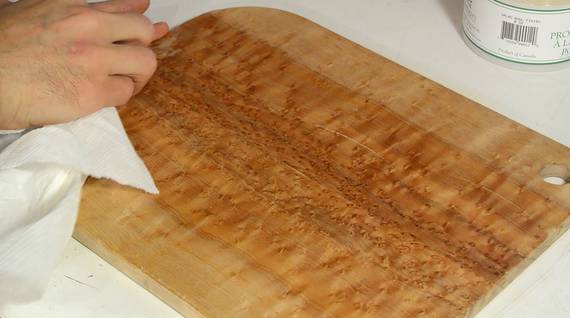 I tried some salad bowl finish on the wood. This is a mixture of beeswax and
mineral oil. This goes on fairly sticky, and the instructions say it takes
a long time to dry.
I tried some salad bowl finish on the wood. This is a mixture of beeswax and
mineral oil. This goes on fairly sticky, and the instructions say it takes
a long time to dry.
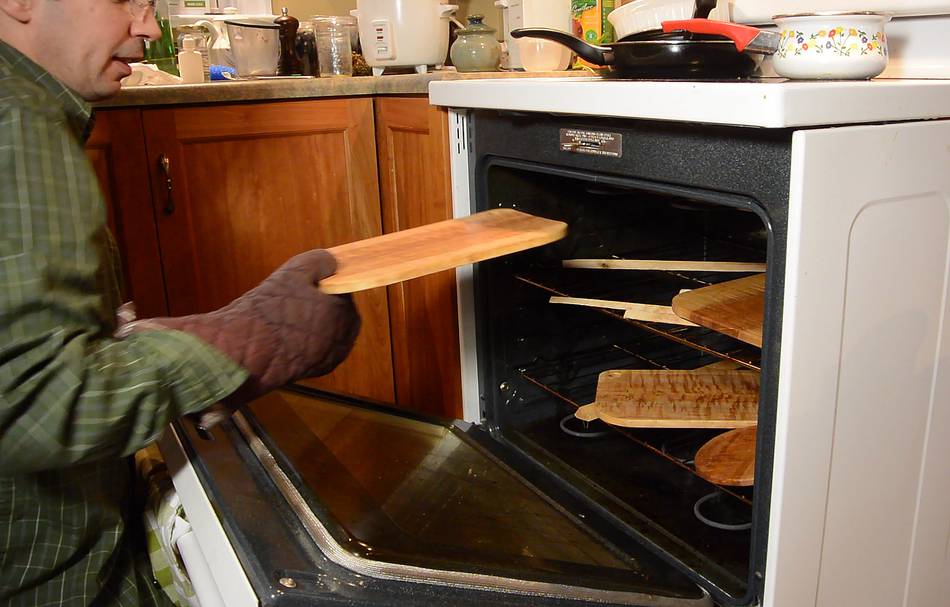 I figured I'd accelerate the process and get the wax to soak into the wood
better by baking the cutting boards at 175°F (75° Celsius) for 25 minutes.
I figured I'd accelerate the process and get the wax to soak into the wood
better by baking the cutting boards at 175°F (75° Celsius) for 25 minutes.
I hadn't thought about it ahead of time, but that sort of heat can cause some glues to let go. Luckily, the glue I used on these (Titebond 3) didn't let go at that temperature.
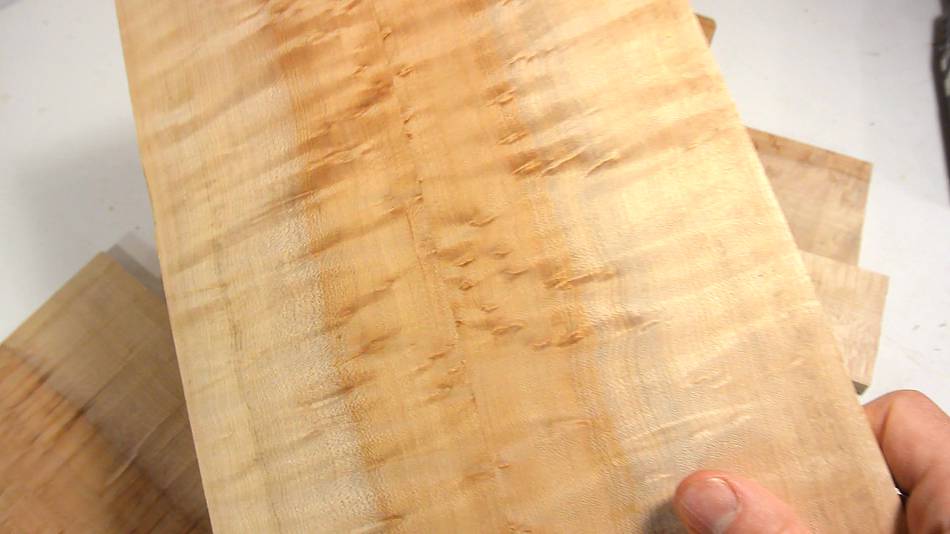
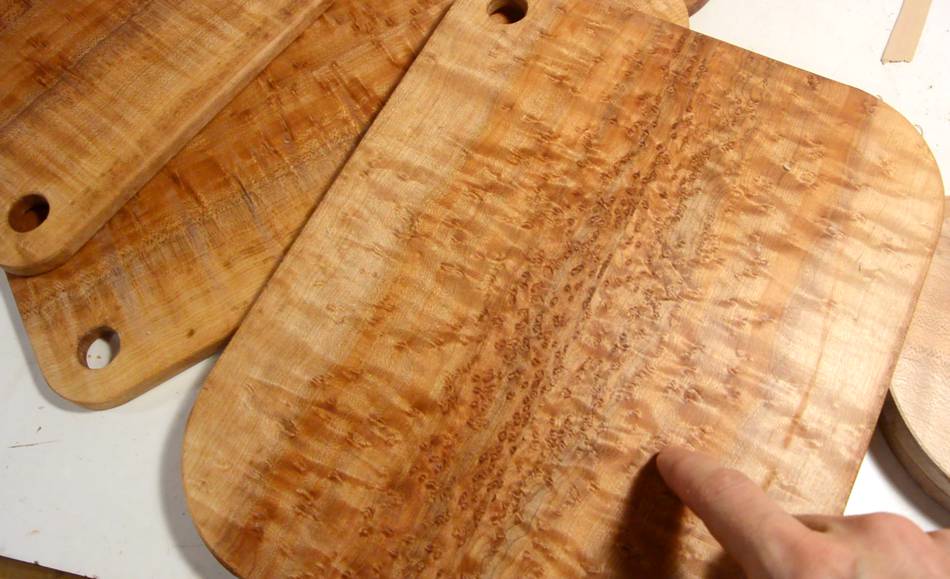 The grain patterns on these cutting boards is just amazing.
Compared to making end-grain cutting boards, it's like getting
amazing patterns for free.
The grain patterns on these cutting boards is just amazing.
Compared to making end-grain cutting boards, it's like getting
amazing patterns for free.
This project used up the rest of my birdseye maple
firewood. The other project I built with it was the
flip handle ramekin serving tray.
See also:
 Warp-free cutting board
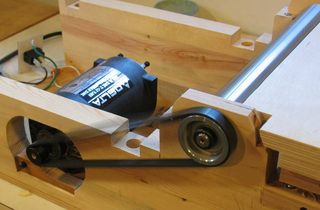 Homemade jointer
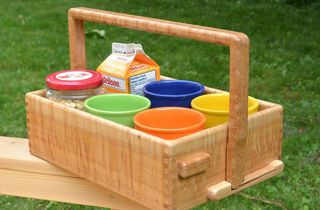 Flip handle
 Kitchen cabinet
 Paper towel roll holder
More Woodwork projects on my
Woodworking website