 Wooden cutting boards have a tendency to warp when one side gets wet.
Making the cutting board fairly thick (as is typical with end grain
cutting boards) counteracts this somewhat, but it makes for a clunky
cutting board.
Wooden cutting boards have a tendency to warp when one side gets wet.
Making the cutting board fairly thick (as is typical with end grain
cutting boards) counteracts this somewhat, but it makes for a clunky
cutting board.
Wooden cutting boards have a tendency to warp when one side gets wet.
Making the cutting board fairly thick (as is typical with end grain
cutting boards) counteracts this somewhat, but it makes for a clunky
cutting board.
Plywood is less prone to warping, and when I made some wooden lids for some glass containers, those glued up with layers of grain at 90 degrees are quite stable, while one I made out of just a solid piece has a tendency to warp.
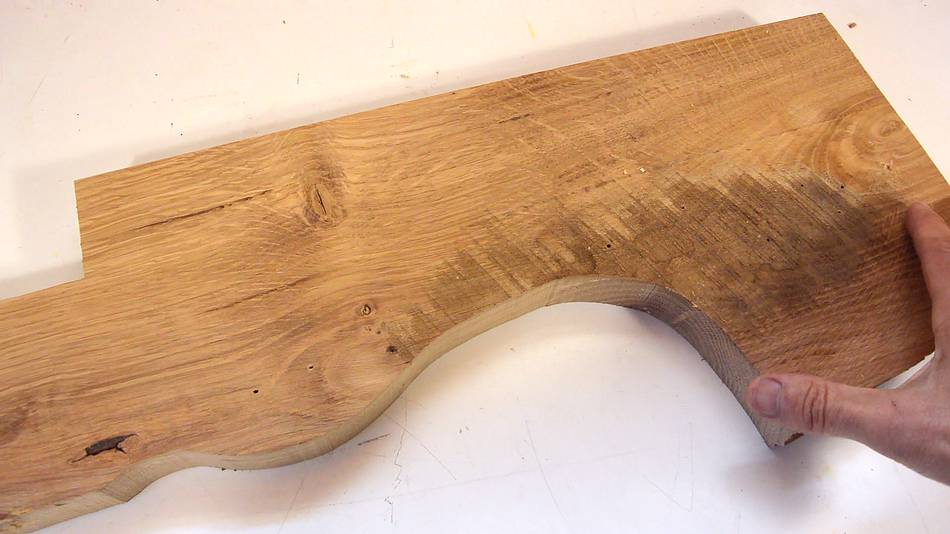
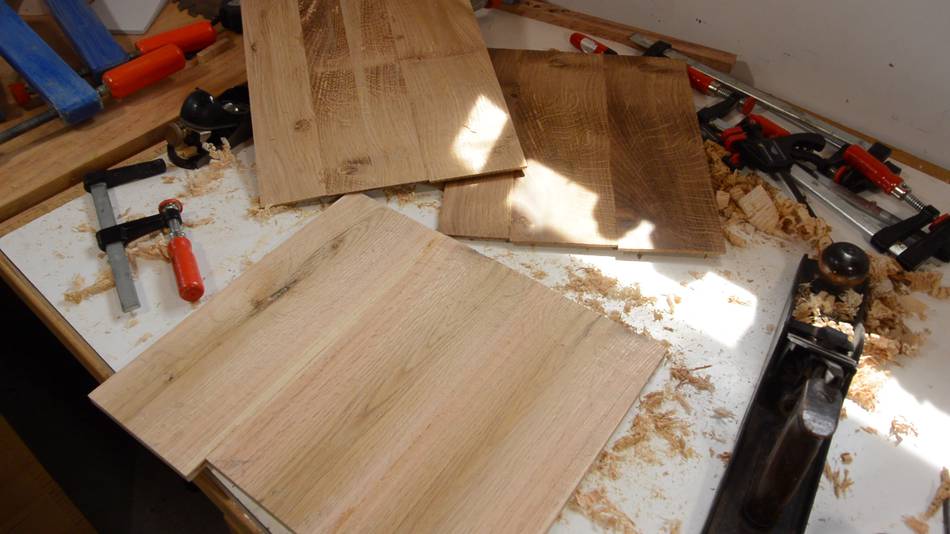
I wanted to make the cutting board out of white oak, but I only had one scrap of white oak left from building an apple grinder and my ukulele.
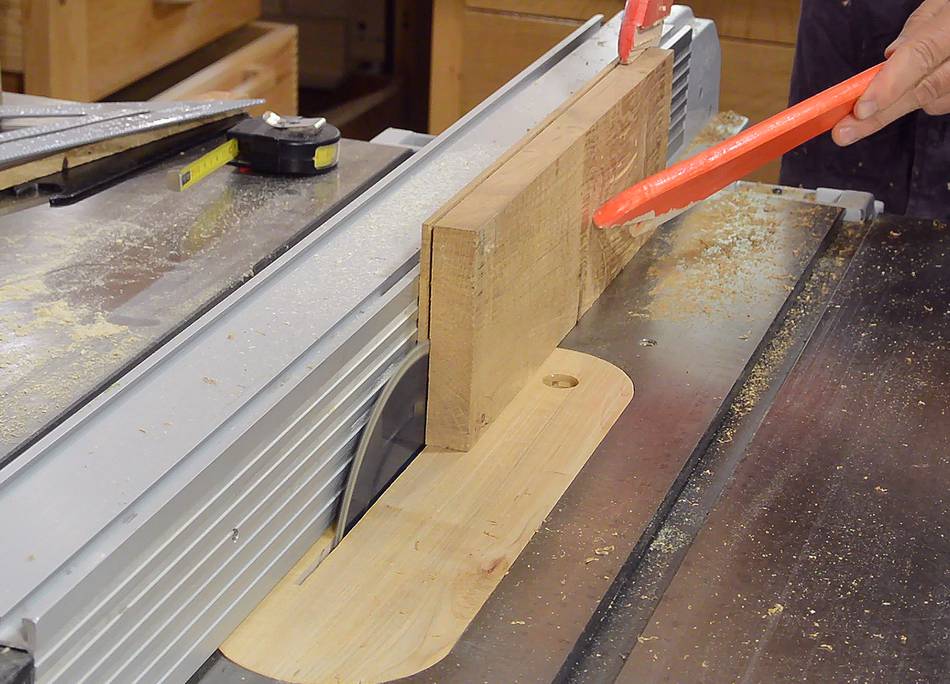
 I put a 2 mm thick 7 1/4" (185 mm) blade in my table saw to re-saw the wood,
first cutting part-way, then cutting half from each side. That way, I can
feed the wood faster and avoid potential burn marks from the blade.
I put a 2 mm thick 7 1/4" (185 mm) blade in my table saw to re-saw the wood,
first cutting part-way, then cutting half from each side. That way, I can
feed the wood faster and avoid potential burn marks from the blade.
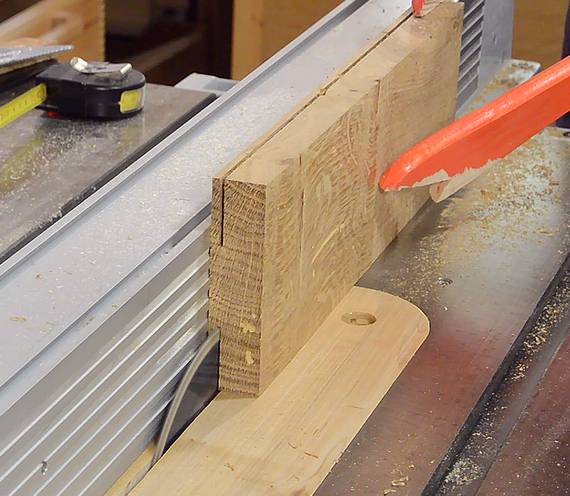
 I hoped to get six layers out of the piece to make three pieces for each
side of the cutting board, but I ended up smoothing the surface on the jointer
between cuts. That used a bit of thickness, so the sixth layer was too thin.
I hoped to get six layers out of the piece to make three pieces for each
side of the cutting board, but I ended up smoothing the surface on the jointer
between cuts. That used a bit of thickness, so the sixth layer was too thin.
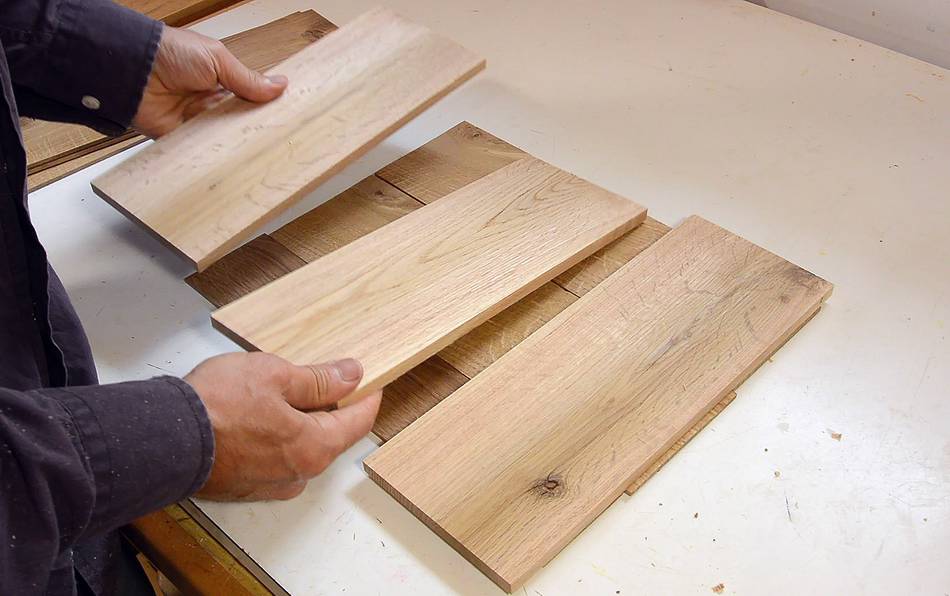
So I cut some more strips from another scrap to make a third piece, not quite as wide.
 I used the same approach to cut a middle layer for the cutting board, but
this one out of red oak. The middle layer should be completely hidden
in the final cutting board.
I used the same approach to cut a middle layer for the cutting board, but
this one out of red oak. The middle layer should be completely hidden
in the final cutting board.
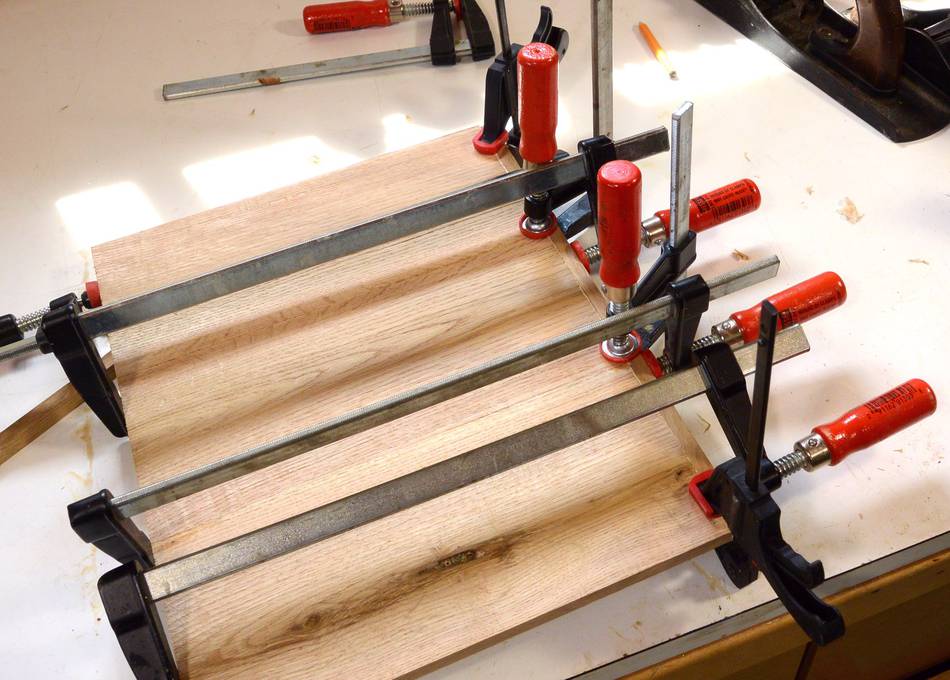
The middle layer is 10 mm thick, and will be at 90 degrees to the outside layers.
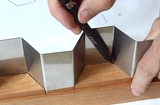
 Middle layer glued up. The small clamps ensure the pieces are aligned
where they meet.
Middle layer glued up. The small clamps ensure the pieces are aligned
where they meet.
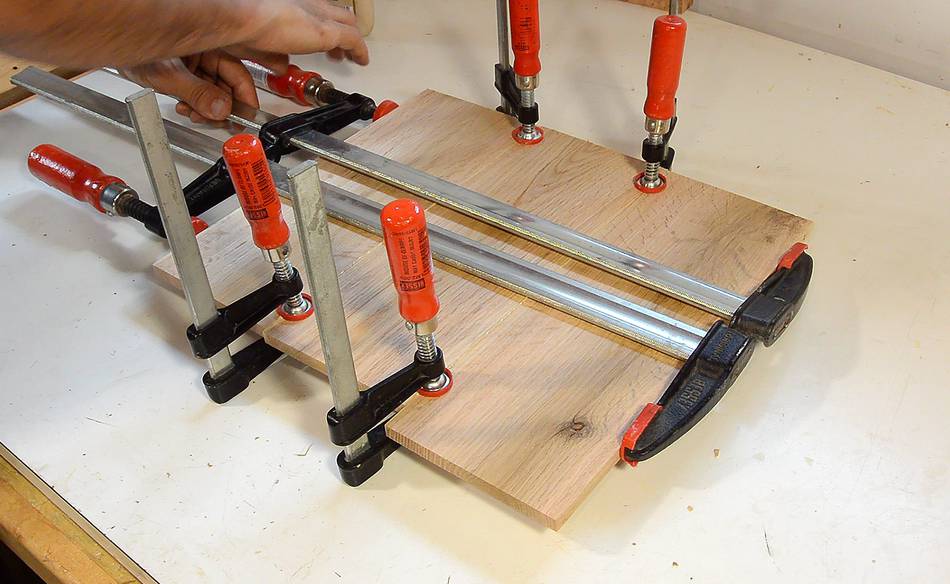
 And while waiting for the glue to dry, I also glued up the thin top
and bottom layers. I had to use my
long reach C-clamps to reach to the middle of the joint to force
it into alignment.
And while waiting for the glue to dry, I also glued up the thin top
and bottom layers. I had to use my
long reach C-clamps to reach to the middle of the joint to force
it into alignment.
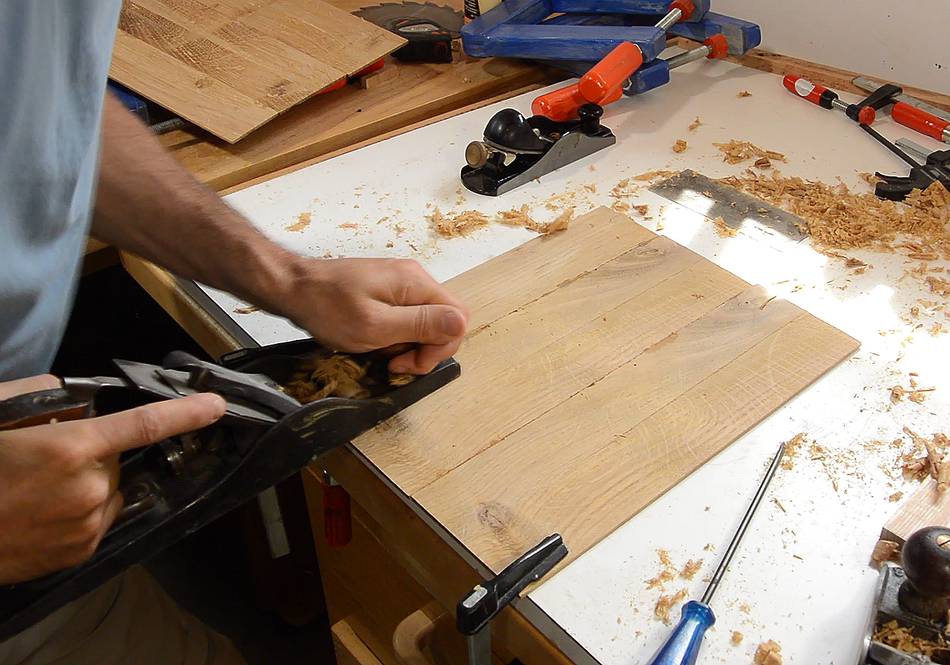
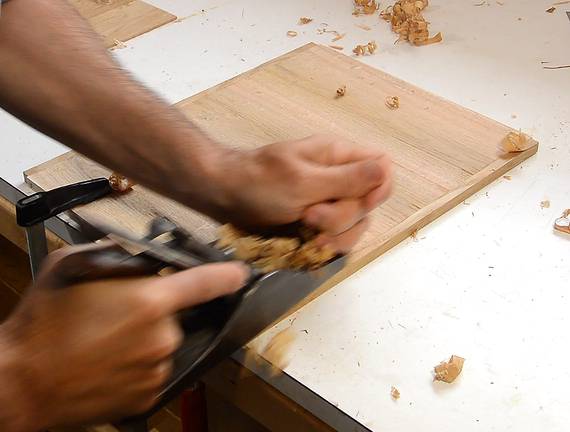
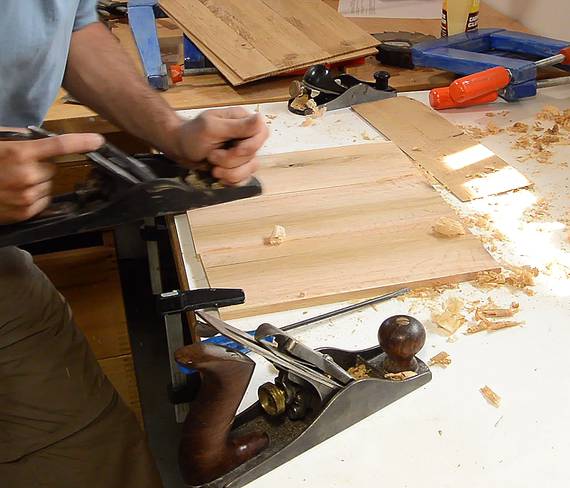 Flattening the joints. I started with a cabinet scraper, but it was
too slow going, so I switched to a hand plane
Flattening the joints. I started with a cabinet scraper, but it was
too slow going, so I switched to a hand plane
 After a lot of elbow grease, I had the panels all flat.
A thickness sander
would have been useful here, but I don't like
thickness sanders, and I don't own one either.
After a lot of elbow grease, I had the panels all flat.
A thickness sander
would have been useful here, but I don't like
thickness sanders, and I don't own one either.
 I glued a strip of wood along the end grain of the middle layer.
Normally, gluing a strip across the end-grain is a bad idea. The wood shrinks and expands perpendicular to the grain much more than it does along its length, so seasonal humidity variations would cause the strip to eventually pop off.
But in this cutting board, the middle layer will be prevented from shrinking and expanding by the outer layers, much like in plywood. So I should be ok.
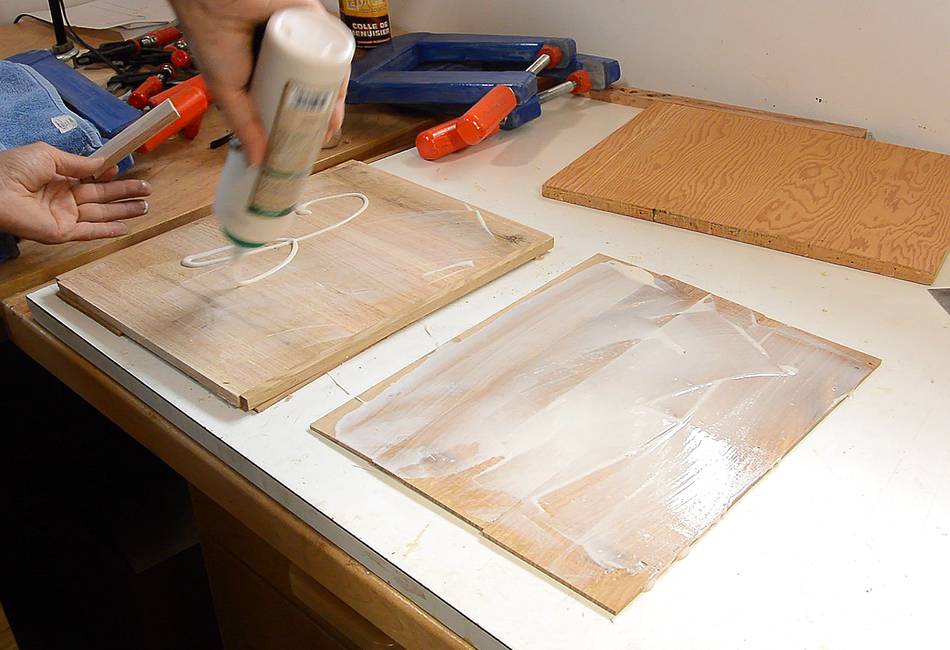
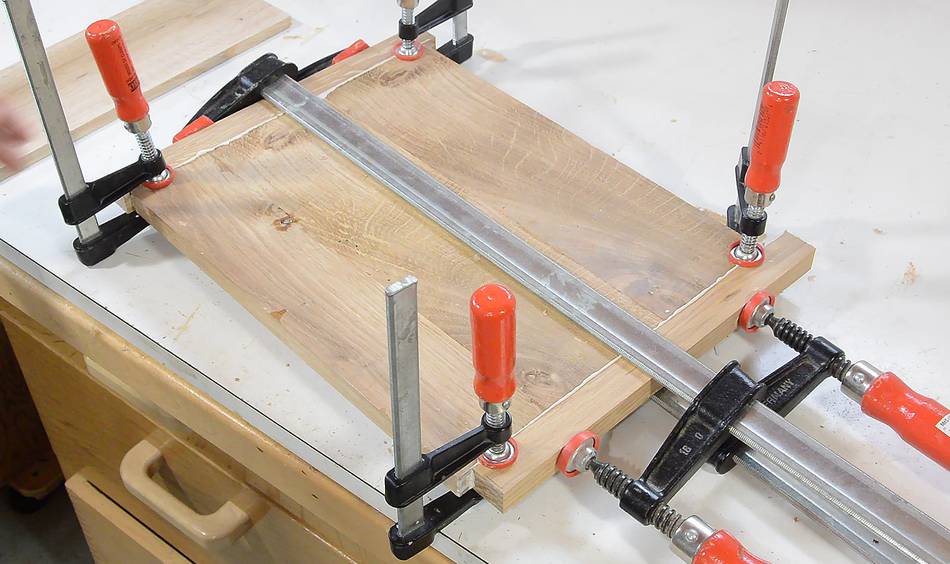
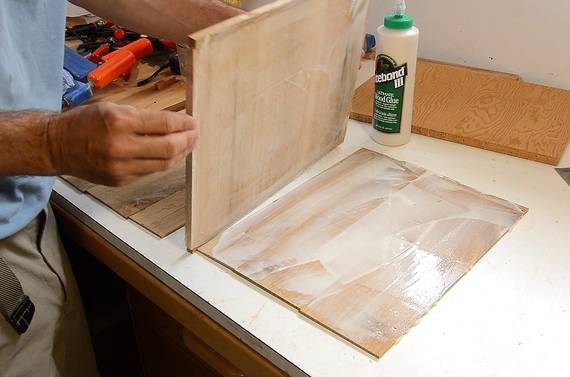 Next, gluing the three layers together.
 I glued all three layers at once. I figure, there's less chance of
it warping that way, and I don't have to wait for the glue to dry
twice.
I glued all three layers at once. I figure, there's less chance of
it warping that way, and I don't have to wait for the glue to dry
twice.
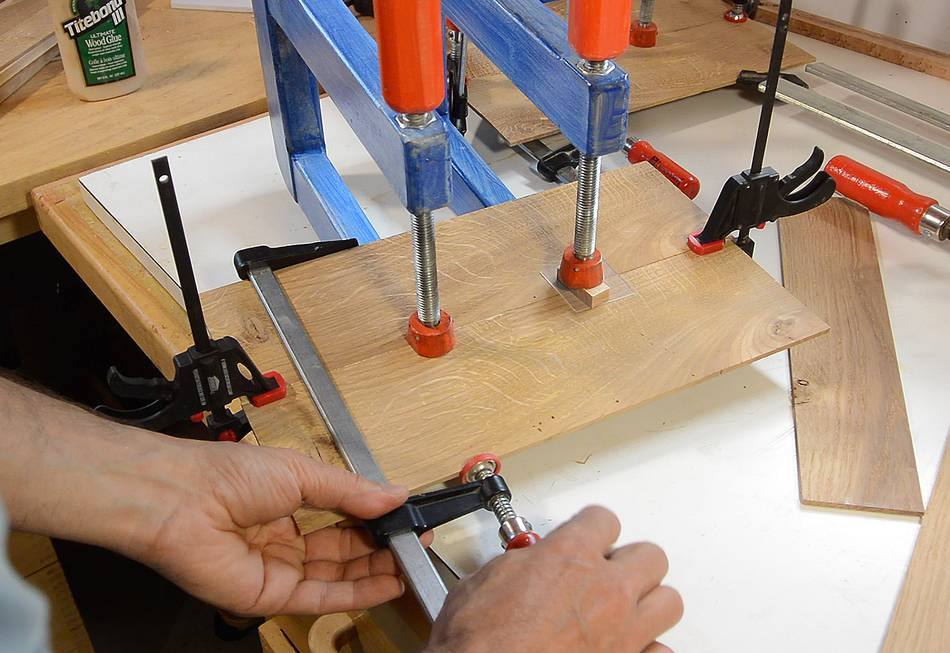
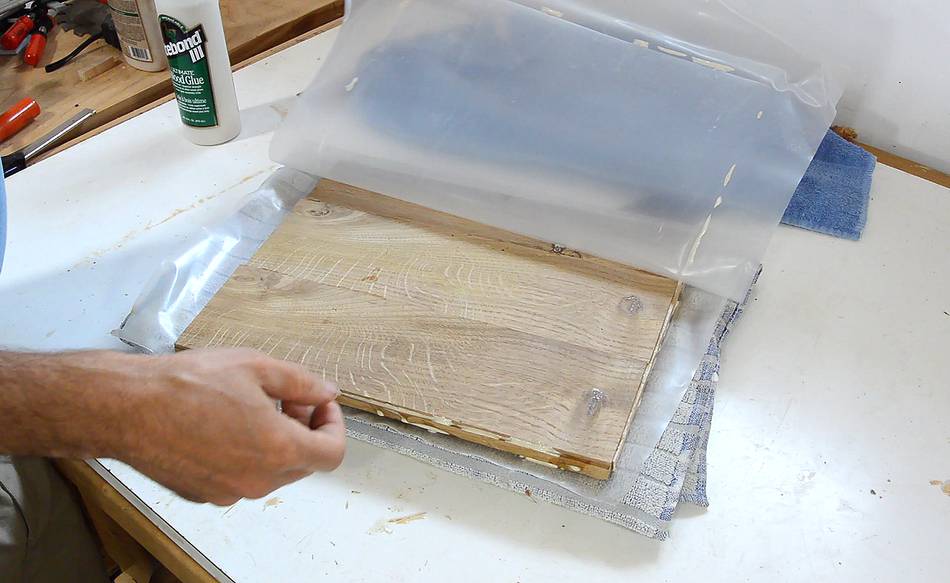
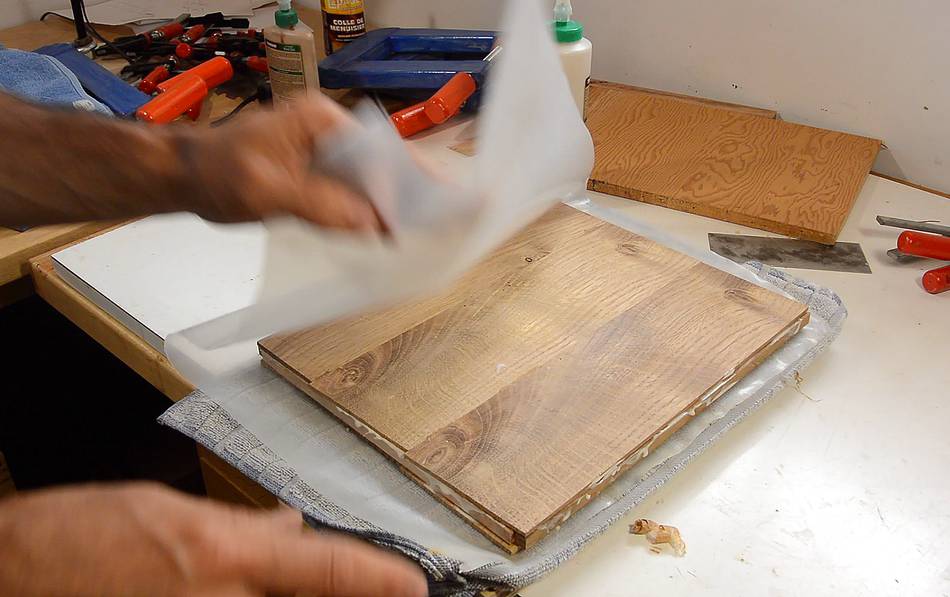 I put the finished sandwich between layers of polyethylene so
the glue wouldn't get into the towels.
I put the finished sandwich between layers of polyethylene so
the glue wouldn't get into the towels.
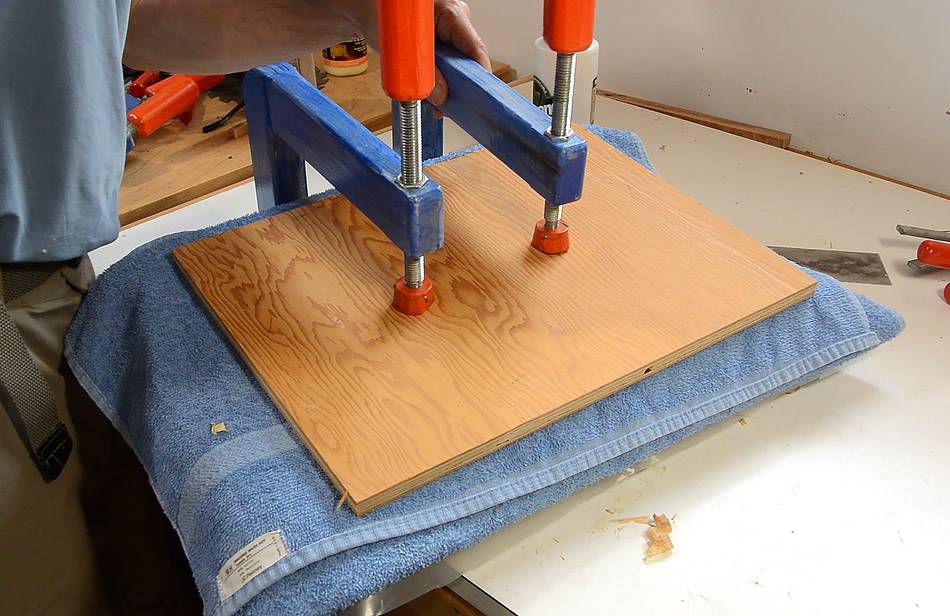 Then sandwiched it between two layers of plywood, with a folded towel
between the workpiece and the plywood.
Then sandwiched it between two layers of plywood, with a folded towel
between the workpiece and the plywood.
Hopefully this will provide even clamping pressure all around, even if the workpiece isn't completely flat.
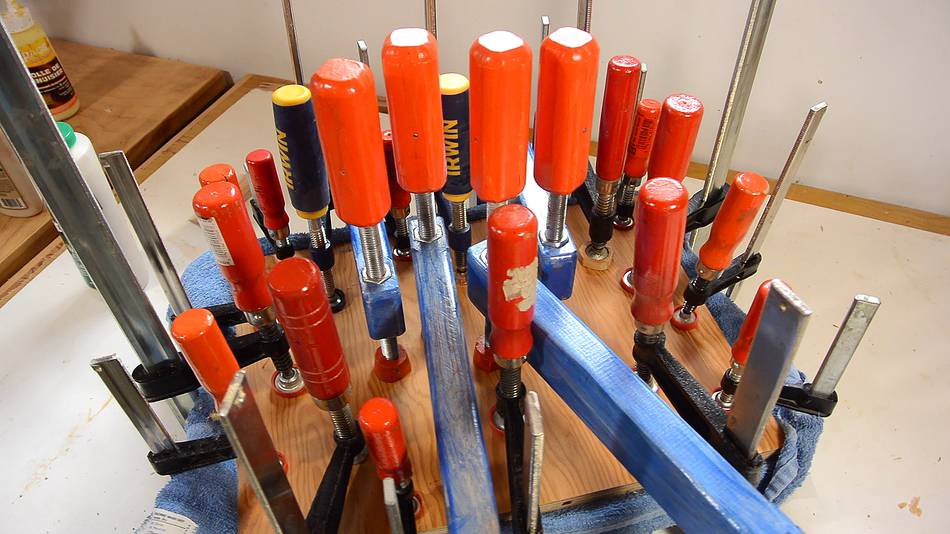 I put on a lot of clamps, for good measure. Probably well over a
ton of force all together.
I put on a lot of clamps, for good measure. Probably well over a
ton of force all together.
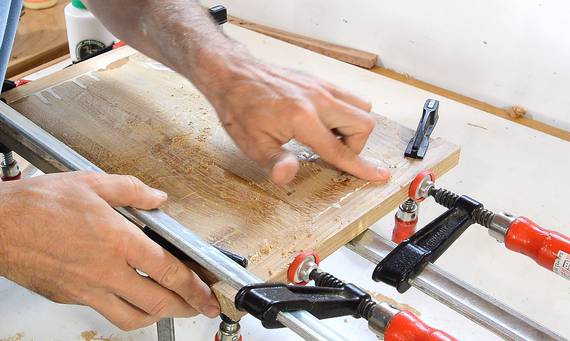
 Two hours later I unclamped and opened up the sandwich.
As far as I could tell (around the edges) it was a good bond all around.
Two hours later I unclamped and opened up the sandwich.
As far as I could tell (around the edges) it was a good bond all around.
The layers weren't perfectly aligned, so I had to trim it a bit around the edges.
 Here you can see the inside layer of red oak with the grain running
perpendicular to the rest of the cutting board.
Here you can see the inside layer of red oak with the grain running
perpendicular to the rest of the cutting board.
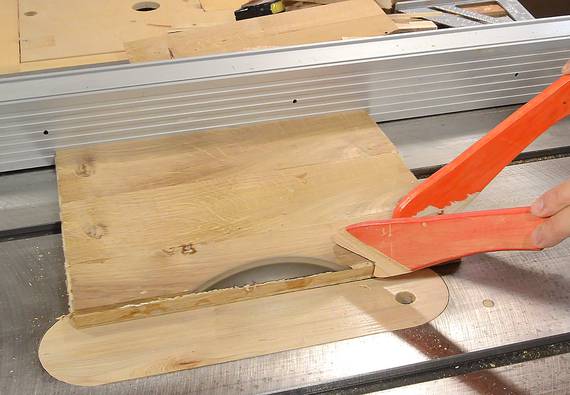
I'm gluing on an end cap of white oak to hide the inside. Normally, you would not glue something long grain against the end grain, because wood movement would cause that joint to break. But with the cross-grain layer in the middle, the wood is constrained from expanding and contracting too much, so this joint should hold.
 Gluing the end caps on.
While the glue was drying, I tried some sawdust and glue mixture to fill
in some of the worm holes in the wood, but without that much success.
Gluing the end caps on.
While the glue was drying, I tried some sawdust and glue mixture to fill
in some of the worm holes in the wood, but without that much success.

 I trimmed the end caps flush with a hand plane.
But I got tired of using that much elbow grease, so I passed the whole
cutting board over the jointer to flatten it.
I trimmed the end caps flush with a hand plane.
But I got tired of using that much elbow grease, so I passed the whole
cutting board over the jointer to flatten it.
It was some difficult grain, so I had to pass it over the jointer very slowly.
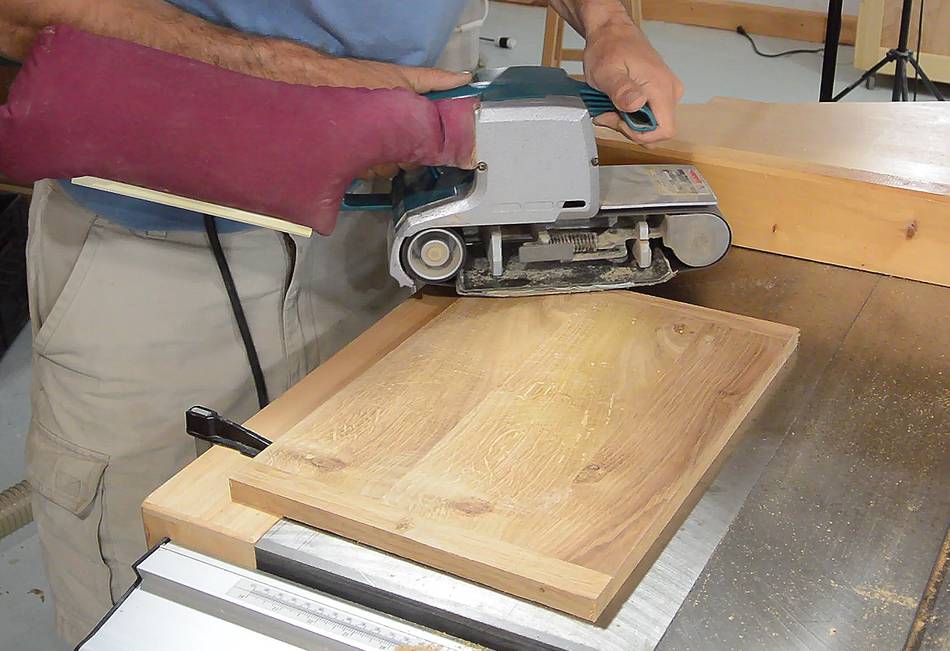 Then smoothing it some more with a belt sander.
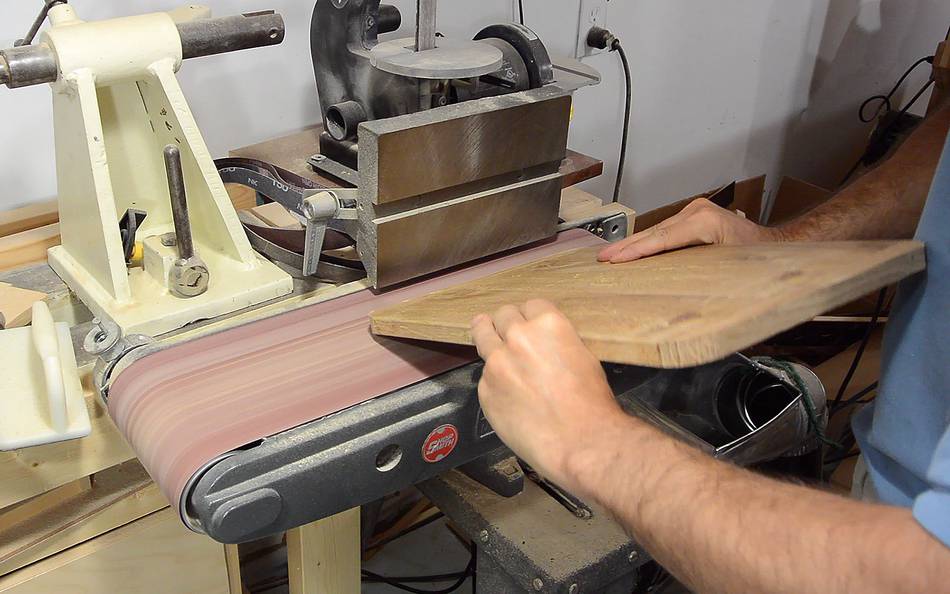
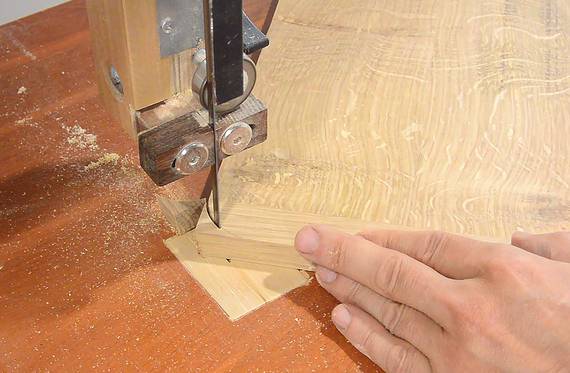 I rounded the corners with a bandsaw, then used my stationary belt
sander to round over the edges and corners.
I rounded the corners with a bandsaw, then used my stationary belt
sander to round over the edges and corners.
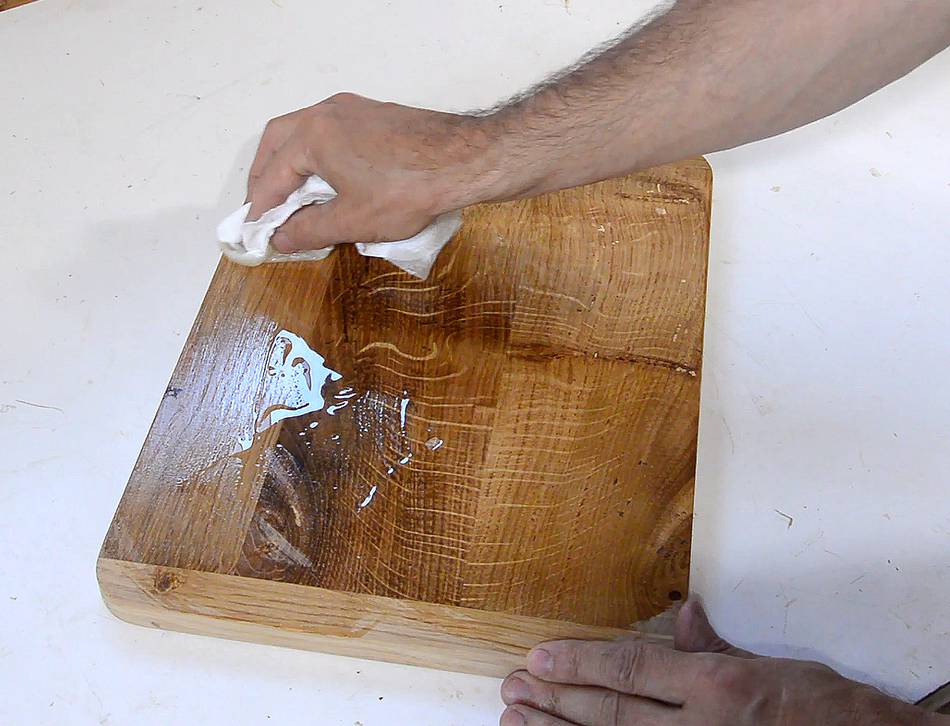
 Finally, I'm "finishing" it by rubbing some vegetable oil into
it.
Finally, I'm "finishing" it by rubbing some vegetable oil into
it.
Vegetable oil seals it against moisture, though I have been told it's not ideal, because it does go rancid over time. I went to check various finishes at The Home Depot to see if they had anything that was food safe, but reading the warnings on the labels, I figured the vegetable oil was the lesser of evils, and I wasn't prepared to go too far out of my way to get something else. Googling rancid vegetable oils, it looks like they are unhealthy like trans fats are. Well, I'm not planning on actually eating this cutting board, so I think I'll be ok.
I really like how the oil brings out the grain of the wood. Too bad this wood has some worm holes in it. In retrospect, maybe I should have splurged a little and actually bought some white oak!
A sturdy cutting board can be very useful:
 Hexagon cake knife
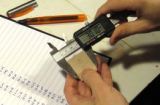 Wood movement
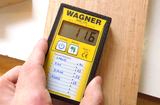 Why wood moisture
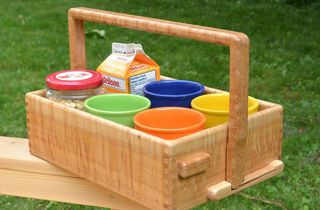 Flip handle
 Boiled egg hardness tester
 Paper towel roll holder
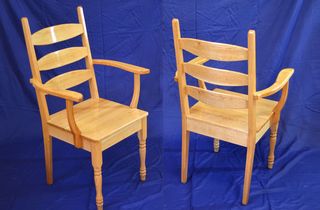 Kitchen chairs
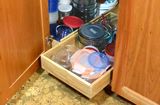 Kitchen cabinet
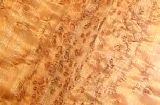 Making birdseye maple
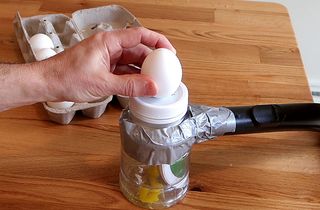 Sucking out eggs with a vacuum cleaner
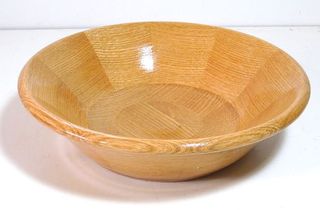 Bowl on the lathe