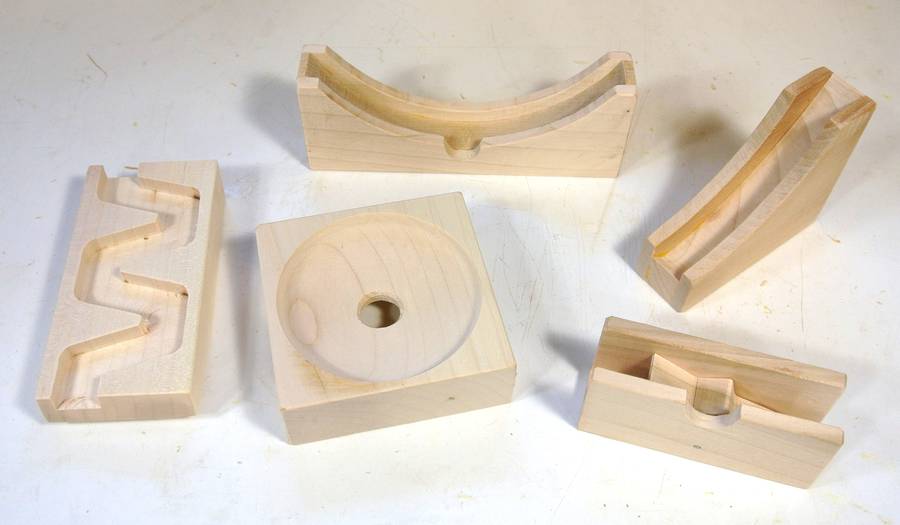
 In this article, I'll cover various elements of the marble run toy blocks.
 I will start with the bowl element. This one is fun to watch, because it takes the
marbles a long time to swirl around the bowl until they fall though the hole in the middle.
I will start with the bowl element. This one is fun to watch, because it takes the
marbles a long time to swirl around the bowl until they fall though the hole in the middle.
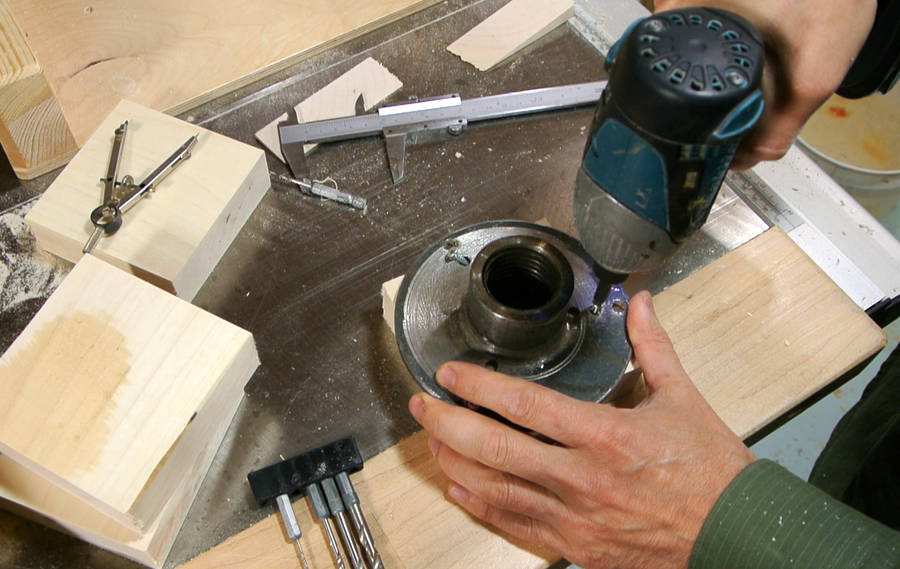 I mount the blocks on the lathe's face plate with four small screws.
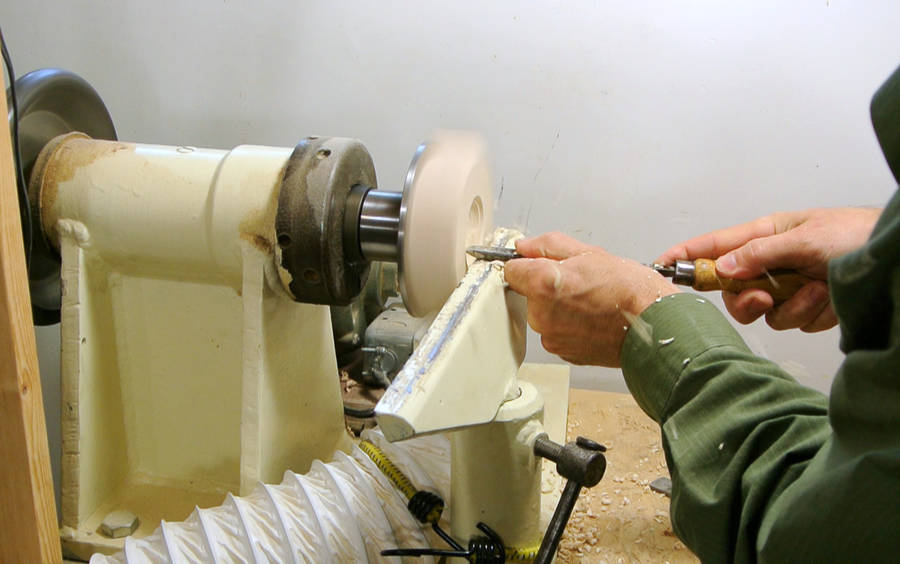
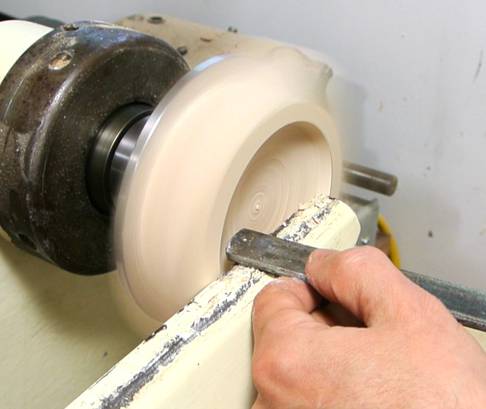 I rough out the shape with a gouge, then use a slightly rounded scraper to smooth
out the inside of the bowl.
I rough out the shape with a gouge, then use a slightly rounded scraper to smooth
out the inside of the bowl.
 I then reverse the direction of the lathe and use a piece of sandpaper to sand it out.
A question I have been asked from time to time is how to make the bowl without
a lathe. Unfortunately, I can't think of a good way to make it without one,
but you could always try building a lathe
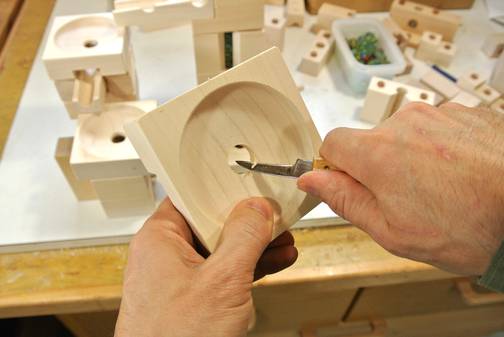
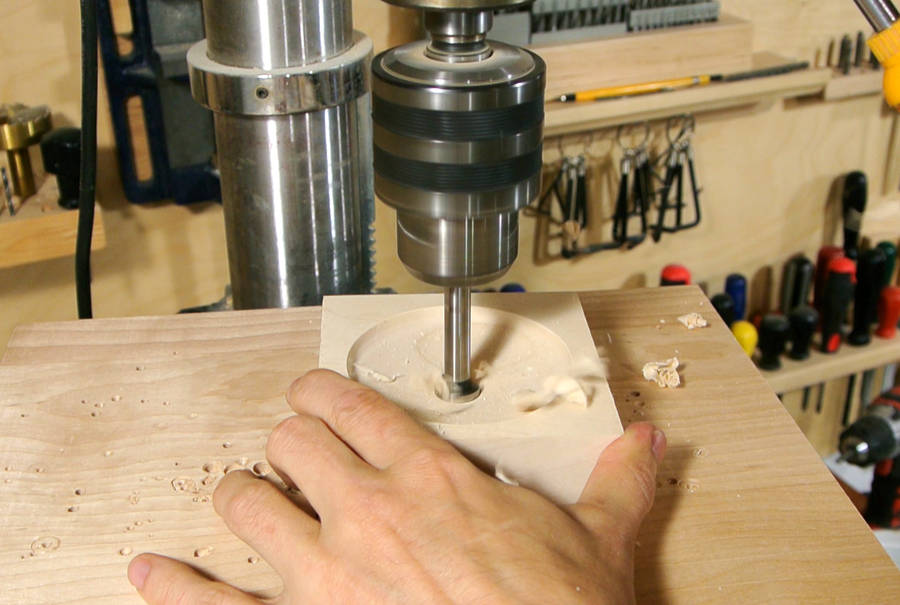 Next, drilling out the center with an 11/32" (17.5 mm) drill. Any drill 17 mm or
larger is good. Marbles are typically 16 mm, but vary in size a fair bit, so not
all marbles can pass through a 16 mm (5/8") hole.
Next, drilling out the center with an 11/32" (17.5 mm) drill. Any drill 17 mm or
larger is good. Marbles are typically 16 mm, but vary in size a fair bit, so not
all marbles can pass through a 16 mm (5/8") hole.
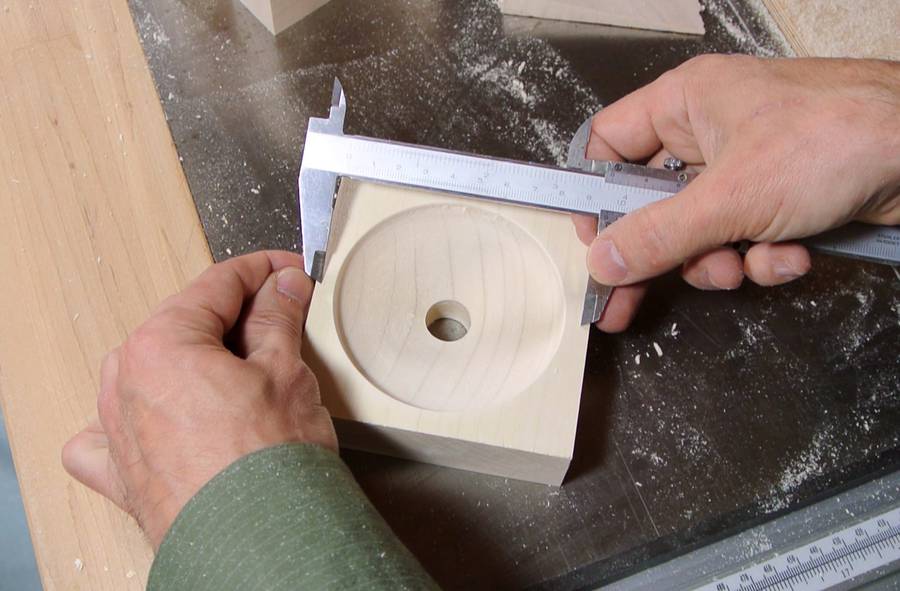 The overall piece needs to be 96 mm along the edges (three 32 mm increments).
I made my blanks slightly larger than that, so that I could afterwards completely
center the hole by cutting away excess from the sides. Here I'm scratching where
I want to cut it with my calipers.
The overall piece needs to be 96 mm along the edges (three 32 mm increments).
I made my blanks slightly larger than that, so that I could afterwards completely
center the hole by cutting away excess from the sides. Here I'm scratching where
I want to cut it with my calipers.

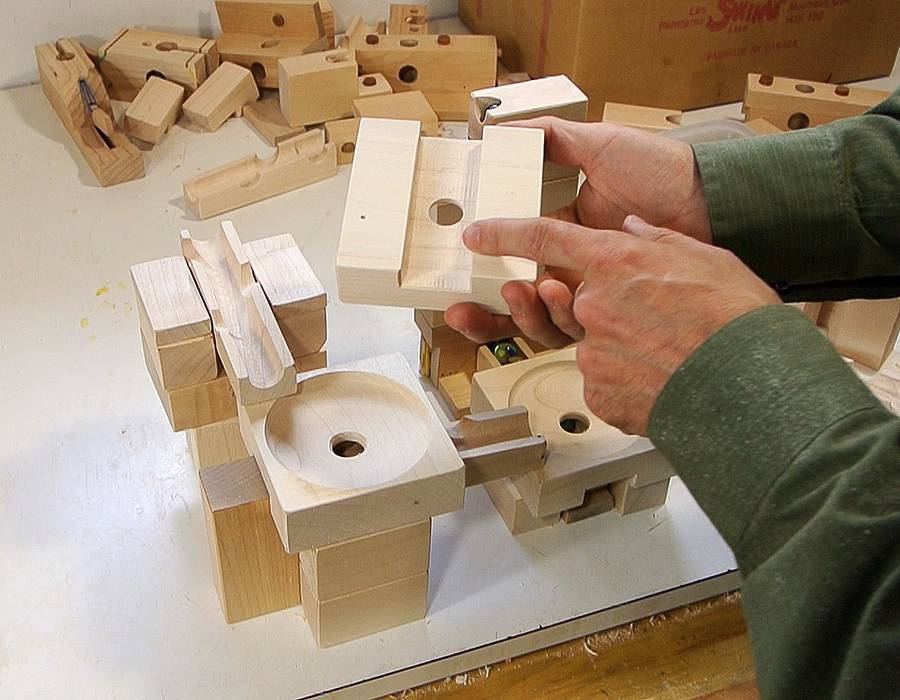
 I cut a dado out of the bottom of the blocks to make it easier to place them
over top of ramp blocks without using up too much vertical height.
I cut a dado out of the bottom of the blocks to make it easier to place them
over top of ramp blocks without using up too much vertical height.
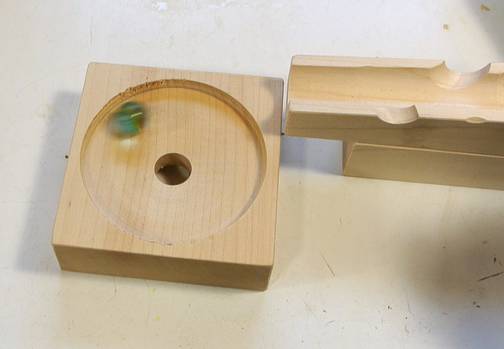
I also carved a slight bevel around the exit hole. Otherwise, with more than one marble in the bowl, jams happen more often.
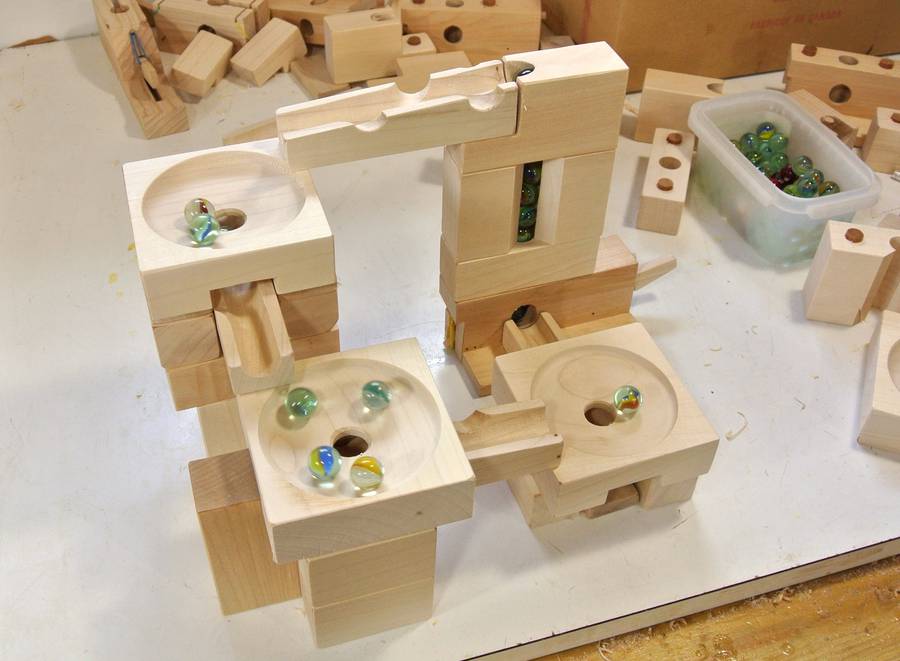 And doing a bit of testing with the bowls. Those bowls can have a lot of marbles in transit.
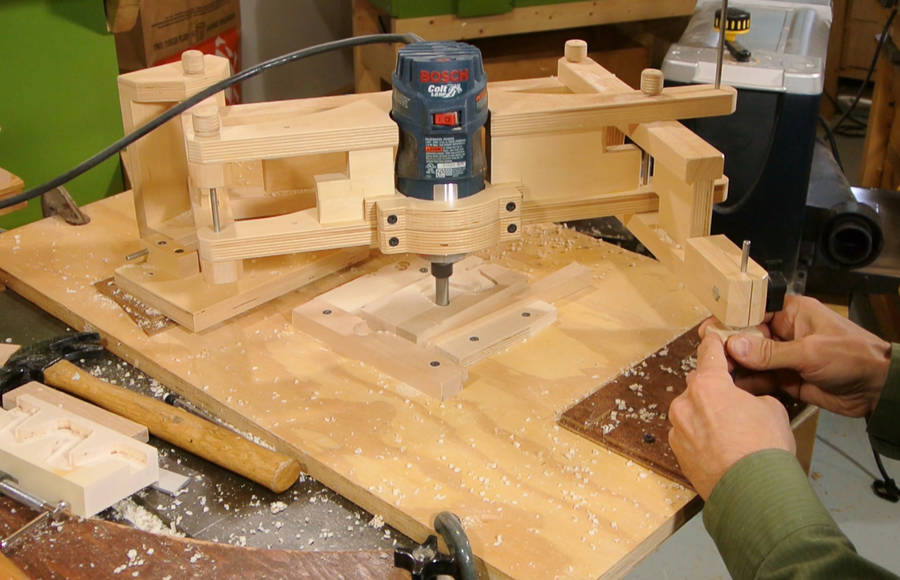 For my modular marble machine, I glued these together
out of several pieces. But I figured for the toy company, it would make more
sense to produce these with a CNC router. I don't have a CNC router, but
I can use my pantograph to route out the shape.
For my modular marble machine, I glued these together
out of several pieces. But I figured for the toy company, it would make more
sense to produce these with a CNC router. I don't have a CNC router, but
I can use my pantograph to route out the shape.
 I made a 2x template of the path I wanted to carve out from hardboard.
 A problem with my 3D pantograph is that the vertical axis is controlled
by tilting the pantograph. For stuff like
3D letter carving the tilt is not noticeable, but for these tracks, I wanted all
the cuts vertical...
A problem with my 3D pantograph is that the vertical axis is controlled
by tilting the pantograph. For stuff like
3D letter carving the tilt is not noticeable, but for these tracks, I wanted all
the cuts vertical...
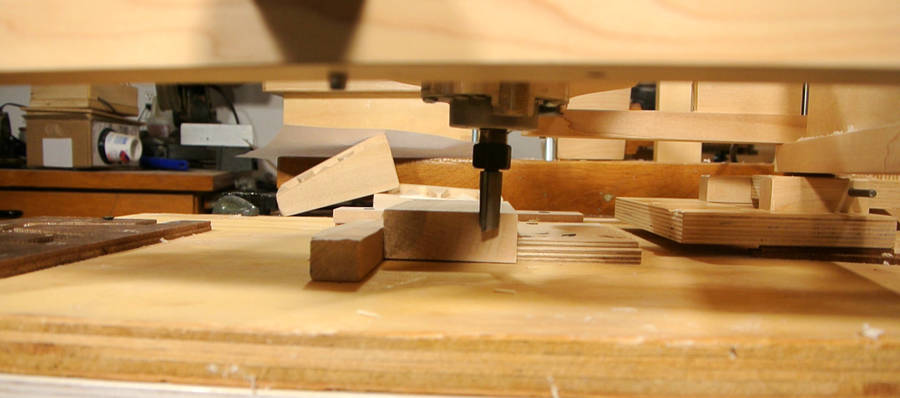 ...so I set up the pantograph so that it would be exactly horizontal for the
final depth pass. I just had to make sure to not route all the way to the
edges of the template for my non-final cuts.
...so I set up the pantograph so that it would be exactly horizontal for the
final depth pass. I just had to make sure to not route all the way to the
edges of the template for my non-final cuts.
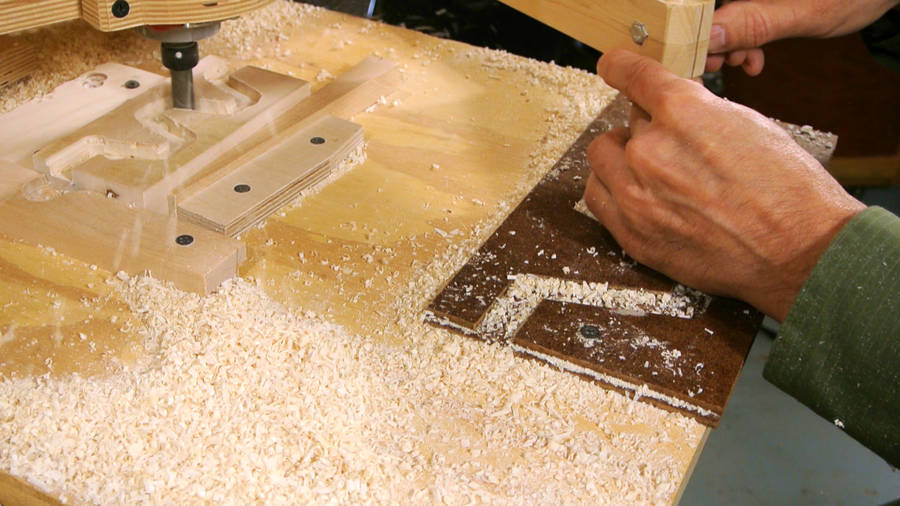
 Routing these out sure makes for a lot of chips and dust.
I set it up so I was sitting in the air stream coming out of my workshop air cleaner so I wouldn't be breathing quite as much dust.
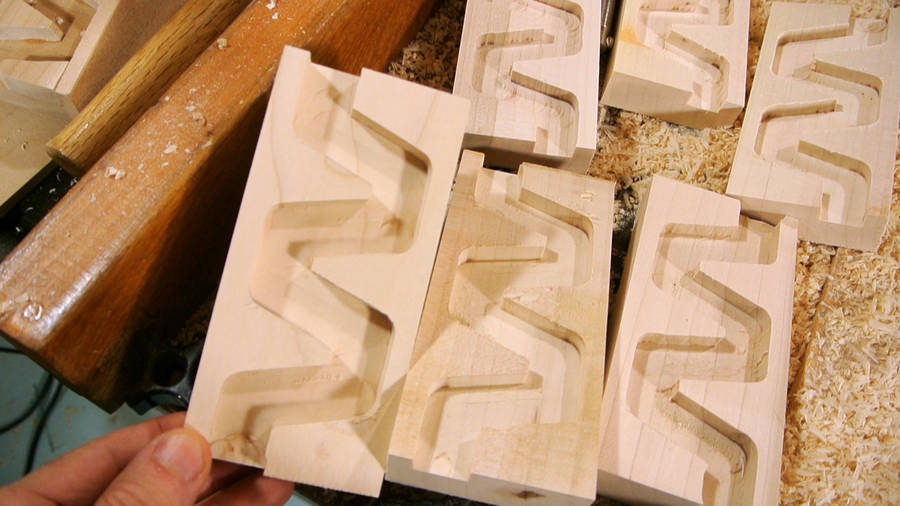 The ramps came out better as I made more of them. I don't think CNC would have cut them
any faster. Guiding the router manually, I can listen to how hard the router
is working and adjust my "feed rate" accordingly. Of course, a CNC machine
could cut the pieces unattended, but at just a minute of cutting for each piece,
I'd still be standing there watching it.
The ramps came out better as I made more of them. I don't think CNC would have cut them
any faster. Guiding the router manually, I can listen to how hard the router
is working and adjust my "feed rate" accordingly. Of course, a CNC machine
could cut the pieces unattended, but at just a minute of cutting for each piece,
I'd still be standing there watching it.
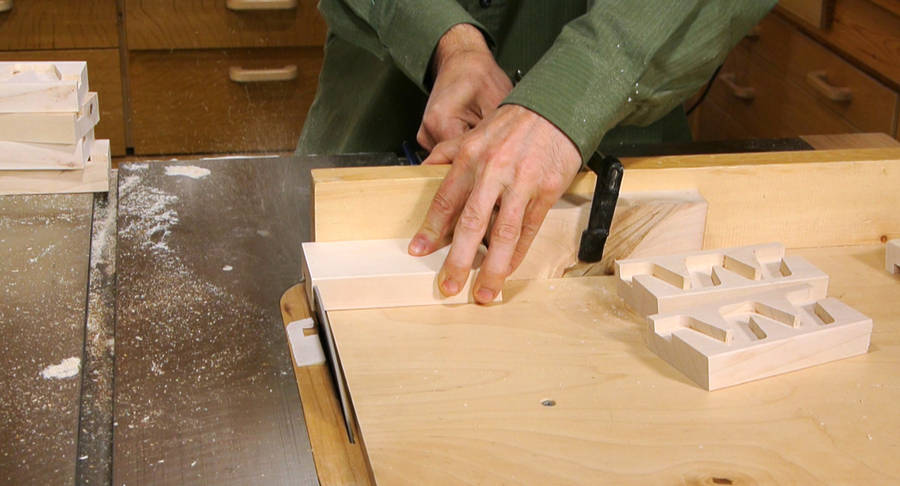 The zigzag blocks will sit at an angle, so I cut both ends to correspond to
the block's slope.
The zigzag blocks will sit at an angle, so I cut both ends to correspond to
the block's slope.
 I also cut a notch in the upper end...
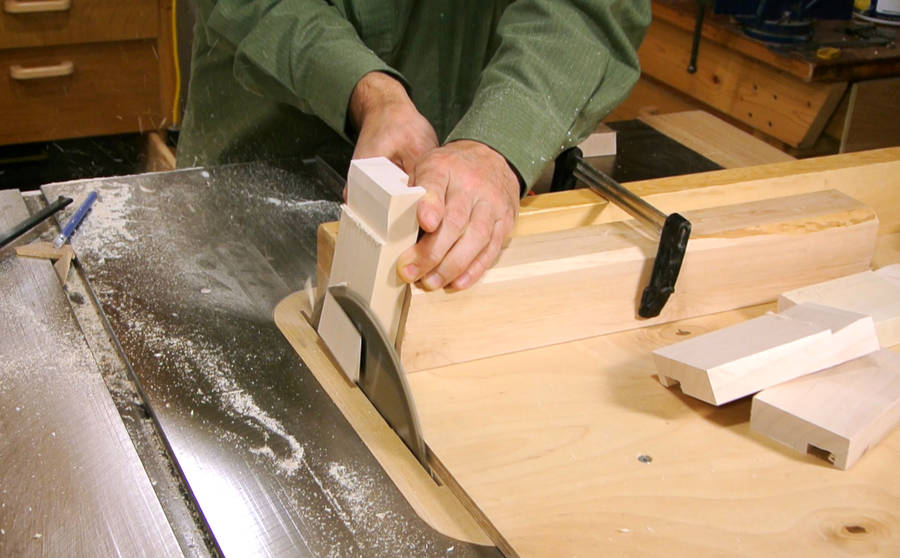
 ... and a bevel on the lower end so that the block will sit nicely on horizontal
surfaces. Unlike the ramp blocks, this block uses up two vertical increments.
... and a bevel on the lower end so that the block will sit nicely on horizontal
surfaces. Unlike the ramp blocks, this block uses up two vertical increments.
 And naturally, a bit of testing!
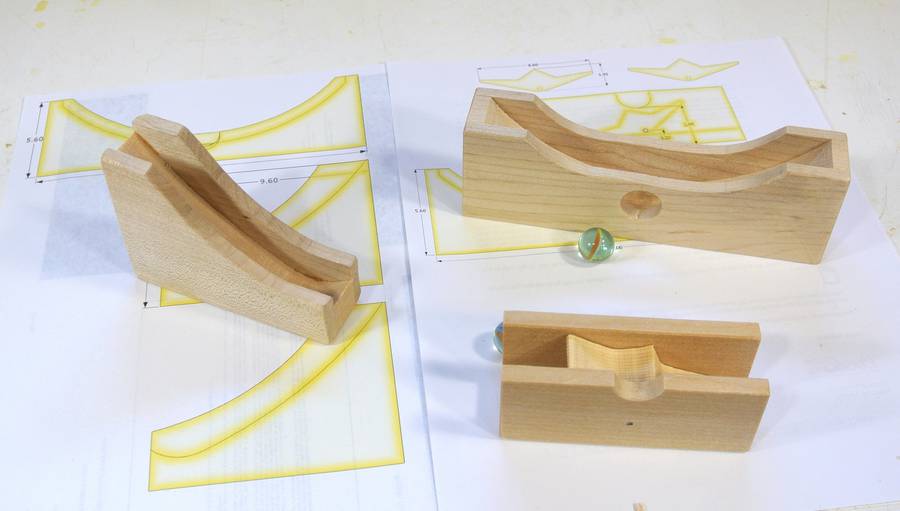 Next, the "ski jump" element, a rocking back and forth element, and the flip-flop element.
 These elements are made of a thicker middle layer and two thinner outside
layers. I prepared some stock of the right thicknesses.
These elements are made of a thicker middle layer and two thinner outside
layers. I prepared some stock of the right thicknesses.
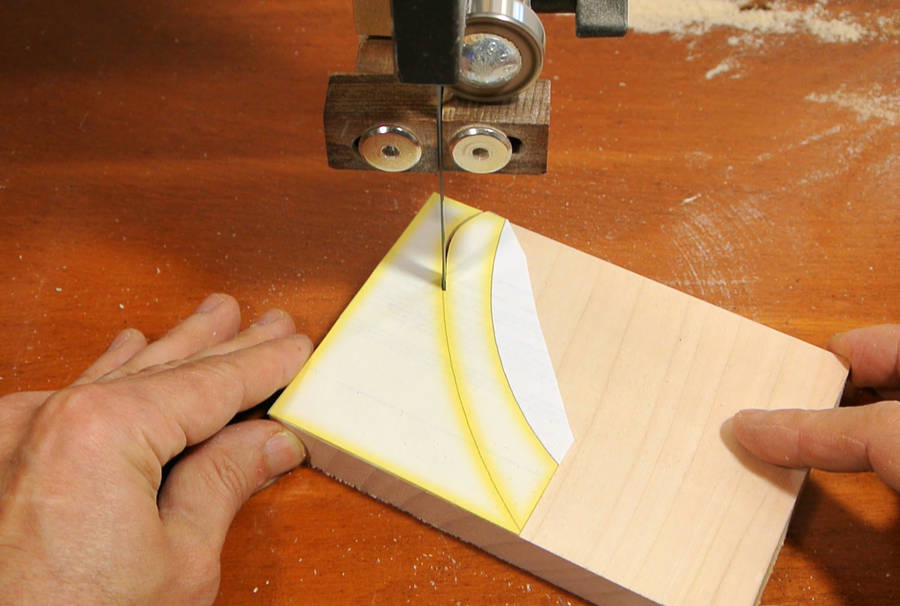 Cutting the inside layer of the ski jump from a template.
 I used another printout of the same template to make one outside layer,
then used that to mark the outline of the rest of the pieces on the wood.
I used another printout of the same template to make one outside layer,
then used that to mark the outline of the rest of the pieces on the wood.

 Then gluing it together.
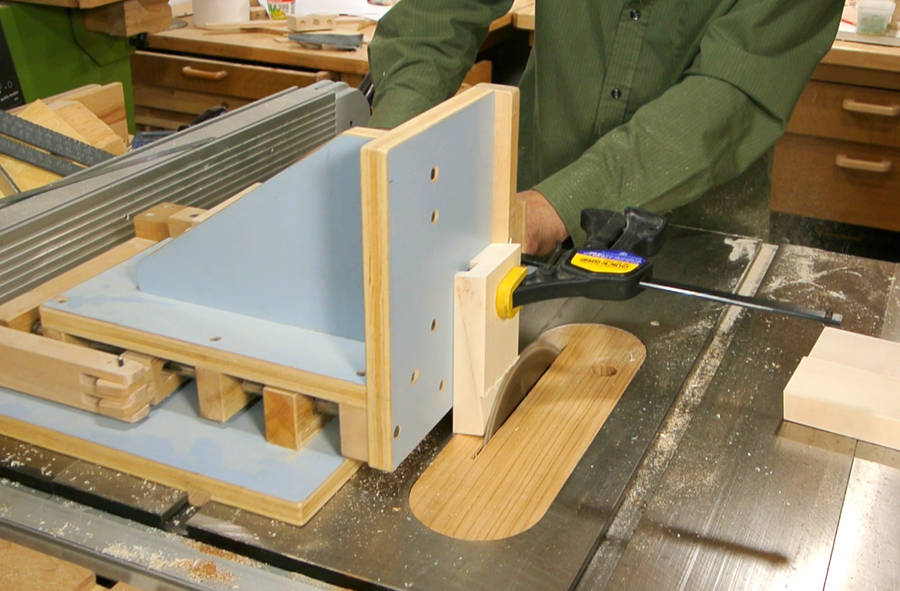
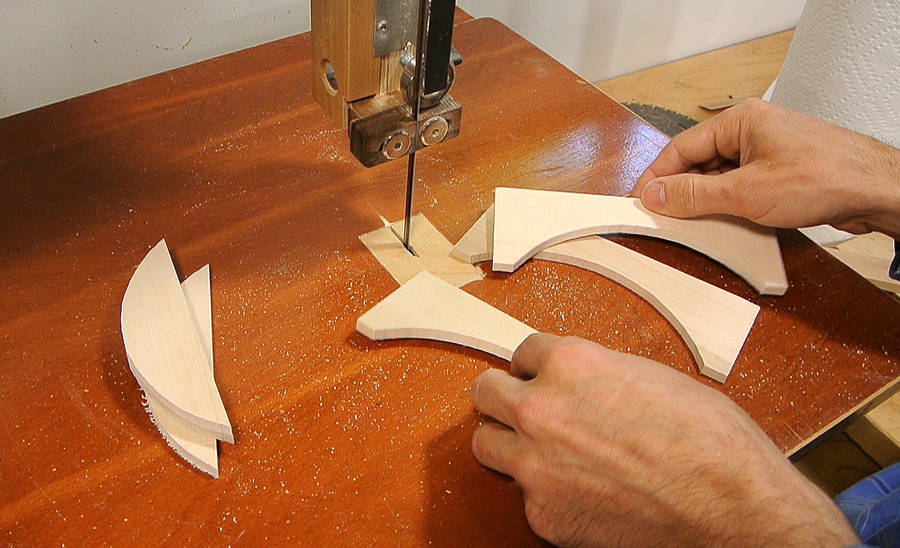
 Next the rolling back and forth ramp. Here, cutting the middle layer on the bandsaw.
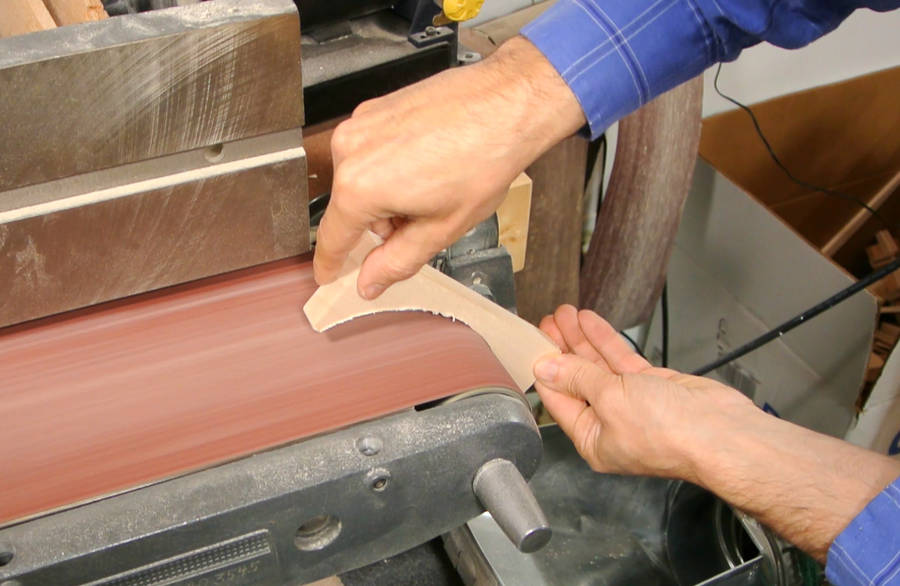 That inside curvature should be fairly smooth to let the marble roll back and forth
for a long time, so I'm cleaning up the bandsaw cuts on my belt sander.
That inside curvature should be fairly smooth to let the marble roll back and forth
for a long time, so I'm cleaning up the bandsaw cuts on my belt sander.
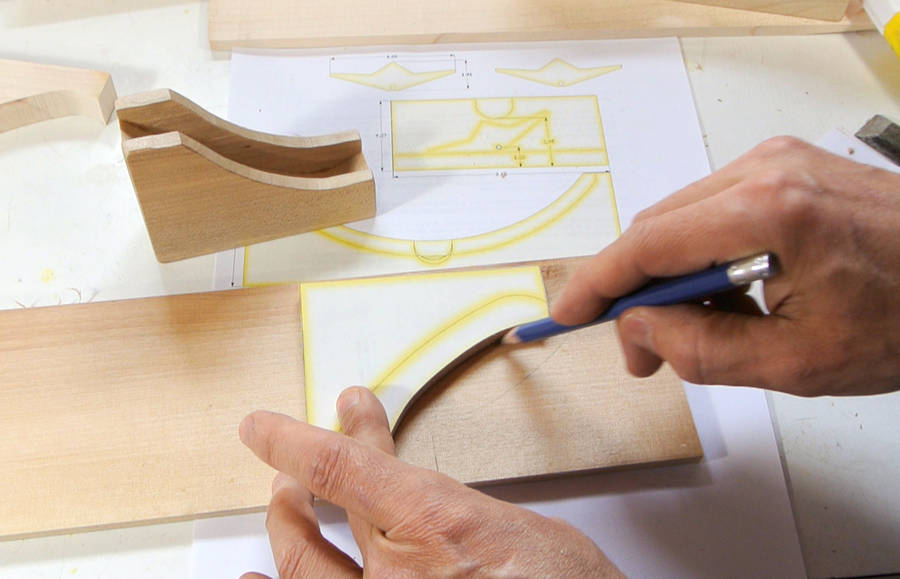
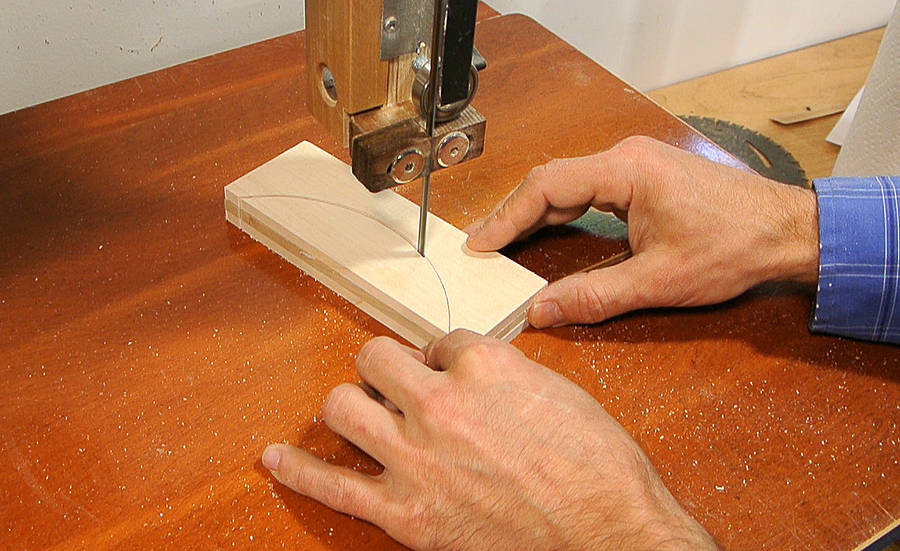 Here I'm cutting several sides for those pieces at once on the bandsaw.
I had previously cut one of these from a template, and instead of printing off
again, I just traced around one of the pieces I already made with a pencil.
Here I'm cutting several sides for those pieces at once on the bandsaw.
I had previously cut one of these from a template, and instead of printing off
again, I just traced around one of the pieces I already made with a pencil.
 I had tacked these together with some UHU stick. I only applied glue to the part
that got away, so after finishing the cut, they just separated.
I had tacked these together with some UHU stick. I only applied glue to the part
that got away, so after finishing the cut, they just separated.
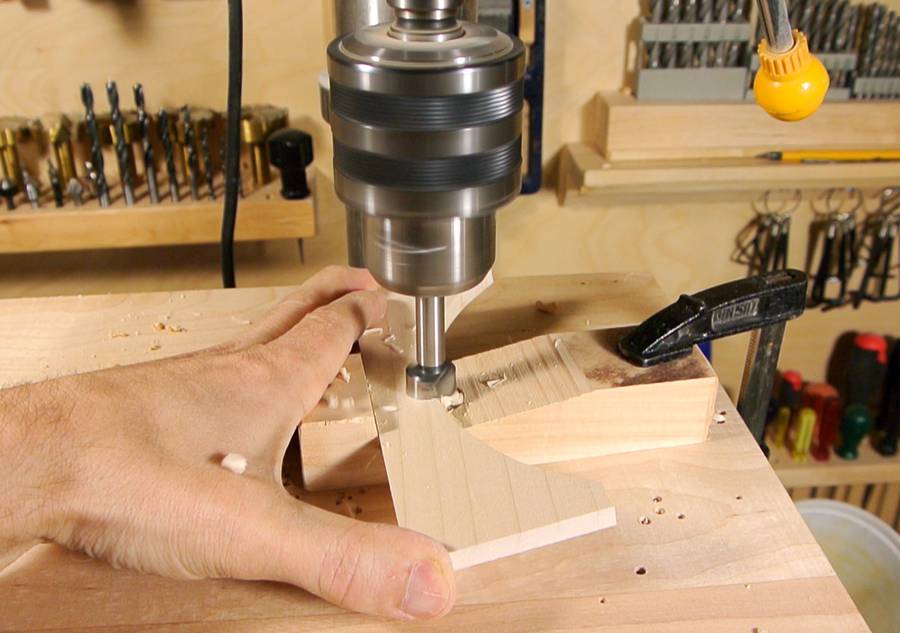 Cutting out the exit with a drill. The hole is at a 15-degree angle.
 The ramp needs to have a slight bevel near the exit to compel the marbles
to roll out the exit once it stops rocking back and forth.
That beveled notch should go just past the half way
point across the ramp. Not too deep, or the marbles lose too much energy
as they roll over it.
The ramp needs to have a slight bevel near the exit to compel the marbles
to roll out the exit once it stops rocking back and forth.
That beveled notch should go just past the half way
point across the ramp. Not too deep, or the marbles lose too much energy
as they roll over it.
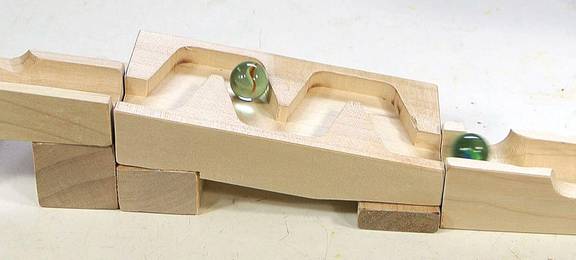
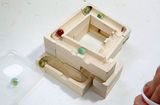
 These elements are surprisingly good at not jamming with multiple marbles in them.
Here I pre-loaded the ramps with six marbles, then put one marble in the top ramp.
The cascade caused by the extra marble cleared up all but two of the marbles
out of the ramps. Sometimes two marbles will jam at the exit, but the next marble
will cause them to get flushed out.
These elements are surprisingly good at not jamming with multiple marbles in them.
Here I pre-loaded the ramps with six marbles, then put one marble in the top ramp.
The cascade caused by the extra marble cleared up all but two of the marbles
out of the ramps. Sometimes two marbles will jam at the exit, but the next marble
will cause them to get flushed out.
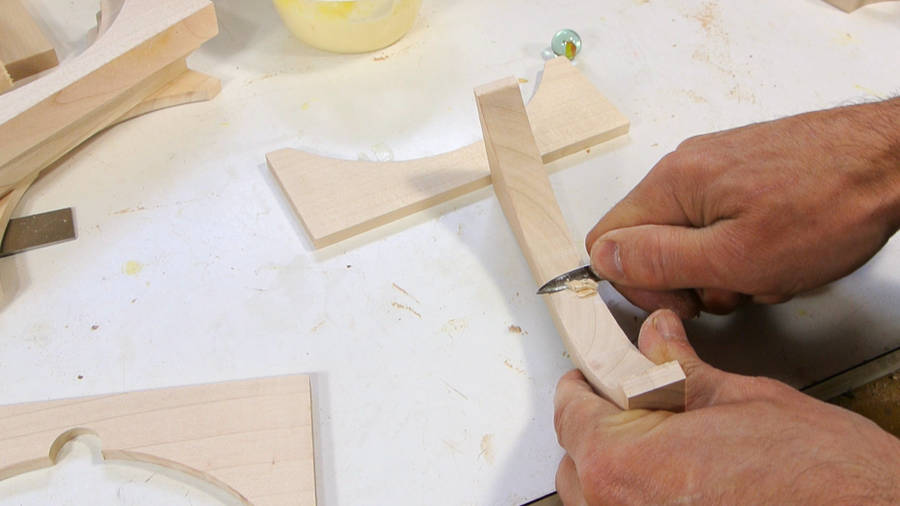
 Next making the flip-flop, which alternately sends marbles left or right.
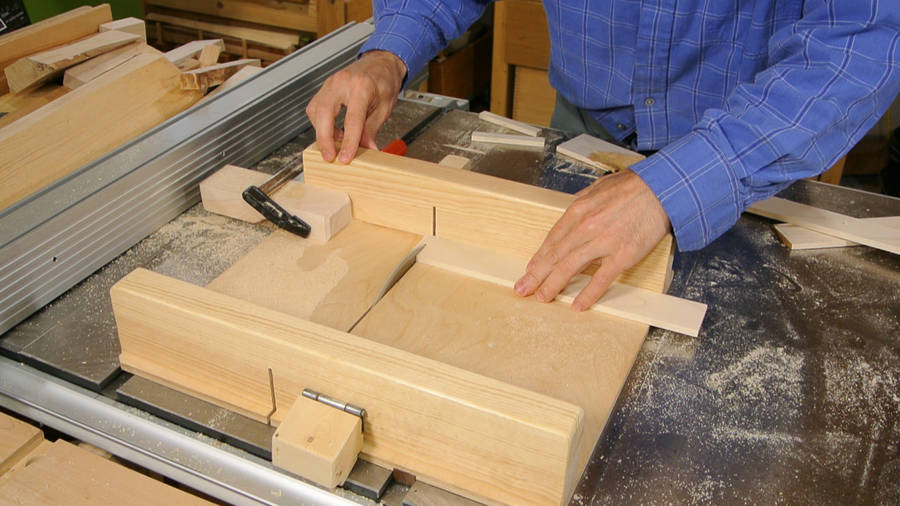 I used my table saw sled to cut all the pieces to the same length.
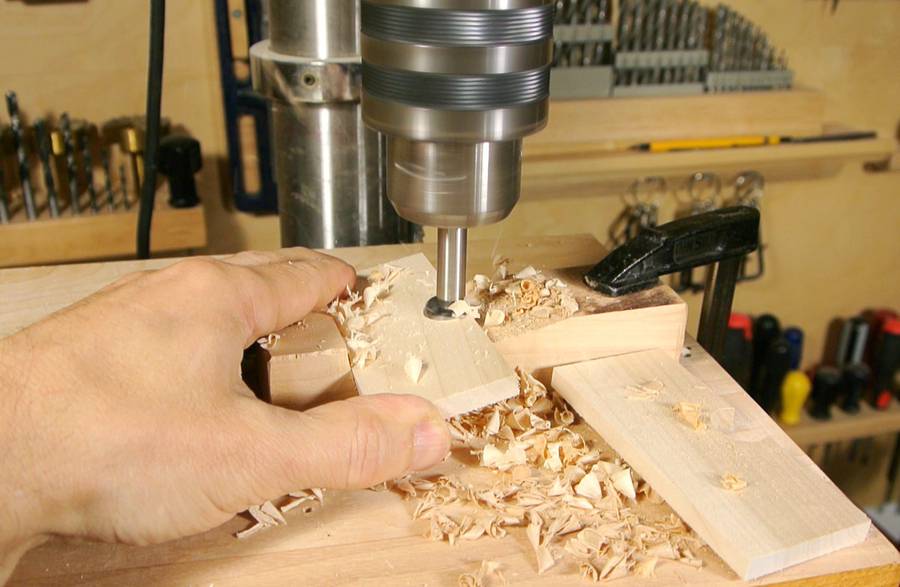 Then adding an inclined entry notch on the drill press.
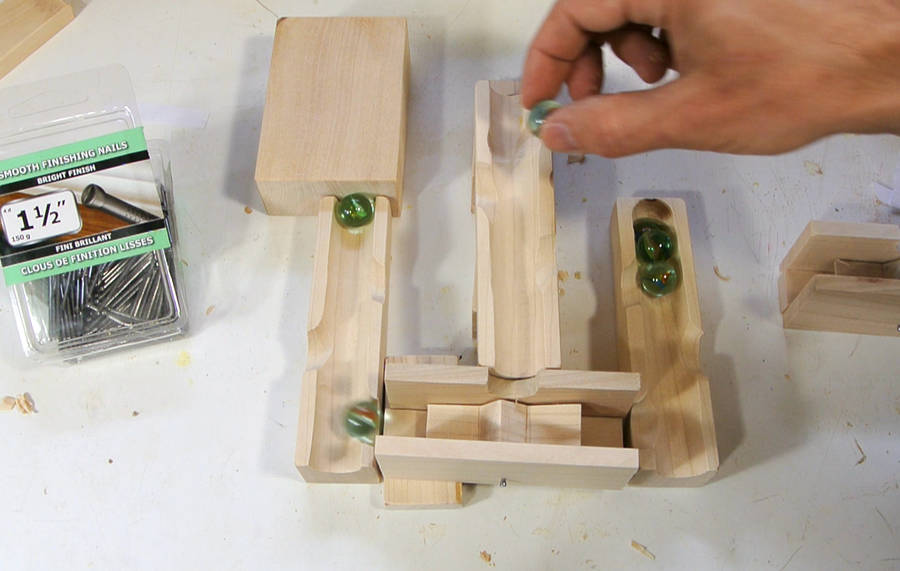
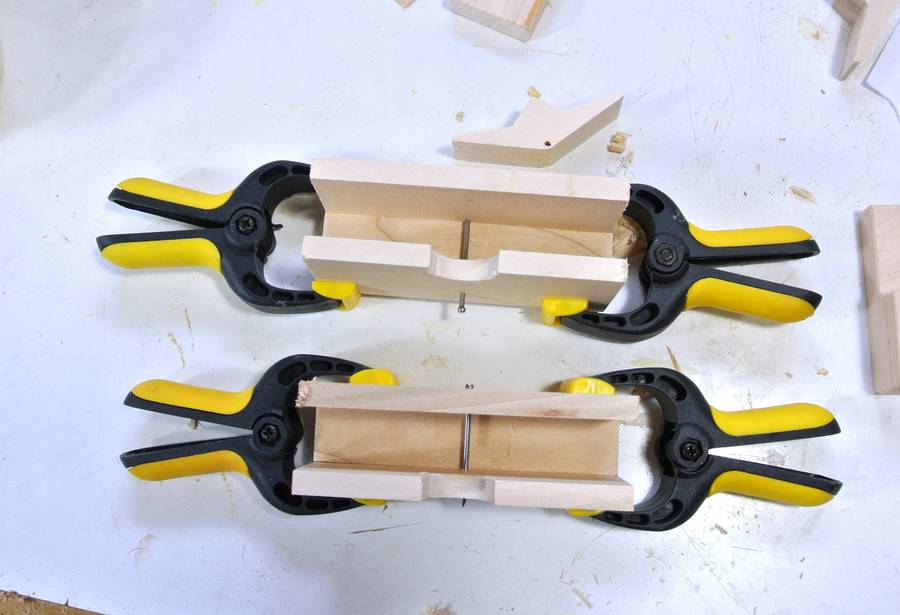 I inserted the nails (used as the pivot axle) in the pieces as I glued them
just to give me a visual check that everything was aligned properly.
I inserted the nails (used as the pivot axle) in the pieces as I glued them
just to give me a visual check that everything was aligned properly.
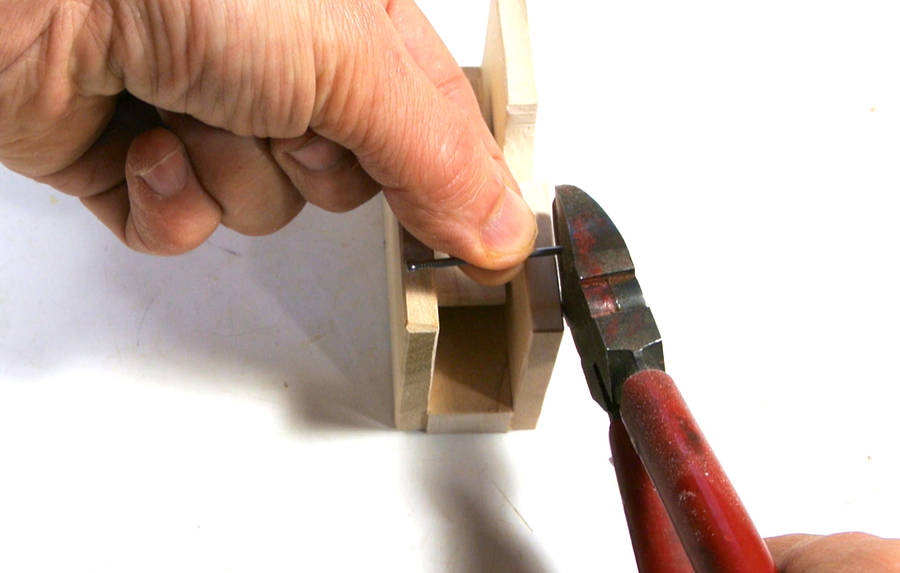
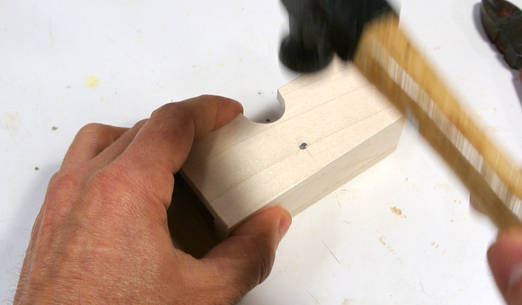 After testing with the rocker in place, I cut the nail to just under 32 mm in length,
and hammered it in. The head of the nail is slightly larger than the hole, so that
locks it in place, with nothing sticking out either side.
After testing with the rocker in place, I cut the nail to just under 32 mm in length,
and hammered it in. The head of the nail is slightly larger than the hole, so that
locks it in place, with nothing sticking out either side.
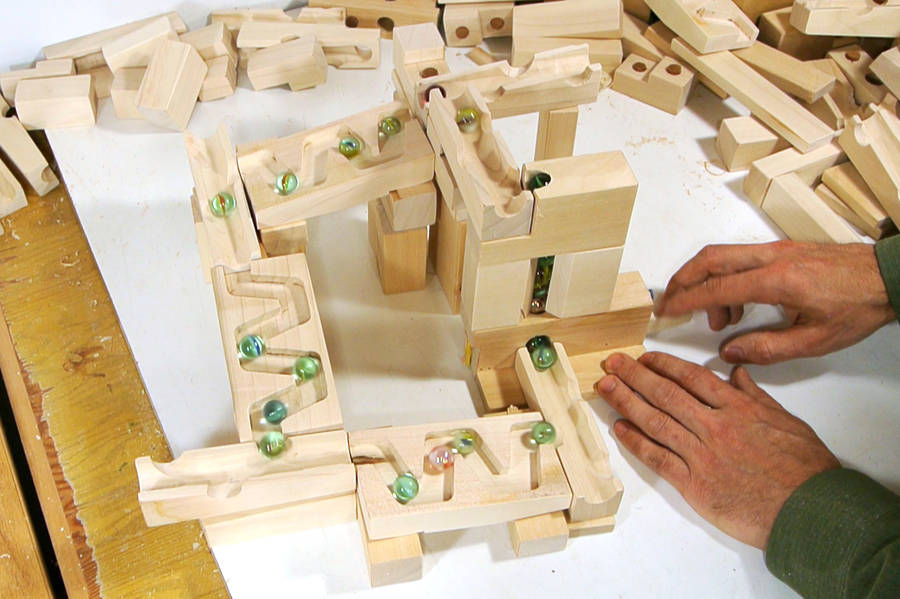
Next: Some tracks built with the marble blocks
Back to the main woodworking website.
 Toy ramp blocks
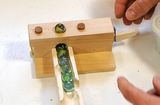 Marble elevating device
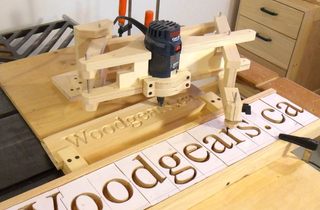 3D router pantograph
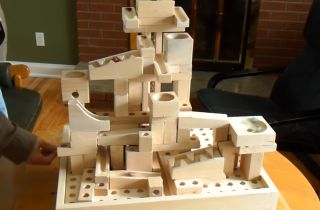 Modular marble machine
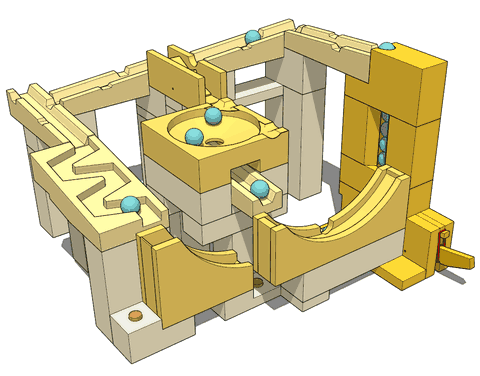 Buy plans for the marble run blocks
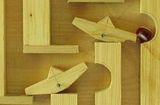 Binary marble