Wooden percussion elements continued
Xylophone bars
 The xylophone element is two pieces of wood acting as xylophone bars, mounted on an incline.
Marbles from the dump-o-matic are dropped onto the element. It's sloped towards the inside
to deflect the marbles back into the machine.
The xylophone element is two pieces of wood acting as xylophone bars, mounted on an incline.
Marbles from the dump-o-matic are dropped onto the element. It's sloped towards the inside
to deflect the marbles back into the machine.
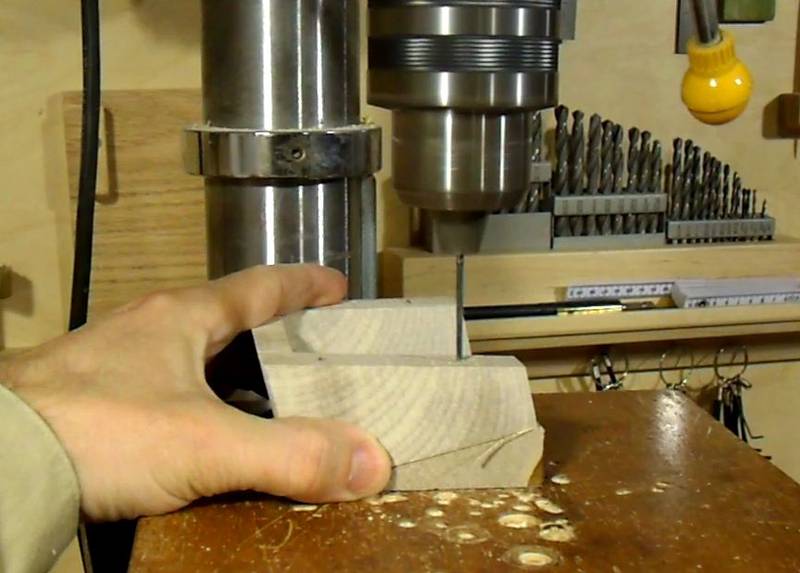
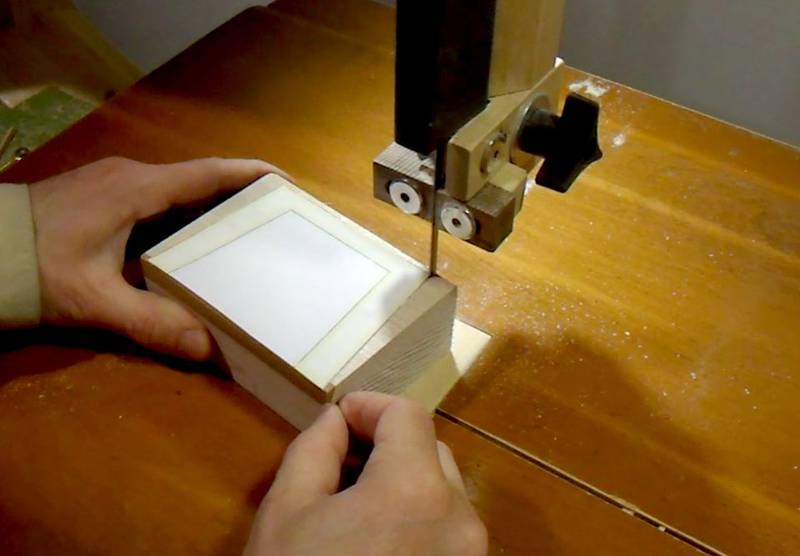 Here's starting to cut out the support block. The support is cut from a block
of wood at least 42 mm thick.
Here's starting to cut out the support block. The support is cut from a block
of wood at least 42 mm thick.
 After cutting out the outline, I tilt the bandsaw table and add a fence for cutting
the incline onto this block. I'm using a side-view template to set the angle and fence
position.
After cutting out the outline, I tilt the bandsaw table and add a fence for cutting
the incline onto this block. I'm using a side-view template to set the angle and fence
position.
 Now cutting the angle.
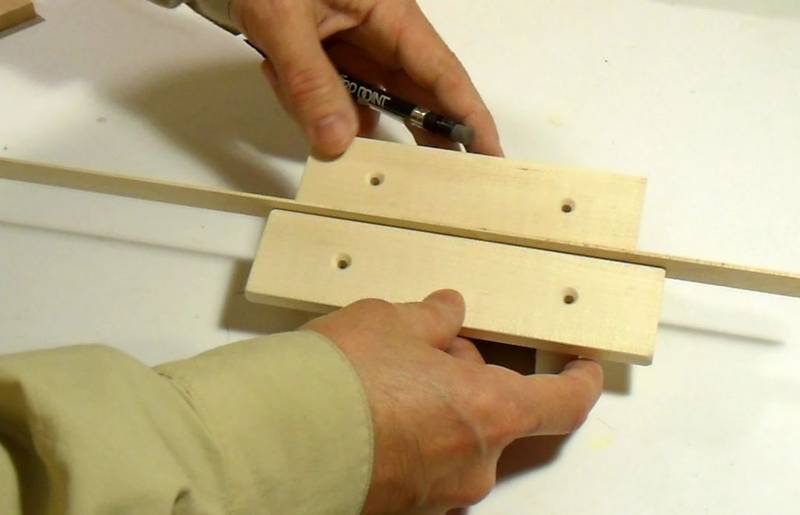 The xylophone bars are just straight rectangular pieces of wood.
Here I'm positioning the bars above their mount with a 1.5 mm thick spacer between them.
Once I'm happy with the position, I use a pencil or an awl to mark where the mounting holes
end up on the base. You could also use a paper template from the plans to get the hole
locations just right.
The xylophone bars are just straight rectangular pieces of wood.
Here I'm positioning the bars above their mount with a 1.5 mm thick spacer between them.
Once I'm happy with the position, I use a pencil or an awl to mark where the mounting holes
end up on the base. You could also use a paper template from the plans to get the hole
locations just right.
 I'm using the wedge-shaped part that I cut away from the block in a previous step as an
angled support while drilling the pilot holes for the screws
I'm using the wedge-shaped part that I cut away from the block in a previous step as an
angled support while drilling the pilot holes for the screws
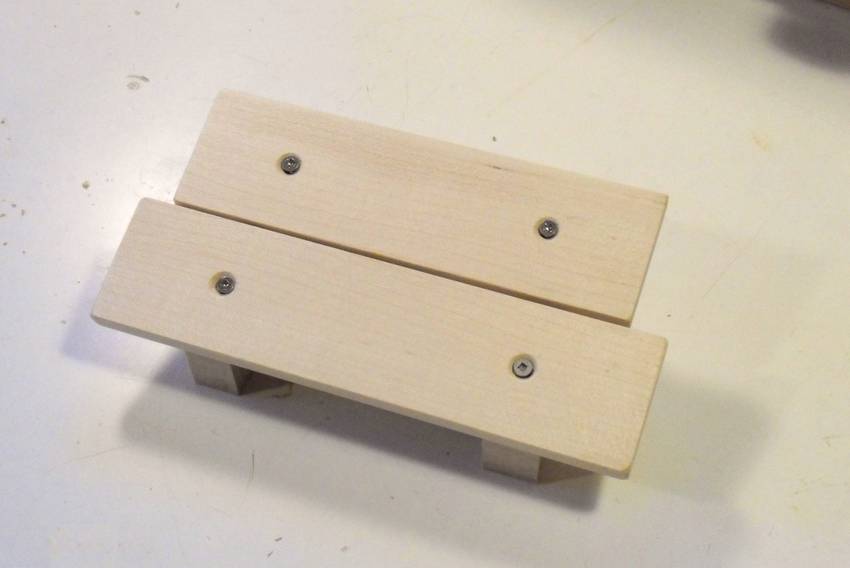
 Now mounting the pieces on the block with a piece of felt underneath so that they can
vibrate freely. The screws are not screwed all the way in.
Now mounting the pieces on the block with a piece of felt underneath so that they can
vibrate freely. The screws are not screwed all the way in.
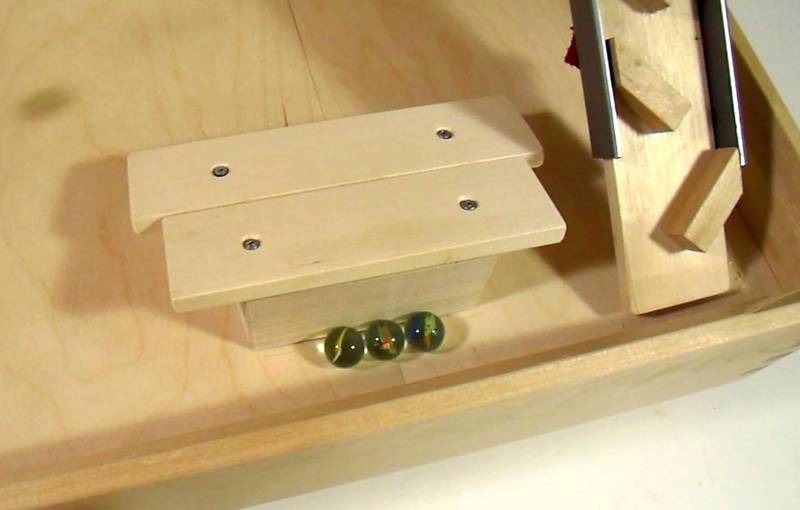 A small problem I encountered was that marbles would get stuck behind the xylophone
support...
A small problem I encountered was that marbles would get stuck behind the xylophone
support...
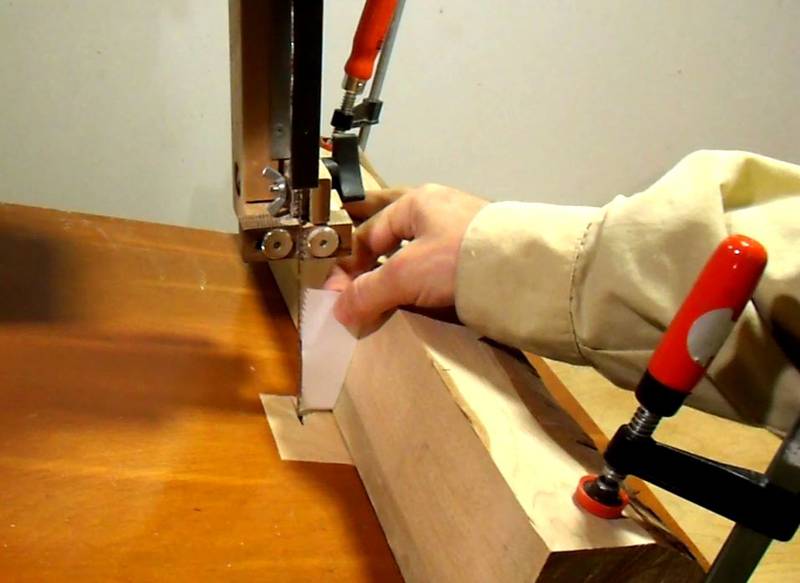
 ... so I cut a notch in the back of the support to let marbles roll through.
The notch is 1.8 cm deep, and 2 cm wide at the top. Or you can just use one of the
paper templates to cut it - though you'll have to fold it and stick it to
the inside of the mounting block.
... so I cut a notch in the back of the support to let marbles roll through.
The notch is 1.8 cm deep, and 2 cm wide at the top. Or you can just use one of the
paper templates to cut it - though you'll have to fold it and stick it to
the inside of the mounting block.
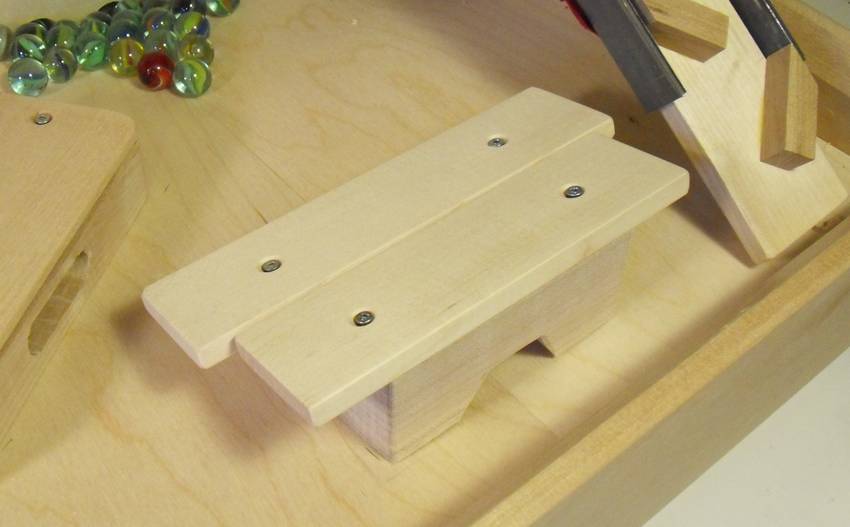 The finished xylophone board in place.
Locating pegs for the percussion elements
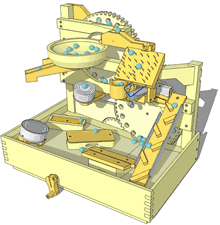
 So far, the precussion elements were just placed on the floor of the machine. But
with all the vibration of the machine running, and an inclined floor, the precussion
elements tend to slowly wander downhill, so it's necessary to keep them from sliding.
So far, the precussion elements were just placed on the floor of the machine. But
with all the vibration of the machine running, and an inclined floor, the precussion
elements tend to slowly wander downhill, so it's necessary to keep them from sliding.
I started by placing all the elements in the machine and did some testing to make sure the marbles hit then and flow around them appropriately.
With all the marbles bouncing around, the blocks slowly wander down-slope, so there is a need to fix the position. I suppose I could just screw them in place from the bottom, but it's more fun if the elements can be picked up out of the machine.
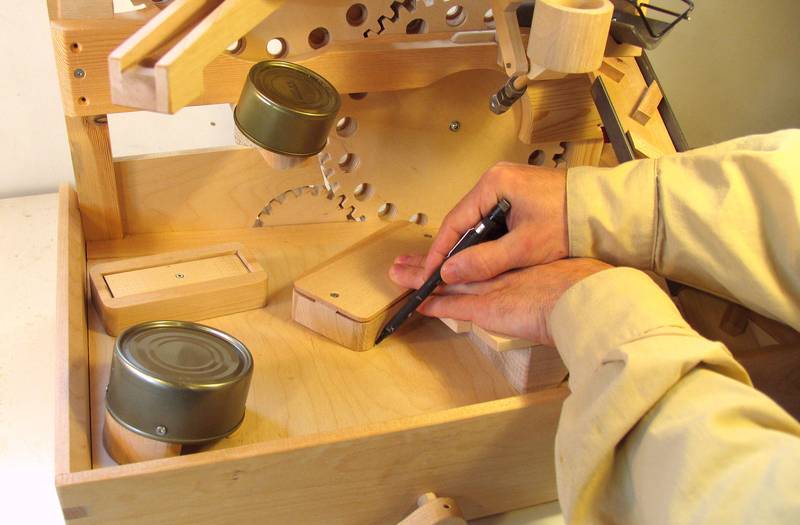
The first step is to mark the positions of the elements in the machine.
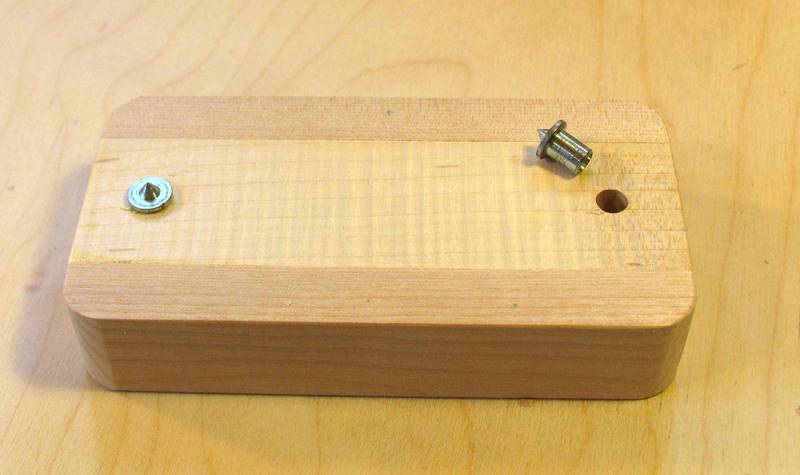 I bought these dowel centers years ago and never used them, but finally
here's a good use for them.
I bought these dowel centers years ago and never used them, but finally
here's a good use for them.
I drilled two 5/16" (8 mm) holes on the bottom of each element, then place the dowel centers markers in the holes.
![]() With the element held over the outline marked on the plywood floor, I give it a whack to
mark the dowel center positions.
With the element held over the outline marked on the plywood floor, I give it a whack to
mark the dowel center positions.
I'm not particularly advocating that you should buy some of these dowel centers, seeing that this is the first time I have found them useful. If you don't have any dowel centers, you can use the paper template to position the holes in the bottom of the element, then use that same paper template held above the marked outline to mark where the holes need to go in the floor.
 I needed a 1/4" (6 mm) dowel for the pegs for the floor - or rather, I needed a dowel
that would fit tightly in a 1/4" hole. The holes in the bottom of the elements are
actually a bit larger than that (5/16"), which gives them some slack to allow for some
misalignment, oversized dowels and varnish.
I needed a 1/4" (6 mm) dowel for the pegs for the floor - or rather, I needed a dowel
that would fit tightly in a 1/4" hole. The holes in the bottom of the elements are
actually a bit larger than that (5/16"), which gives them some slack to allow for some
misalignment, oversized dowels and varnish.
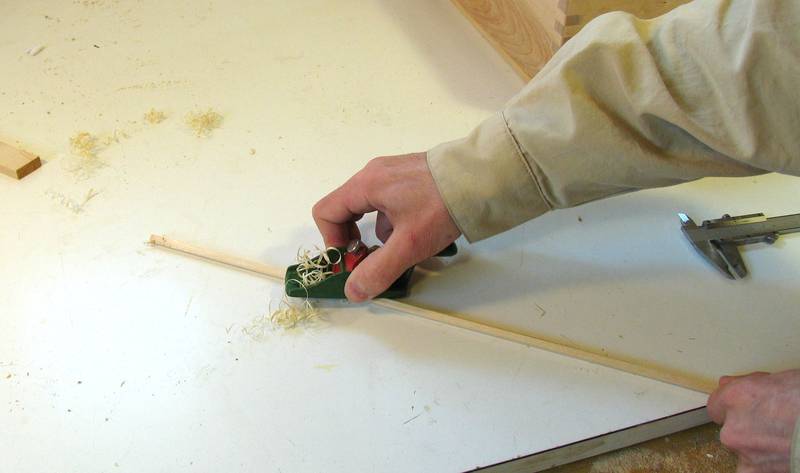
I find that dowels bought in a store are quite often of unusably poor quality and accuracy. So it's easier to take a square piece of 6mm x 6mm wood and whittle the corners round with a small plane.
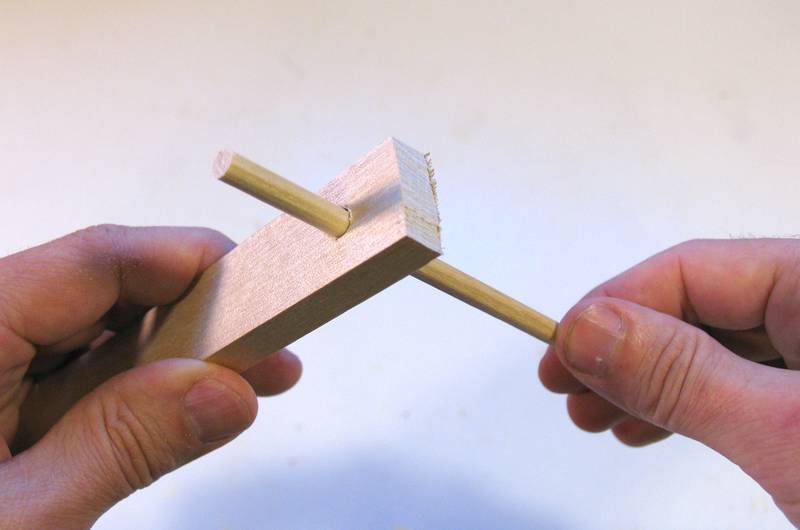 I drilled a 9/32" (7 mm) hole (just bigger than 1/4"). I'm using that to check my dowel. I want
a tight fit in a 1/4" hole, so if it slides in the 3/32" hole, that's good.
I drilled a 9/32" (7 mm) hole (just bigger than 1/4"). I'm using that to check my dowel. I want
a tight fit in a 1/4" hole, so if it slides in the 3/32" hole, that's good.
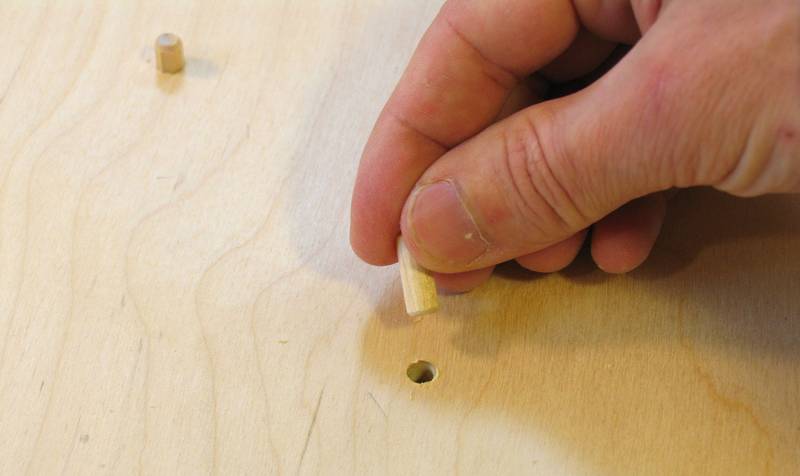 I cut the dowel into pieces 15 mm in length, then glue those into 1/4" holes in the floor.
The dowels fit tight, and I had to drive them in with a hammer.
I cut the dowel into pieces 15 mm in length, then glue those into 1/4" holes in the floor.
The dowels fit tight, and I had to drive them in with a hammer.
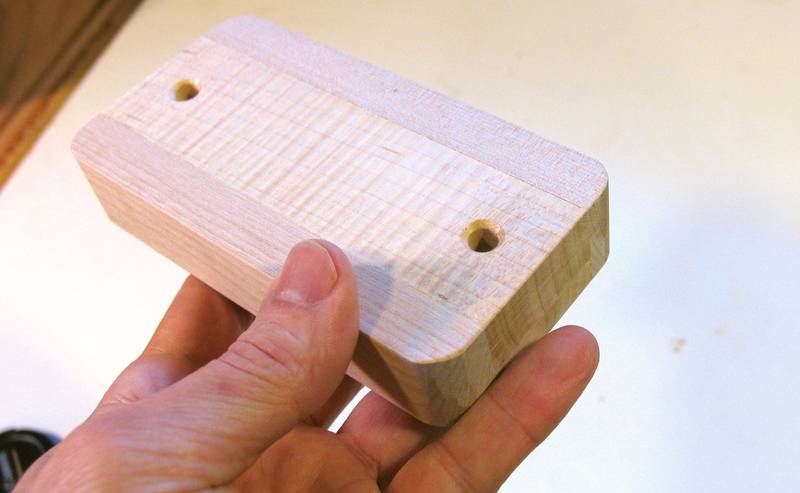 I also ended up adding a chamfer to the edges of the holes in the bottom of the percussion
elements to make it easier to put them down over the pegs.
I also ended up adding a chamfer to the edges of the holes in the bottom of the percussion
elements to make it easier to put them down over the pegs.
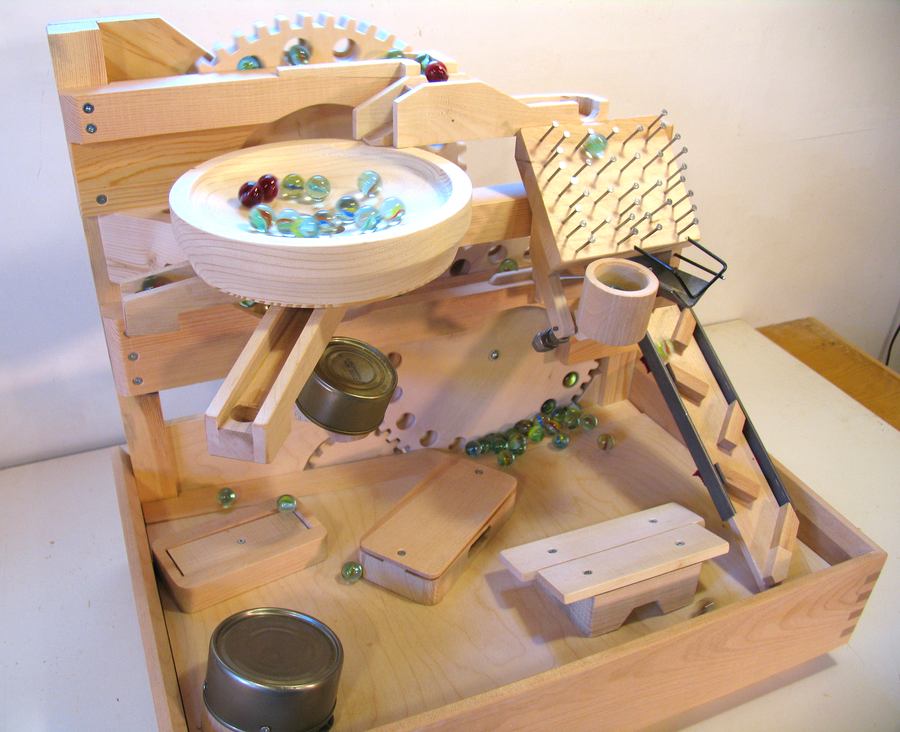 And that completes the construction of marble machine 2.1!
The machine itself didn't actually take that long to build, but putting together the videos, articles, and especially all the finalized drawings for the plans together took a long time, which is why I stretched out publishing the articles out over several weeks - I wanted to have the plans finished by the time I'd published the last article on the construction.
|
Buy the plans for Marble machine 2.1 |
Back to Marble machine 2.1