Making round bowl lids with the pantograph
 A few years ago, when the whole Bisphenol-A scare hit, I bought several of these glass
bowls with plastic lids. I figured they should last forever. The bowls
are still good, but the flexible plastic lids on these things are all
cracking in various ways. Maybe it's the lack of BPA plasticizers that makes
them more prone to cracking?
A few years ago, when the whole Bisphenol-A scare hit, I bought several of these glass
bowls with plastic lids. I figured they should last forever. The bowls
are still good, but the flexible plastic lids on these things are all
cracking in various ways. Maybe it's the lack of BPA plasticizers that makes
them more prone to cracking?
At any rate, I figured making some new lids for these glass containers would be a fun project.
Making plywood
 I was concerned that solid wood would move too much with humidity
changes (or just from getting wet from washing). Plywood would be better,
but I also wanted the lids to look nice.
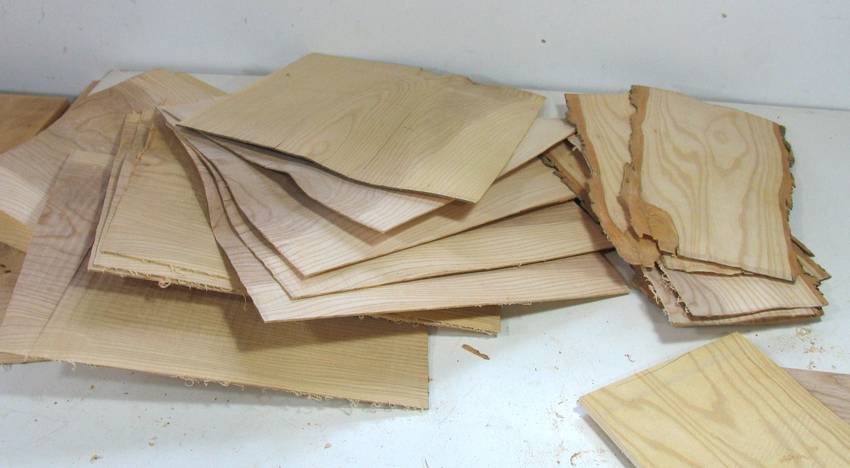
I had a whole bunch of ash veneer lying around from
testing my sawmill, so I figured I'd try to make some homemade plywood from that.
I was concerned that solid wood would move too much with humidity
changes (or just from getting wet from washing). Plywood would be better,
but I also wanted the lids to look nice.
I had a whole bunch of ash veneer lying around from
testing my sawmill, so I figured I'd try to make some homemade plywood from that.
 What gives plywood its stability is layers of alternating grain direction.
Wood has very little shrinkage and expansion in the grain direction. It's also
much stronger in that direction.
By sandwiching layers with the grain at 90 degrees,
the long grain of the layers prevents the other layers from shrinking and
expanding across the grain with humidity changes.
What gives plywood its stability is layers of alternating grain direction.
Wood has very little shrinkage and expansion in the grain direction. It's also
much stronger in that direction.
By sandwiching layers with the grain at 90 degrees,
the long grain of the layers prevents the other layers from shrinking and
expanding across the grain with humidity changes.
It's important that the layers have symmetry across the thickness, or the resulting sandwich may have a tendency to bow from humidity changes. A minimum of three layers are needed for symmetry.
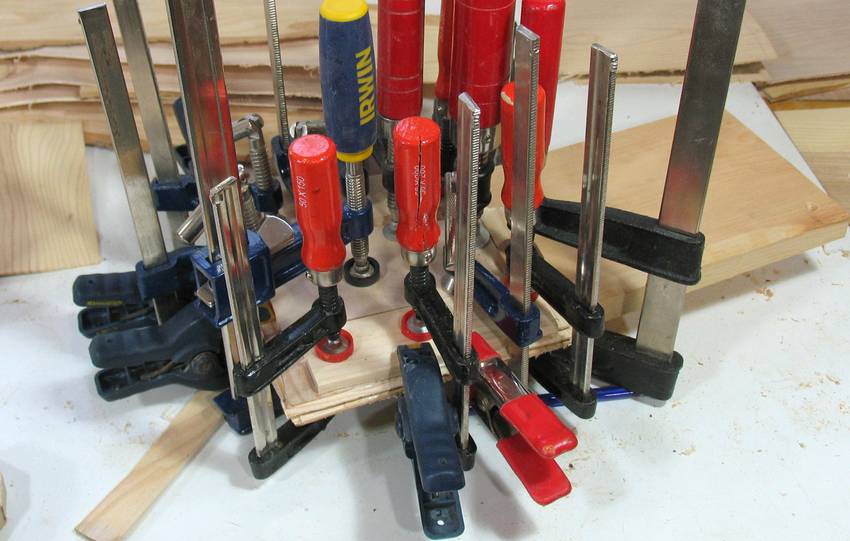 Gluing it up, with lots and lots of clamps.
I used Titebond 3 glue, which is supposed to be waterproof.
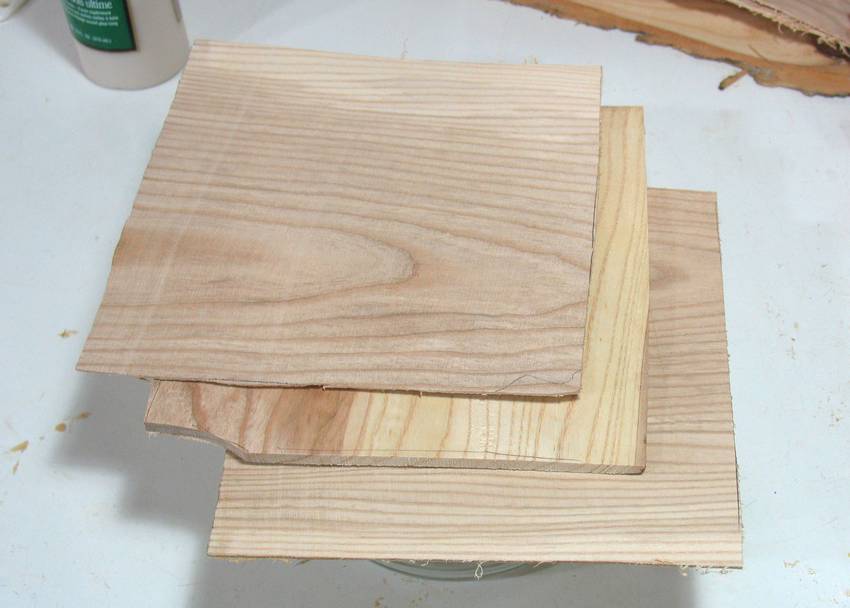
 A glued up sandwich. I used thicker layers for the middle layer. I have come
across and reused furniture panels with a middle layer about 15 mm thick,
and just one millimeter in the opposite
direction on either side, so I figured this arrangement should be ok too.
A glued up sandwich. I used thicker layers for the middle layer. I have come
across and reused furniture panels with a middle layer about 15 mm thick,
and just one millimeter in the opposite
direction on either side, so I figured this arrangement should be ok too.
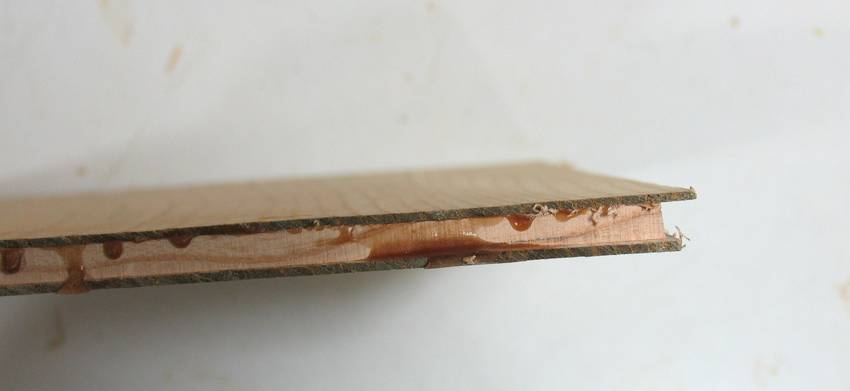
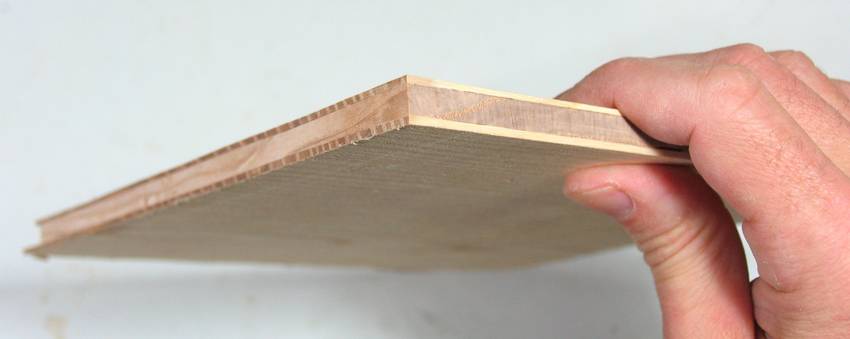 I cleaned up the edges of one of the pieces to be able to check
that I had good bonding all around.
I cleaned up the edges of one of the pieces to be able to check
that I had good bonding all around.
Cutting circles with the pantograph
 Now comes the fun part. I needed to cut a circular groove into the lids to
fit over the rim of the bowls.
I could have rigged up some sort of router circle jig, maybe even
like this one,
but considering that I
already have my 3D router pantograph, I figured
that would be the most fun to use.
Now comes the fun part. I needed to cut a circular groove into the lids to
fit over the rim of the bowls.
I could have rigged up some sort of router circle jig, maybe even
like this one,
but considering that I
already have my 3D router pantograph, I figured
that would be the most fun to use.
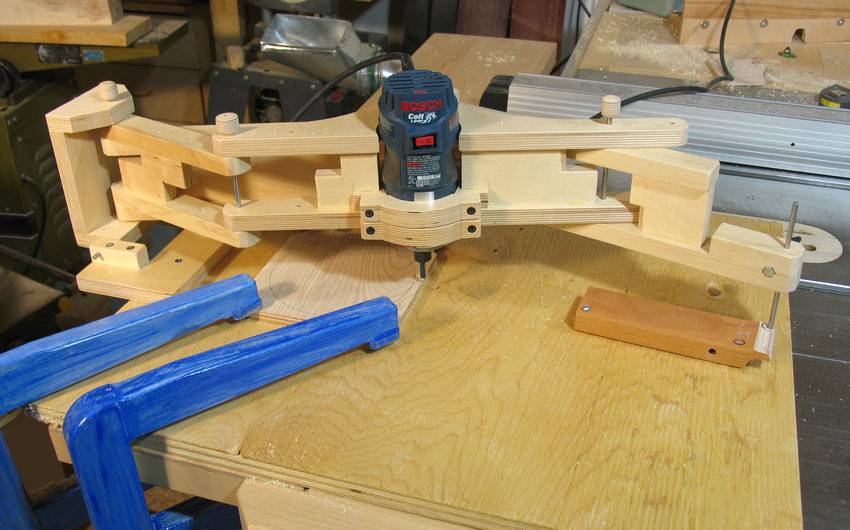
The pantograph will reproduce any shape traced by the stylus at half scale with the router. So I just need the stylus to trace a circle twice as big as the one I want to cut with the router.
 Tracing a circle with the stylus is just a matter of having a piece of wood rotate around
a pivot. I ran into a slight problem in that between full extension of the pantograph, and
the size of circle I needed to cut for the outside edge, my stylus circle overlapped
the workpiece just a bit. So my rotating arm has a relief cut on the bottom so it can
overhang the workpiece by a bit.
Tracing a circle with the stylus is just a matter of having a piece of wood rotate around
a pivot. I ran into a slight problem in that between full extension of the pantograph, and
the size of circle I needed to cut for the outside edge, my stylus circle overlapped
the workpiece just a bit. So my rotating arm has a relief cut on the bottom so it can
overhang the workpiece by a bit.
I used two of my long reach clamps to clamp the workpiece on one side. I didn't have enough room under the pantograph on the other side, so I held the workpiece down with some blocks screwed to the plywood base.
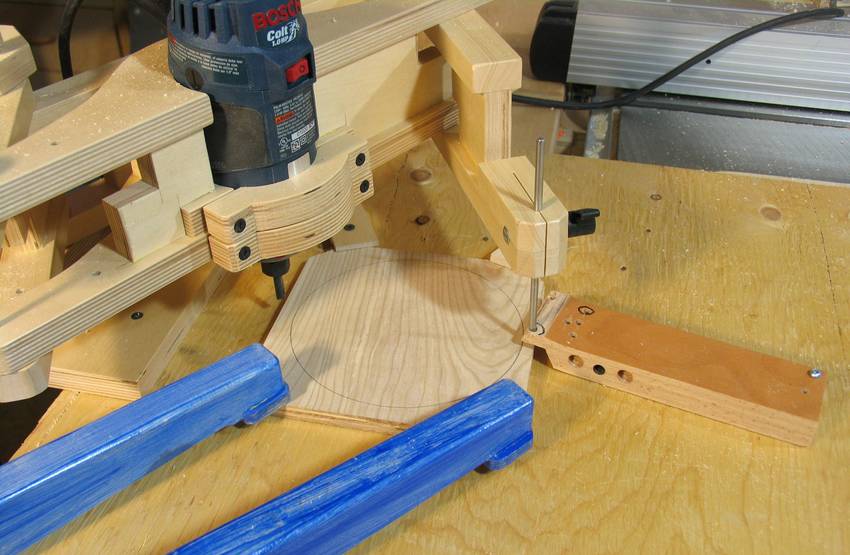
 First cutting the groove all the way around. I did this in several passes. I adjust
the depth of cut just by lowering the pantograph on the stylus end. This causes
a bit of tilt in the pantograph and router, but for this application,
that didn't matter much.
First cutting the groove all the way around. I did this in several passes. I adjust
the depth of cut just by lowering the pantograph on the stylus end. This causes
a bit of tilt in the pantograph and router, but for this application,
that didn't matter much.
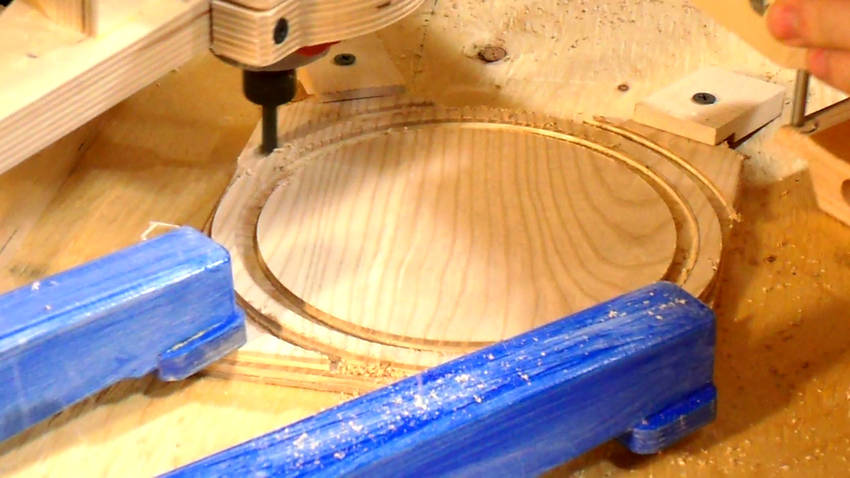 Next cutting a circle around the edge. I cut this one about two thirds of the way through.
Finishing up
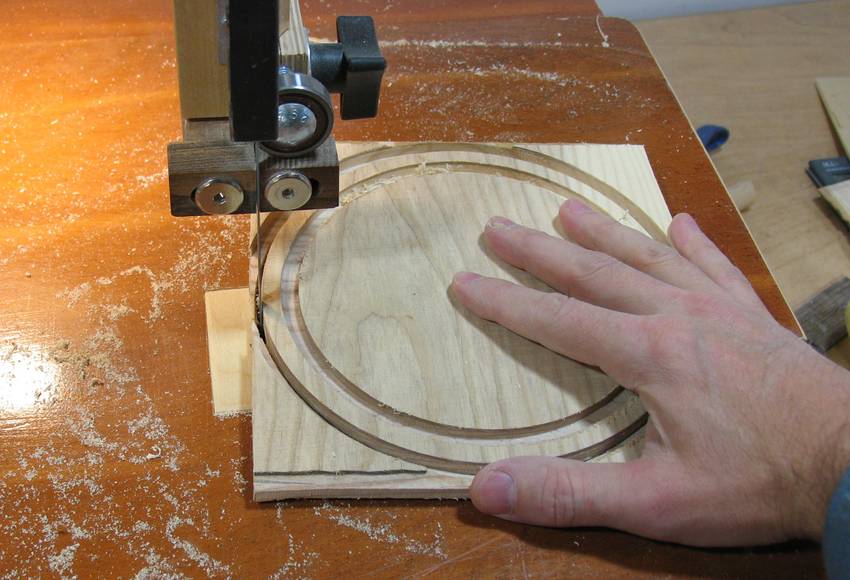 Then finish cutting it out on the bandsaw.
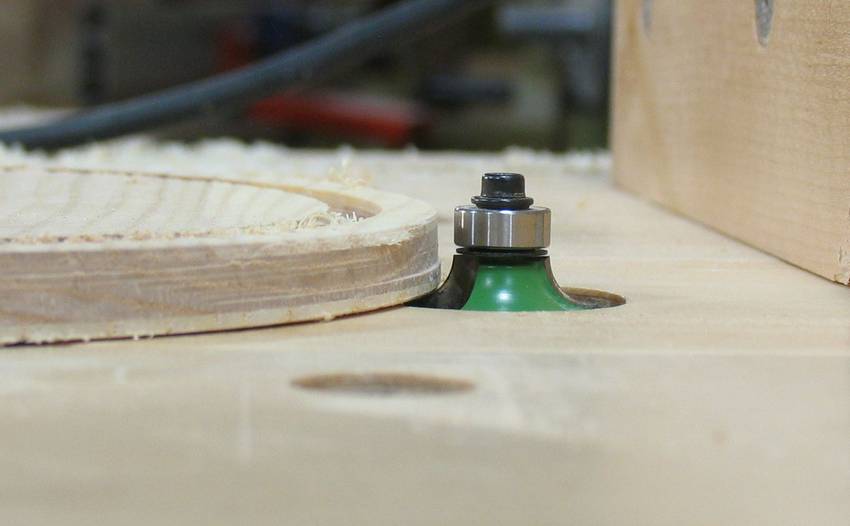 Now running the router's guide bearing against the routed edge to round off the corners
and clean up the bandsaw cut.
Now running the router's guide bearing against the routed edge to round off the corners
and clean up the bandsaw cut.
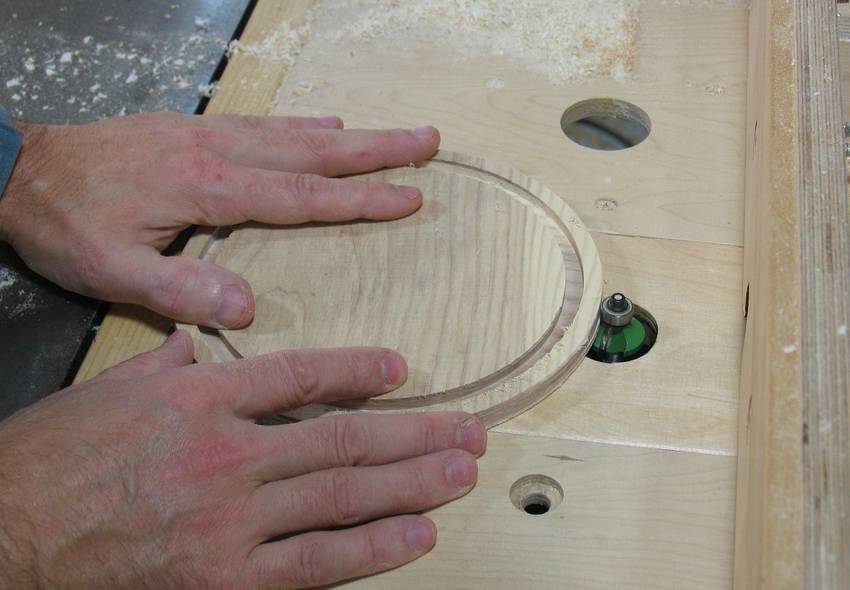
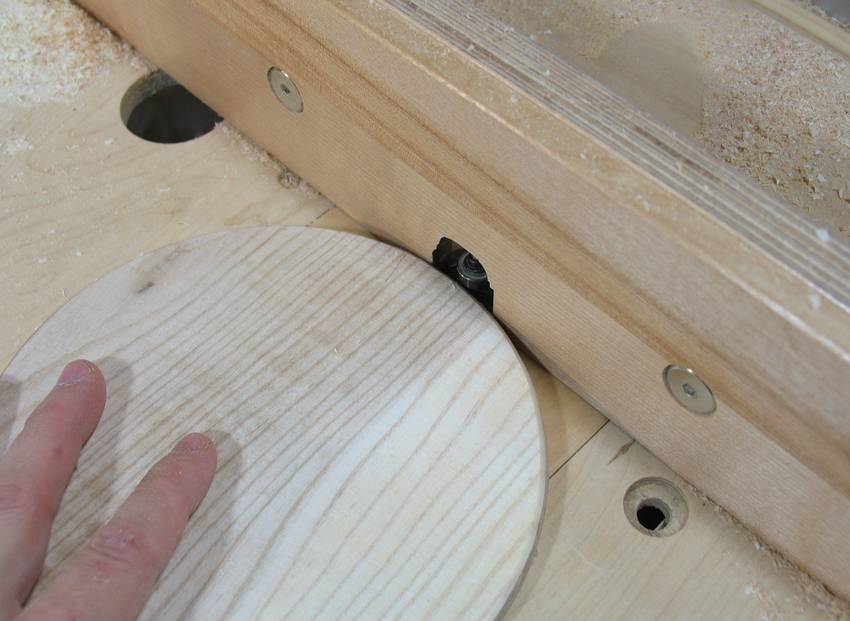 Some of the lids I made were not thick enough to have a flat edge for running
the guide bearing after rounding the first edge.
Moving the fence forward and bumping the lid up against the corners of it
did the trick though.
Some of the lids I made were not thick enough to have a flat edge for running
the guide bearing after rounding the first edge.
Moving the fence forward and bumping the lid up against the corners of it
did the trick though.
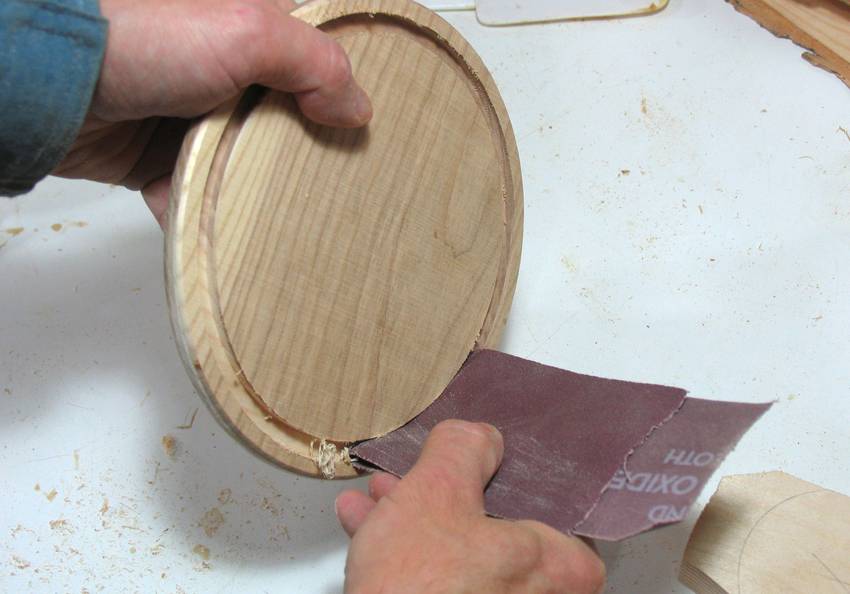 Sanding the groove edges...
 Finished edge of the lid.
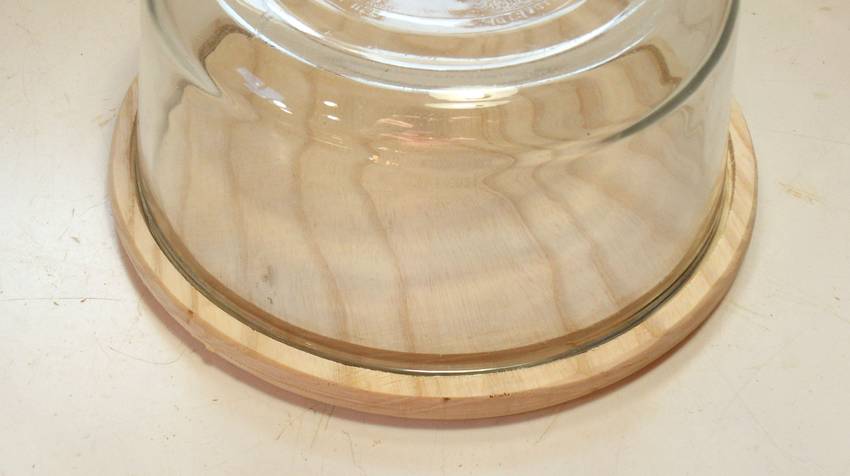 Makes for a nice fit!
It was fun to zip around that circular groove with the pantograph!
See also:
 Recessed drawer knobs
with the pantograph
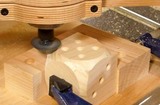 Making rounded dice
with the pantograph
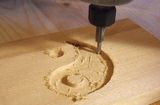 Template based inlay carving
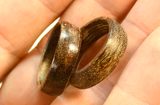 Making wooden rings
Back to the 3D router pantograph