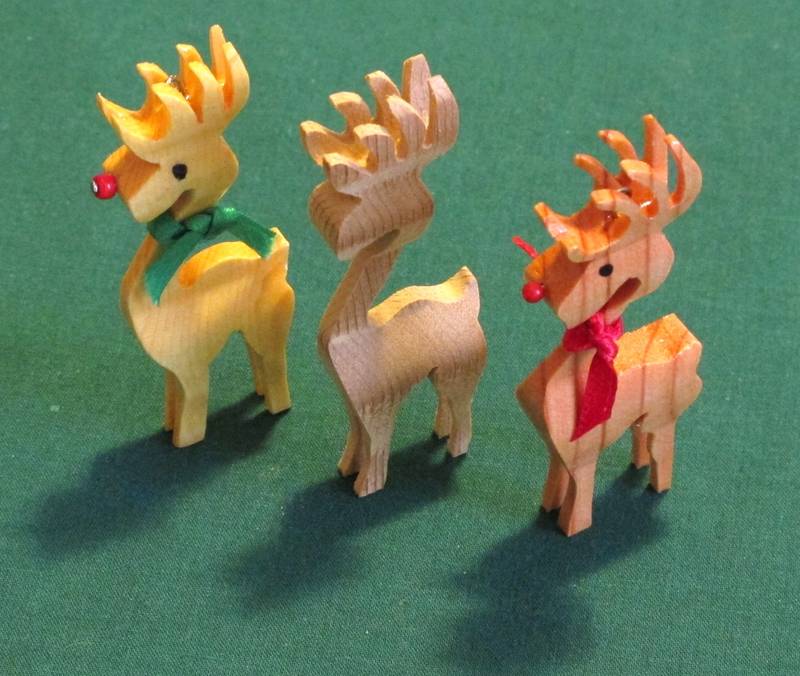
Ronald Walters sent me some pictures of neat little 3D reindeer ornaments
he carves out on the scrollsaw.
He also made a nice YouTube video demonstrating the process
|
I used Pine. Bass Wood cuts easier but it is expensive. The block sides must be square to
each other. Make sure your scroll saw blade is square with the table.
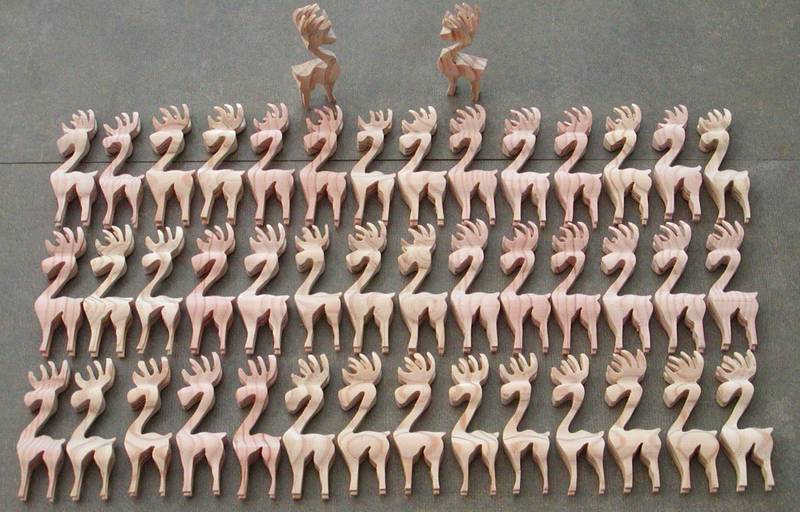
Scroll Saw Blade I used: POLAR FD-P No.5 (0.041 wide 0.015 thick 16.5 teeth per inch)
available from Flying Dutchman. One blade usually lasts 4 or 5 deer.
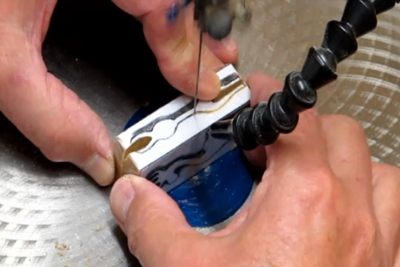
You can draw your own pattern using the photo as a reference. Glue the paper pattern
to the wood block and then wrap the block with two layers of packing tape. The packing
tape lubricates the blade resulting in longer blade life and easier cutting.
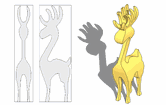
[Matthias] I used Ronald's pattern to make a Reindeer CAD model
and scrollsaw pattern, as well as my own larger reindeer on the bandsaw.
The deer will break if dropped onto a hard surface. Usually the legs or neck will
snap in the direction of the wood grain… so be careful!
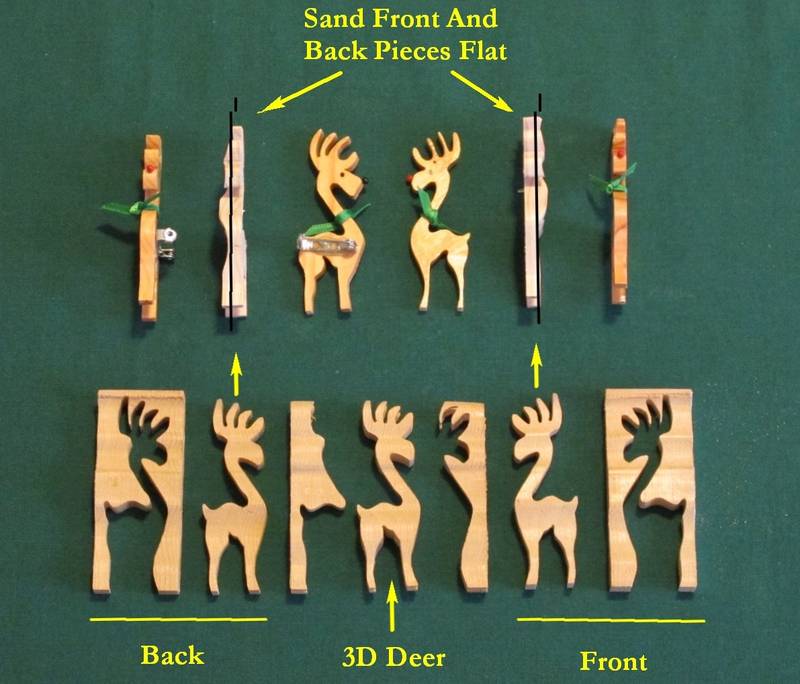
The front and back scrap pieces can be sanded flat on a disc sander resulting in
two additional ornaments. Drill a hole as shown so the ornament will hang straight
or attach a pin to make a brooch for the ladies.
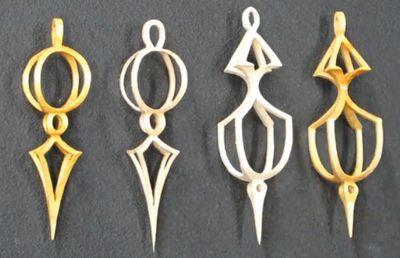
I applied two coats of varnish. The saw blade produces a fairly smooth surface but the first coat of varnish will raise the grain and light sanding will be necessary.
The nose can be a map pin or a glass bead with a straight pin. The eyes are just a dot made with a felt tip marker. Don't forget the metal loop inside the antlers so the ornament can be hung. I drilled a tiny hole with a Dremel Tool for the hanging loop and the nose. The hanging loop was installed with epoxy. The nose was glued with cyanoacrylate (super glue). The bow can be small ribbon or yarn.


|
Ron Walters also has a video on making 3D icicle ornaments on the scrollsaw on his YouTube channel |

 3D reindeer plans
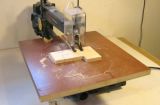 Using more of your
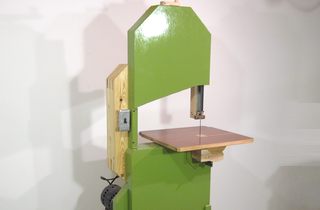 Homemade bandsaw
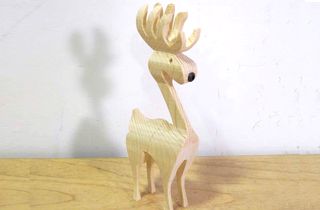 3D reindeer on the
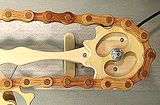 Wooden roller chain
 Using more of your scrollsaw blades
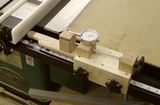 Table saw fence micro adjuster
 Thickness sander
 Marble machine