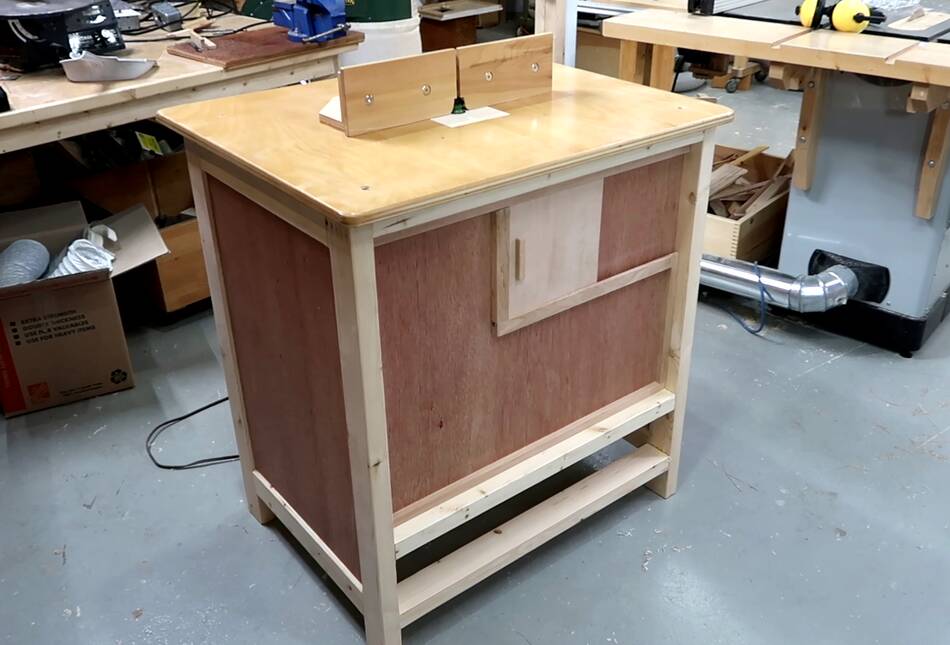
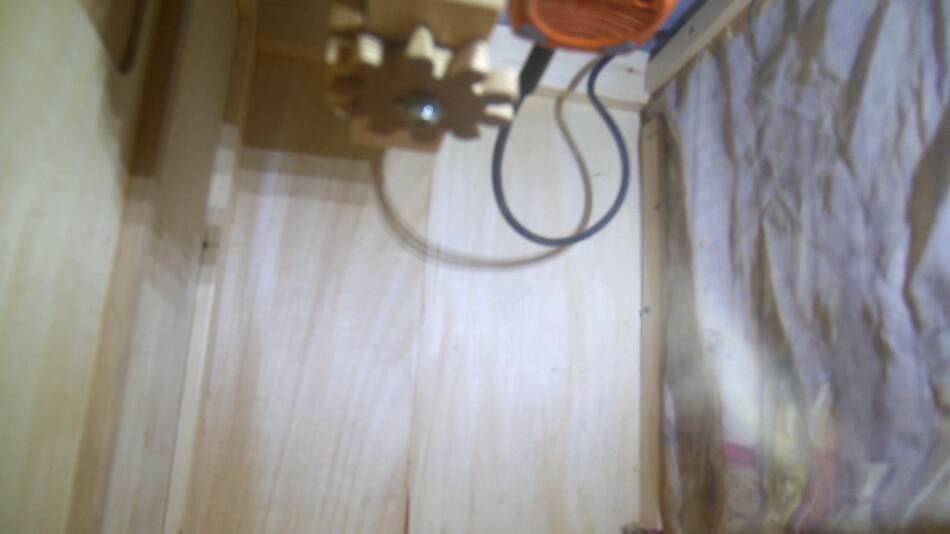
 By this point, the router table was finished enough that I could use it, but
there were still some finishing touches to be done.
By this point, the router table was finished enough that I could use it, but
there were still some finishing touches to be done.
By this point, the router table was finished enough that I could use it, but
there were still some finishing touches to be done.
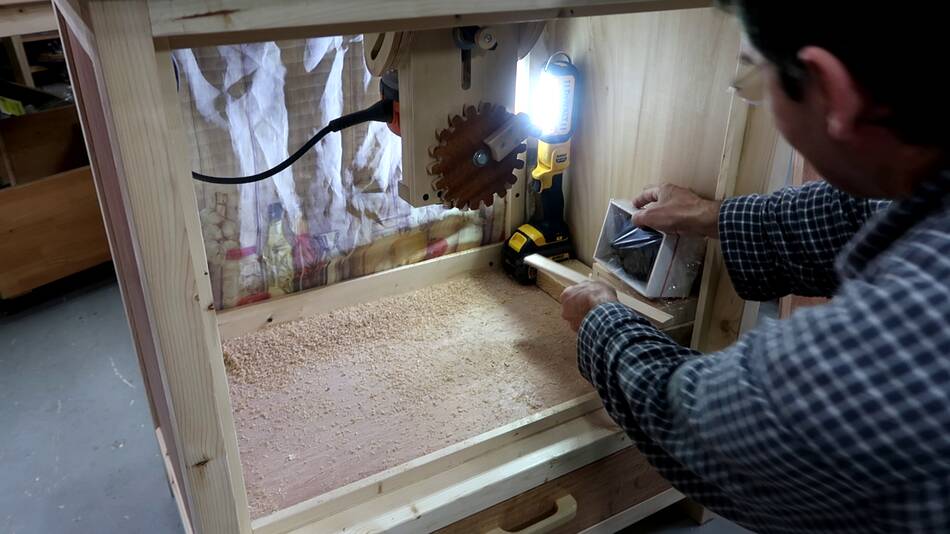
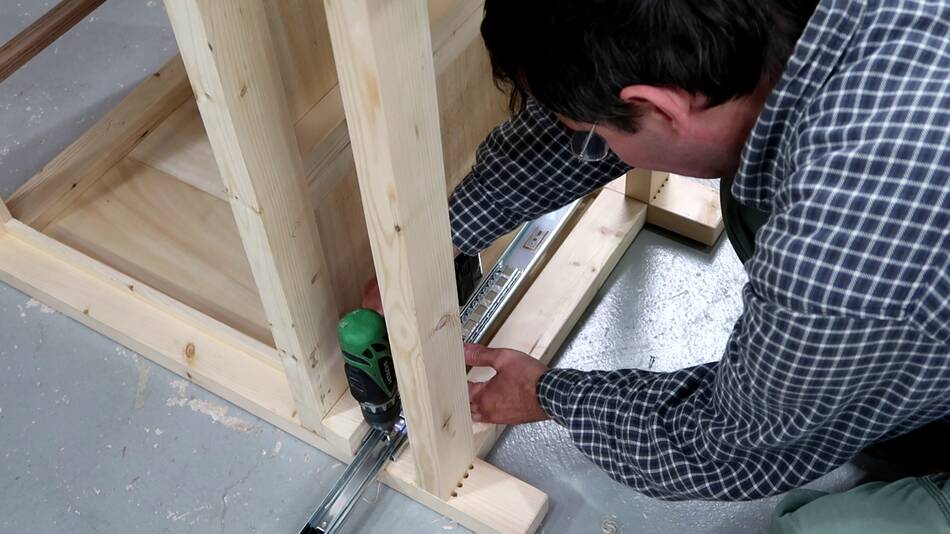 I put the cabinet on it's side while mounting the drawer slides.
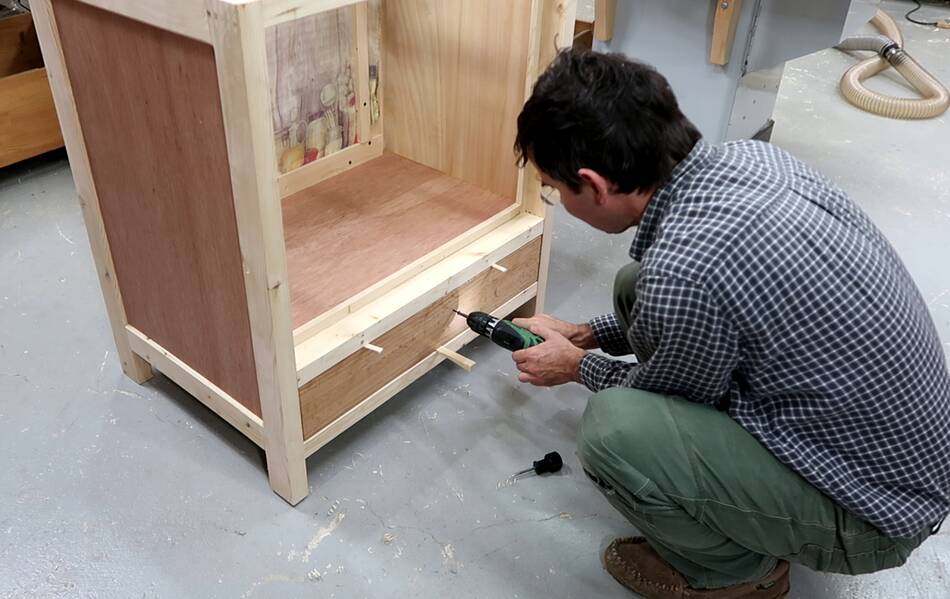
 With the drawer mounted, I placed the drawer front in front of it
and used spacers to position it just right.
I then screwed the front on through the mounting holes for
the drawer handles to fix that position in place.
With the drawer mounted, I placed the drawer front in front of it
and used spacers to position it just right.
I then screwed the front on through the mounting holes for
the drawer handles to fix that position in place.
After that I opened the drawer and clamped some blocks to the top corners to help get the drawer front in the exact same position later.

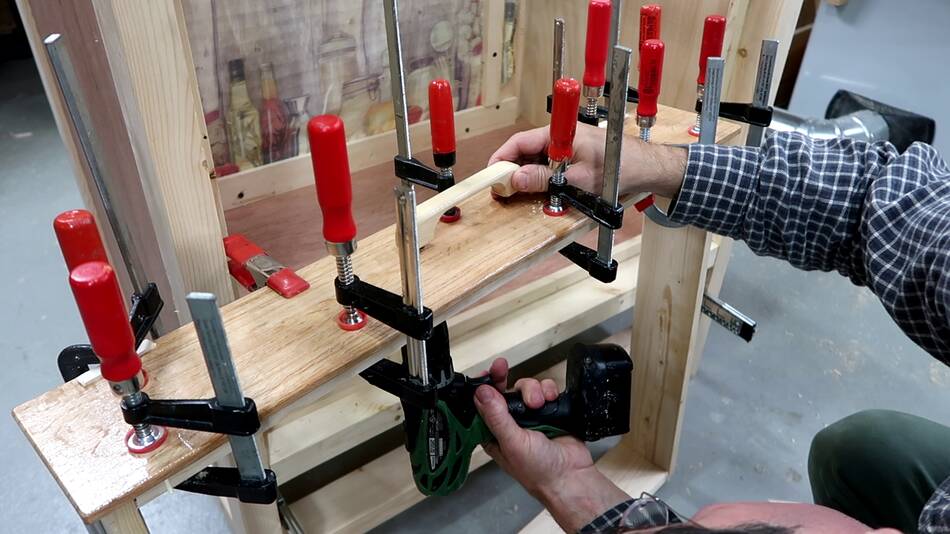
 Then unscrewing the front, applying glue, and putting it back on. The screws I
used earlier, plus the little blocks helped to repeat the previous mounting
position while I clamped it in place.
Then unscrewing the front, applying glue, and putting it back on. The screws I
used earlier, plus the little blocks helped to repeat the previous mounting
position while I clamped it in place.
 Once the front was securely clamped on, I drilled the mounting holes for the
handle all the way through and screwed the handle on from the inside.
Once the front was securely clamped on, I drilled the mounting holes for the
handle all the way through and screwed the handle on from the inside.
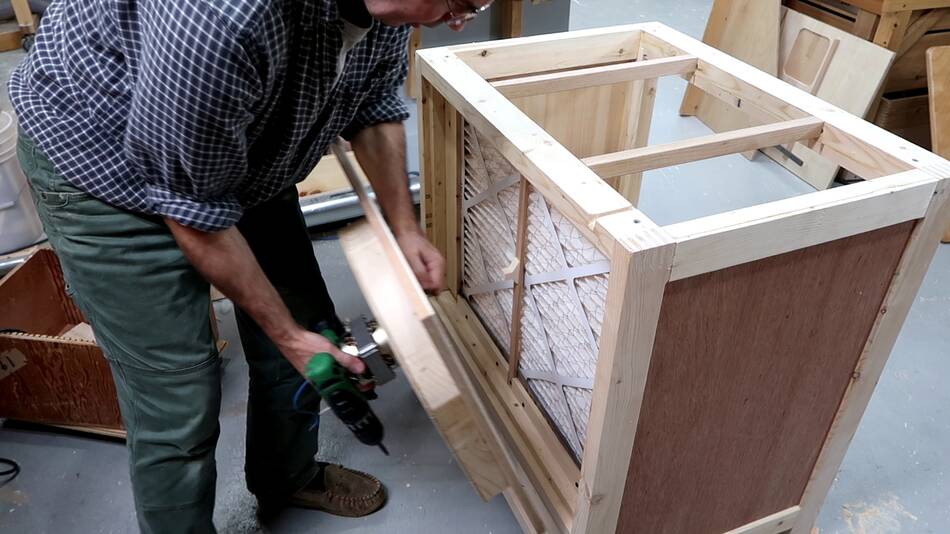
 After the glue dried, I finally nailed on the drawer bottom. I usually nail
the bottom on earlier in the process, but held off making the bottom until I knew
how it worked out with my remaining plywood. As it turned out, the piece was not
quite big enough, so I had to splice a piece on(you can see the two extra pieces
of plywood glued on to tie the last 3 cm of plywood that I had to splice on.
After the glue dried, I finally nailed on the drawer bottom. I usually nail
the bottom on earlier in the process, but held off making the bottom until I knew
how it worked out with my remaining plywood. As it turned out, the piece was not
quite big enough, so I had to splice a piece on(you can see the two extra pieces
of plywood glued on to tie the last 3 cm of plywood that I had to splice on.
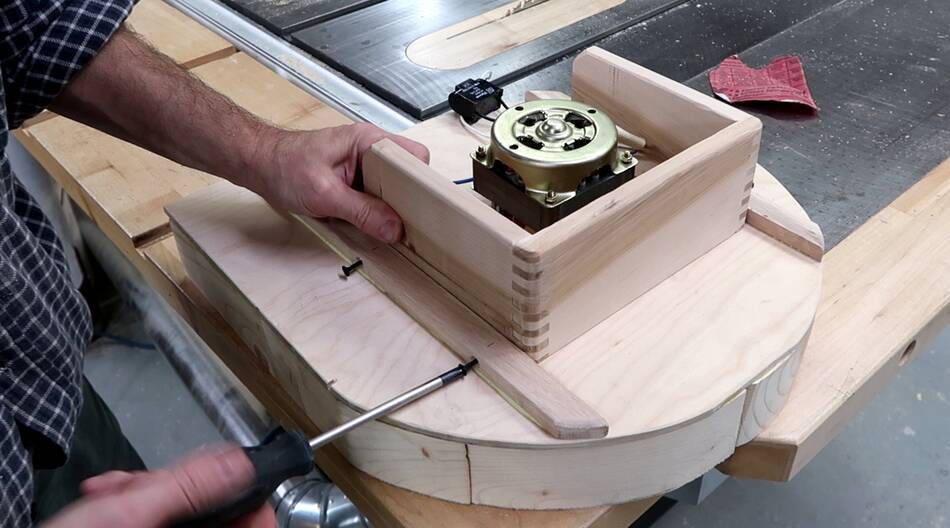
 I figured this twisted piece of maple would was just right (as in, not "too good")
for making the guard around the motor.
I figured this twisted piece of maple would was just right (as in, not "too good")
for making the guard around the motor.

 Once the pieces are cut to length and final width, the effect of the twist was
not as bad, and the pieces only took a small amount of jointing and planing to
make them completely flat.
Once the pieces are cut to length and final width, the effect of the twist was
not as bad, and the pieces only took a small amount of jointing and planing to
make them completely flat.
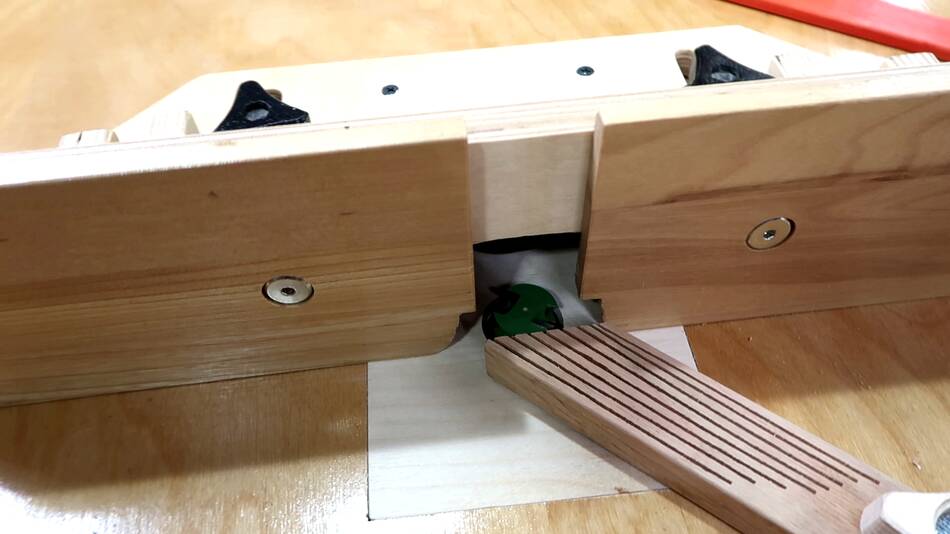
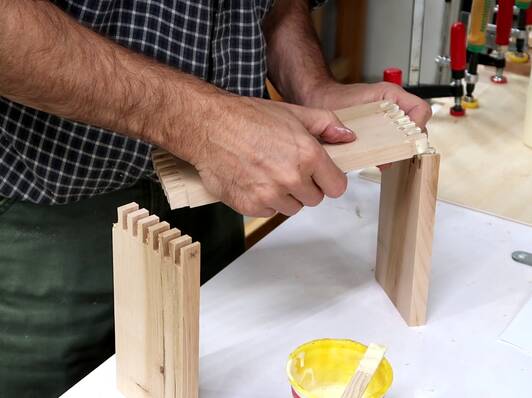 I joined the corners with box joints using my box joint jig.
Not that box joints were necessary, just that with the box joint jig already
set up, it was the most convenient way to join them. filmed cutting both
box joints and it took three minutes and 22 seconds.
I joined the corners with box joints using my box joint jig.
Not that box joints were necessary, just that with the box joint jig already
set up, it was the most convenient way to join them. filmed cutting both
box joints and it took three minutes and 22 seconds.
 Then removing the blower unit from the cabinet. I also wanted
to do some tweaking to the blower.
Then removing the blower unit from the cabinet. I also wanted
to do some tweaking to the blower.
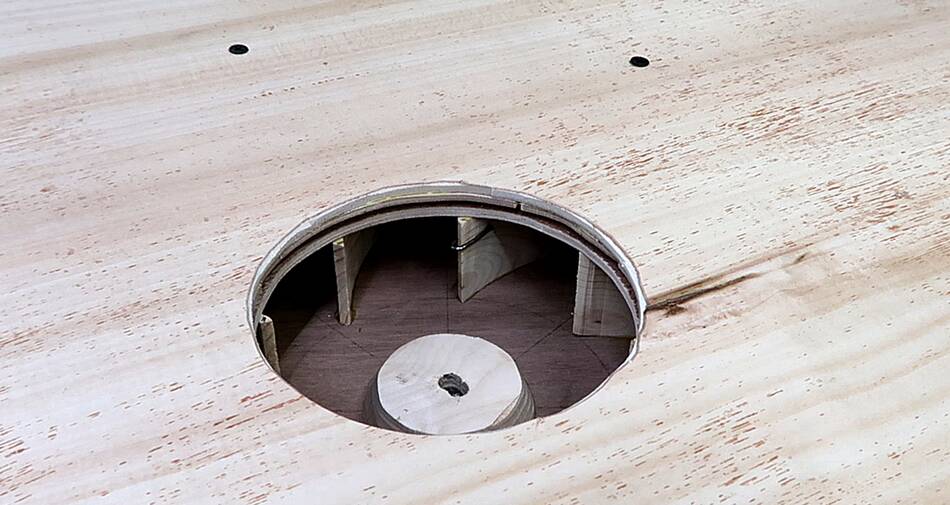 Looking in through the front of the blower (which is also the back of the cabinet)
you can see a thin layer of plywood I added so that hte gap between the
front of the impeller and the front cover is small. This prevents air from
the high pressure side from flowing back to the low pressure side.
Looking in through the front of the blower (which is also the back of the cabinet)
you can see a thin layer of plywood I added so that hte gap between the
front of the impeller and the front cover is small. This prevents air from
the high pressure side from flowing back to the low pressure side.
You can also see a nail clipped to one of the impeller blades for more balancing.
 But I wanted to tweak the balance some more.
I rested the blower impeller on some soft fabric, and made it push against a thin strip of wood, which amplified the vibrations of the housing to make it more visible. Though with the impeller spinning at about 28 turns per second, and the camera recording at 30 frames per second, video aliasing made the vibrations look like gently waving back and forth.
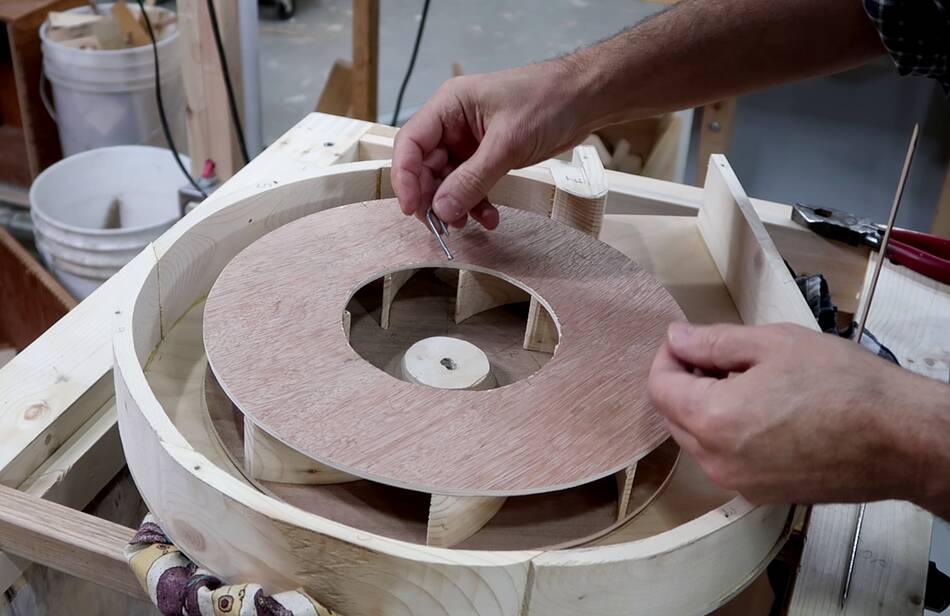 I numbered my impeller blades 1-8, and experimented with putting weights in
different positions, noting how much the whole thing vibrated each time.
Once I found the positions that seemed to give the least vibrations,
I bent the nails to a tighter U-shape so they would get stuck when I slid them
over the edge of the impeller blades.
I numbered my impeller blades 1-8, and experimented with putting weights in
different positions, noting how much the whole thing vibrated each time.
Once I found the positions that seemed to give the least vibrations,
I bent the nails to a tighter U-shape so they would get stuck when I slid them
over the edge of the impeller blades.
 I glued two strips of wood against the back of the housing so that I could
mount the guard without having to take the impeller off again. Those two
strips also help to reinforce the back of the housing.
I glued two strips of wood against the back of the housing so that I could
mount the guard without having to take the impeller off again. Those two
strips also help to reinforce the back of the housing.
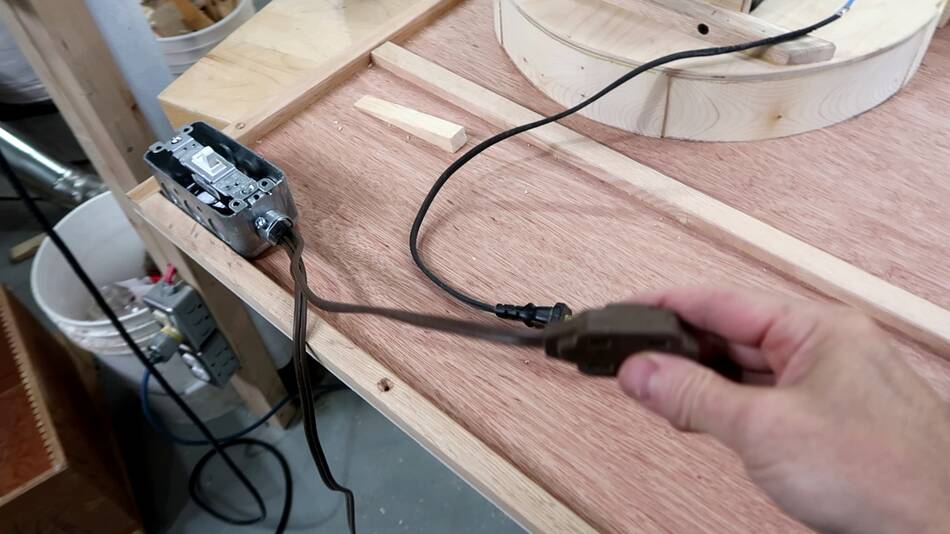
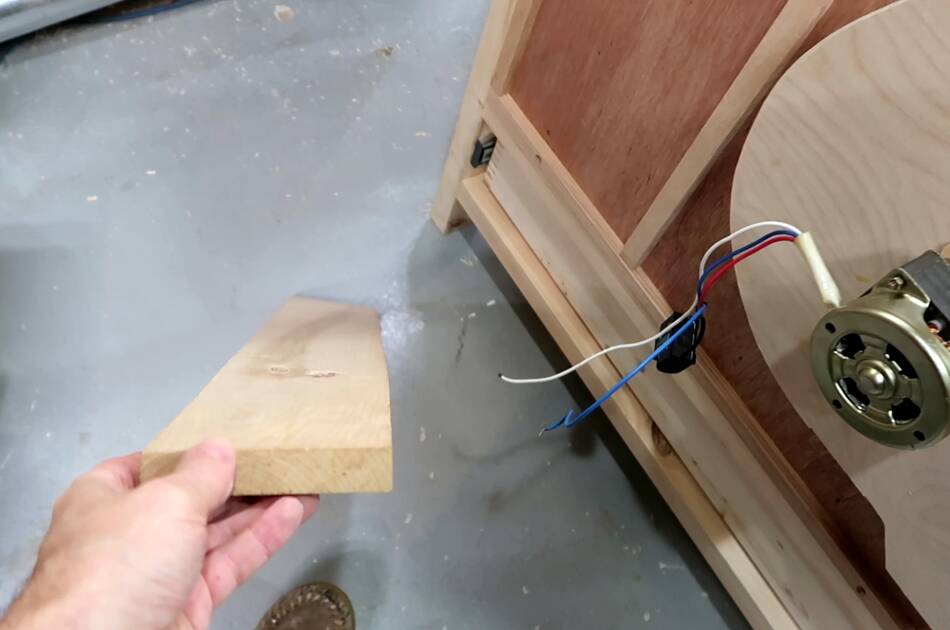
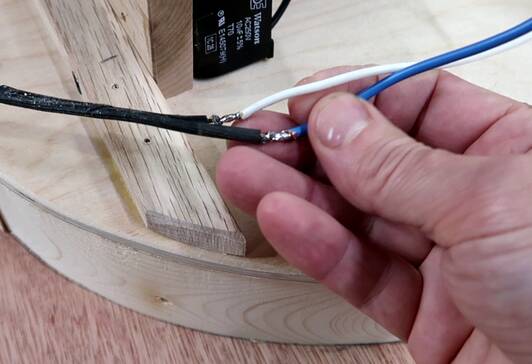 Then adding the electrical. The electrical simply consists of an extension cord
with the "hot" interrupted by a switch. I soldered a short power cord
to the leads of the motor to plug it in. I have gotten into the habit of always cutting
the two leads at different lengths, so that the soldered connections aren't right
next to each other and are less likely to short.
Then adding the electrical. The electrical simply consists of an extension cord
with the "hot" interrupted by a switch. I soldered a short power cord
to the leads of the motor to plug it in. I have gotten into the habit of always cutting
the two leads at different lengths, so that the soldered connections aren't right
next to each other and are less likely to short.
I could also have used this approach, or just used a power bar.
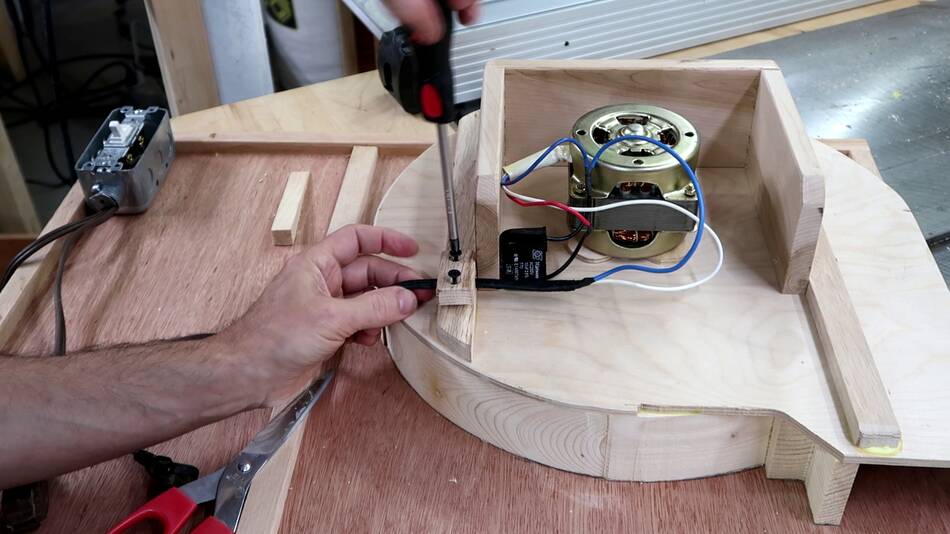 Mounting the cord into a strain relief.
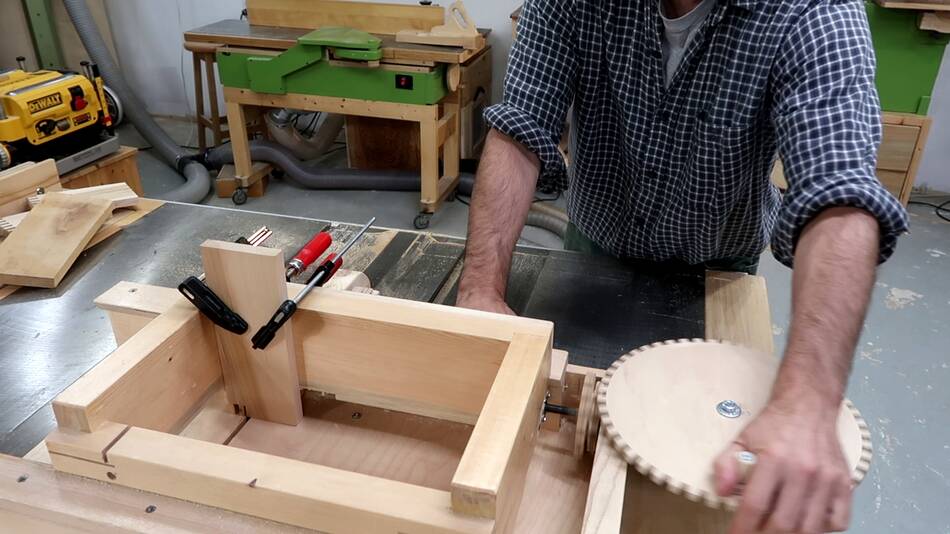
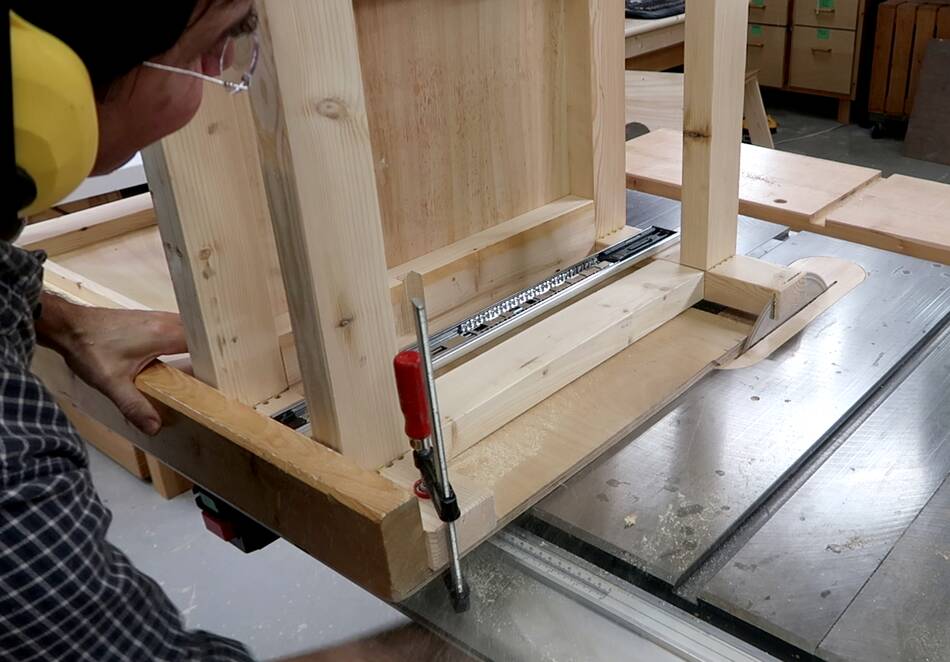 I found it annoying how the router table often rocks back and forth a bit
on the floor. I checked that it's square by placing the cabinet on the
table saw, and, indeed, one of the legs should be shortened by 1 mm.
But I also realized I made the router table about 6 mm too tall, so I
marked 6 mm up while it stood on the table saw, then shortened all the
legs by that much.
I found it annoying how the router table often rocks back and forth a bit
on the floor. I checked that it's square by placing the cabinet on the
table saw, and, indeed, one of the legs should be shortened by 1 mm.
But I also realized I made the router table about 6 mm too tall, so I
marked 6 mm up while it stood on the table saw, then shortened all the
legs by that much.
After that, it rocked worse than before, so further tweaking was necessary.
But the cabinet rocked by much more than that in many positions while on the floor, so I guess it's mostly that the concrete floor isn't that flat.
 Then adding a bevel to the edges of the bottom of the legs. Without such a bevel,
the wood often chips out or tears out if it is dragged across the floor.
Then adding a bevel to the edges of the bottom of the legs. Without such a bevel,
the wood often chips out or tears out if it is dragged across the floor.
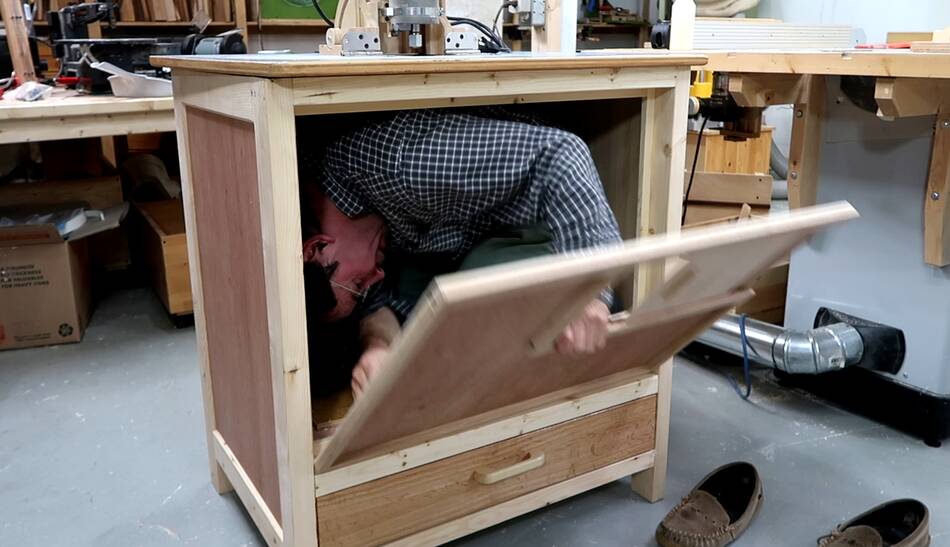 From this test I knew that the cabinet
let in quite a bit of air. I wanted to feel where the air was blowing in, so
with the blower running, I squeezed into the dust compartment, closed the front
and closed the small access door, then felt around to where air was
blowing in.
From this test I knew that the cabinet
let in quite a bit of air. I wanted to feel where the air was blowing in, so
with the blower running, I squeezed into the dust compartment, closed the front
and closed the small access door, then felt around to where air was
blowing in.
Most of the air blowing in was between the top and the cabinet. The top is only screwed down in the corners, so it's not surprising that there is a slight gap in a few places. I'm not sure if it's worth doing anything about it.
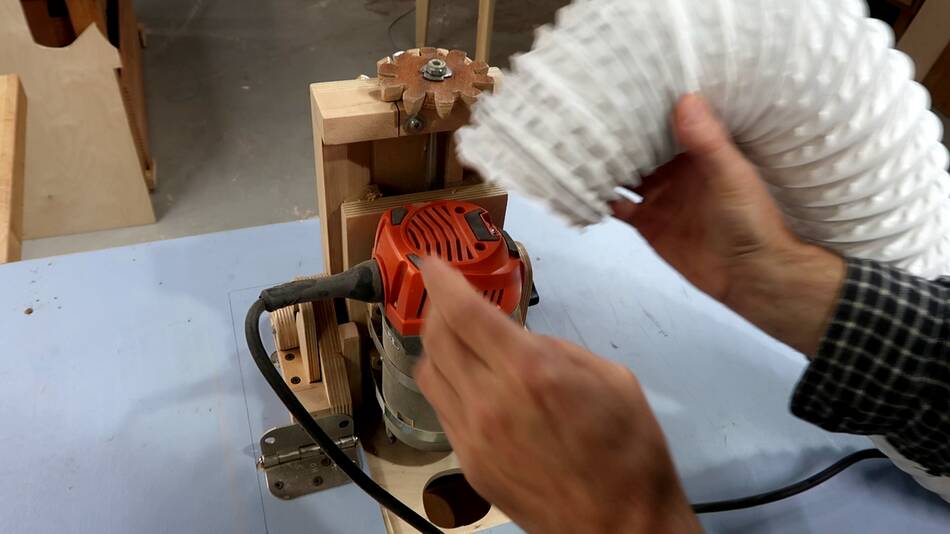
 Next I wanted to see to what extent dust was swirling around inside while routing.
So I put a camera inside a box, with the front covered with plastic foil
so I could film the inside without getting my camera all dusty.
Next I wanted to see to what extent dust was swirling around inside while routing.
So I put a camera inside a box, with the front covered with plastic foil
so I could film the inside without getting my camera all dusty.
 Then, to make chips, I made some more dowels with a half round router bit,
this time 3/8" dowels.
Then, to make chips, I made some more dowels with a half round router bit,
this time 3/8" dowels.
 The shavings mostly just fell down, it wasn't too windy inside the cabinet.
At any rate, much less windy inside than
this one. But the airflow
into this cabinet was also much less.
The shavings mostly just fell down, it wasn't too windy inside the cabinet.
At any rate, much less windy inside than
this one. But the airflow
into this cabinet was also much less.
 I repeated the test with the router fence opened all the way, and it was windier
inside this time, but still no dust swirling around.
I repeated the test with the router fence opened all the way, and it was windier
inside this time, but still no dust swirling around.
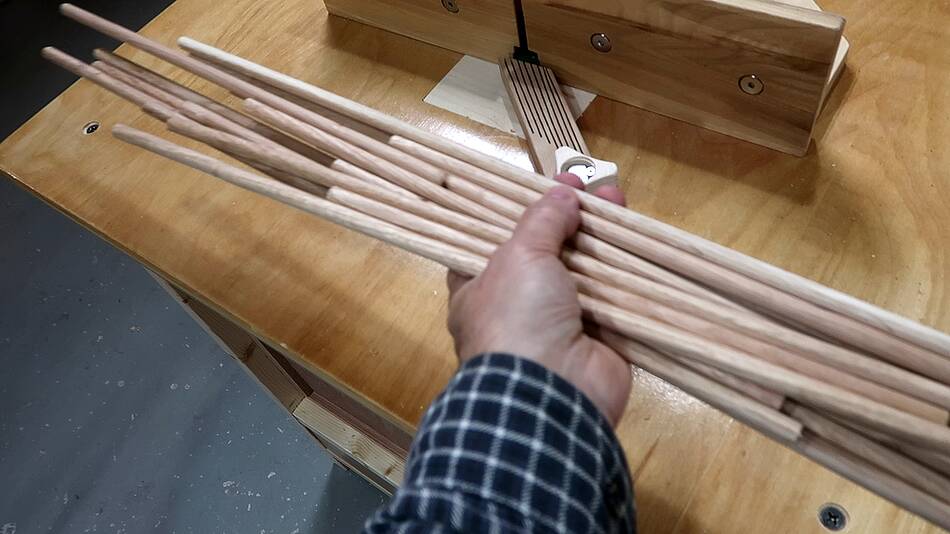 I made this many dowels.
 And the shavings in the cabinet didn't look like it had been blown around much.
 But the suggestion I have gotten the most in YouTube comments is to add some hose
to the bottom of the router so it can pull in clean air from outside the enclosure
instead of dusty air inside.
But the suggestion I have gotten the most in YouTube comments is to add some hose
to the bottom of the router so it can pull in clean air from outside the enclosure
instead of dusty air inside.
But that would be quite tricky, especially because the router also has air inlets on the side, and the speed control is on the back of the router.
Looking at my other routers, it wouldn't be any easier with those either. But fortunately, it doesn't look like this is necessary.
Of course, it's better to suck away the chips right at the top of the router, like I did when I made lots of baseboards, or curved trim, but with a tilting router lift, that requires a different configuration depending on the setup. Having the whole router in the dust enclosure is much more flexible, but it does put the router in the dust.
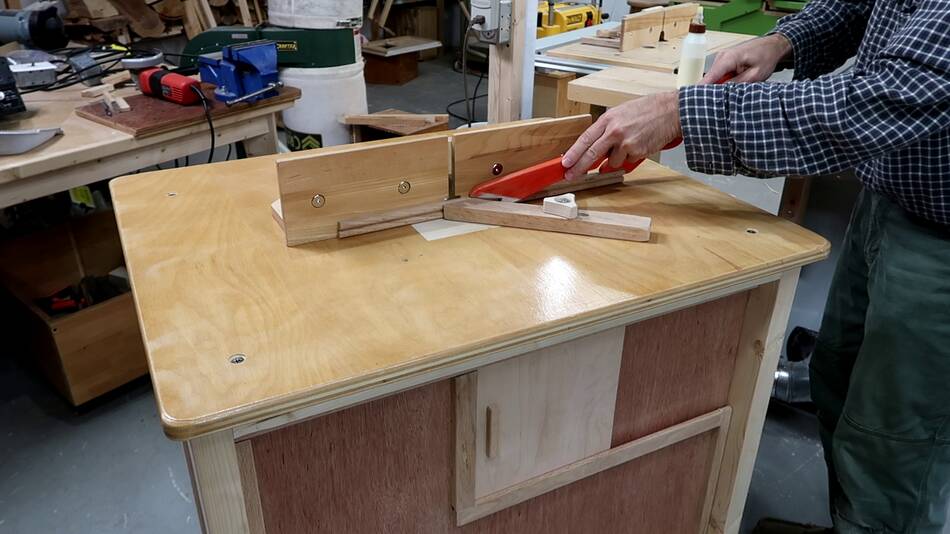
 After that I put two coats of water based varnish on everything.

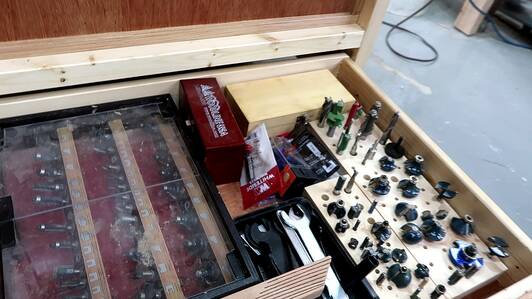 And here it is all done. The drawer on the bottom holds
most of my router bits and accessories.
And here it is all done. The drawer on the bottom holds
most of my router bits and accessories.
Back to my woodworking website
 Workbench with lots of drawers
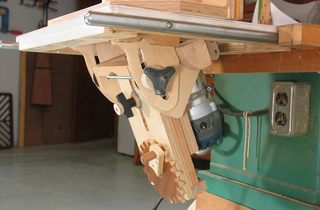 Tilting router lift
 Building the blower for this router table
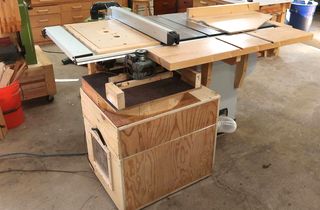 Building a dust collector
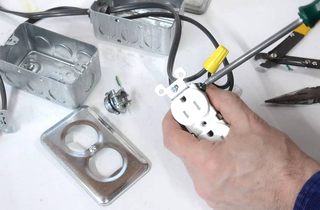 Making a simple remote switch