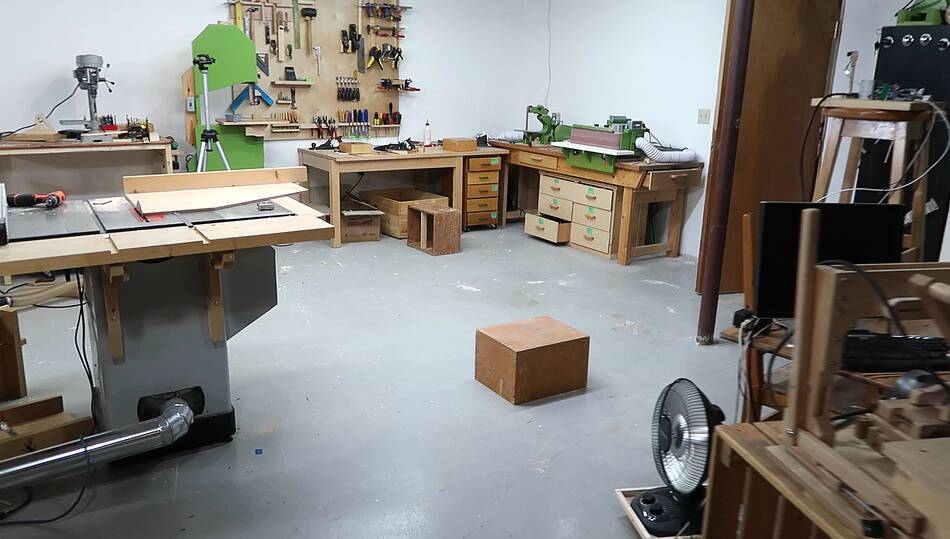
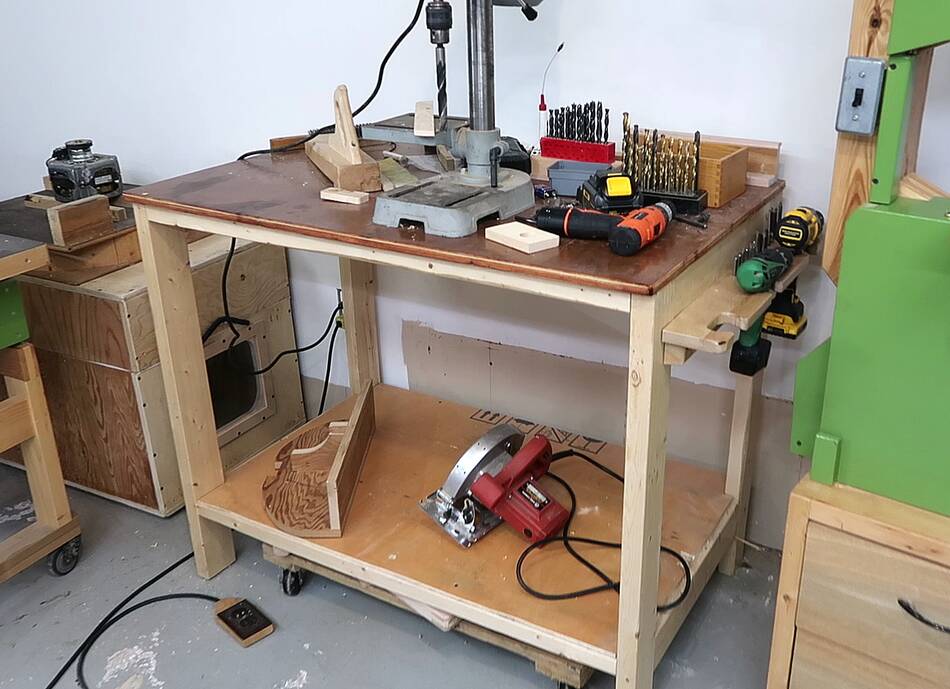
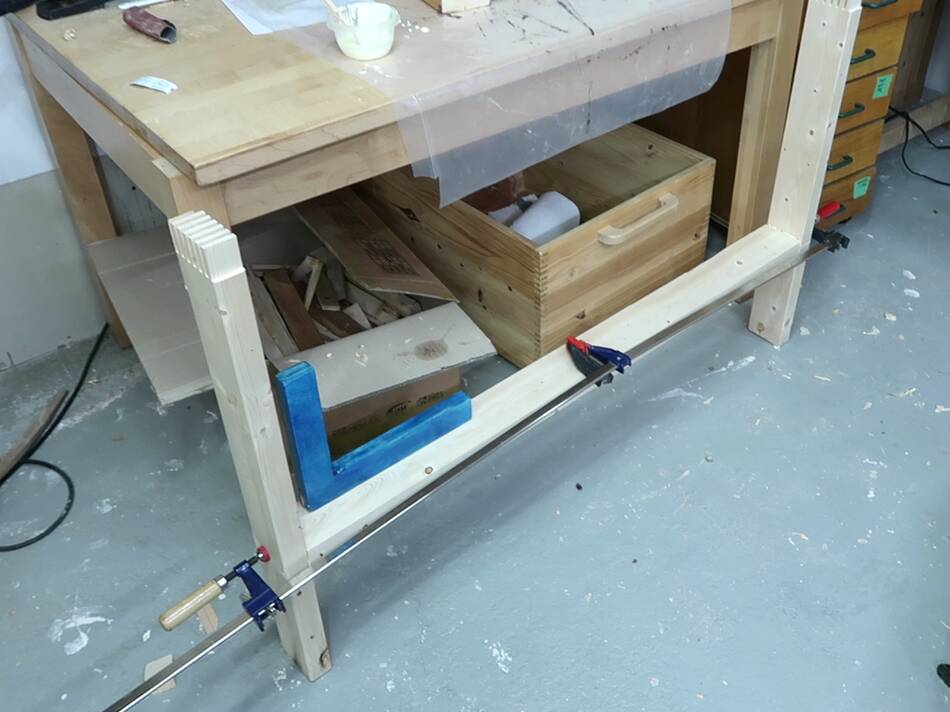
 I wanted a workbench for assembling things on, to go where the wooden box is in this picture.
I wanted a workbench for assembling things on, to go where the wooden box is in this picture.
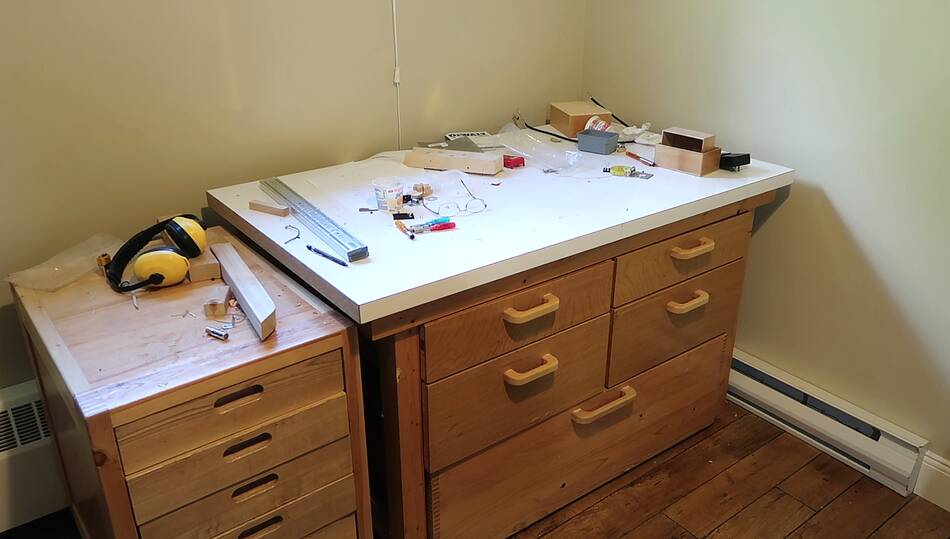 But thinking about it, this workbench I have in the smaller
room doesn't really fit that well in the space,
but it would be perfect for the big room. So the thing to do is to move
this one to the big room and make a new workbench to go here.
But thinking about it, this workbench I have in the smaller
room doesn't really fit that well in the space,
but it would be perfect for the big room. So the thing to do is to move
this one to the big room and make a new workbench to go here.
 I worked out the dimensions I wanted this to be in CAD. The workbench has to fit an
existing rolling drawer on the bottom, the top will be a solid core door slab, and
it will have drawers in it.
I worked out the dimensions I wanted this to be in CAD. The workbench has to fit an
existing rolling drawer on the bottom, the top will be a solid core door slab, and
it will have drawers in it.
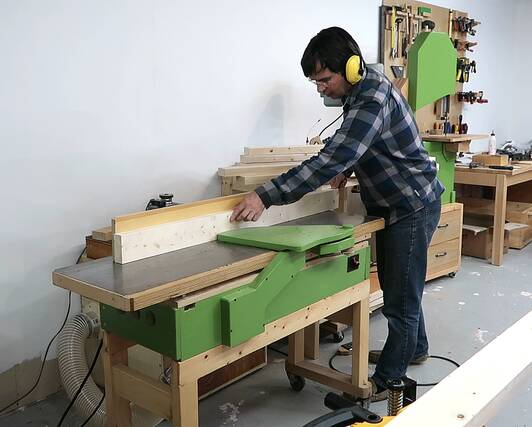
 I started by cutting lots of pieces of 2x4 to length, then face jointed
them on the wide side.
I started by cutting lots of pieces of 2x4 to length, then face jointed
them on the wide side.
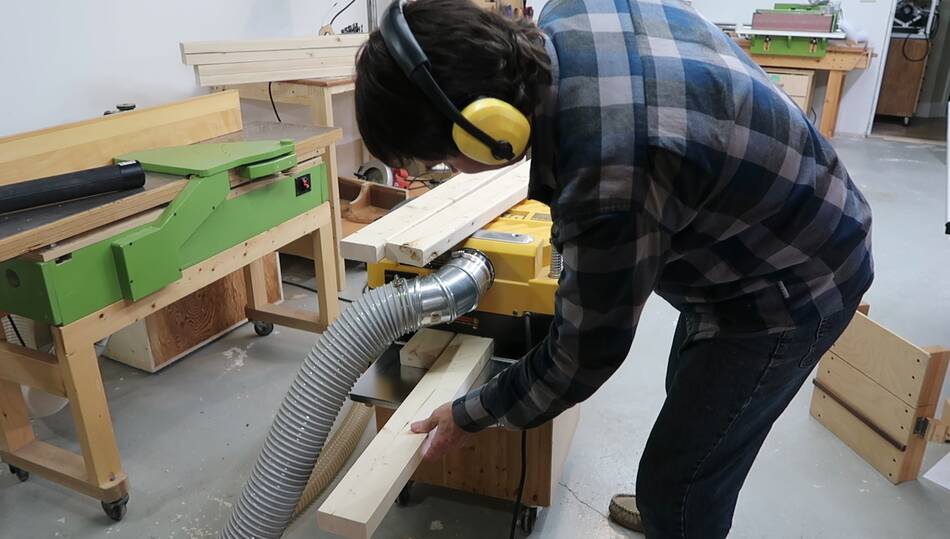 Then thickness planing them. I took about 1 mm off each side to get a smoother
surface and plane away any lettering.
Then thickness planing them. I took about 1 mm off each side to get a smoother
surface and plane away any lettering.
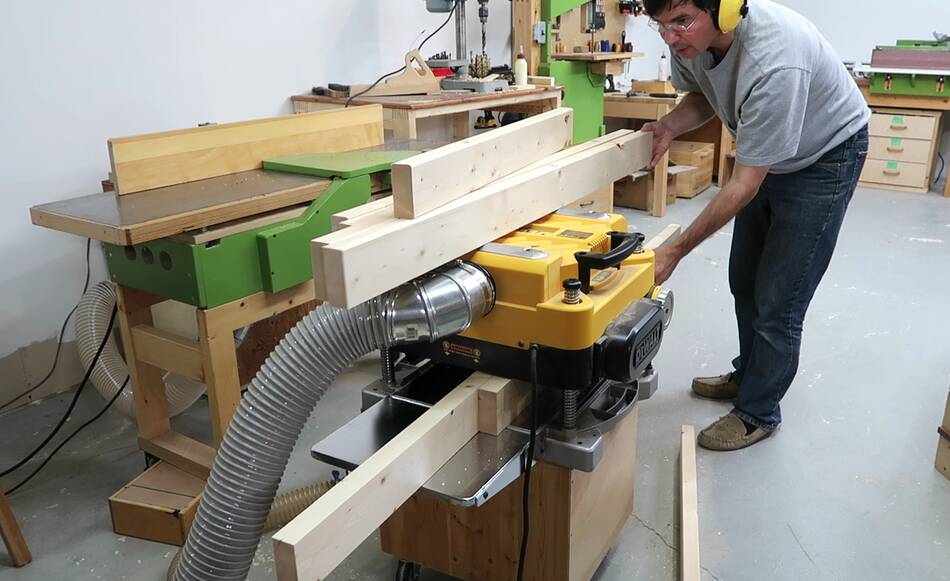
 I then edge jointed them and ran them through the planer again to get the other
side smooth and parallel.
I then edge jointed them and ran them through the planer again to get the other
side smooth and parallel.
All this planing is because the 2x4's aren't entirely flat, straight, smooth or accurate, and this way I get smoot pieces with consistent dimensions.
 The joinery on this workbench will be similar to what I did for my
dolly movable workbench.
The joinery on this workbench will be similar to what I did for my
dolly movable workbench.
The advantage of this type of construction is that it leaves a maximum sized opening for drawers on the front but it's still very stiff side-to-side.
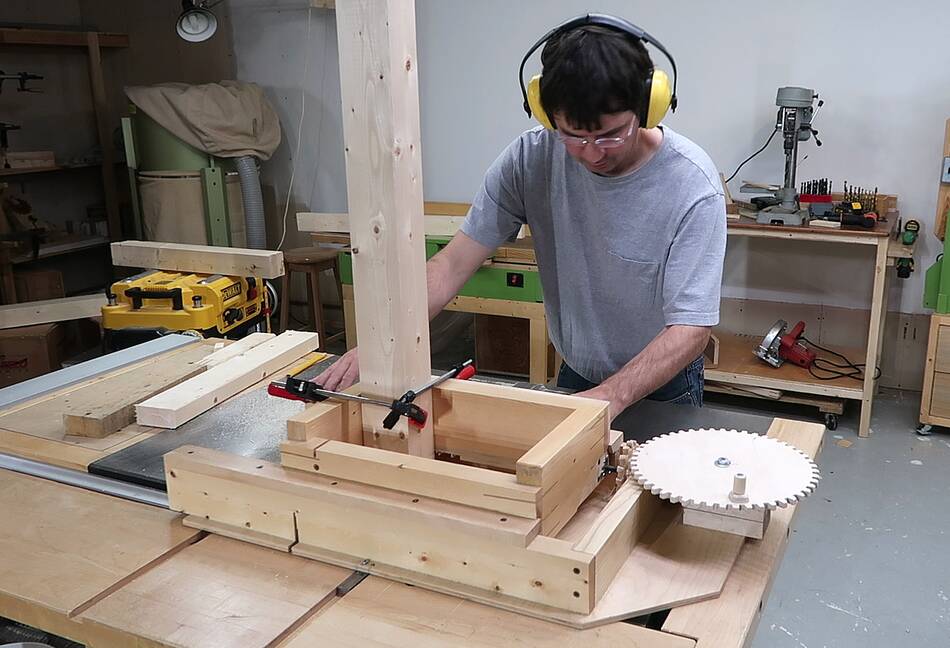 The top corners are joined with 1/4" box joints using my
screw advance box joint jig. This makes for very stiff and sturdy corners.
The top corners are joined with 1/4" box joints using my
screw advance box joint jig. This makes for very stiff and sturdy corners.
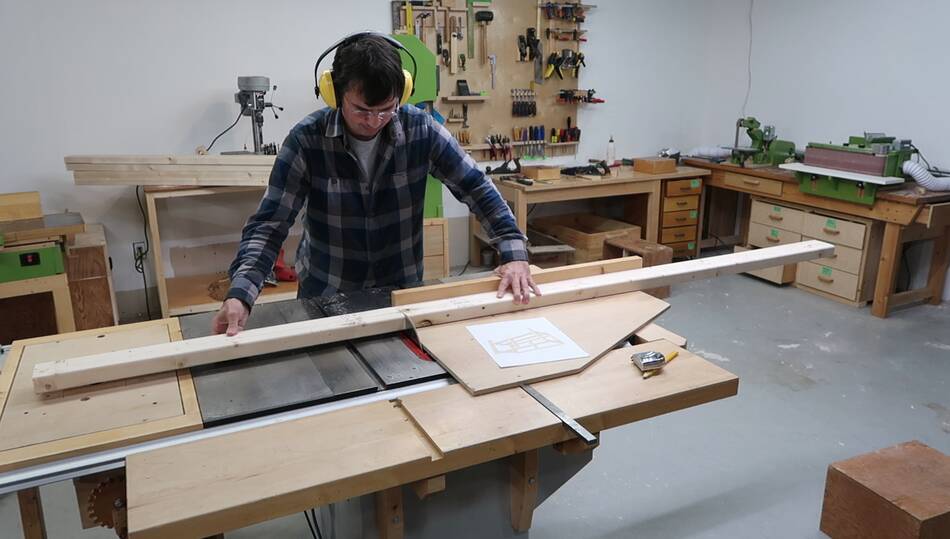
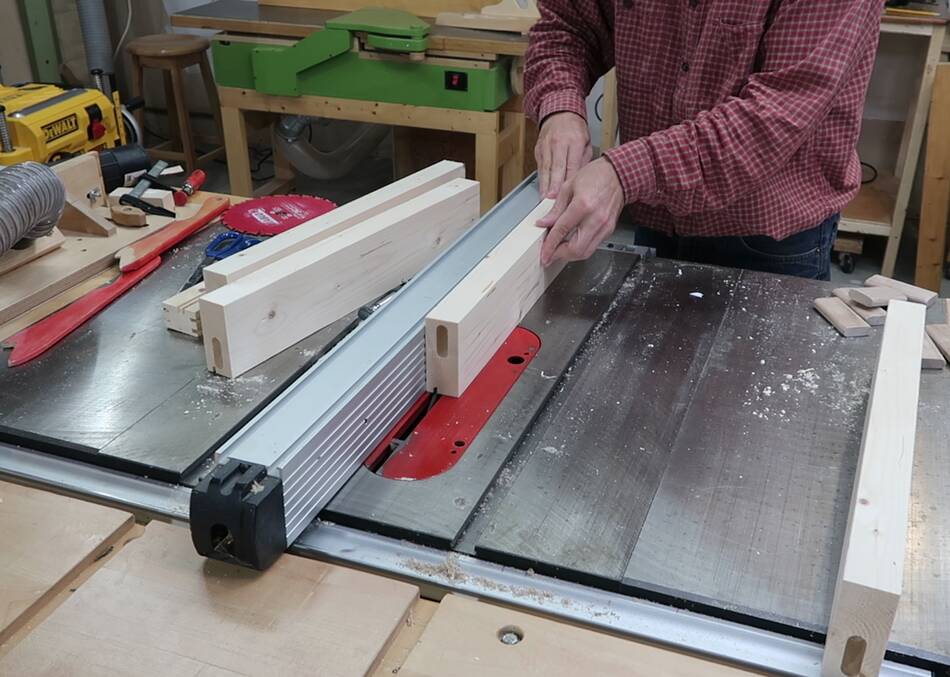
 I still had lots of room above the table saw wile cutting the box joints.
In my old basement workshop these pieces would
have been 10 cm too long to fit. But in my
big garage workshop I had over three meters (10') of headroom above the table saw.
I still had lots of room above the table saw wile cutting the box joints.
In my old basement workshop these pieces would
have been 10 cm too long to fit. But in my
big garage workshop I had over three meters (10') of headroom above the table saw.
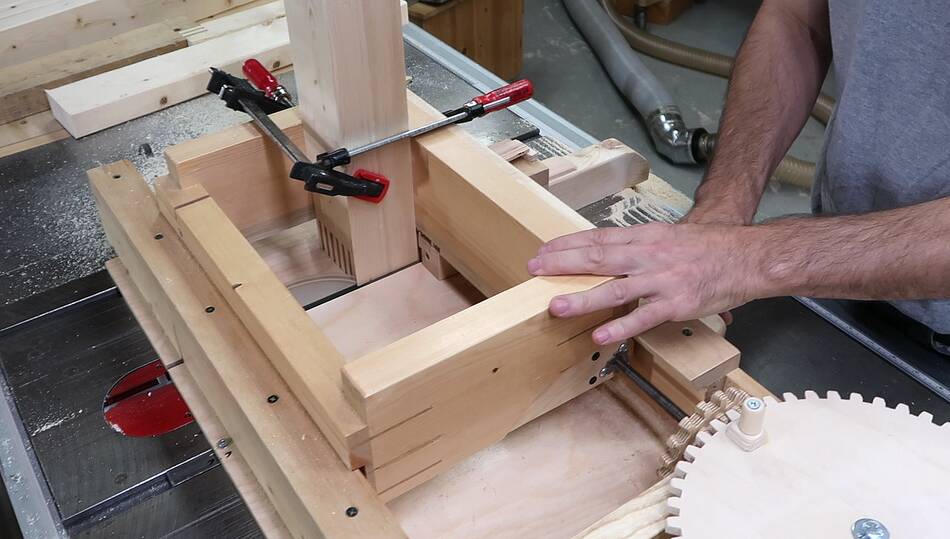 Though the jig could take up to four 2x4s at a time, I only cut two at a time
because I only had two workpieces with identical joints. The joint on the
other end of the workpieces was the same, but I couldn't clamp both ends of the 2x4
facing down into the jig at the same time!
Though the jig could take up to four 2x4s at a time, I only cut two at a time
because I only had two workpieces with identical joints. The joint on the
other end of the workpieces was the same, but I couldn't clamp both ends of the 2x4
facing down into the jig at the same time!
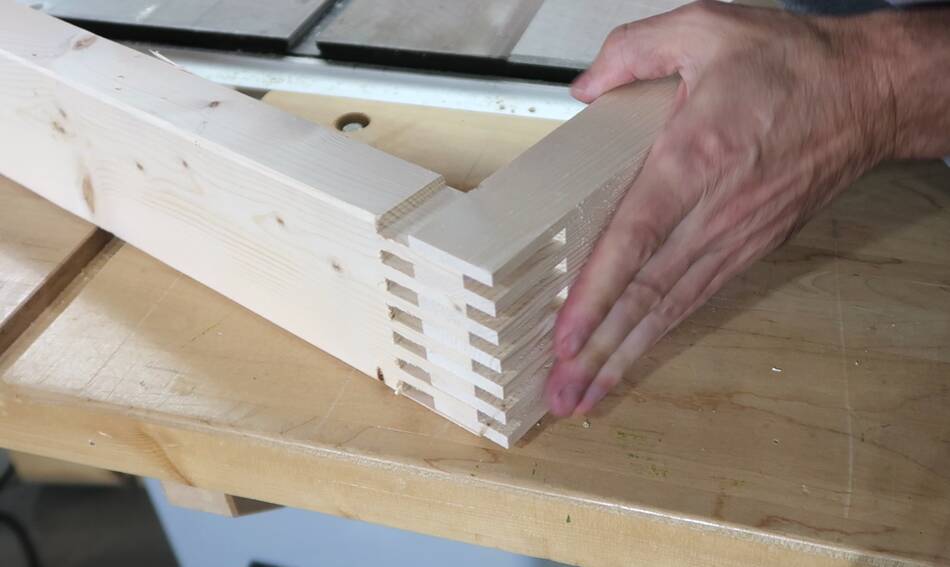 The other half of the joint is offset by 1/4", so that the pieces align when joined.
The offsetting by 1/4" is as easy as turning the crank by one turn before starting.
The other half of the joint is offset by 1/4", so that the pieces align when joined.
The offsetting by 1/4" is as easy as turning the crank by one turn before starting.
More on cutting joints like this
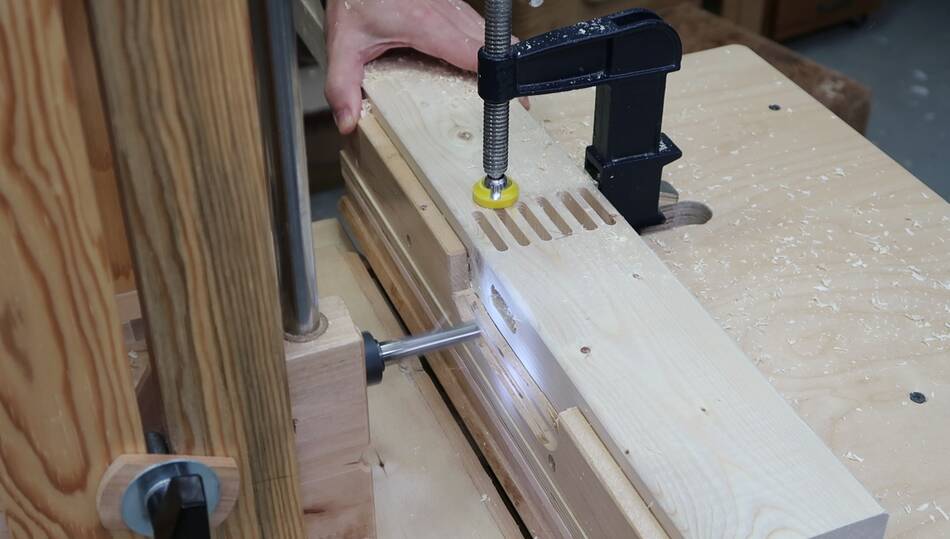
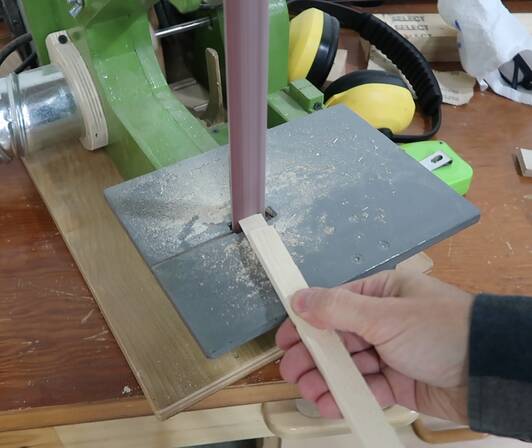
 The way the sides extend down to form legs, I needed a T-joint where the horizontal
part meets the rail. So I couldn't use my box joint jig to cut the box joint
in the middle of the rail. I used my
slot mortiser with a 1/4" bit instead.
The way the sides extend down to form legs, I needed a T-joint where the horizontal
part meets the rail. So I couldn't use my box joint jig to cut the box joint
in the middle of the rail. I used my
slot mortiser with a 1/4" bit instead.
 Four legs, with six mortises cut in each for the horizontal part to join.
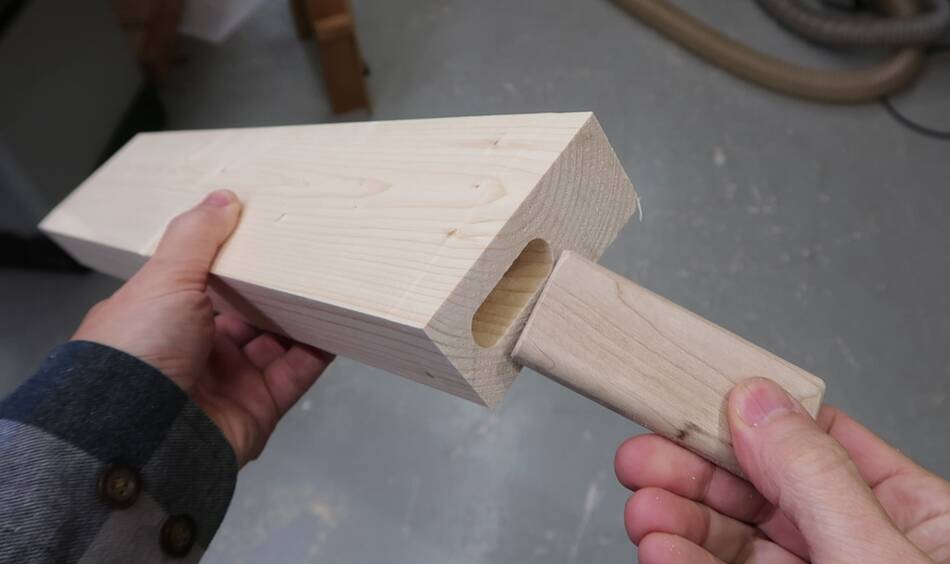
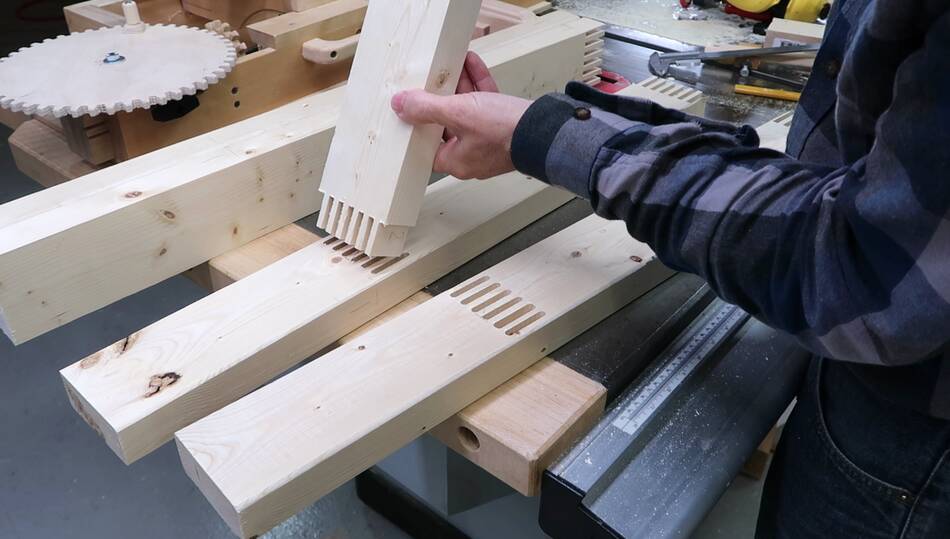 Test fitting the horizontal part. I cut the mortises a bit longer than I needed
so that I wouldn't need to square them or round the tenons.
Test fitting the horizontal part. I cut the mortises a bit longer than I needed
so that I wouldn't need to square them or round the tenons.
 The legs also need a mortise on the side to connect with a piece that connects
the front legs to the back legs.
The legs also need a mortise on the side to connect with a piece that connects
the front legs to the back legs.
 I opted for floating tenons instead of using the pantorouter to cut integral tenons.
The main motivation was that this way I could make the tenons out of hardwood,
which will make them stronger. I didn't want to make the tenons any thicker than 1/2"
(12.7 mm) because I didn't want to cut too much away from the legs.
I opted for floating tenons instead of using the pantorouter to cut integral tenons.
The main motivation was that this way I could make the tenons out of hardwood,
which will make them stronger. I didn't want to make the tenons any thicker than 1/2"
(12.7 mm) because I didn't want to cut too much away from the legs.
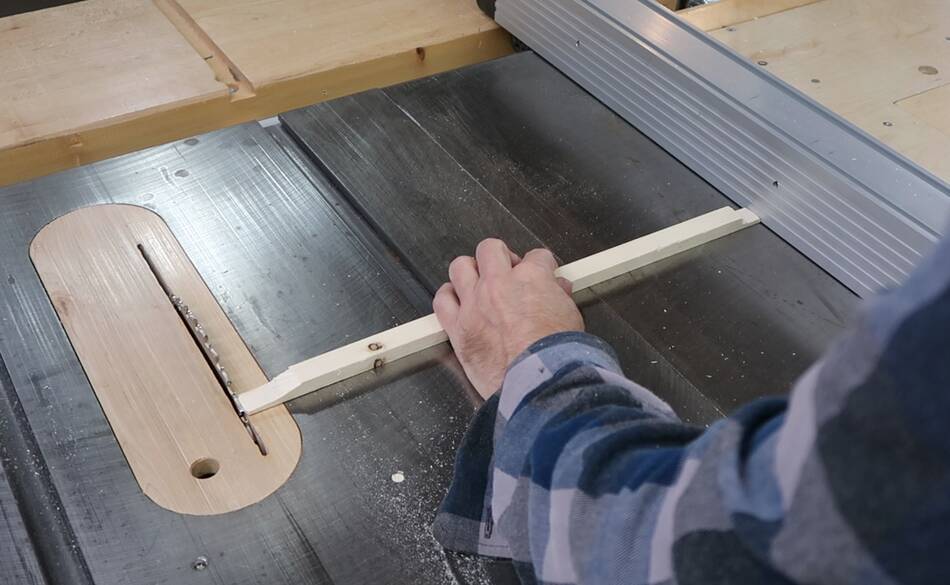
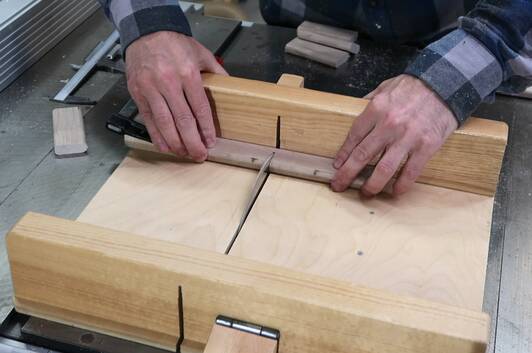 I then cut some pieces of the right size for the floating tenons out of some maple
firewood, then rounded the corners with a 1/4" roundover bit,
then cut them to length.
I then cut some pieces of the right size for the floating tenons out of some maple
firewood, then rounded the corners with a 1/4" roundover bit,
then cut them to length.
 I sanded a slight bevel onto the ends of the tenons to make it easier to assemble.
That bevel also helps to not scrape the glue out of the joint while
gluing them into the ends of the cross pieces (the other end of the tenon will
only get screwed in).
I sanded a slight bevel onto the ends of the tenons to make it easier to assemble.
That bevel also helps to not scrape the glue out of the joint while
gluing them into the ends of the cross pieces (the other end of the tenon will
only get screwed in).
 Checking the fit.
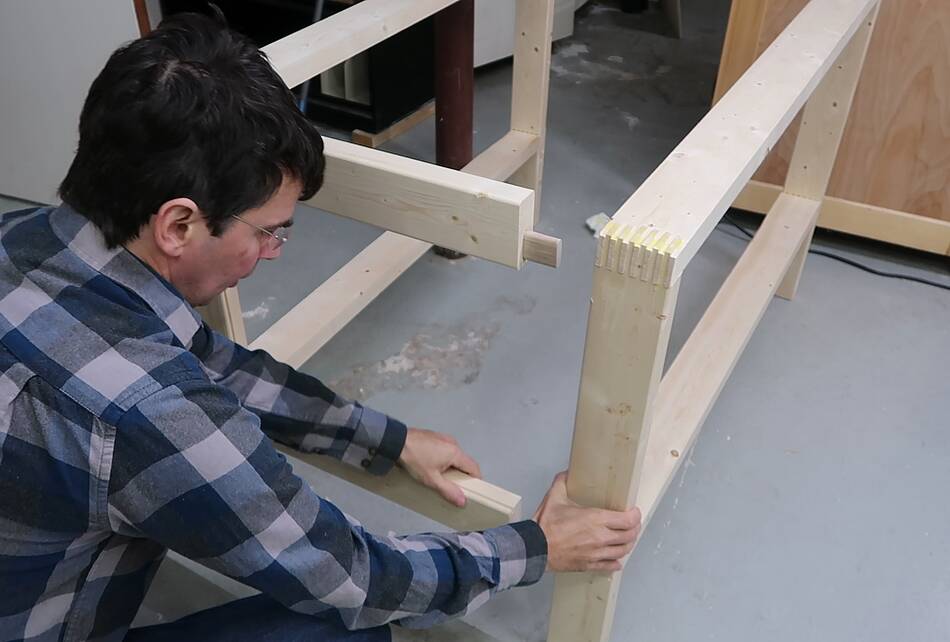
 Then checking how it fits with the workbench frames, which are only dry fit (without glue)
at this point.
Then checking how it fits with the workbench frames, which are only dry fit (without glue)
at this point.
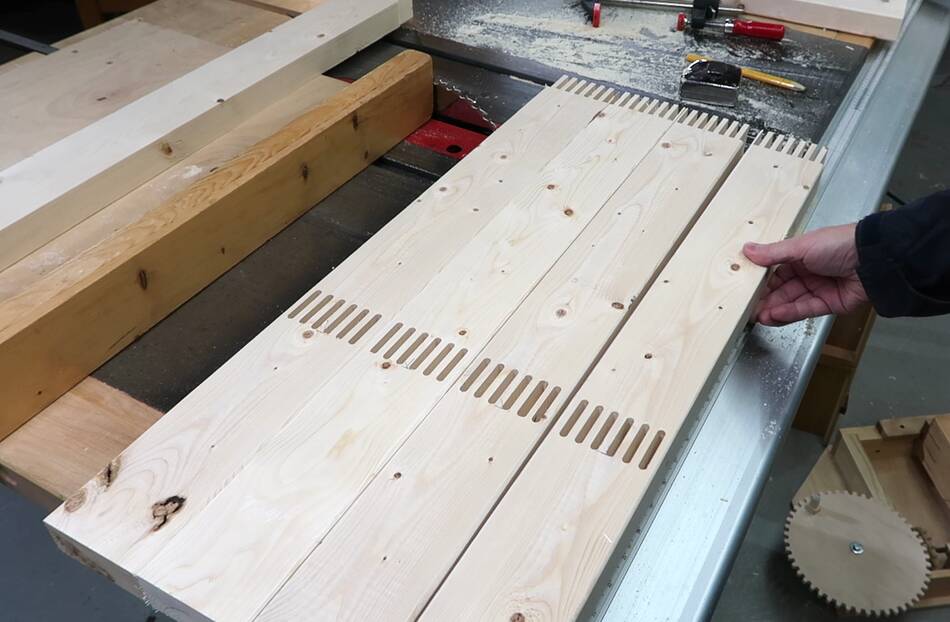
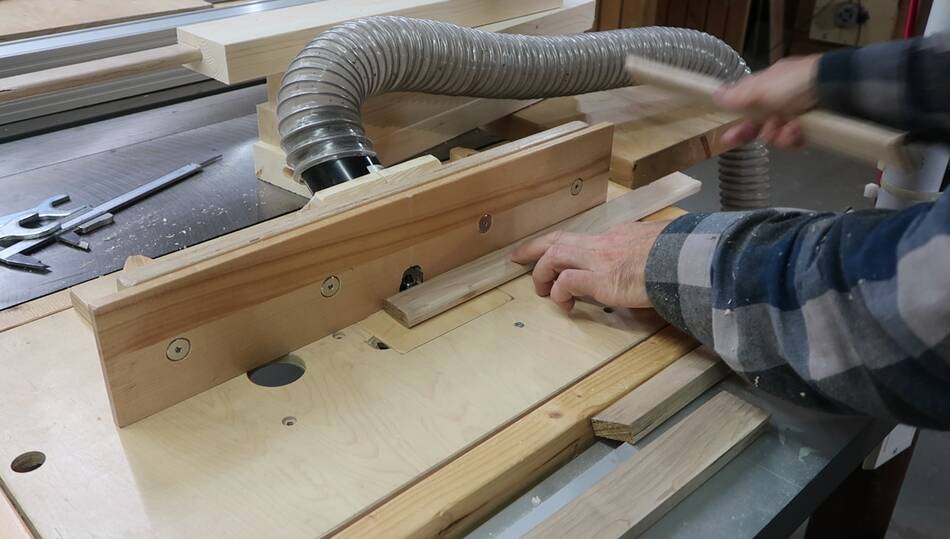
 Before gluing stuff together, I still needed to cut grooves in the pieces to accept
panels for the sides of the workbench cabinet.
Before gluing stuff together, I still needed to cut grooves in the pieces to accept
panels for the sides of the workbench cabinet.
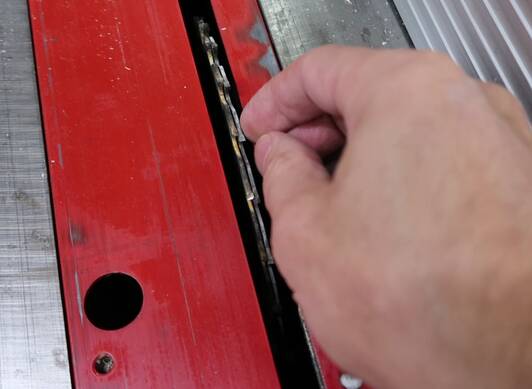
The plywood I have is only 4 mm thick. I stacked two 7 1/4" blades. I tried adding dado shims between the blades but it semed to make no difference in how wide they cut. I realized even with the teeth offset, the teeth were still hitting each other and that determined how wide the two stacked blades cut. So I tweaked the spacing by making the tooth alignment of the two blades closer to each other, so that the teeth forced the edges of the blades further apart. More convenient than messing with dado shims!
 I also cut slightly wider grooves into the leg parts. I widened the cut by lining up
the blades so the teeth were right next to each other.
I also cut slightly wider grooves into the leg parts. I widened the cut by lining up
the blades so the teeth were right next to each other.
 Then adding a roundover to the outside edges of where the panels will go using
a router table.
Then adding a roundover to the outside edges of where the panels will go using
a router table.
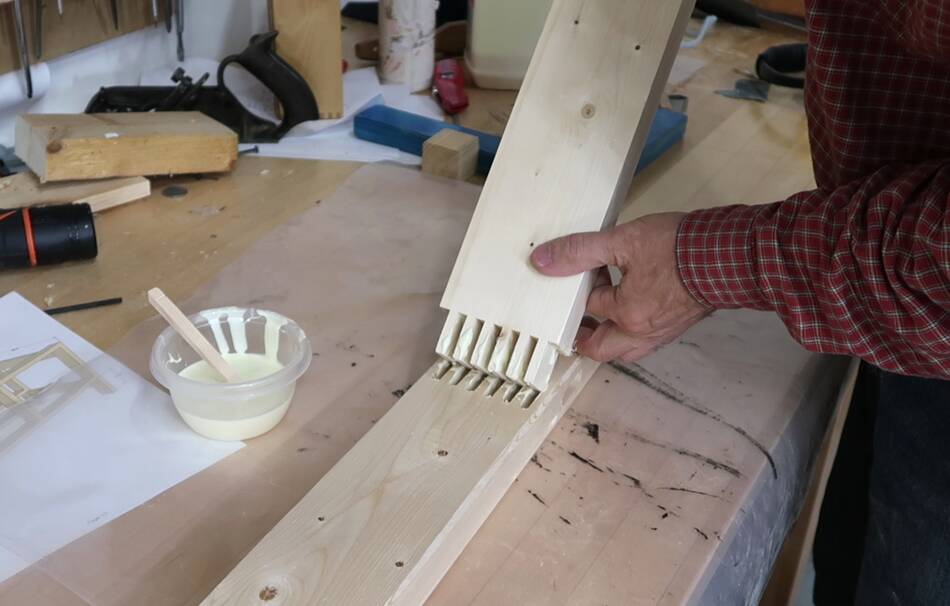 Gluing together the joints. I had it aligned backwards in this
picture. Fortunately I realized my mistake before the glue started to set and I was
still able to pull it out. With joints like this, realizing the mistake a minute
too late means it won't come out.
Gluing together the joints. I had it aligned backwards in this
picture. Fortunately I realized my mistake before the glue started to set and I was
still able to pull it out. With joints like this, realizing the mistake a minute
too late means it won't come out.

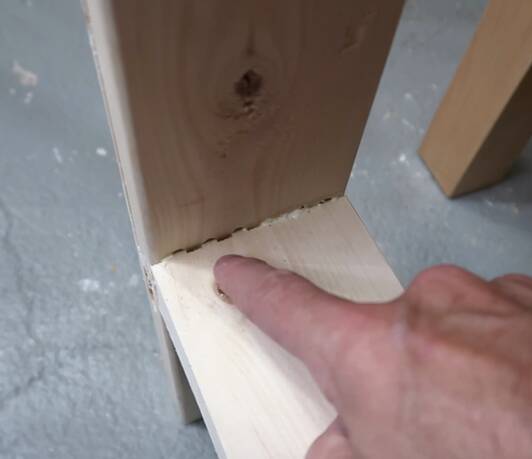 The next joint didn't go so well, somehow I wasn't able to get the piece all the way in.
I don't know if it's a flaw in how I cut the joint, some debris in the mortise, or just glue
setting too quickly. Leaning on it and hammering didn't help. I guess I should have
dry fitted before gluing! I had dry fit the whole frame before, but hadn't paid
much attention as to whether there was a 1 mm gap in the joint.
The next joint didn't go so well, somehow I wasn't able to get the piece all the way in.
I don't know if it's a flaw in how I cut the joint, some debris in the mortise, or just glue
setting too quickly. Leaning on it and hammering didn't help. I guess I should have
dry fitted before gluing! I had dry fit the whole frame before, but hadn't paid
much attention as to whether there was a 1 mm gap in the joint.
If I was making a lot of joints like this, I'd make some sort of press to help me close those joints.
 For the next joints, I had clamps at the ready to press them closed.
The slow and steady pressure from a clamp is much more effective than a mallet blows for closing these joints.
 And I used two long clamps to fully press the T-joints together in the other frame.
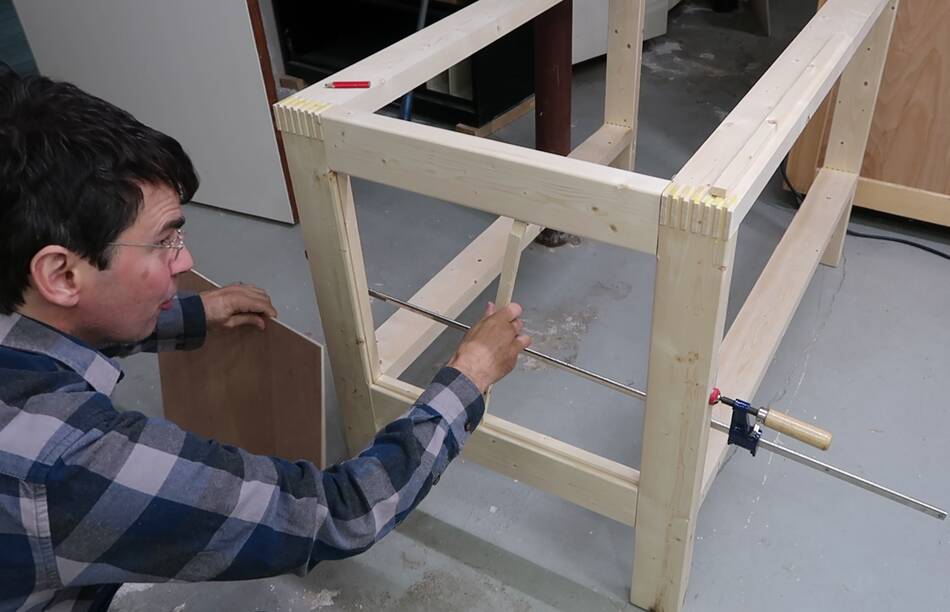
 Then fitting the frames with the parts that join them front to back.
 I used a scrap of wood to check how big I needed to cut the panel
to fit in the grooves.
I used a scrap of wood to check how big I needed to cut the panel
to fit in the grooves.
 I then used that to set the fence on the table saw and cut the panels
to their final size.
I then used that to set the fence on the table saw and cut the panels
to their final size.
 The panel glues into the parts that run front to back. It's plywood,
so I don't have to worry about wood movement.
The panel glues into the parts that run front to back. It's plywood,
so I don't have to worry about wood movement.
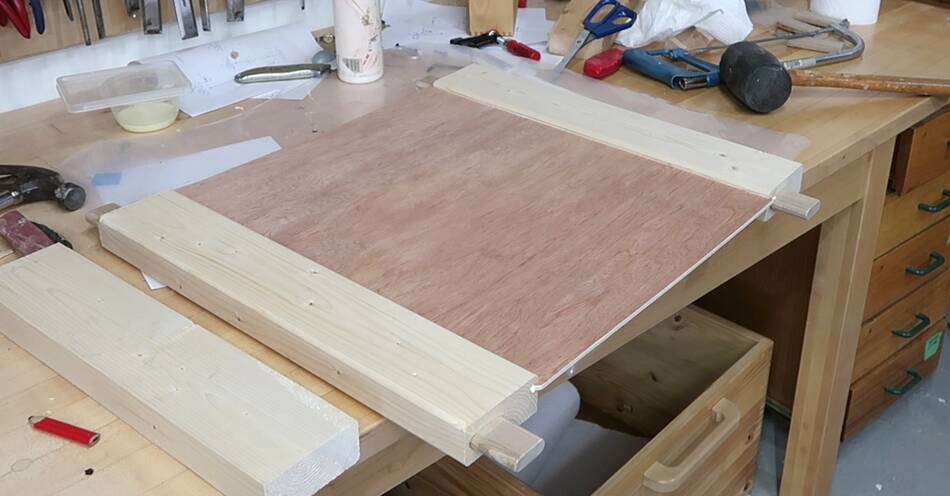 Side panel glued into the two parts. This forms the side of the cabinet.
The side panel glued into the rails will give the whole thing a lot
of stiffness.
Side panel glued into the two parts. This forms the side of the cabinet.
The side panel glued into the rails will give the whole thing a lot
of stiffness.
 Test fitting it into the cabinet.
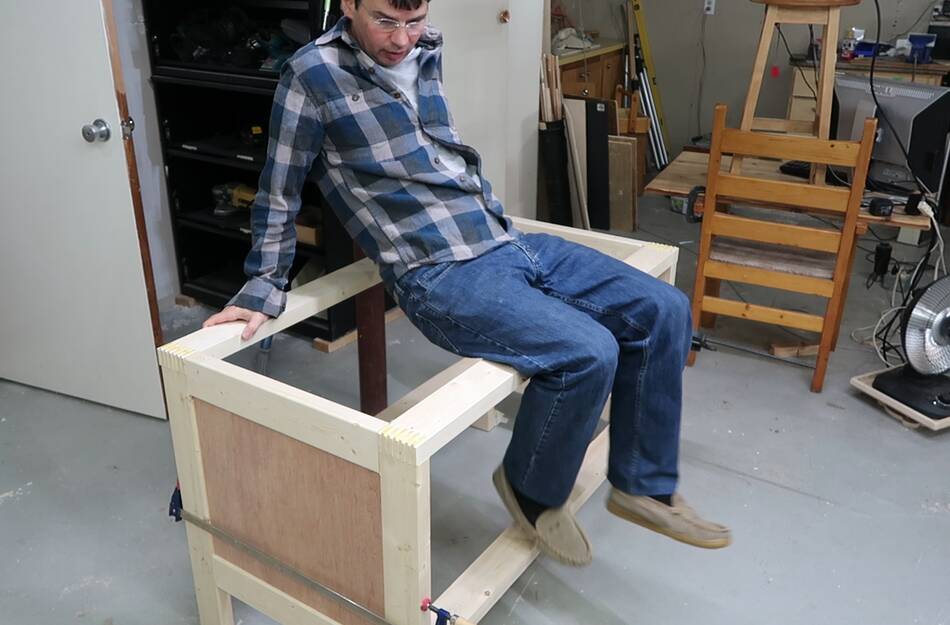 Even with just a dry fit, the cabinet is now stiff enough
that it rocks back and forth even when I sit on it rather than
conform to the shape of the floor.
Even with just a dry fit, the cabinet is now stiff enough
that it rocks back and forth even when I sit on it rather than
conform to the shape of the floor.