 Having previously built the shed walls and roof, it was time
to put it together.
Having previously built the shed walls and roof, it was time
to put it together.
Having previously built the shed walls and roof, it was time
to put it together.
With the sheet metal on, the walls and roof were too heavy for me to move on my own, so I invited a few friends over for a "shed raising" and barbecue.
I wasn't sure if it was a bit of an imposition to lure friends to help put the shed together, but I think the prospect of putting the shed together made the invite actually more appealing, or at least for the hands-on people that I invited.
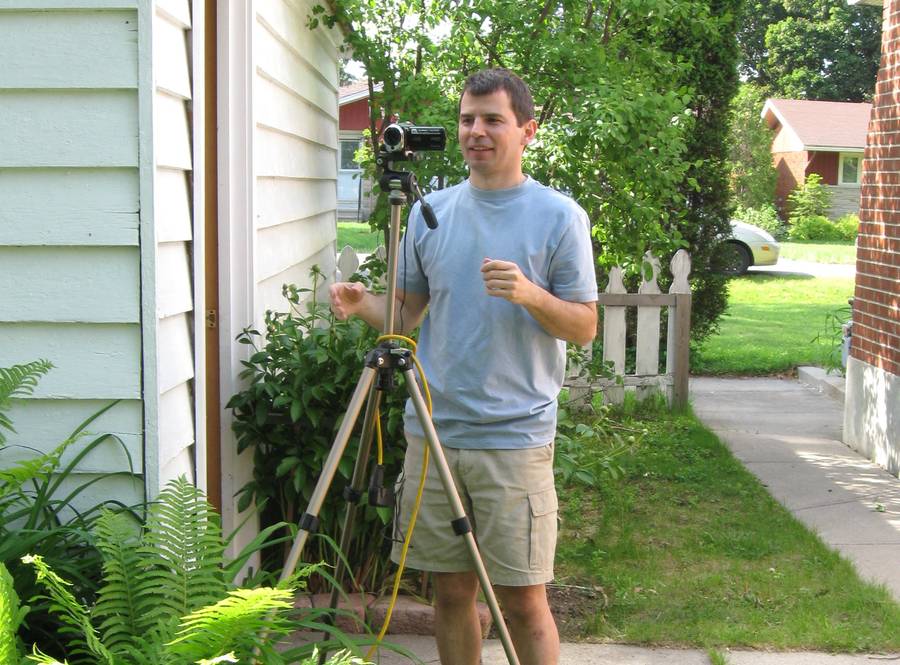 I wanted to get some good video of it. I left one camera running in a
fixed location, and asked my brother to take video of it with another camera.
He would have preferred to help, but I know he's a pretty good camera man, and with
putting this shed together, there would be no second takes! I have found that I can't
trust just anybody to take good video with a camera.
I wanted to get some good video of it. I left one camera running in a
fixed location, and asked my brother to take video of it with another camera.
He would have preferred to help, but I know he's a pretty good camera man, and with
putting this shed together, there would be no second takes! I have found that I can't
trust just anybody to take good video with a camera.
I have a camcorder on the tripod, but I actually mostly shoot with digital still cameras. Camcorders generally don't zoom out wide-angle enough to be of much use in my workshop.
 For the shed "foundations" I just placed some cinder blocks on the ground. I dug these
slightly into the ground and made sure they were all at the same level. I checked
the levels by placing a long straight piece of wood over them and placing the level in
the middle of that.
For the shed "foundations" I just placed some cinder blocks on the ground. I dug these
slightly into the ground and made sure they were all at the same level. I checked
the levels by placing a long straight piece of wood over them and placing the level in
the middle of that.
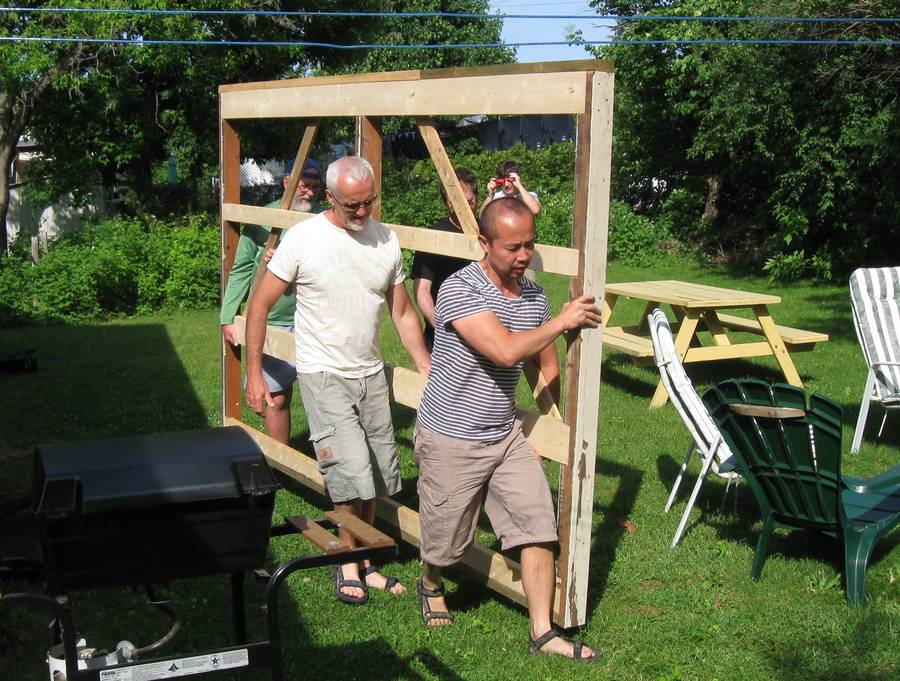
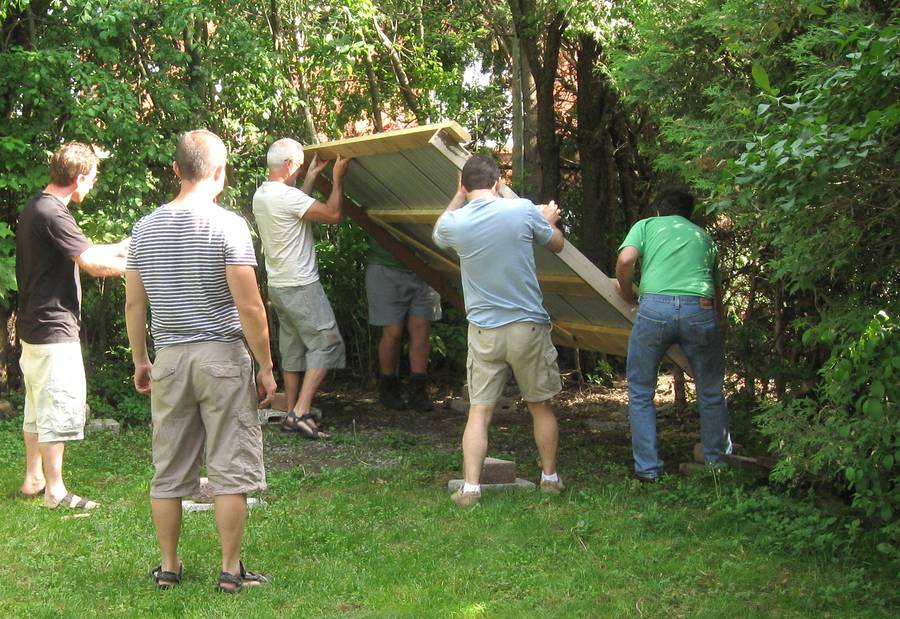 We started with the back wall, here's tipping it up onto the blocks.
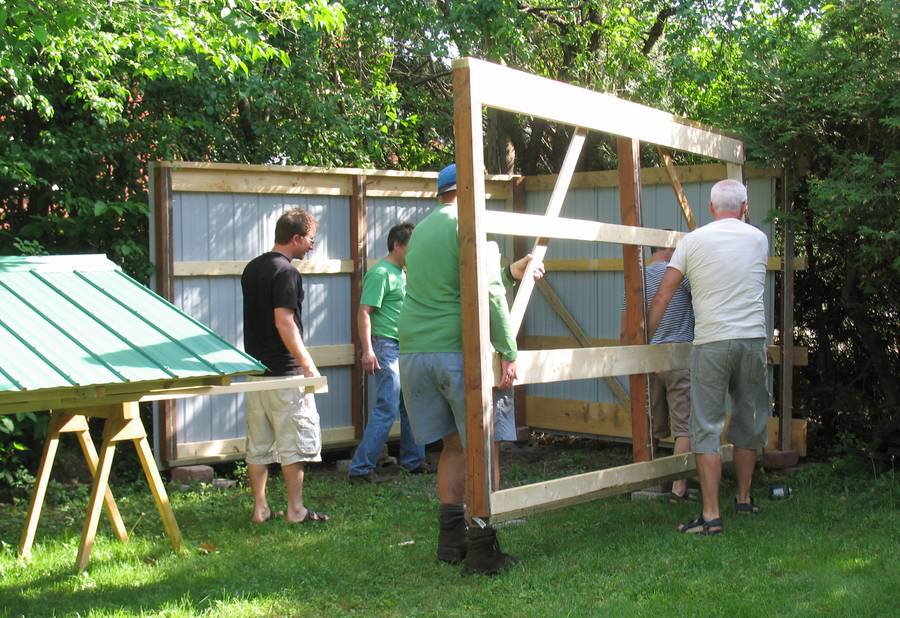
 Next one of the side walls. This wall is facing the fence and bushes. Like the back
wall, I put the siding on this wall beforehand so I wouldn't have to work in tight
quarters later.
Next one of the side walls. This wall is facing the fence and bushes. Like the back
wall, I put the siding on this wall beforehand so I wouldn't have to work in tight
quarters later.
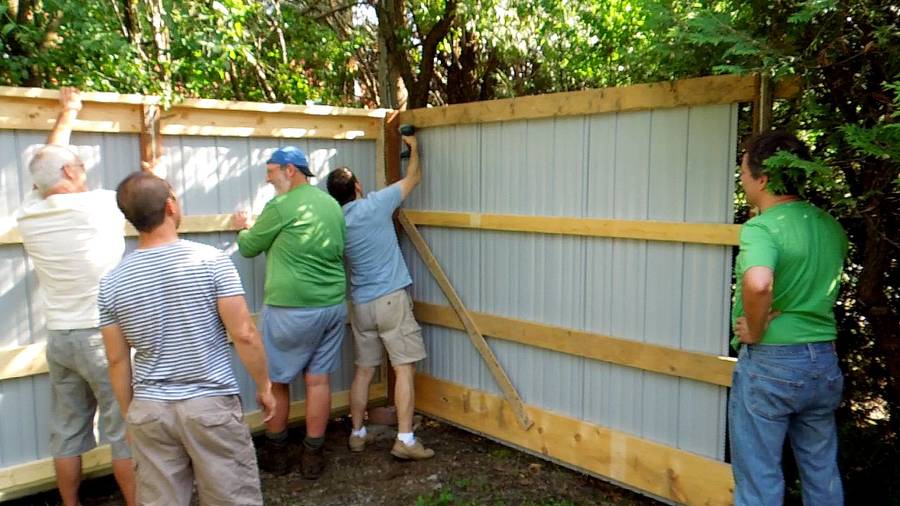 Screwing the walls together. I had added some alignment pegs in place to help
realign the walls exactly the way I had them previously. It was a bit tricky getting
those pegs to line up again.
Screwing the walls together. I had added some alignment pegs in place to help
realign the walls exactly the way I had them previously. It was a bit tricky getting
those pegs to line up again.
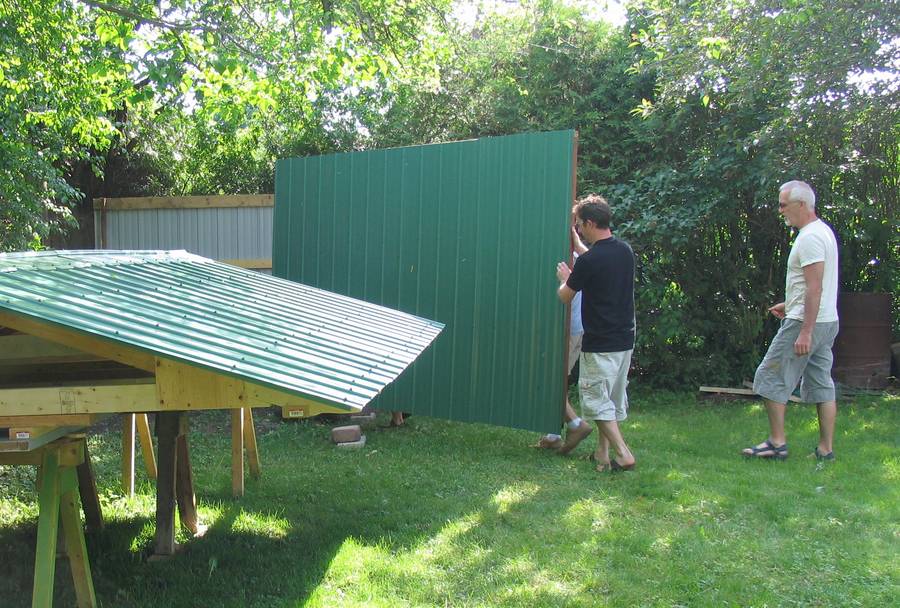
 The other side wall coming. An easy lift for three people, much easier
than carrying it alone!
The other side wall coming. An easy lift for three people, much easier
than carrying it alone!
 Getting the wall in place.
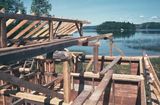
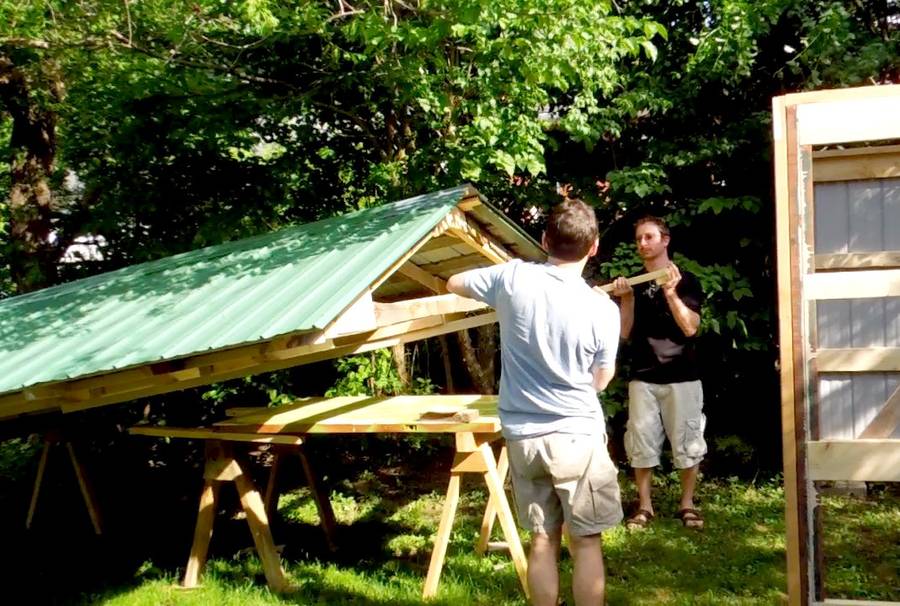 Checking the weight of the roof. I added two runners to extend out the
front to help lift the roof, but on my own, I couldn't lift it by both of them,
so I didn't know how hard it was to lift. Turns out, it was an easier lift
than I thought.
Checking the weight of the roof. I added two runners to extend out the
front to help lift the roof, but on my own, I couldn't lift it by both of them,
so I didn't know how hard it was to lift. Turns out, it was an easier lift
than I thought.
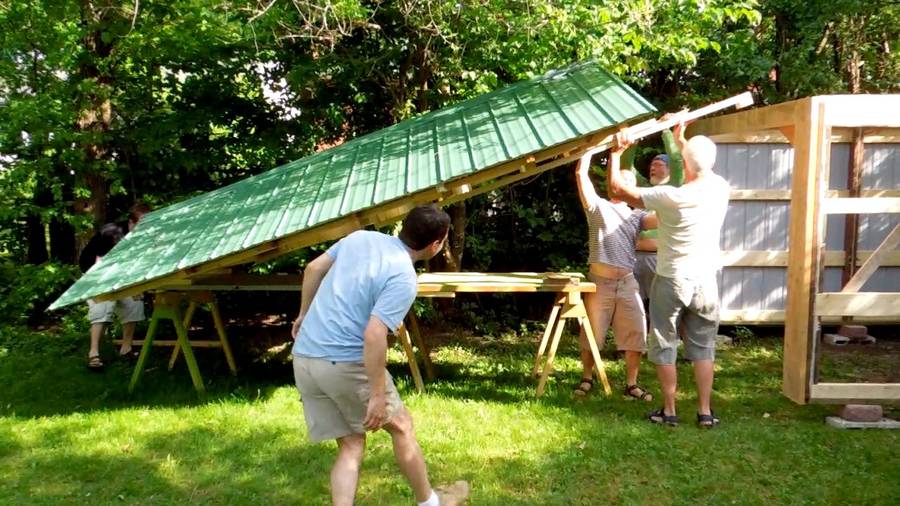 The runners have "hooks" on the front, so that once lifted onto the front edge,
they'd stay there, so we could stop and figure out the next step.
The runners have "hooks" on the front, so that once lifted onto the front edge,
they'd stay there, so we could stop and figure out the next step.
 If I had been working alone, I would have hooked the runners on the edge
of the building and then carefully contemplated my next move.
But with a lot of people helping, we didn't pause for very long. Having enough
people to just lift the roof outright makes the logistics much easier.
If I had been working alone, I would have hooked the runners on the edge
of the building and then carefully contemplated my next move.
But with a lot of people helping, we didn't pause for very long. Having enough
people to just lift the roof outright makes the logistics much easier.
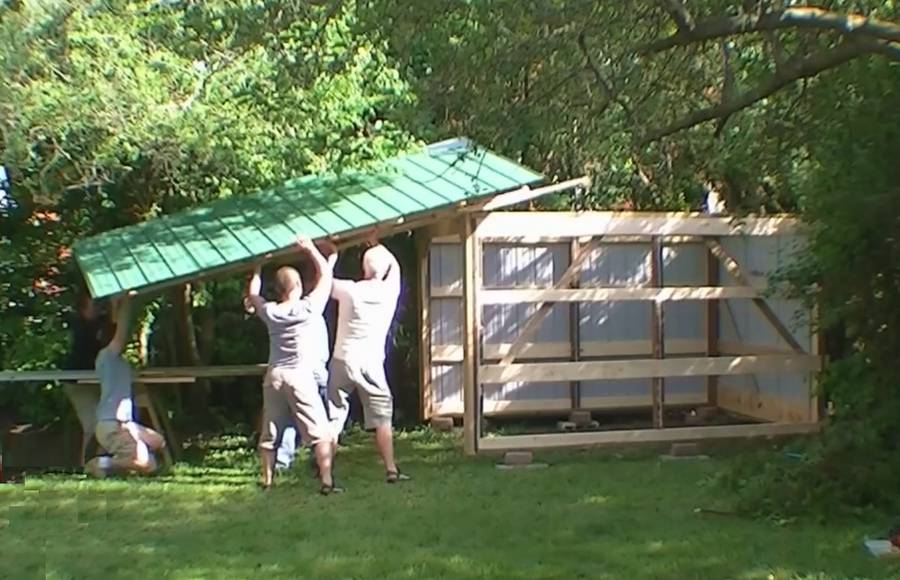
 With the other side of the roof lifted, we slid it forward onto the shed.
 Once the roof was more than half-way over the shed, it was stable on its own.
At this point, the runners hit the back wall, so the next step was to unscrew them from
the trusses.
Once the roof was more than half-way over the shed, it was stable on its own.
At this point, the runners hit the back wall, so the next step was to unscrew them from
the trusses.
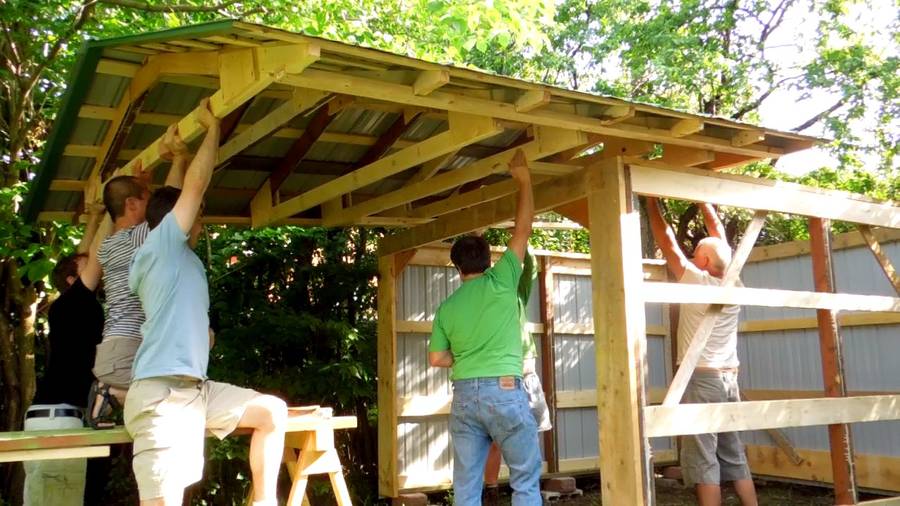
 Now sliding the roof all the way forward.
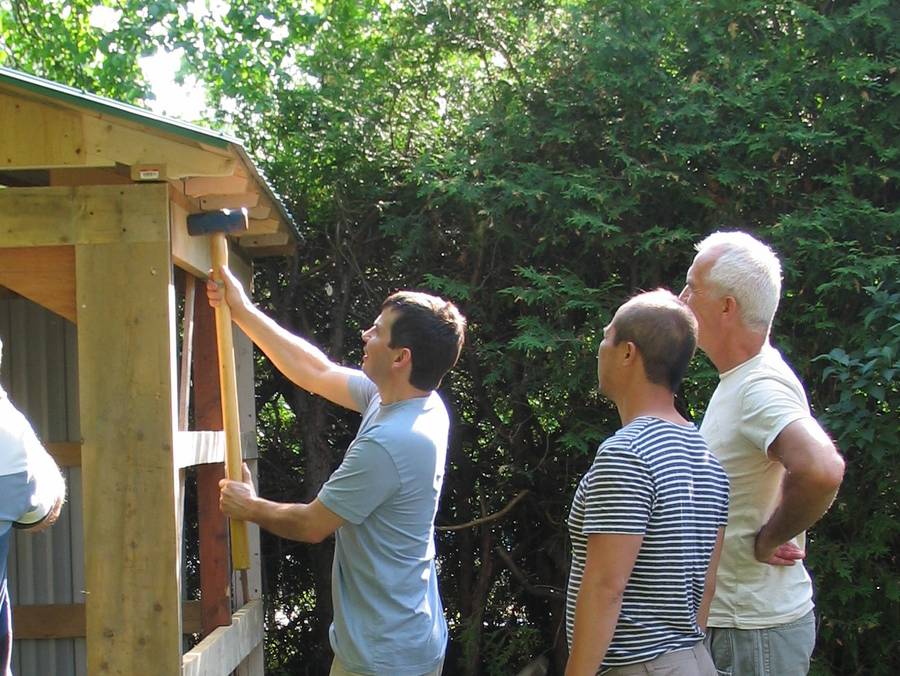 I had to make some precision adjustments to line up the shed and roof. The roof
is heavier and more rigid than the walls, so it made more sense to pound the walls
to line up with the roof.
I had to make some precision adjustments to line up the shed and roof. The roof
is heavier and more rigid than the walls, so it made more sense to pound the walls
to line up with the roof.
When working on buildings, sooner or later, a sledgehammer comes in handy!
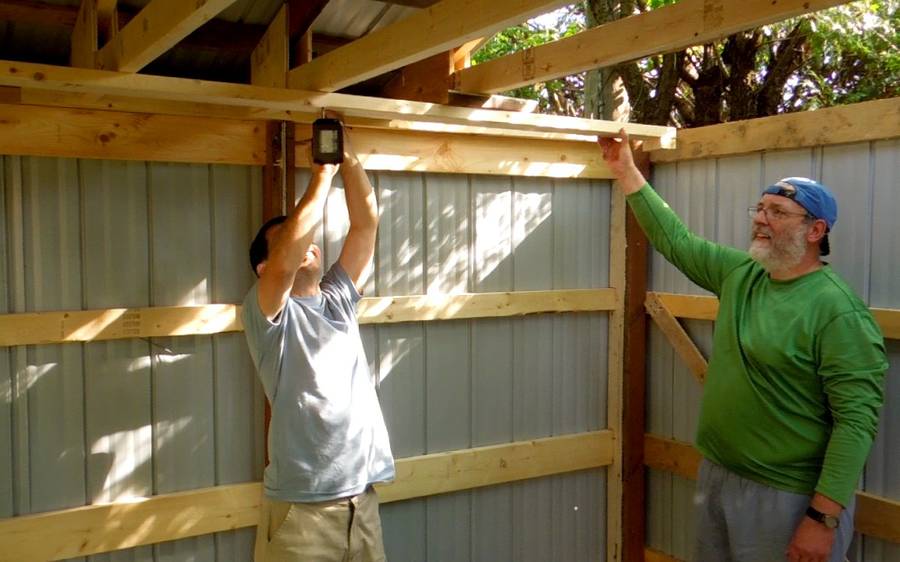
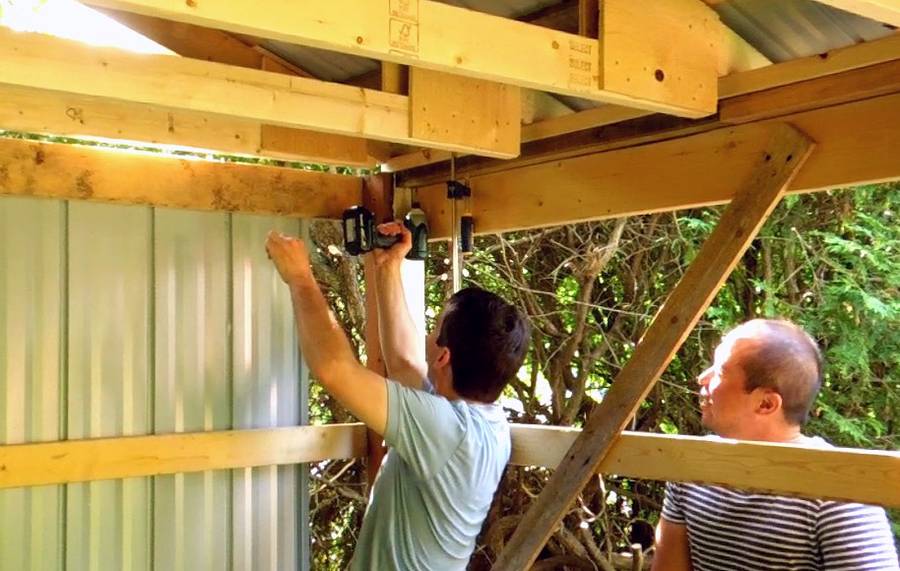 The whole roof structure is attached by screwing it on from the bottom.
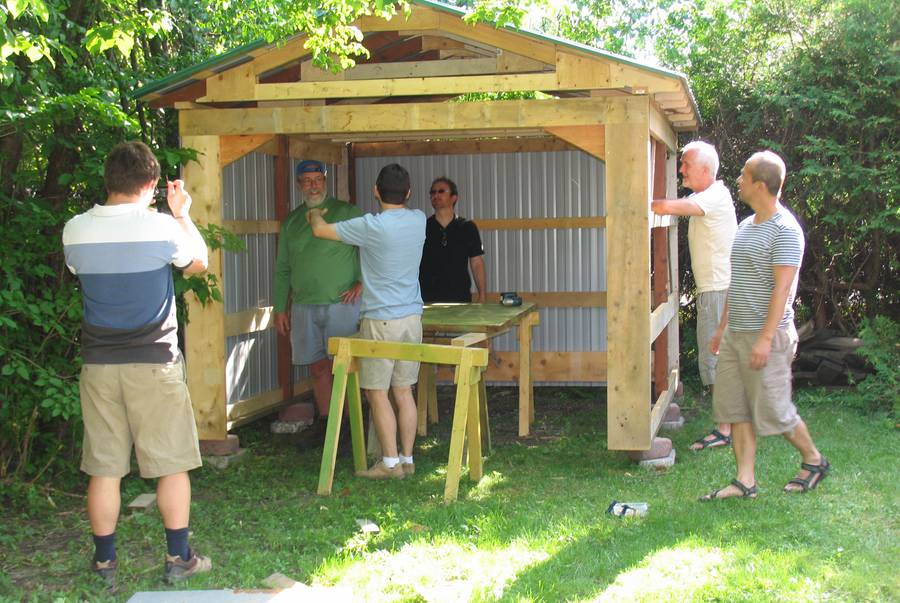 Half an hour after starting. The rest I could do on my own later.
 Altogether, assembling the shed took just half an hour. Time to bring out the food!
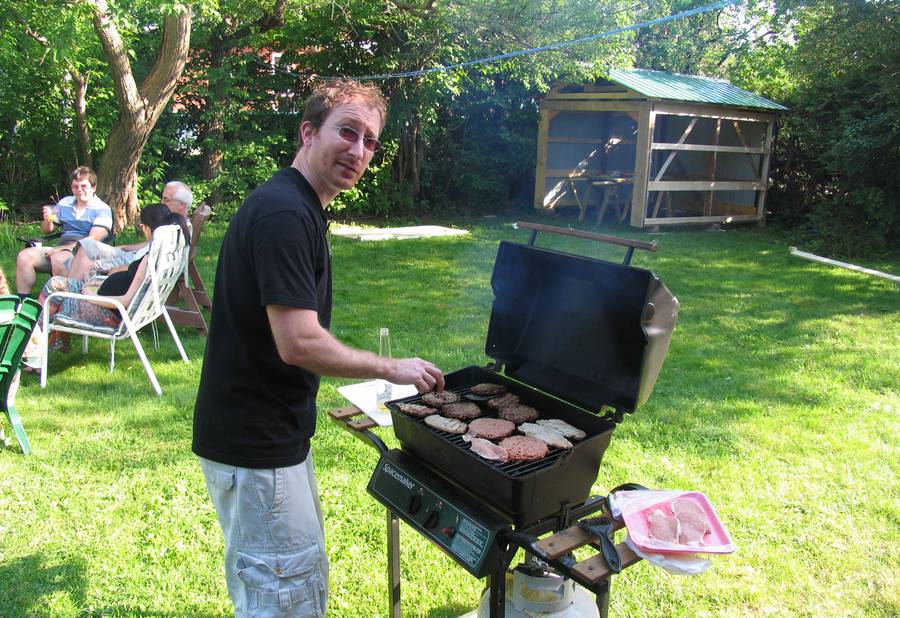
I volunteered my friend Michael to man the barbecue.
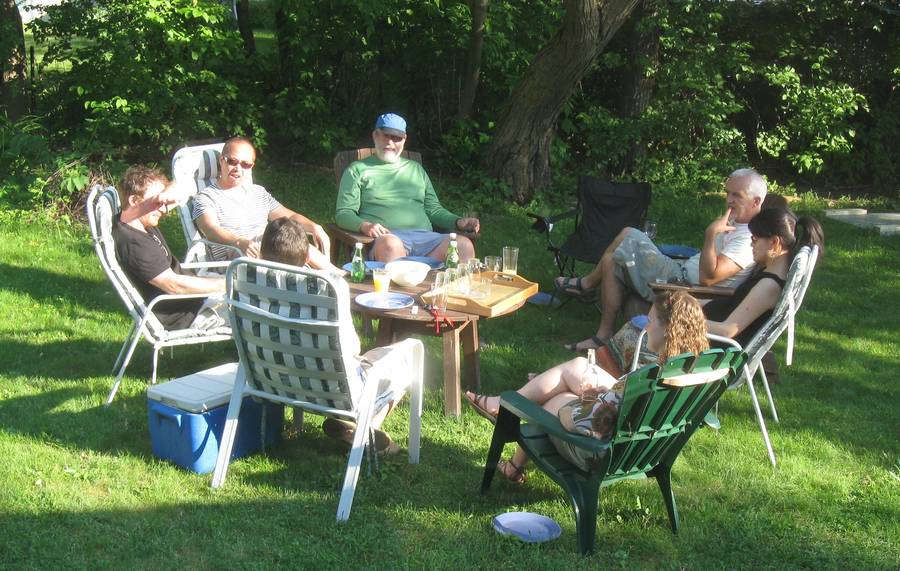 And lots of socializing. This part took much longer than erecting
the shed. A good work/play ratio, I think!
And lots of socializing. This part took much longer than erecting
the shed. A good work/play ratio, I think!
Next: Making doors for the shed
 Framing a cottage
 Building a shed
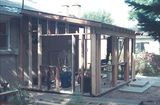 Building a house addition
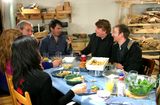 Workshop as party room