I've had chronic tendinitis problems with my right arm bicep since an
injury three years ago. So I always did all the lifting with my left arm.
But in the process of working on this tractor shed,
I developed tendinitis problems with my left bicep as well, which
left me unable to lift much at all.
So projects that require a tractor, or even
life in the country
just didn't make sense anymore (and small kids don't help matters), so we
decided to move
and I sold the tractor.
But what to do with the partly built tractor shed? I gave away all the material
to Matt Carrier, who lives not far from where we were,
and also
plays around with YouTube a bit.
He took it all away
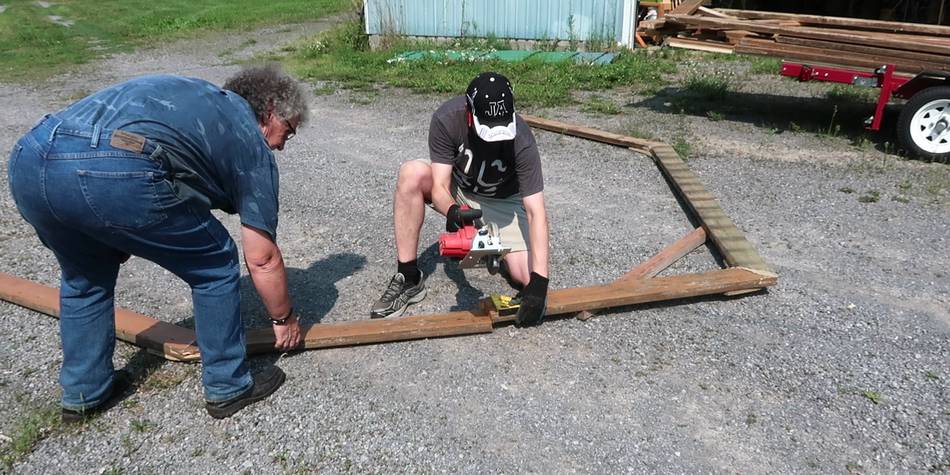
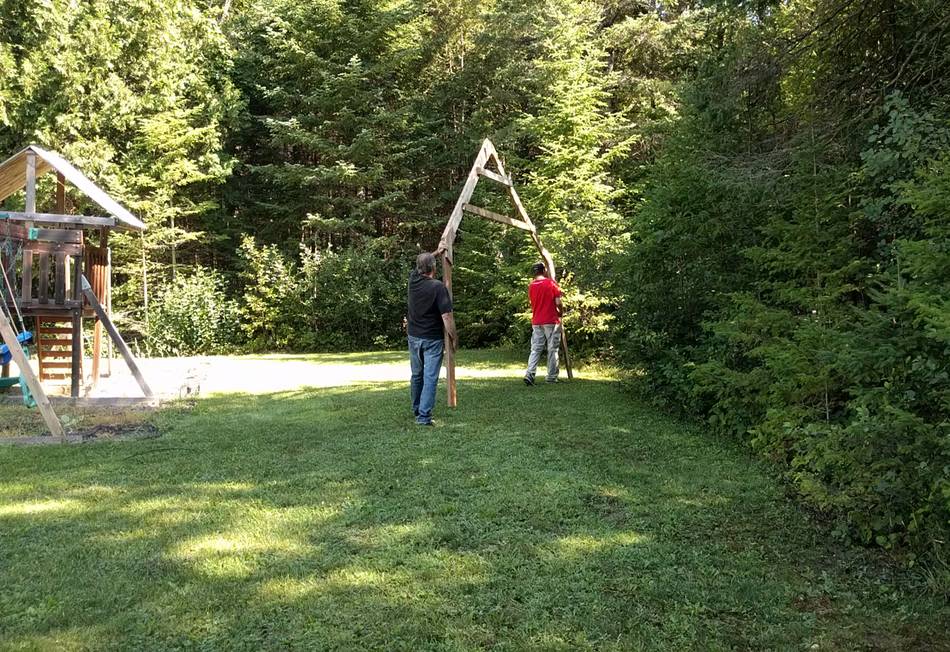
to erect it on his property. Here Matt and his father in law are taking one of the
assembled frames out of the shop...
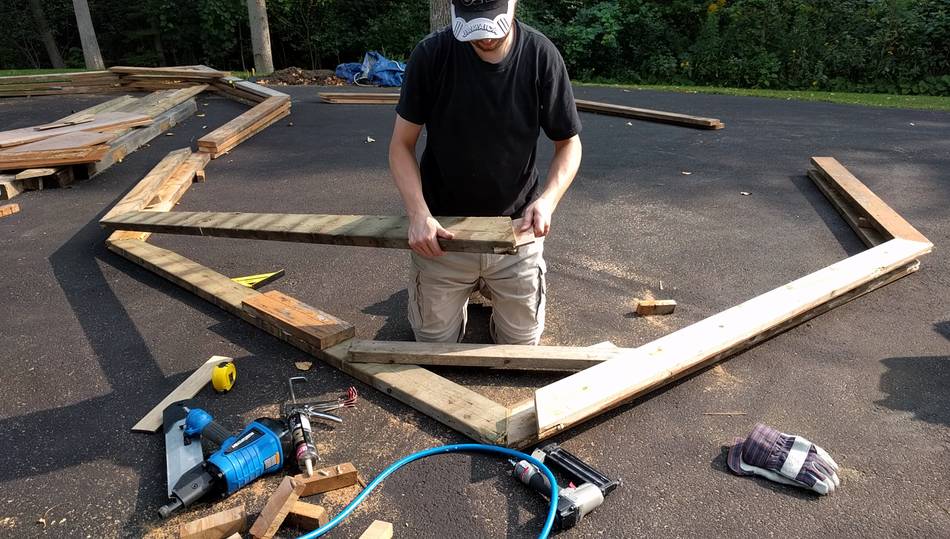
... then cutting it in one place so they could load
the pieces onto Matt's small trailer. They are cutting it somewhere other than
where I cut it because thee are just too many nails where I joined the pieces.
It took three trips to haul away everything.
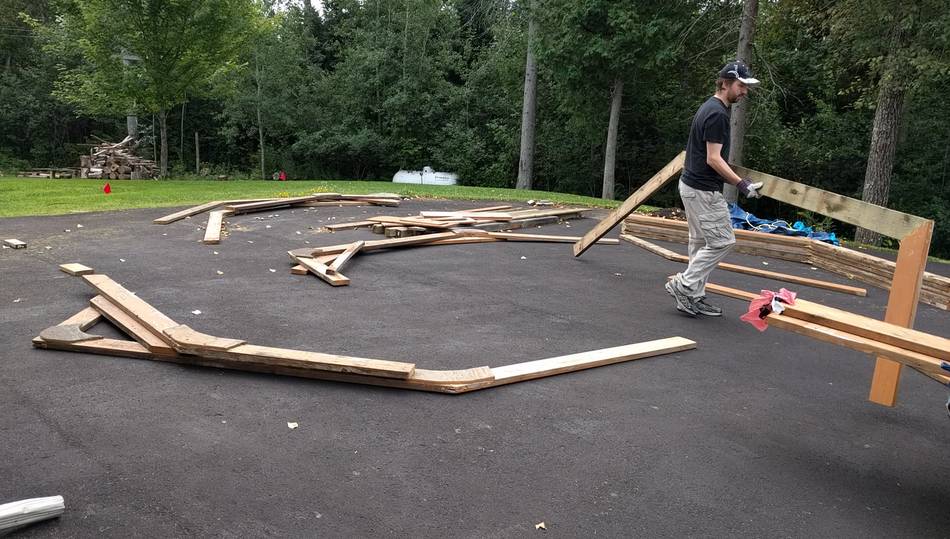
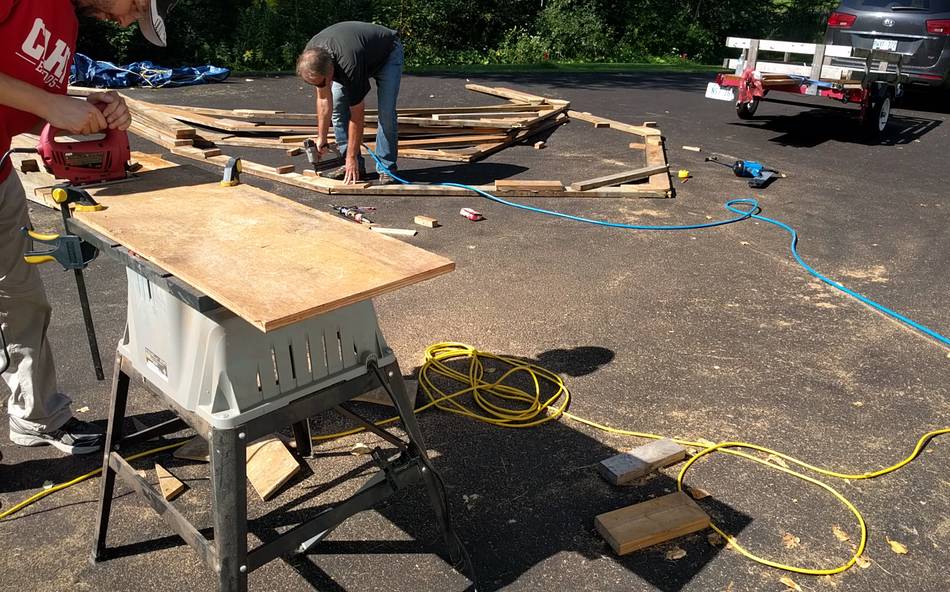
Here Matt is sorting through all the pieces of the frames to figure out which
piece goes with which before putting the frames back together.
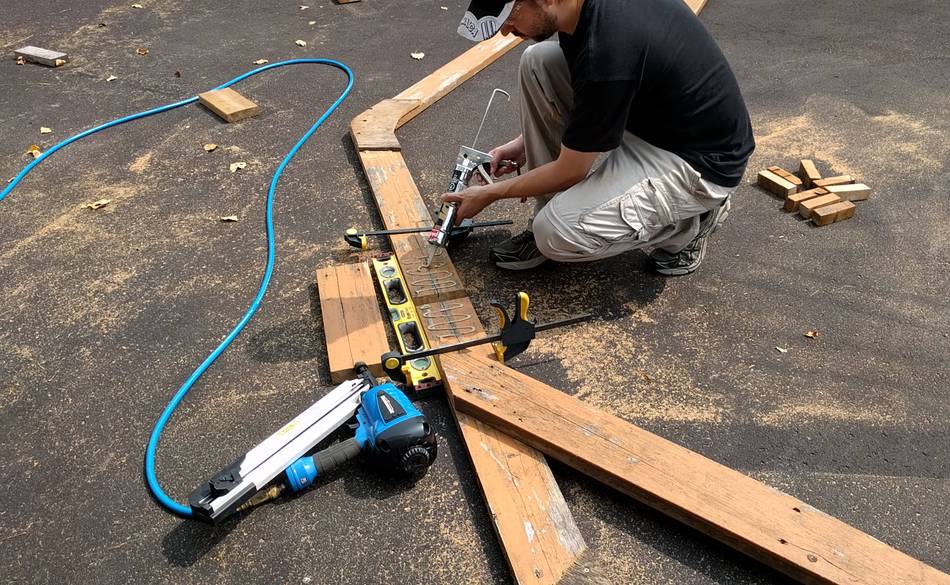
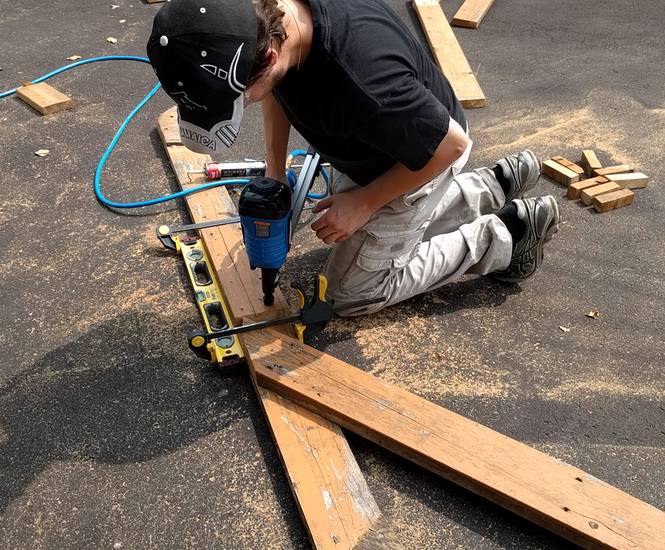
Using construction adhesive and a framing nailer.
Three of the frames hadn't been joined at the top yet, so they didn't need
cutting in half, here Matt is adding the spline to the top joint.
Here cutting some of the gusset plates out of plywood using a jigsaw, while
his father in law is assembling frames.
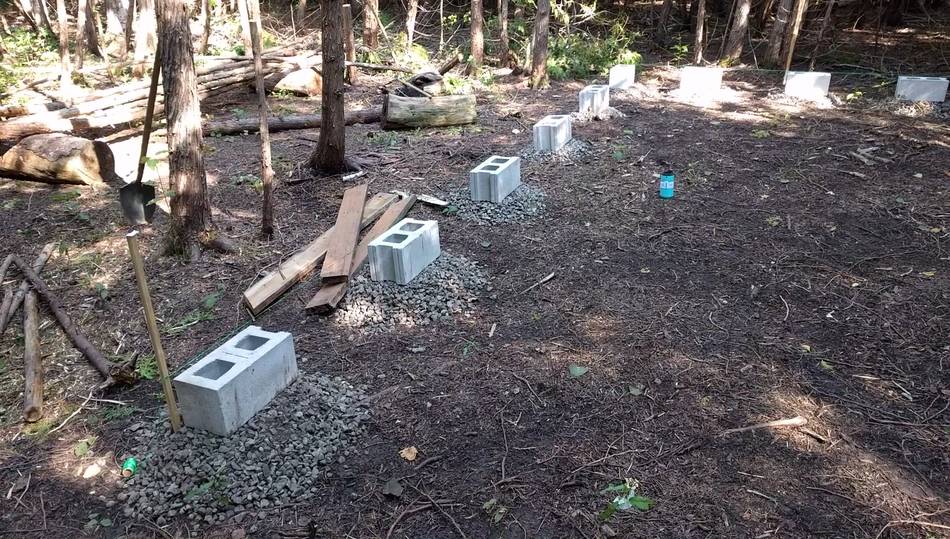
The shed is going into a wooded part of his property.
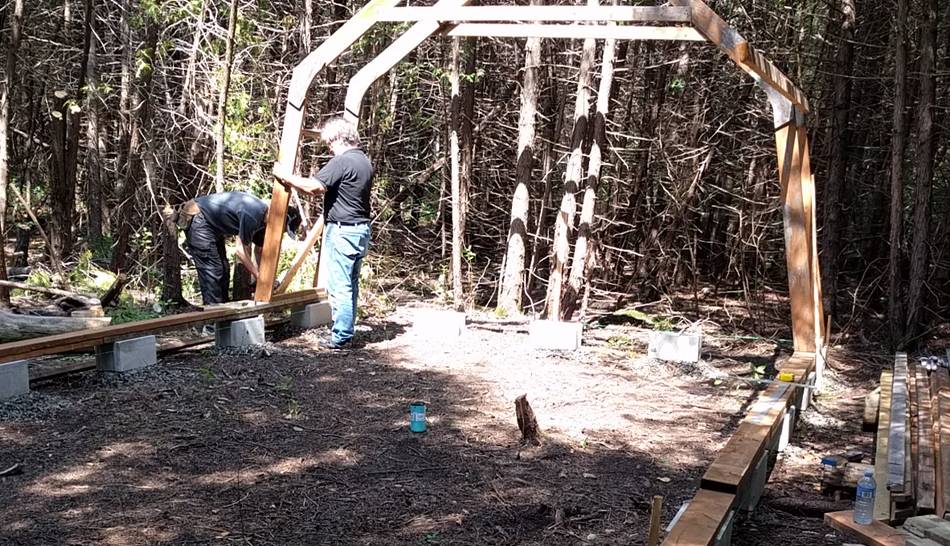
The plan was to put gravel down inside the shed, but in the mean time, it's
just cement blocks on top of smaller piles of gravel to help with the levelling.
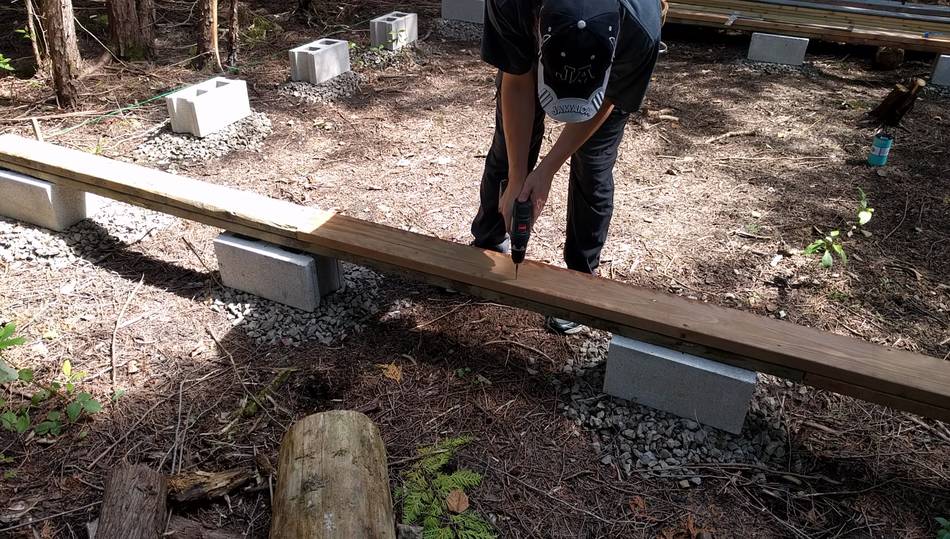
The bottom plate for the shed consists of two layers of 2x6 lumber screwed
together. Two layers for strength, but also because the shed is longer than
any commonly available length of 2x6 lumber.
Carrying one of the frames to where the shed goes, among the trees.
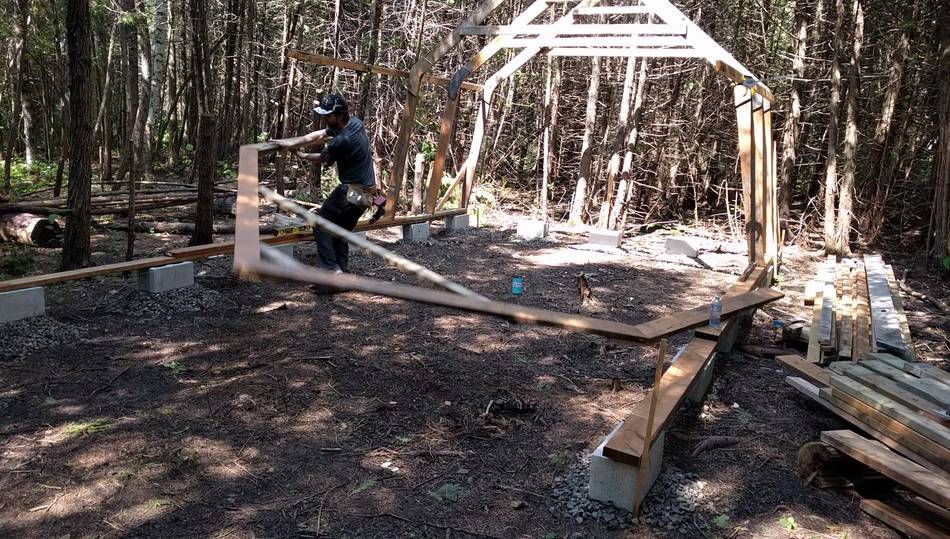
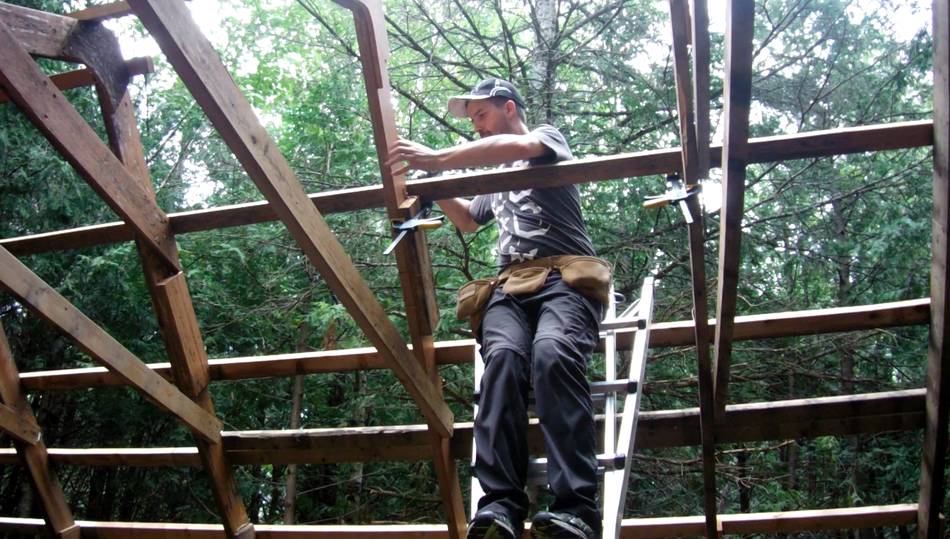
First frame going up.
Bracing the frames with temporary diagonal members to make sure they are
vertical.
After the first three frames, Matt was working alone to put up the rest of them.
Like me, he discovered that manipulating these alone is awkward and difficult.
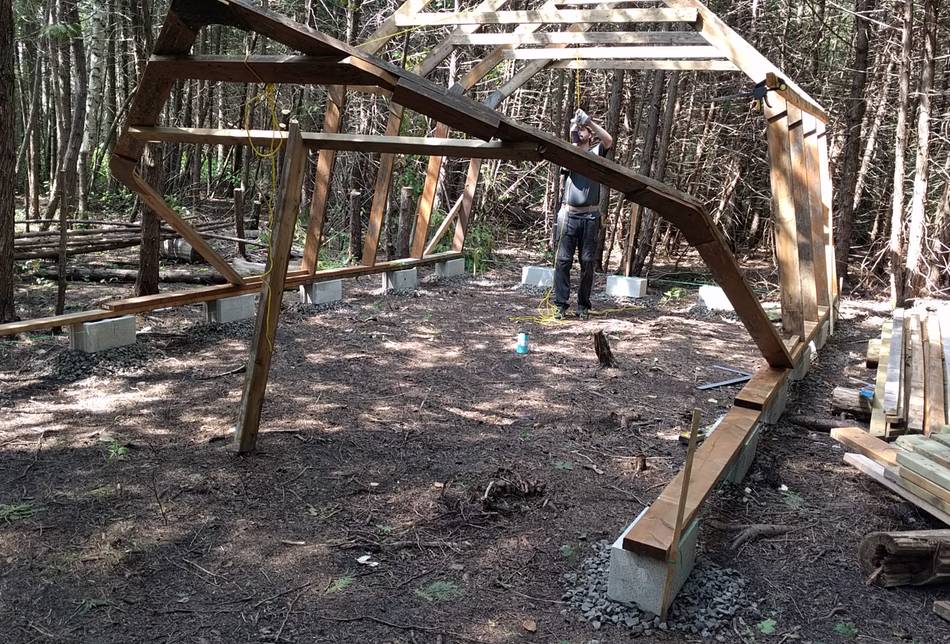
Here the frame got out of hand on him and tipped over.
Like I did, Matt used a rope to help pull the frames vertically into position.
Placing the last frame. It's fun to watch the balancing act in the video.
Then screwing on the strapping. The strapping for the roof is pieces of 2x6
cut down the middle.
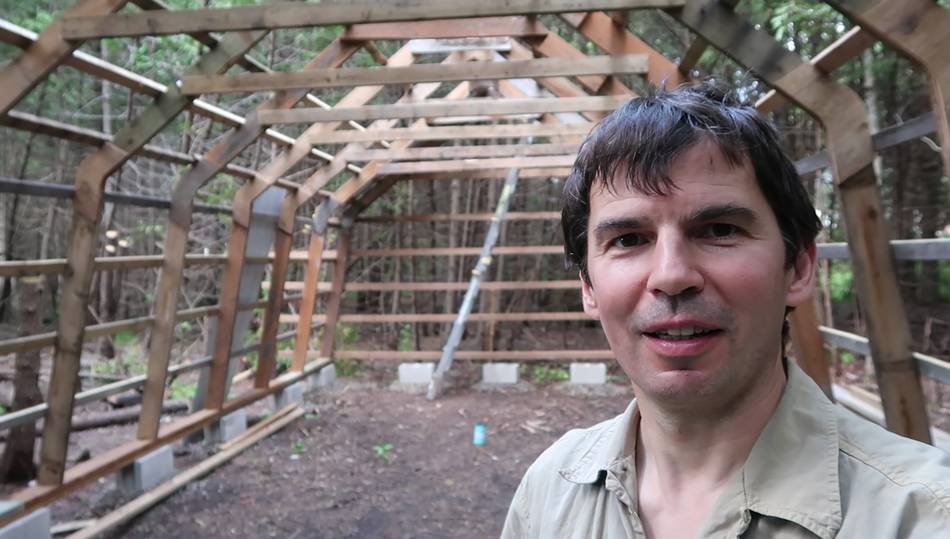
At this stage, I came for a visit to check it out, the only time I did.
I was too busy preparing for our move to make another visit, and the shed
wasn't quite done until after we moved to Frederiction, 1000 km from
the Ottawa area.
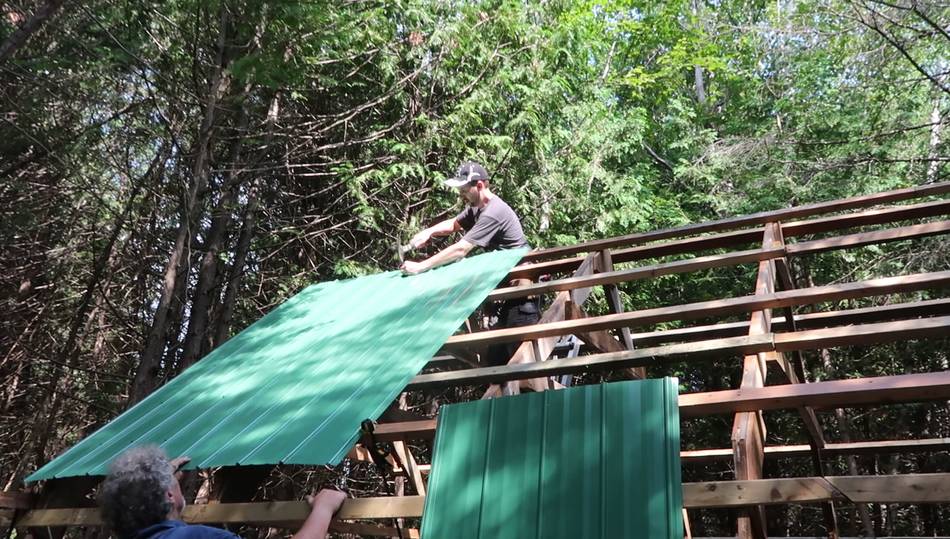
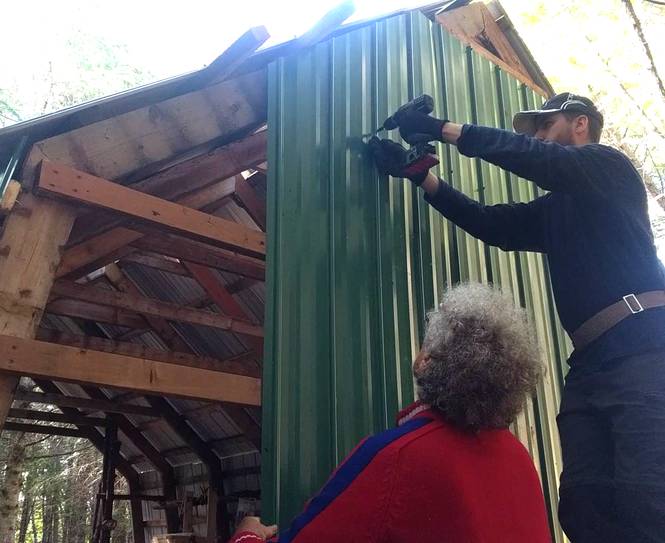
Screwing on the sheet metal. Matt used an awl and a hammer to pre-punch small
holes for where the screws go. It's very difficult to get through the sheet
metal with just the screws alone.
He is, of course, putting the screws on top of the ribs of the steel, not
on the flat part as recommended by manufacturers these days
(more on that).
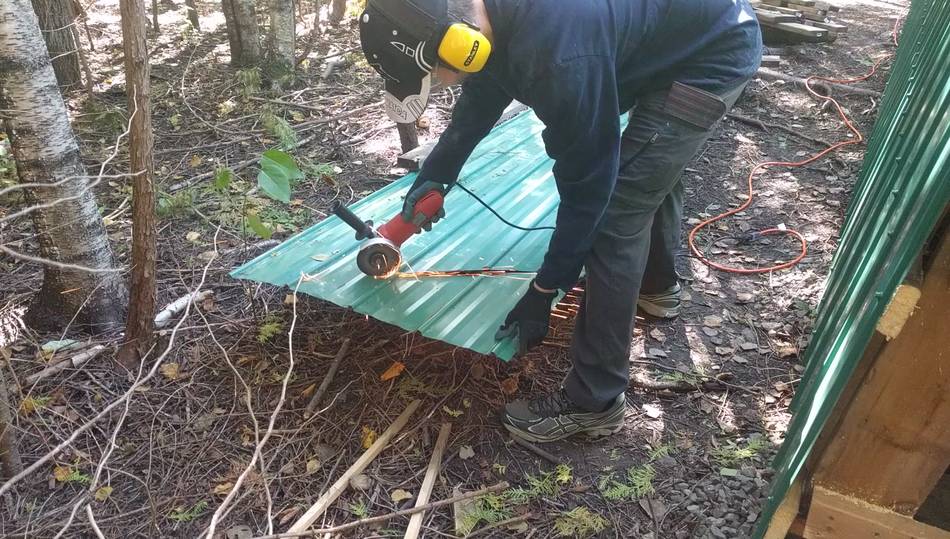
Cutting one of the panels for the top of the end wall at an angle
with an angle grinder.
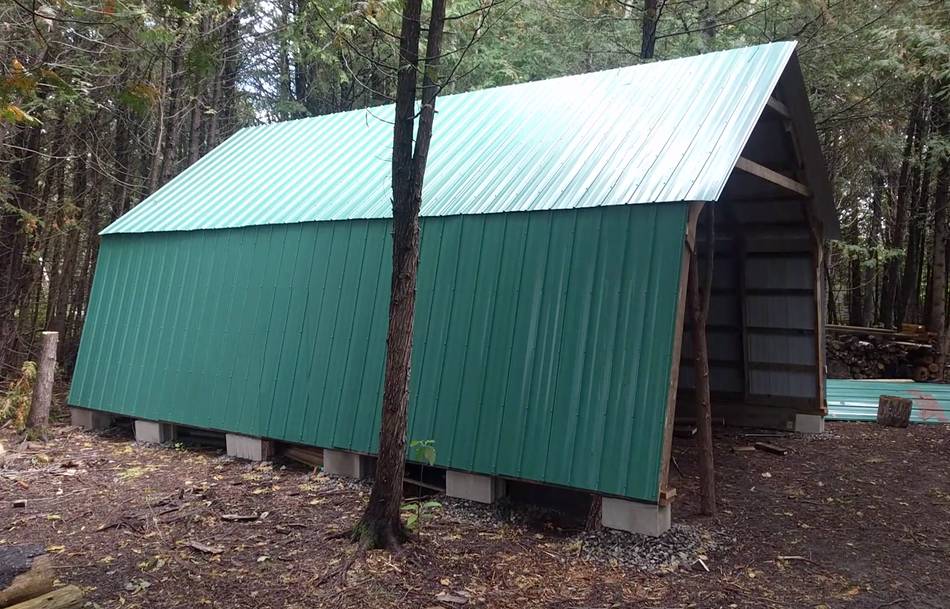
And here is the shed, mostly done. But this is as far as Matt will take
it this year, so for this article, we'll call it done!
The ridge cap is still missing, but Matt quite likes getting a bit of
light coming in through the top, so he's considering using some transparent
material for the ridge cap instead of sheet metal.
 I've had chronic tendinitis problems with my right arm bicep since an
injury three years ago. So I always did all the lifting with my left arm.
But in the process of working on this tractor shed,
I developed tendinitis problems with my left bicep as well, which
left me unable to lift much at all.
I've had chronic tendinitis problems with my right arm bicep since an
injury three years ago. So I always did all the lifting with my left arm.
But in the process of working on this tractor shed,
I developed tendinitis problems with my left bicep as well, which
left me unable to lift much at all.


 Tractor shed build,
 What happened to the tractor shed, and moving -- again
 Backyard shed build
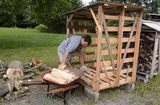 Movable firewood shed
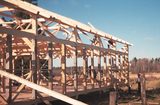 Dad's shop construction (1986)