 The fashionable thing to do with defects in wood these days is to fill defects with
epoxy to close them and highlight the natural beauty of defective wood.
But I'm old fashioned, I'd rather just have the defect gone!
The fashionable thing to do with defects in wood these days is to fill defects with
epoxy to close them and highlight the natural beauty of defective wood.
But I'm old fashioned, I'd rather just have the defect gone!
The fashionable thing to do with defects in wood these days is to fill defects with
epoxy to close them and highlight the natural beauty of defective wood.
But I'm old fashioned, I'd rather just have the defect gone!
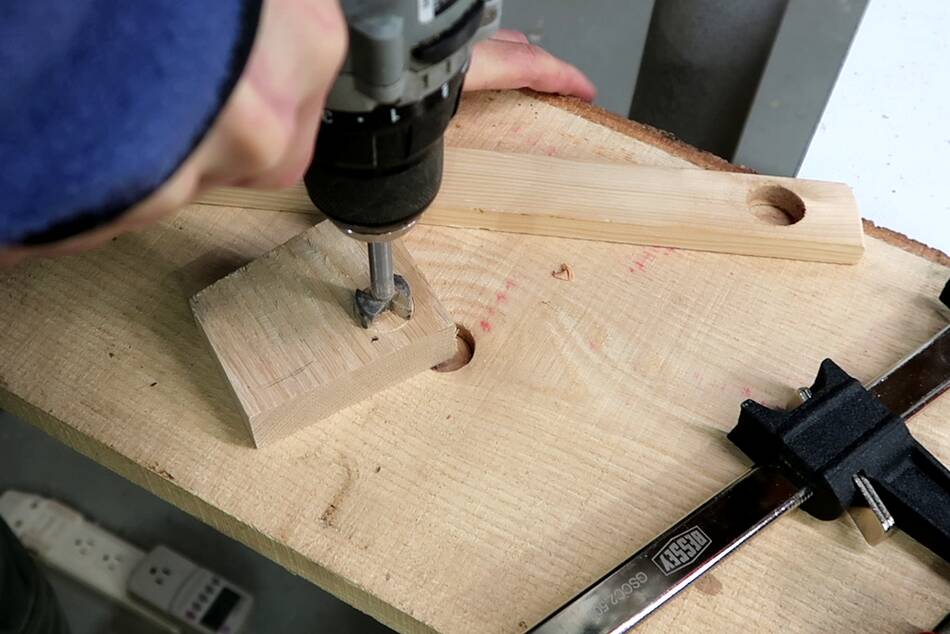
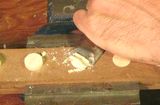
When drilling out defects, it helps to clamp a piece of wood with a hole in it over where to drill to guide it even if the center prong doesn't have anything to bite into (see scrap piece with a hole in this picture). This is also a good idea if there is a risk of slipping with the drill and marring the rest of the wood.
After drilling out the defect with a forstner bit, I use the forstner bit to drill just far enough into another piece of wood so the edge of the bit leaves a mark.
 I Then cut around the circle from the drill with a bandsaw.
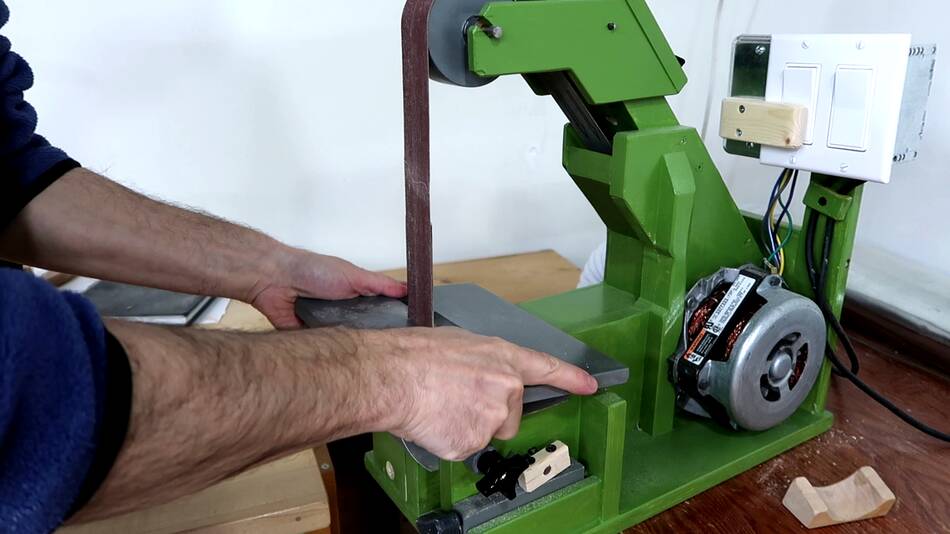
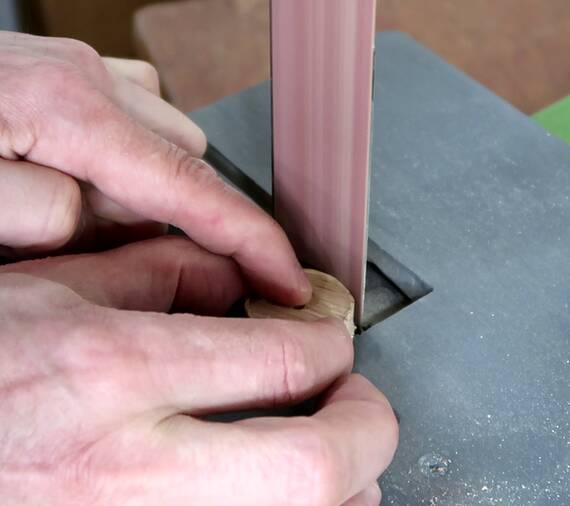
Bext I tilt my sander table against the belt by a few degrees and sand up to the edge of the circle left by the drill.
 This leaves a slightly conical plug of just the right size for the board.
After checking the fit, I put glue around the plug and the hole, hammer it in, then cut it flush and plane it flush.
 This makes for perfectly fitting plugs. The visibility of is mostly determined
by how well the plug matches the grain.
I couldn't match the grain around this knot hole.
This makes for perfectly fitting plugs. The visibility of is mostly determined
by how well the plug matches the grain.
I couldn't match the grain around this knot hole.
This technique is cheaper and much faster than using epoxy, because there's no need to wait for it to cure.
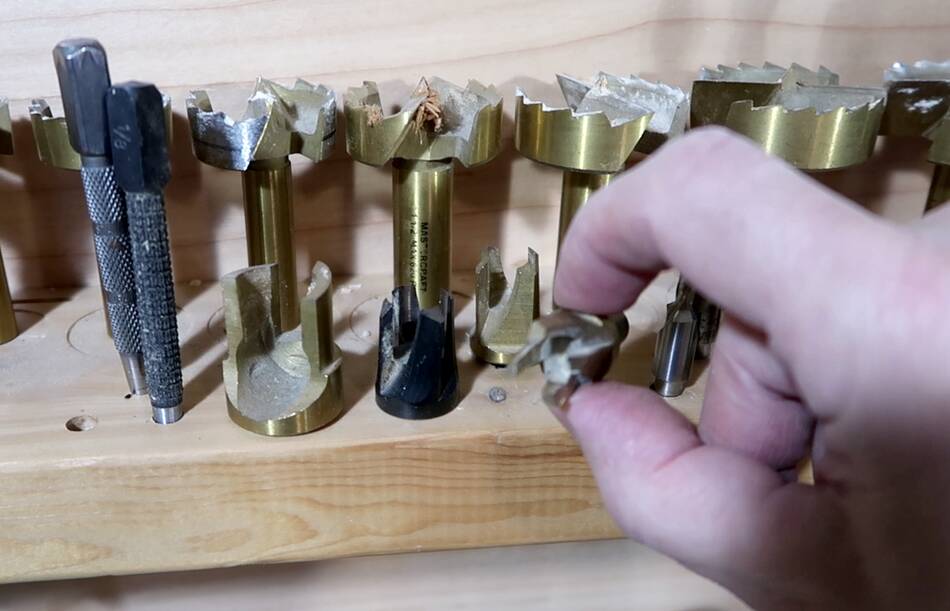 There are of course plug cutters for exactly this sort of thing, but these only
come to a certain size, and my biggest one isn't big enough for the plug I needed to make.
There are of course plug cutters for exactly this sort of thing, but these only
come to a certain size, and my biggest one isn't big enough for the plug I needed to make.
 Flush cutting dowels
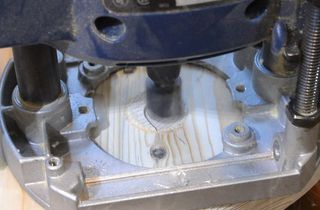 Flush cut with a router instead of a flush trim saw