Making a table saw sled for the Dewalt FlexVolt saw
While I try not to let that affect how I go about things, you should know that the tools were provided by DeWalt, and that I am financially compensated for this. DeWalt has approached a lot of content creators about their new FlexVolt line of tools, so expect to see a lot of YouTube videos by other YouTubers involving FlexVolt tools in the coming months (January 2017)
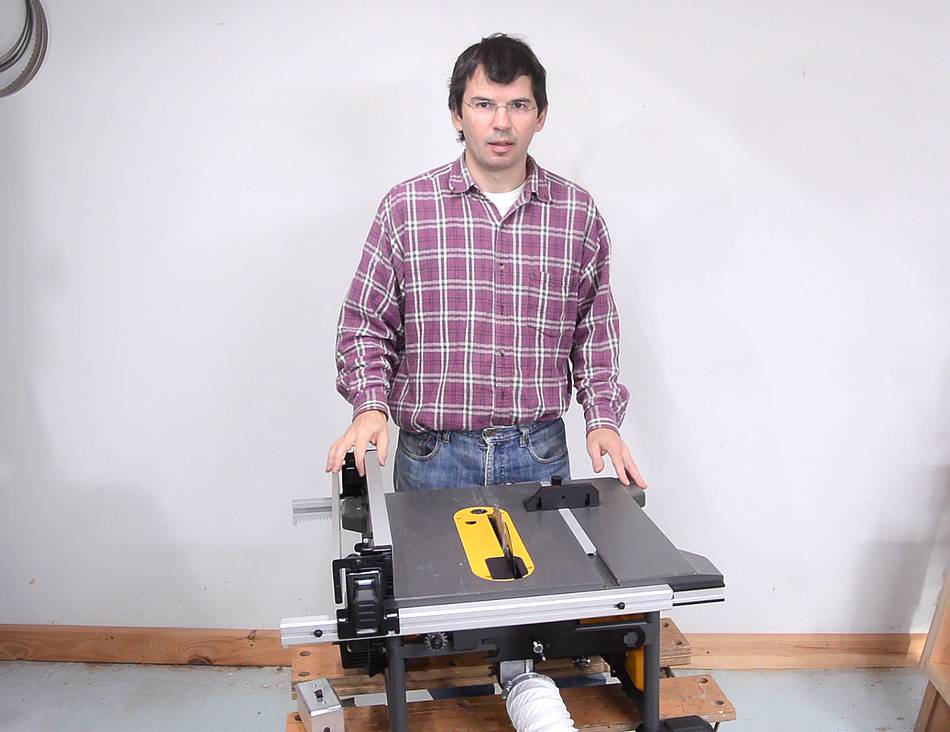 DeWalt sent me this battery operated FlexVolt jobsite saw.
Given my previous experience with a jobsite saw, I was skeptical,
 and doubly so given that this one runs off batteries. But I figured, the best way to
put it to the test was to go ahead and do a project with it.
and doubly so given that this one runs off batteries. But I figured, the best way to
put it to the test was to go ahead and do a project with it.
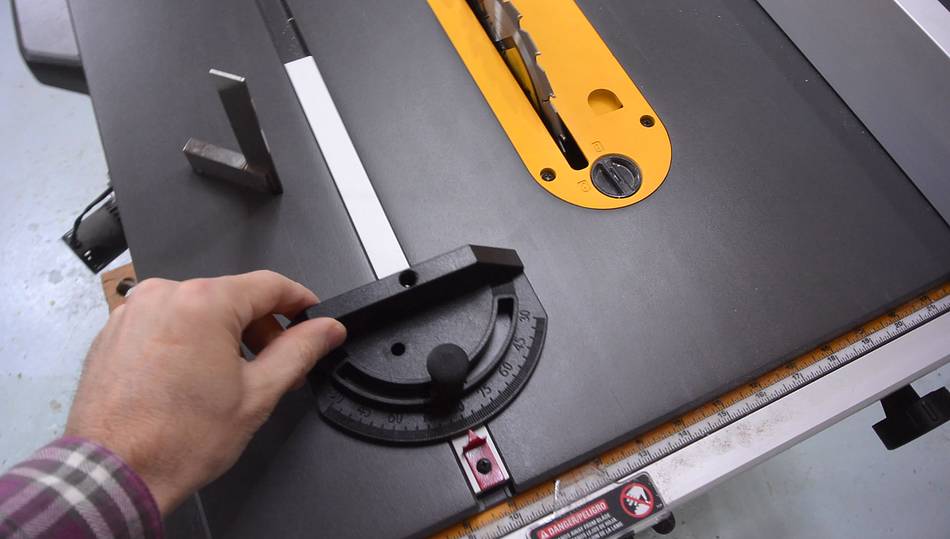 DeWalt also makes a battery powered miter saw, which perhaps explains why
this saw only comes with what I would consider a "token" miter gauge. The miter gauge
is very small and loose in the slot. The pivoting part is made entirely out of
plastic, and the front edge isn't even parallel to the
table. So I figured before I do anything else, I should make
a small table saw sled for this saw, similar to
this one
DeWalt also makes a battery powered miter saw, which perhaps explains why
this saw only comes with what I would consider a "token" miter gauge. The miter gauge
is very small and loose in the slot. The pivoting part is made entirely out of
plastic, and the front edge isn't even parallel to the
table. So I figured before I do anything else, I should make
a small table saw sled for this saw, similar to
this one
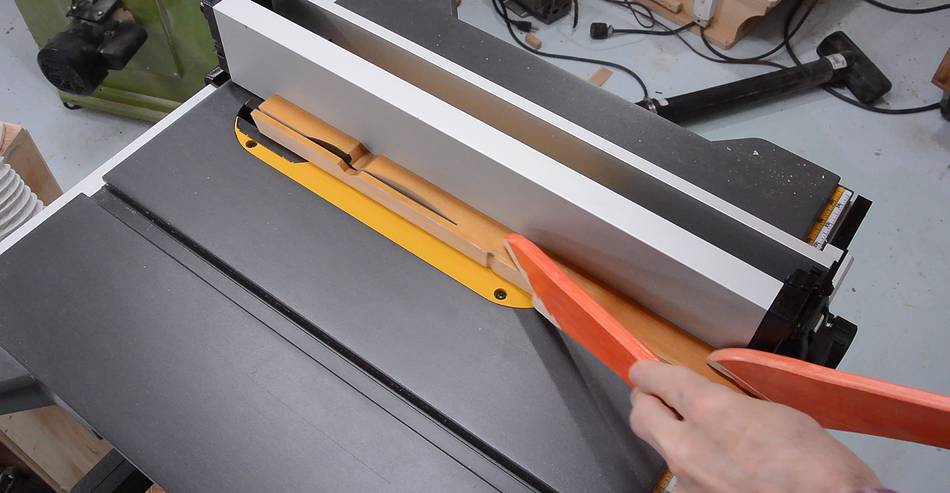
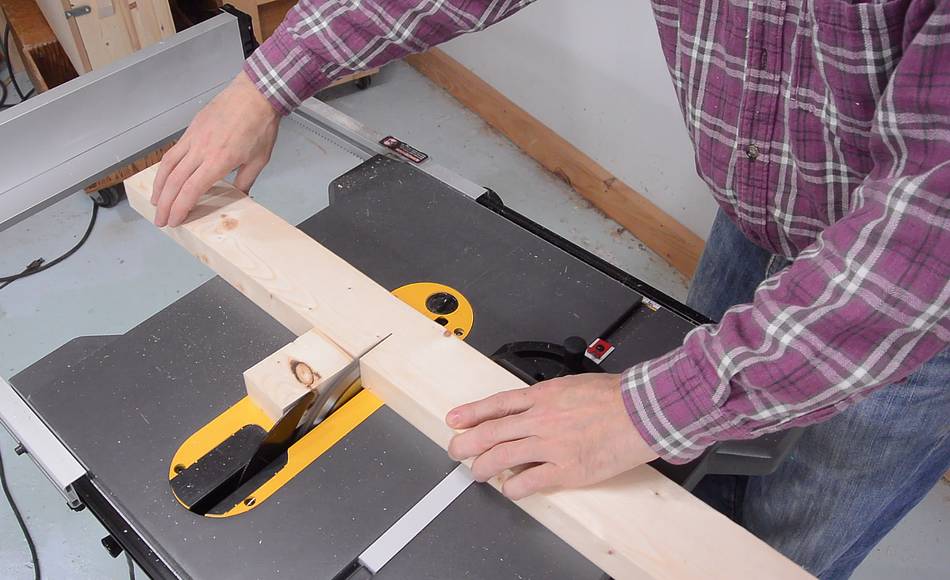
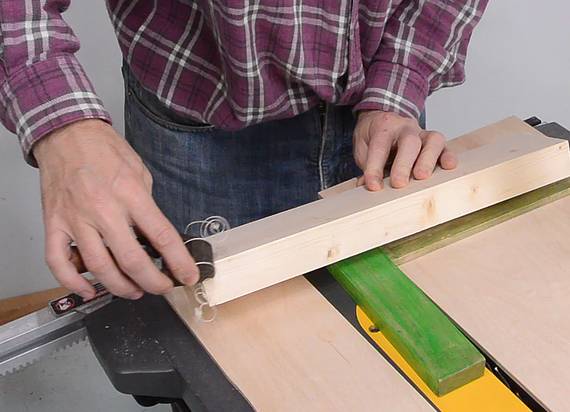
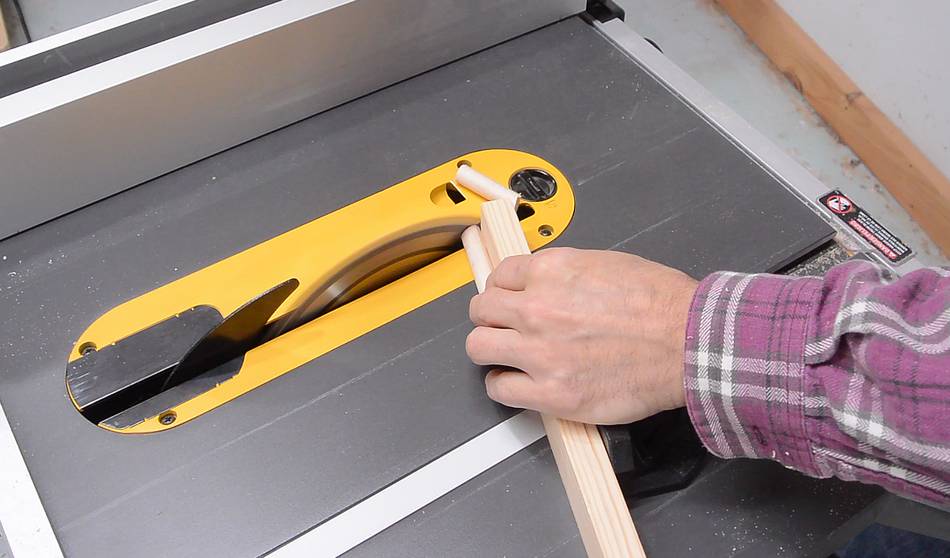
 The slots in this saw are nominally 3/4", but wide enough that a 3/4" metal bar
would have too much play sliding in it, so I made a wooden guide bar to fit very
snugly, cutting it carefully on the table saw.
The slots in this saw are nominally 3/4", but wide enough that a 3/4" metal bar
would have too much play sliding in it, so I made a wooden guide bar to fit very
snugly, cutting it carefully on the table saw.
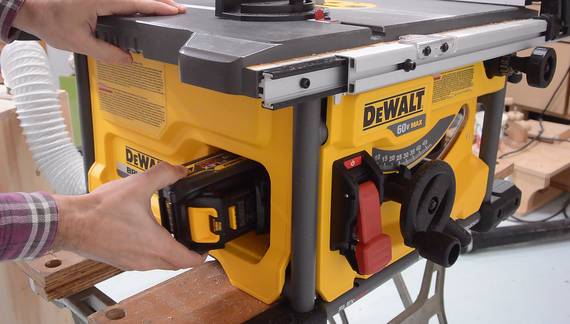
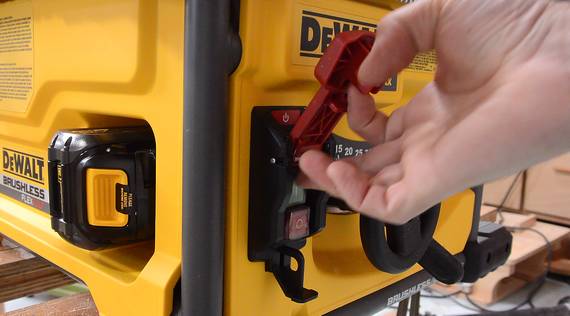
When switching the saw on, it often immediately turns off again. At first I thought I wasn't pushing the button long enough, but eventually I realized that when I let the red cover (that covers the start button) drop down, it taps the stop button hard enough to stop it. So that cover needs to be let down slowly. Kind of an annoying feature.
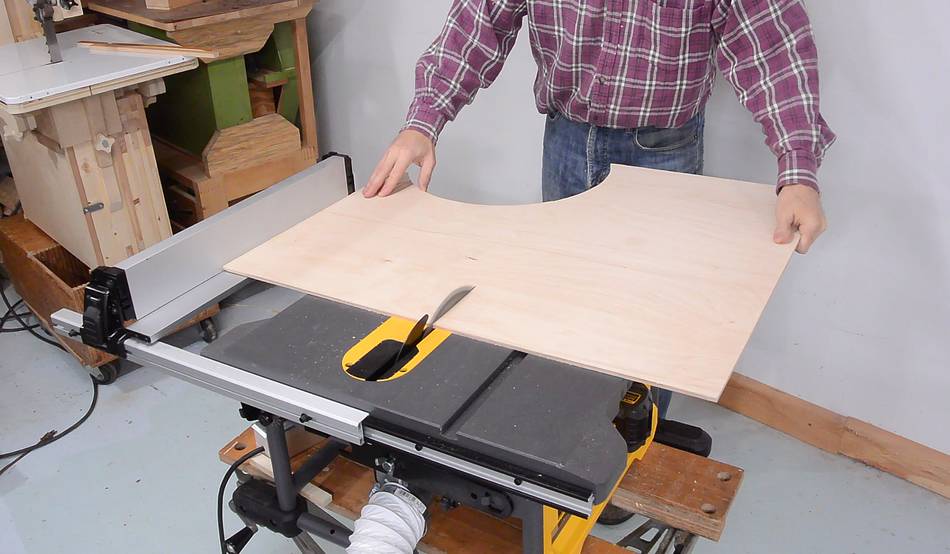 Next I cut a square piece of wood out of a piece of plywood.
This saw is a very small jobsite saw, but the fence can be moved out a full 24" (60 cm) from the blade. To accomplish this, the fence attaches to rails on either end, and a rack and pinion is used to move the two rails in unison.
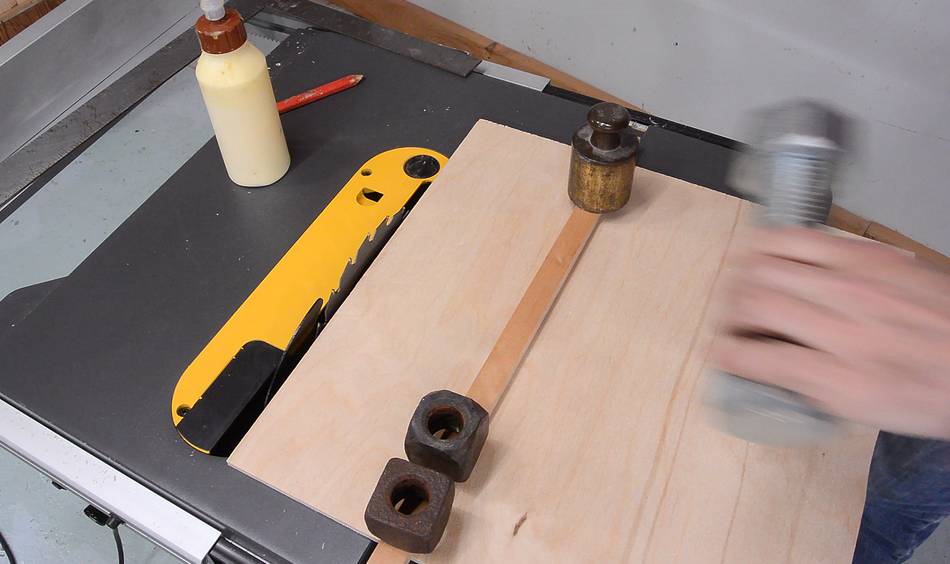
 Gluing down the guide bar, using some weights. The guide bar goes just a bit further
from the edge of the wood than the distance from the blade to the slot in the saw.
Gluing down the guide bar, using some weights. The guide bar goes just a bit further
from the edge of the wood than the distance from the blade to the slot in the saw.
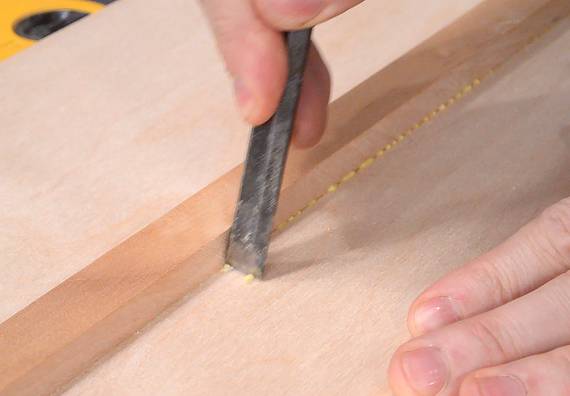
Then scraping off the excess glue.
In the past, I made the guide bar so it could be removed again, but I have never ever had a desire to replace a guide bar on a sled, so I'm just gluing it on. If it does wear out, I could always cut it off, or make a new sled.
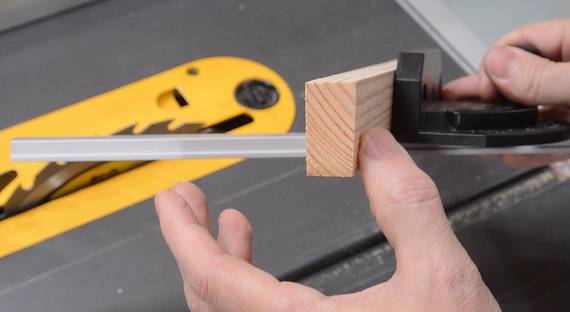
 Grudgingly, I used the tiny little miter gauge to cut off a 2x4 for the fences
for this sled. I had already planed and jointed this 2x4 to make sure it was
straight, smooth and square.
Grudgingly, I used the tiny little miter gauge to cut off a 2x4 for the fences
for this sled. I had already planed and jointed this 2x4 to make sure it was
straight, smooth and square.
 When I put the start of my sled in the guide bar, I noticed it slid freely in
one direction, but got stuck if I put it on backwards. Very odd.
When I put the start of my sled in the guide bar, I noticed it slid freely in
one direction, but got stuck if I put it on backwards. Very odd.
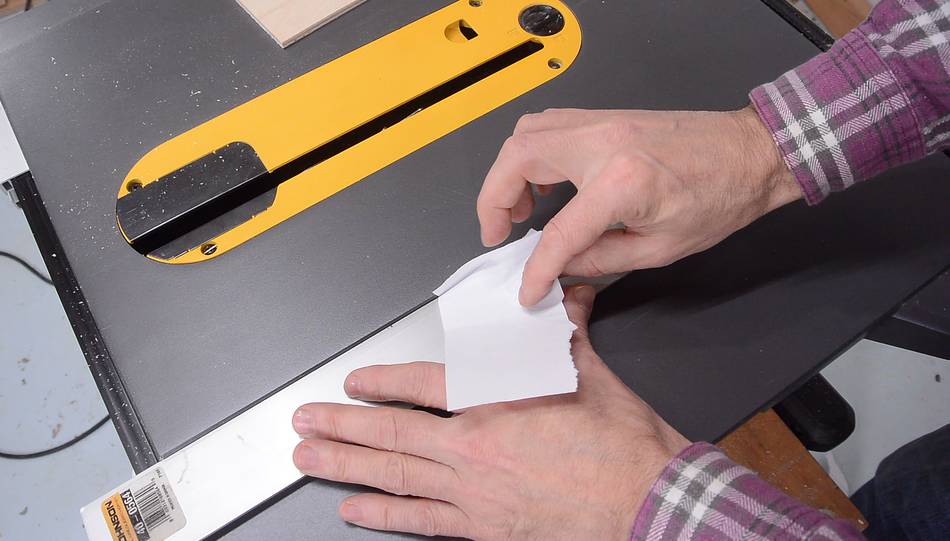
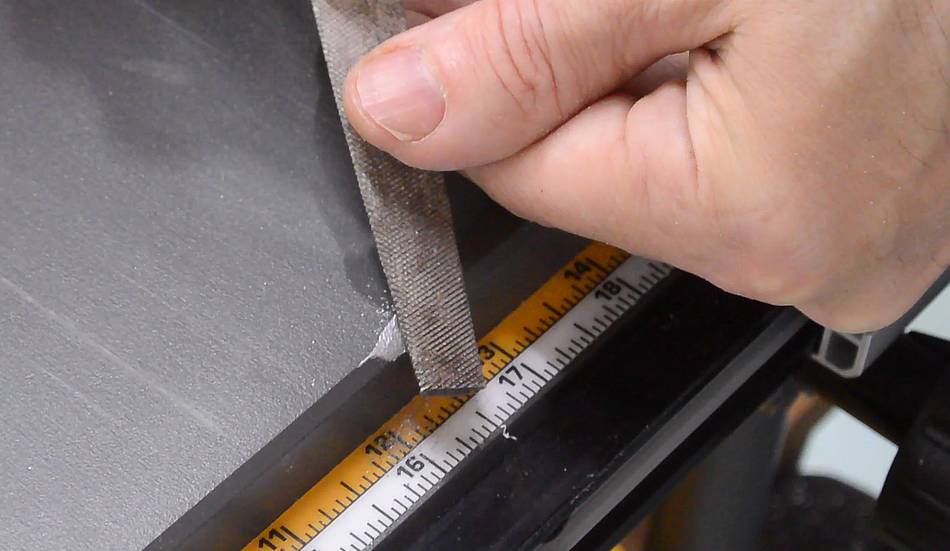
Examining this closely with a straight edge, I realized the slot itself is curved. The middle of the slot is about 0.25 mm (about 1/128") further to the right than the ends! With a ruler pressed against the right edge of the slot, I could easily insert a folded piece of paper between the ruler and the edge of the slot!
For it to get stuck in one direction but not the other, my miter gauge must also have a similar curve in it.
 I figured the best way to address this is to fix the saw's slot!
I took a file, pressed it against a block of wood to keep it vertical, and filed away at the right side of the slot near both ends, and on the left side near the middle. This widened the slot slightly, but it also made it straighter.
 Now the base of the sled slid freely in both orientations. It was slightly lose
though, but I adjusted for that by putting some varnish on the edges of the sled's
guide bar (the varnish adds a bit of thickness).
Now the base of the sled slid freely in both orientations. It was slightly lose
though, but I adjusted for that by putting some varnish on the edges of the sled's
guide bar (the varnish adds a bit of thickness).
My next step was to cut the main slot of the sled, even though I hadn't yet assembled the sled.
 I added a slight chamfer to what will be the inside edge of the fence pieces
with a small palm plane.
I added a slight chamfer to what will be the inside edge of the fence pieces
with a small palm plane.
Then squaring it up with respect to the edge that I just cut.
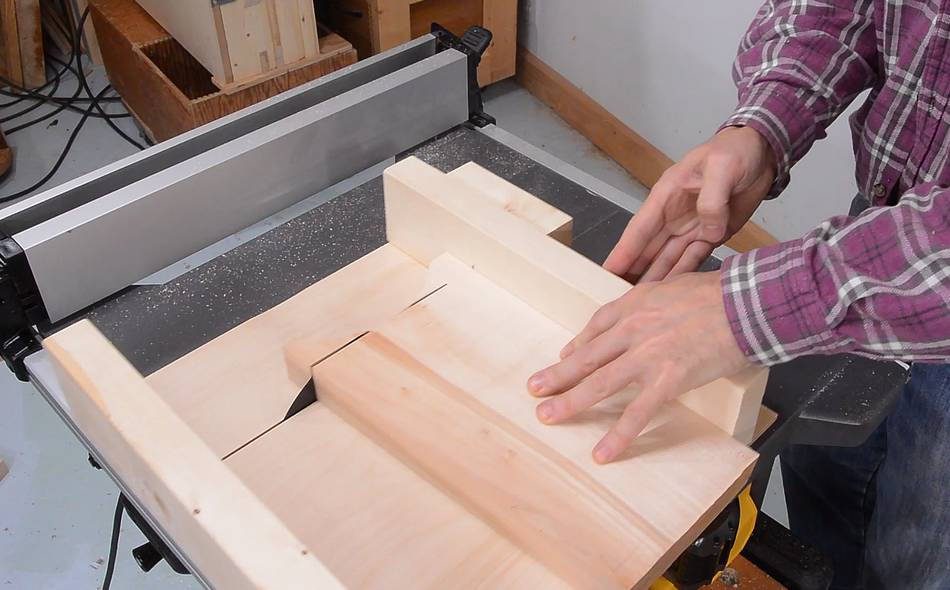
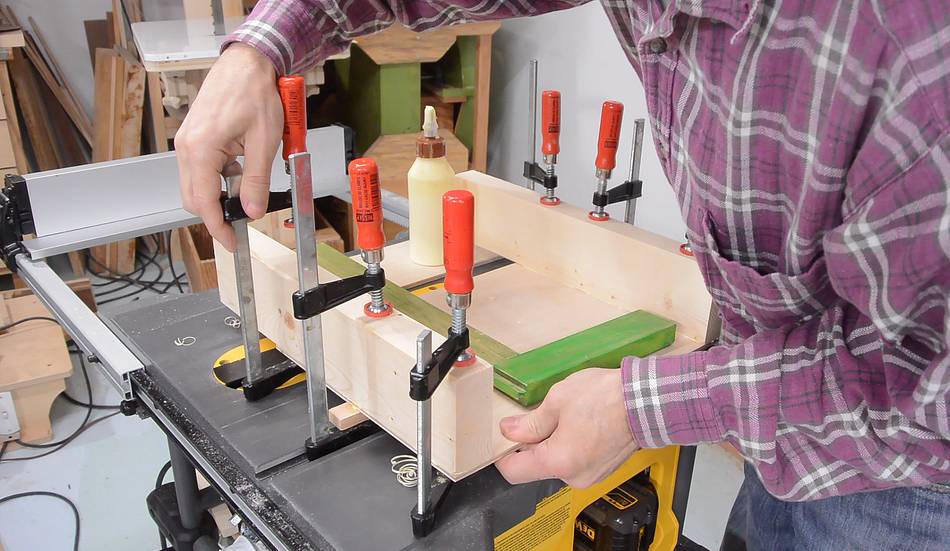 I glued the fences to the main part of the sled, checking square-ness multiple
times as I went along.
I glued the fences to the main part of the sled, checking square-ness multiple
times as I went along.
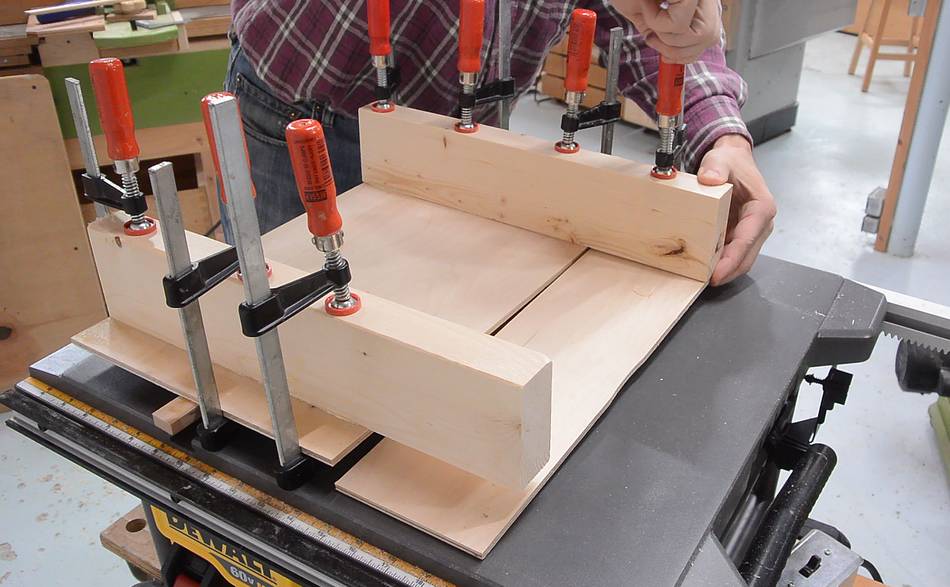
 Then gluing on the smaller part on the right. I glued it on
so that the slot was a bit smaller than the width of the saw blade.
Then gluing on the smaller part on the right. I glued it on
so that the slot was a bit smaller than the width of the saw blade.
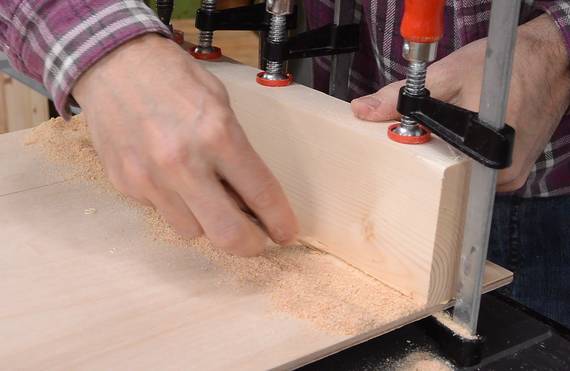
After that I used some sawdust and a wooden splint to clean up any glue squeeze-out that made it into the corner.
Safety stop
 Now re-cutting the slot.
At this point, I could call the sled done.
But on my other small sled I added this neat stop that prevents me from pushing it any further than I need to make the cut. It's a little toggle that gets caught on my outfeed table.
But I don't have an outfeed table to hook onto on this table saw.
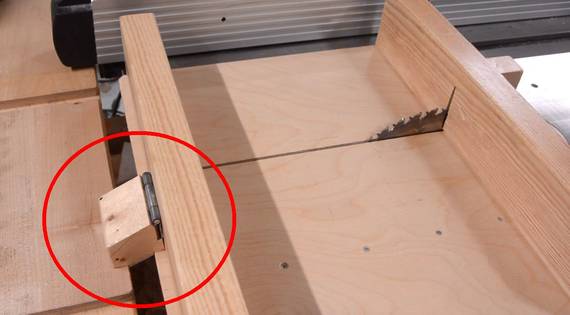
 So I had the idea of making a pin that drops out the bottom to get caught on
the finger hole of the table saw insert. It works much like the latching part
of a door knob (prototype mechanism at right)
So I had the idea of making a pin that drops out the bottom to get caught on
the finger hole of the table saw insert. It works much like the latching part
of a door knob (prototype mechanism at right)
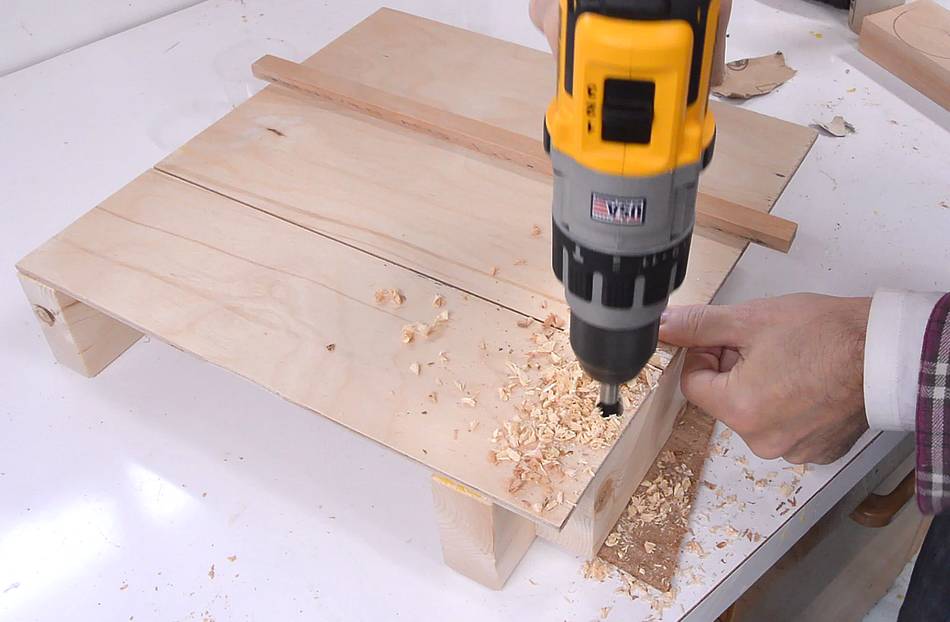
At left, I'm drilling a 9/16" hole for the dowel in the bottom of the sled.
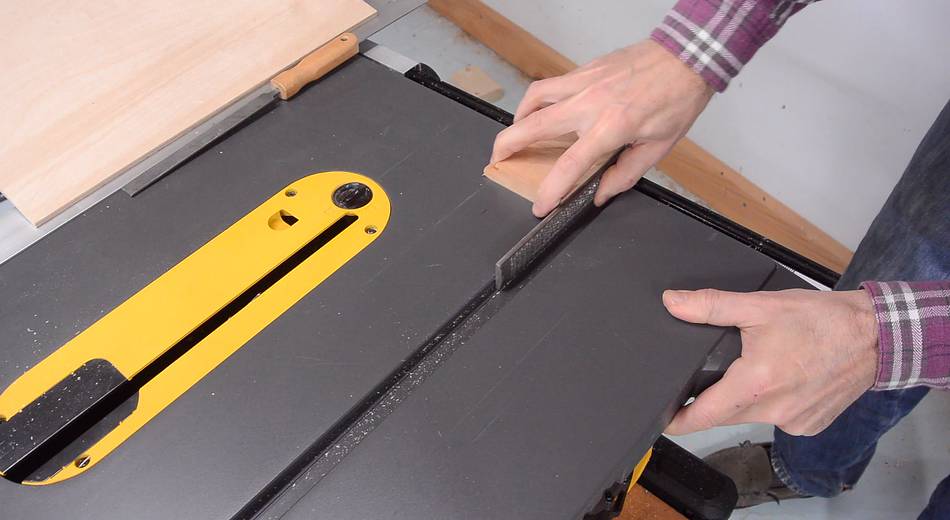
 I had to cut a dowel at an angle, so I used the little miter
gauge again. But to get near enough to the blade to make this cut safely,
I had to extend the miter gauge's fence. I cut a bevel on the back of this fence
to match the non-square angle of the miter gauge. That way the front edge
of the fence is vertical.
I had to cut a dowel at an angle, so I used the little miter
gauge again. But to get near enough to the blade to make this cut safely,
I had to extend the miter gauge's fence. I cut a bevel on the back of this fence
to match the non-square angle of the miter gauge. That way the front edge
of the fence is vertical.
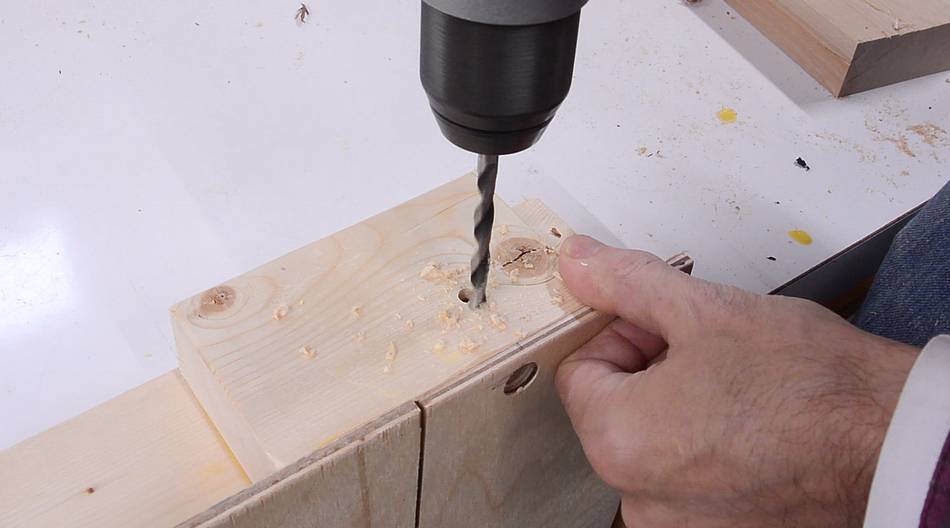
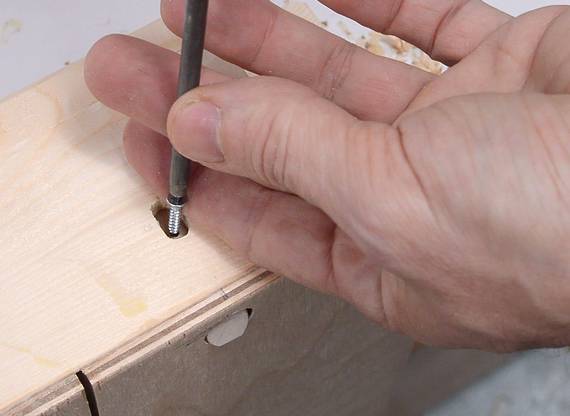 I drilled two holes next to each other for a slot in the back of the
sled, then inserted the 1/2" dowel, pre-drilled a hole and put a small
#4 screw in the dowel. This screw allows the dowel to move up and down
but keeps it from dropping down too far.
I drilled two holes next to each other for a slot in the back of the
sled, then inserted the 1/2" dowel, pre-drilled a hole and put a small
#4 screw in the dowel. This screw allows the dowel to move up and down
but keeps it from dropping down too far.
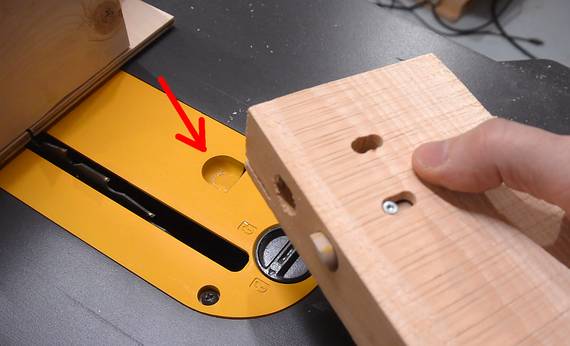
 I hadn't anticipated this, but the sled also had a tendency to catch on the
front edge of the saw (This would not have been a problem on my big table saw with
a much deeper table). I filed a light bevel in the edge of the aluminium table
to help the latch make it over the step on the edge of the table.
I hadn't anticipated this, but the sled also had a tendency to catch on the
front edge of the saw (This would not have been a problem on my big table saw with
a much deeper table). I filed a light bevel in the edge of the aluminium table
to help the latch make it over the step on the edge of the table.
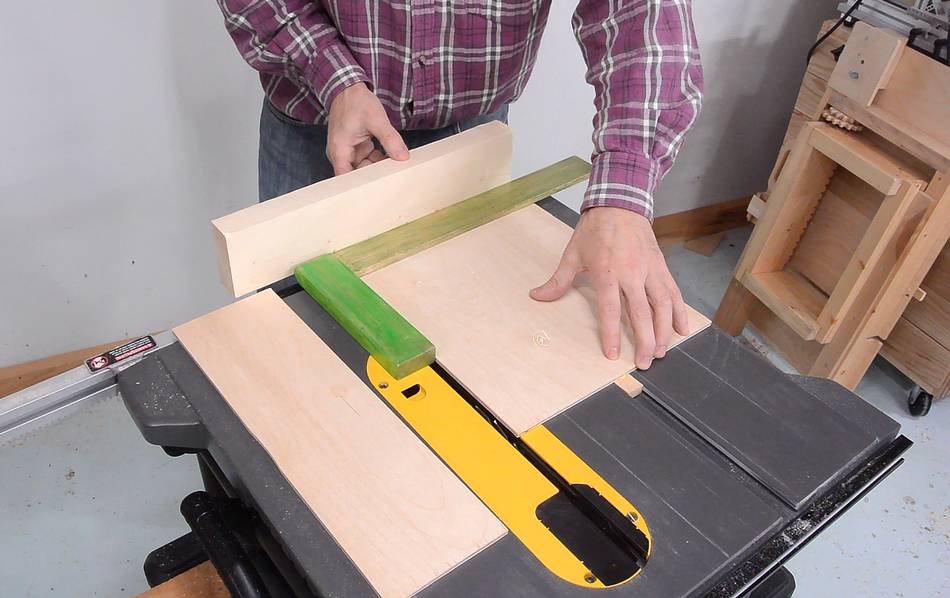
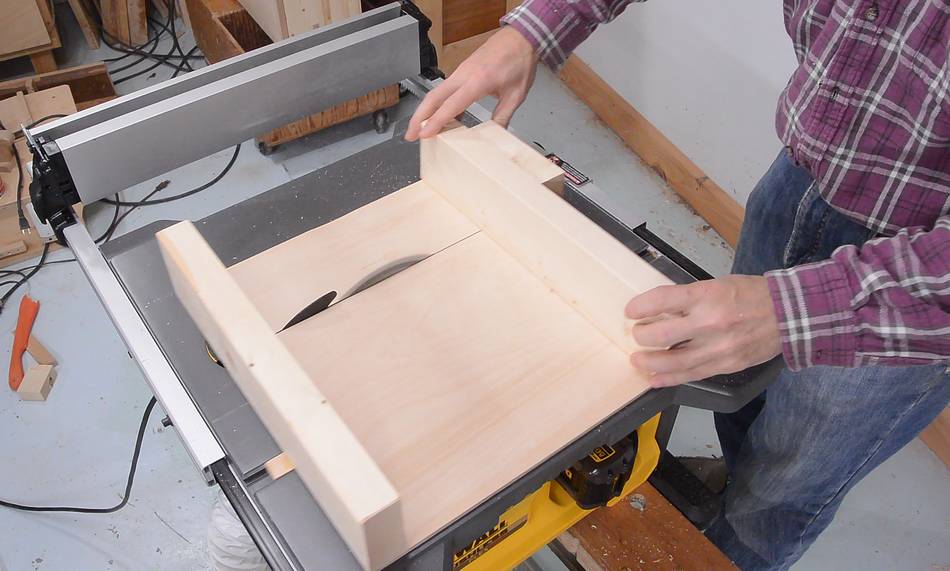
 And finally, trying out the sled by cutting off a piece of maple. I have to say,
the saw performs surprisingly well considering that it's battery powered. It
really doesn't feel like it's battery powered.
And finally, trying out the sled by cutting off a piece of maple. I have to say,
the saw performs surprisingly well considering that it's battery powered. It
really doesn't feel like it's battery powered.
Further tuoughts
It's amazing how far lithium ion batteries and brush-less motors have come, that
this table saw doesn't feel underpowered even though it runs on batteries. Though,
if you are a hobbyist using the saw inside a shop, a corded version would make
ore sense - less expensive, more power, and no need to think about charging the batteries.
There are a few things I found annoying about this design though. The table has these tabs sticking out the sides, which brings it to enough width to accommodate the fence that can be brought to a 24" rip capacity. It would have made much more sense if the whole table was brought to that width - and this would not have made the saw any more bulky. Ironically, Dewalt's corded compact jobsite saw has a slightly wider table, and doesn't need these tabs (as in, an earlier corded version of the saw "fixes" this problem). I can only imagine someone in management requested "make the table even smaller", but then also requested "24" rip capacity, which necessitate adding an unusable portion to the table to accommodate the fence.
The corded saw also has a lever on t he left side you can pull to release the
riving knife, without taking the insert out. A nice feature that I wish they kept
for the battery powered version.
See also:
 Reviewing another jobsite saw
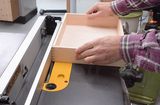 Boxes for paperork
With the DeWalt Flexvolt table saw
 Small table saw sled
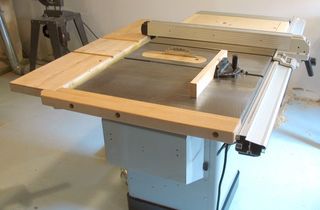 Delta hybrid table saw
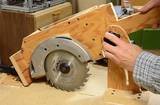 Homemade table saw
Back to my woodworking website.